Video is the rapidly developing genre of the moment – moving images seem to have taken over the content creation world and all of the major social media platforms have shifted their focus away from stills photography and towards video. However, there are some dramatic aspects of a scene that a still image can capture far more concisely. Luckily, there are techniques that can bridge the gap between video and photography, making the most of both creative outlets.
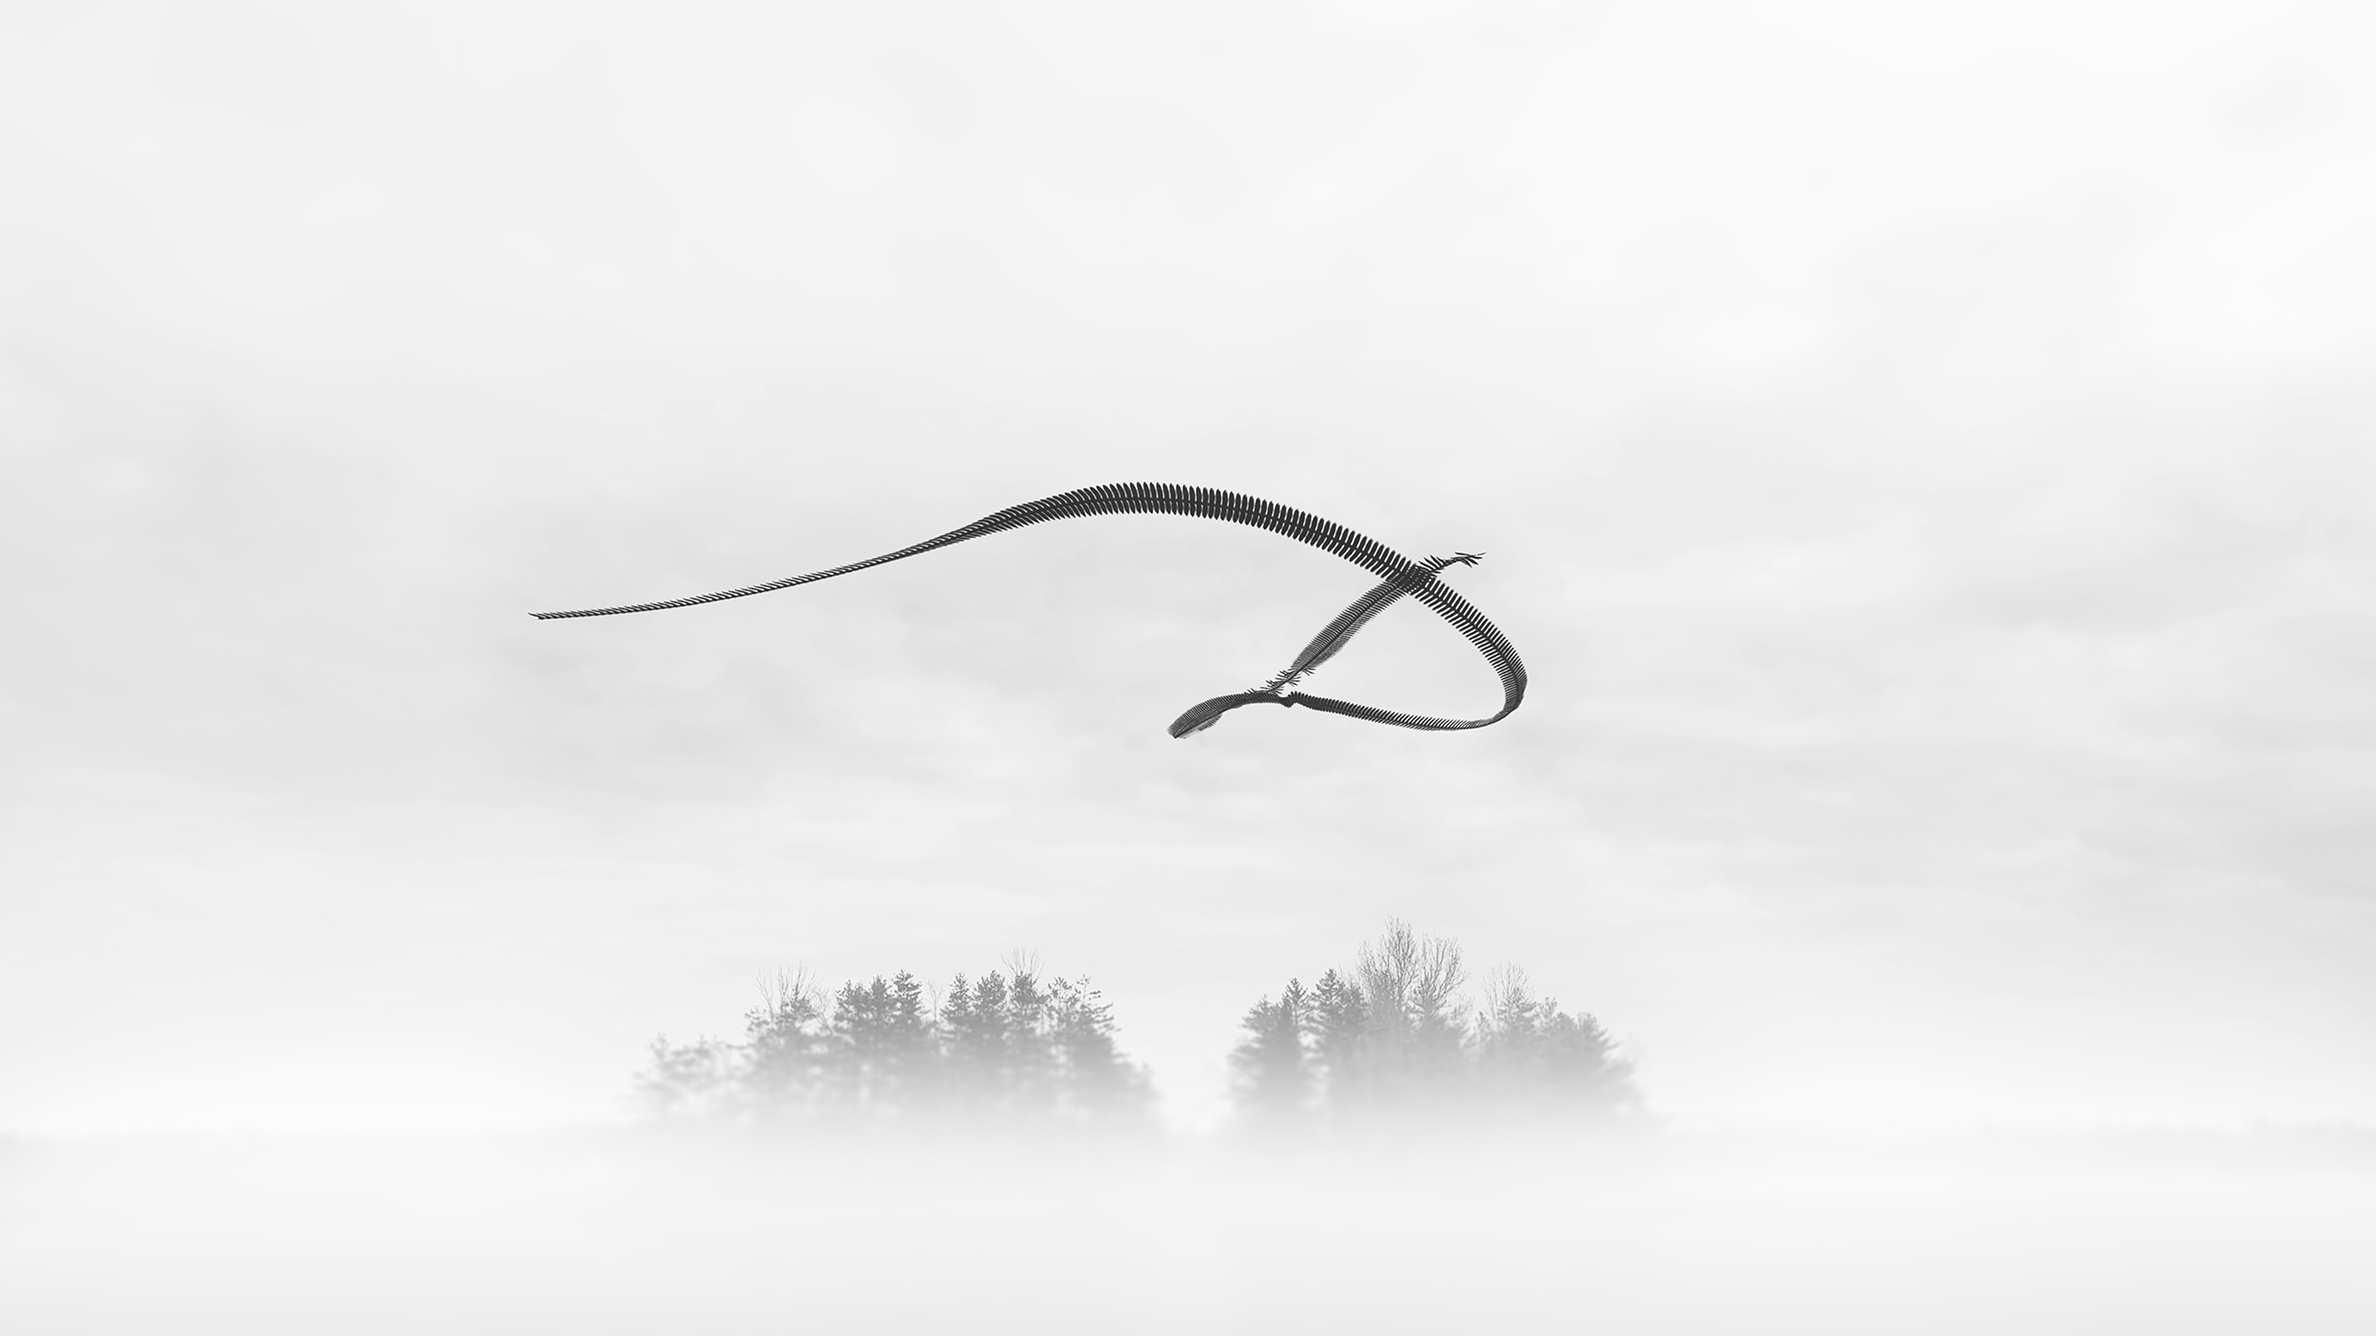
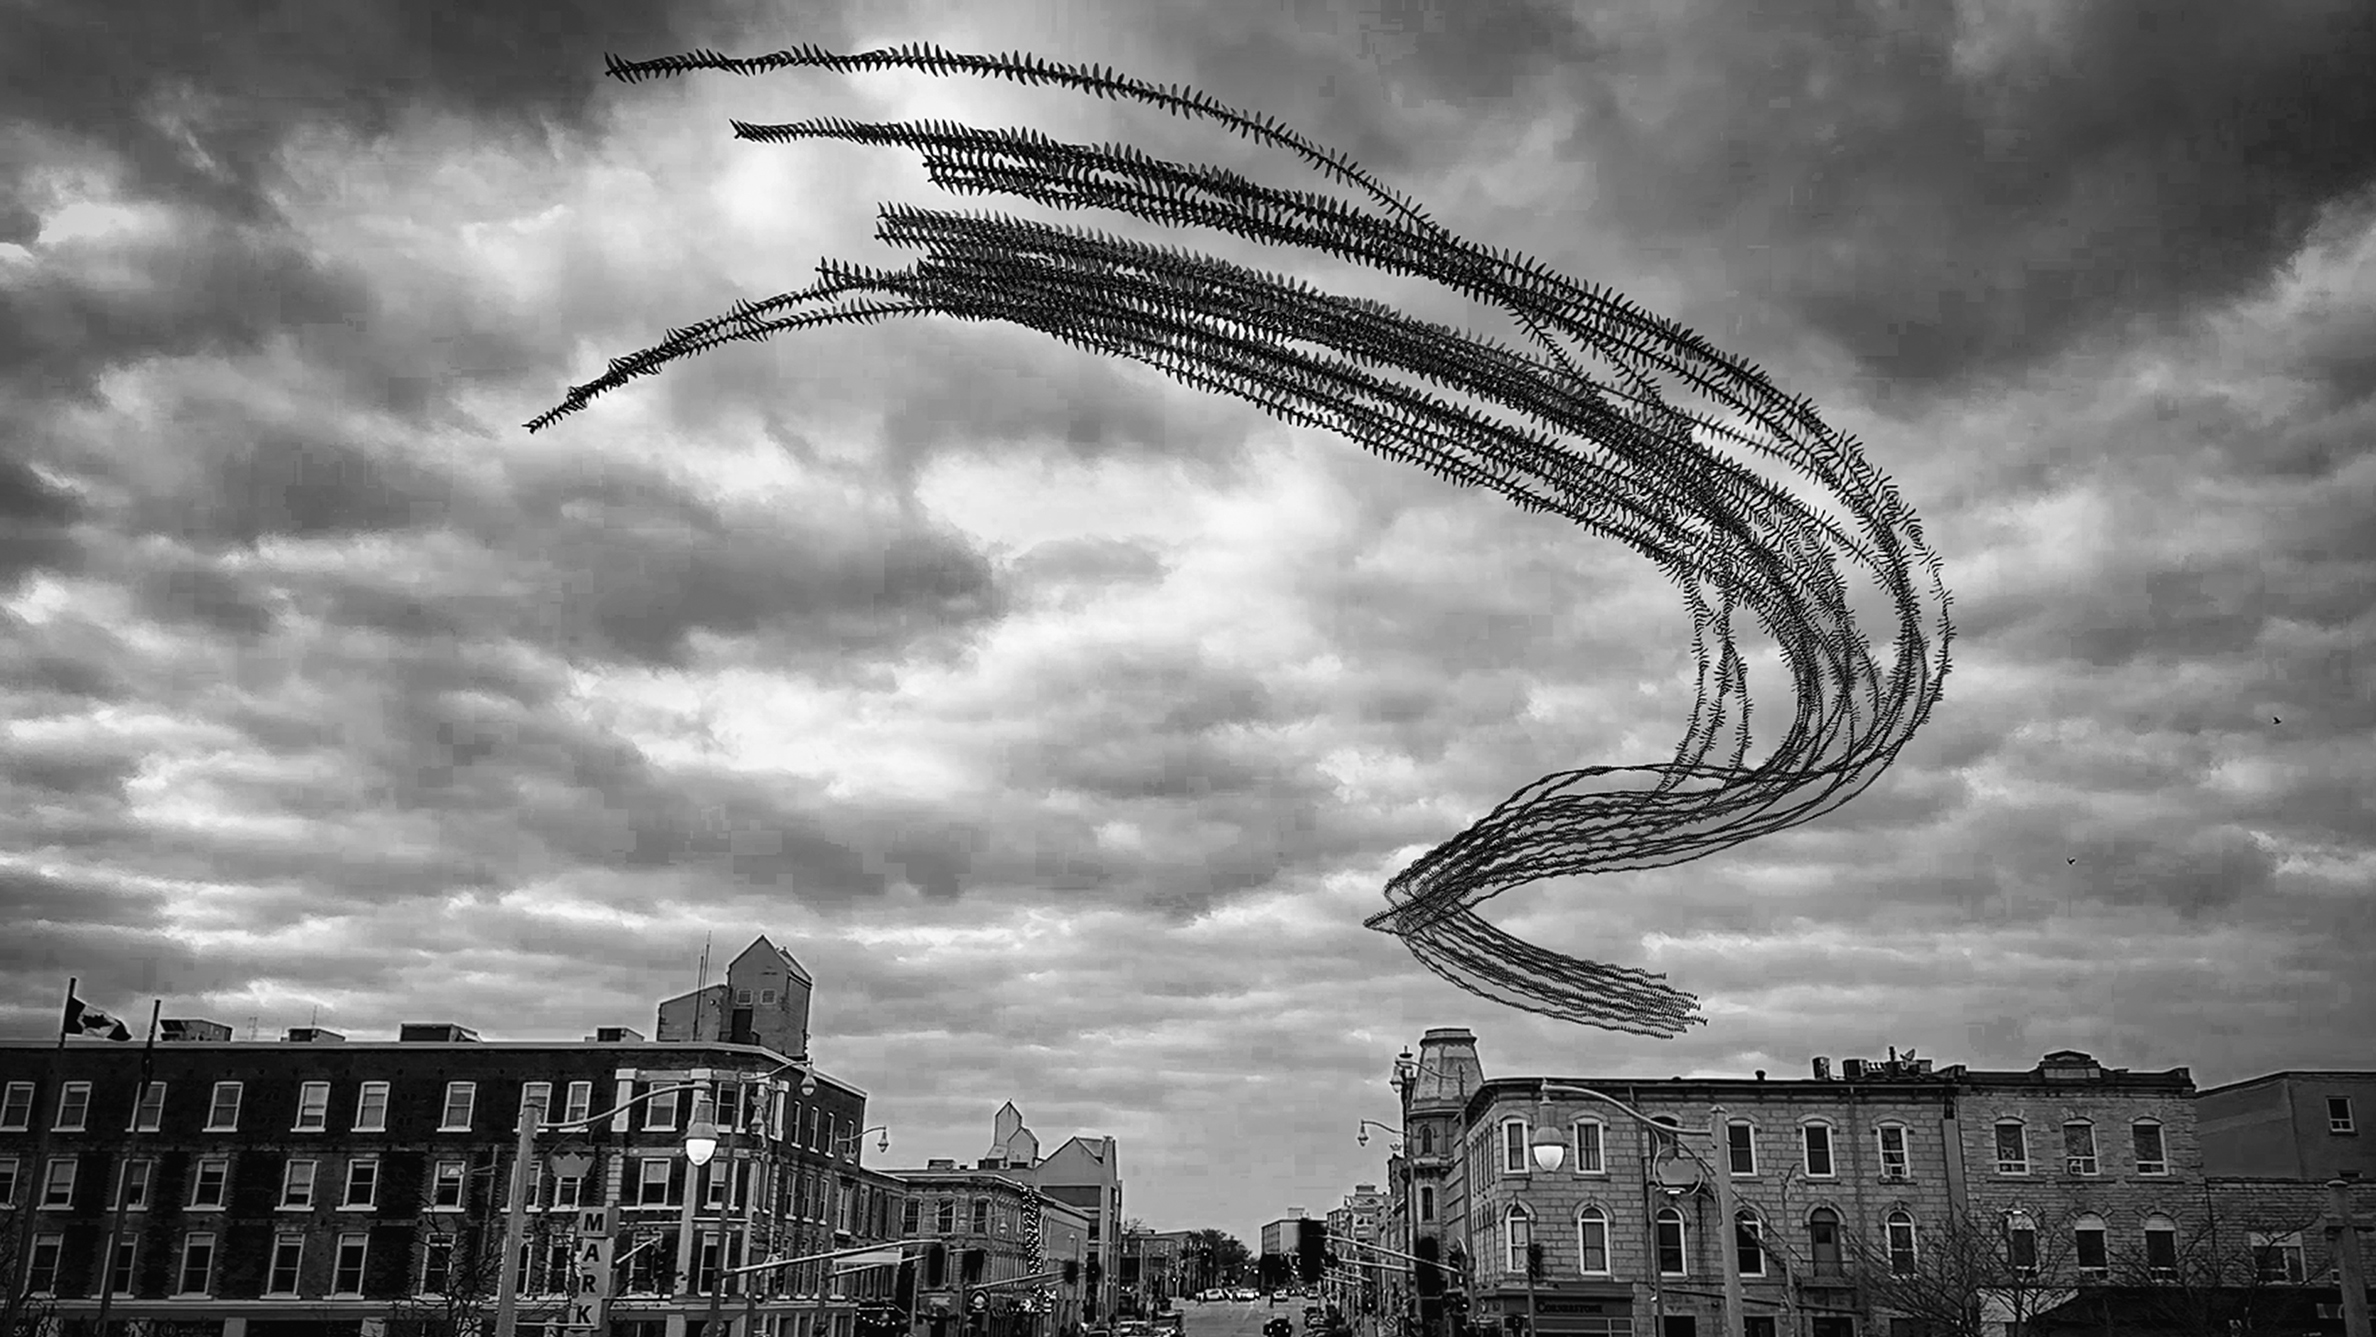
The technique of interlacing frames isn’t just about taking stunning photos of birds in flight; it’s about mastering a skill that opens doors to a whole new realm of photographic expression. By stitching together multiple frames into a single, seamless composition, photographers can capture the fluidity, grace, and intricate patterns of avian movement in a single image, like never before. This technique offers a unique perspective on the natural world, allowing photographers to document the beauty and diversity of bird flight in a way that static images simply cannot match, but that also might be lost in a video clip.
Set up
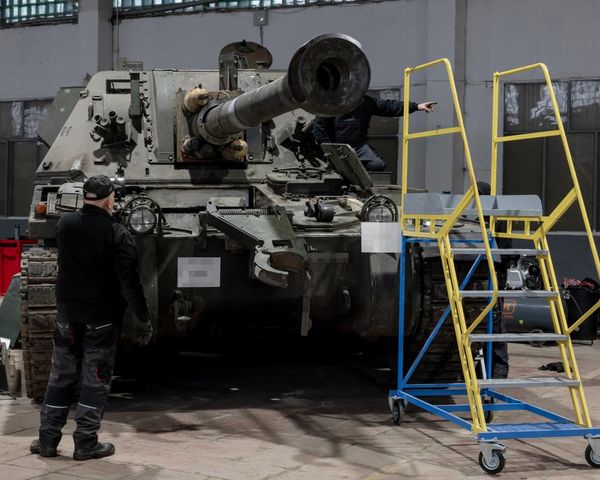
1. Sony A7 III
"Any camera with 4K video recording can work for this technique. I use the A7 III for its advanced video options"
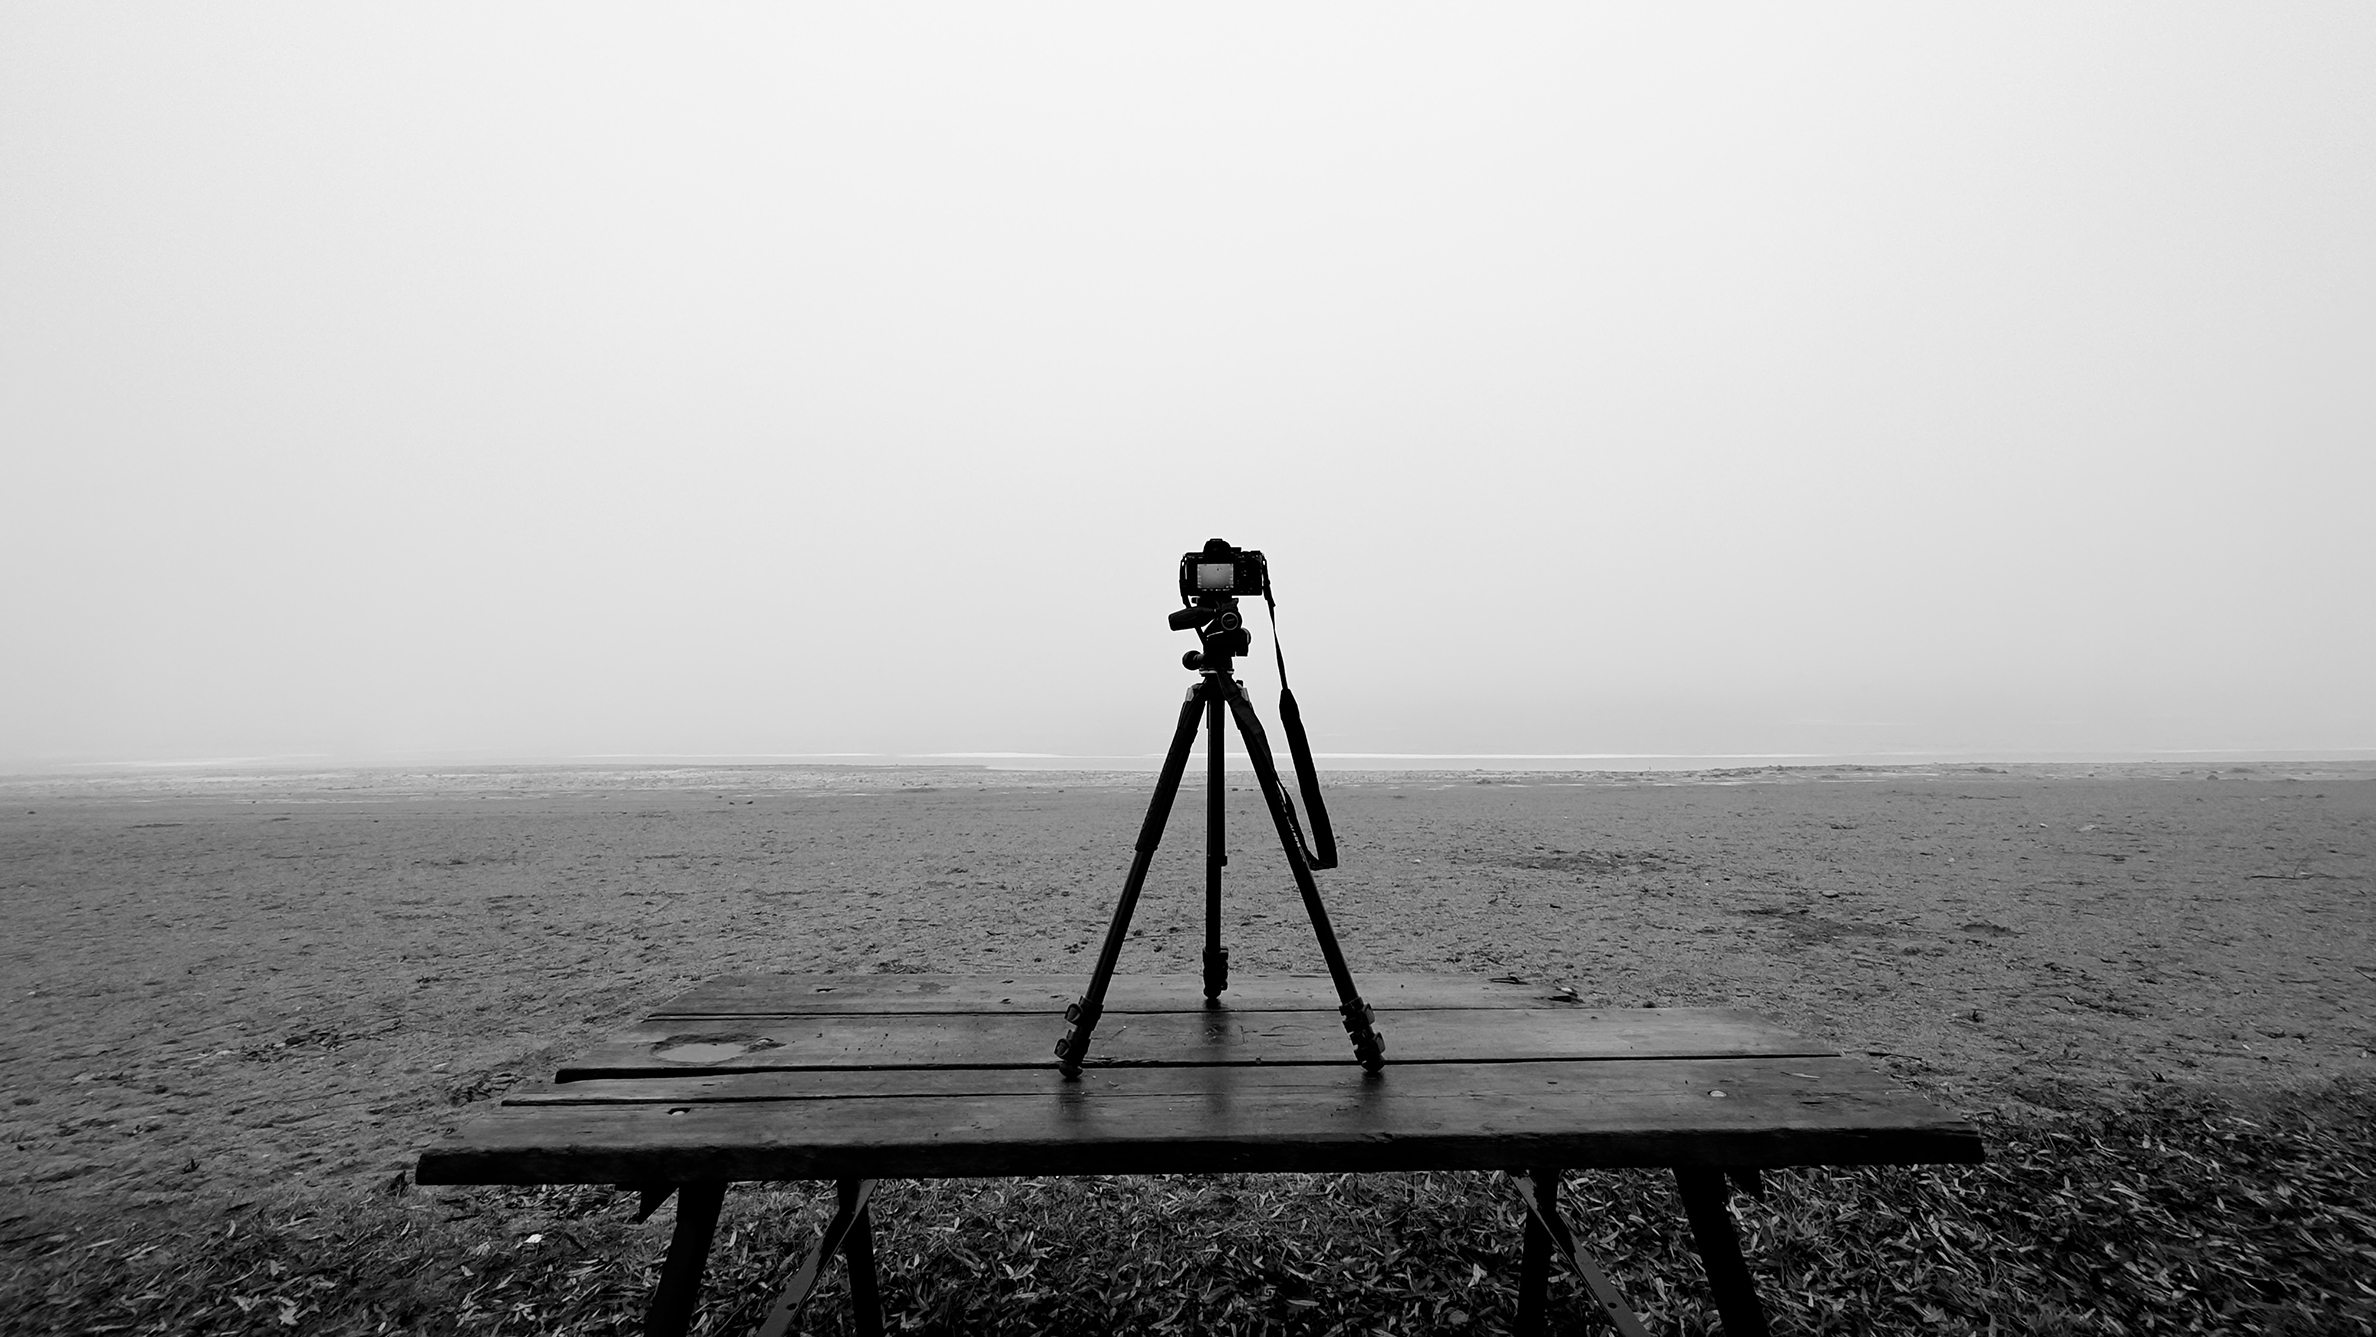
2. Sturdy Tripod
"To ensure your subject sequence aligns with the background, camera support is essential"
3. Pan/Tilt Head
"A versatile video head allows for quick and easy recomposition of your scene"
Shooting steps
1. Frame Rates/Duration
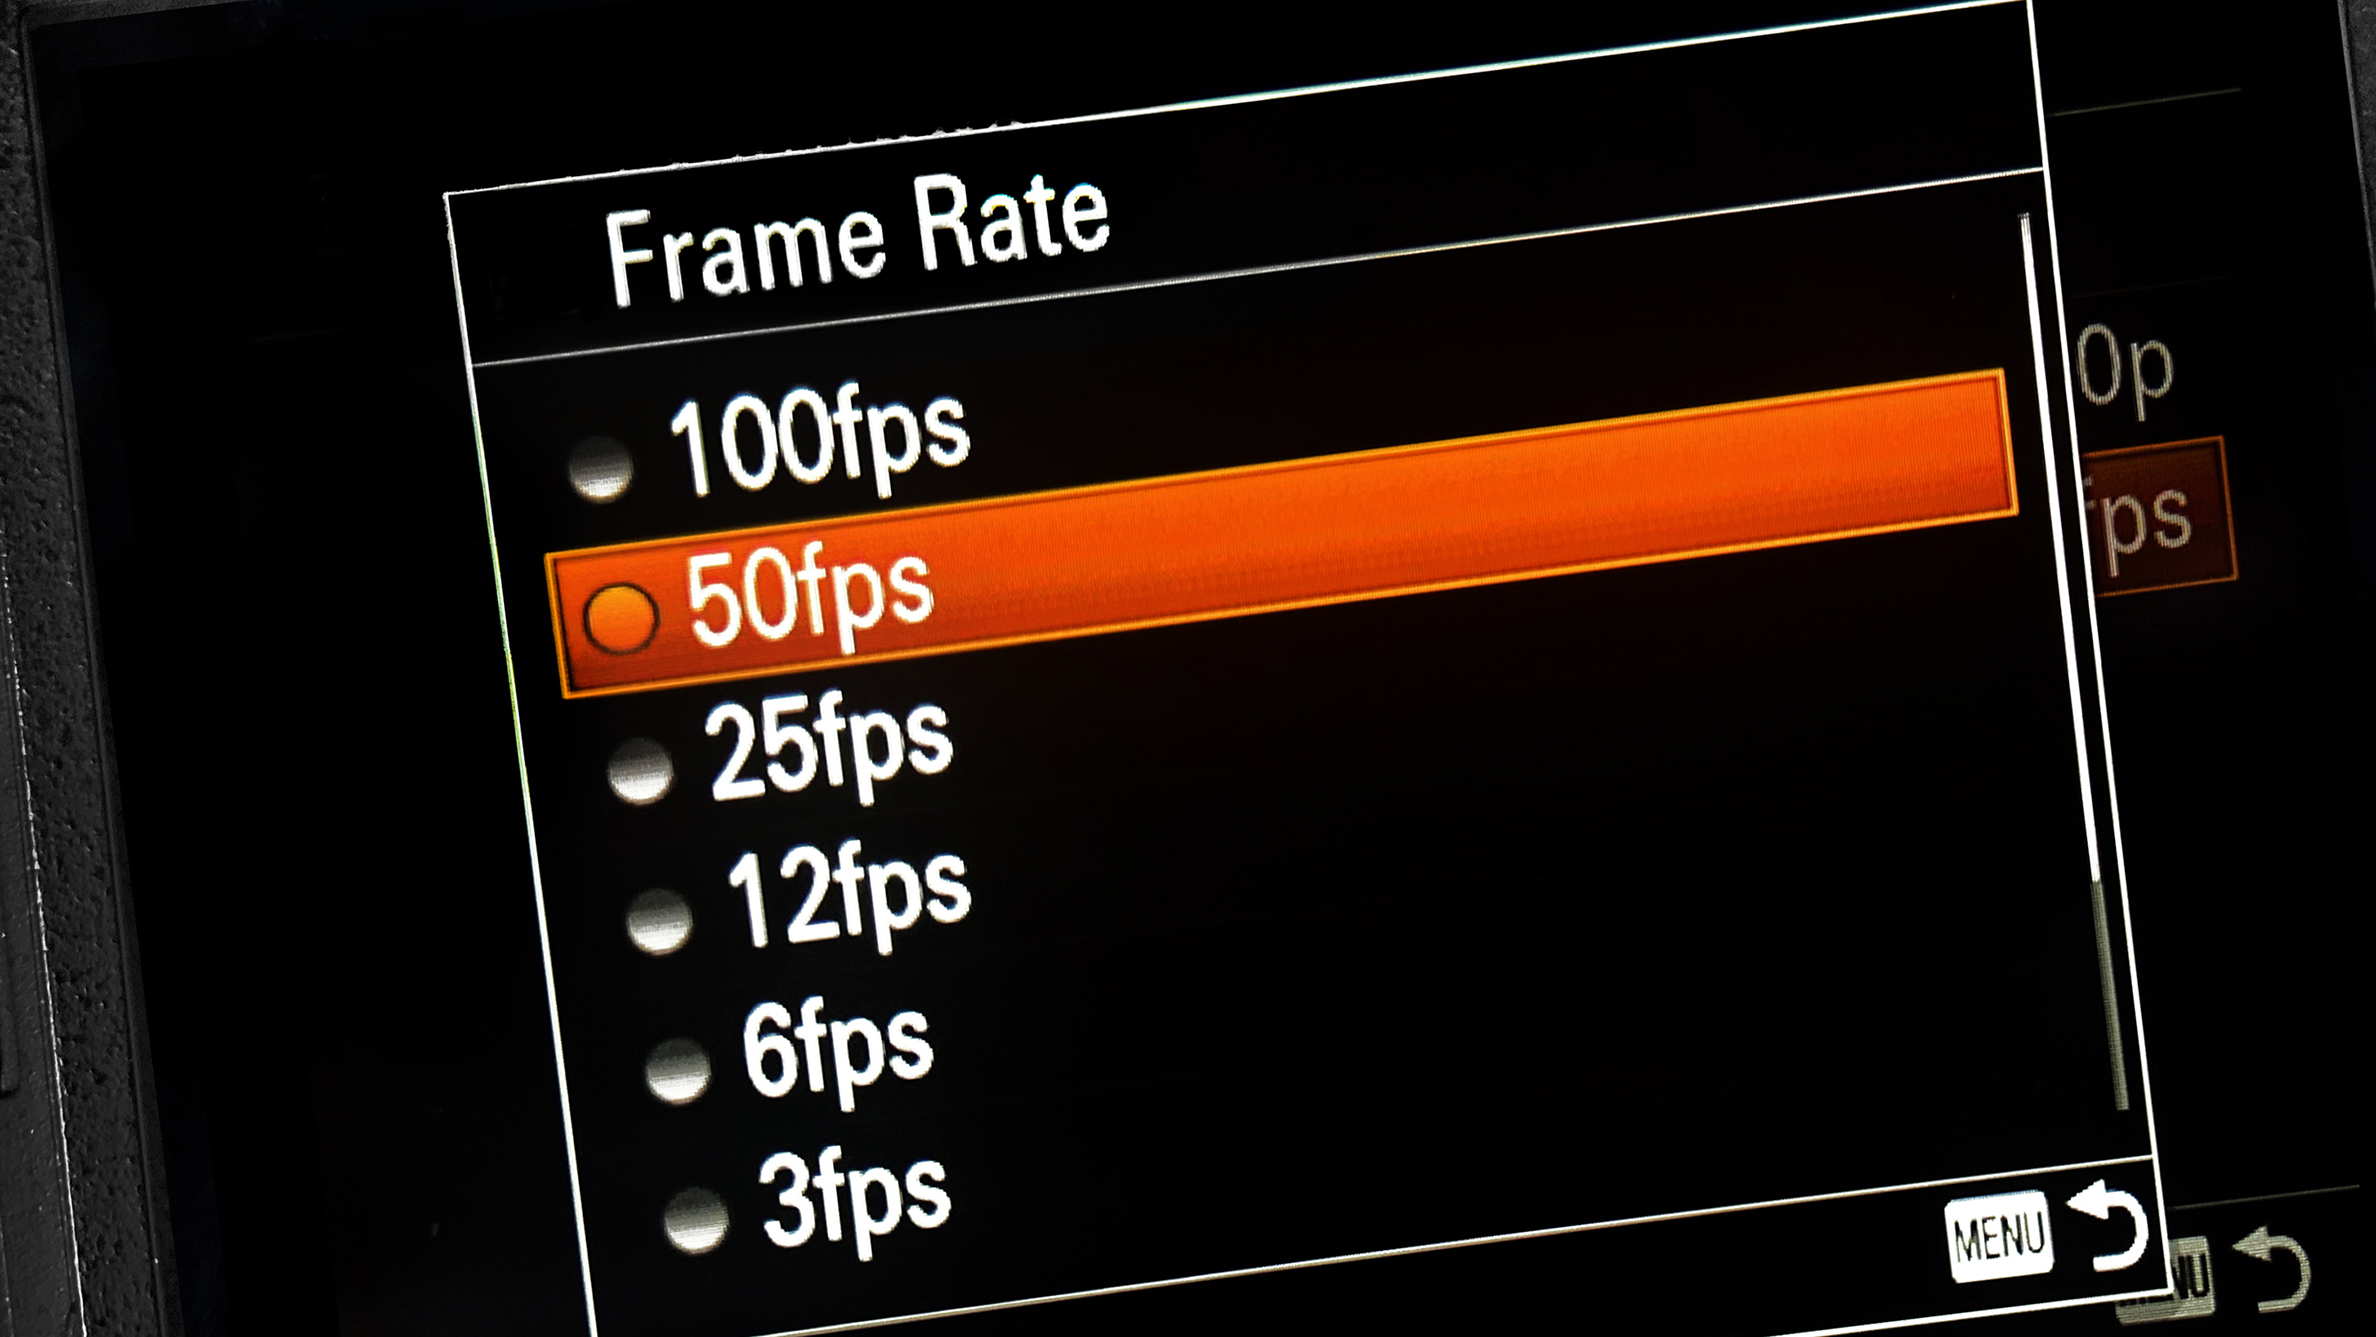
Choose higher frame rates, such as 100fps, for fast and complex manoeuvres of birds in flight – a smaller fps number might miss key moments. Opt for slower rates, such as 50fps, when capturing regular flight patterns to ensure smoother playback.
2. Resolution
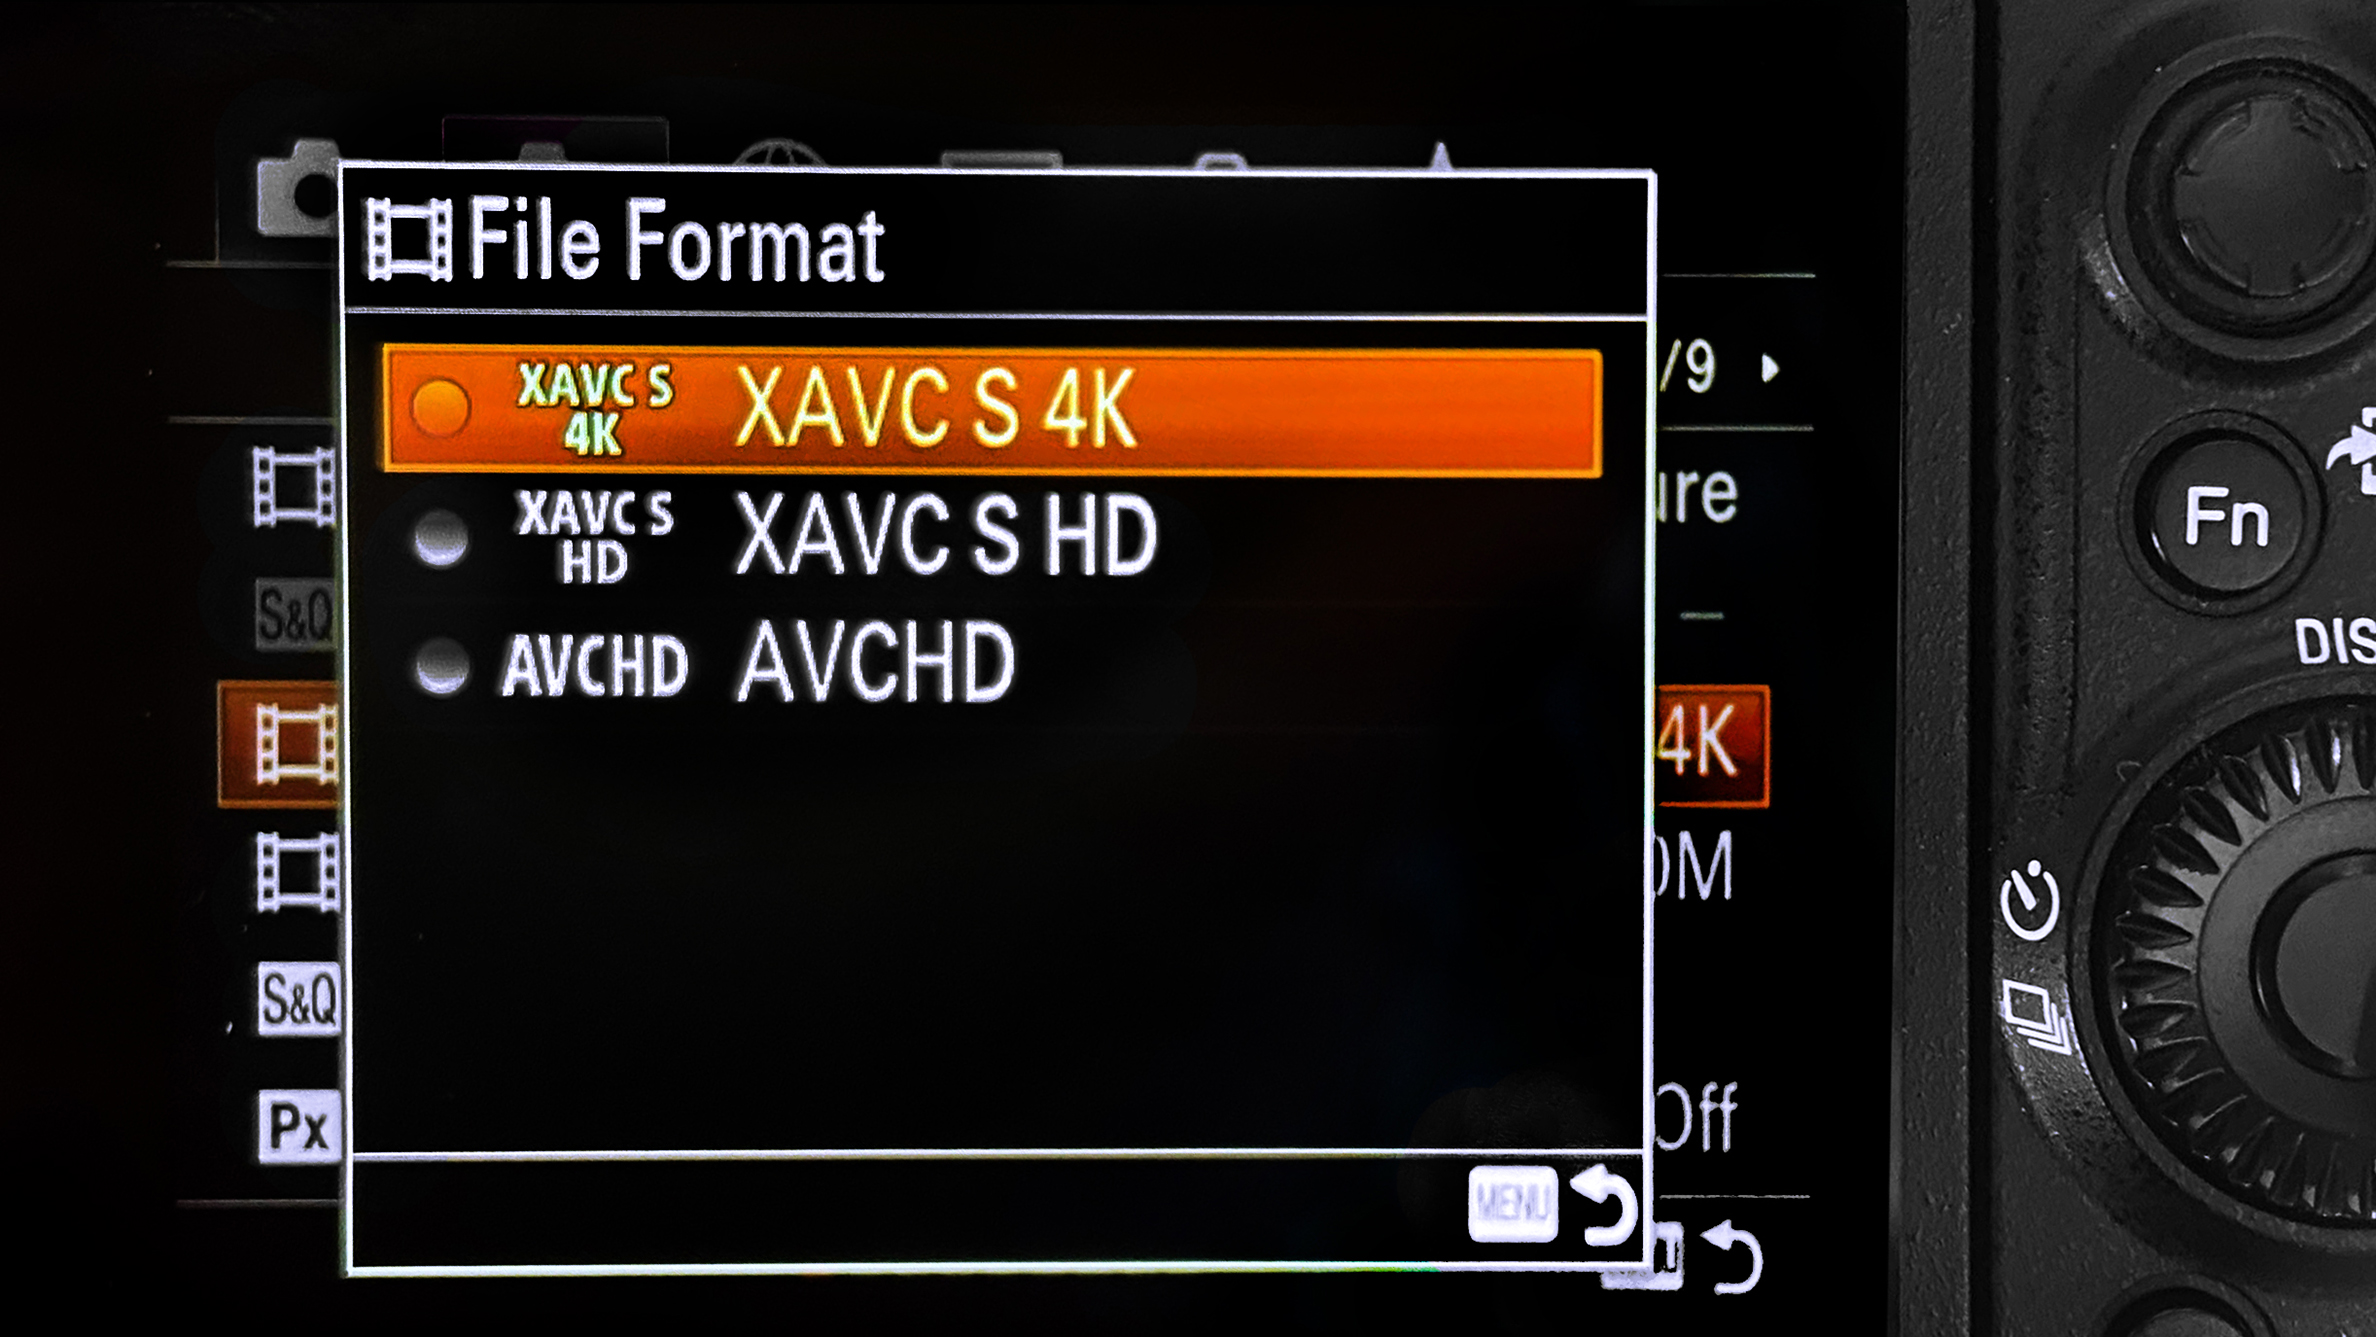
Use the highest resolution supported by your camera, such as 4K, to capture fine details of the birds' movements and features. This will result in greater pixel density in each frame, allowing larger reproductions and greater cropping freedom in post-production.
3. Manual Focus
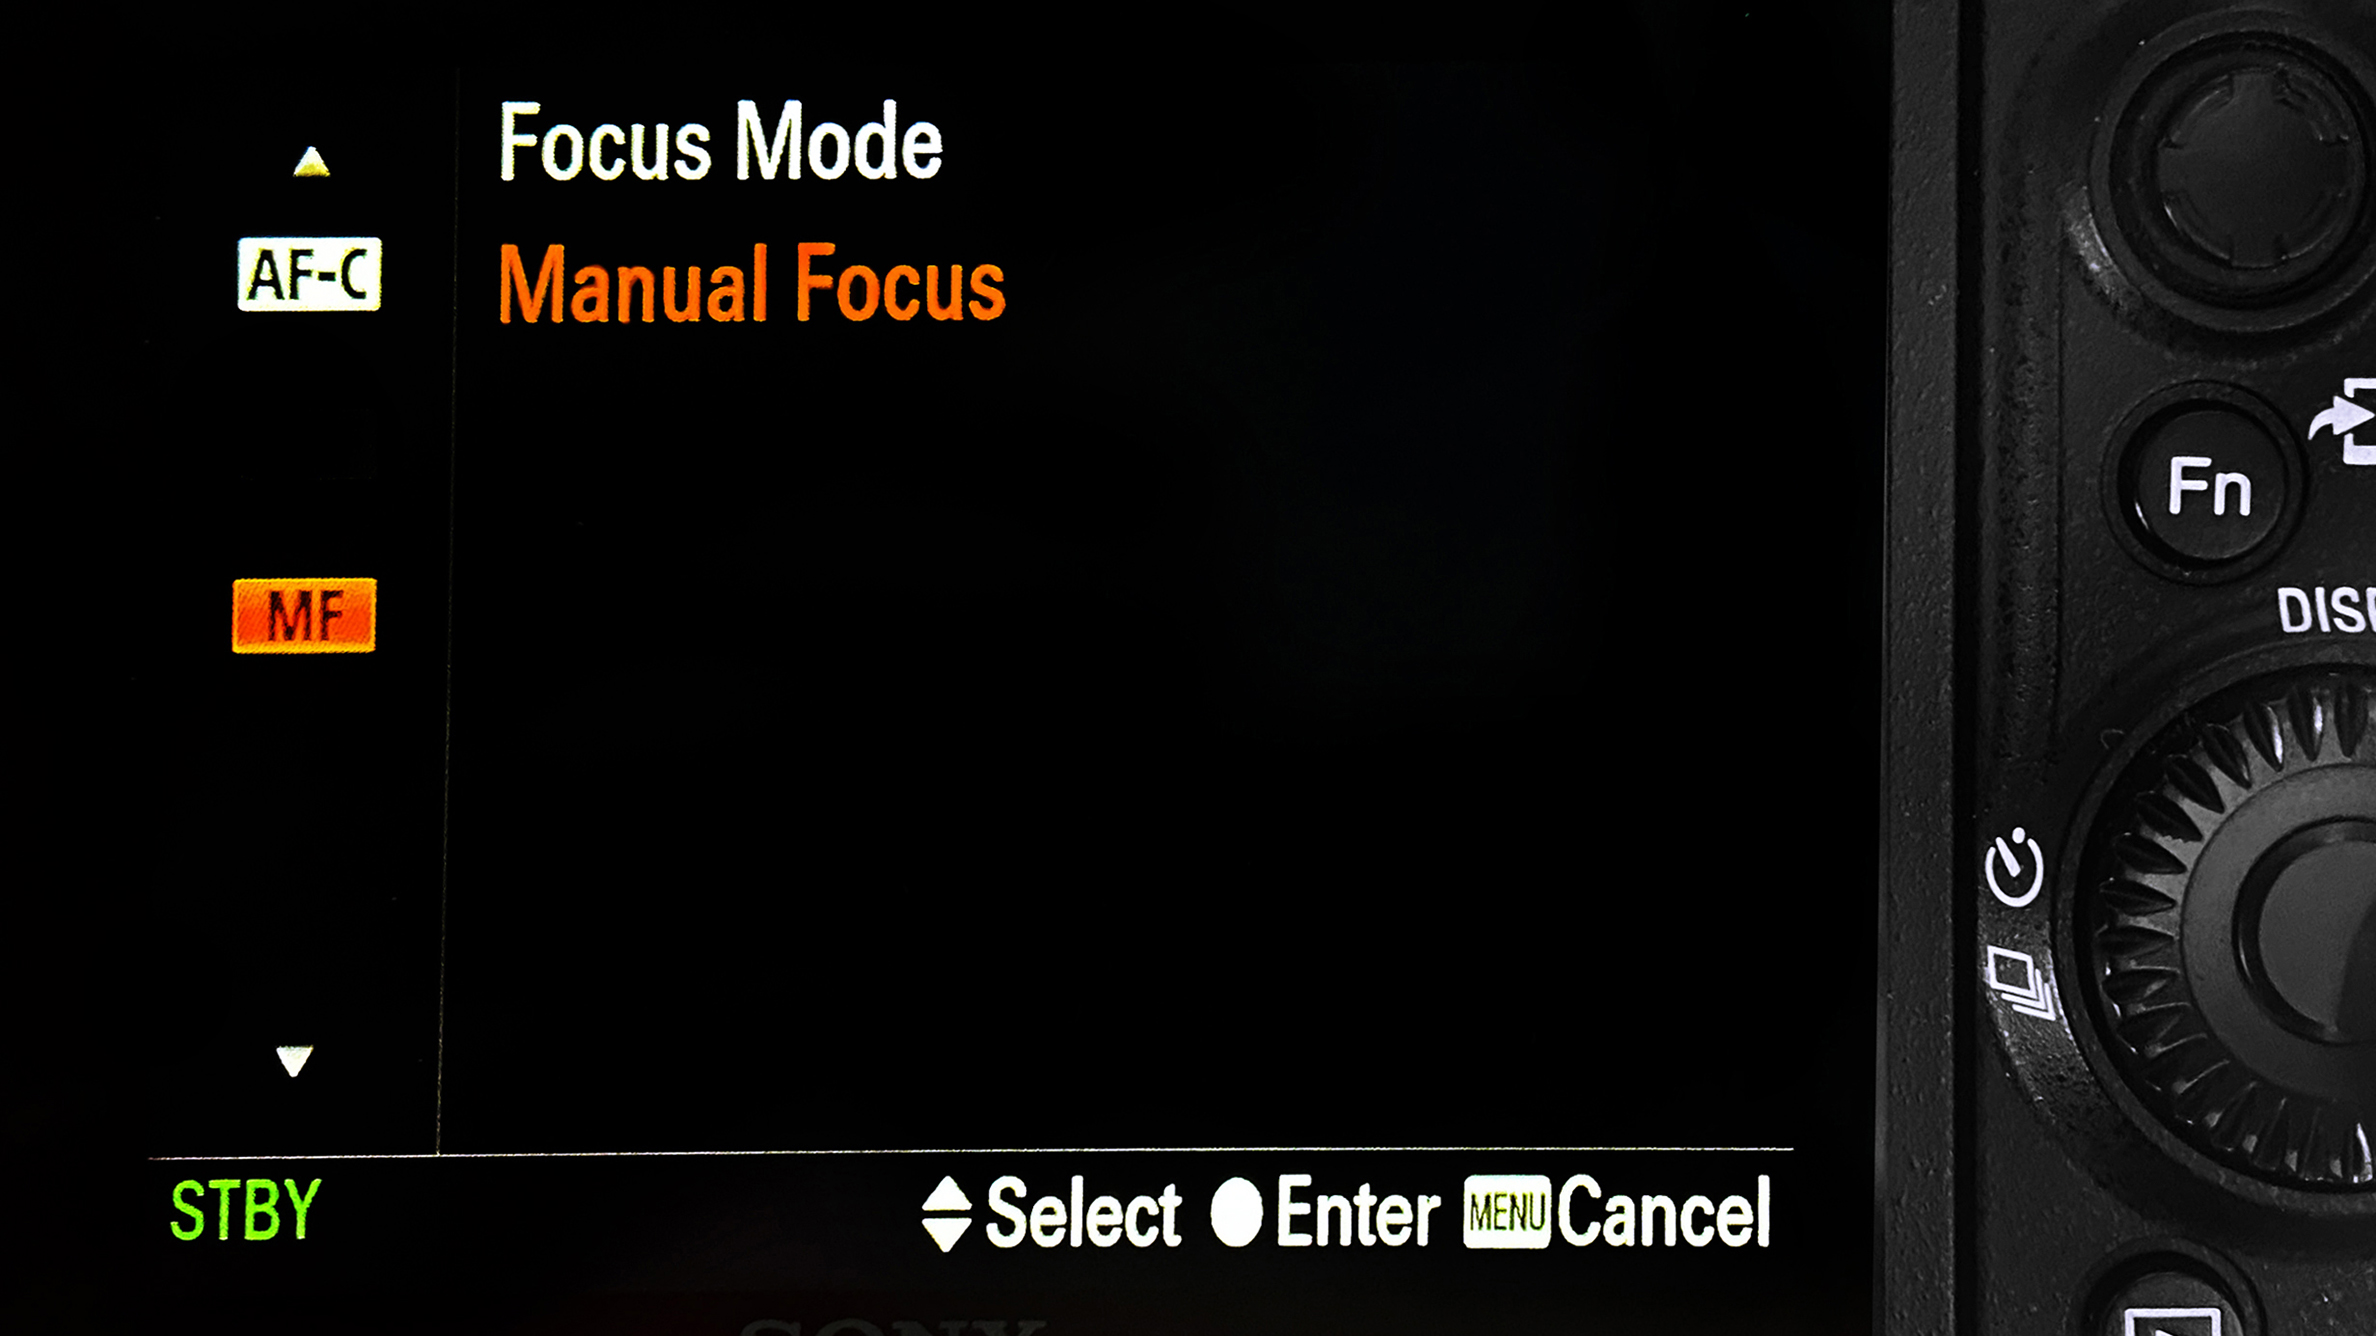
Use manual focus to precisely control focus on the subject, ensuring clarity in each frame. The Sony A7III’s MF Assist feature, which zooms in when adjusting the focusing ring, provides a clearer view for precise focusing on the birds' movements.
4. Capture the scene

Set the frame composition before initiating recording to capture the desired scene effectively. Arrange the landscape or environment so that it leaves space for the subject to move through it, ensuring that the birds are best placed for interest.
5. Capture the subject
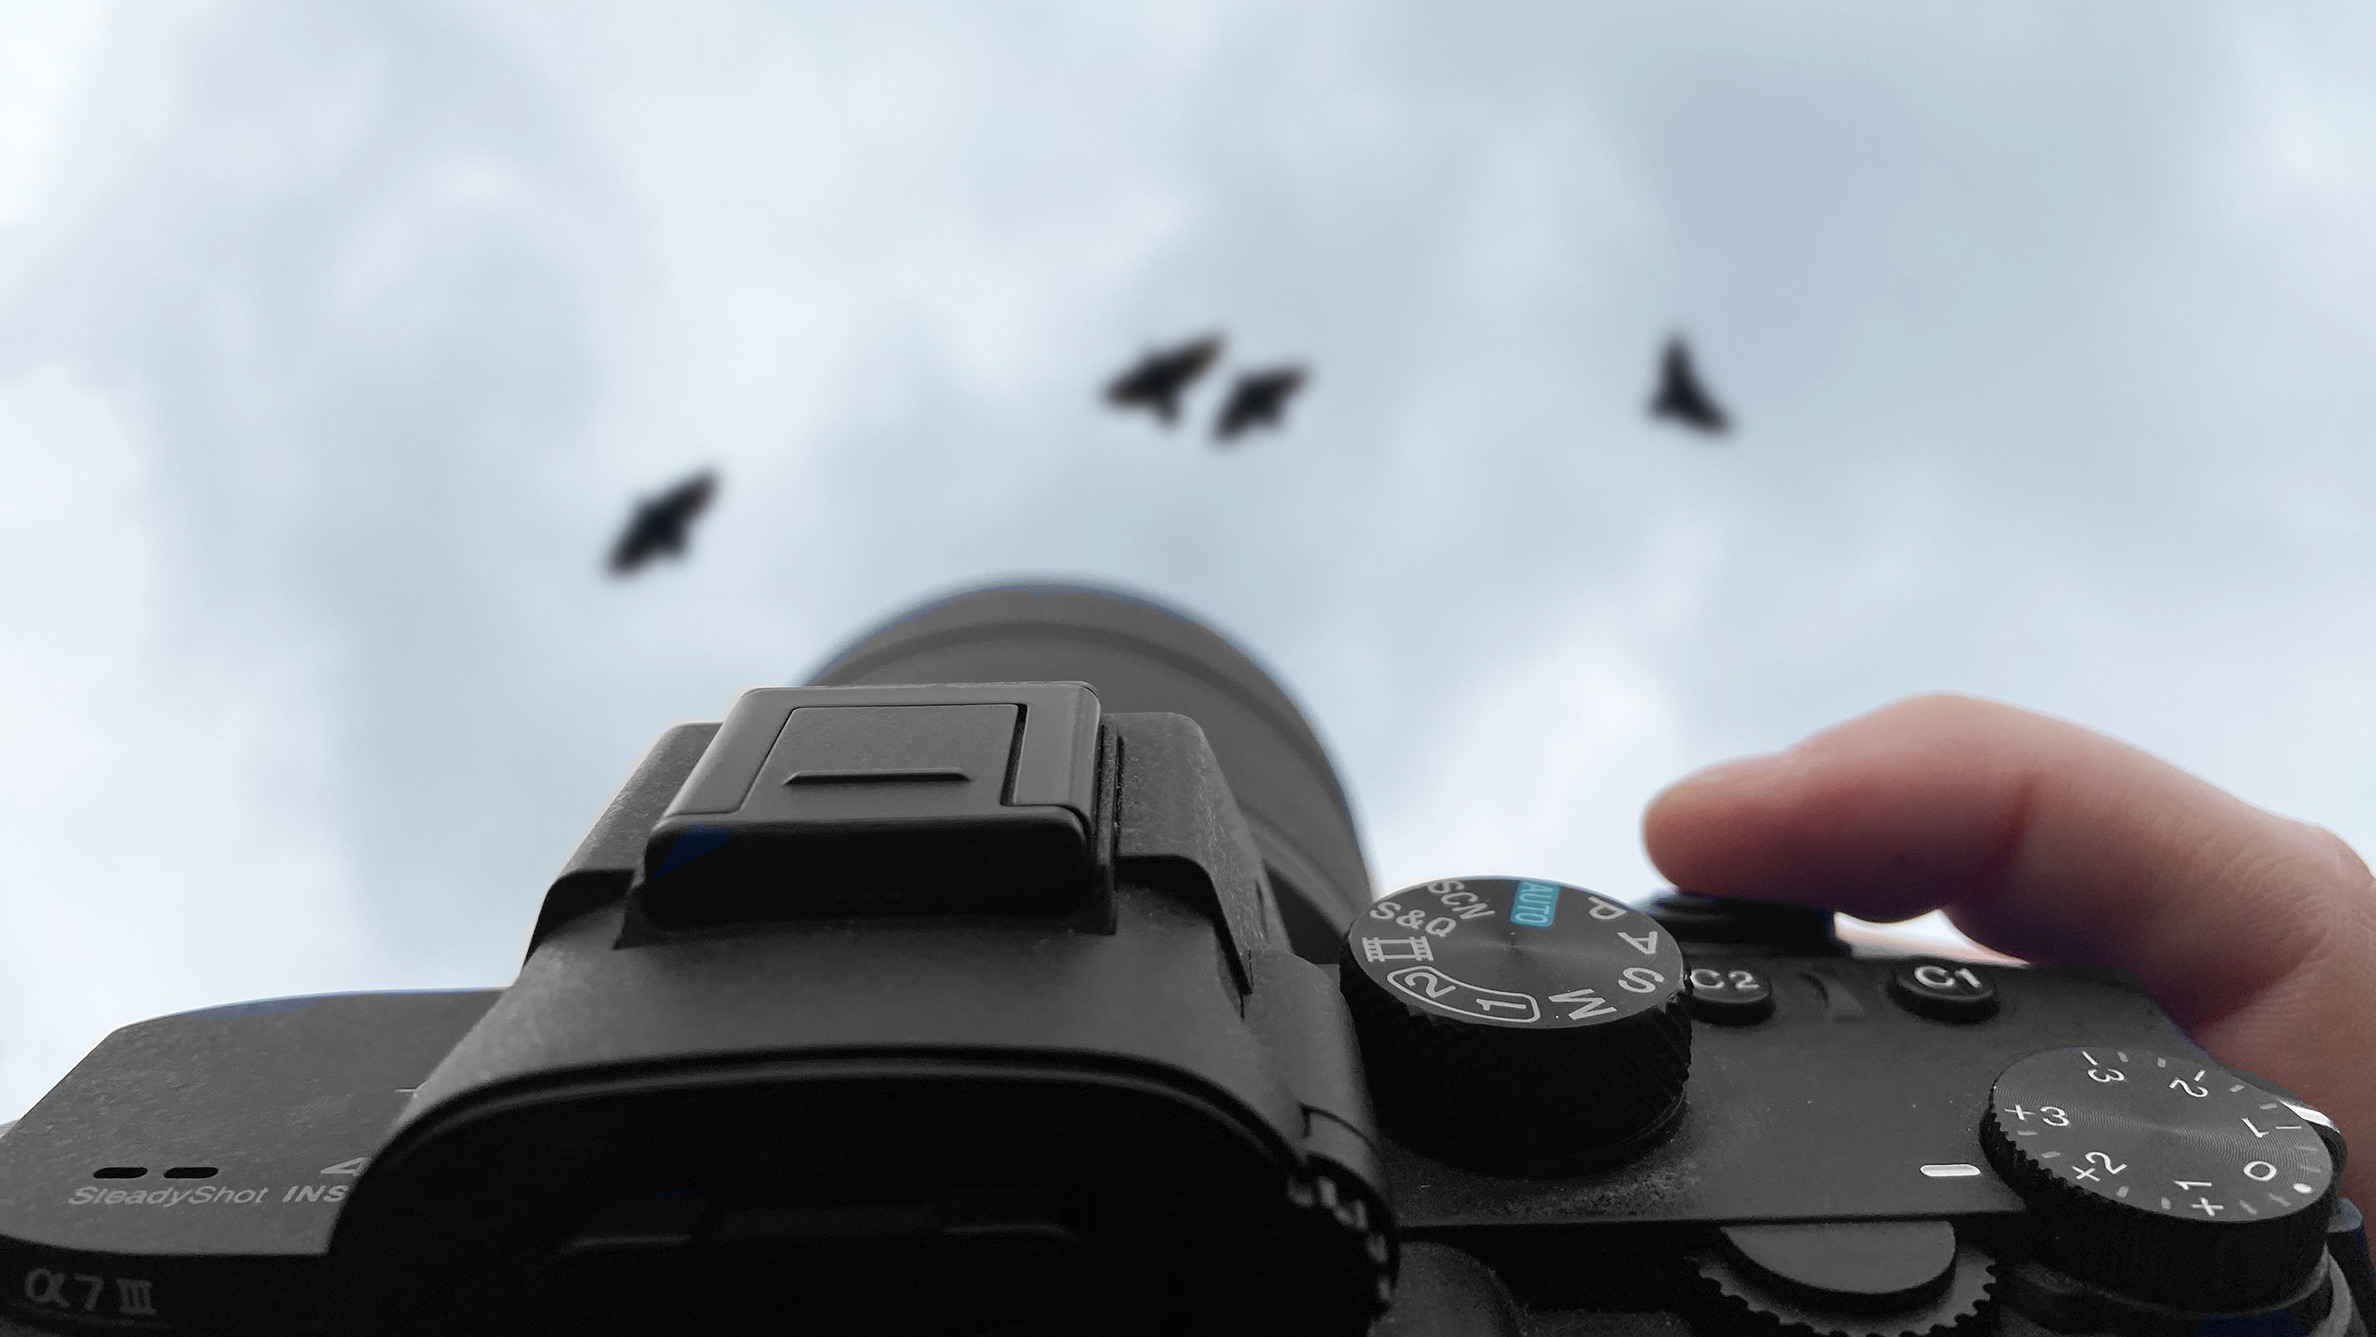
Wait for a bird to appear in the sky and press the record video button to capture each movement as it passes the camera. Capture shorter video clips as you might shoot a burst of still images, as this will make finding the right frames easier later.
6. Review images
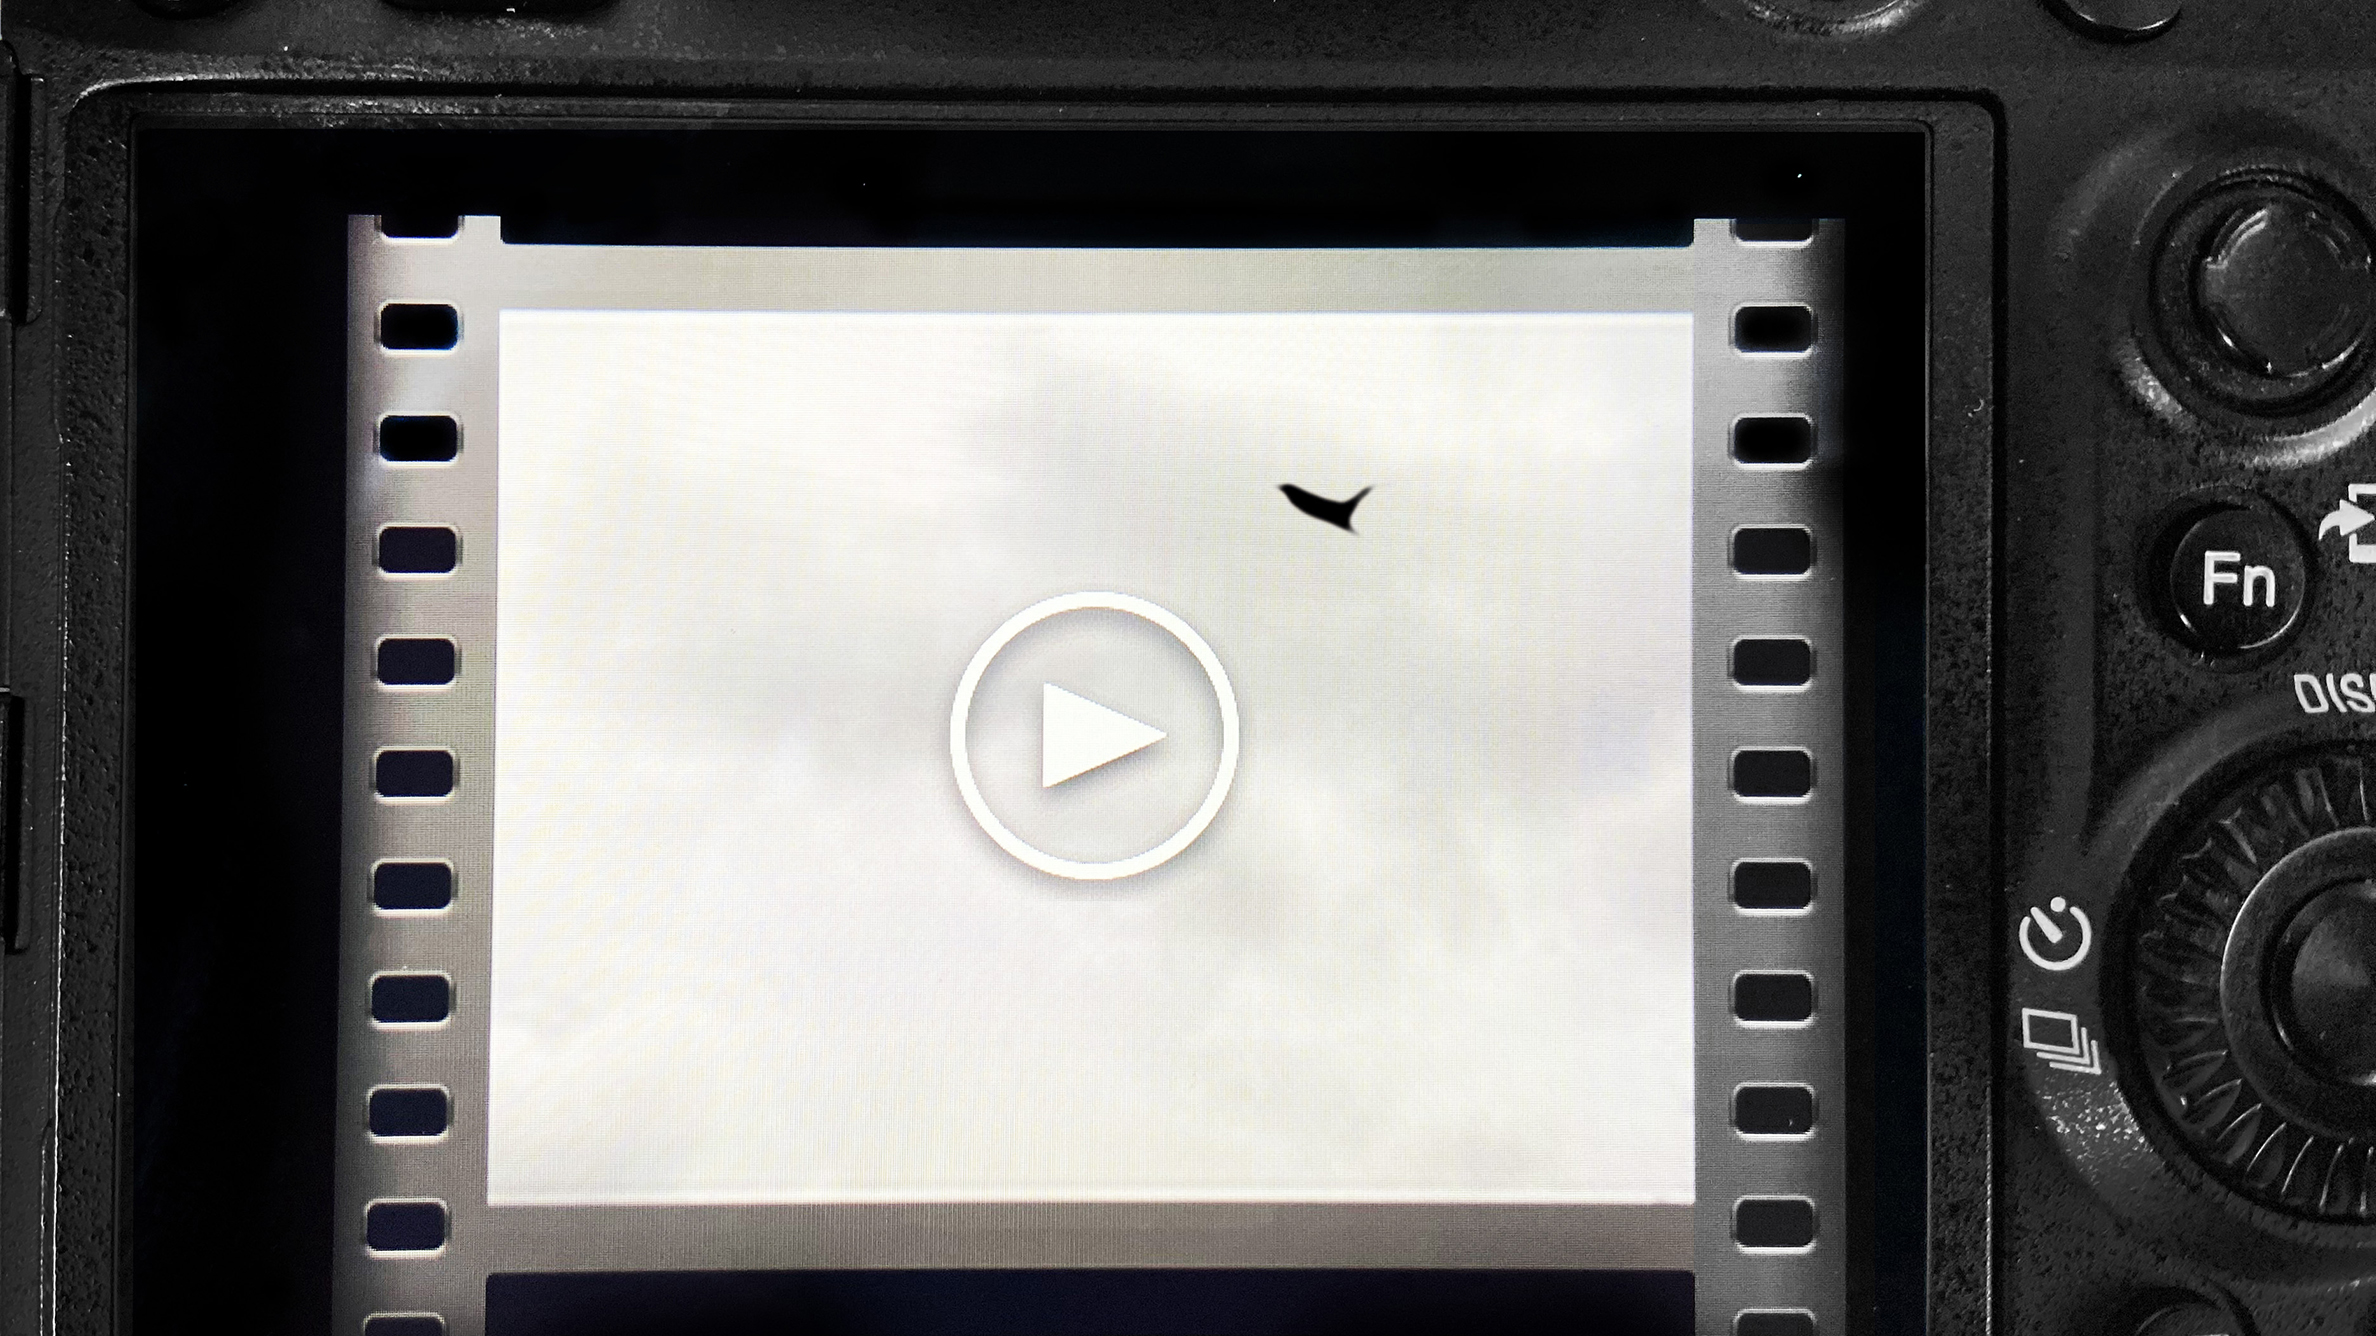
Play your clips to see how the birds move through the scene. Select a clip with a capture of multiple movements to give you a greater choice of 'shapes'. Next, we will align and blend each frame using image processing software, such as Adobe Photoshop.
Pro tips
Raghuvamsh’s creative tips
1. Develop personal projects
Dedicate time to personal projects that fuel your creativity and passion. These projects will allow you to explore ideas without being constrained by client expectations.
2. Step outside your comfort zone
Challenge yourself to explore new genres, techniques or locations that push your boundaries. Embracing discomfort fosters growth and innovation in your photography.
3. Give back to the community
Use your skills and resources to give back to your community through pro bono work, mentorship programs or volunteering. This contributes to social good but also enriches your professional experience and network.
4. Develop your style
Experiment with different techniques and editing styles to develop a unique visual signature that sets your work apart. Sometimes, the only way is by trial and error.
5. Continuous learning
Stay up-to-date with the latest trends, technologies and techniques in photography through workshops, courses and online resources. Try new software techniques too and revisit your older images.
Editing steps
1. Convert video
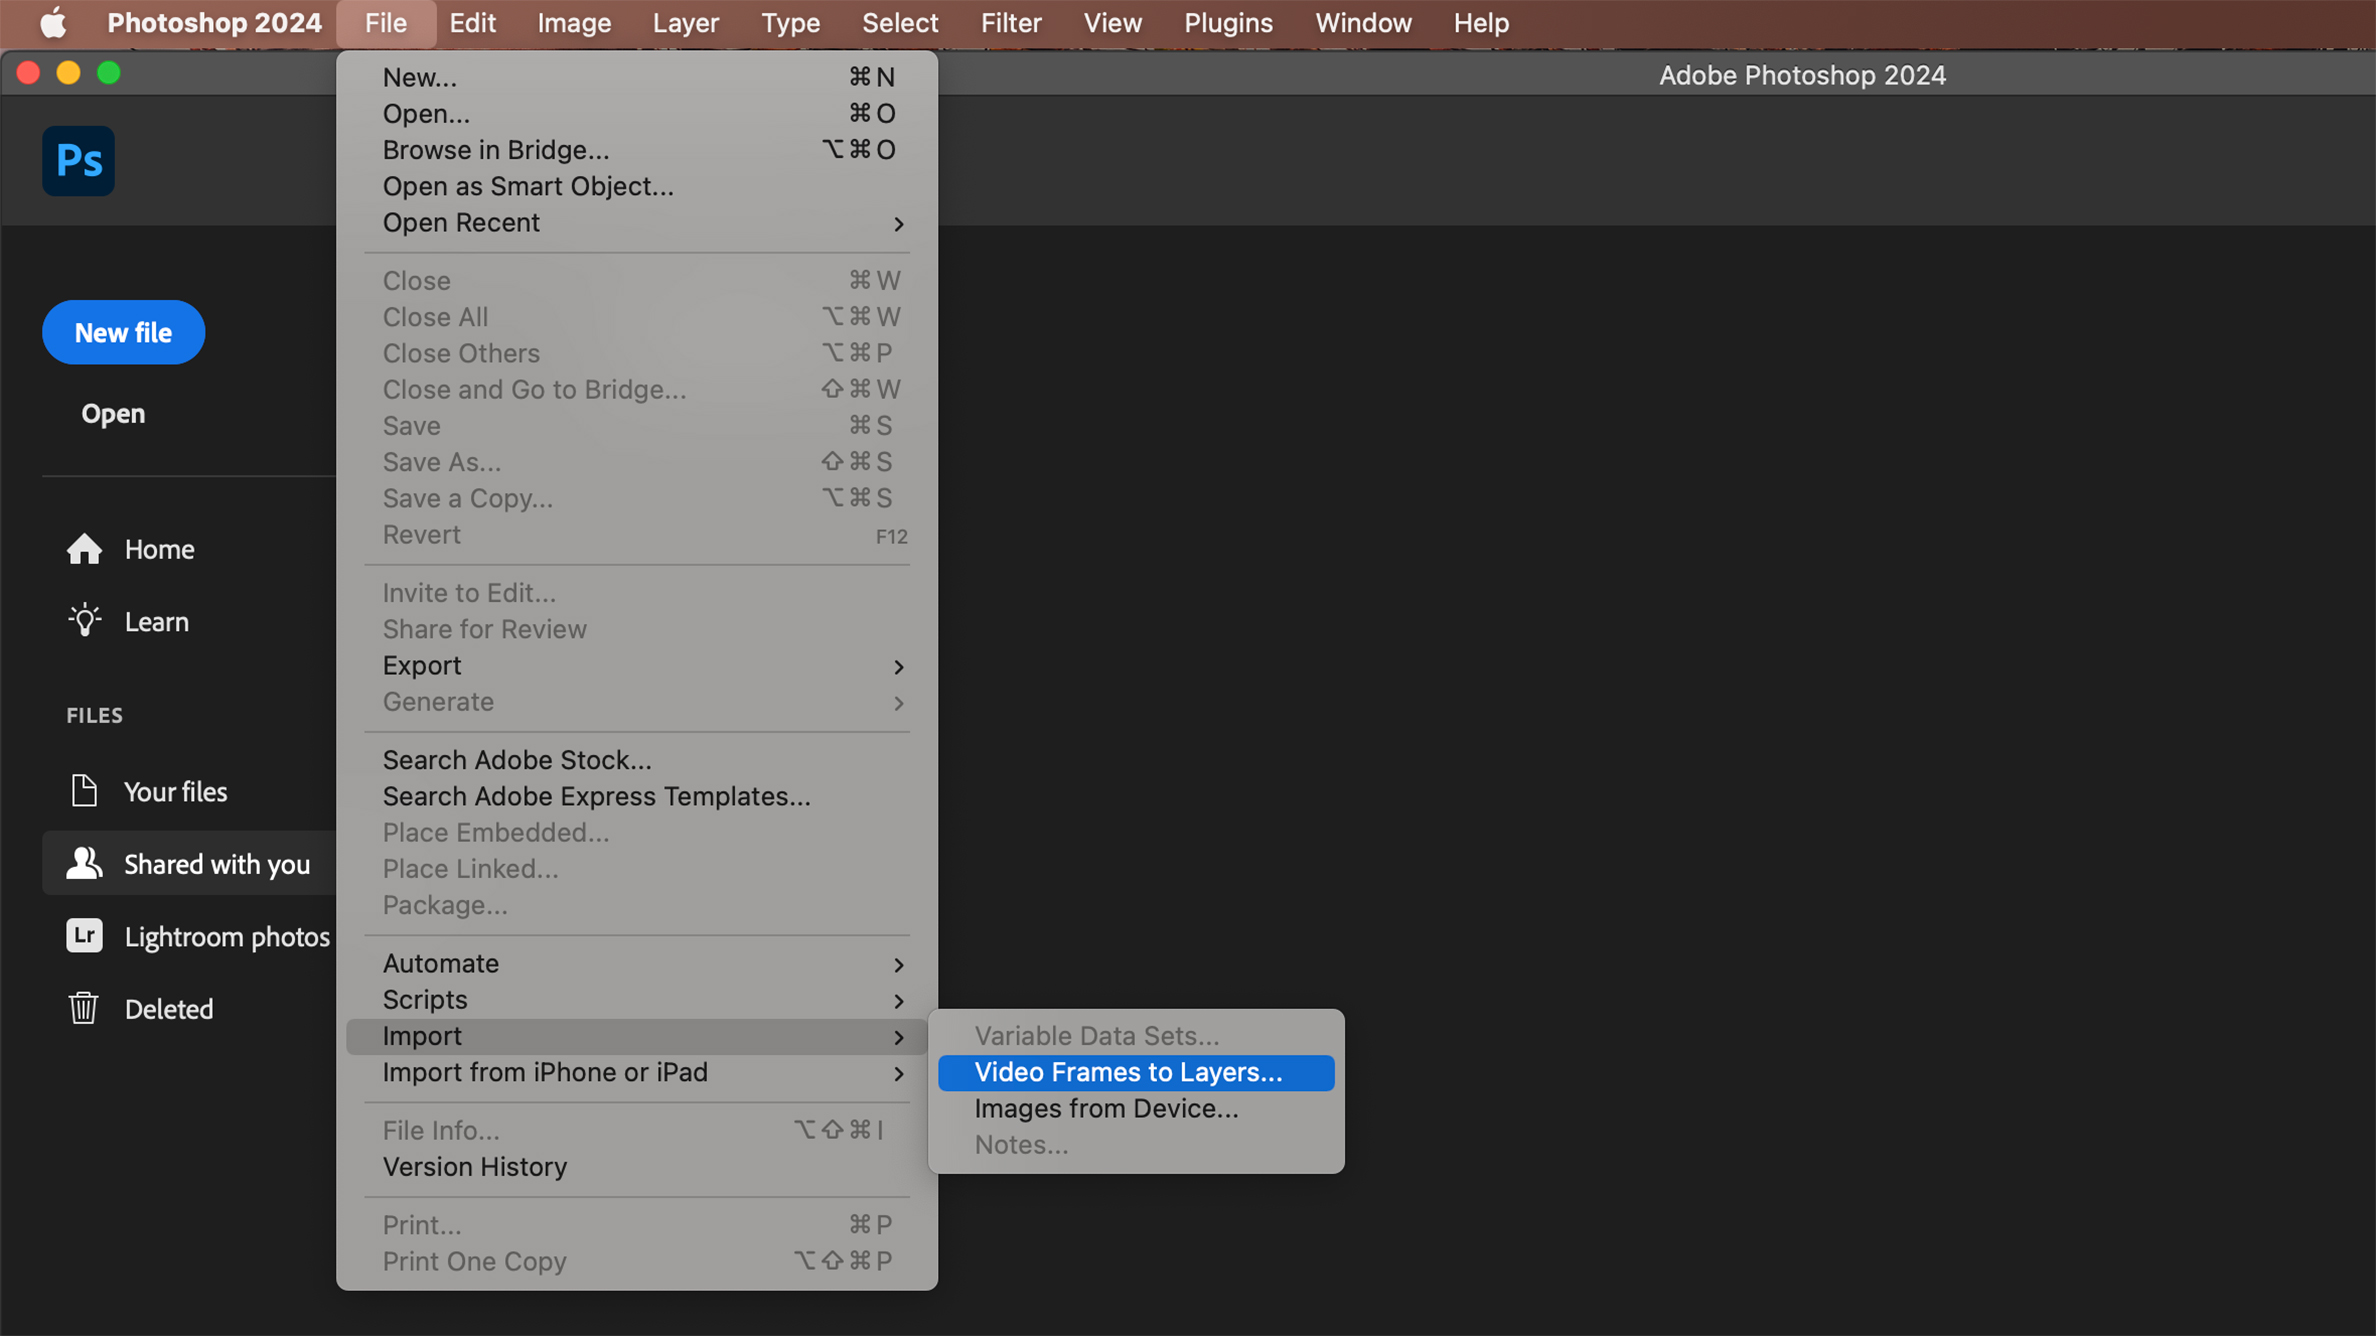
We need to make each frame of the captured video an editable layer in Photoshop (or similar program) so we can separate each of the bird's movements. Go to File > Import > Video Frames to Layers to access each frame individually.
2. Choose Import Options
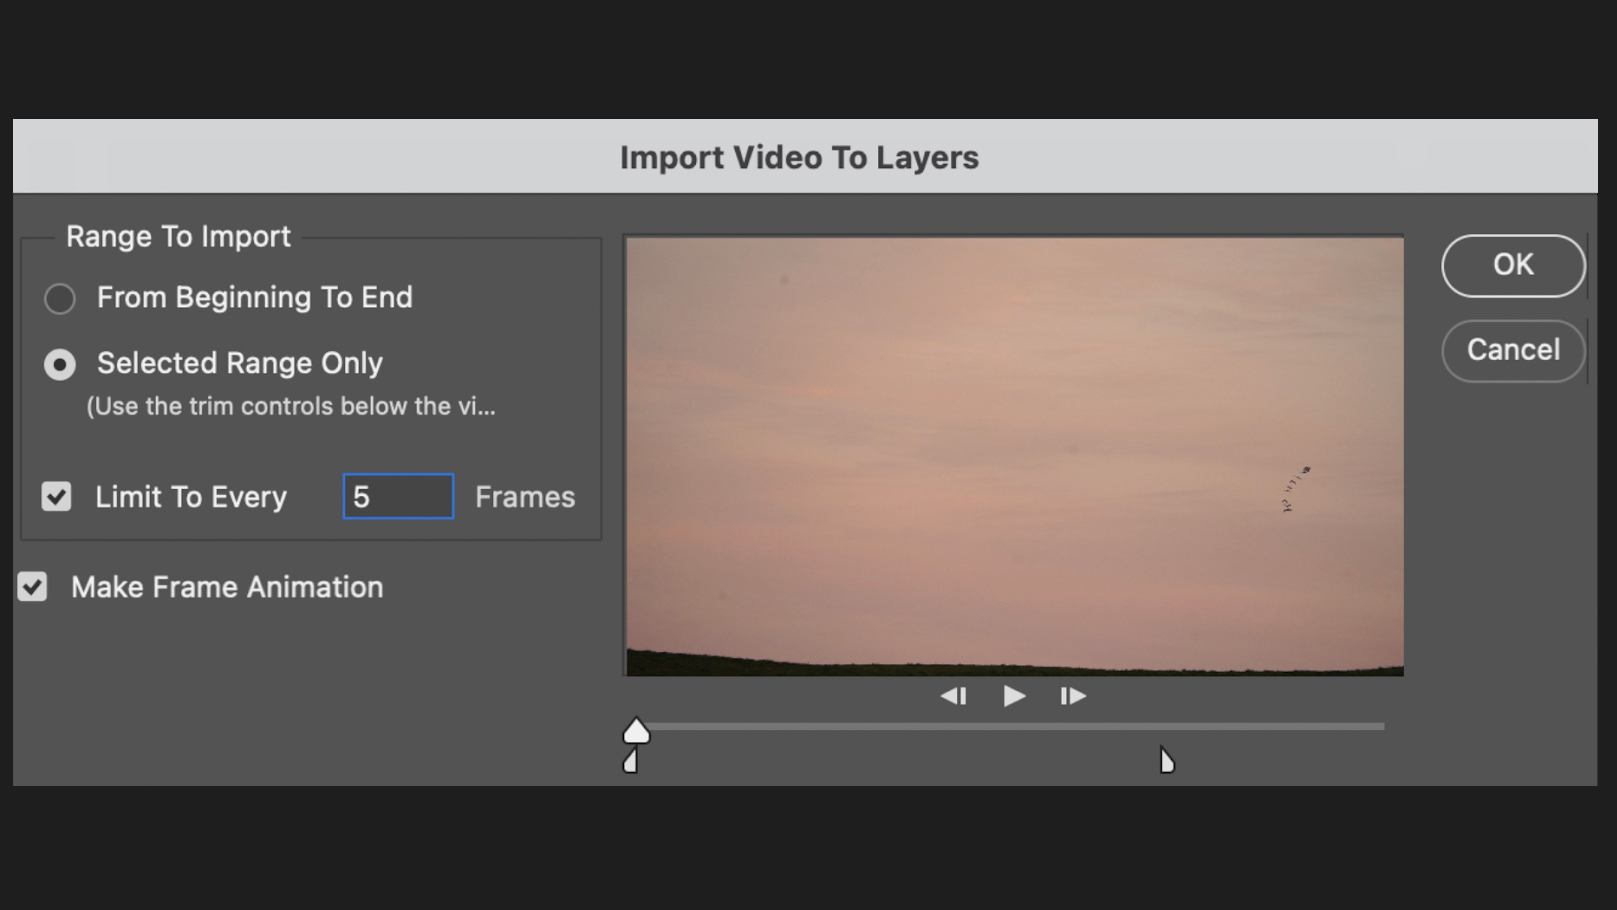
Check the Selected Range Only and Make Frame Animation options in the Import Video To Layers dialogue. Click the Limit to Every box and select five frames as a good starting point. Any less than this may result in the frames overlapping.
3. Select your frames
Go through the process of selective framing to eliminate any shaky or out-of-focus frames. If the quality drops from frame to frame, this could disrupt the flow of the movement sequence.
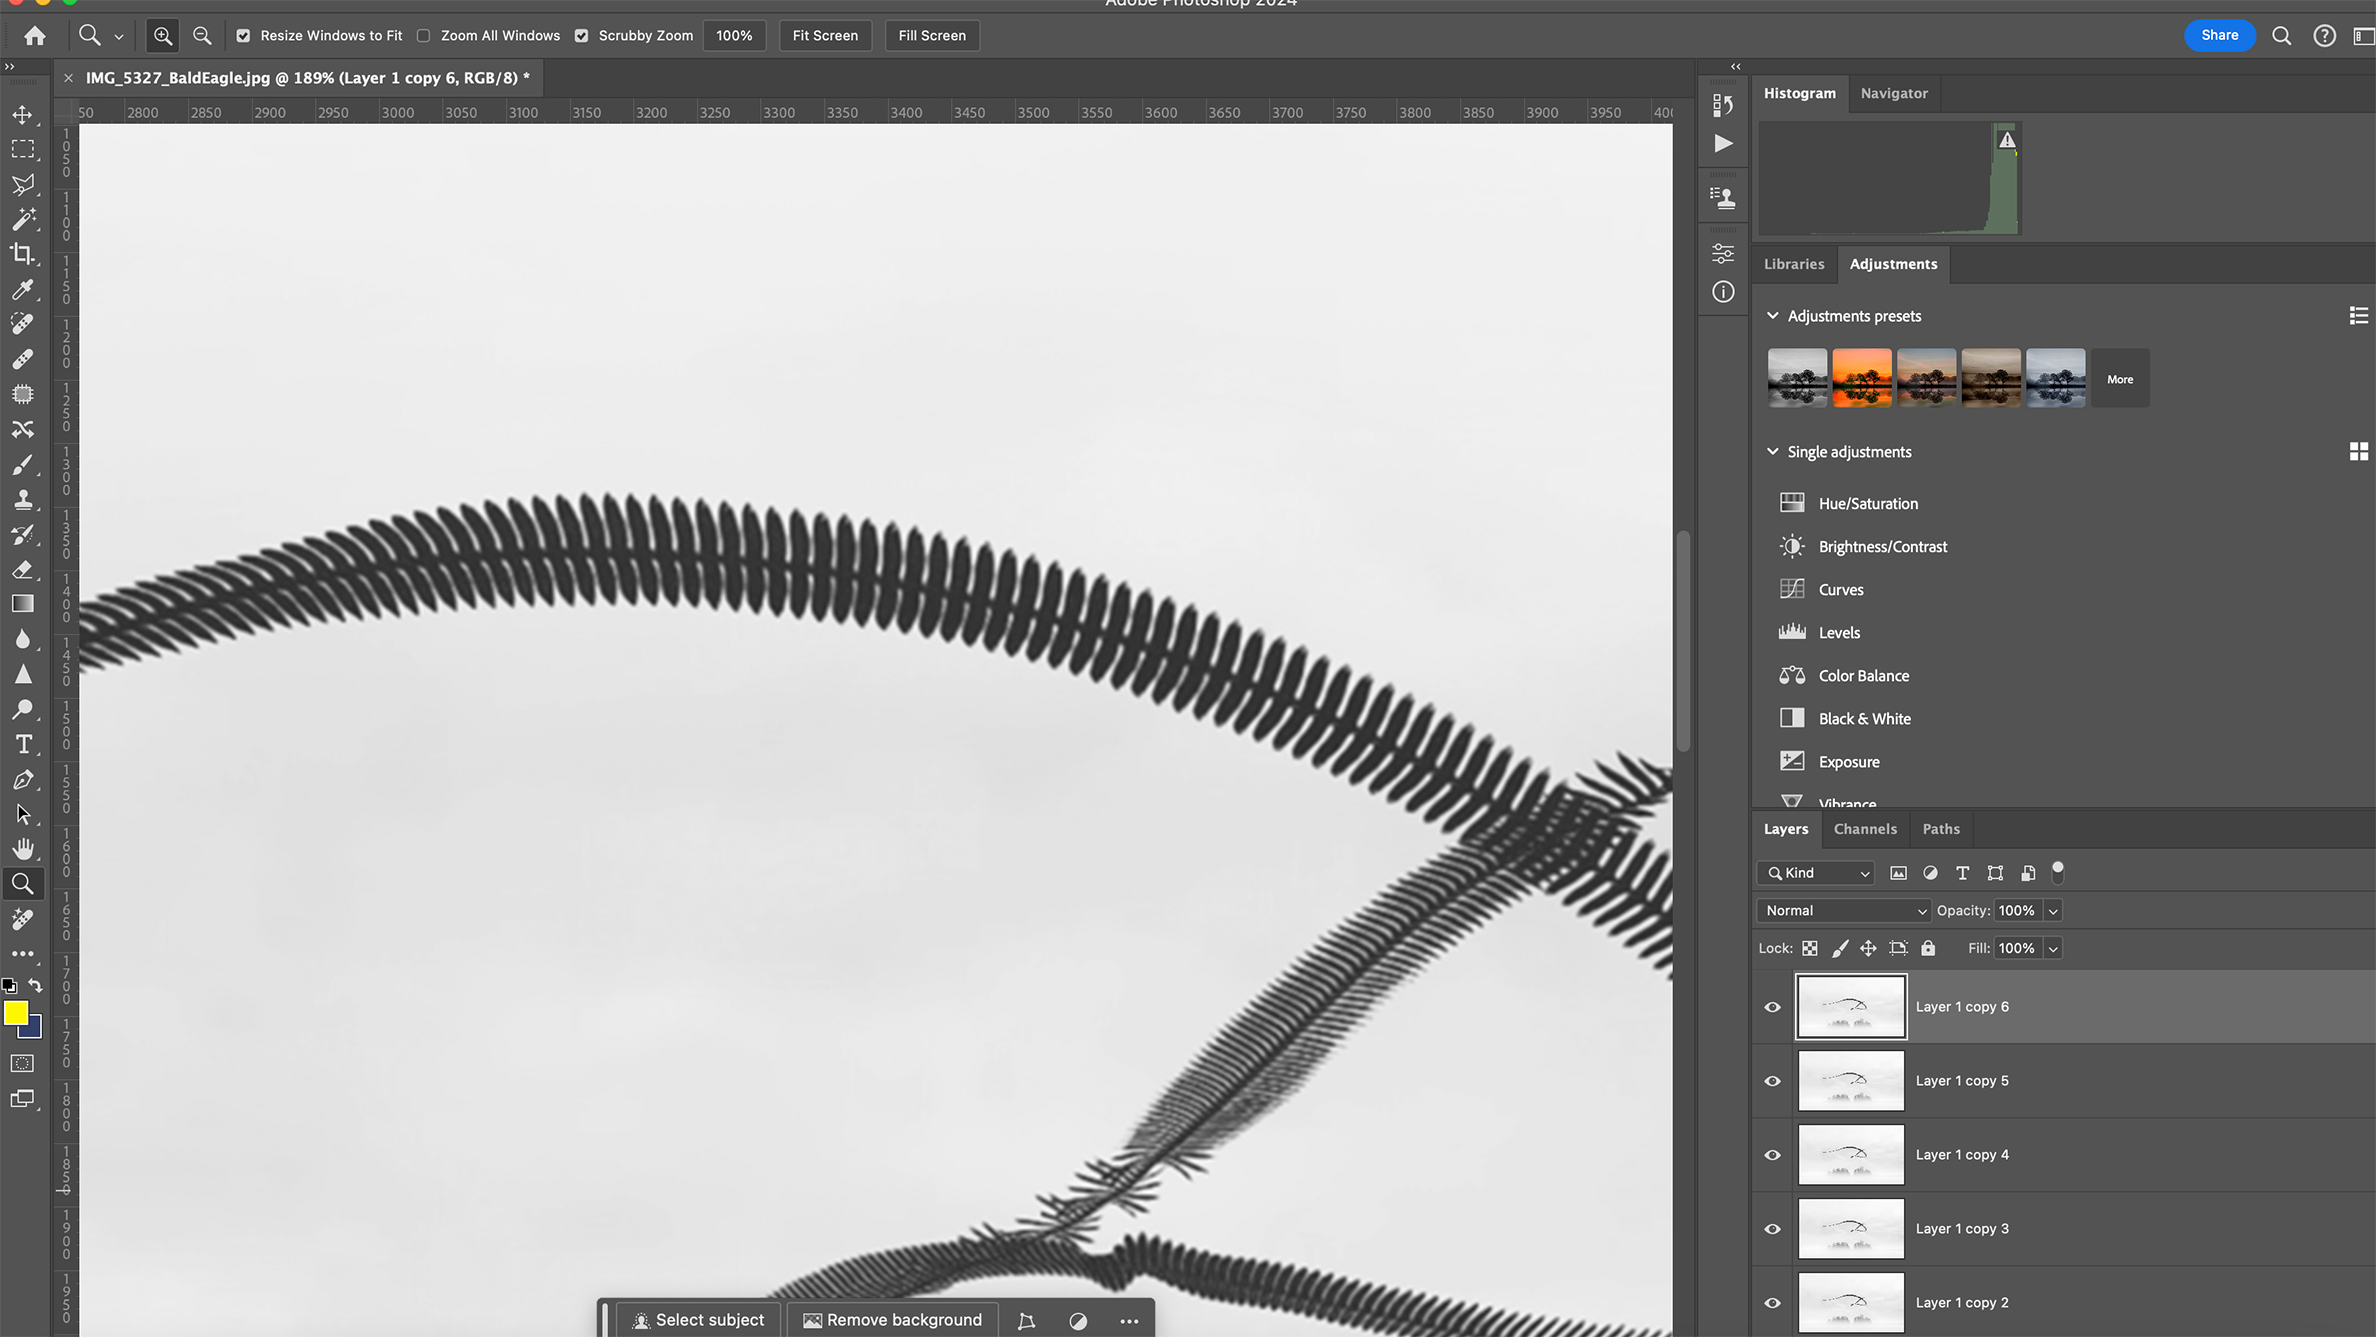
4. Flatten your layers
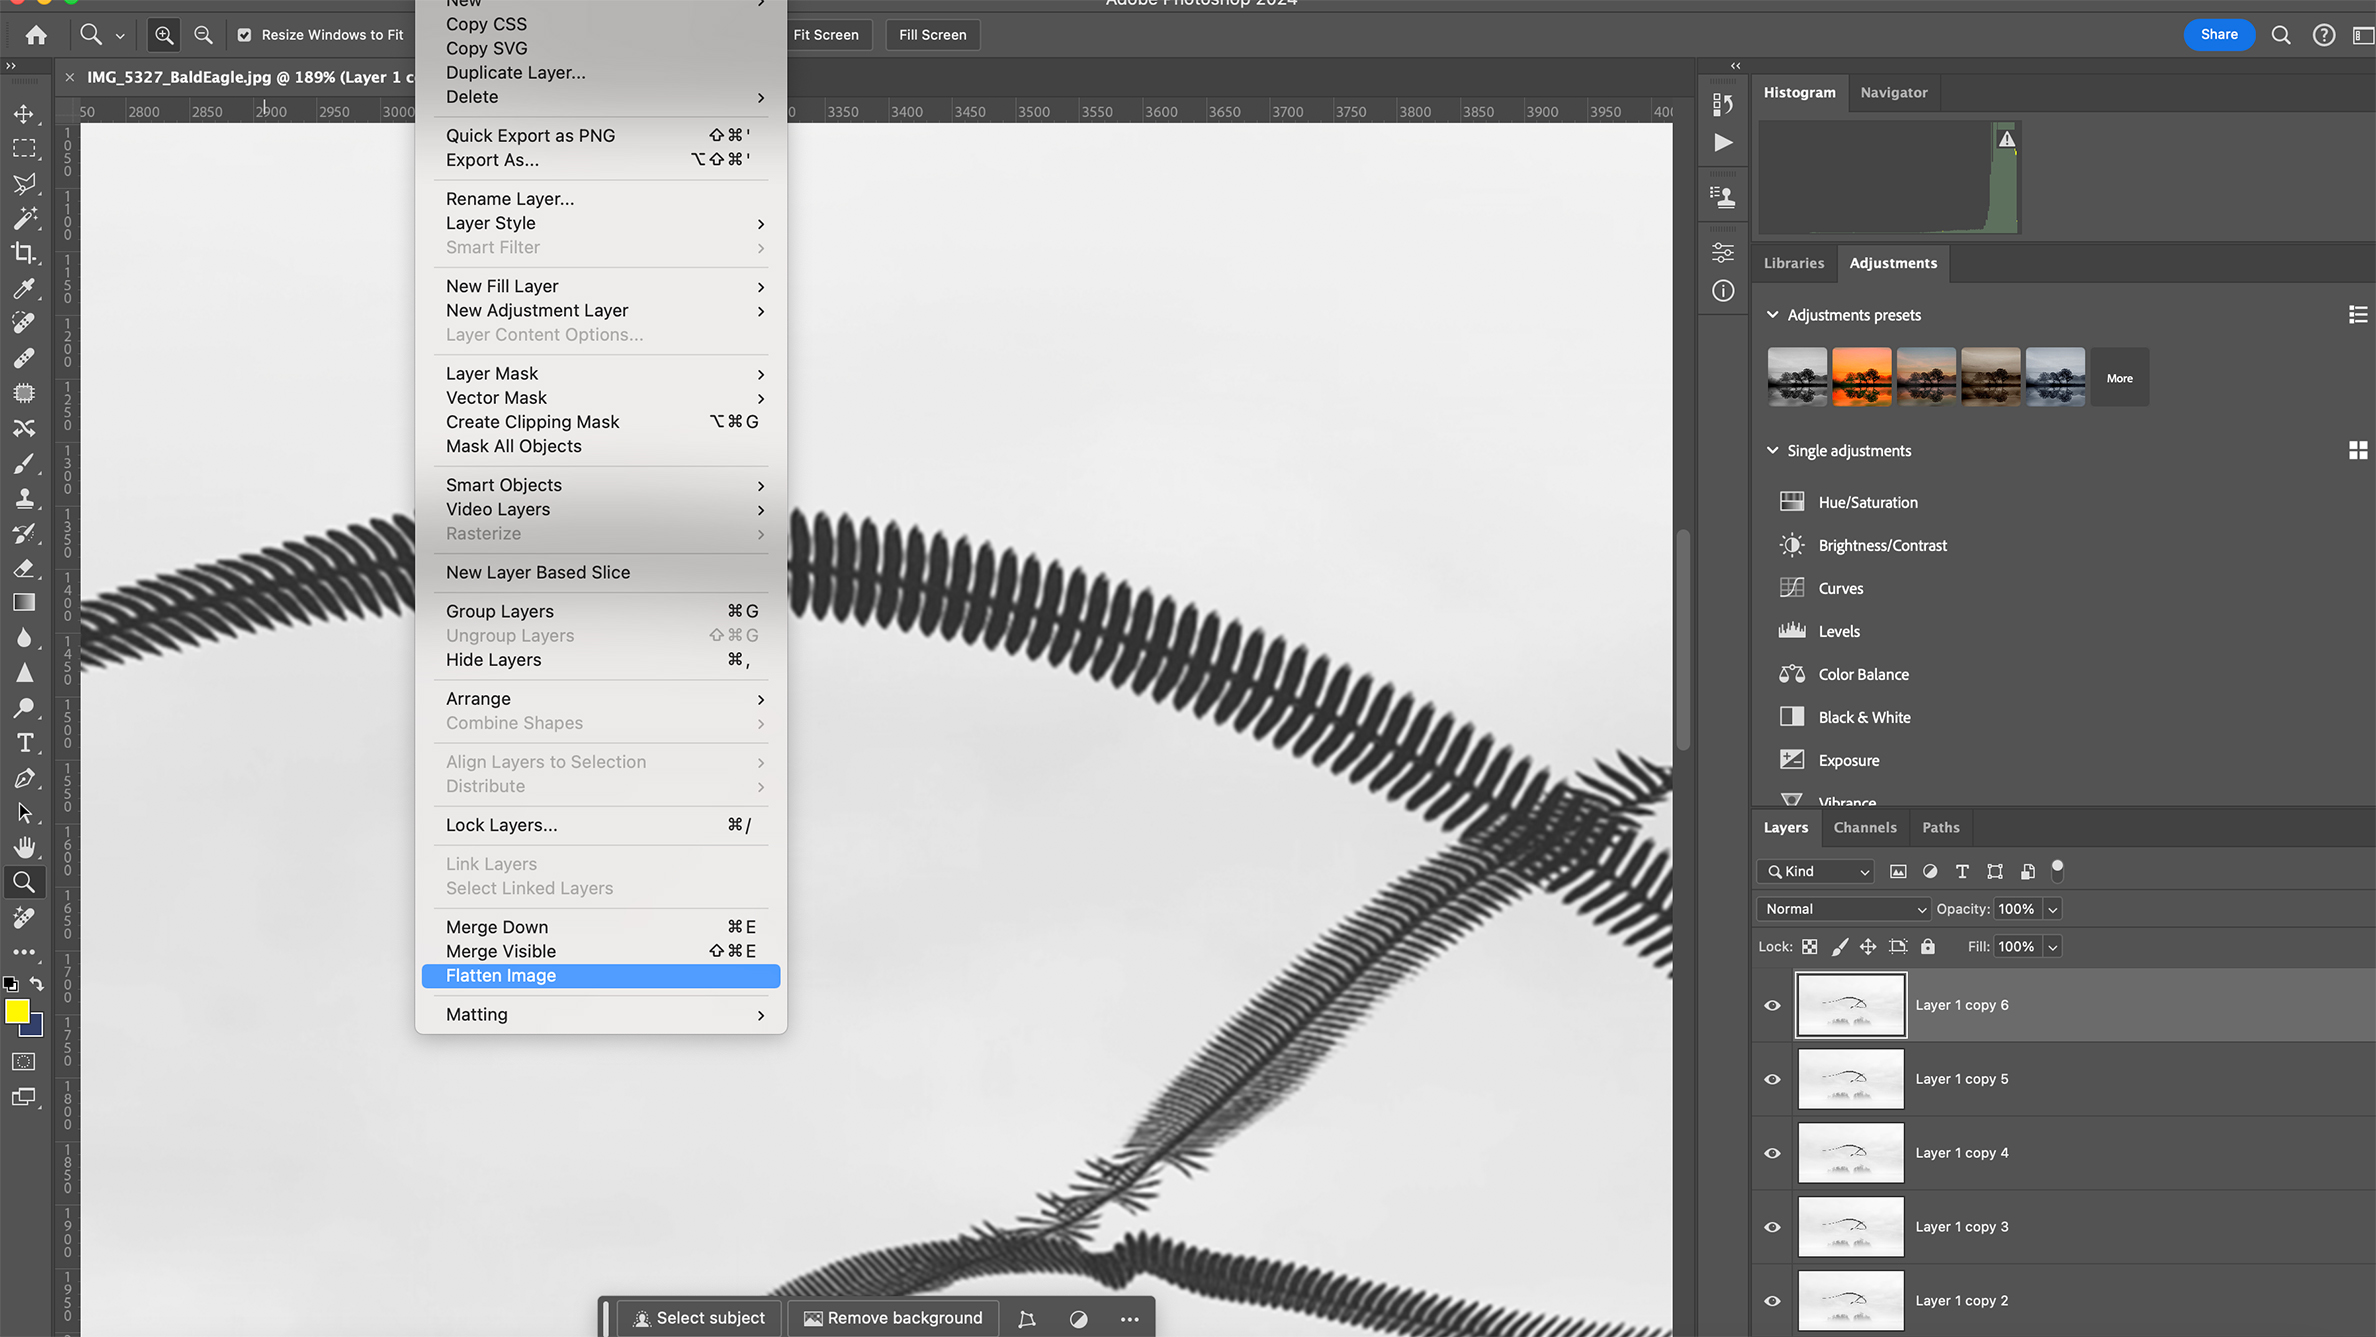
With all of the best layers selected, we need to flatten these down. Select all layers, change mode to Darken and Flatten the Image (Layer > Flatten Image). This will lock in the position of the bird from each video frame.
5. Convert to mono
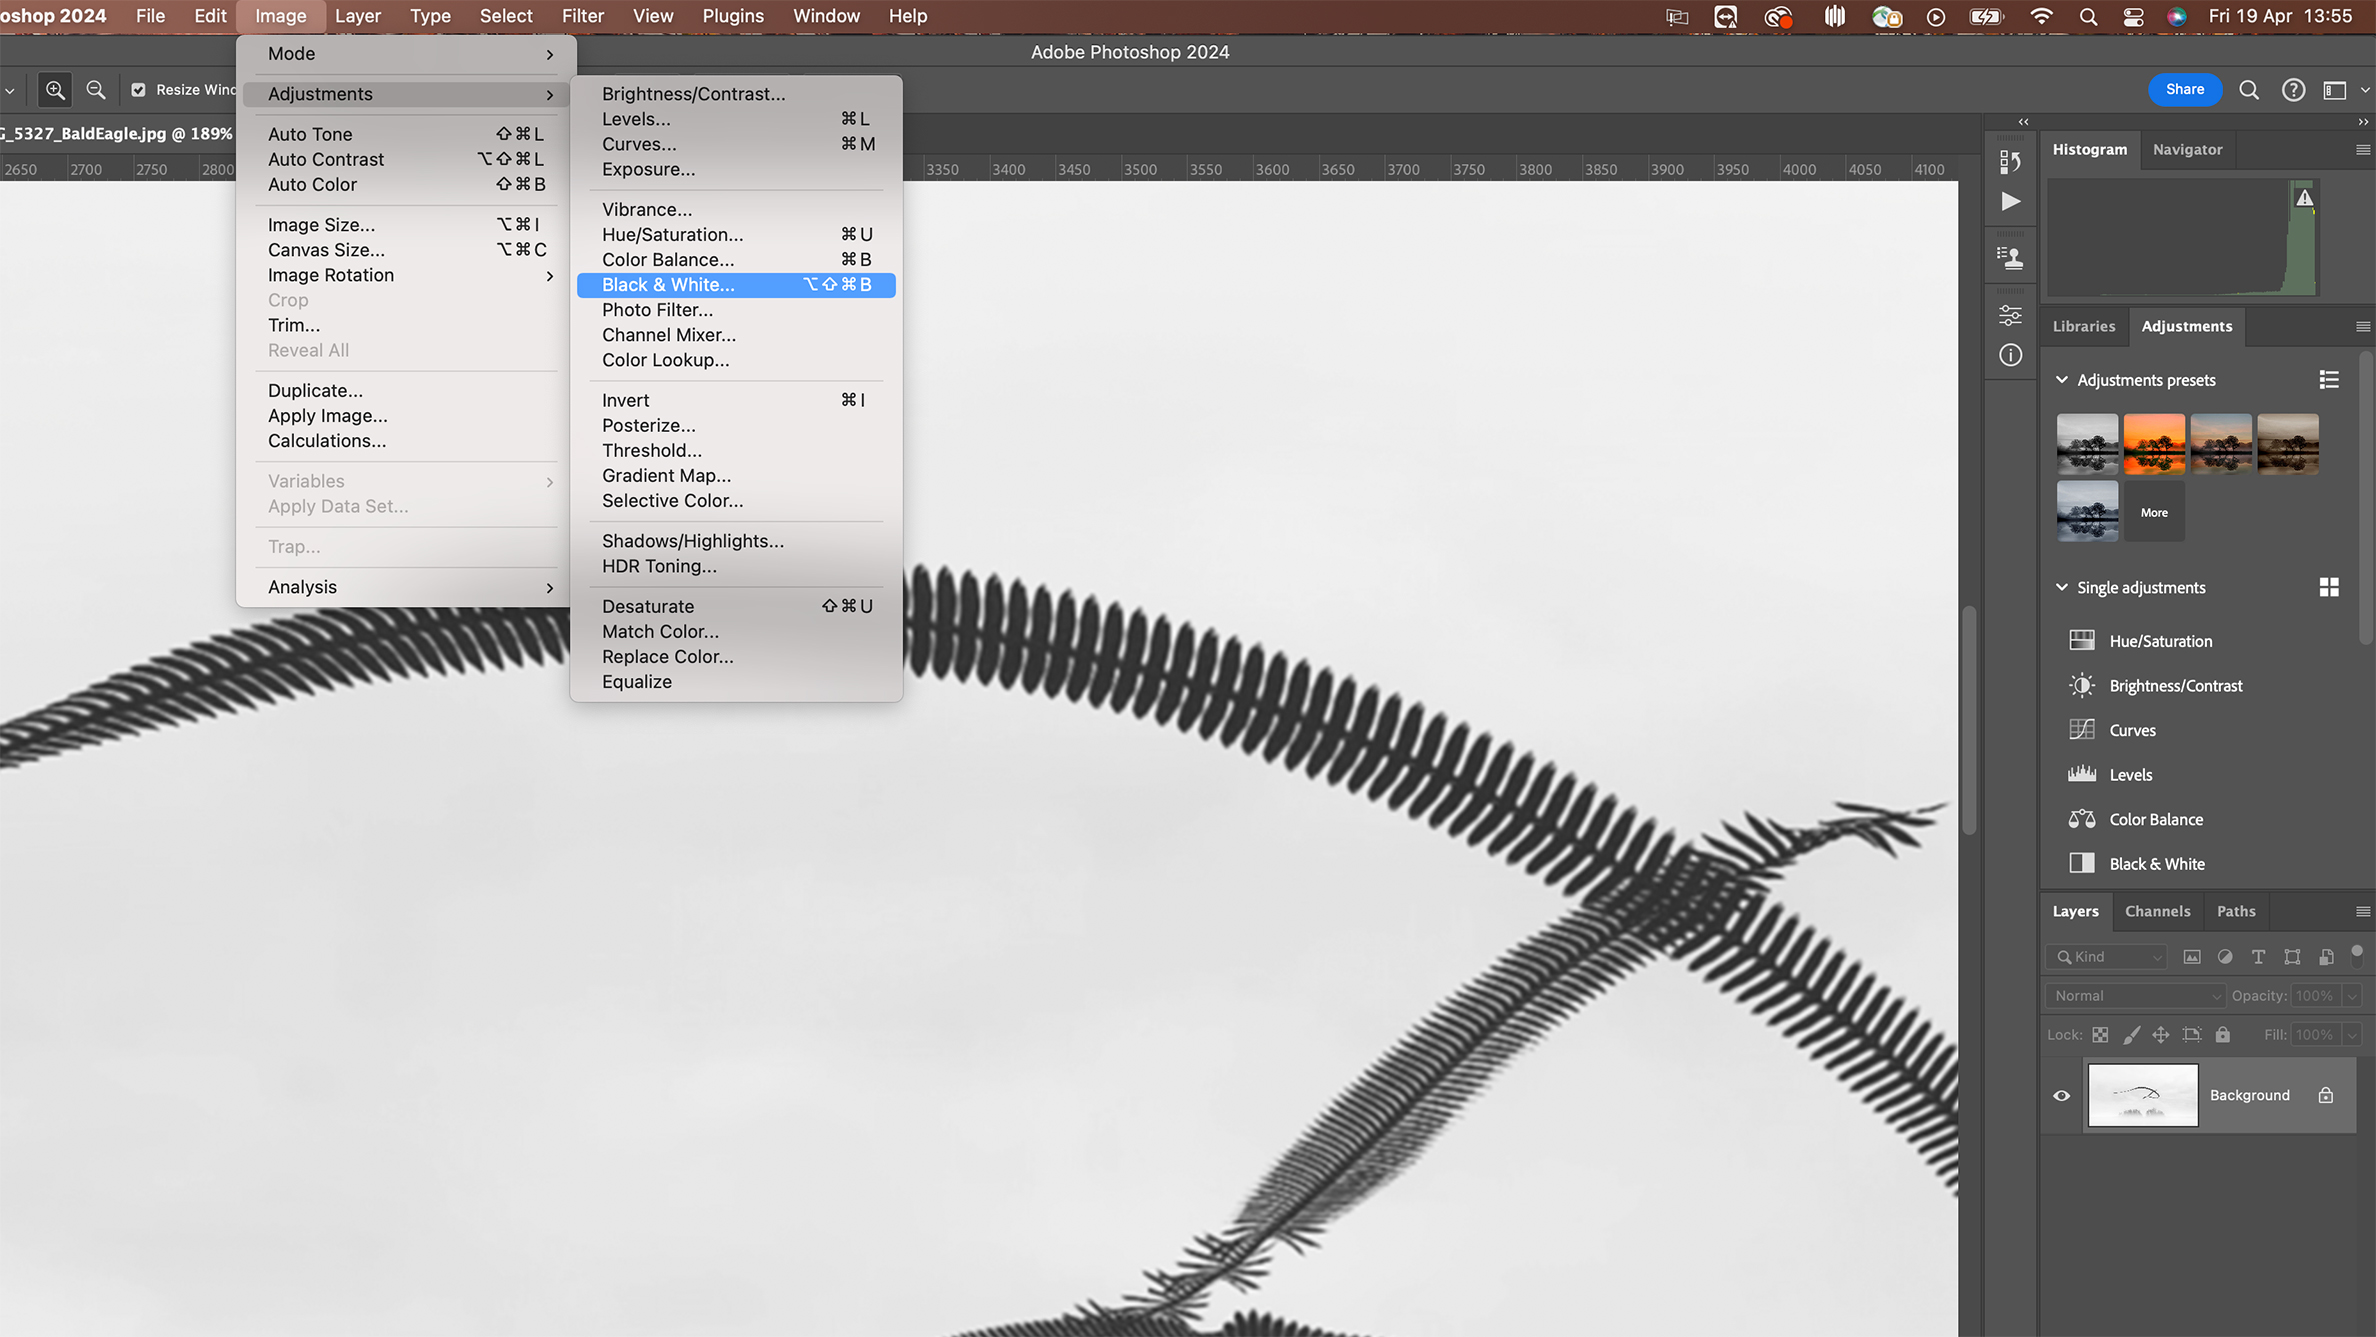
Ensure the final image is clear, crisp, and beautifully showcases the intricate details and grace of the bird's flight path. Next, go to Adjustments > Black & White and convert the image to monochrome to focus more on detail than color.
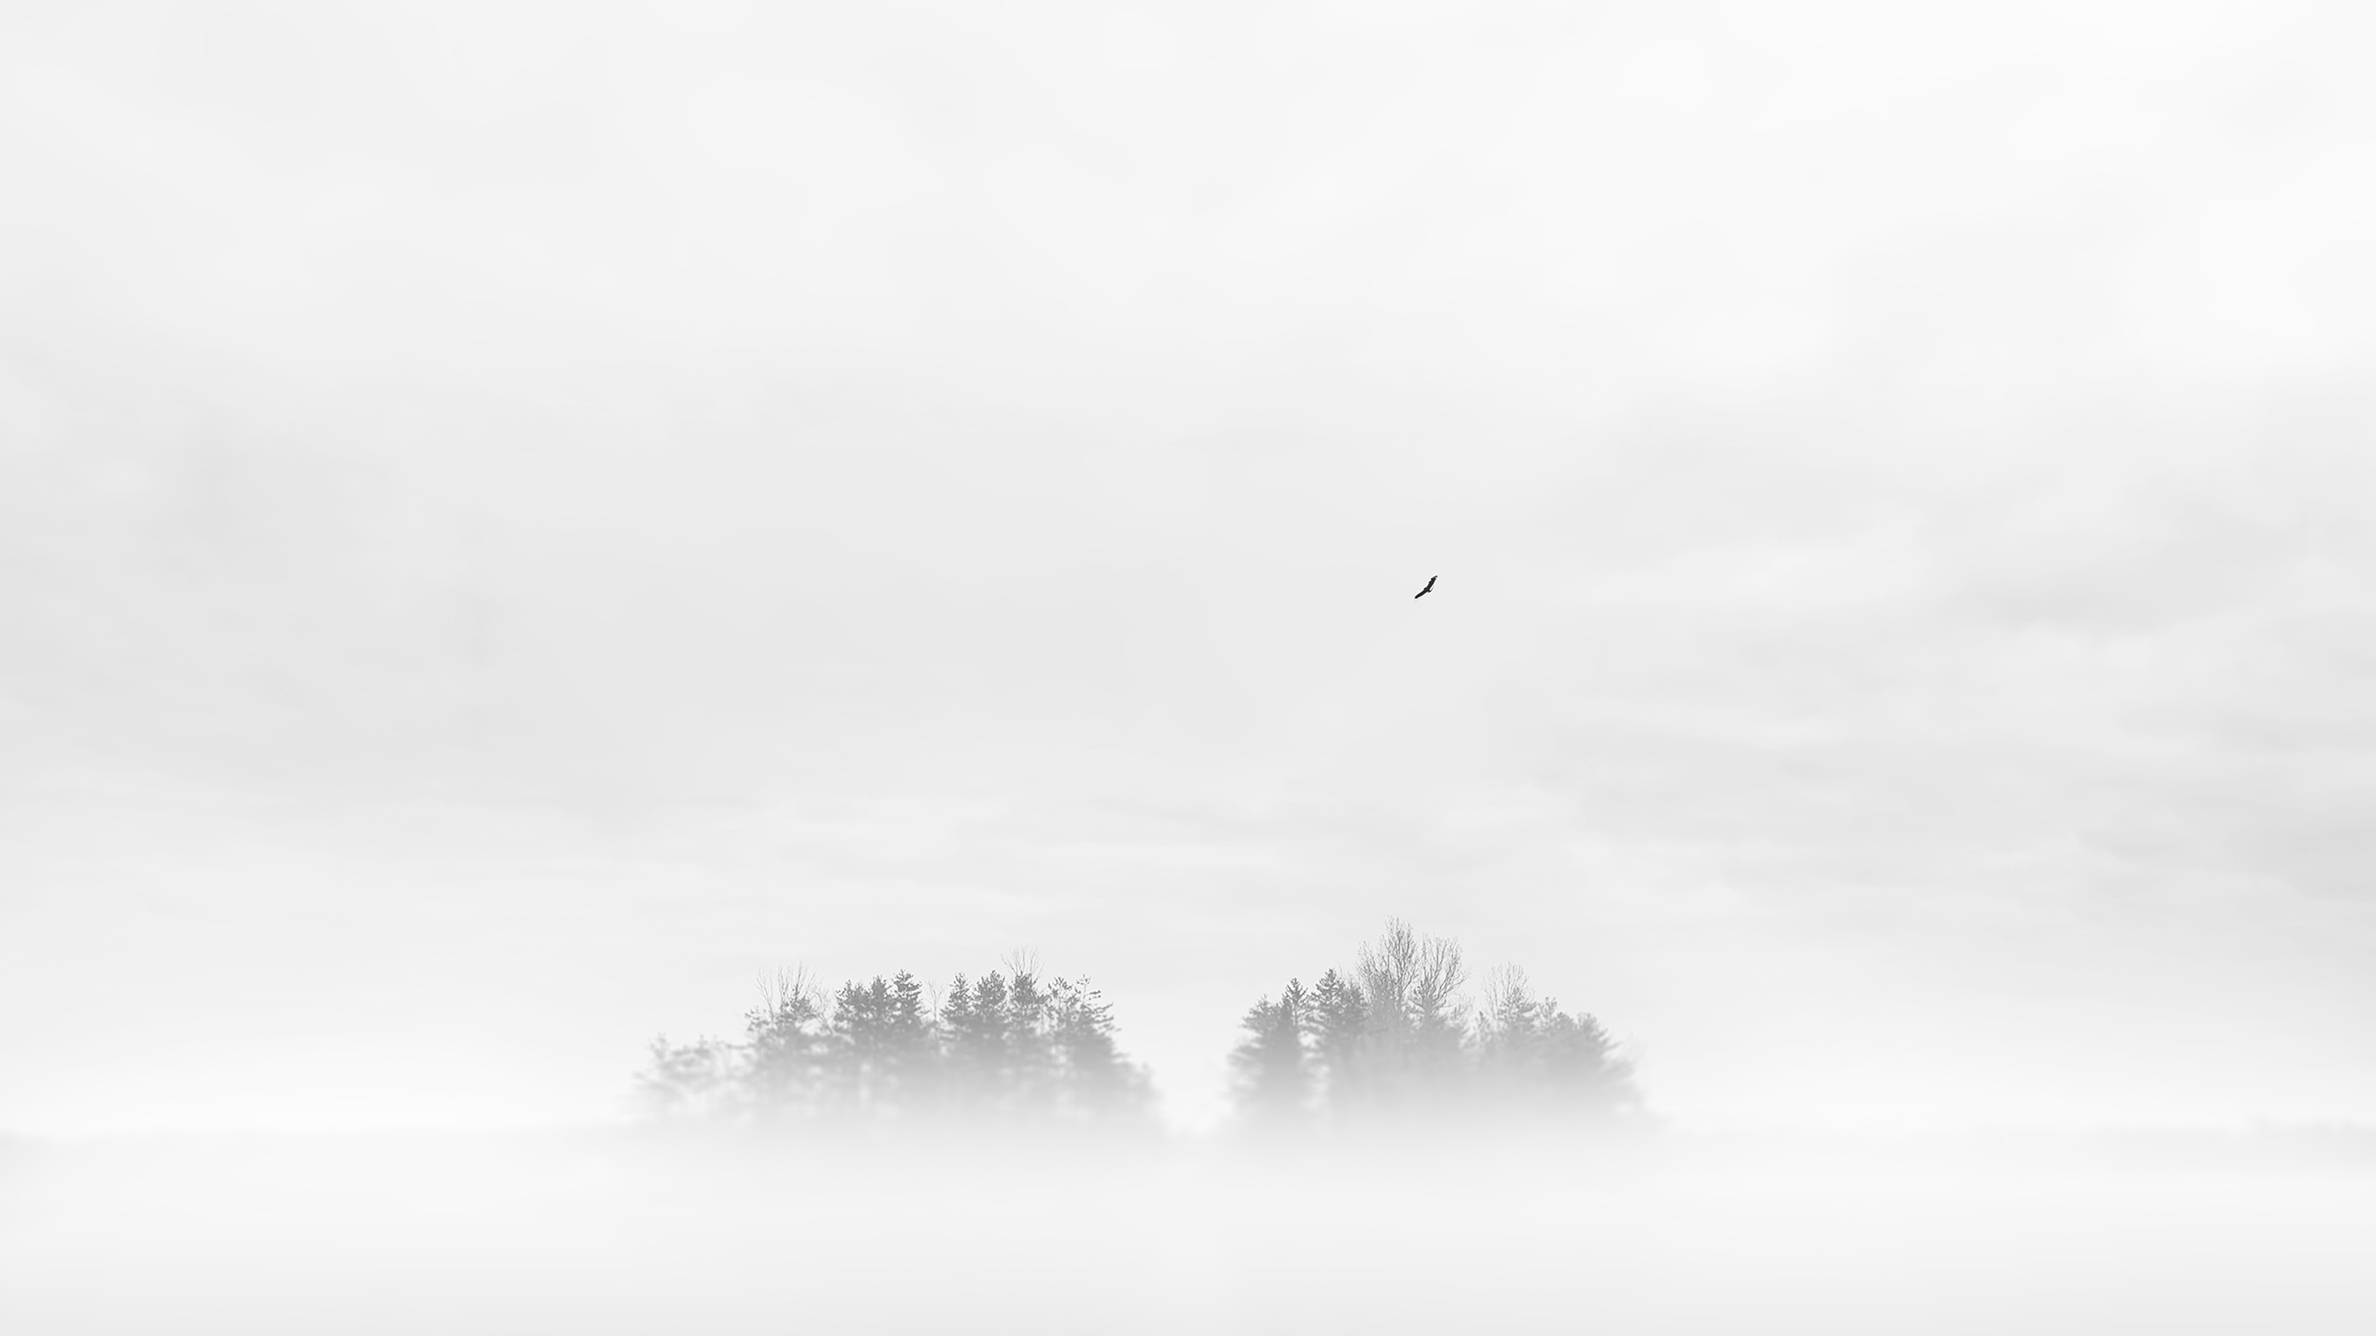
Before/After
You might also like...
If you are interested in wildlife photography, check our guide to the best cameras for wildlife photography, or check our wildlife techniques, tips and tricks.