Buncee is a slideshow, at its most basic, but look closer and you'll find this is a dedicated tool that makes multimedia presentation easier -- specifically for educators and students.
Unlike the competition, Buncee is built to be super simple to use yet also offers the ability to built complex layers, pulling in rich media. That can mean slides with everything from videos and images to animations, emojis, and links.
This even integrates with Google Classroom and Microsoft Office 365 so it can be used with current system setups as a way to enhance in-class presentations and beyond.
If you think Buncee can help you in class, then read on to find out all you need to know about this powerful tool.
What is Buncee?
Buncee is all about multimedia. While "a slide show-style of building the project" is a good way to describe how it works, it does conjure images of bland presentations. This is far from that. Think of Buncee as the modern answer to the old-fashioned slide show system.
The extensive set of design features are built around simple menus for easy use. This supports immediate creativity for anyone, even those new to the system. From science projects and history reports to class plans and teacher collaborations, Buncee is there to make everything more dynamic.
With features such as stickers, emojis, videos, and music, a Buncee end result can be a tantalizing and – crucially – attention-grabbing package. A valuable tool in keeping a class of students engaged and, equally, a useful way to allow students to express themselves creatively when working on and presenting assignments.

How does Buncee work?
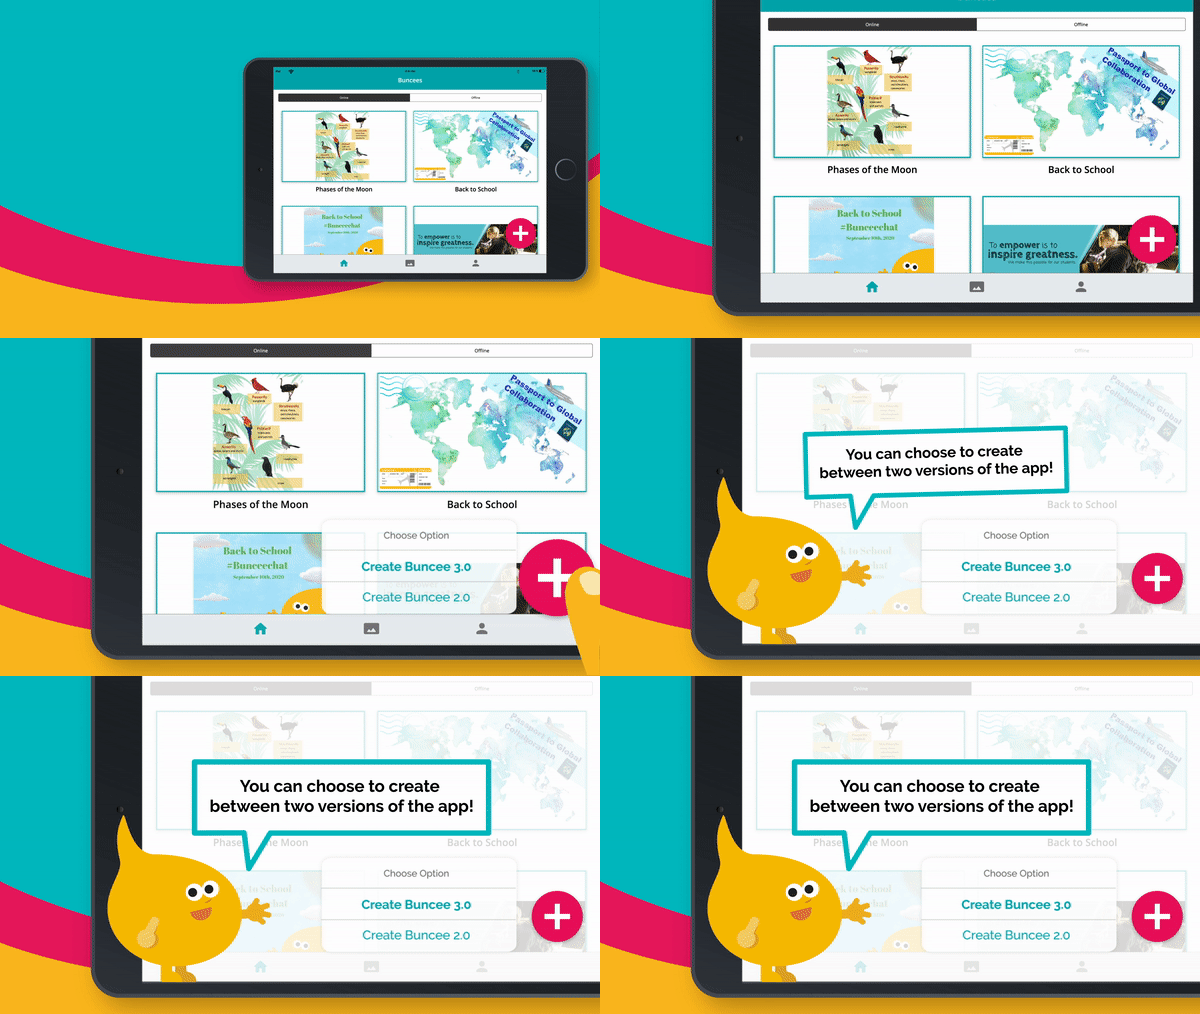
The Buncee menu system is super easy to use thanks to a drag-and-drop interface. It centers on what the company calls a canvas, on which media can be placed.
Start with a blank slate or use templates to build from. Give the project a title to get started then drag and drop media to the Buncee slide before adding another slide and continuing. Numerous add-ons are available, including text, animations, videos, stickers, lists, drawings, quizzes, and QR codes. Buncee operates in layers, allowing you to add as many as you like, which helps for easy removal too if things get too cluttered.
To upload your own content you will need to create it in another platform before dragging and dropping it into a Buncee. This can be a video using a smartphone, animation from a computer, or music made in GarageBand, for example. You can also record audio and video directly in the app, but only on the paid version.
The only downside to such a rich abundance of media options is that some students may feel overwhelmed, or feel the need to clutter the Buncee. This is why it's important to use example templates initially and be clear about expectations of what is required from the task.

What are the best Buncee features?
Buncee has a library of graphics with more than 8,000 stickers, animations, and templates for easy access. As mentioned, you can also upload your own, directly from a computer or smartphone device.
Since the Buncee interface is so simple to use, it works well even on smartphones. A teacher or student can start a project on one device (say, a Windows device in class) then continue editing and refining that on another device (say, a smartphone) on the way home, before finishing on a laptop at home.
The gallery has a wide selection of templates available that provide a quick and simple way to get a project started. These can be changed by swapping in and out various kinds of content. This is a welcoming way for beginners and young students to learn how to use the tool.
Since Buncee is interactive, teachers can set group projects. For example, each student can work on a different slide in a project to form a collaborative end result. Students can also comment on one another's work with feedback to improve writing, correct inaccuracies, and so on.
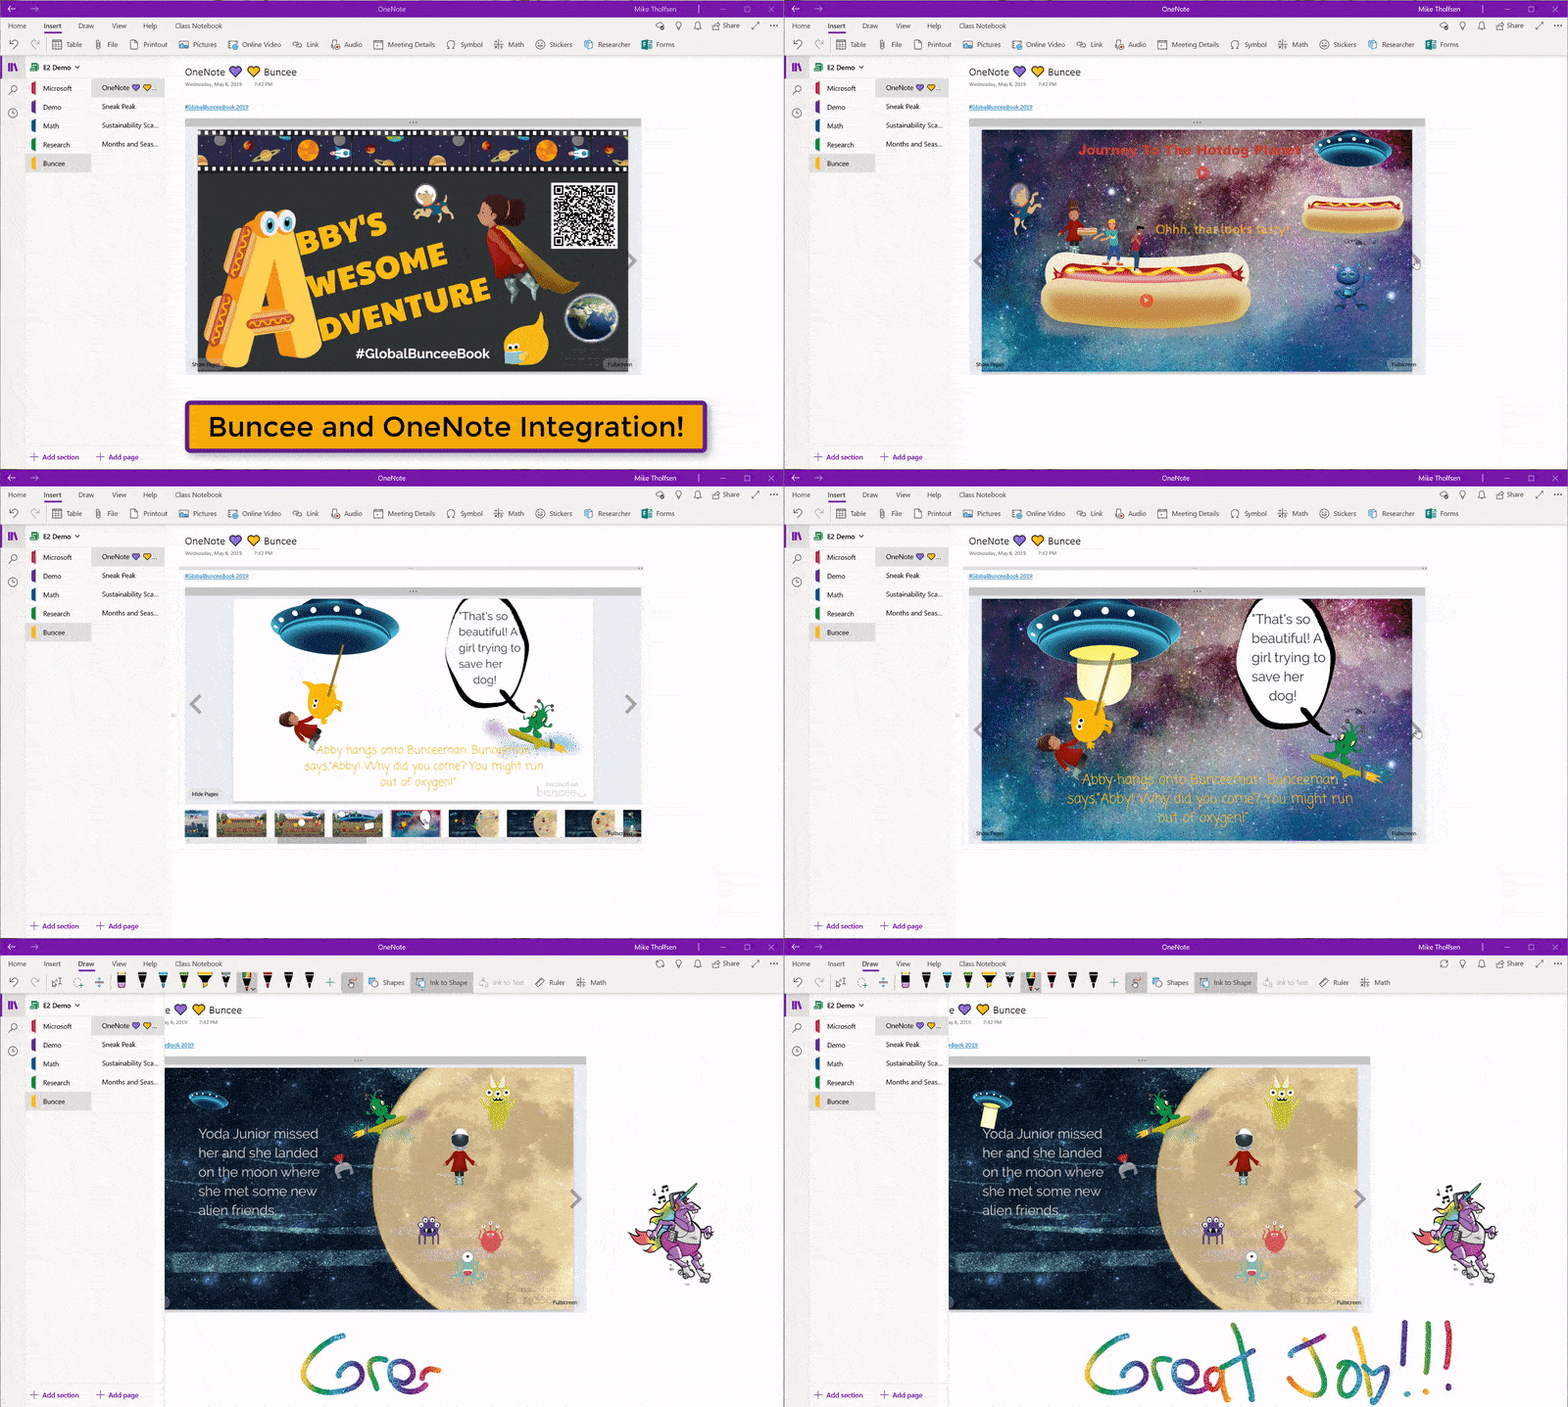
As you can see from the above GIF, Buncee works within Microsoft OneNote, making it possible to give feedback to students right there within the app.
Clip and Stitch is a great feature that allows you to take a slide from existing Buncee projects and add it into a new one. A great way to use the best bits of many students' projects to create one overarching preview Buncee for parents to view.
How much does Buncee cost?
Buncee has a 30-day free trial to use the full version, which is available on iOS, Microsoft and more. A limited free version tops out at three slides per presentation, which won't let you record audio and video within the app or upload files.
The Premium plan allows you to do all that as well as use the Clip and Stitch functionality, embed on blogs, share via multiple social media channels and email. It's priced at $7 per month or $70 per year.
The Classroom plan does all of the above plus allows you to download for offline access, send trackable RSVPs, and get unlimited Buncee Boards for a Lite version limited to 50 students at $10 per month or $100 per year, or a Plus version for up to 150 accounts charged at $20 per month or $200 per year.
The Schools and Districts version, which adds admin management, roster synchronization, dedicated training and support, is a custom pricing option that you need to contact the company for based on your needs.
Buncee best tips and tricks
Clip and stitch
This feature lets you pull together different slides. So have the class work on slides in groups then at the end, clip and stitch it all together for a complete work that can be shared and worked on individually at home -- ideal for studying.
Send phonics home
Teaching phonics is best done using audio, so do exactly that by recording audio into the slides so students can hear what they're working on, in class or at home.
Do assessments
Thanks to a selection of assessment tools in the Ideas Lab, you can easily find suitable options for varying grades, subjects and abilities to adapt as you need.


