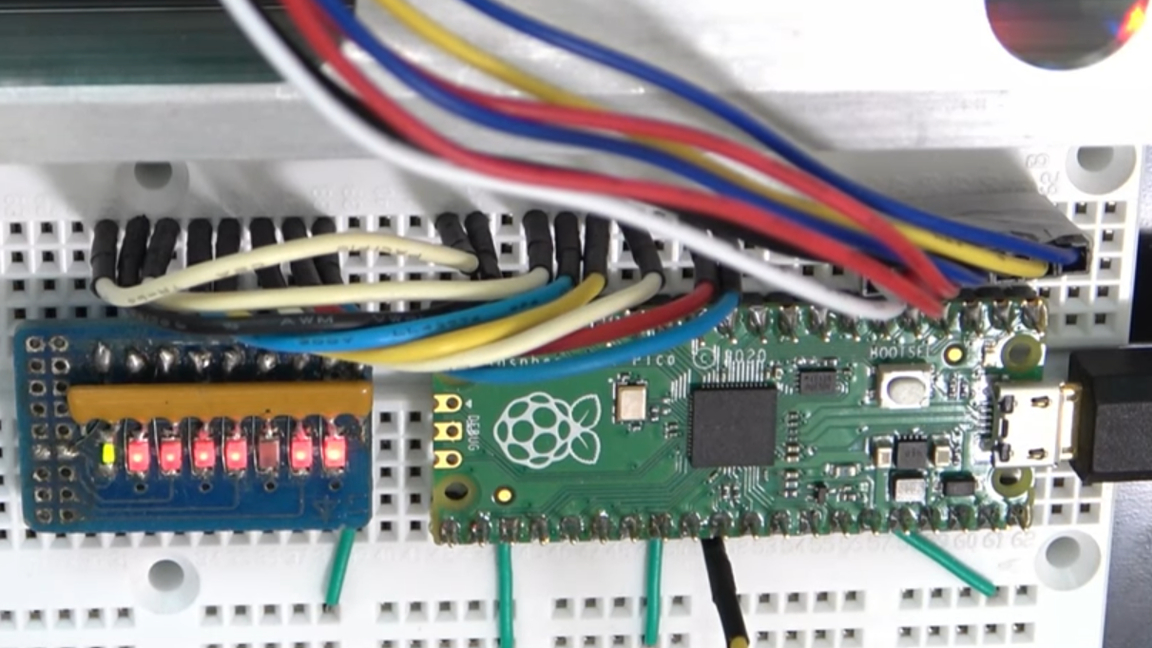
When troubleshooting old computers, it helps to have the proper hardware. Mr. Green’s Workshop, a channel over at YouTube, recently delved into his experience troubleshooting an old X86 firewall motherboard. In the past, a POST code reader was used to help interpret BIOS POST codes that alert the user to errors when the machine first boots. In this case, he’s created a POST code reader using a Raspberry Pi Pico.
This custom-made Pico-powered POST card doubles as an LPC (low pin count) bus sniffer. If you’re not familiar with what an LPC bus does, you can find more details about it in his Pico POST card video. In short, this communication bridge is necessary for the Pico to evaluate the BIOS Post codes produced when the machine first boots.


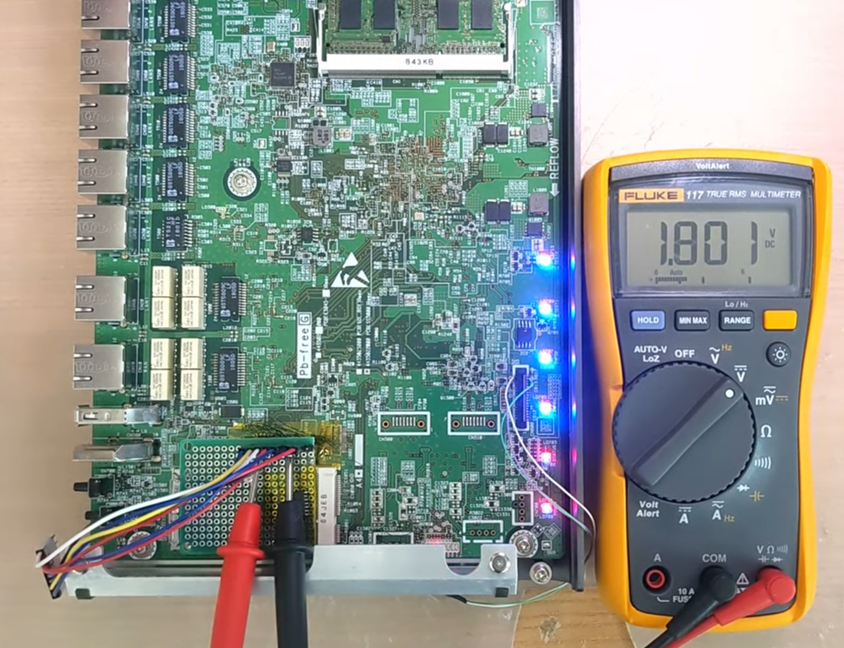
The idea for the Pico POST card began when he got his hands on an old x86 firewall motherboard. He needed to troubleshoot the used board and saw this as a chance to create his own POST card and share details with his viewers about how I/O cycles operate and what the LPC bus is for.
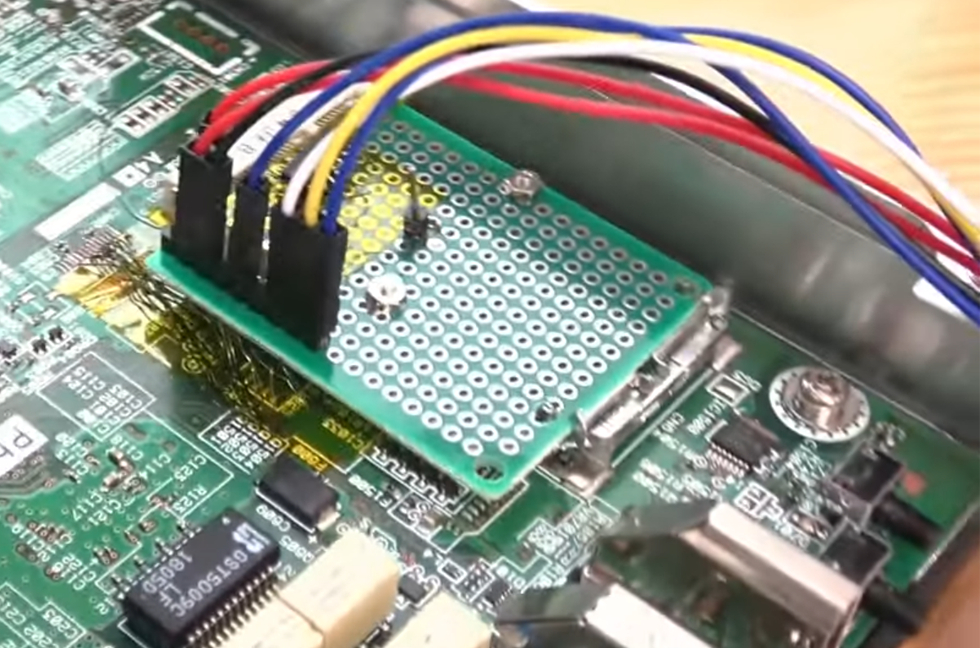
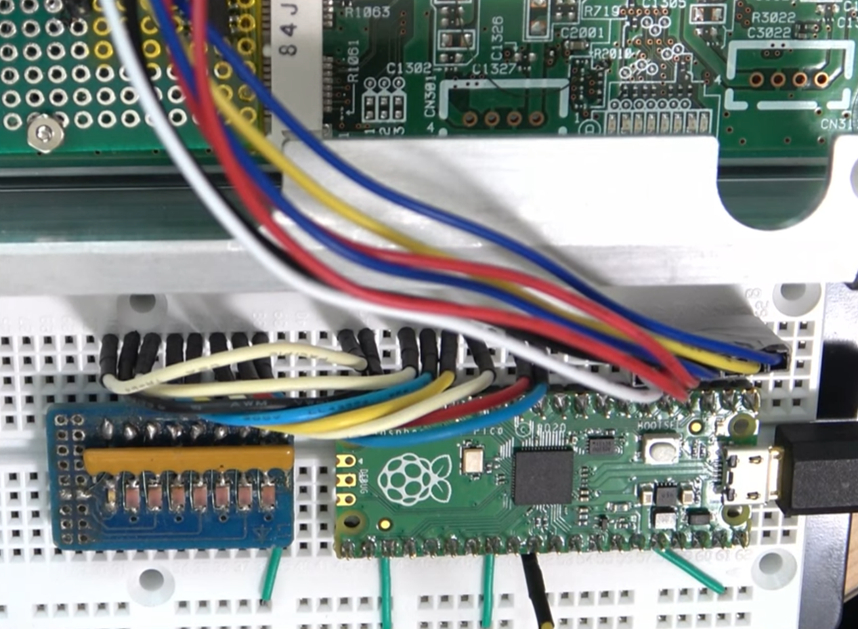
Recreating this project doesn’t take too much hardware, but you will need soldering experience. It also took a great deal of research on Mr. Green’s part to make sure he understood what pin was used for what on the x86 firewall motherboard. The Pico is attached to a breadboard and wired to the motherboard using jumper wires.
If you decide to make this Raspberry Pi project at home, you’ll need to make adjustments to suit your hardware needs. However, you can look at the code he’s created on GitHub to get an idea of how the POST code output is read and processed by the Pico for LED output. Instead of listening for beeps, you can process the code into a string of LEDs for easy interpretation.
We highly recommend checking out Mr. Green’s Workshop over on YouTube to watch the video of this Pico POST card reader in action. As always, we’re excited to see the Raspberry Pi bridge gaps between old and new hardware—especially when it’s well executed like this.


