I’ve been a Google Photos user since it launched in May 2018. I signed up for it when it was free, no matter how many photos I backed up. But on June 1, 2021, Google flipped a switch: My Google Photos uploads began to take up space like the rest of my Google apps, and I quickly ran out of the complimentary 15GB storage.
I didn’t mind paying a couple of bucks each month for more storage, and so I did … until I realized I’d spent close to $500 in the last three years alone.
So, in an effort to save myself from rising Google One storage bills, I created a personal cloud storage solution. Here's a look at how that journey has gone for me and whether you might want to consider it yourself.
How much am I paying Google every month?
Apart from the current costs, I was also concerned about what my Google One bill would look like a few years from now. The problem was my Google One storage wasn’t just reserved for Photos, it also hosted my emails, files, documents, spreadsheets, and more. Like most subscription services, Google's monthly fees keep trending upward (YouTube Premium went up $2/month a year ago), and given the volume of data I had on the company’s digital basements, migrating to another service would be a nightmare if the time does come when I could no longer afford it.
Privacy worries
What made me even more anxious, though, was what my increased dependency on Google would mean for my private memories as we head into the AI age. Not only does Google actively train its algorithms on my photos and videos, but it’s susceptible to leaks too. In 2019, for example, Google accidentally sent some users’ private videos in Google Photos to strangers.
My personal cloud storage solution
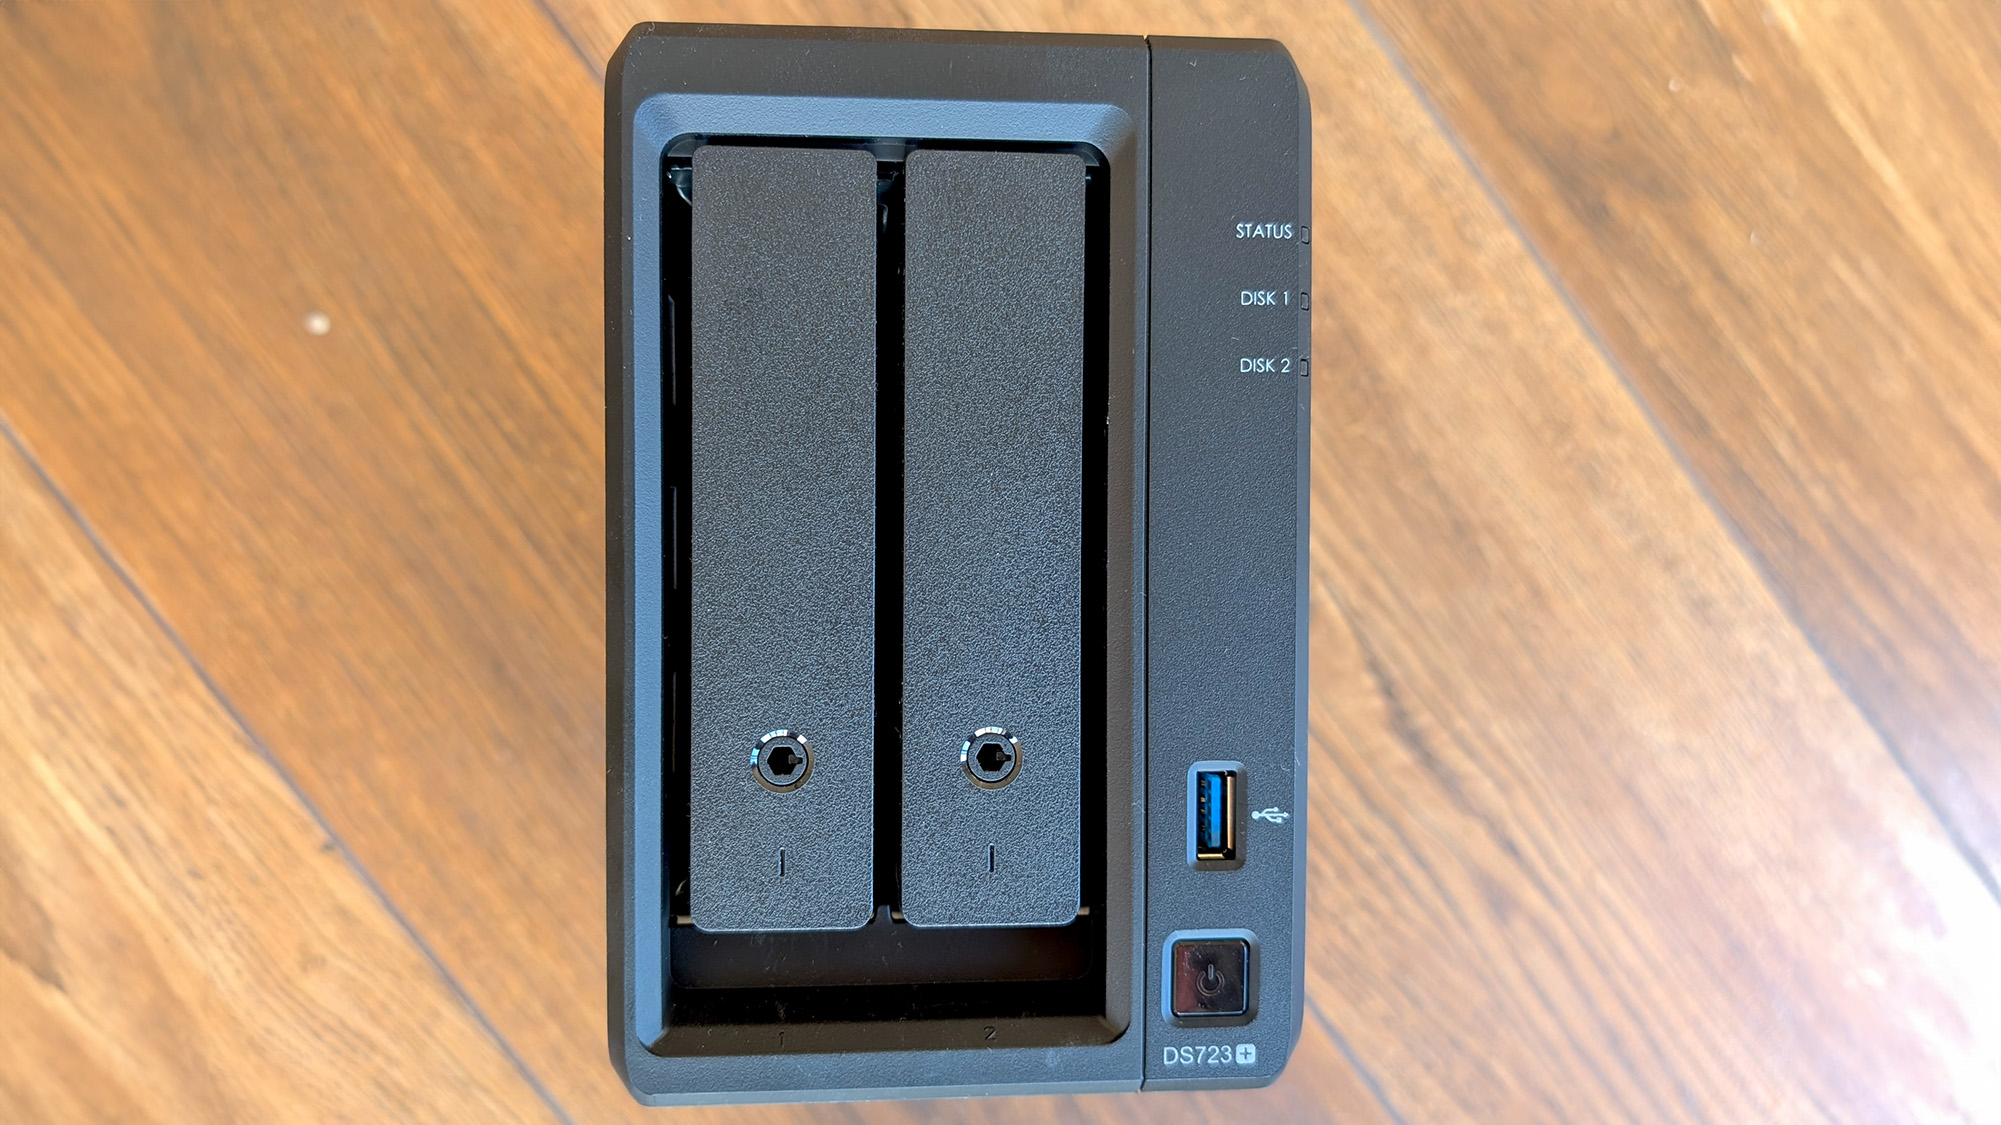
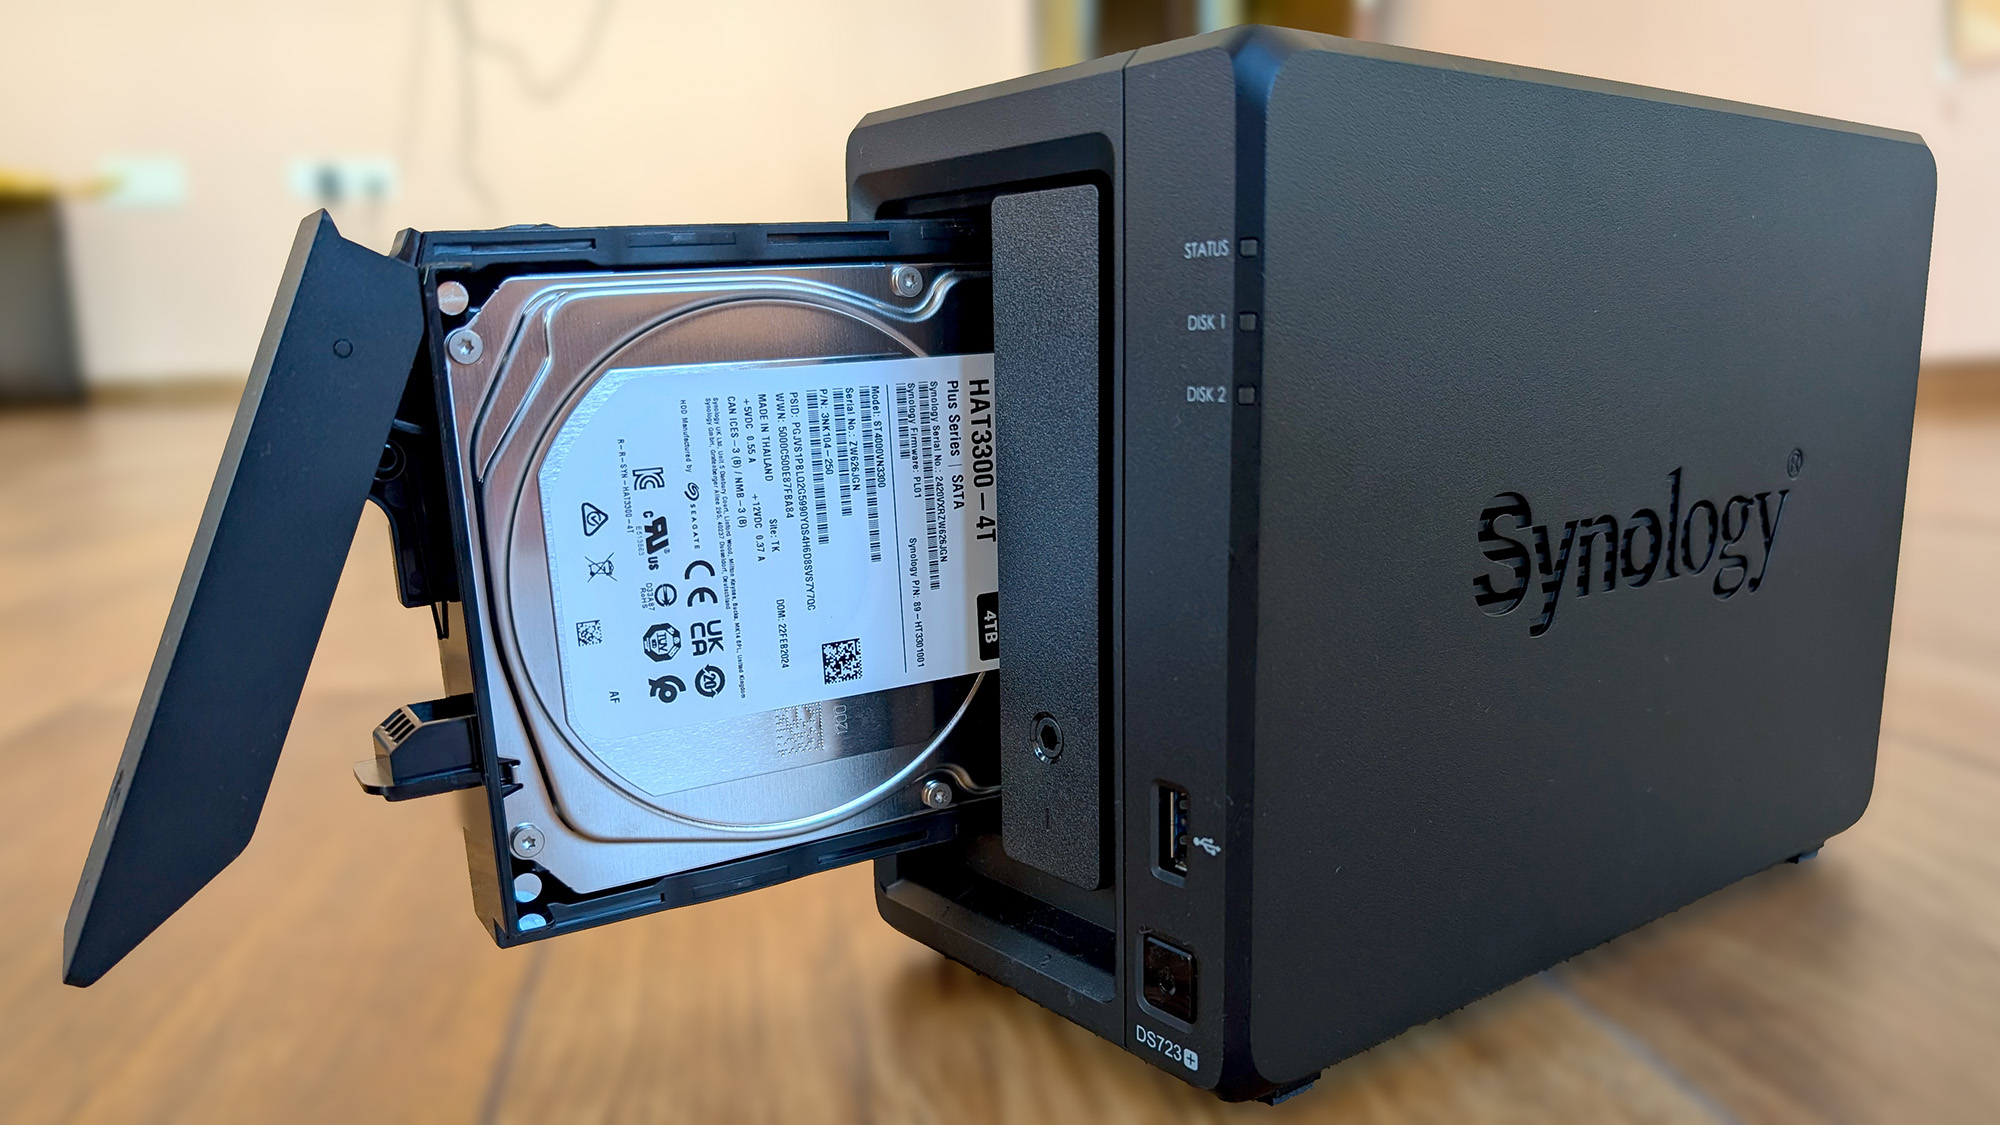
The potential solution to this problem came to me from Synology, in the form of its DiskStation 723+ NAS. NAS stands for network-attached storage; in other words, it's hard drives (or SSDs) connected to the internet.
Normally, when you upload a file onto a cloud-based service like Google Photos, it saves that data in a warehouse that houses endless racks of servers in the middle of nowhere. Simply put, a NAS device allows you to replicate a miniature, private version of such a warehouse in your home. It can be equipped with dozens of TBs of storage, and once you connect it to the internet, you can upload files, media, and pretty much anything else you’d typically send over to Google’s servers.
The highlight of NAS is not just that it’s exclusive to you but also that its storage is upgradable for a fraction of the cost you’d pay for a subscription. Say you started with a 2TB hard drive, and after running out of space, you want to add another 8TB. In the case of a Google One subscription, a 10TB plan will set you back $100 a month, while an 8TB drive will cost a one-time $200.
The math made sense to me, but there’s a reason why most people prefer outsourcing their storage needs. A NAS device isn’t just a bunch of hard drives in a box. Instead, it is a mini-computer attached to a series of storage units. Configuring a NAS isn’t nearly as straightforward as creating a Google account. I also, at one time, believed it was no more than a doomsdayer’s pursuit. Before I even received the NAS, I imagined myself nervously pouring over forums and subreddits to understand UPS, data redundancy, and what have you.
The hardware
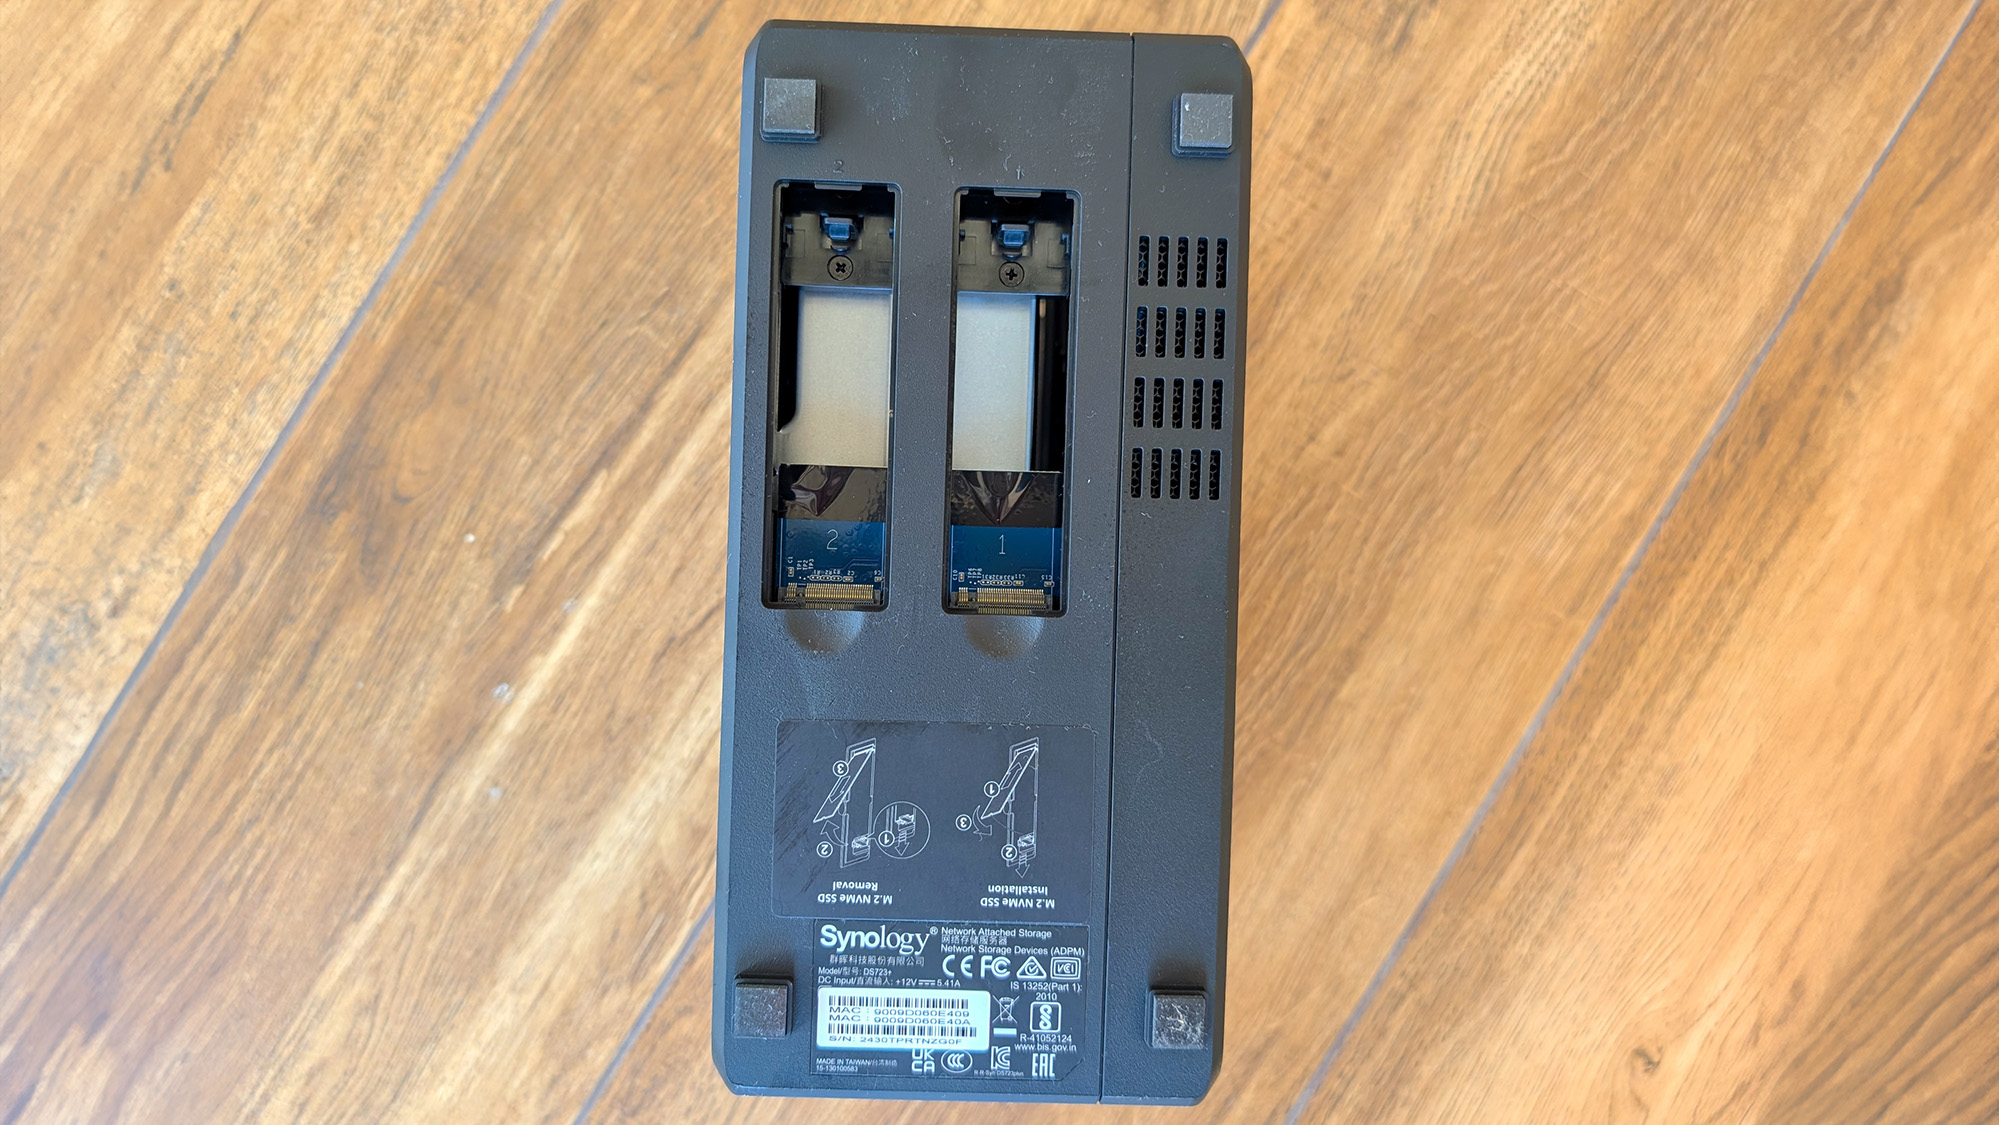
But these concerns were put to rest by the NAS I was specifically testing: the Synology DiskStation DS723+, which has a pair of slots for full-size HDDs or SSDs, a two-core AMD CPU, 2GB of upgradable RAM, a gigabit LAN port, and a built-in cooling fan. It’s no longer bigger than a small shoebox, with a bit of heft at 3.3lbs.
Like most NAS units, the DS723+ didn’t ship with the drives installed. Doing so is fairly simple even if you don’t have a technical background. All you have to do is pull the disk bay out, slot the drive in the tray, line the fastening panels so the drive is sealed in place, and push the bay back inside -- no screwdrivers needed. That may sound intimidating but it doesn’t take more than a minute.
The software
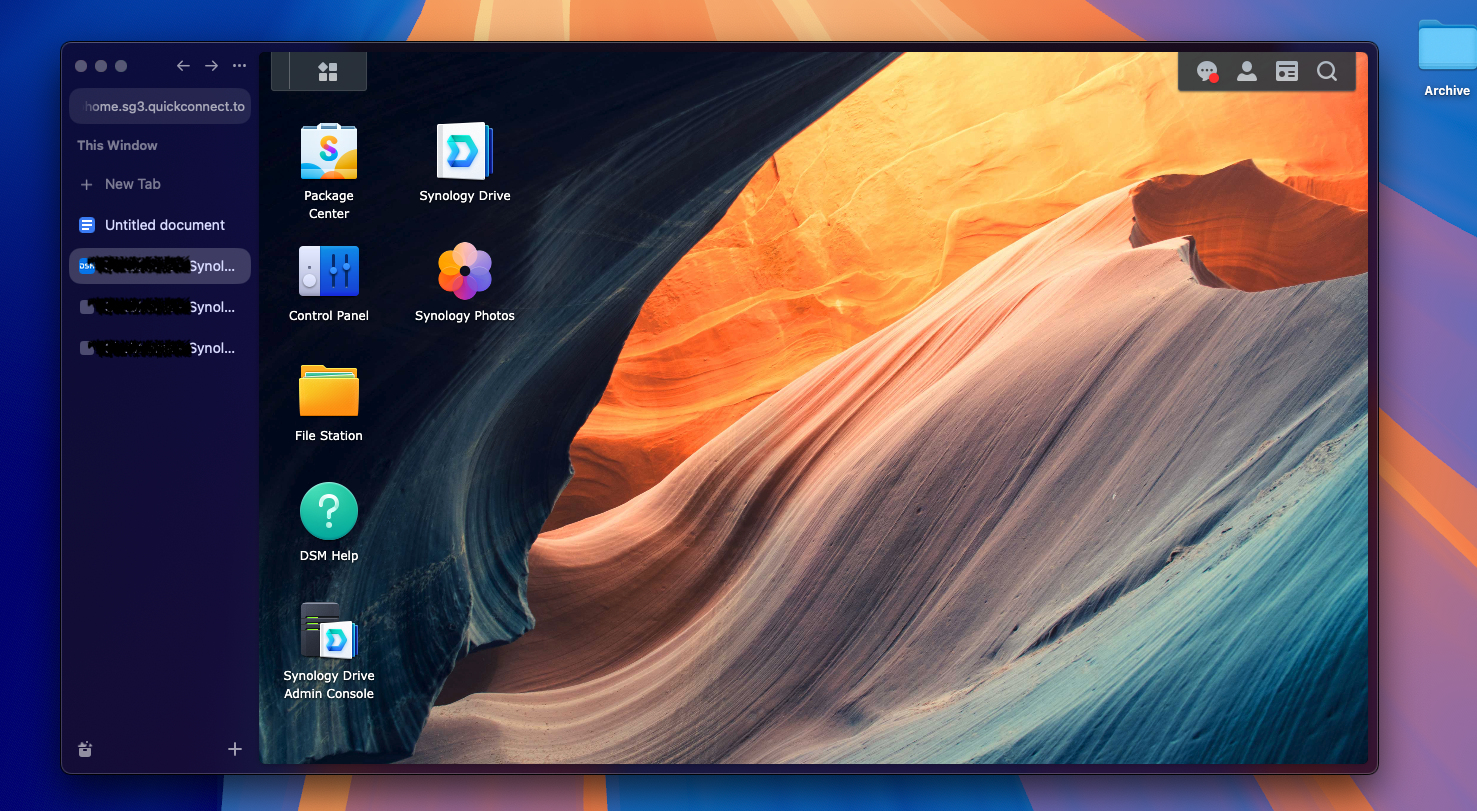
Once I powered on the NAS and connected it to the internet via an Ethernet cable, the onboarding process was no more complex than what I’d experience on a new computer. It required me to visit a Synology web link on my laptop, which looked for NAS devices on the same network and found mine within seconds. It then installed the company’s in-house OS, the Synology DiskStation Manager, and asked me to create a login I would use to access the NAS remotely from anywhere.
I was then thrown into a desktop interface inside my laptop’s web browser. Here came the more complicated aspects of owning a NAS. But thankfully, Synology had made enough automated provisions to guide me through the setup. The quick start wizard lets you breeze through the preliminary steps, such as configuring how much of the total storage you’d like to assign an account, whether you’d like to access it from anywhere or keep it local for privacy, how often you’d like it to be backed up, and more.
There was unquestionably a lot to do. I was, after all, setting up a server in my apartment. However, I was pleasantly surprised by how seamless it was, compared to the last time years ago I tried a NAS. And if I was stuck at a step, like what’s “Snapshot Replication,” Synology’s online help pages and videos were plenty exhaustive and accessible.
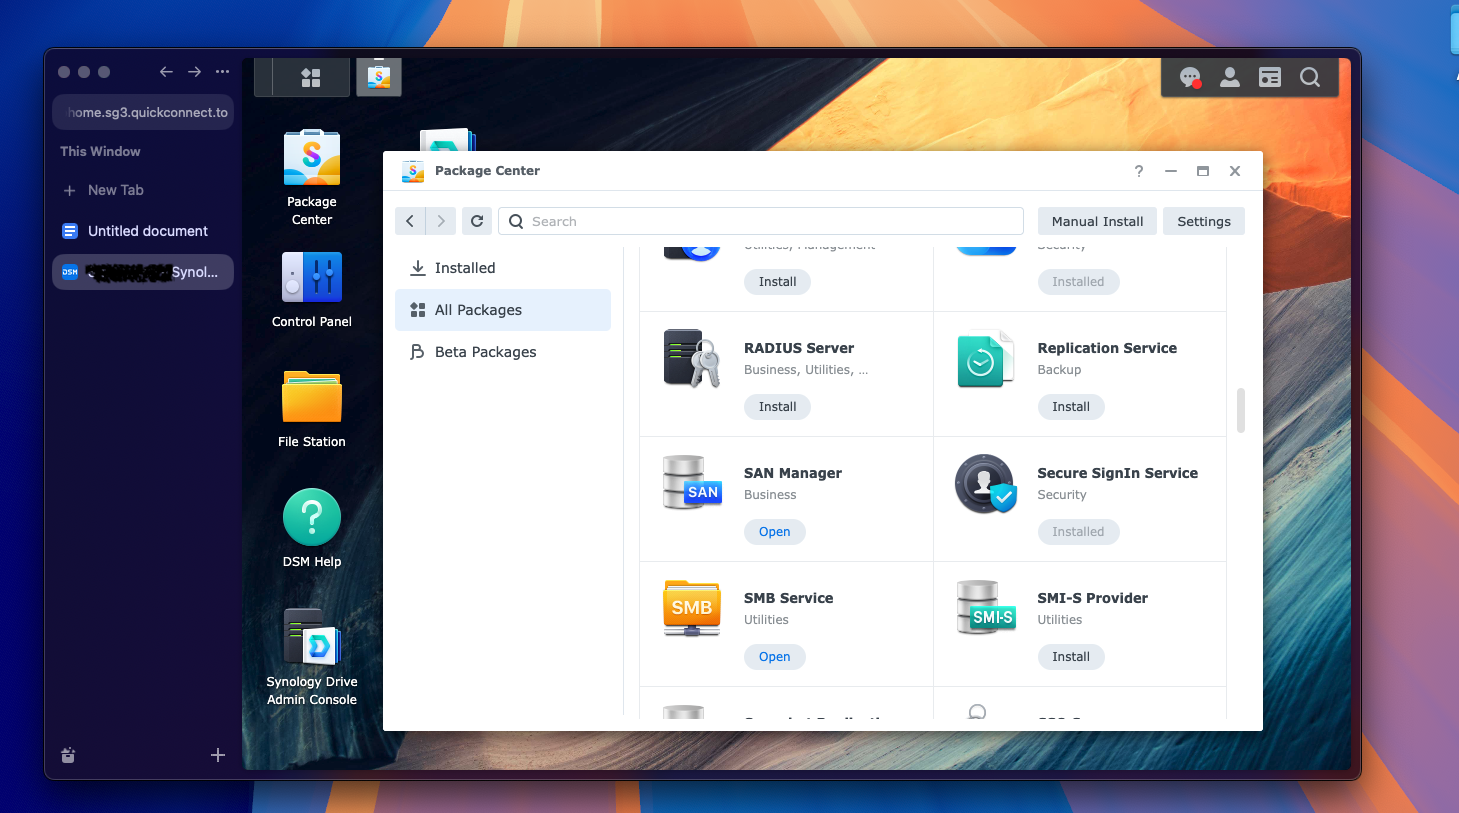
By this point, my NAS was ready to replace Google Photos. You could, of course, simply dump your media files on it every now and then but a far more user-friendly method is to use Synology’s apps. Since the NAS is, in fact, a computer, you can install programs on it yourself or through the Synology marketplace. Two of them were of particular interest to me: Photos and Drive.
As the name suggests, these are Synology’s counterparts to Google Photos and Drive. They are part of the firm’s productivity suite, which also includes Synology MailPlus and Office. The difference is the files you upload, edit, and share will be on your storage.
Synology Photos works like any other consumer photo management software. From its mobile clients, you can automatically back up all your photos and videos, browse them in a clean gallery app, organize them in albums, share public links to them, and more.
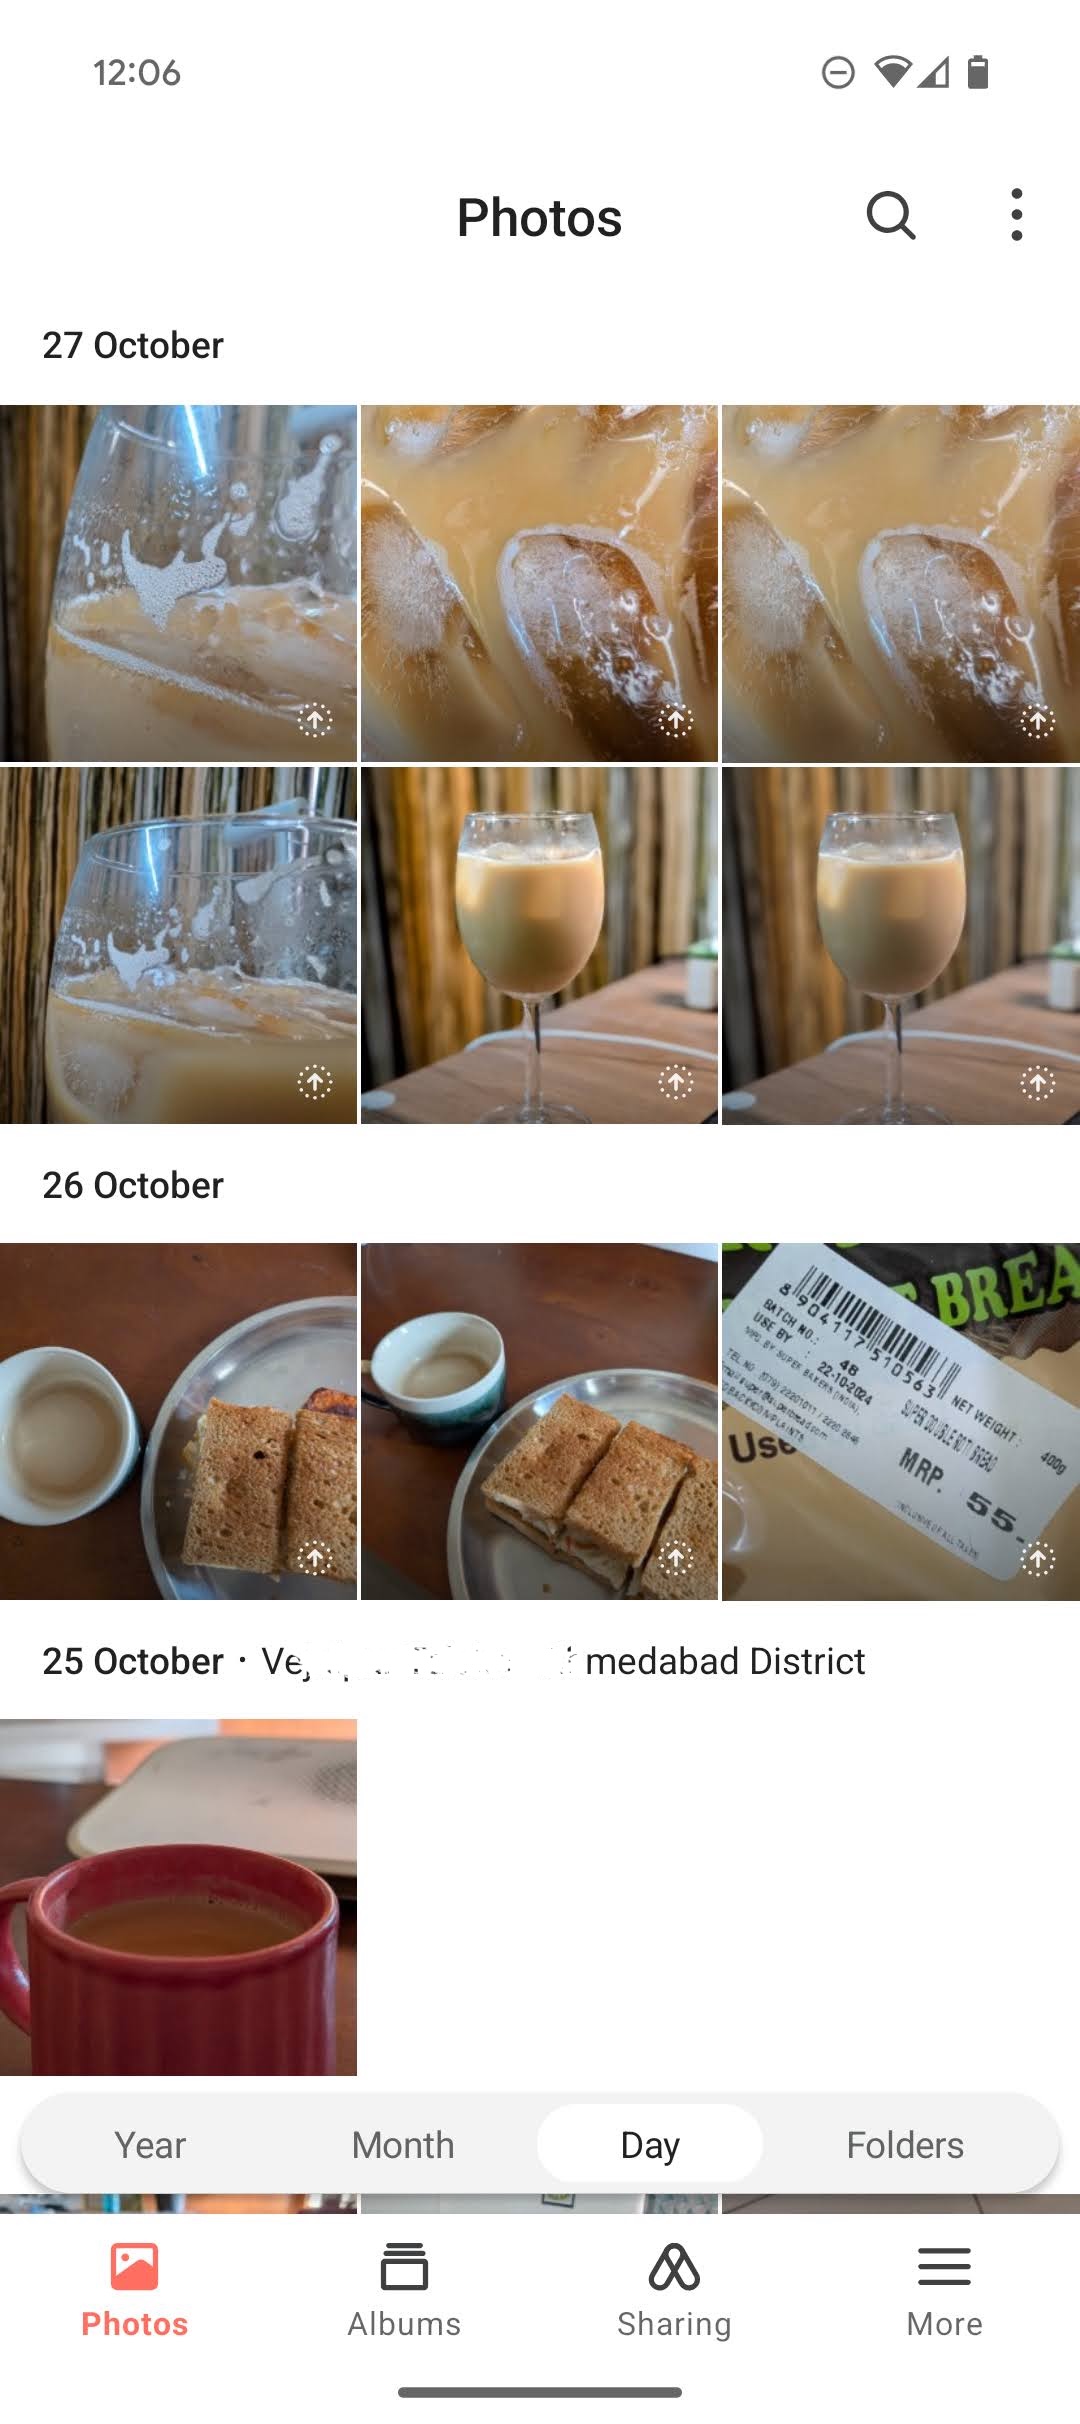
In many ways, I found Synology Photos more thoughtful than Google’s. It too can, for example, recognize faces, and categorize them in their folders. However, its facial recognition algorithm runs locally on your NAS and is never uploaded to another server. It’s not as accurate as Google but functions well enough that I only rarely had to manually label a mis-recognized face.
Like Google Photos, you’ll find a “Free Up Space” tool, which deletes media locally once they are backed up. I also liked the photo request feature. It allows me to share a link with anyone else, where they can upload their photos and videos, and store them on my storage, as opposed to giving them access to the NAS altogether. Another highlight is that it can back up only while your phone’s charging. Google Photos used to have this ability as well but the company oddly removed it in recent updates.
Synology Drive, similarly, is capable of replacing Google Drive. On your phone, its app can even stream the Office suite so that you don’t have to separately install it when you’d like to edit a spreadsheet or a document. These apps have desktop clients as well for those who’d like to back up their computers.
Outlook
Living with a NAS was a revelatory experience. Not only is it more economical, but I was surprised at how convenient the user interface has become as well. There are all-in-one options for those who even want to skip the manual disk installation process. It’s not perfect, however.
Over time, as a NAS owner, you’ll find yourself deep in technical trenches to stay on top of any hardware issues and understand how best to protect your data from disk failures and cybersecurity incidents. But in the few weeks I spent with the Synology DiskStation DS723+, I discovered a treasure trove of resources that can comfortably guide you through any complications. Now if you’ll excuse me, I have to migrate my Google Drive data to my NAS and put an end to the Google One bills once and for all.


