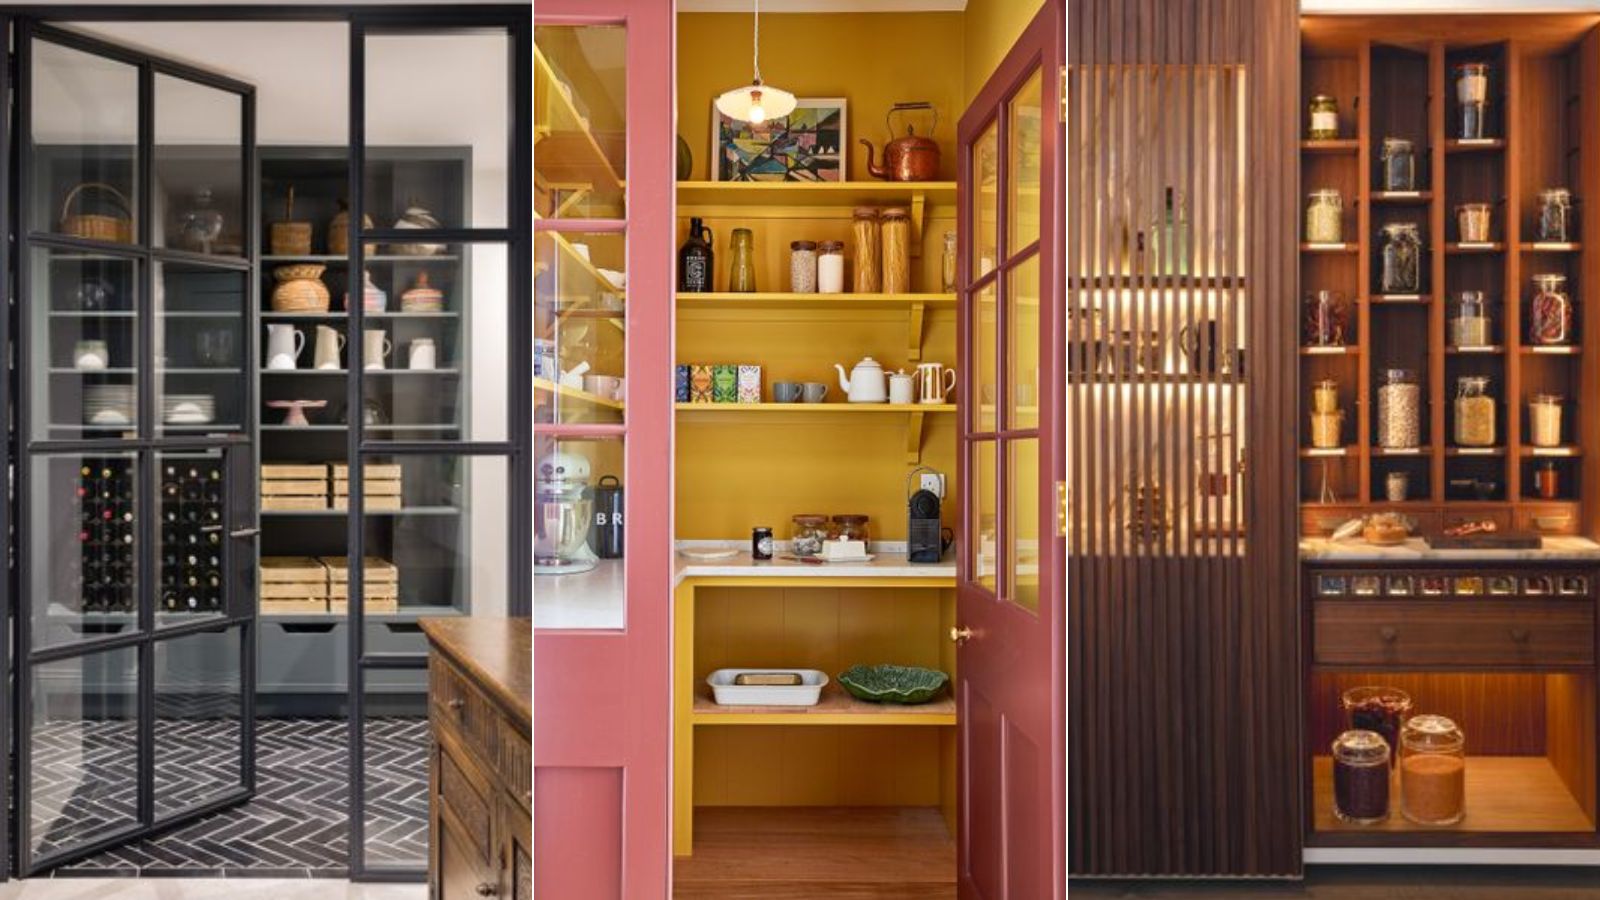
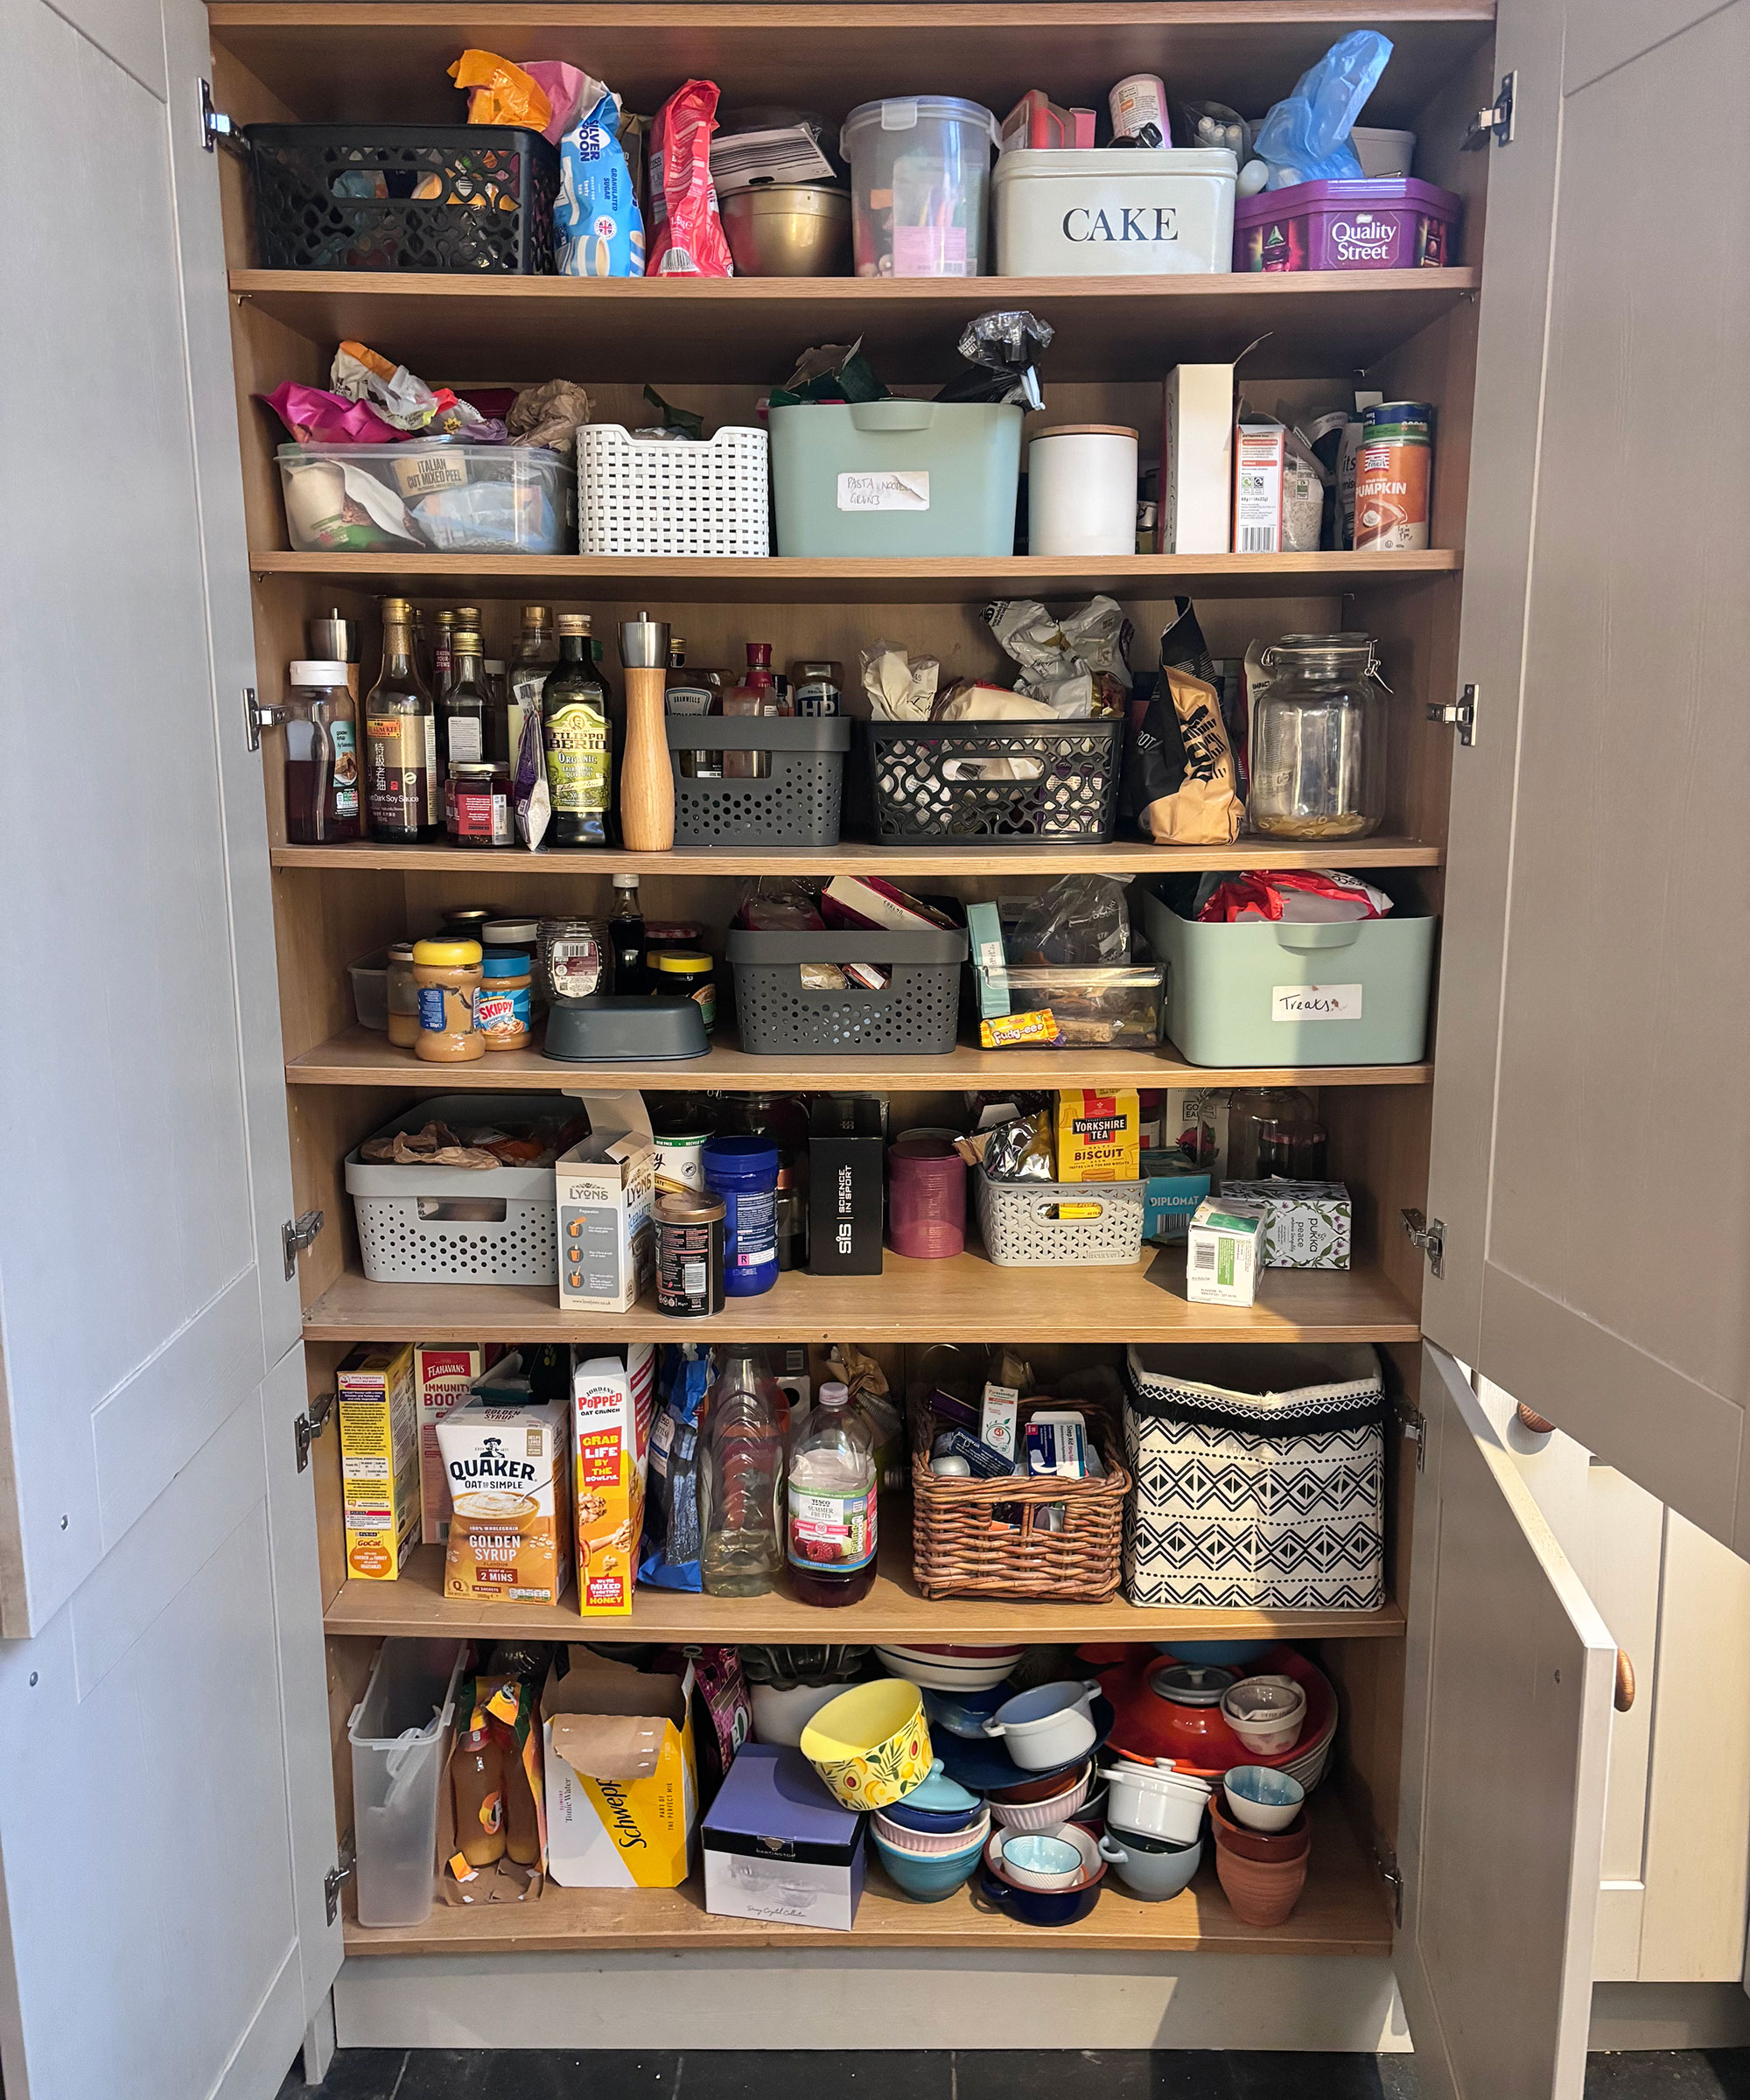
In theory, I should have plenty of food storage space in my kitchen – after all, it is just about the biggest room in our house, plus we have a great, big full-height larder unit serving as our pantry, too.
However, thanks to life being a little busy right now and me not necessarily being the most organized person in the world, this larder unit is often a total jumble of dried goods, rarely-dishes, out-of-date packets and tins – in short there is no order whatsoever to it all.
So, when Homes & Gardens asked me to call in the help of a professional chef to get my pantry ideas in order I jumped at the chance – plus I knew just the person to come to my rescue.
1. Preparing for pantry organization
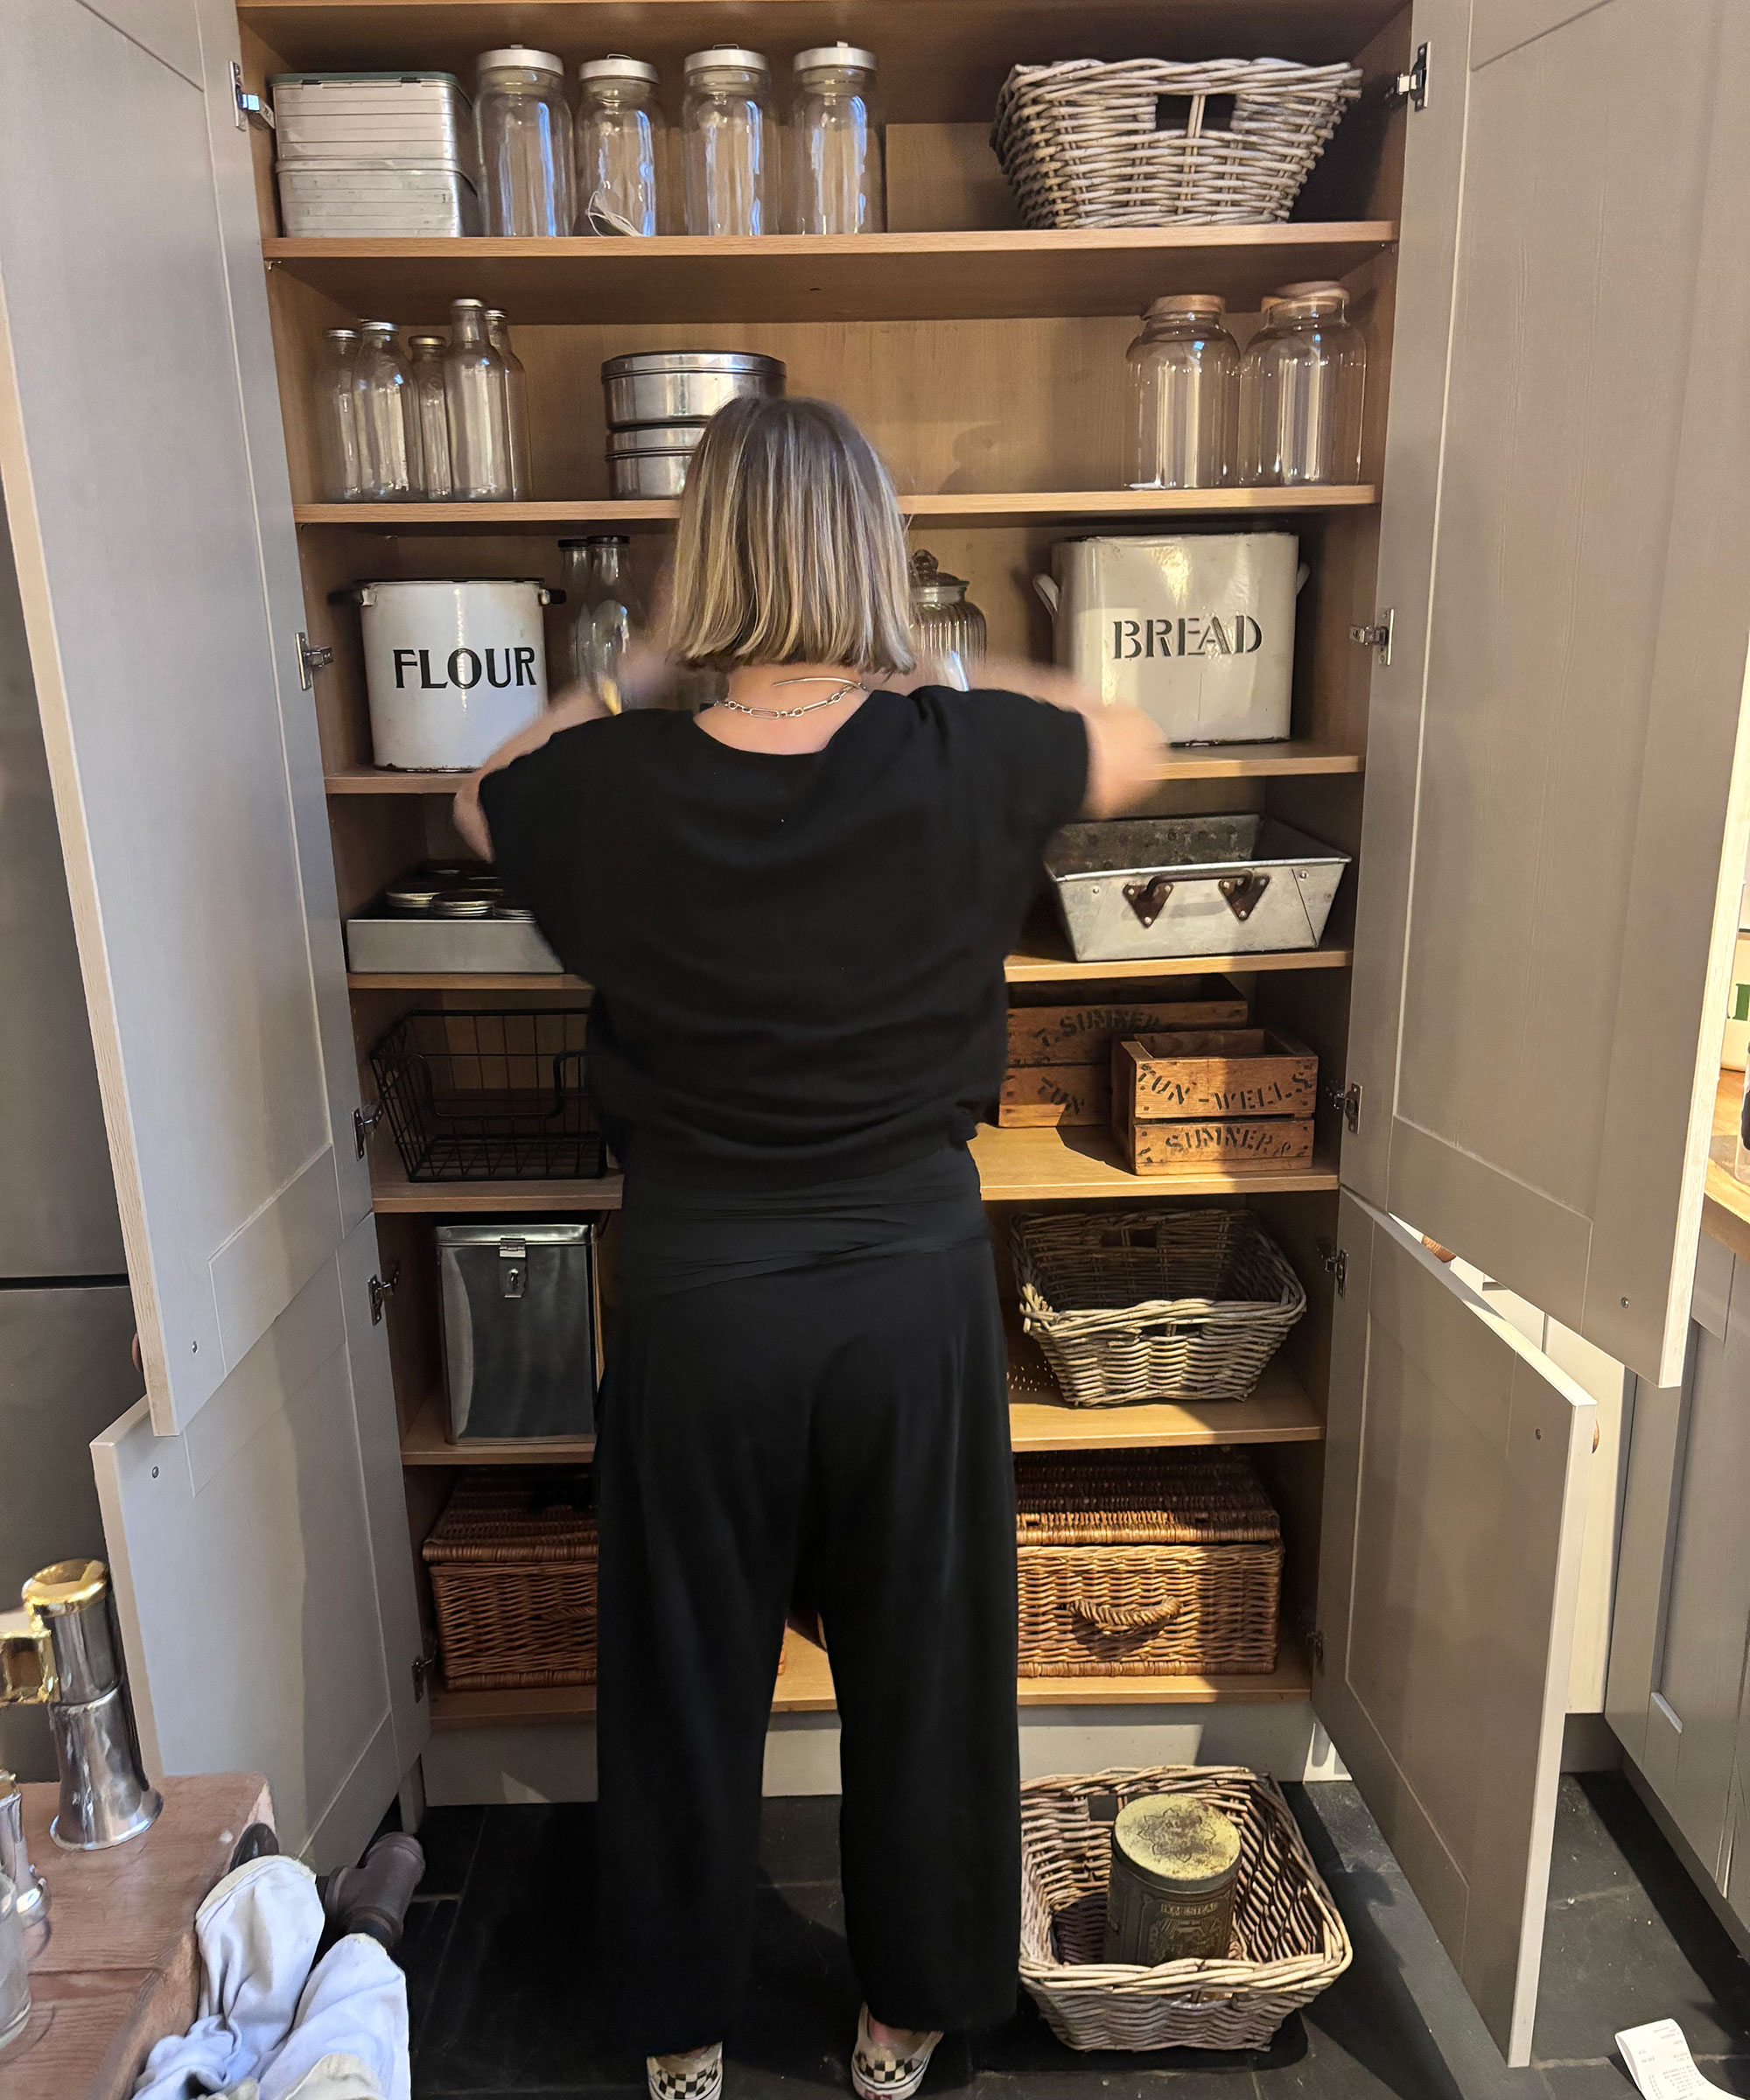
My good friend Abi Partridge is a private chef, caterer and former owner of one of the most chic bistros in our region. Her own kitchen is a stylist's dream and so I decided to ask her for her help to get my pantry ship-shape and stylish.
Before the big pantry organization day arrived, I sent Abi over the dimensions of my larder unit, including its width, the height of the shelves and their depth. This was so she could work out what kind of storage and pantry organization ideas would work best. She then set to work looking through her not inconsiderable stash of canisters, jars, containers, trays and baskets to see what could be reused, as well as sending me off with a list of things to buy.
'We want to re-use and re-purpose rather than buying everything new,' she said. This is her general ethos – and the reason her own home looks so effortlessly 'thrown together'.
2. Decluttering the pantry

First things first, Abi instructed me to completely clear out the pantry so that we could see exactly what we needed to store, as well as the kind of space we had available to work with.
As I worked through the piles of dried goods I was more than a little shocked at how much was way past it's expiry date. Some were years out of date! Slowly the waste food caddy and garbage bags filled up, the countertops were covered with 'stuff' and the pantry got emptied. This also happens to be the first step of the Chaos Decluttering Method if pulling everything out before decluttering a space appeals to you.
After completely decluttering, it was time to pull out the cleaning kit and get vacuuming and wiping off the sticky, crumb-covered shelves ready for the restock.
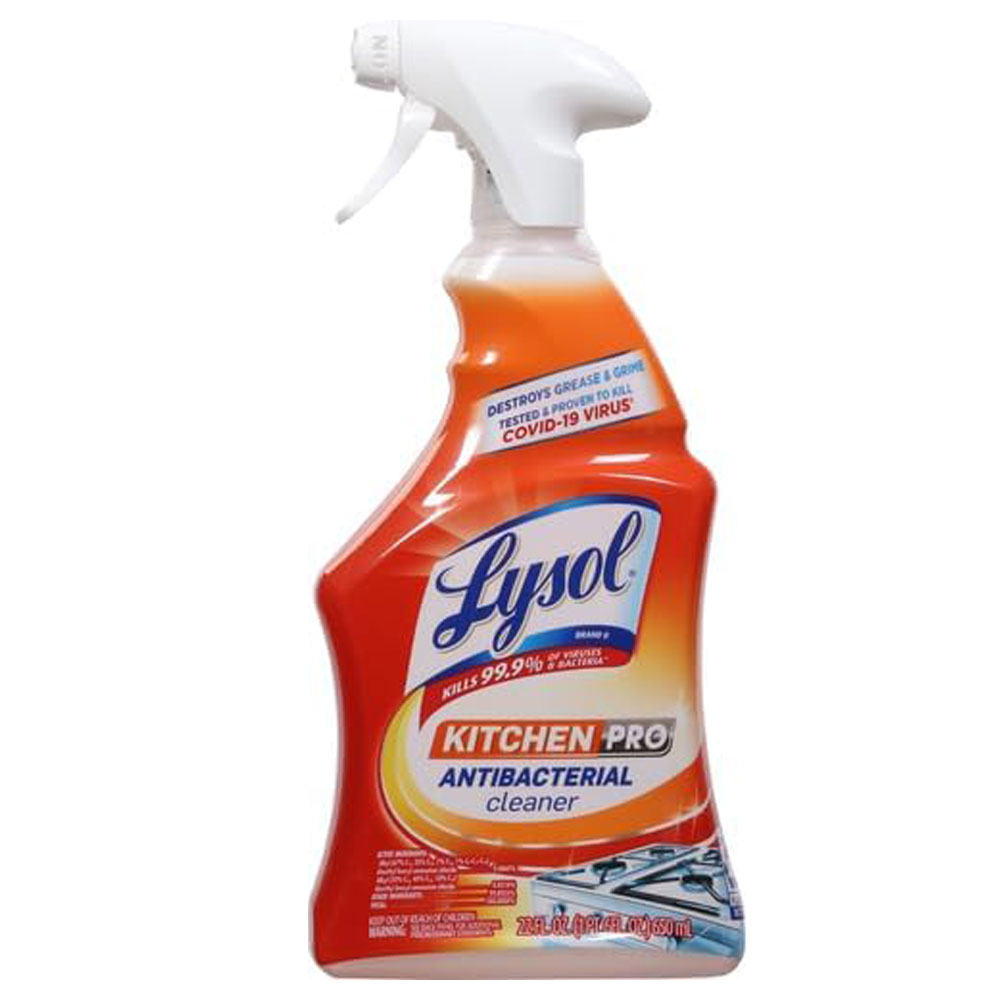
When your pantry hasn't been cleaned out for some time you need a cleaning spray that is going to wipe-out ground on dirt and leave it sparkling once more. This spray kills 99.9% of kitchen viruses and bacteria and makes short work of even the greasiest of shelves – plus it leaves a lovely citrus scent behind.
3. Grouping like with like
Next, Abi suggested that we should organize all the items that were previously in the pantry into categories. So, tins and cans went together, cereals, condiments, jams and spreads, baking items, drinks and so on.
Abi drew out boxes onto a sheet of paper and categorized each one – tea and coffee, herbs and spices and so on – so we had a visual reference to work from.
Once we had these separate groups it became far easier to see how the space would need to be organized, highlighting what I had the most of, as well as the kind of pantry storage ideas and containers that each would need. Abi began to play around with layouts for all the jars, tubs, baskets and boxes we'd need once we had this inventory.

This lock top set is perfect for grains, cereals, flours, and other dry items in the pantry. There are nine color options so you can use multiple sets grouped and categorized with a color scheme you and your family understand.
3. Decanting dried goods
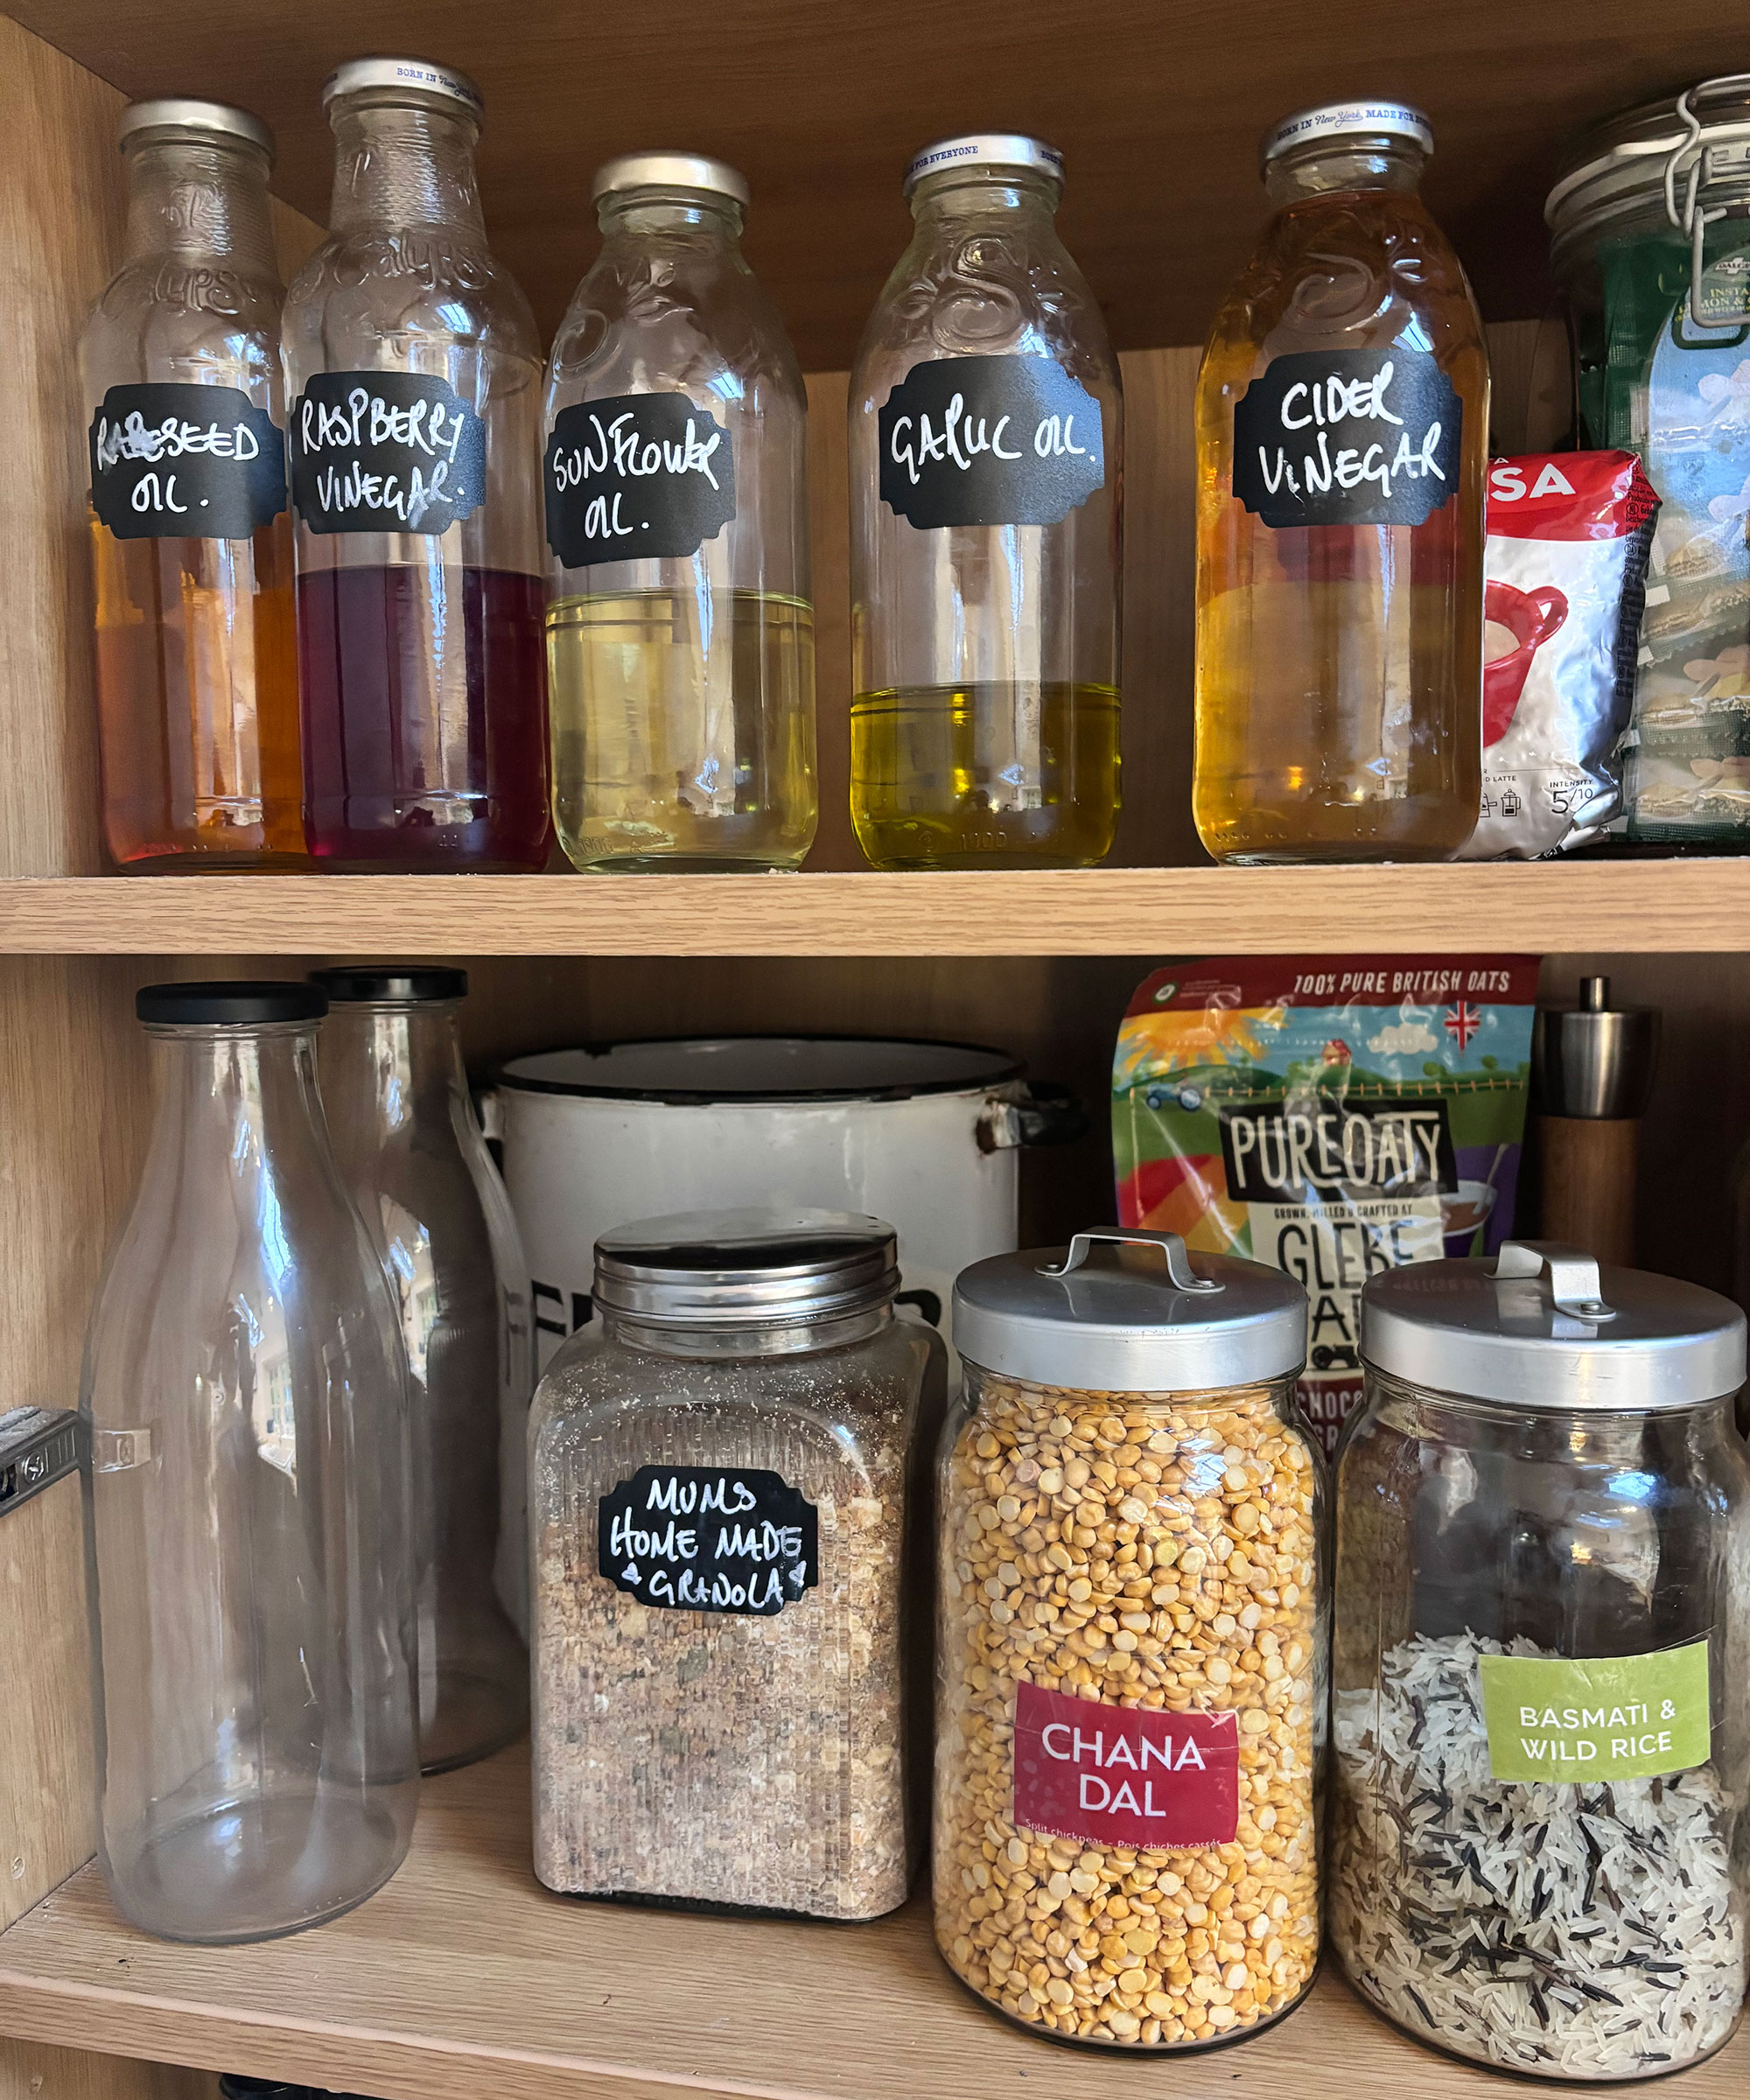
Abi suggested we decant all the open packets of dried goods into clear storage jars, available in bulk at Amazon. I had bought a roll of blackboard labels that came with a chalk pen, but rather than label them all this way, Abi had another idea.
As we decanted, she cut the labels off the empty packets and stuck them to the jars using clear sticky tape – something that saved time as well as meaning with had the labels for other uses. If you like the concept but not the look, place them underneath your jar so you can check usage, best by and nutritional info.
Cereals, pulses, grains, seeds, nuts and dried fruits all went into airtight jars, available at The Container Store, neatly and clearly labeled, while for the oils, vinegar and cordials we used a funnel, available at Walmart, to transfer them to empty milk bottles which we identified using the blackboard labels.
I was left wondering to do with all the odds and ends leftover in the packets that didn't quite fit into the jars. We used Ziploc bags, which have many surprising handy uses around the home, to store these, labeling them clearly and tucking them all away in their own basket at the back of the pantry for when a restock was required.
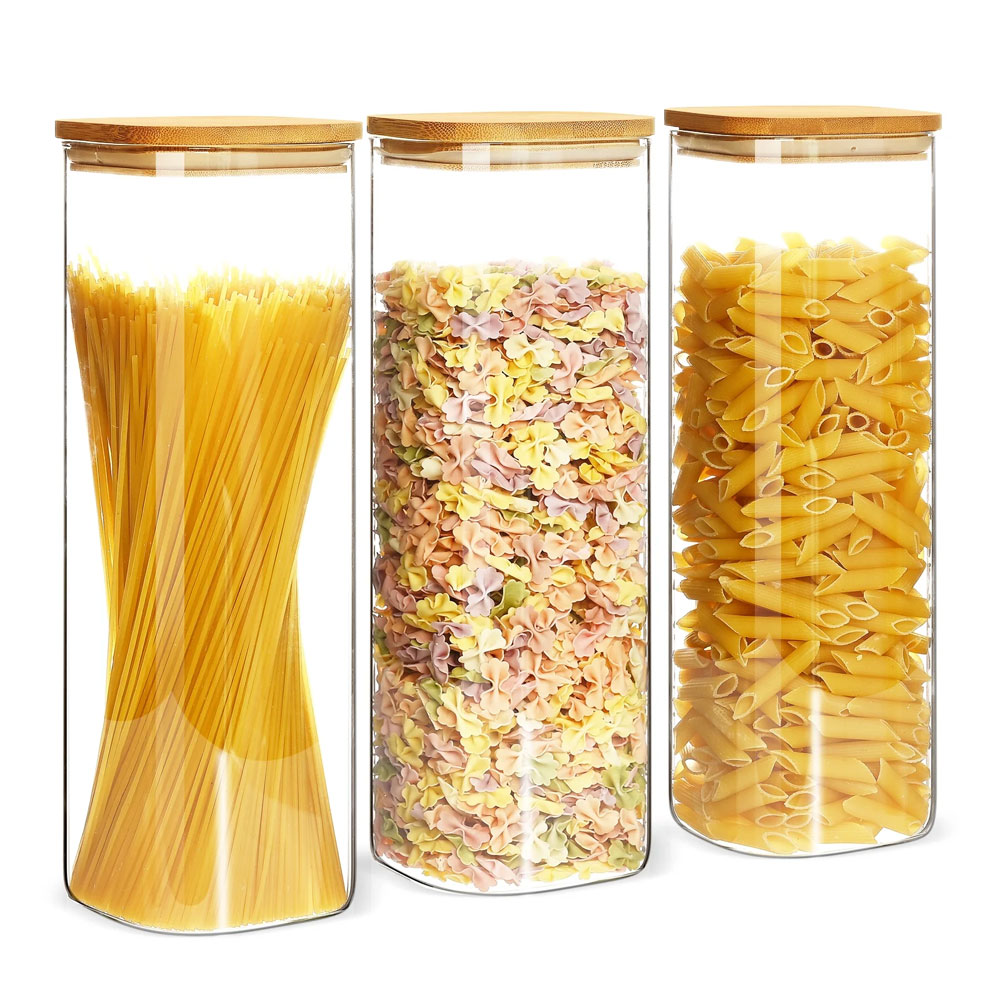
This set of three tall glass storage jars is perfect for keeping all kinds of dried goods fresh, not just spaghetti. The stylish bamboo lids feature silicon seals that ensure an airtight seal.
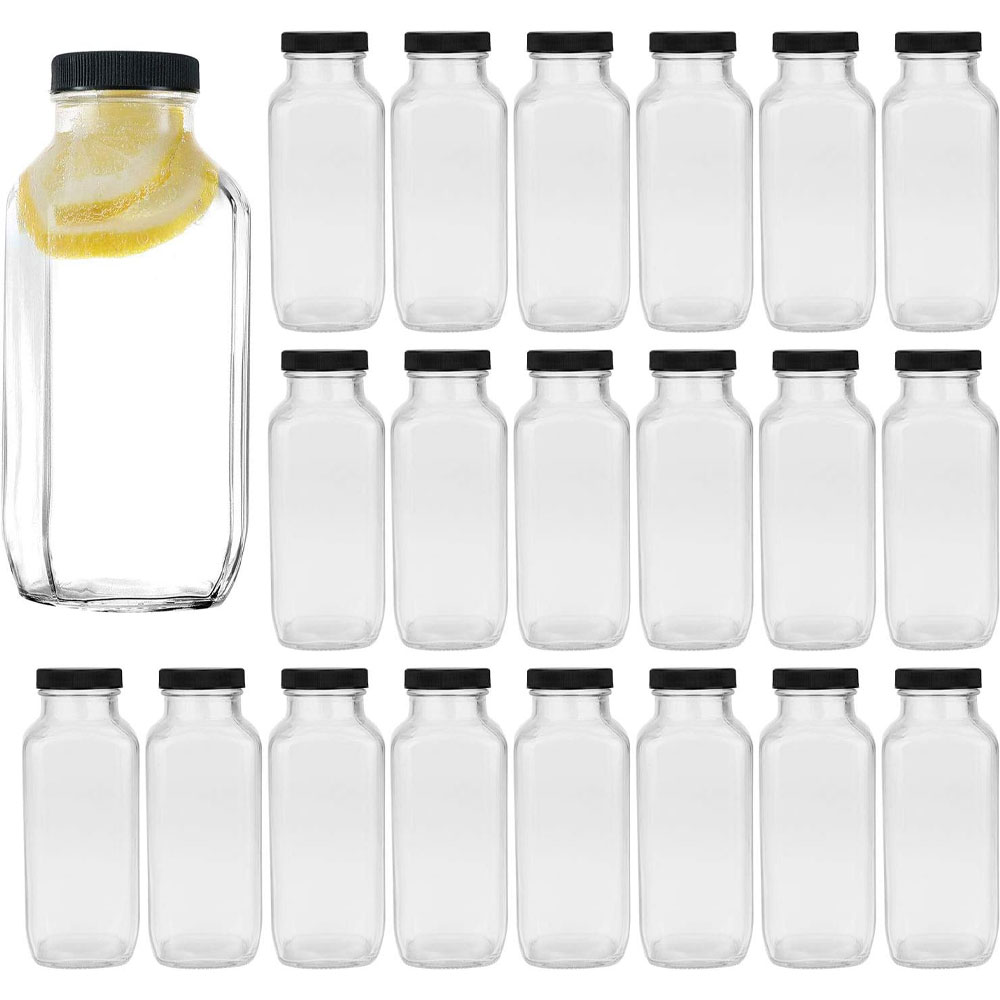
Holding up to 16oz each, these glass bottles have a distinctly vintage look and are perfect for holding all kinds of liquids including oils, vinegar and cordials. The metal lids are leak-proof, and the bottles are dishwasher-safe.
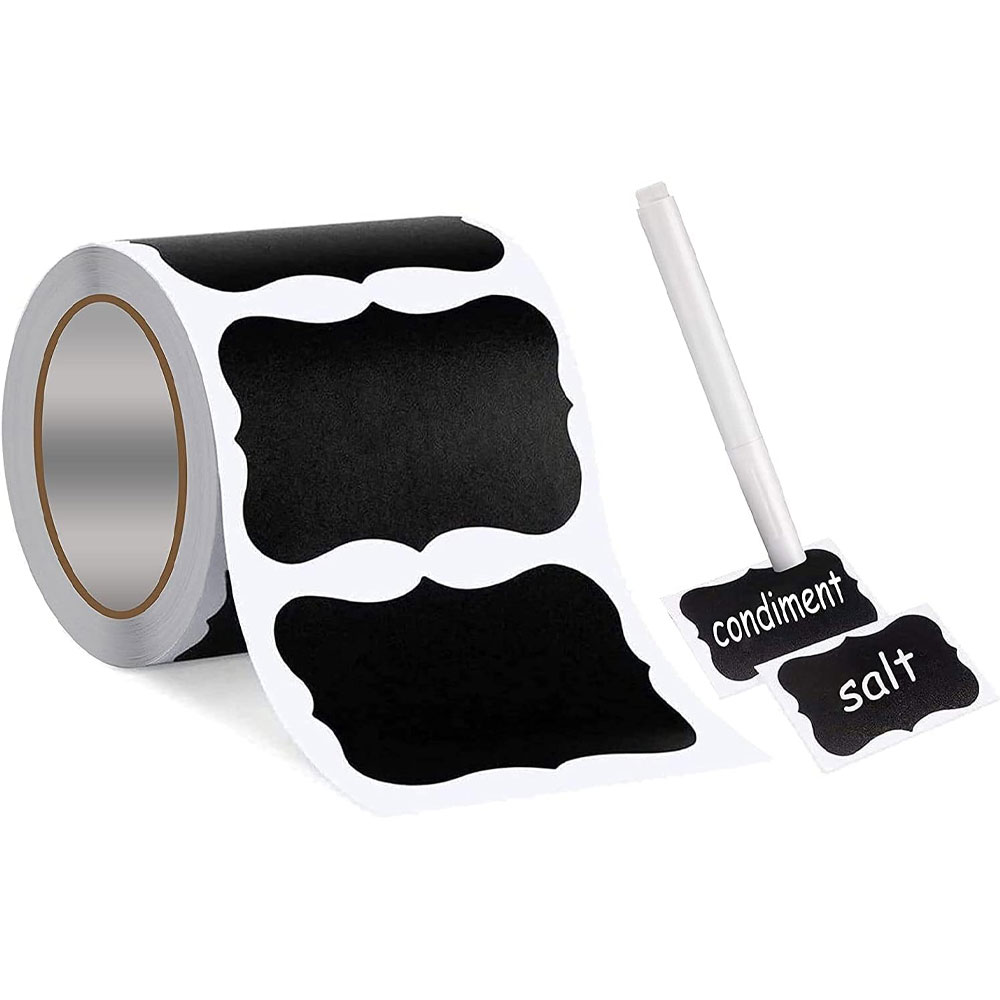
With 150 labels per roll you can go ahead and stick these pretty chalk labels wherever your heart desires. They adhere easily and come complete with a liquid chalk pen. They also peel away easily when no longer needed.
4. Creating pull-out storage
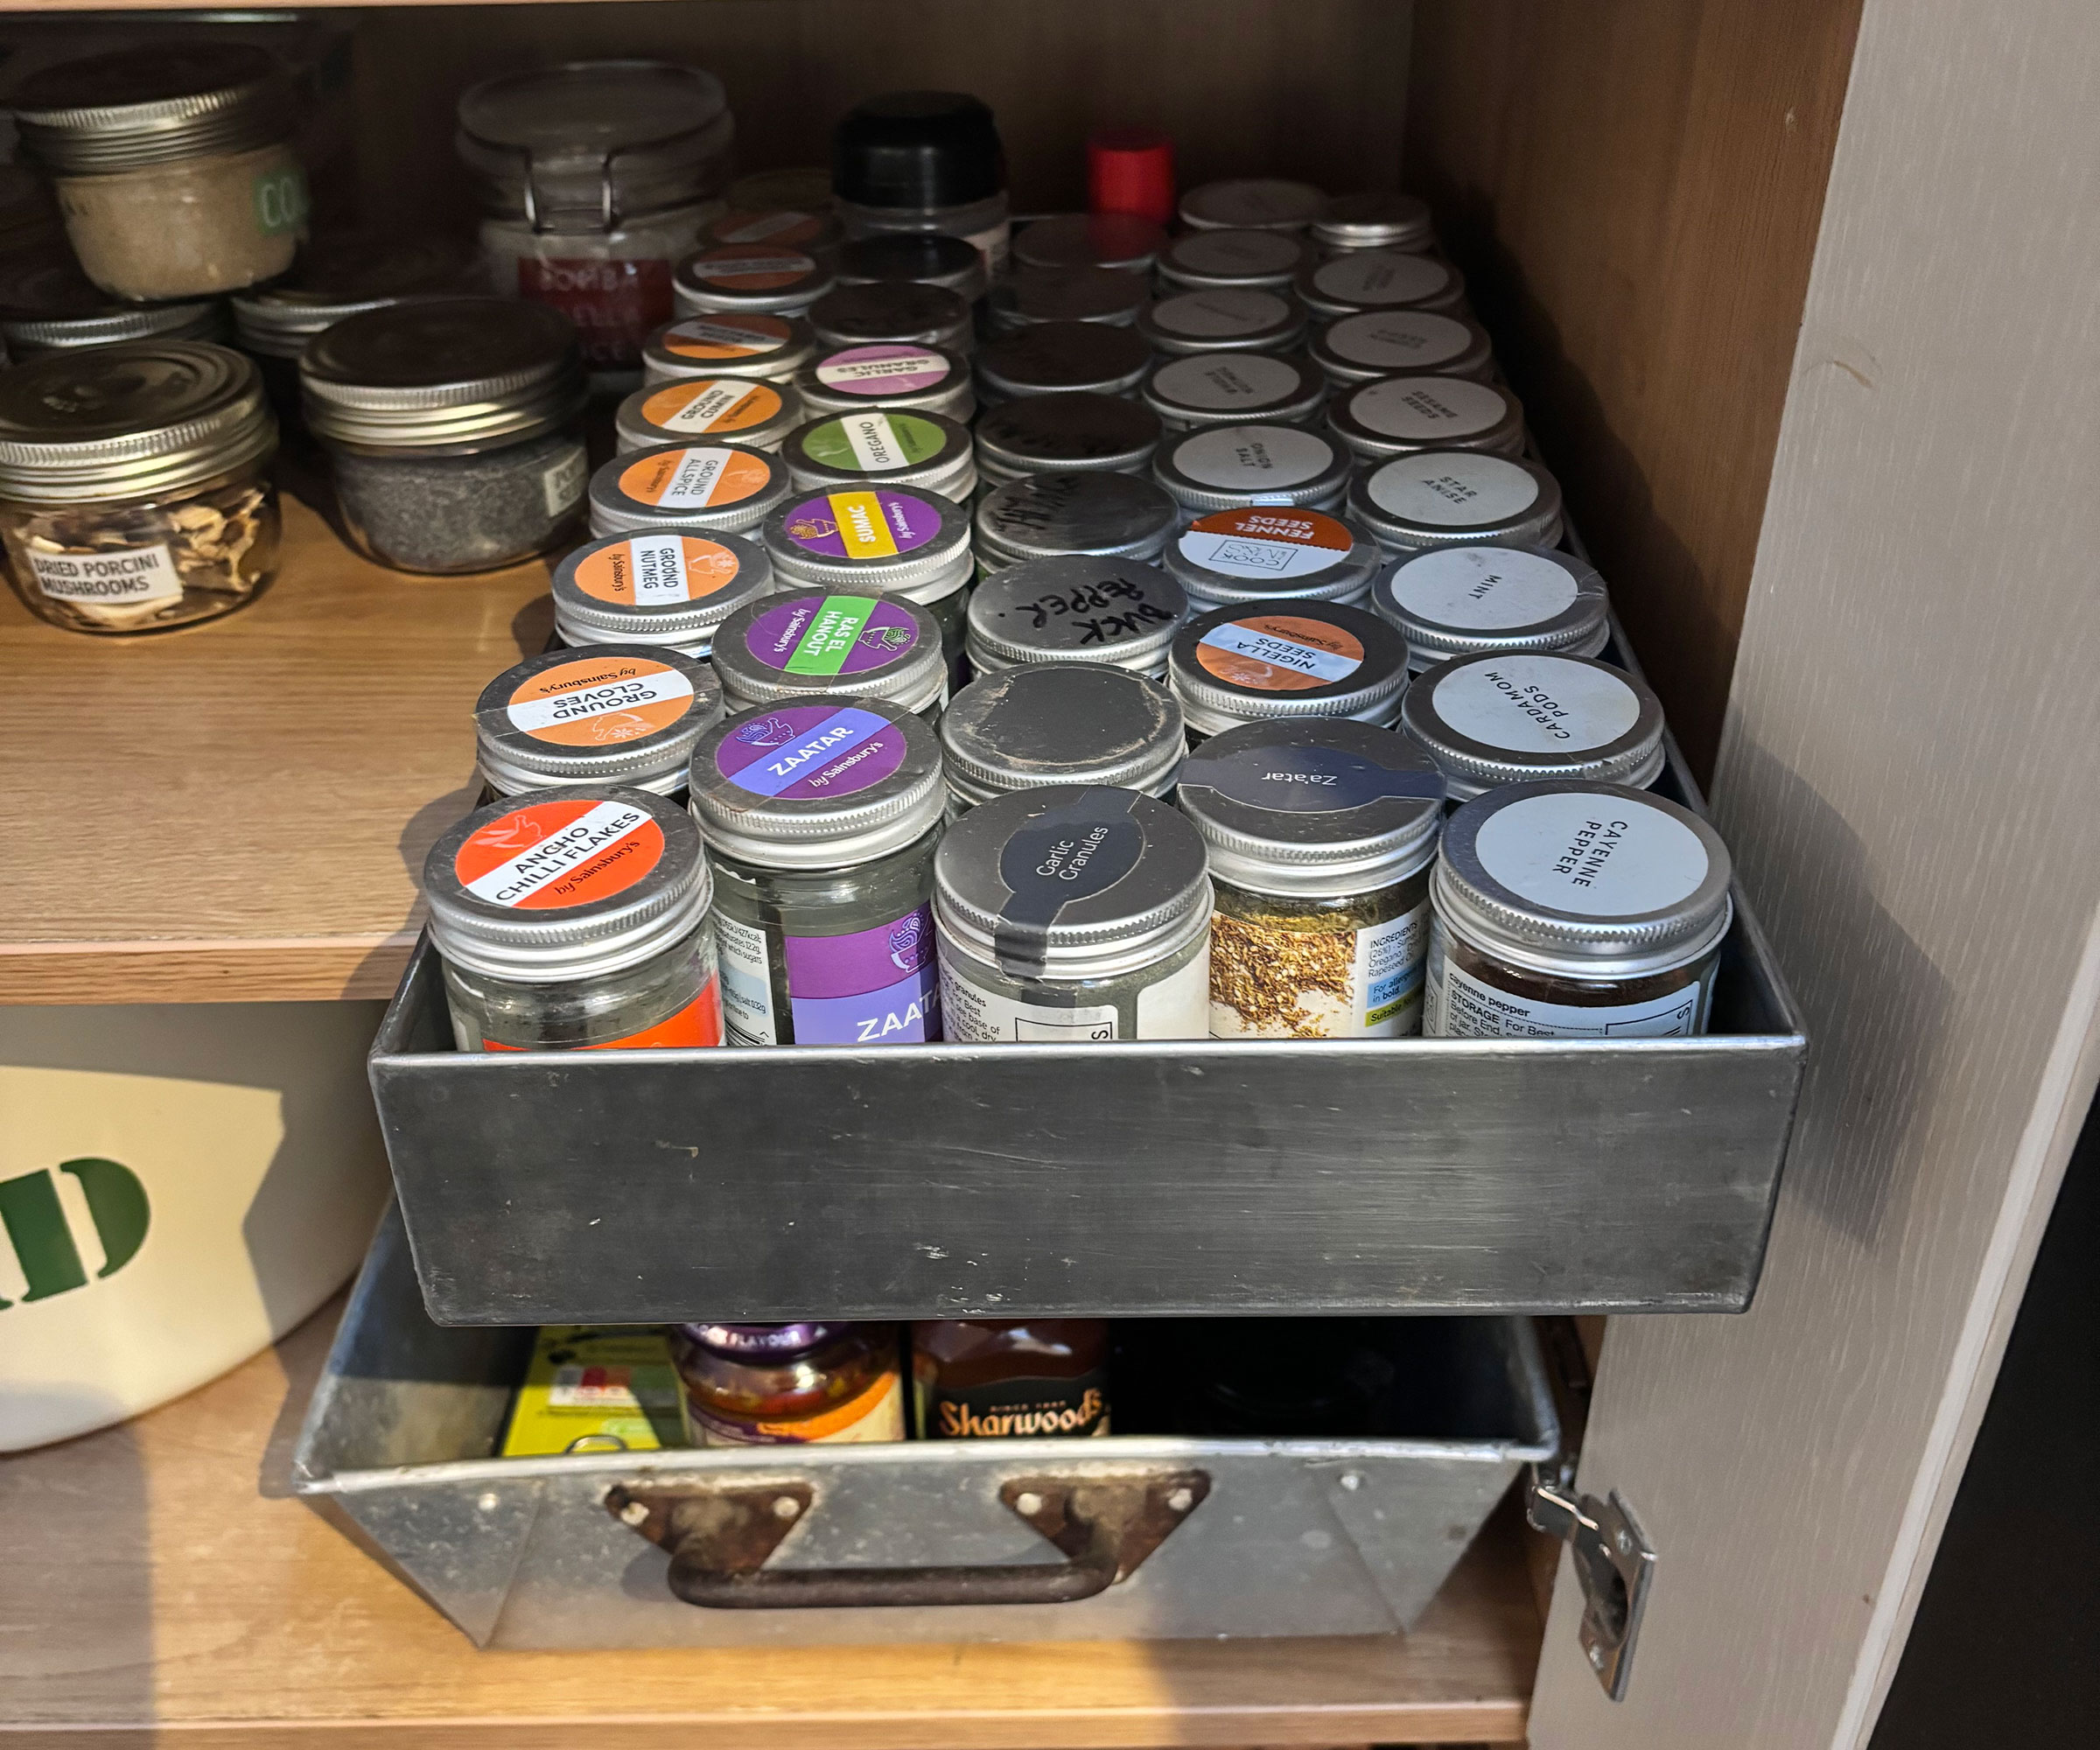
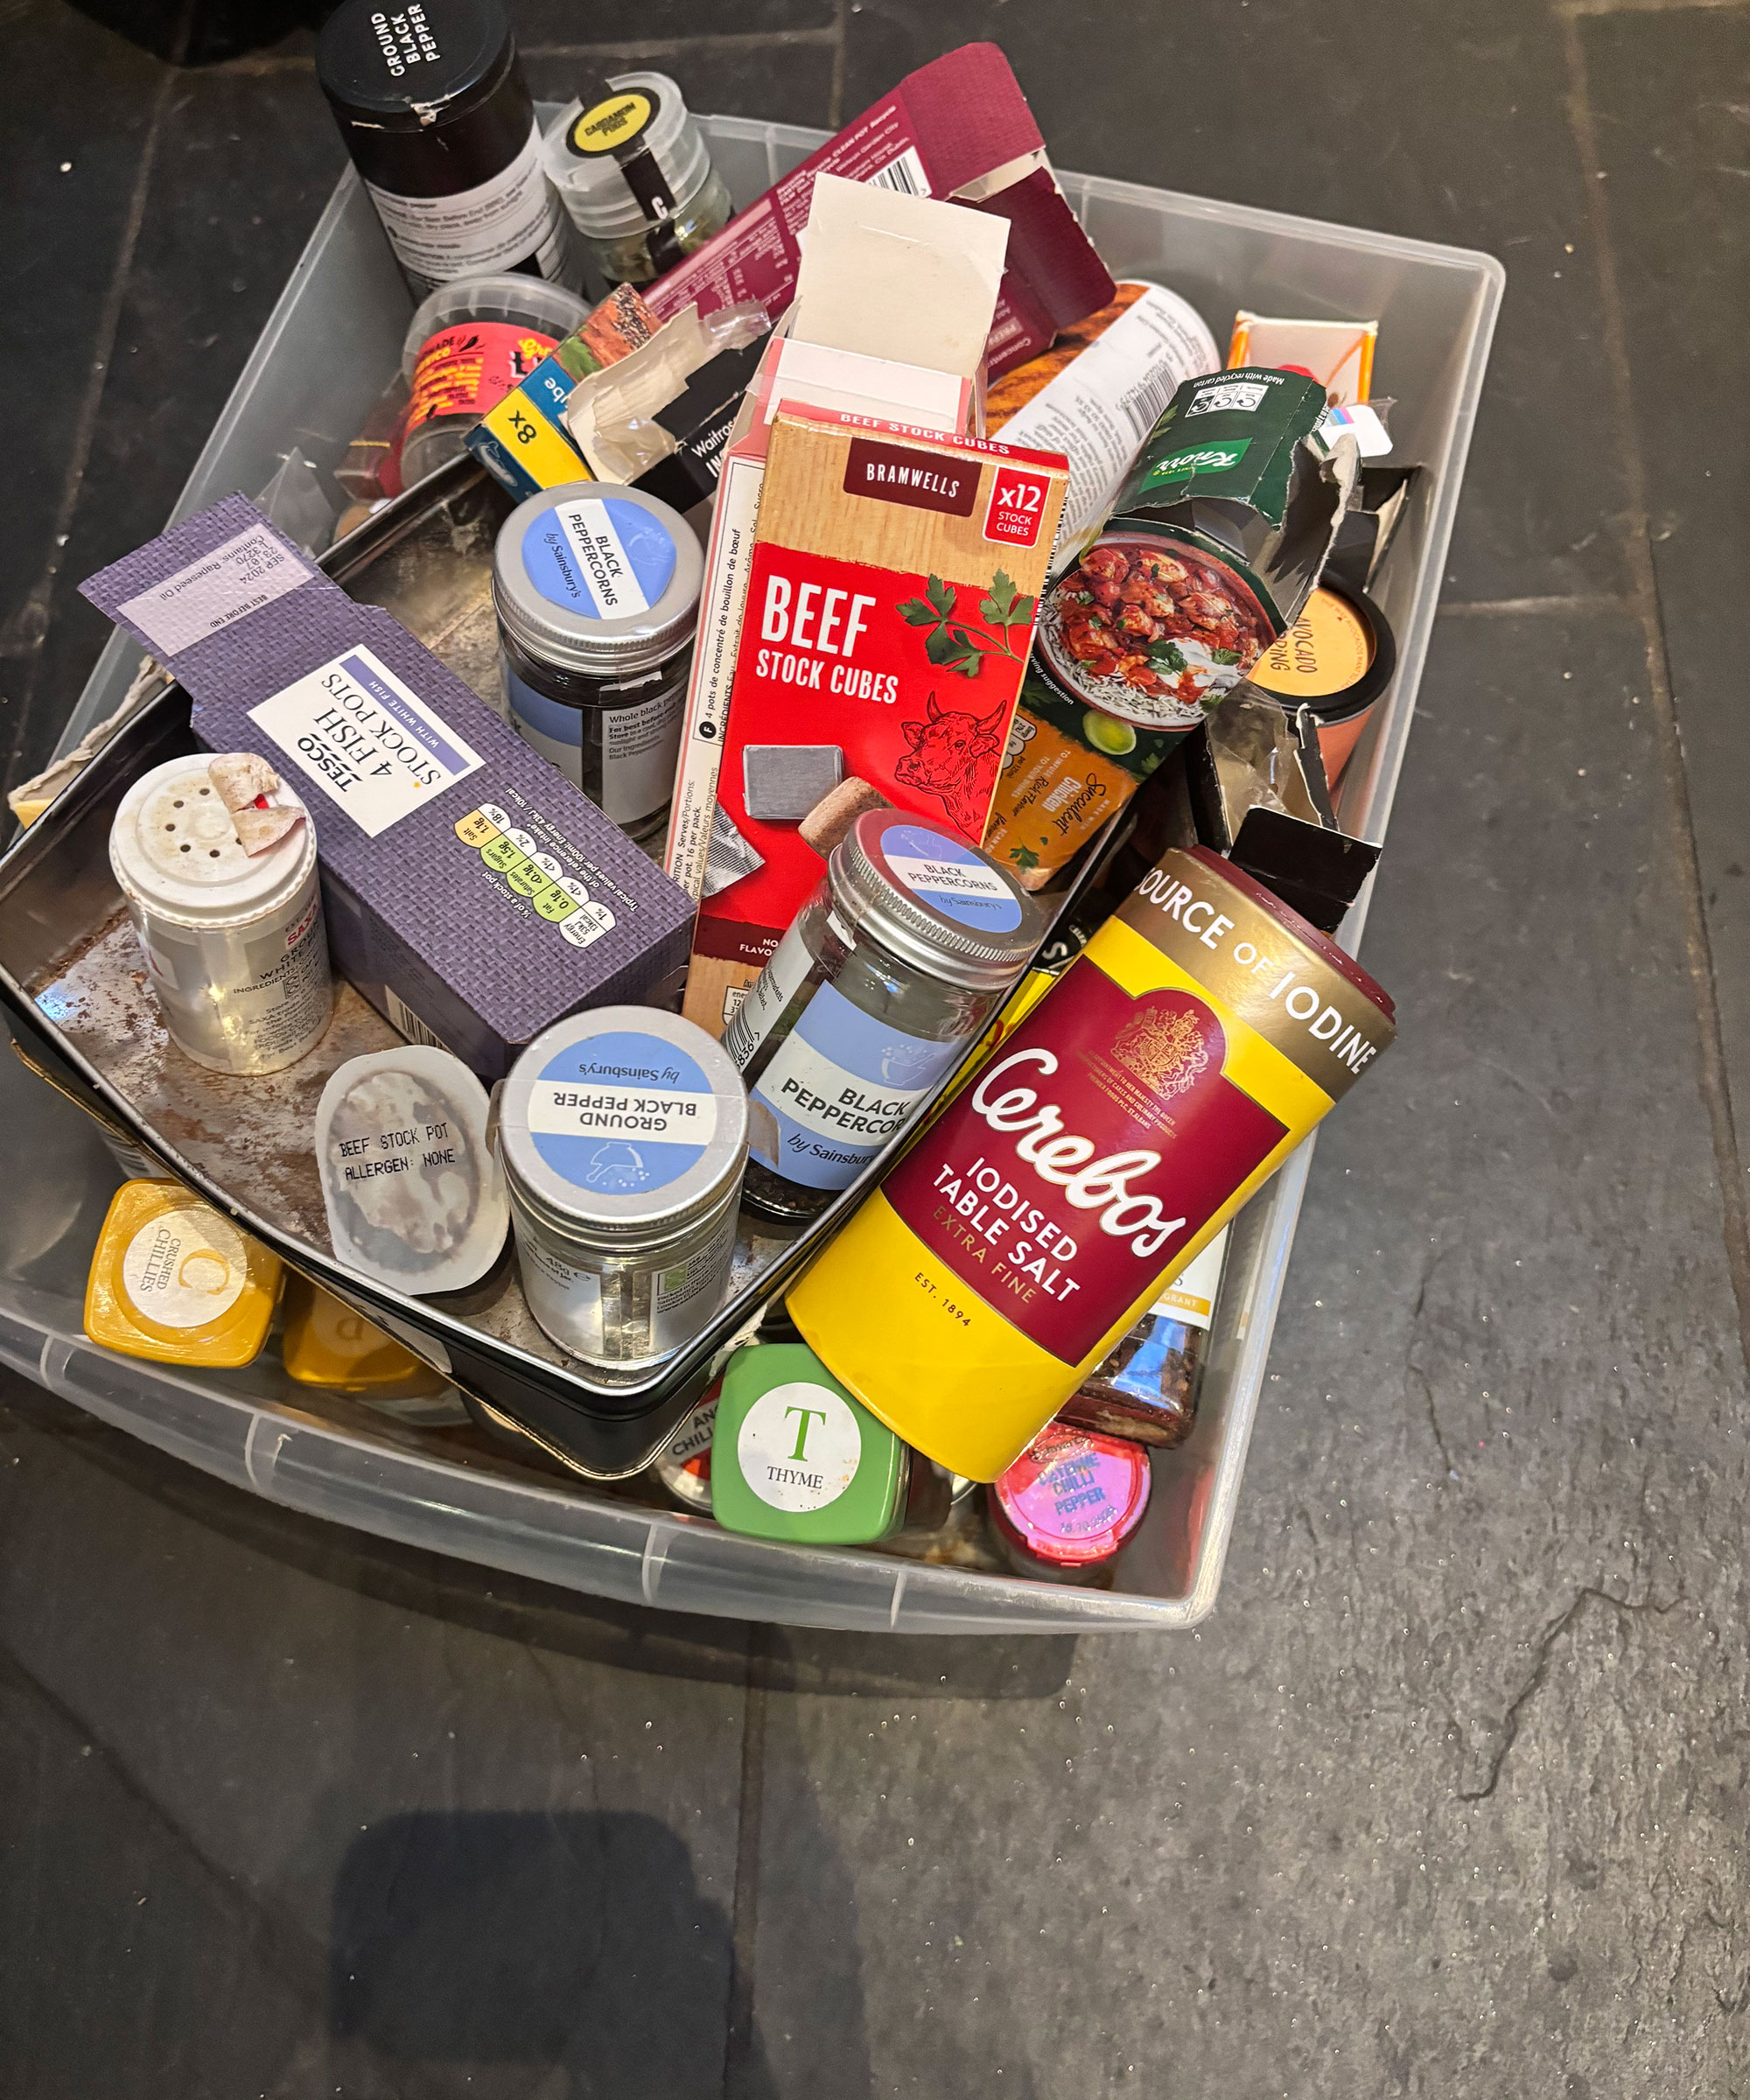
Rather than paying out for snazzy pull-out shelves, Abi had a much better idea. Using robust metal trays she had picked up at a car boot sale, we sorted out all my herbs and spices, tinned goods and packets, breakfast spreads and chutneys into these trays on the lower shelf of the upper section.
These now pull out smoothly to allow me to see everything quickly and with no need for rummaging around at the back of the unit – perfect for anyone looking at ways of organizing kitchen cabinets without spending a fortune.
I am so pleased with my newly-organized herbs and spices and no longer dread sorting through a jumbled plastic box to find what I need.
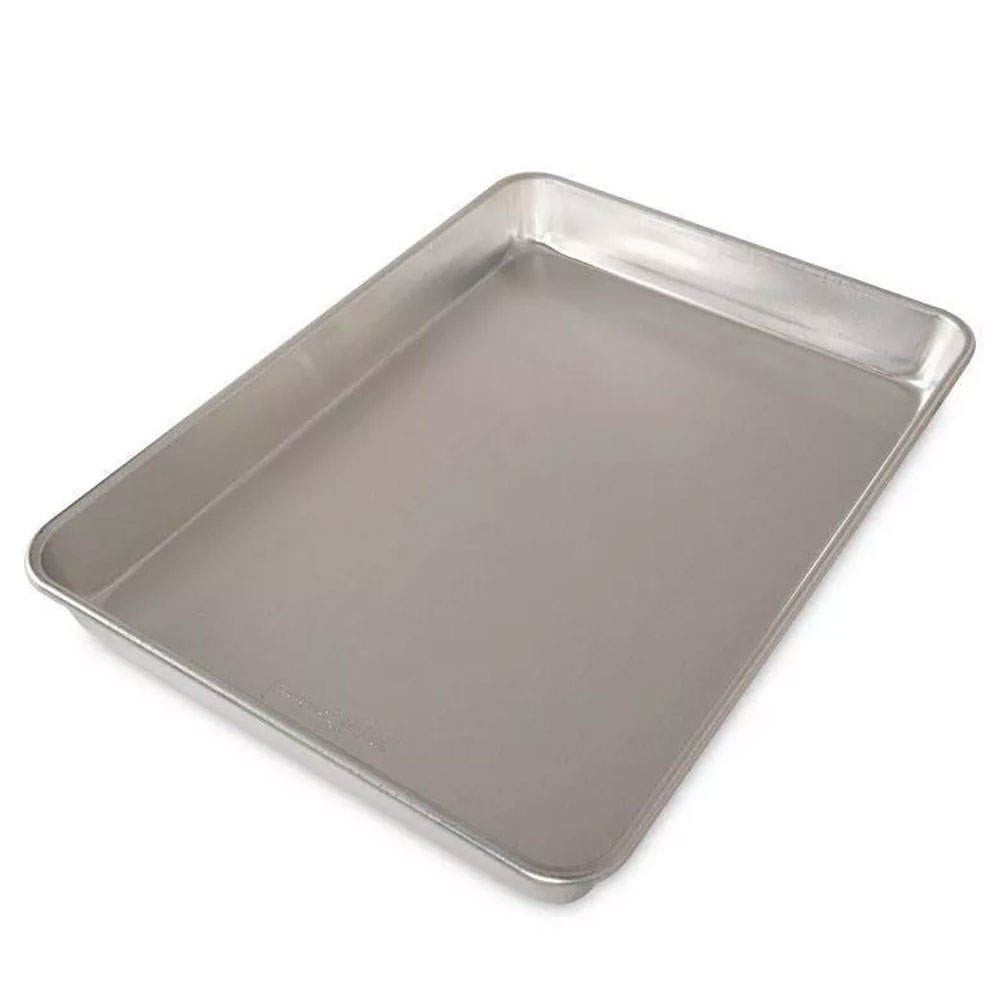
Measuring a very generous 17.9"x13" this high-sided baking sheet is made from sturdy aluminum and would do a good job of replicating the look of the catering trays Abi used in my pantry.
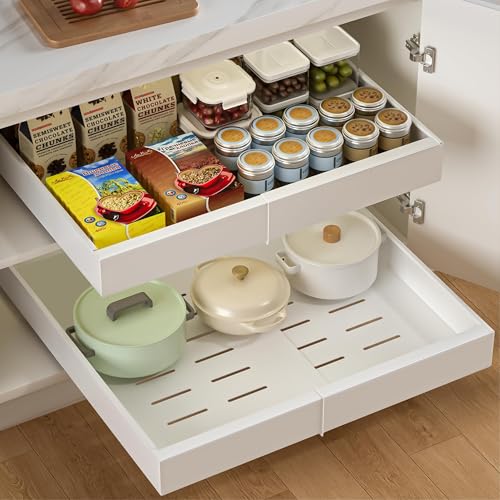
If you prefer an option you can secure into your pantry space, using an expandable pull-out tray on rails will allow you that functionality and uniformity.
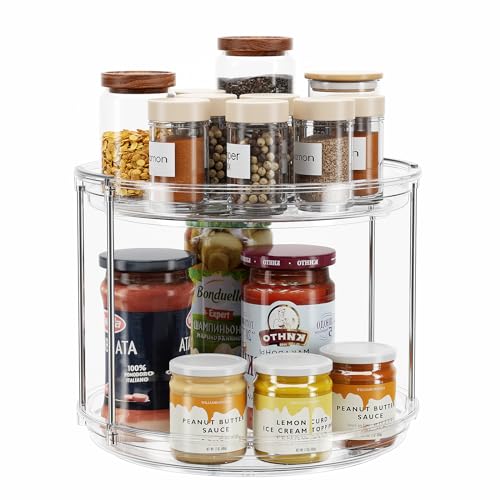
A two-tiered Lazy Susan is great for organizing items that might otherwise be forgotten about at the back of a shelf, or be hard to reach.
5. Making up baking baskets
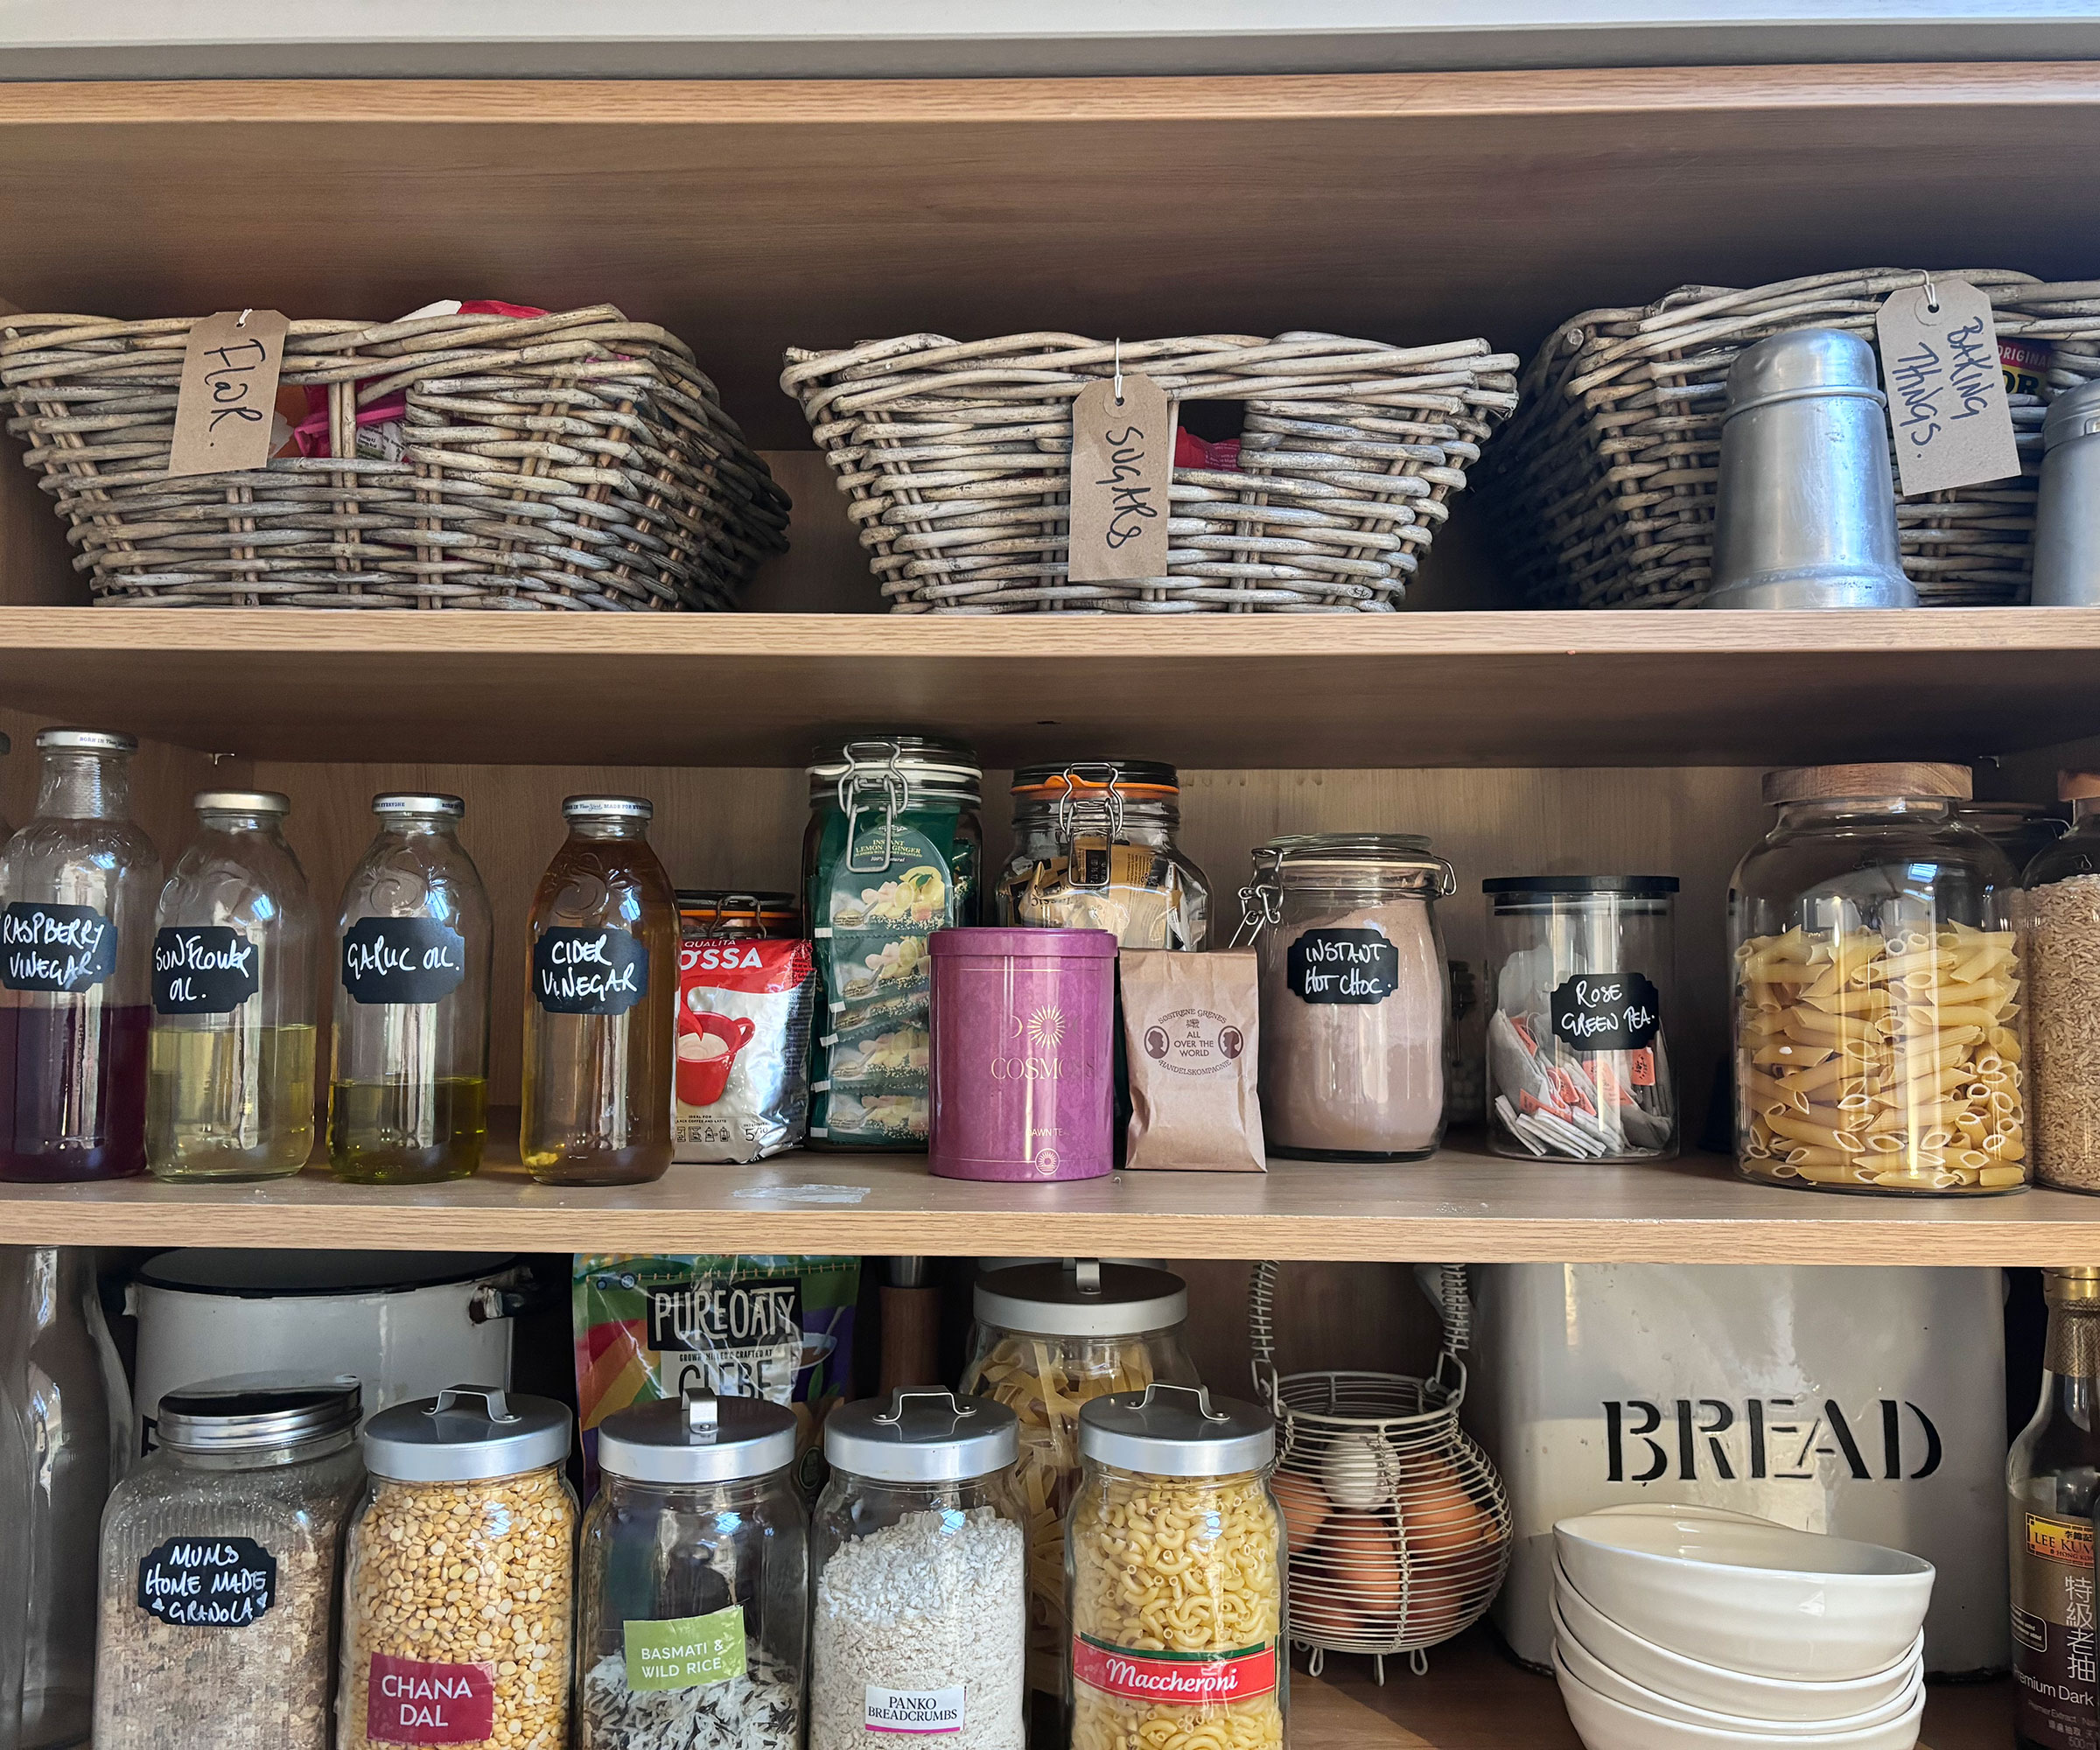
I love baking and as a result of making some rather ambitious birthday cakes for the children over the years, have quite an extensive stock of random equipment, strangely shaped cookie cutters and a ton of flours, food dyes and sugars.
Using beautifully rustic baskets, which we labeled using brown paper labels tied with string, we separated these all out to make finding everything easy. As they aren't one of my pantry staples, we popped these baskets on the highest shelf. They're still accessible if I need them, but not taking up prime real estate in my pantry.
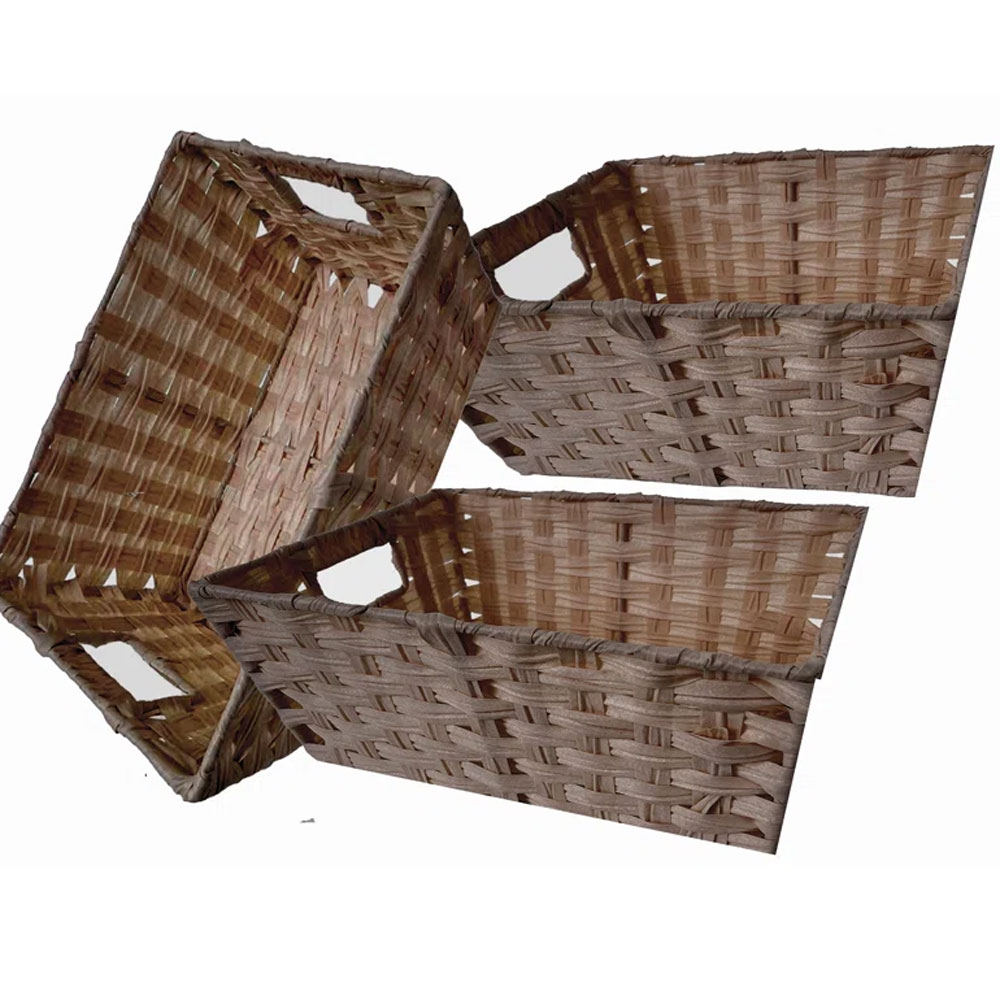
Offering good value for money, this set of three brown wicker baskets are a great size for sliding onto pantry shelves, measuring six inches high. Their handles make them easy to slide in and out too.
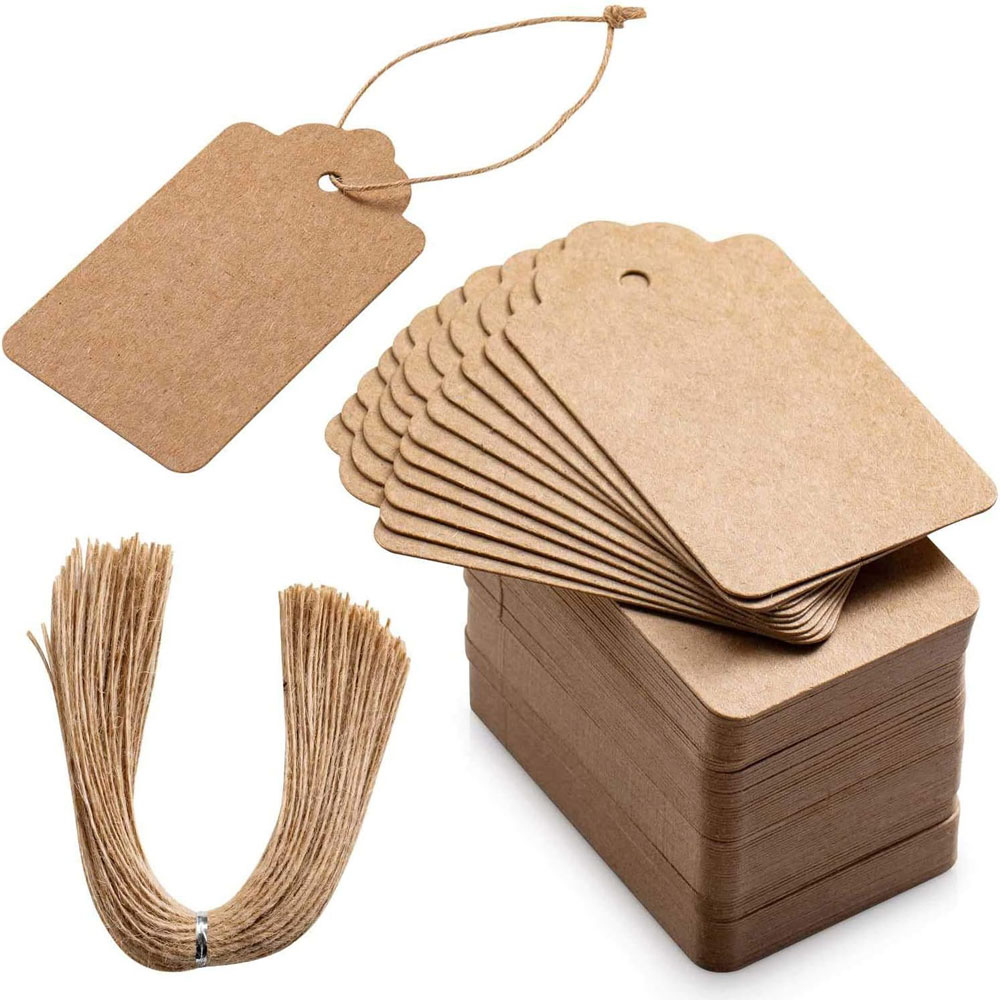
These stylish brown paper labels are ideal for hanging off all kinds of storage baskets, jars and boxes to help you quickly identify them at a glance. The string is included and they are also perfect for gifts.
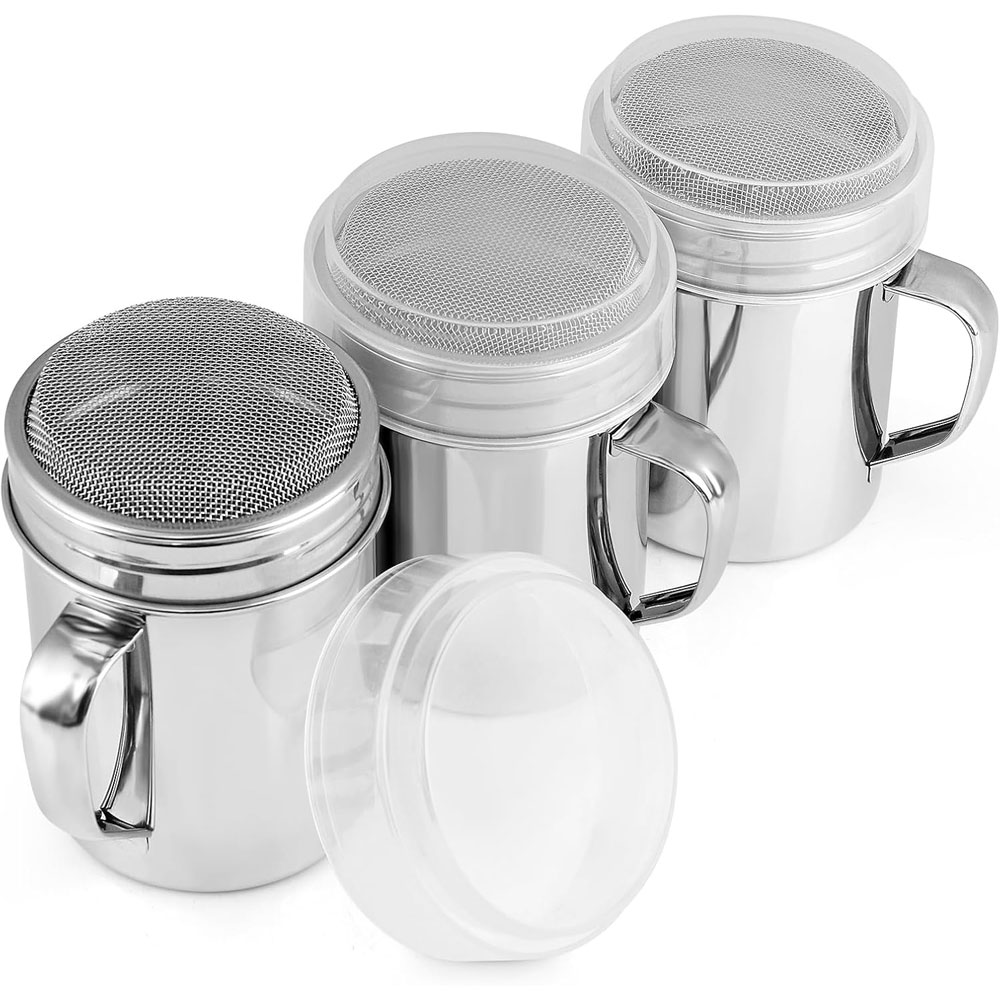
Abi sourced some authentic vintage flour shakers for my baking shelf but if you can't get your hands on any, this set of three stainless steel shakers are perfect for flour, sugar and cinnamon – plus they are dishwasher safe.
6. Prioritizing items
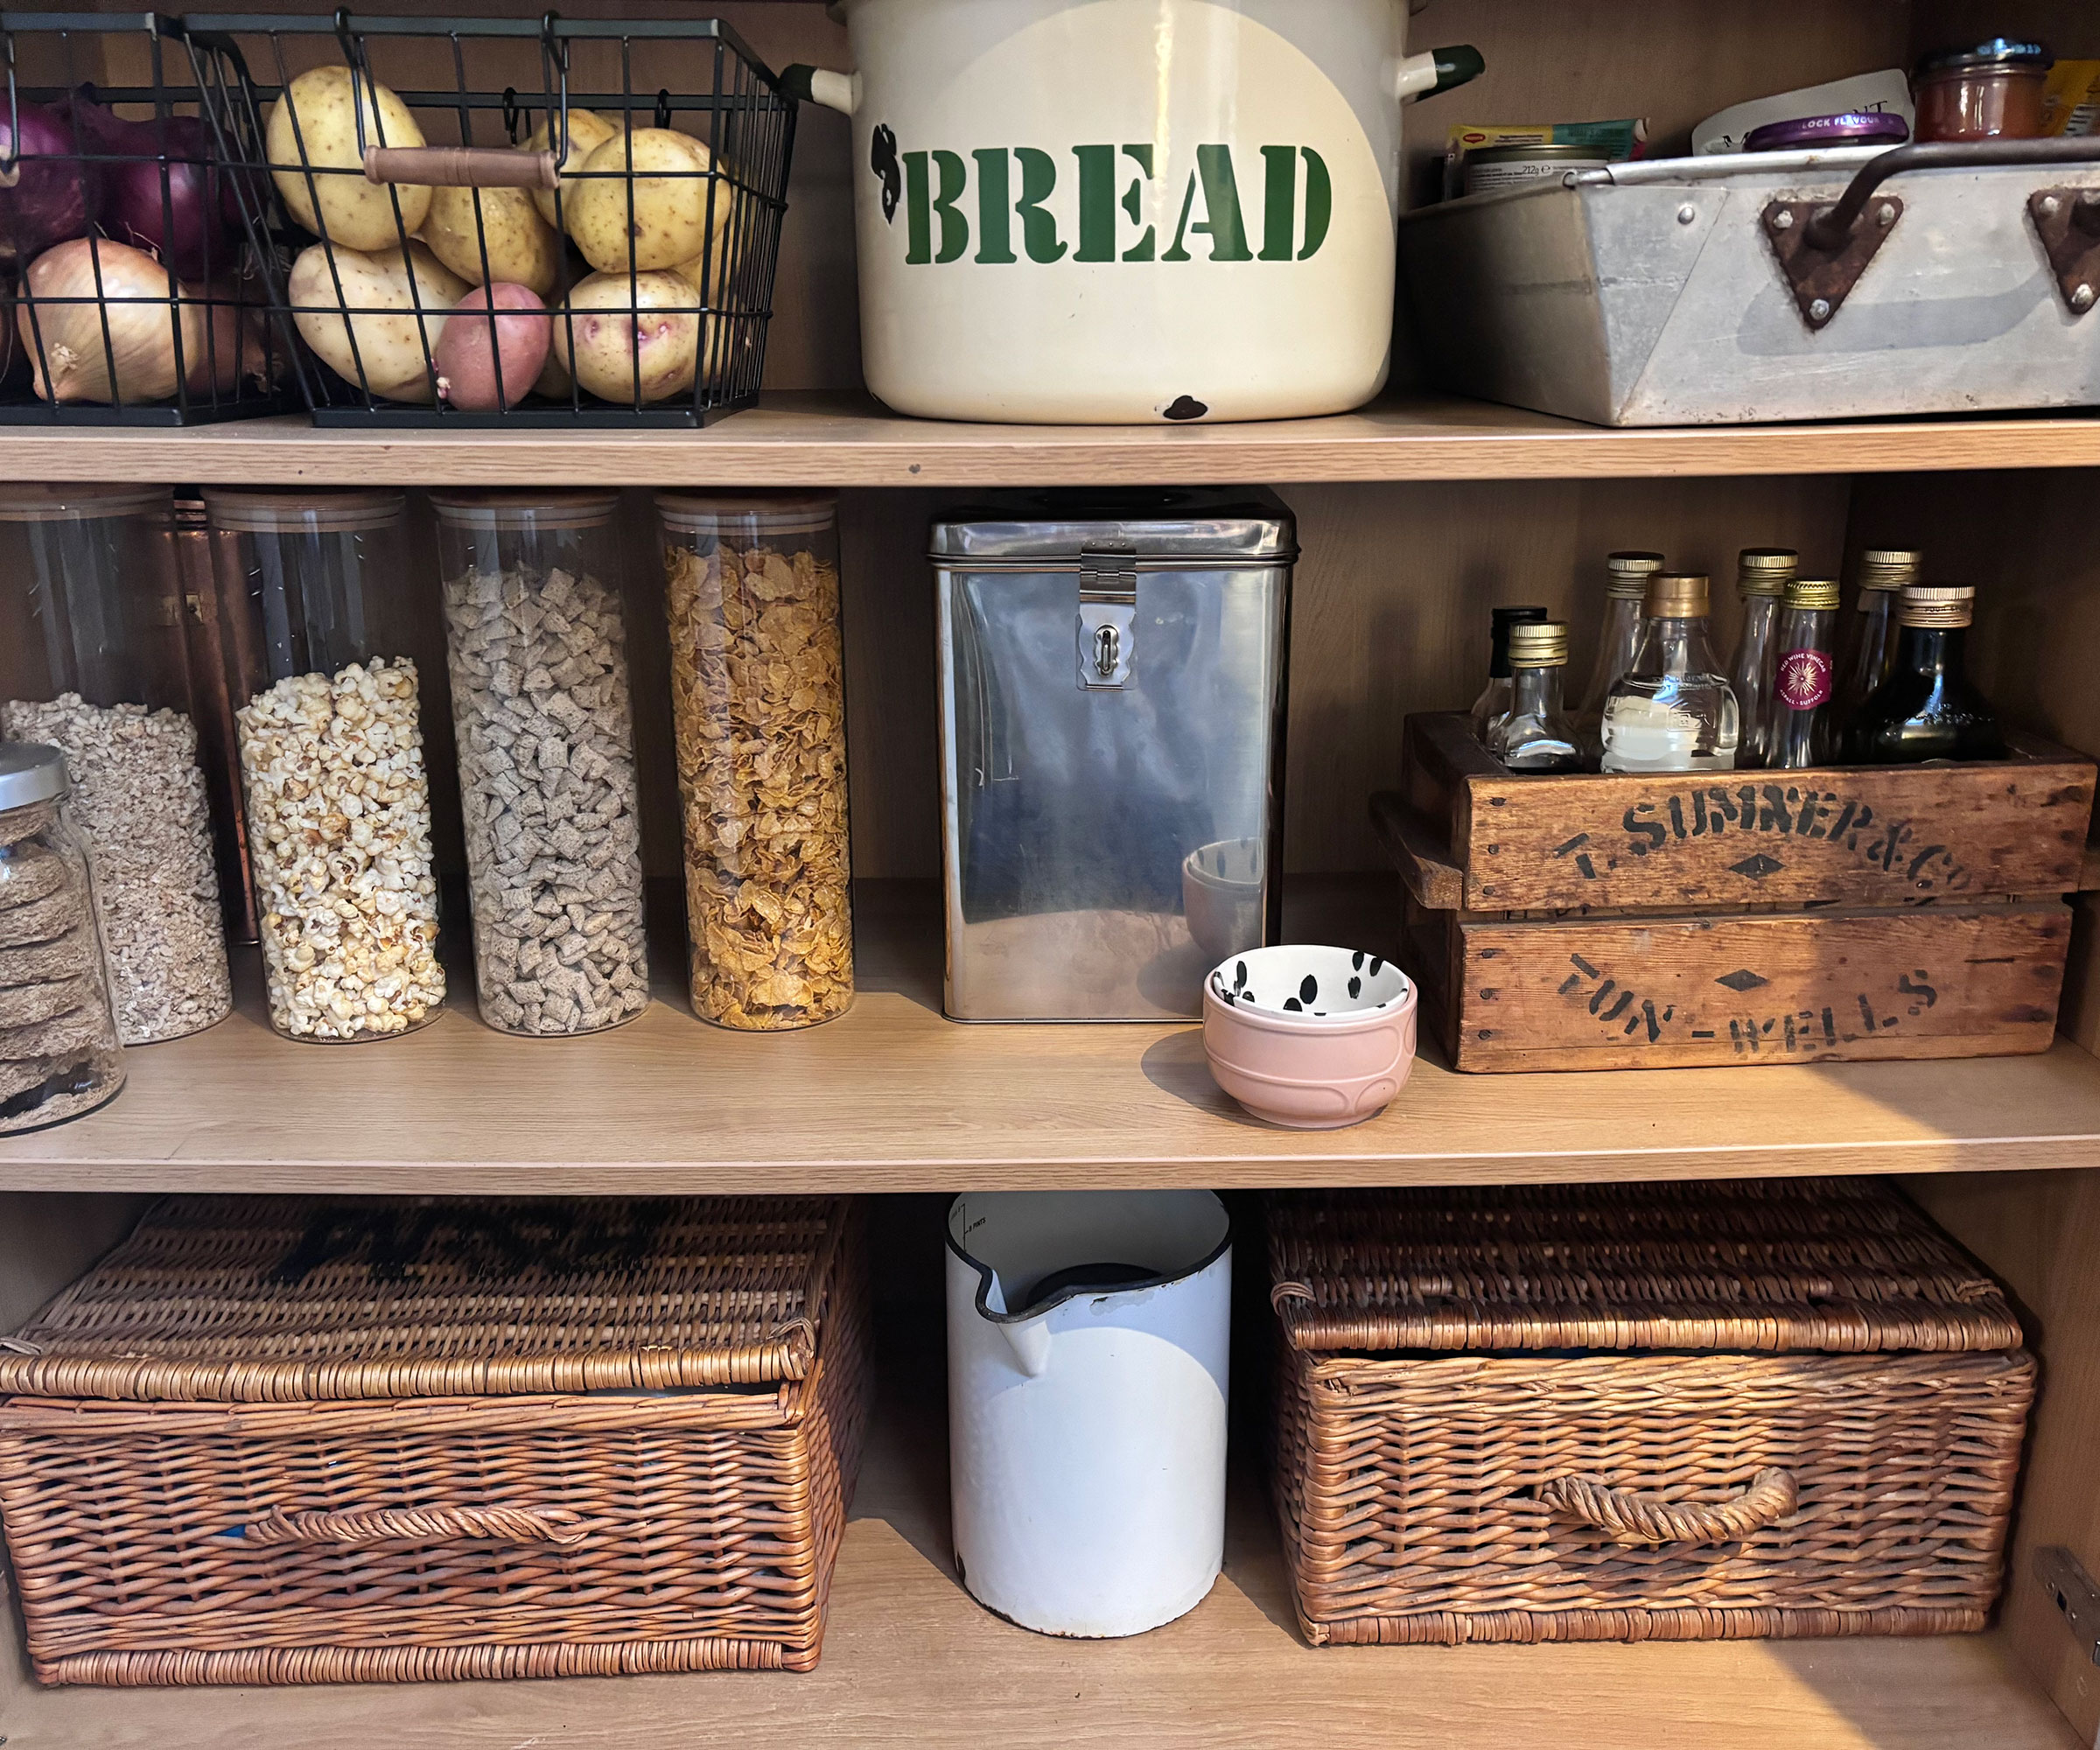
When everything had its own container, Abi asked me to think about the items I needed access to most frequently and we put them in order, from those that needed to be close to hand at all times, to bits and bobs that only get used occasionally.
This is where it is really important to think about how your individual kitchen ideas will work alongside your pantry organization.
Sauces, tinned good, rice, pasta, cordials and vegetables such as potatoes and onions were all given prime positions, while things like serving dishes that are rarely needed got packed up into smart picnic hamper-style baskets on the bottom shelf.
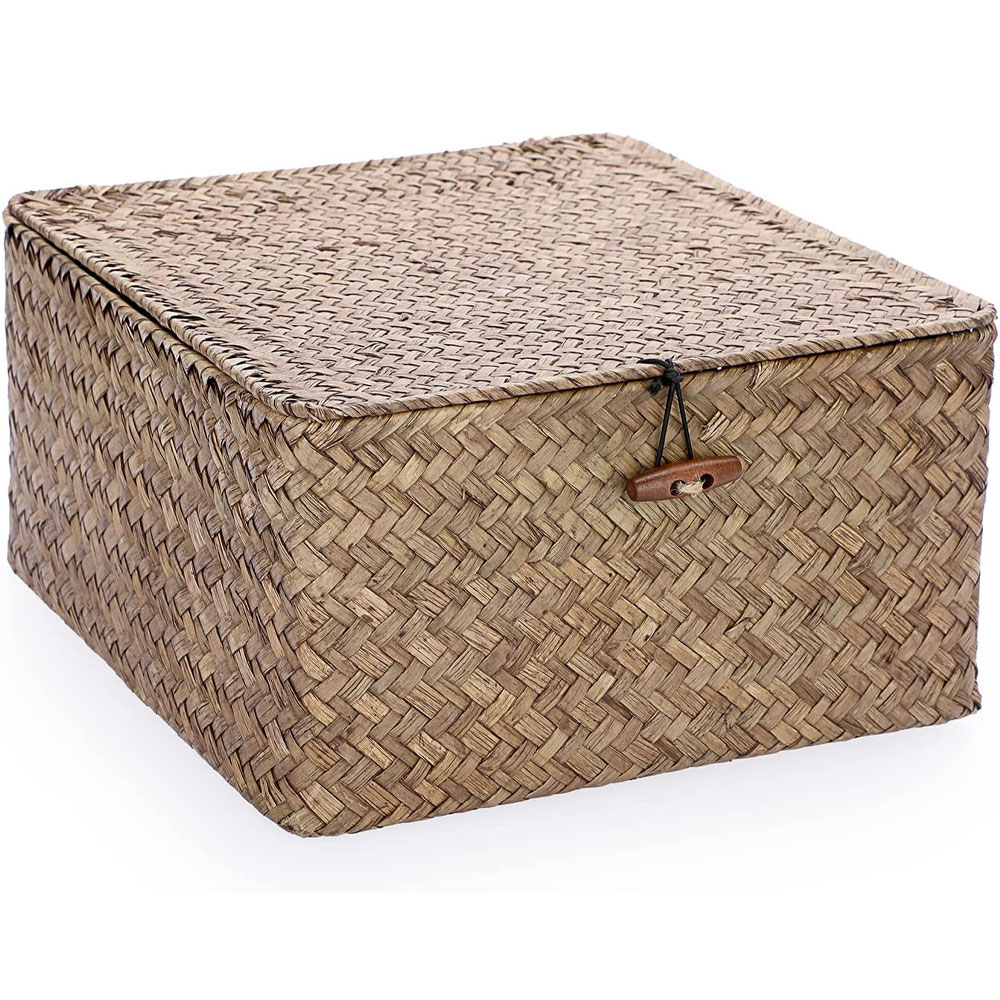
This pretty sea grass storage bin comes in a range of sizes so would be ideal for all kinds of pantry shelves. The lid is perfect not only for hiding clutter but also for keeping the contents dust free.
7. Add the finishing touches
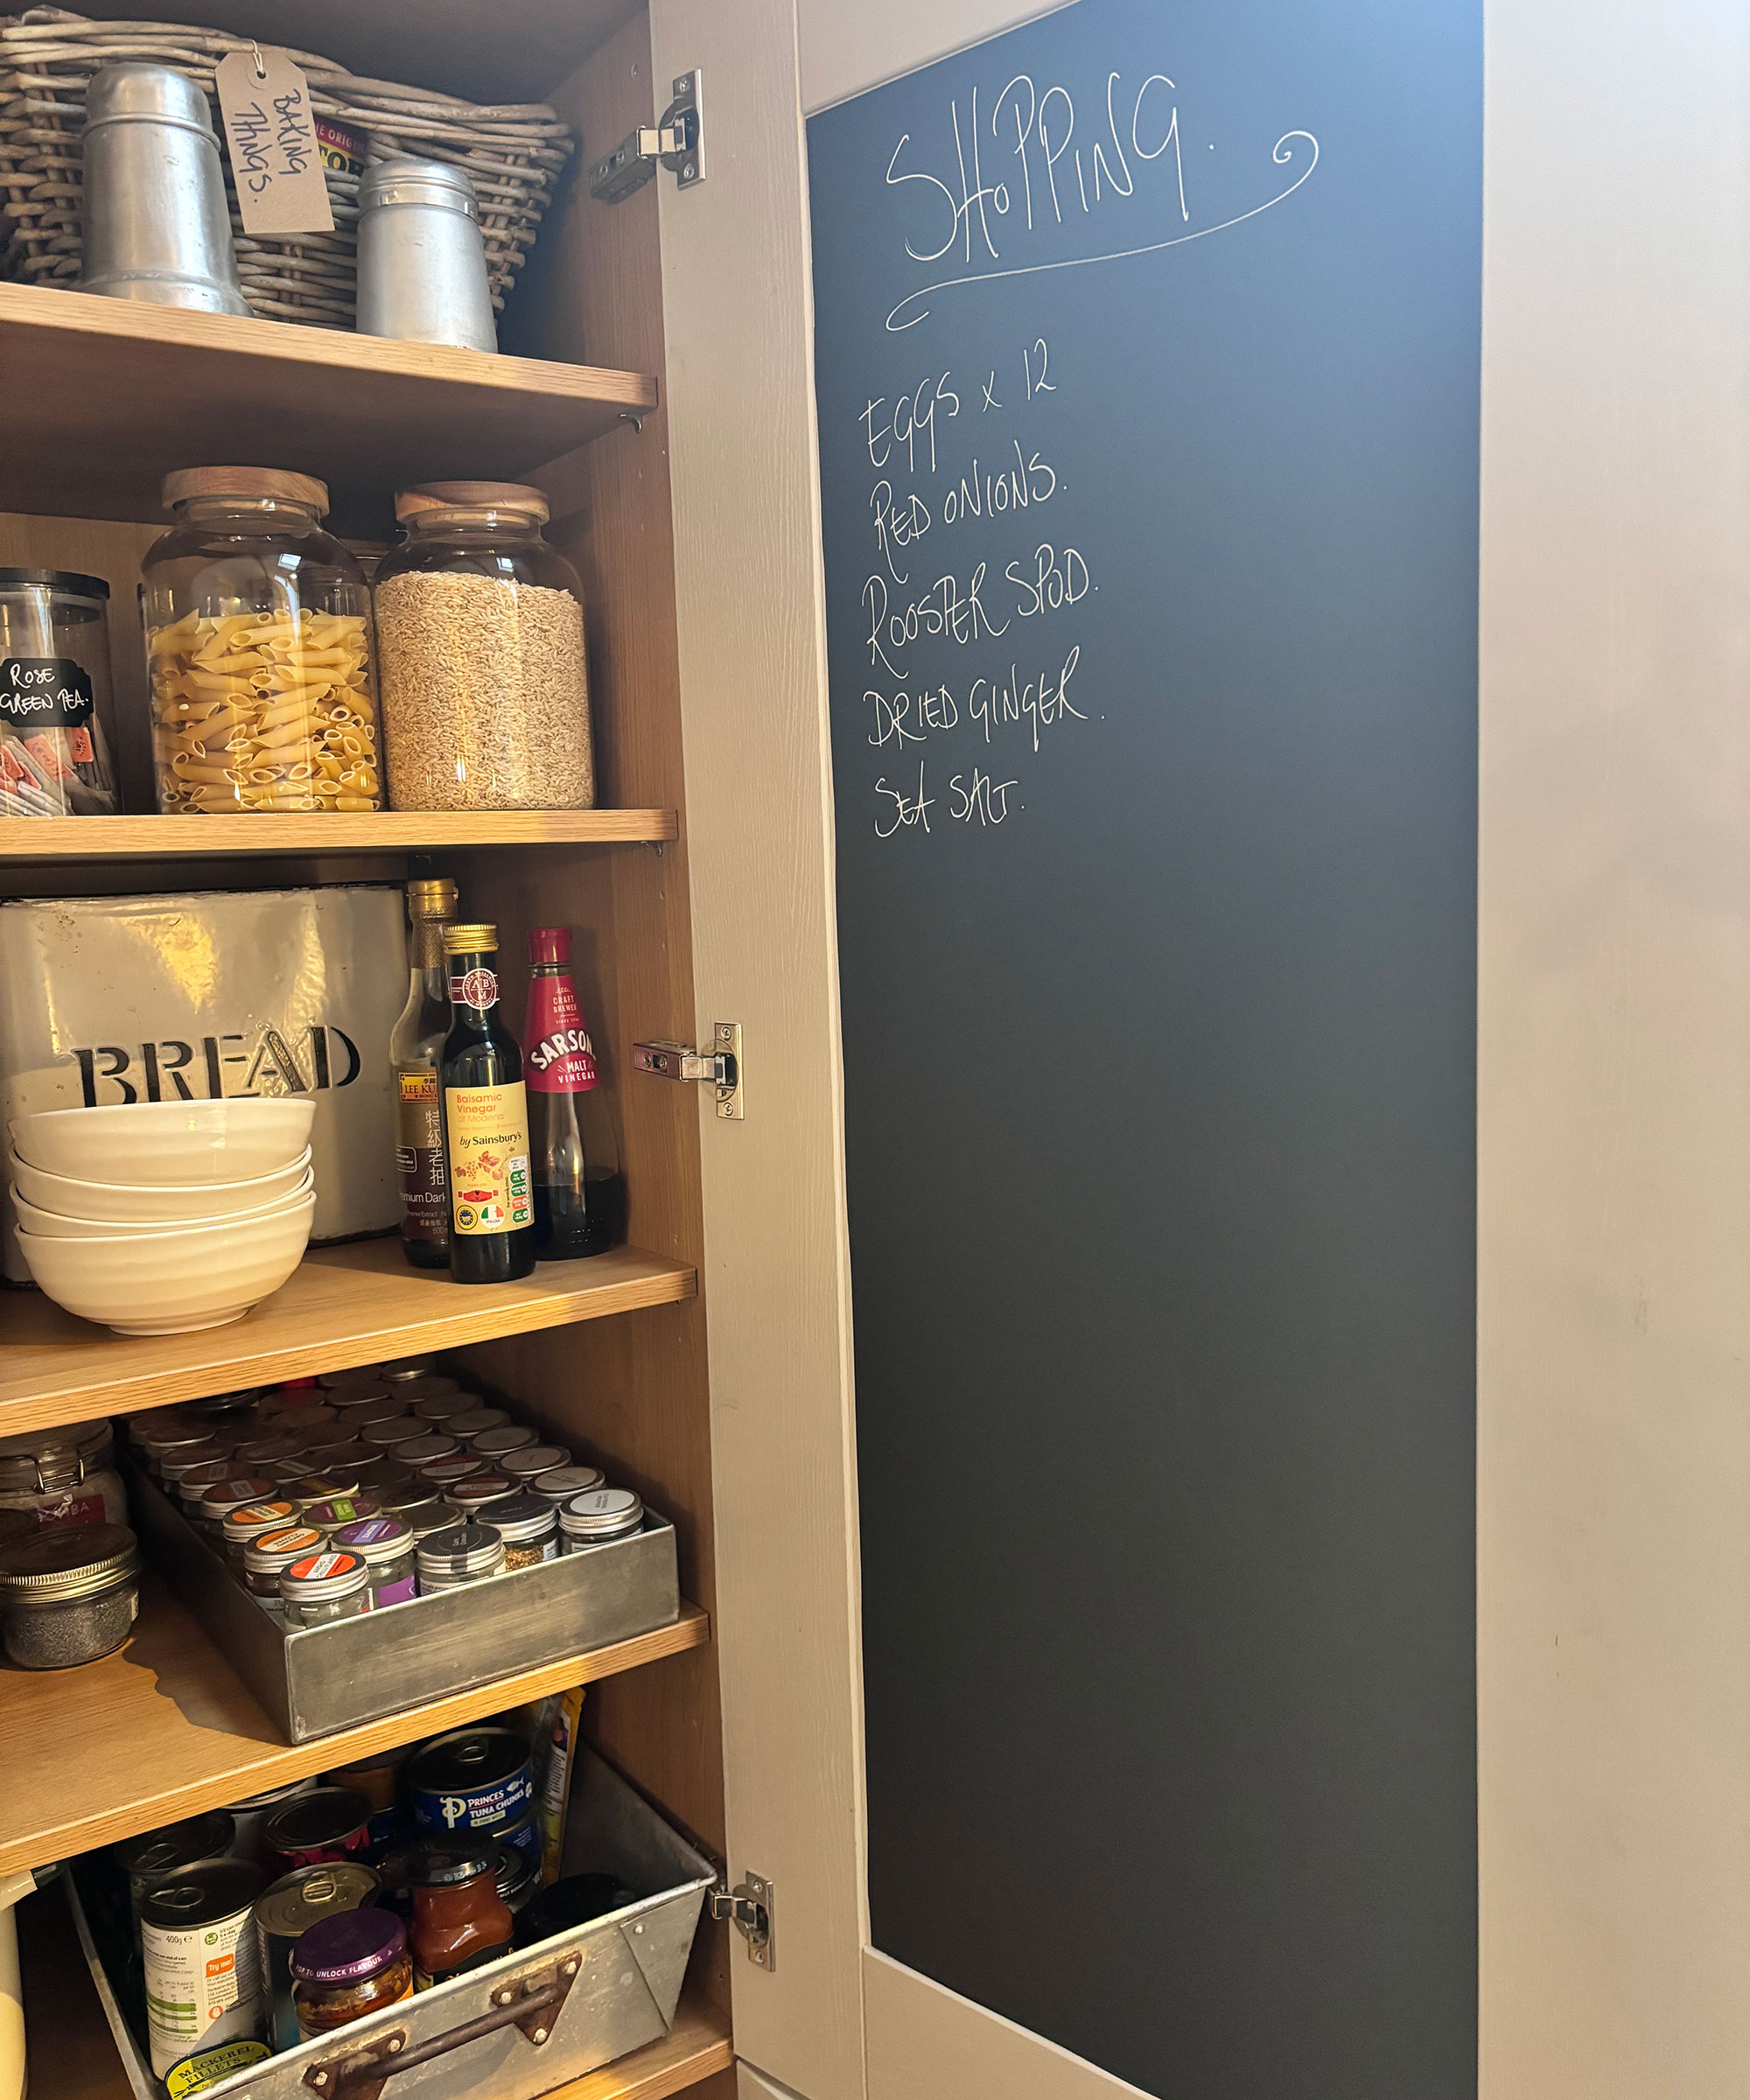
Step into Abi's apartment and you would be forgiven for thinking your had walked in on a perfectly styled photo shoot, so it was inevitable that she'd introduce more than a few stylish yet practical elements into my larder unit.
Abi suggested we use the inside of one of the pantry doors as a huge shopping list so I ordered a roll of this adhesive chalkboard paper from Amazon. It was super easy to cut to size and stick on to the doors, plus it came with a chalk pen to make things easier. I now have no excuse to run out of the essentials as I can just jot them down as and when I'm all out.
On the downside, my children are already using it to write rude notes to each other... time to find out the best way to clean a chalkboard!
Meet the expert
FAQs
What kind of light do you put in a pantry?
You have several options here. If you are dealing with walk-in pantry ideas, the likelihood is that you will want to have your lights wired in as you would in other rooms in the house, but if you are retrofitting or working with a larder unit like mine, other options might be less disruptive and cheaper.
If you are using overhead lighting, consider directional spotlights or track lights to ensure you are illuminating all the right areas.
Battery-powered LED lights are perfect for all kinds of spaces and are particularly good for small pantry ideas, being simple to install and cheap to buy. They can also be dotted about to ensure each and every corner is visible. Some of these battery light are also motion sensor so will come on and off as the doors are opened and closed.
If you have an outlet within your pantry you have other options too, including LED light strips and under-cabinet lights that are designed to be plugged in.
And, finally, one idea I am considering is battery-powered string lights – they might not be the most practical option but they would look so pretty.
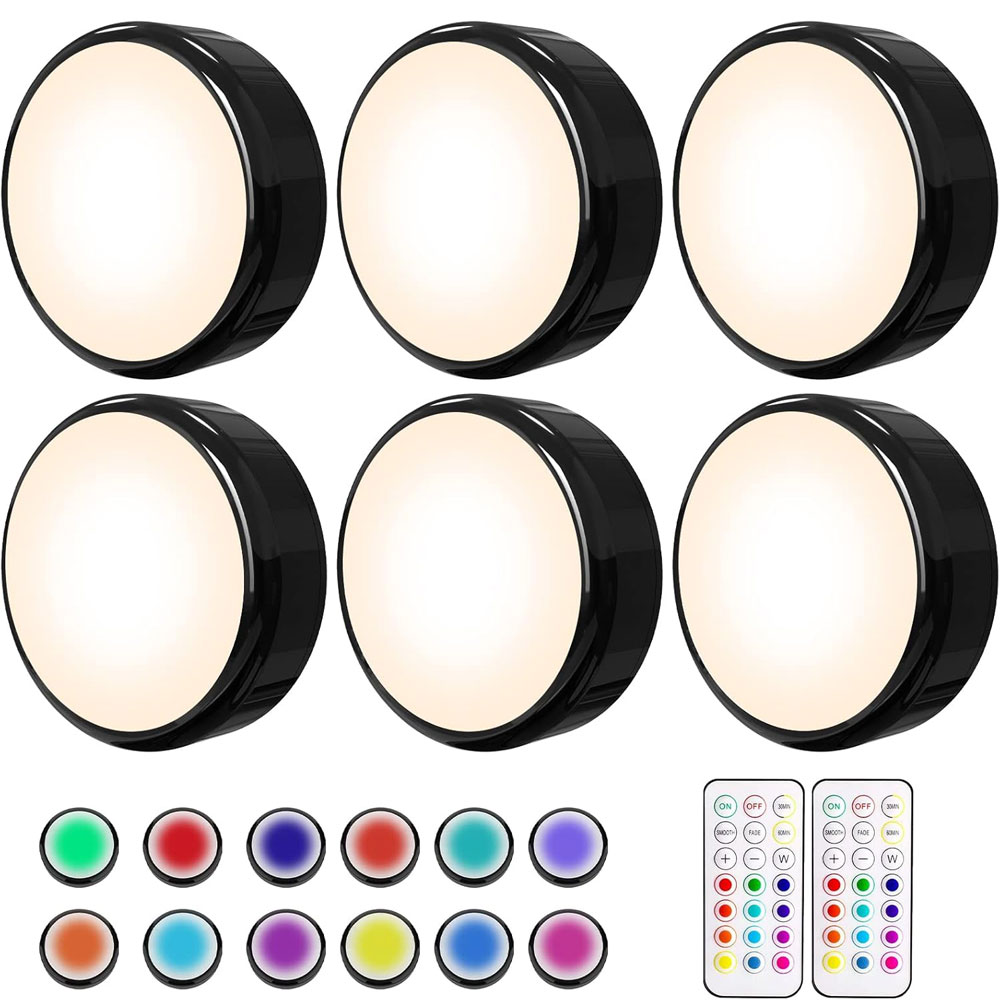
These neat little puck lights can be stuck wherever your heart desires and offer a choice of 16 colors and 10 luminosity levels. They can be operated by remote control and even set on a timer.

These are perfect for sticking beneath pantry shelving. They are magnetic but also come with adhesive backing. The best thing is that they are rechargeable and one charge lasts up to 30 days – plus they are motion sensor.
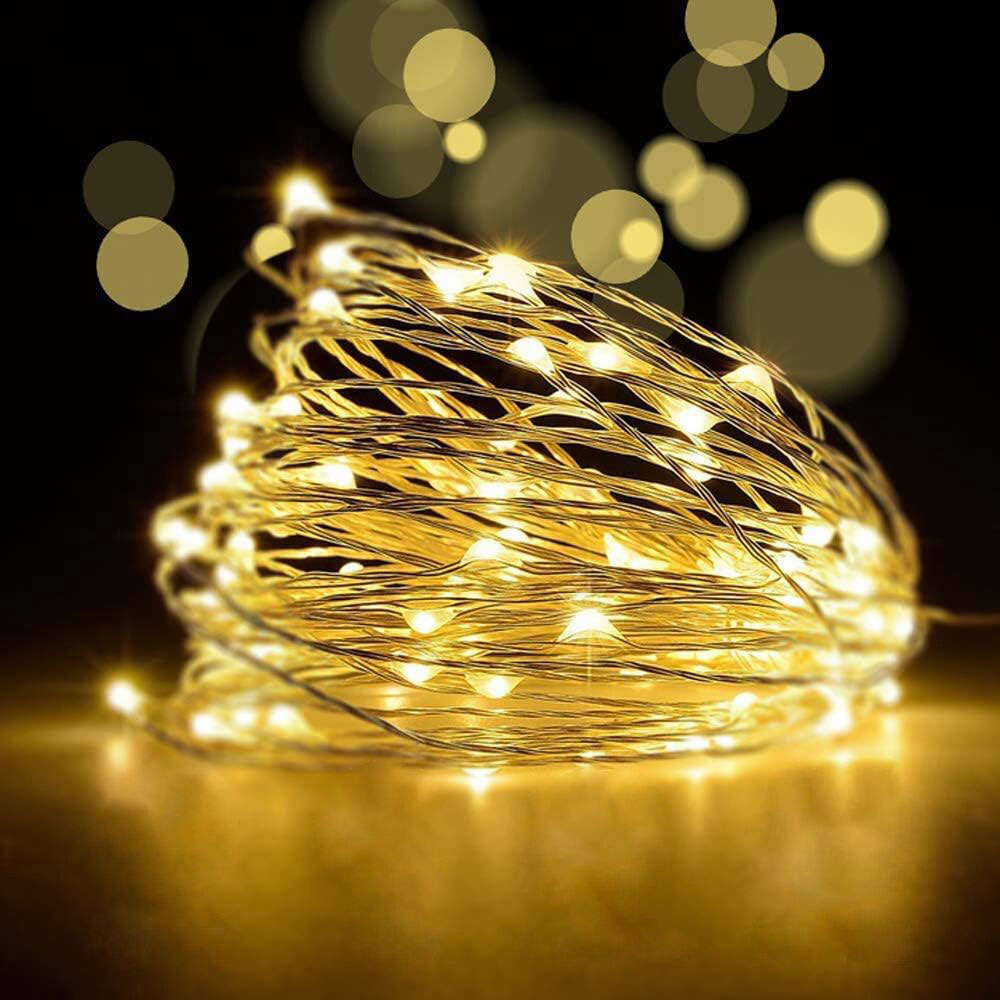
While string lights might not necessarily make it easier to find goods in your pantry, they will definitely give it a pretty sparkle. This two-pack of string lights measures 33 ft in length and they can be operated remotely – perfect for lacing around your lentils.
If this has left you longing for a dedicated space to store your dried goods, it might just be time to look into how to build a pantry.


