Getting crazy shapes is easy with creasing, and all without adding too many polygons. Add more loops as needed and you can then adjust the points to create your more complex shapes. Also add in any extra creasing if required.
Gravity Sketch is now well embedded into the design world, especially among footwear and automotive designers. It’s a 3D virtual reality app for modelling and visualisation that evolved from humble beginnings on the iPad. The developers took a gamble and jumped into VR fairly early on, and made a version of Gravity Sketch for the HTC Vive and the original Oculus Quest (now Meta Quest).
For a quick guide, read our 'How to use Gravity Sketch' tutorial, and if you're new to VR, read our guide to the best VR headsets, which includes Meta Quest 3 and Apple Vision Pro.
Fast-forward seven years and Gravity Sketch can be used on a range of devices, but the great advance is that it can be used for free and standalone on the Meta Quest 3 (read our review). That means users aren’t shelling out for a high-end PC with an expensive graphics chip as well as the headset.
The core tools in Gravity Sketch were originally spline and surface-based, which is more like programs such as Fusion 360 than Maya, as a direct example. The CAD-based beginnings then evolved into a full-fledged 3D modelling package with the addition of subdivision modelling tools. This meant it was possible to model your designs with true polygons that could be predictably exported for a wider range of uses, such as 3D printing, games and AR experiences. It made the whole experience better, as you could do more with the models without relying on weak conversion algorithms to make the geometry usable.
Model your designs with true polygons that could be predictably exported for a wider range of uses, such as 3D printing, games and AR experiences
The toolset included all the basic features you’d want from a 3D polygonal modelling package including mirroring, knife tools, extruding, merging points, smoothing out the polygons and a whole lot more. What it also meant was that there were two types of modelling available to you as an artist and you could pick the best of both worlds as needed.
One of those features is creasing. It’s a feature that’s more available now and is sometimes called edge weighting. With it, you can make an edge sharper or smoother without resorting to subdivision modelling that adds polygons and complexity. Creasing is well used in the automotive and footwear design worlds, and you’ll see it used in the smooth lines of a car bonnet or the finely crafted swoop on a Nike training shoe. It gives you a crisp edge when needed most, but doesn’t have to be exclusive to those disciplines.
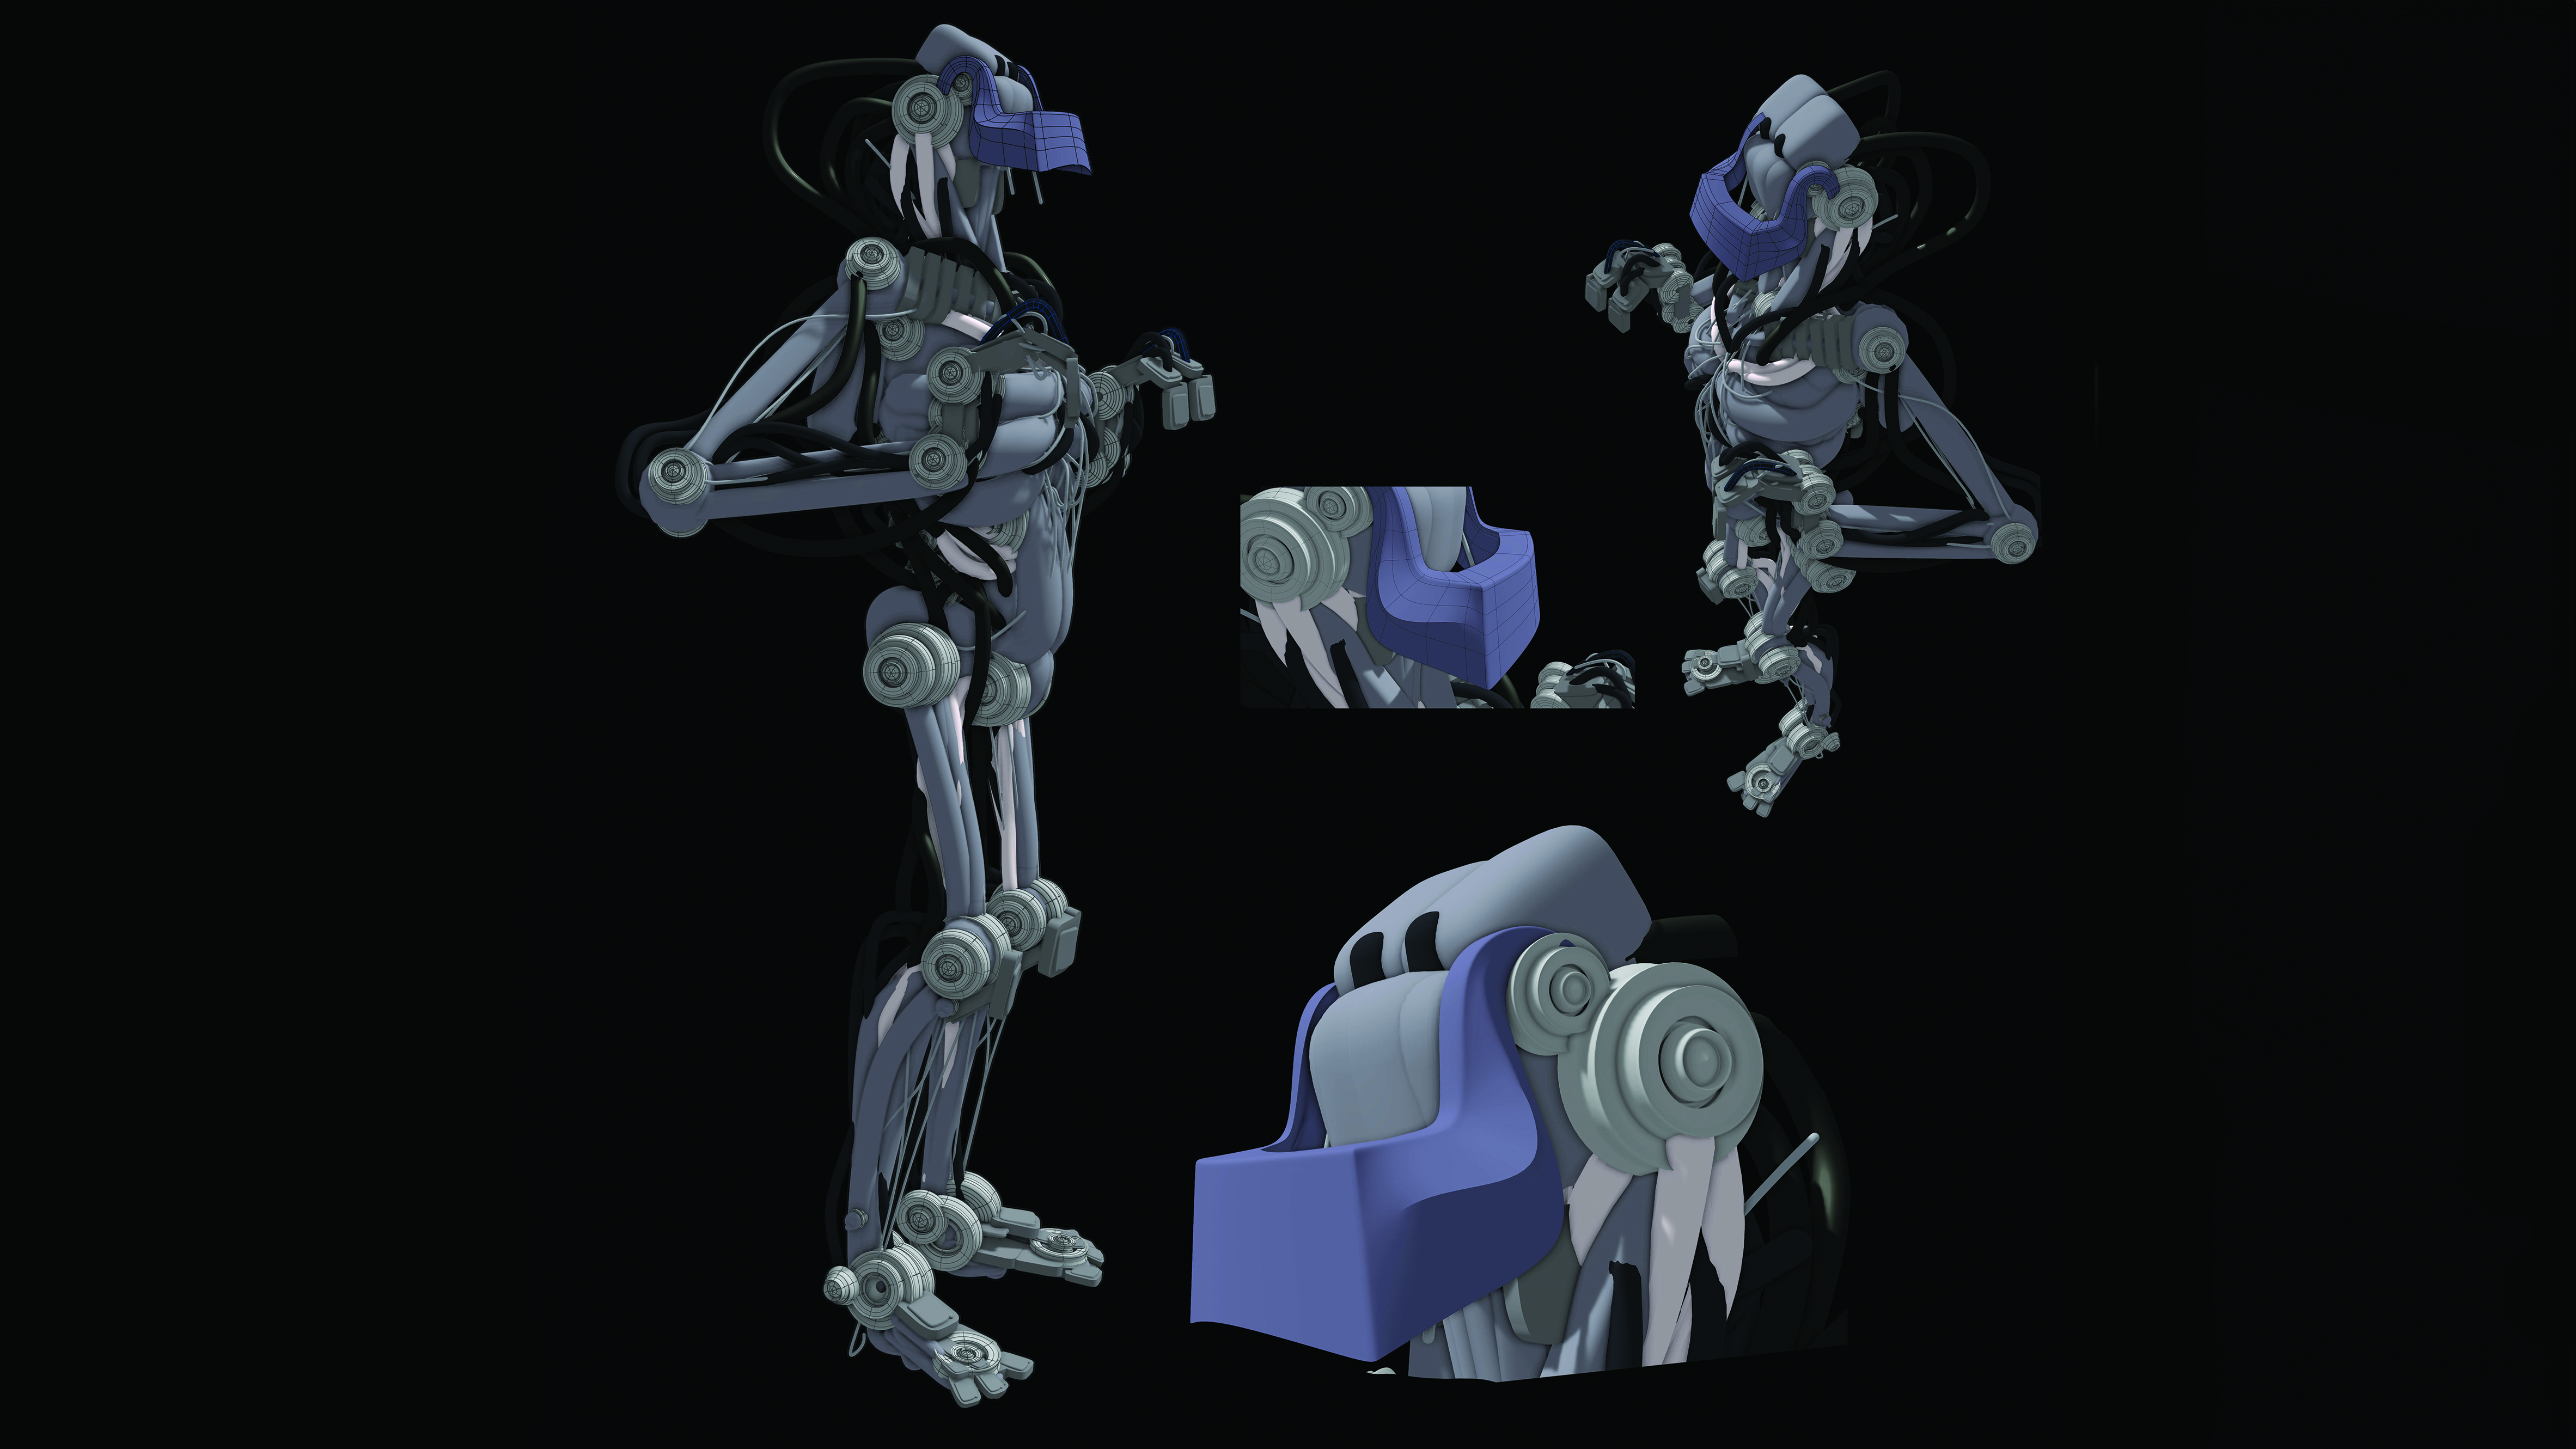
In this tutorial, I’ll show you how I use it in my work to craft things like robot parts. Adding the correct creasing can really help to make your models look sleek in all the right places.
1. Make the base geometry
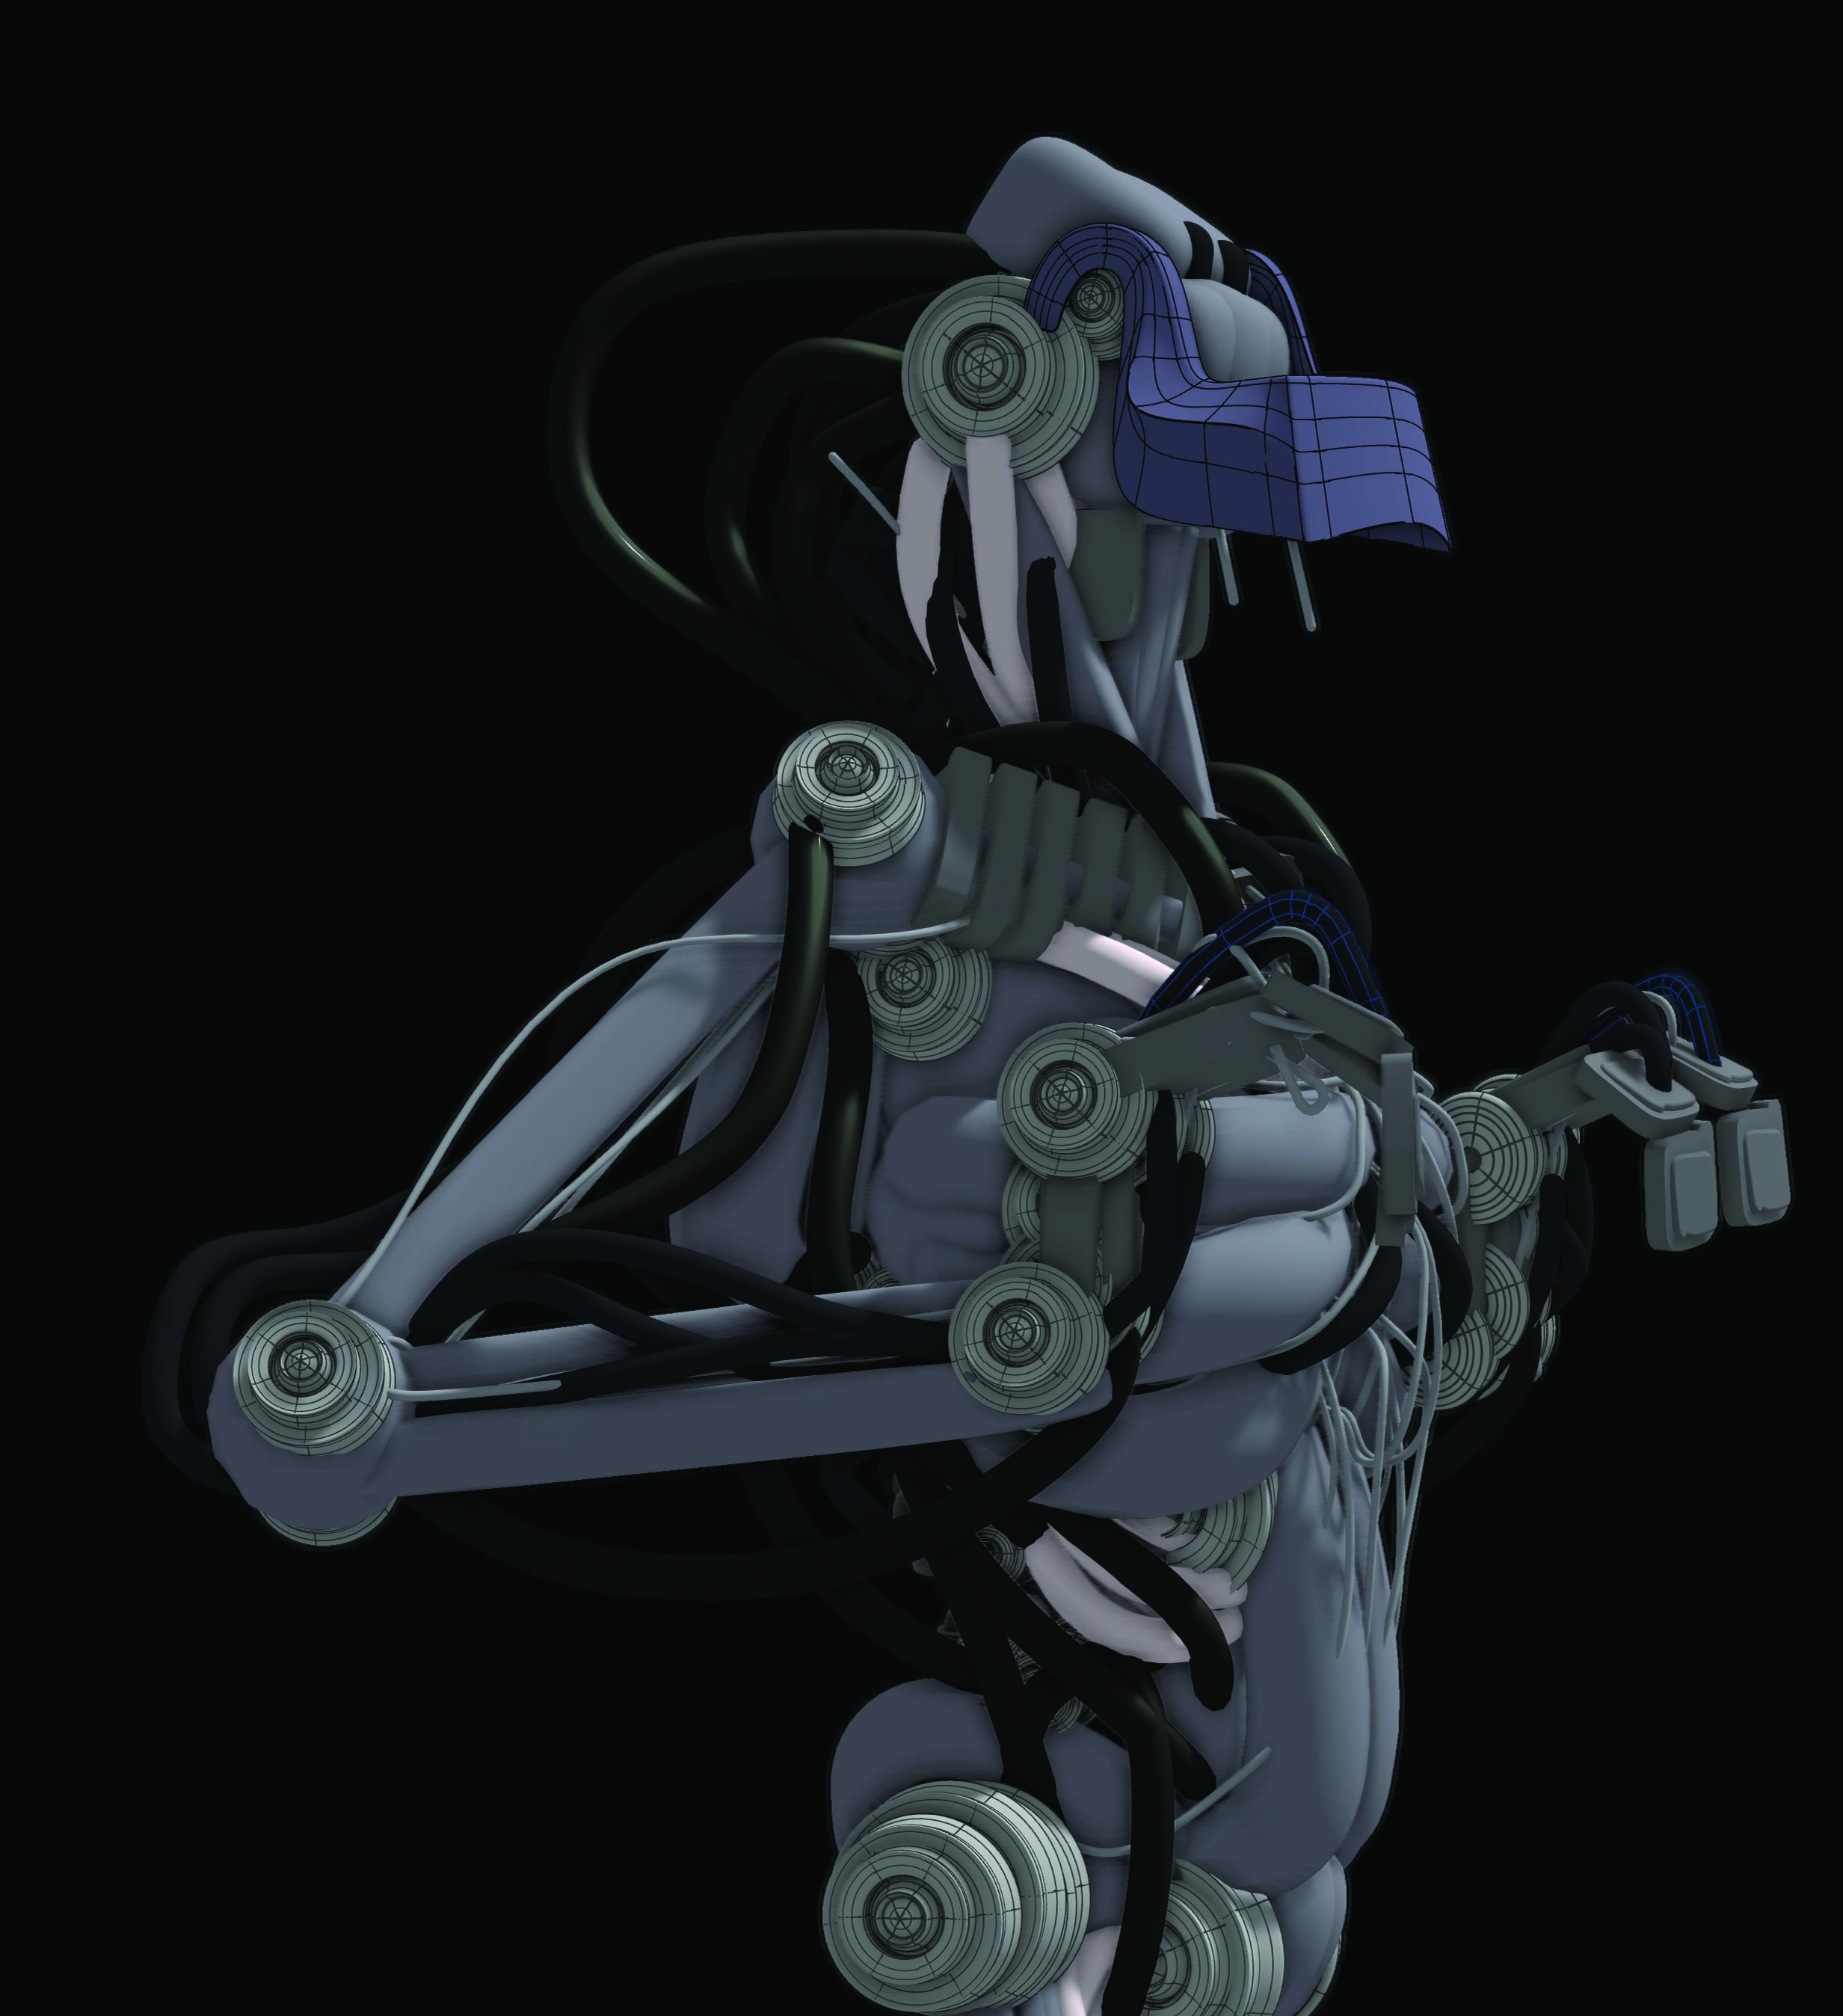
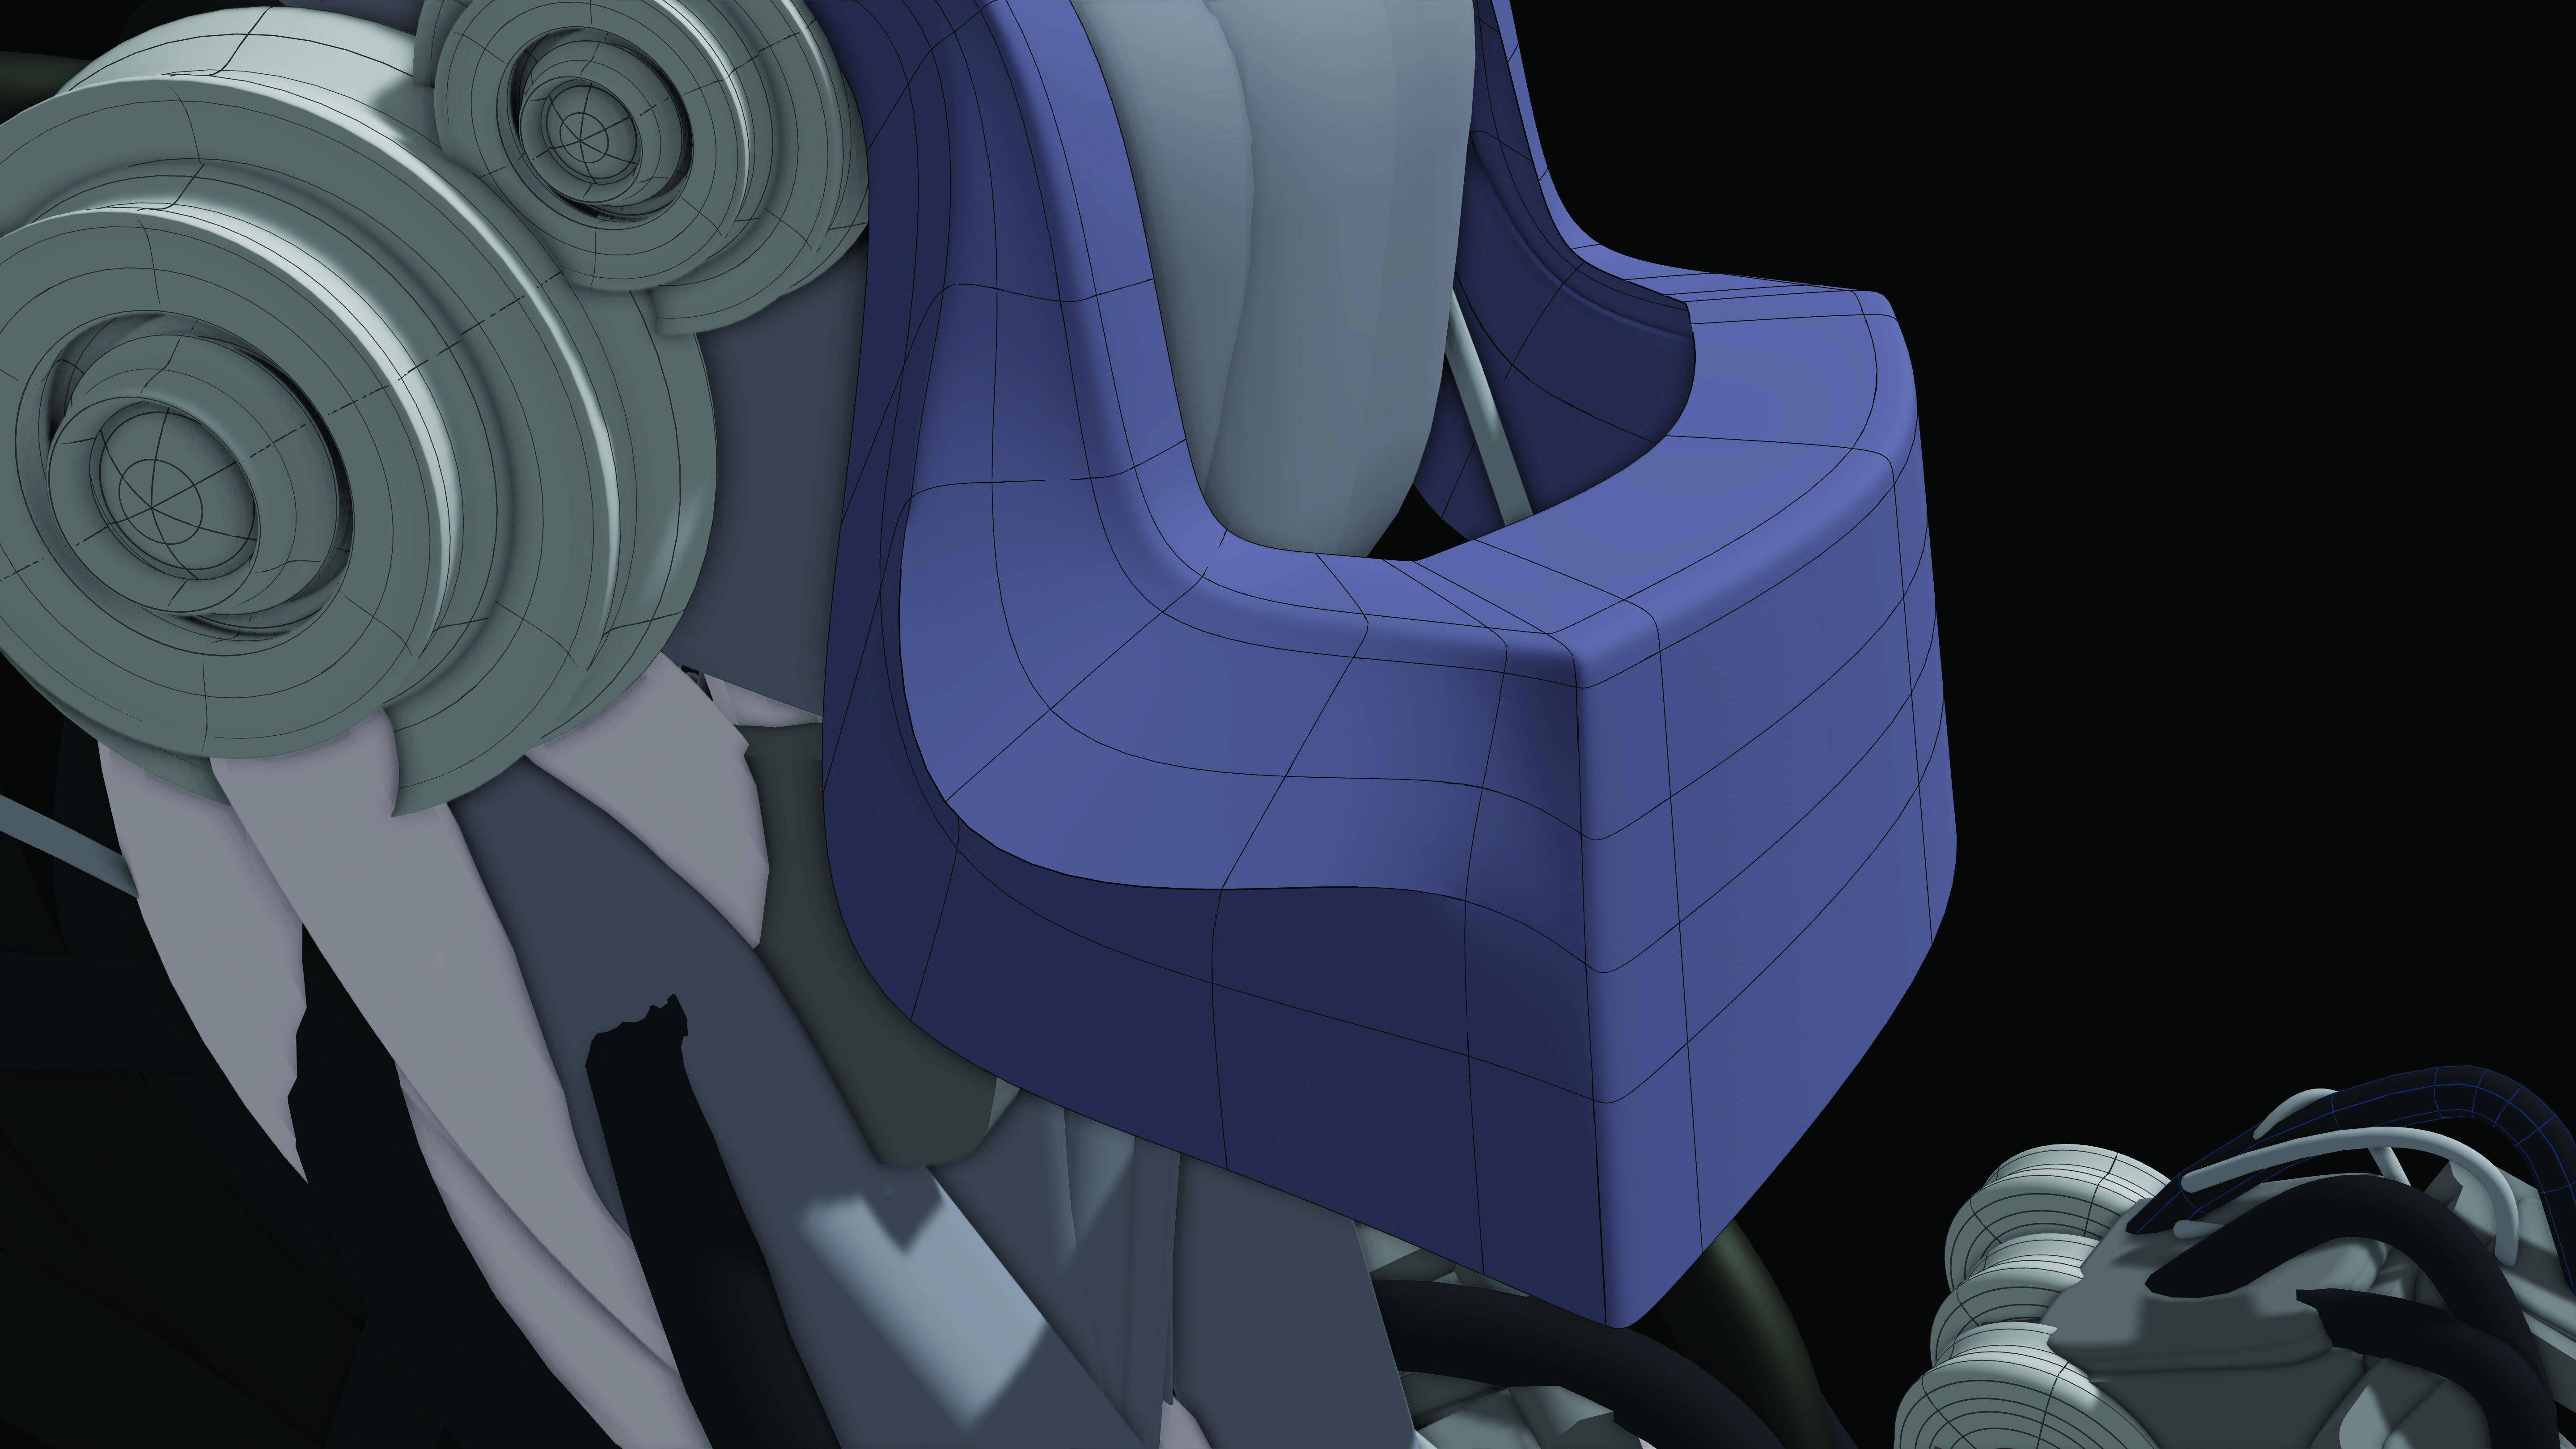
Before we crease anything, we need to create the model. For this test I made a little robot character, with the idea to add panelling over the top but use lots of cool creasing to make the parts look more like a car. I used the full range of Gravity Sketch tools, though the jaw was made from a single polygon and extruded into shape. Subdivide to smooth out the model when you’re done.
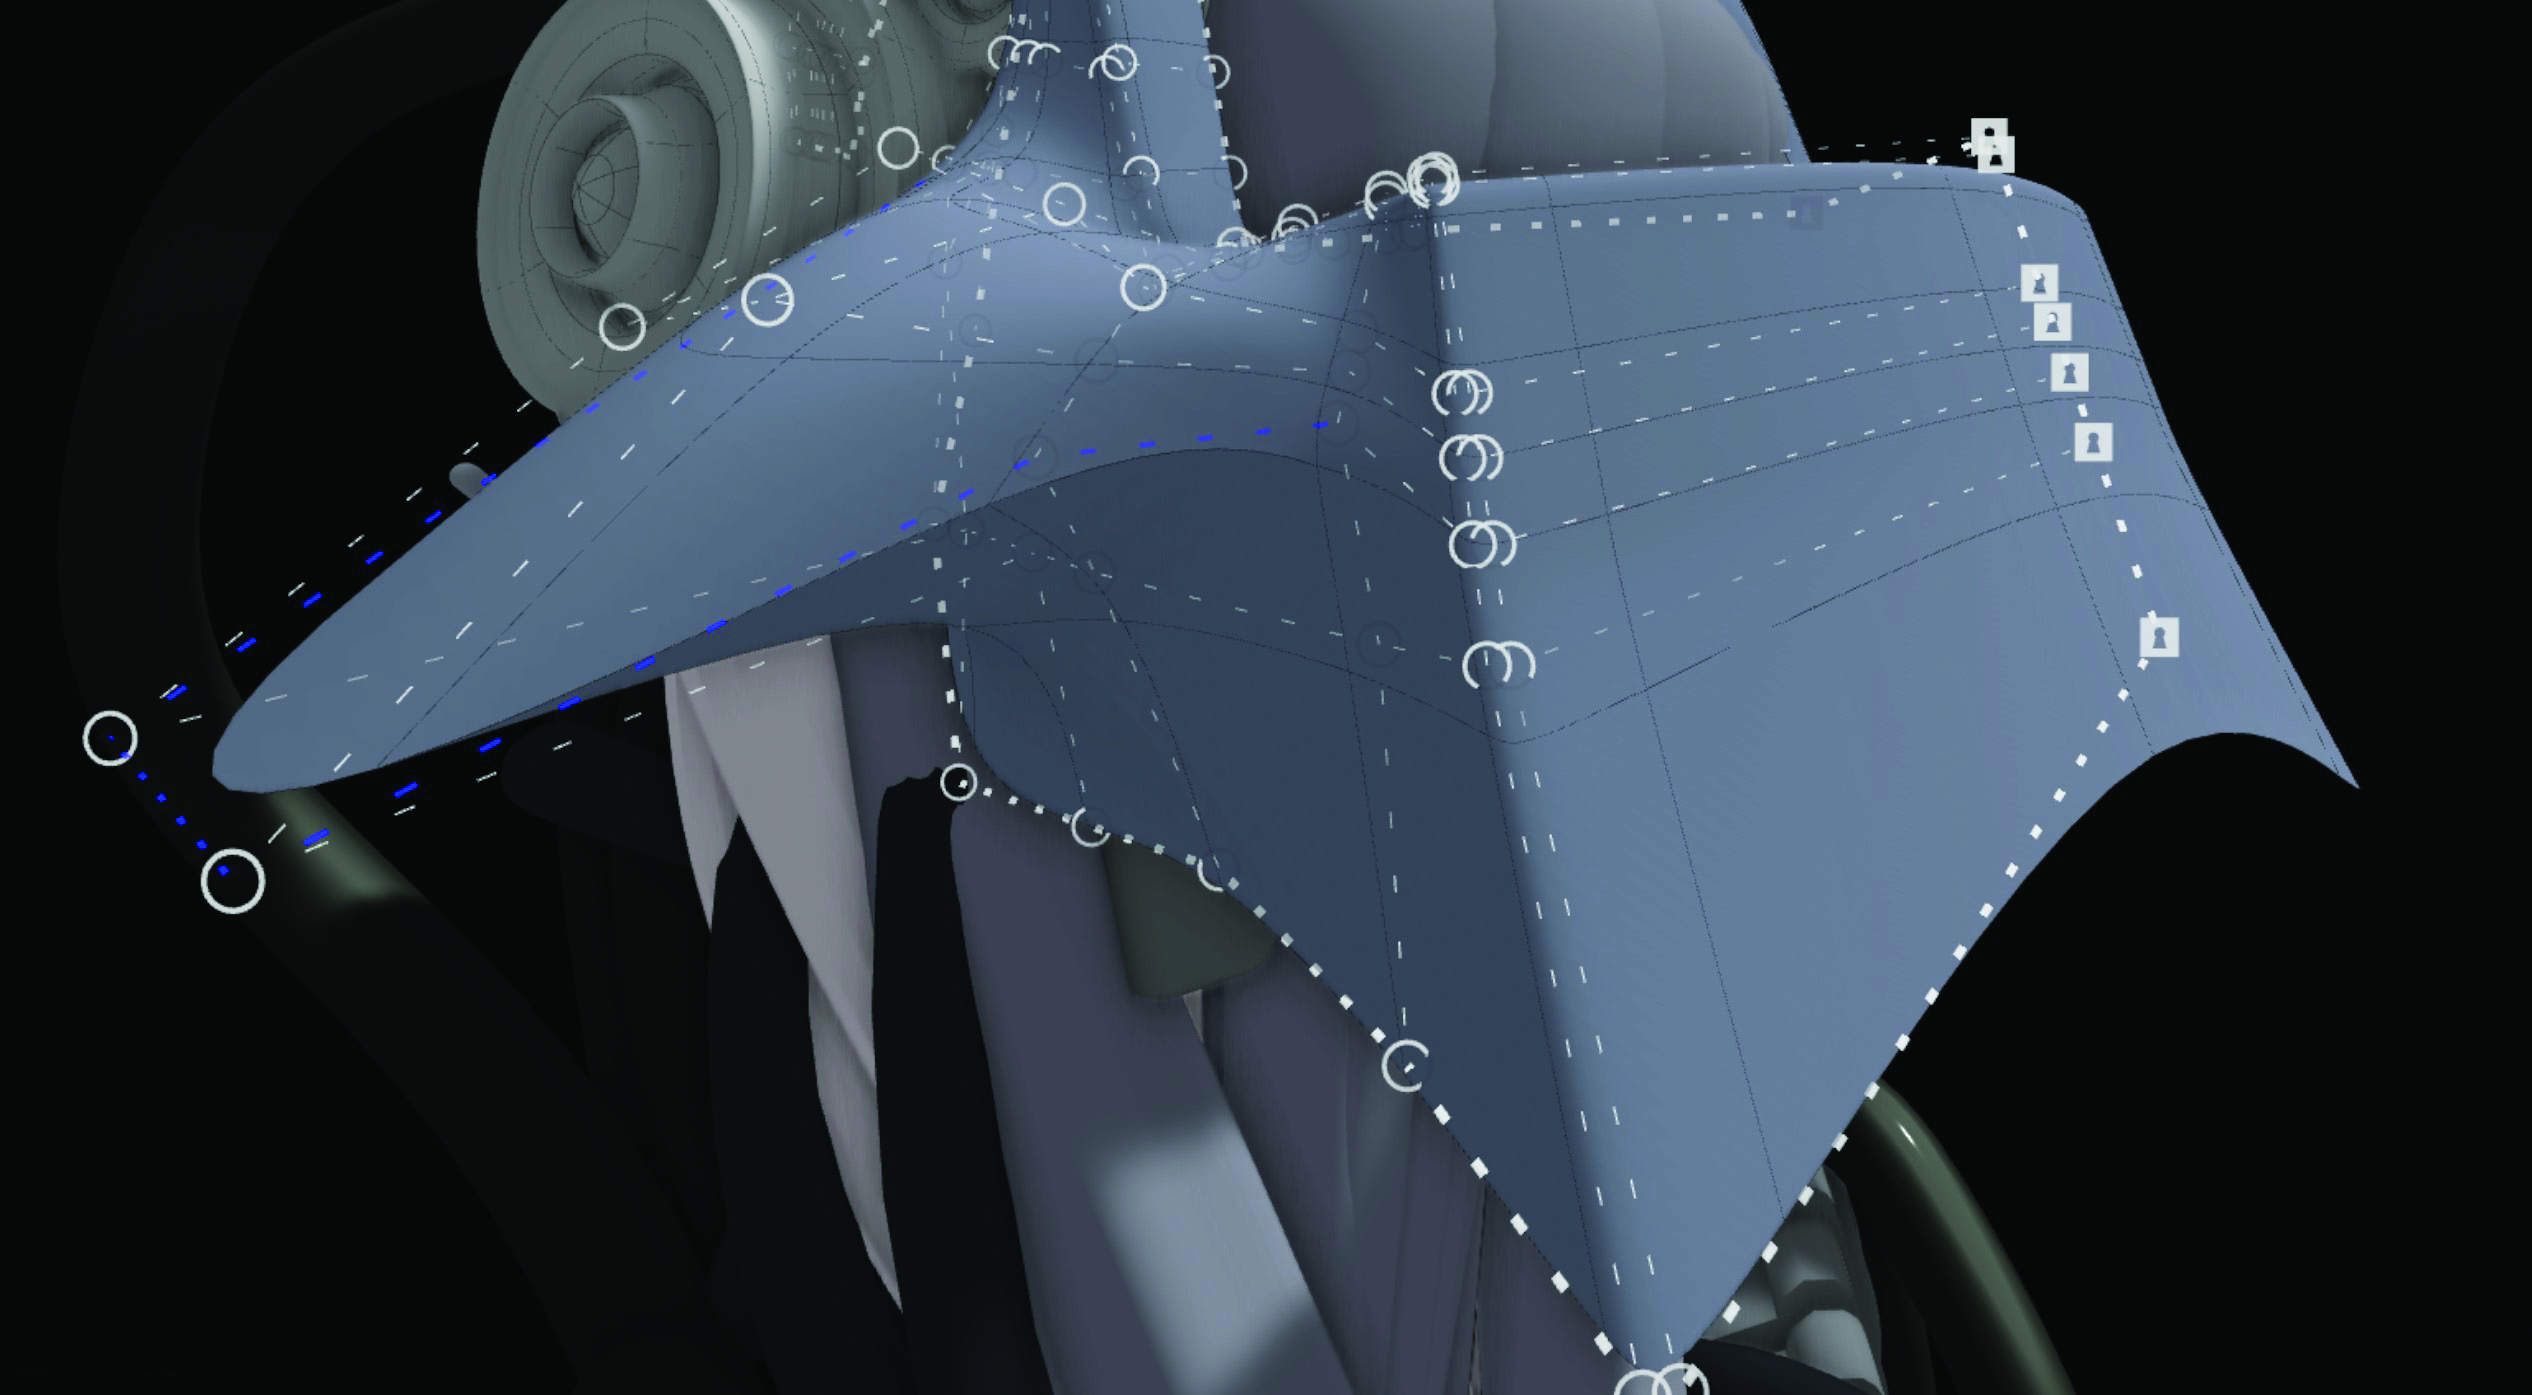
2. Subdivide before creasing

Once the jaw is modelled out, add loops around the edges and corners, and then turn on subdivision to show a smoothed version. As you can see, the jaw is smoothed out and plain. Now it’s time to add some sleek-looking creasing. Using the blue button on the non-dominant hand, you’ll want to select the jaw and activate the Component mode.
3. Using the crease tool
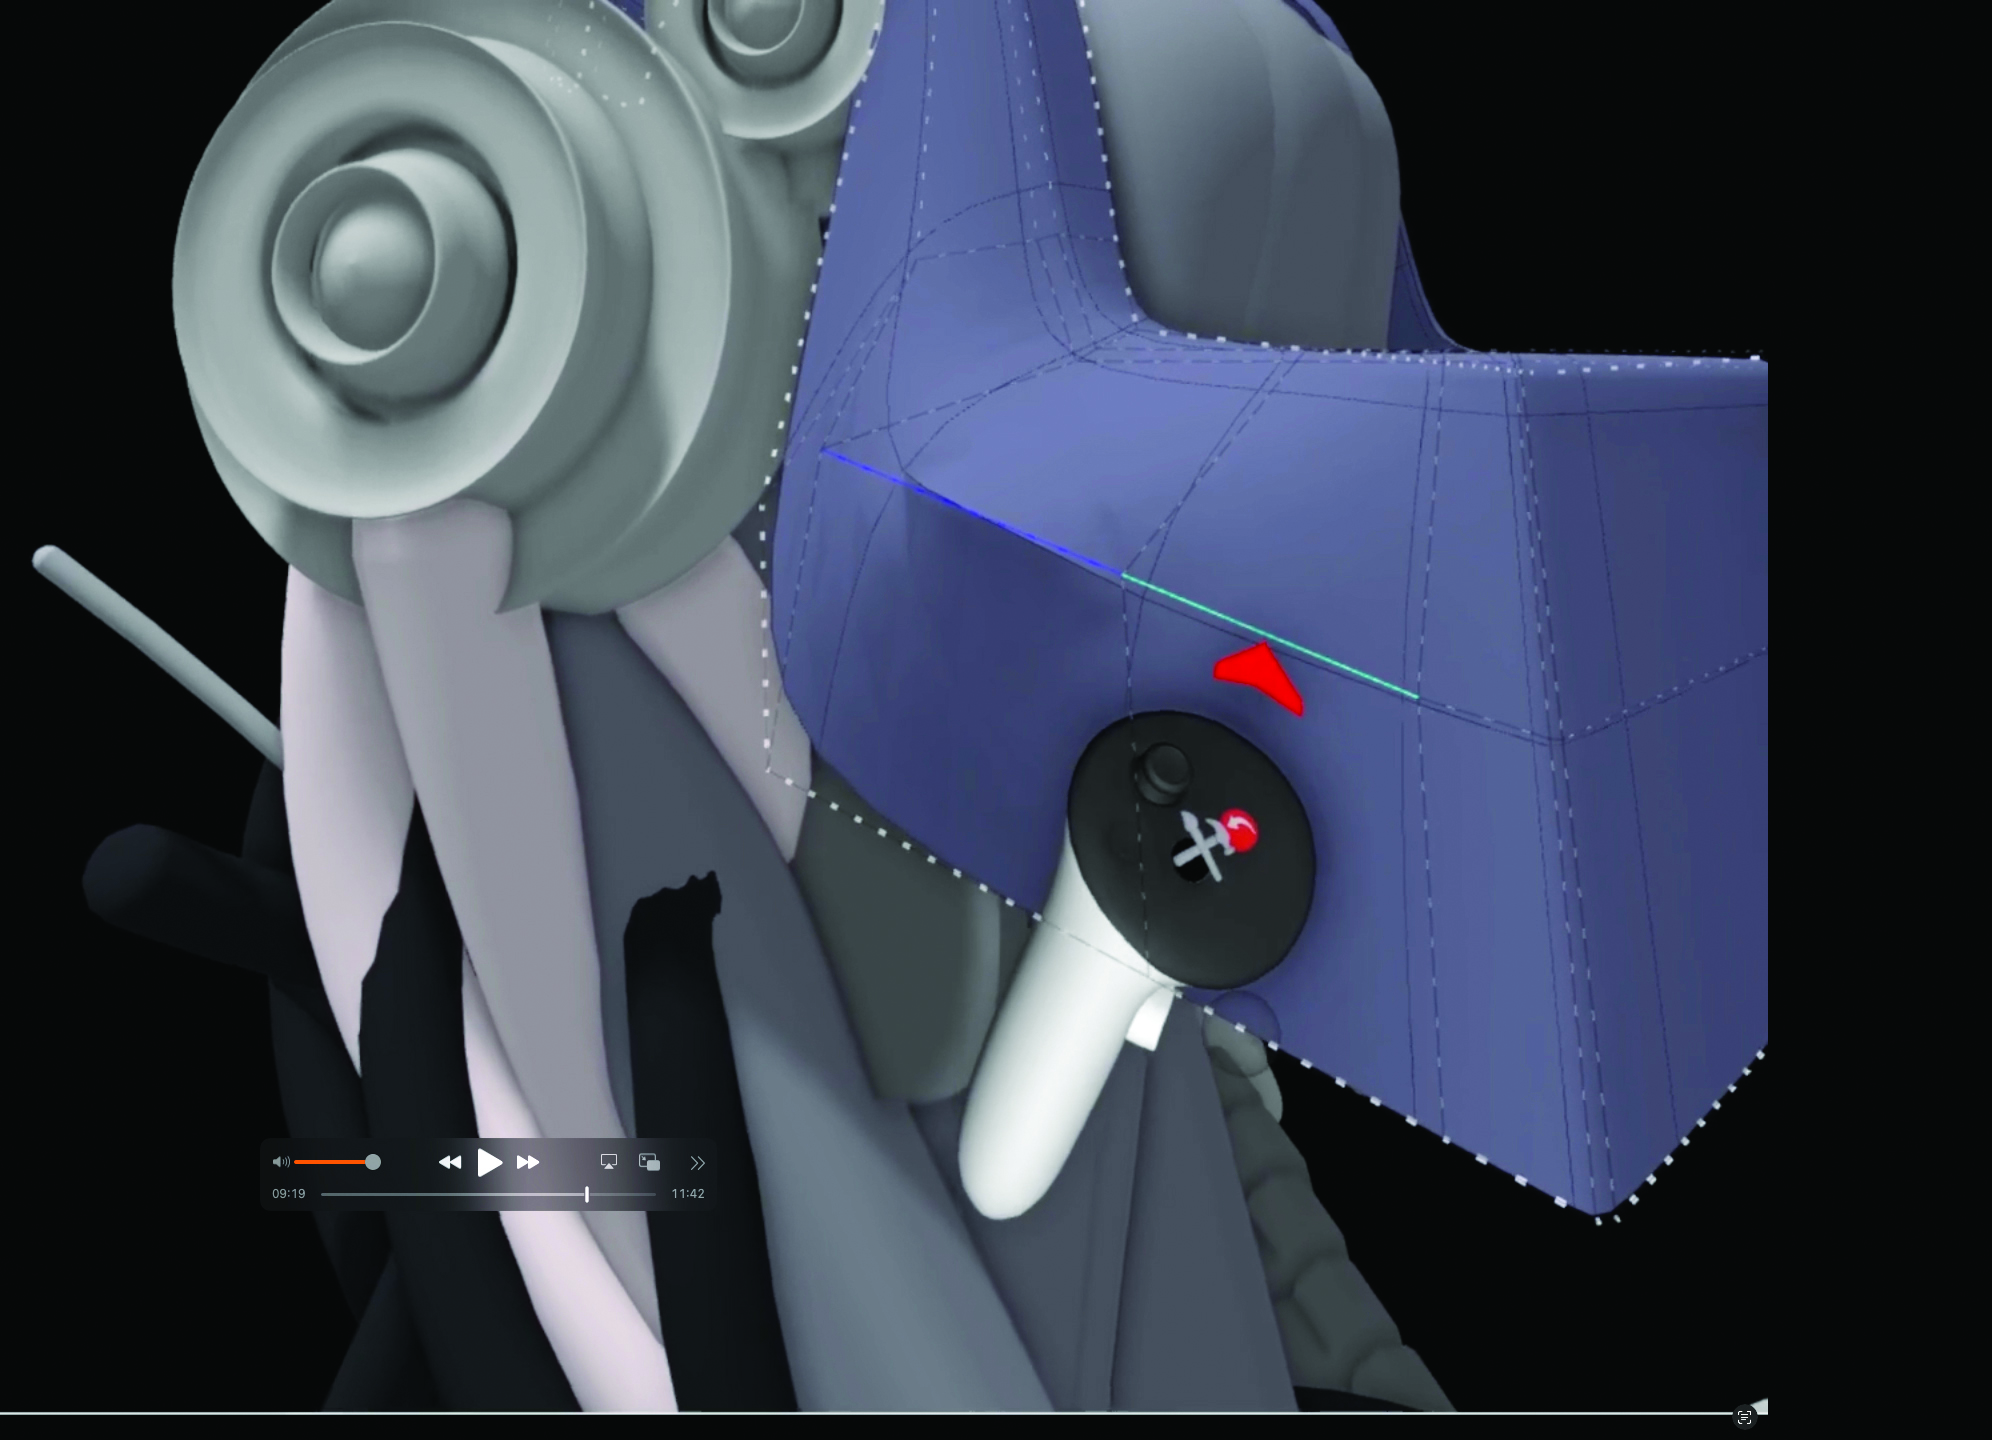
Now on the dominant hand, look for the little tool icon and press it, which will give you access to a number of tools. There’s a red triangle that will allow you to crease anything that’s touched. Make sure you’re in Edge mode for this by flicking your dominant thumb left or right, then touch each of the edges on the model that you’d like to be creased.
4. Adjust the points, edges or faces
The creases will give you a smooth return wherever you selected it and applied the creasing. Now move to any of the Faces, Points or Edges modes and tweak the shape of the jaw to make sure the crease area flows with your design. You can come back and tweak this later. Pay attention to anywhere the crease ends and make sure it flows with the overall design.
This content originally appeared in 3D World magazine. Subscribe to 3D World at Magazines Direct.