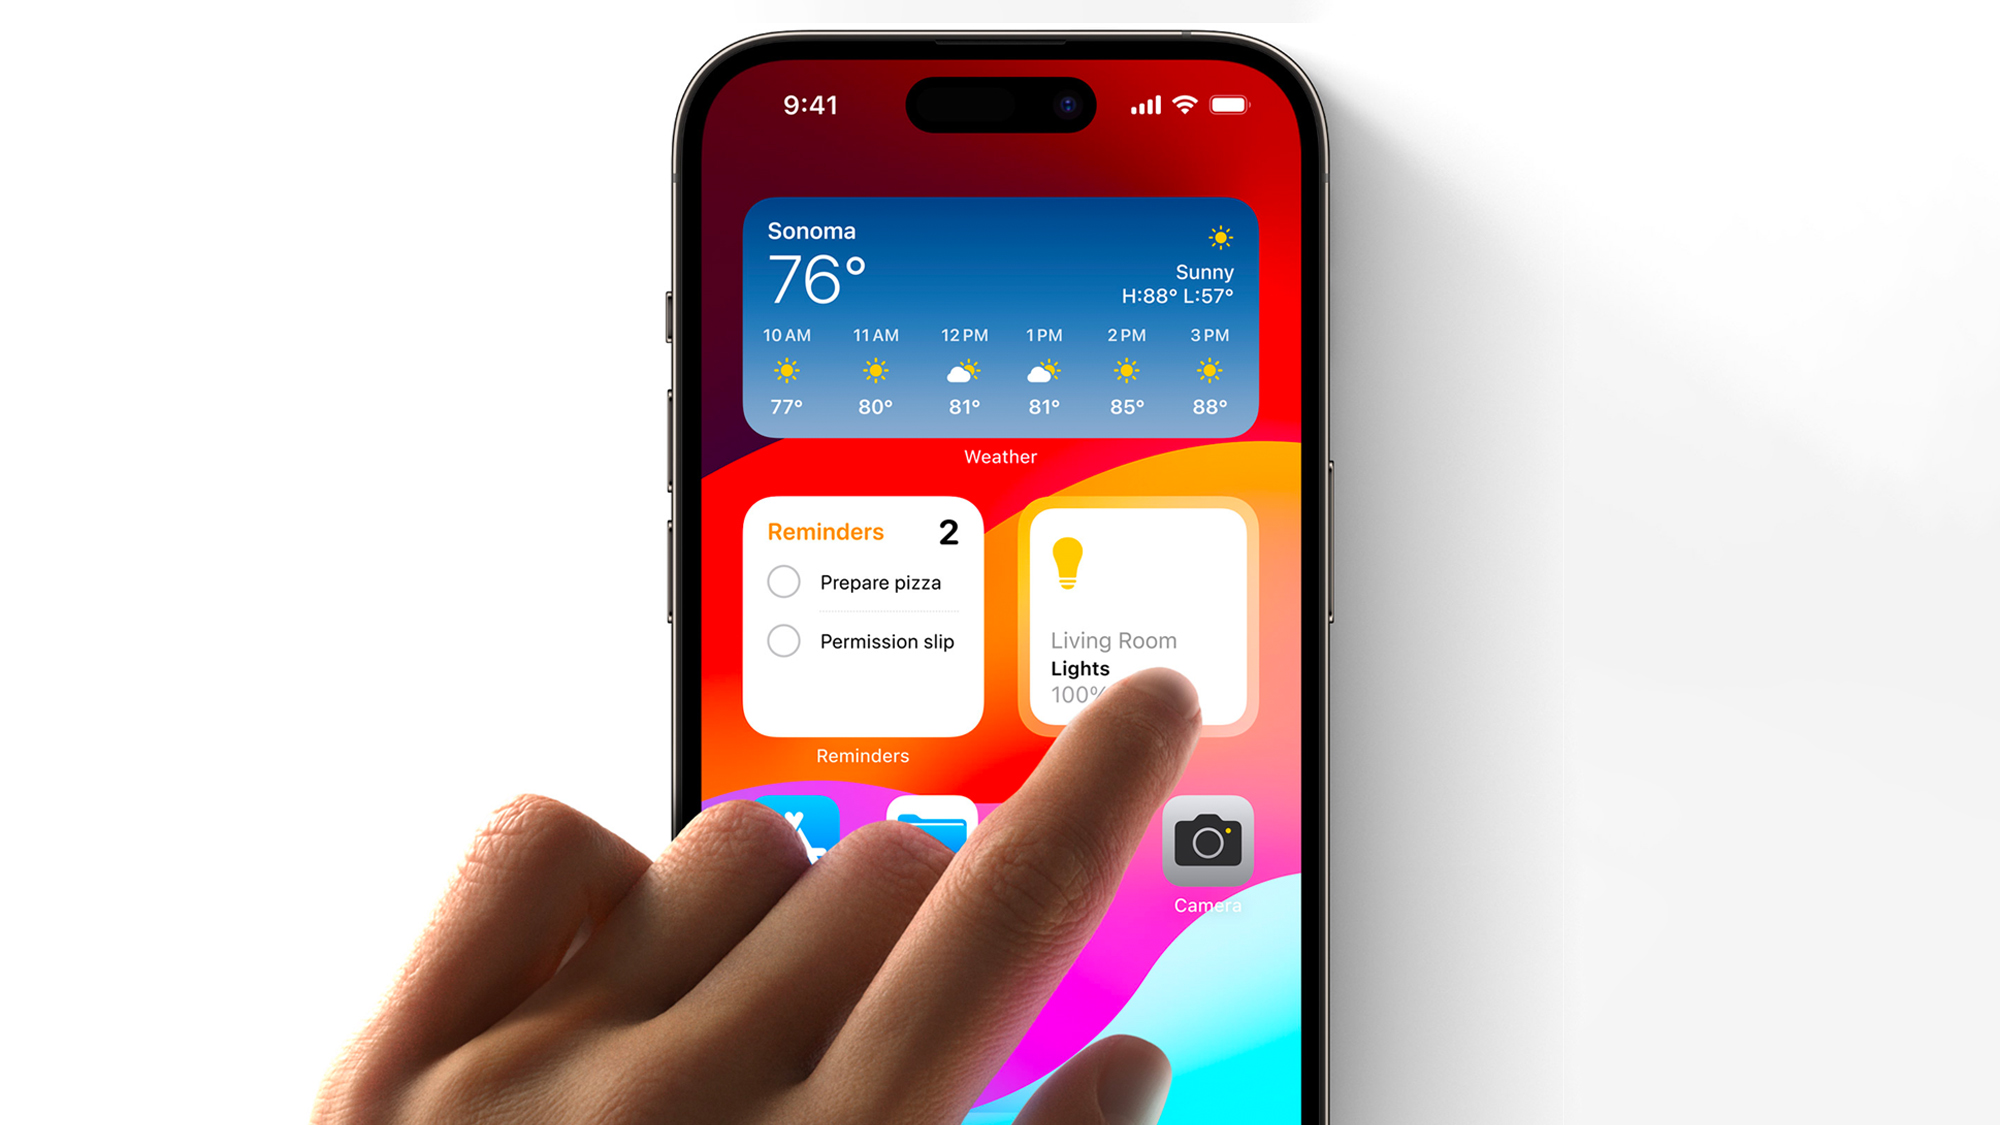
Widgets are getting an upgrade! Of all the additions that iOS 17 brings to the table, Interactive Widgets are perhaps one of the most overdue and welcome improvements; gaining additional functionality that makes their presence on your home screen all the more worthwhile.
Up until now, widgets on iOS (which were first introduced in iOS 14) have served their purpose as a way to keep tabs on pertinent information like the weather, upcoming calendar appointments, breaking news and your to-do list at a glance. However, prior to iOS 17, all tapping widgets ever did was take you to the related app in question (or a section thereof), rendering them little more than glorified app shortcuts.
That's where Interactive Widgets come in. They may look like the previous generation of widgets at first glance, but they include new interactivity, meaning you can action a to-do list, control a smart home device or pause and play music, all from the widget, without ever having to dip into the fully-fledged app experience.
How to add Interactive Widgets on iOS 17 to your Home Screen

Beta software, also referred to as a preview, seed, or release candidate, is a version of the software still under development and not yet released to the public. This software is intended only for installation on development devices registered under your Apple Developer Program membership. Registered development devices can be upgraded to future beta releases and the public version of the software. Attempting to install beta software in an unauthorized manner violates Apple policy and could render your device unusable and necessitate an out-of-warranty repair. Make sure to back up your devices before installing beta software and install only on devices and systems you’re prepared to erase if necessary.
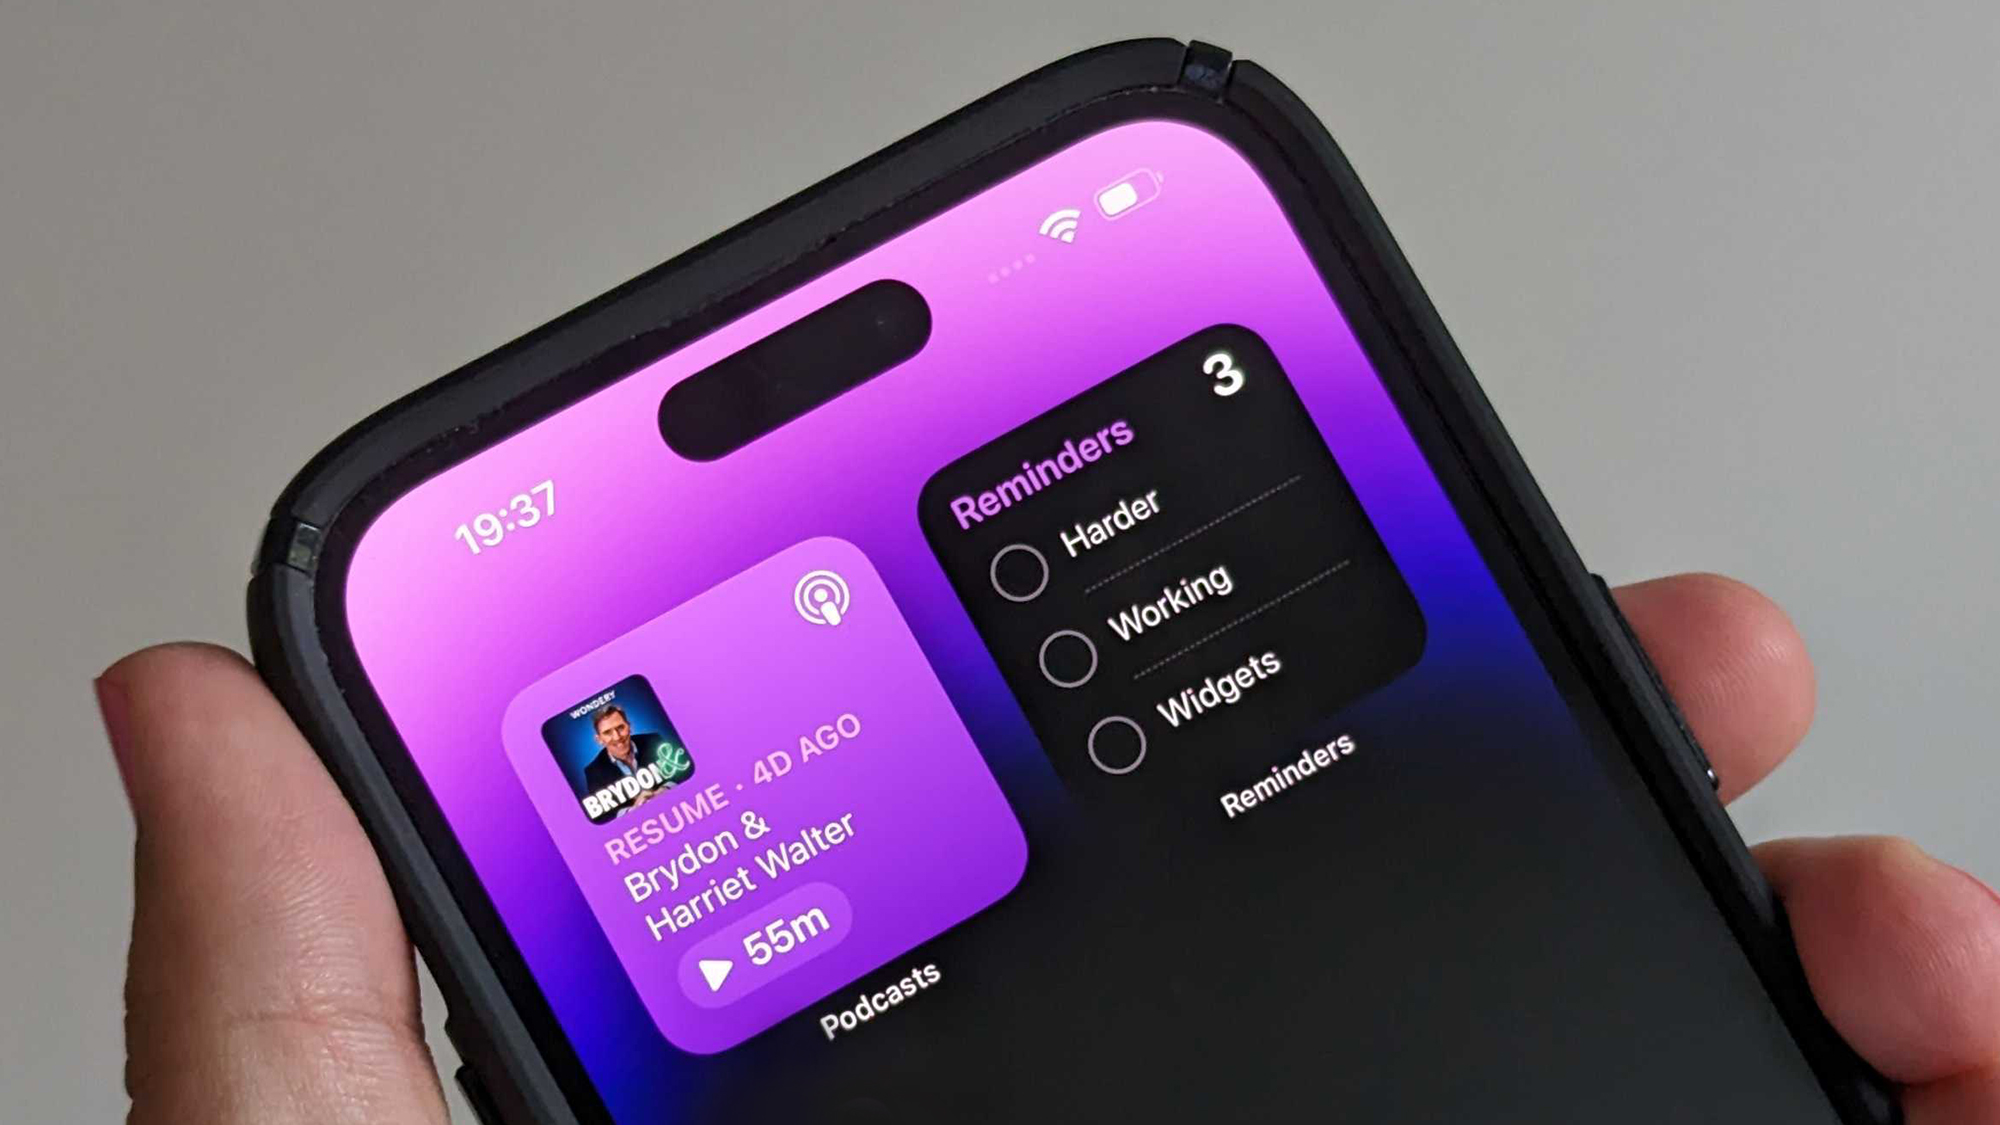
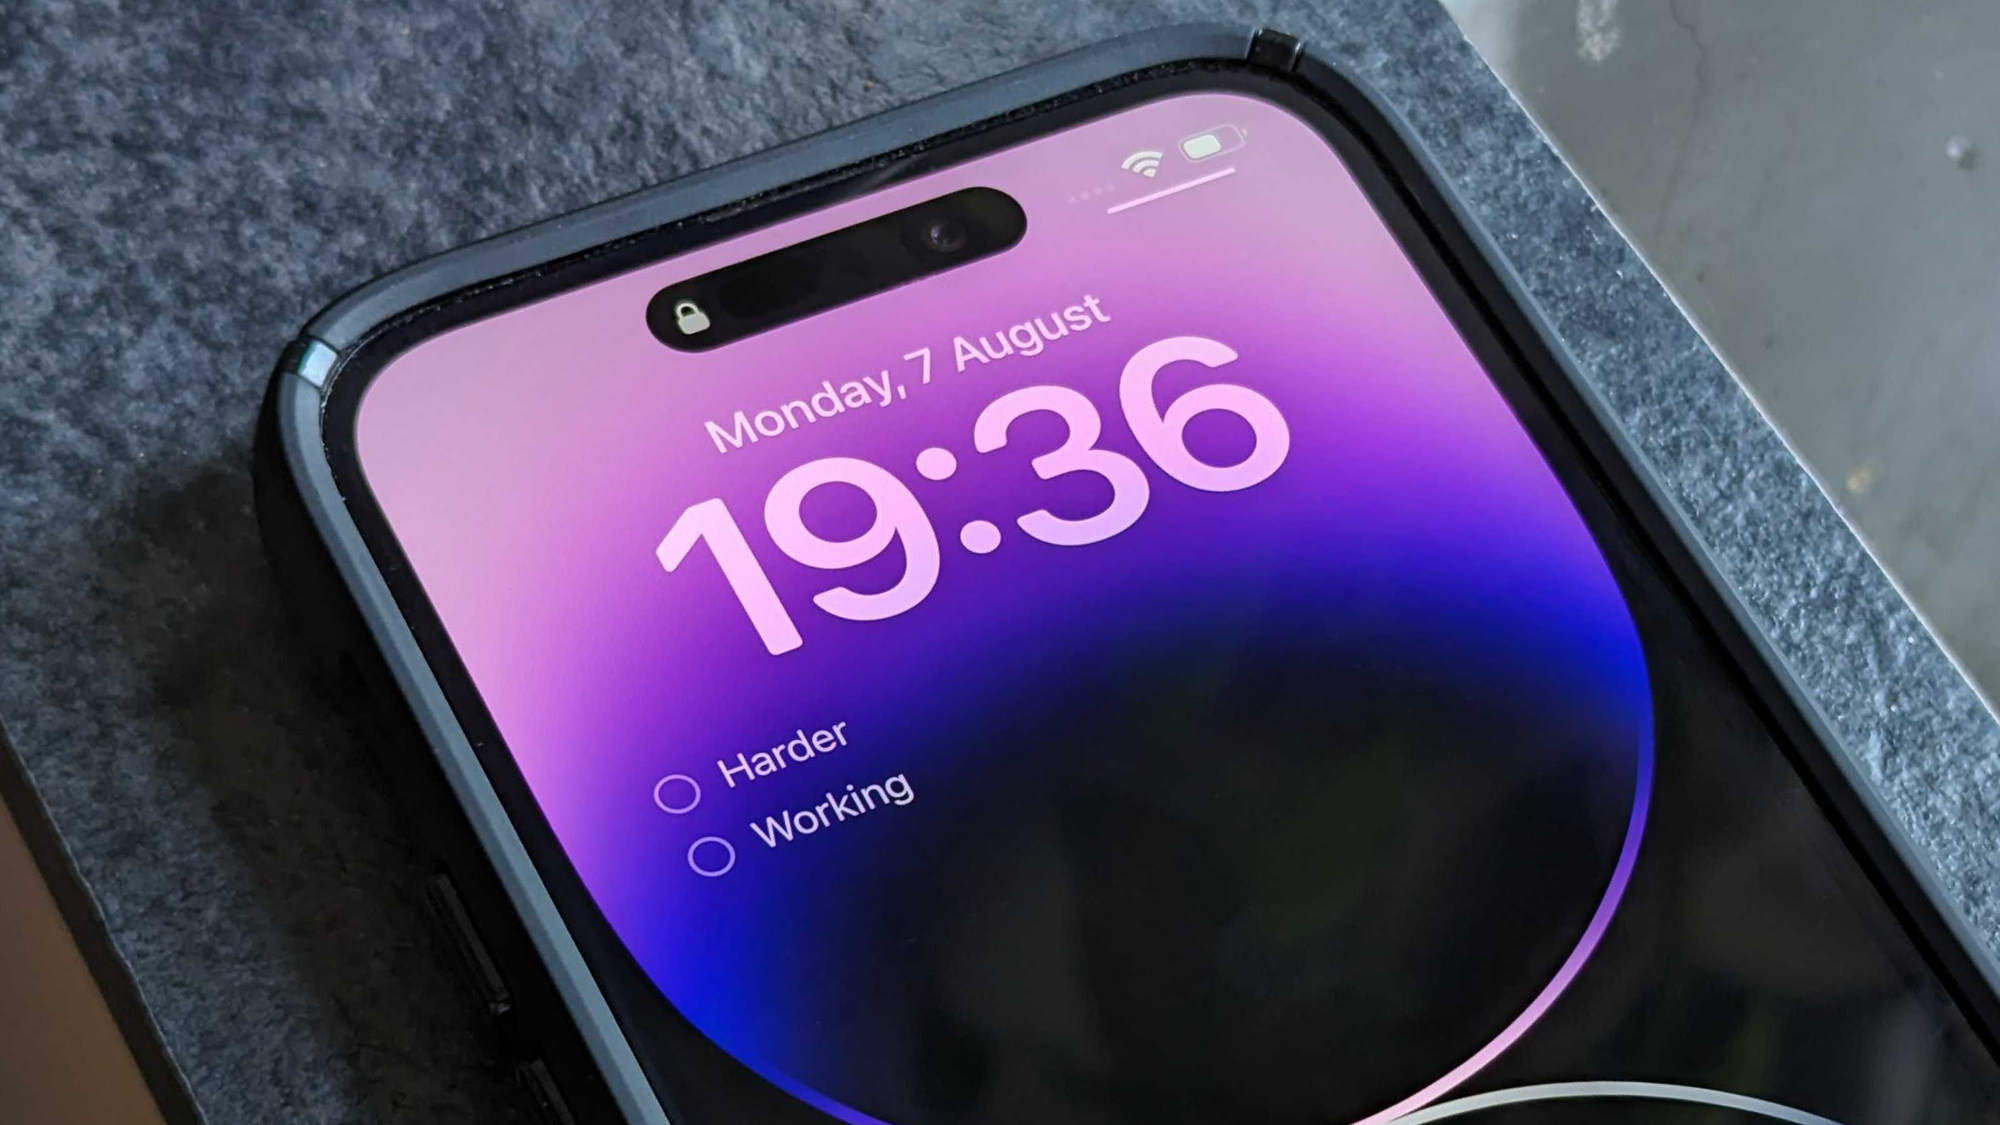
Interactive Widgets automatically replace the previous static widgets that iOS had to offer and are accessed, placed, modified and removed in exactly the same way as widgets already were. They're also supported from wherever standard widgets lived previously, like your home screen, lock screen, and on fellow iOS 17 addition StandBy.
The caveat to StandBy is that this feature works best when your iPhone has an always-on display, which, ahead of the iPhone 15's launch, remains exclusive to the iPhone 14 Pro or iPhone 14 Pro Max. As for Interactive Widgets themselves, you should be able to access them provided you have an iOS 17-compatible iPhone, which right now covers entries all the way back to the iPhone XS/XR and second-generation iPhone SE.
- Long-press on a blank area of your home screen until existing app icons and existing widgets start to jiggle
- Tap the '+' icon that appears in the top left corner of your screen
- This should bring up the widgets menu, which you can scroll to browse or use the search bar at the top to find widgets for a specific app already installed on your iPhone
- Once you've found the widget you're looking for, tap the '+ Add Widget' button at the bottom of the screen
- Your chosen widget will then appear on your home screen. You can drag it around to place it where you'd like
- Once you're happy with the placement of your new interactive widget, you can either tap on a blank area of your home screen, or you can tap 'Done' in the top right of the screen, and that's it
How to add Interactive Widgets on iOS 17 to your Lock Screen

Adding widgets (interactive or otherwise) is a little different on the lock screen, compared to the home screen. Here's how that works.
- Long-press on your lock screen and tap the 'Customize' button, which appears at the bottom
- You'll then have the option to customize your lock screen or your home screen. Tap 'Lock Screen' on the left
- Tap in the '+ Add Widgets' block under your lock screen's clock to bring up all available lock screen widgets
- Unlike adding home screen widgets, there's no search feature when adding widgets to the lock screen, but there are some suggested widgets at the top, followed by all the apps installed on your phone that offer lock screen widgets
- Tap or drag the widget you want to add (you may first have to select the app from the menu in order to see its available widgets) to add it to the widgets block underneath your lock screen clock
- Once added, tap the 'X' in the top right of the available lock screen widgets menu or in any blank area on your lock screen to close the lock screen widgets menu
- Tap 'Done' in the top right corner of the screen
- Tap anywhere on-screen to return to your normal lock screen view, complete with you're newly-added interactive widgets
Note: Those using an iPhone with an always-on display will notice that when your phone enters always-on mode, the interactive widgets will remain visible, but you won't be able to directly interact with them without waking the screen up first (by simply tapping on it).
How to add Interactive Widgets on iOS 17 to StandBy

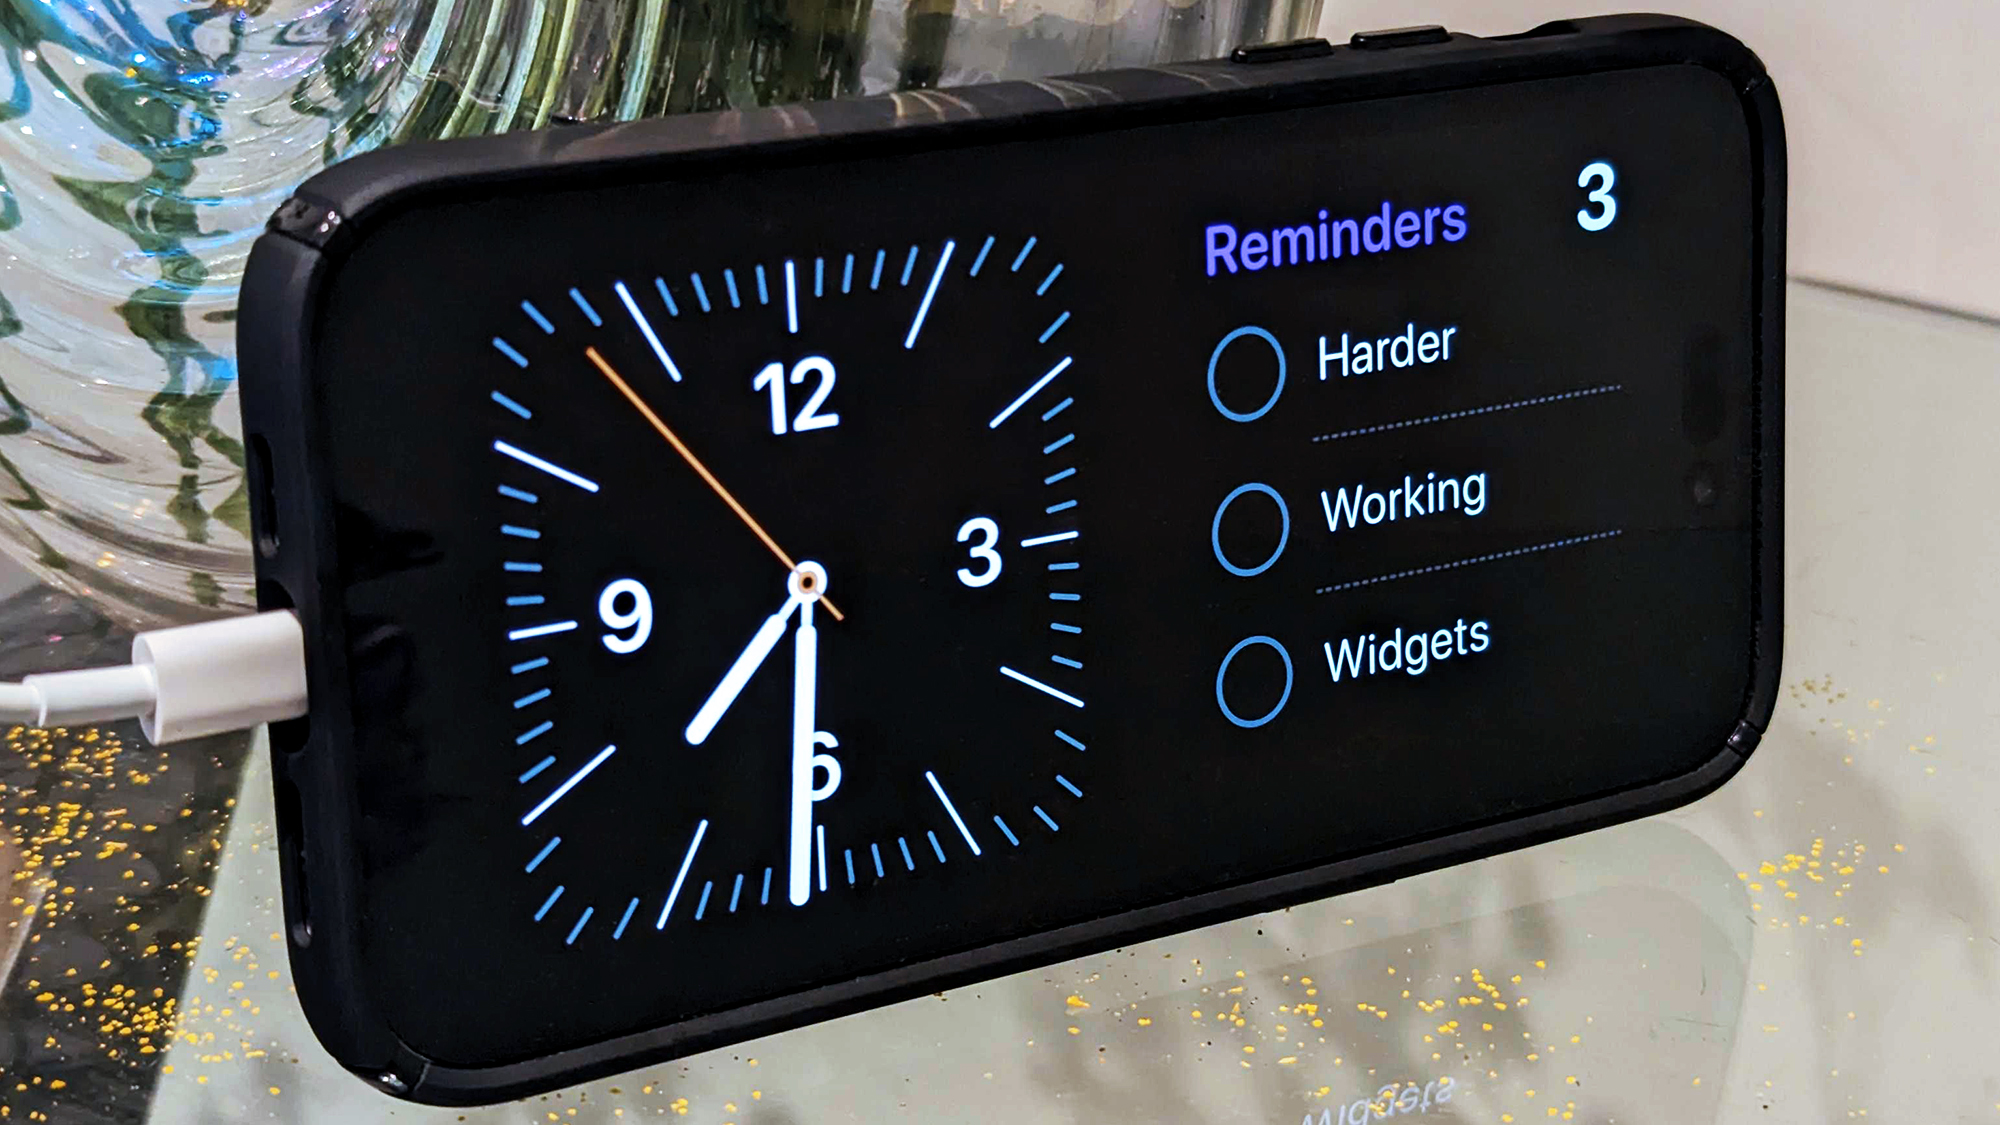
StandBy transforms your iPhone into the perfect bedside companion and as well as offering up the time and a slideshow of your most precious photos, it can also be used to serve up widgets, including iOS 17's new interactive widgets.
- To add widgets to StandBy, you first have to be in StandBy mode, by having the feature switched on in settings, your phone on charge and in a landscape orientation
- Once StandBy is active, swipe to the left-most screen, which features two sets of widgets beside one another, that you can swipe up or down to scroll through
- Once here, long-press on either of the two widgets visible to access the customization screen for that particular column of widgets
- From here, tap the '+' icon in the top left of the screen to bring up a menu featuring all the potential widgets you can add
- You'll be presented with suggested widgets you might want to add at the top of the list, but you can scroll through all the apps with StandBy-compatible widgets on the left and even unearth un-optimized widgets under the 'Other...' selection at the bottom of the list
- Once you've found the app or widget you want to add, tap and hold on a chosen widget and drag it into your preferred position or use the '+ add widget' button.
- Tap 'Done' in the top right
- Swipe through the available widgets to see your newly-added interactive widget
This is only the beginning
At the time of writing, most of the widgets you'll encounter remain unchanged in iOS 17, however, the most notable interactive widgets right now are tied to Reminders, the Home app and Apple Music; which let you tap to mark off completed tasks, control your smart home devices, and pause and play music, respectively.
Despite the small range of interactive widgets available right now, however, that selection is only going to grow as Apple creates more first-party experiences and more developers dive into the latest XCode and WidgetKit releases to develop new third-party interactive widgets of their own.
You'll likely find that the only real interactions possible on these widgets right now are through buttons and toggles, but hopefully, this too will expand as the prevalence and popularity of interactive widgets grows on iOS 17 (and iPadOS 17), adding support for sliders, swiping, long-pressing and more.


