Ever wondered how creatives are making those sleek and seamless transition videos for social media? The answer is probably CapCut, one of the best video editing software apps you can get right now. It's created by ByteDance, the same parent company that owns TikTok, and is a great free tool for easy smartphone content creation, and for those who are complete beginners when it comes to video editing.
I've been using CapCut for over a year now, ever since I started trying to get a bit more serious with my personal TikTok account (I finally made it to over 1K followers), and I love that it's super easy to get your head around while offering a lot more than the basic built-in editing tools you get with Instagram and TikTok's platforms.
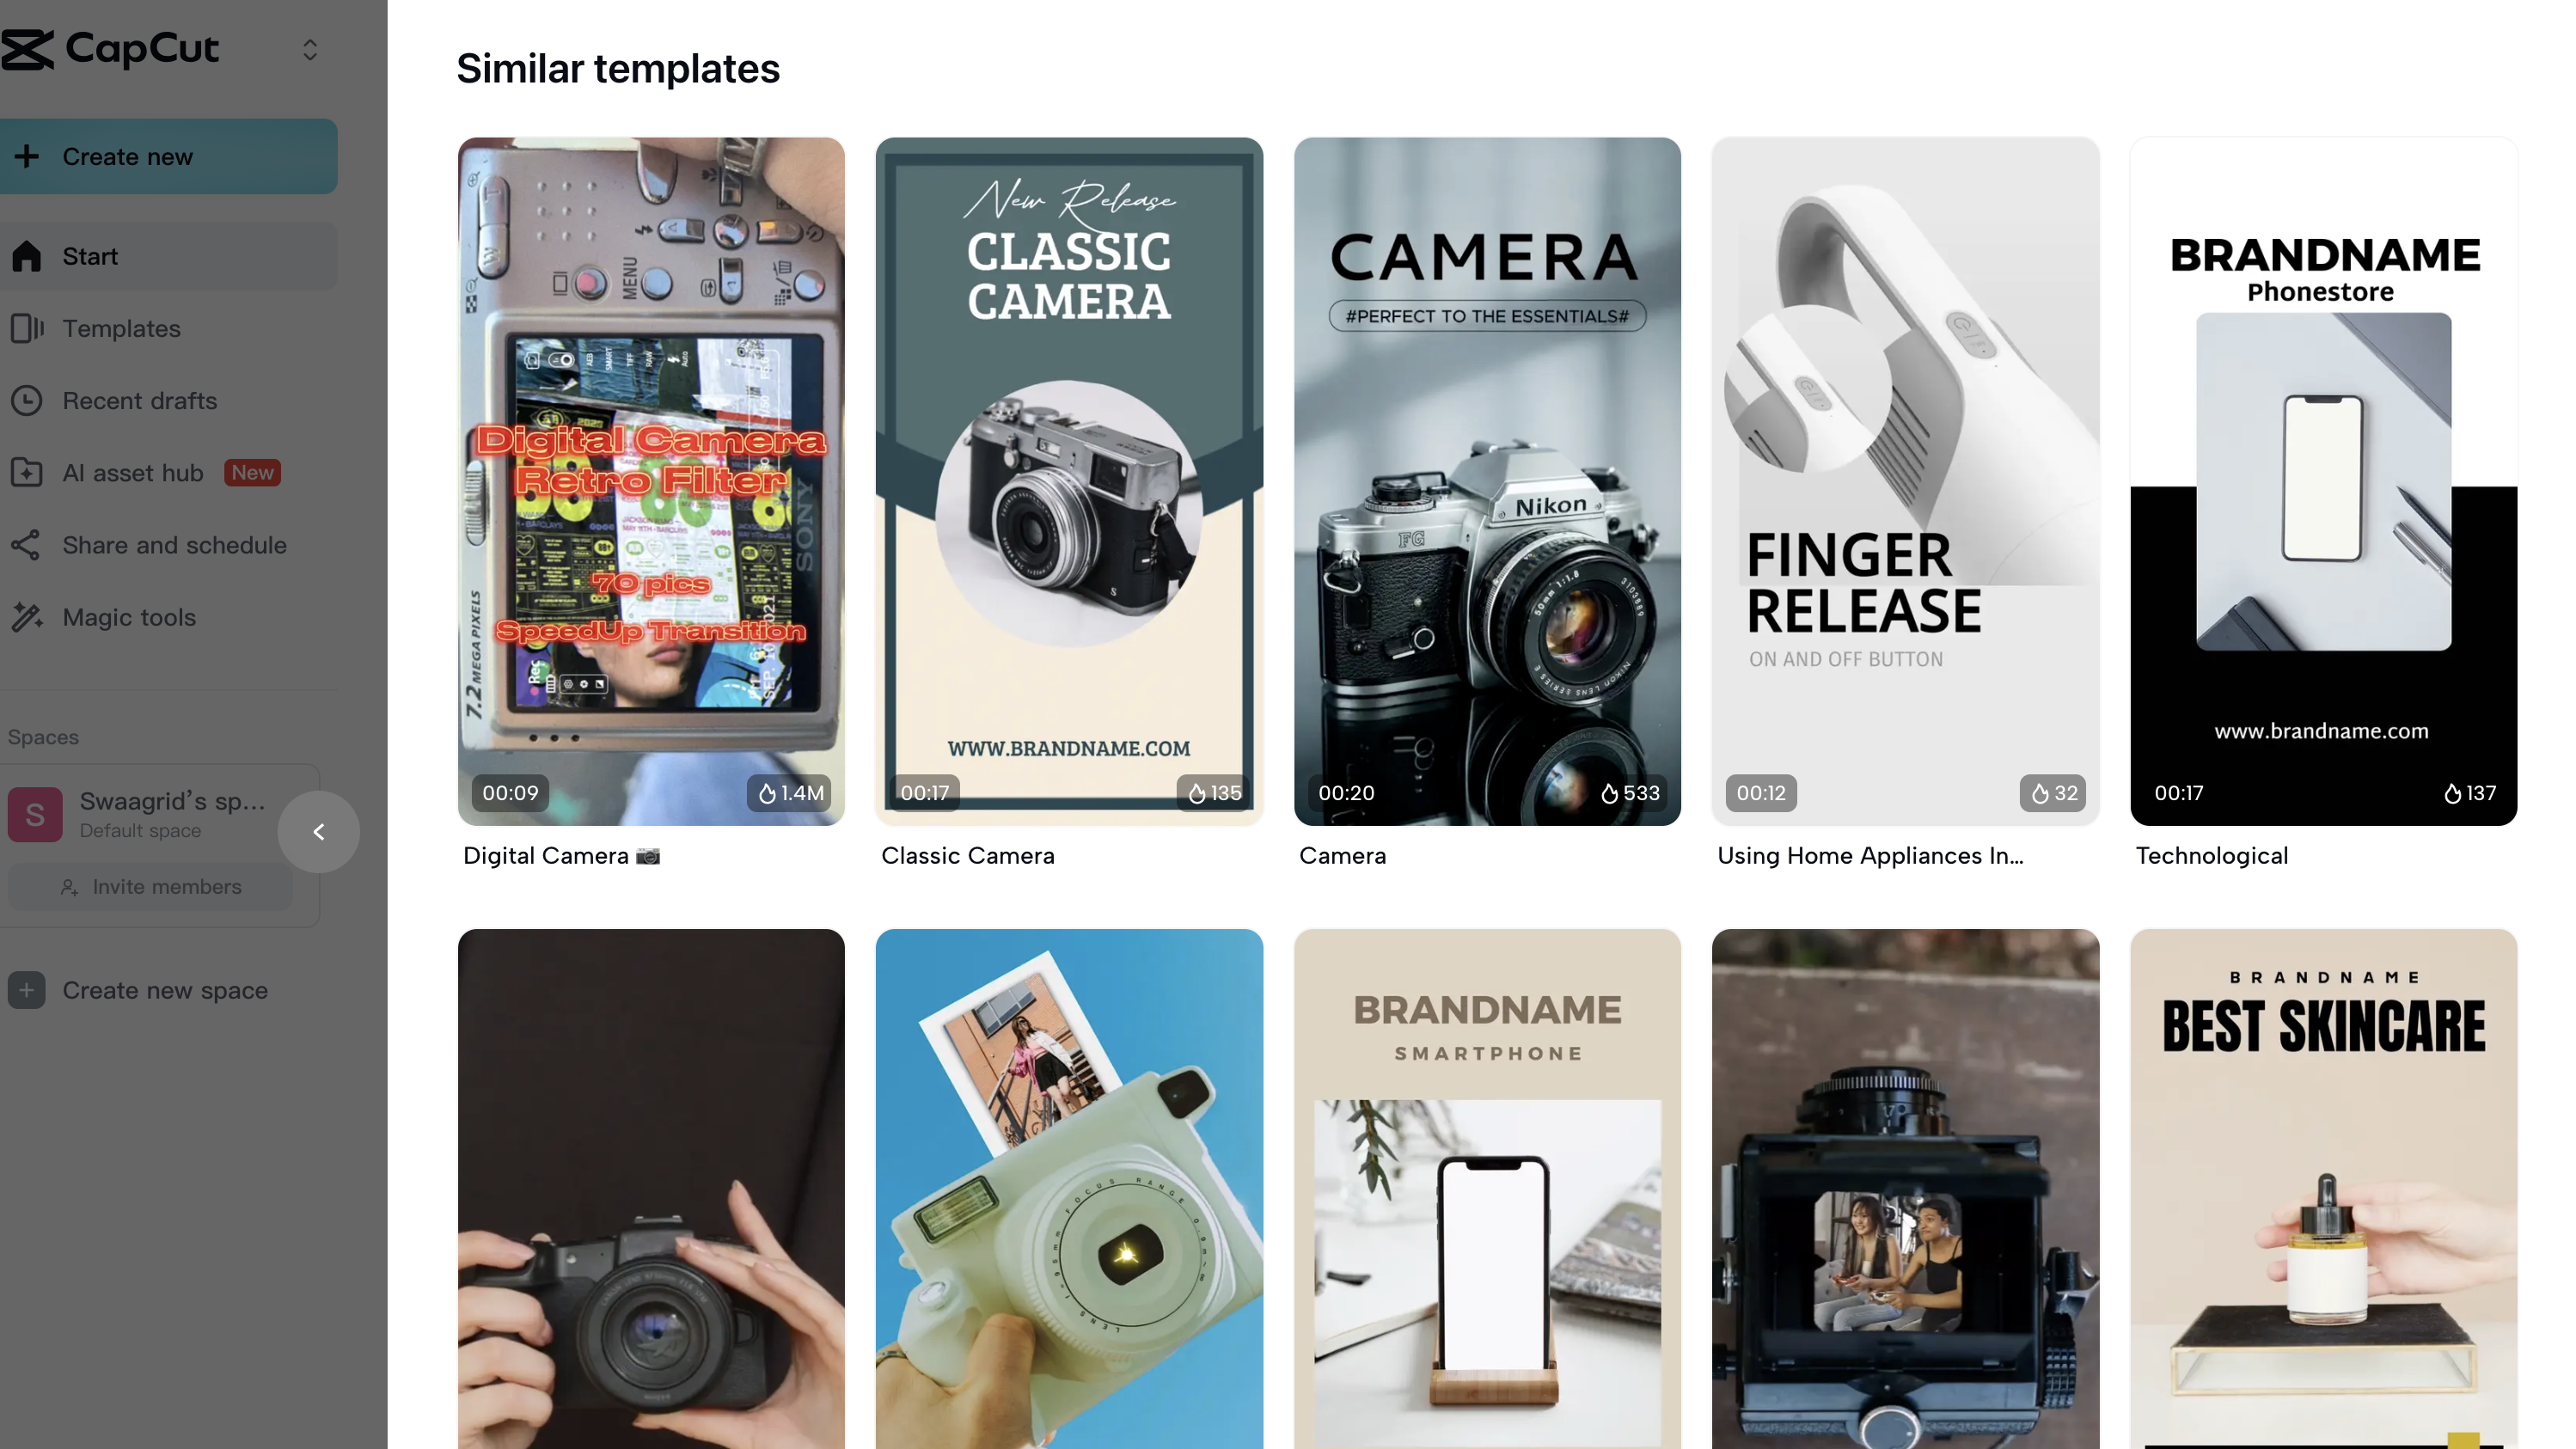
For example, you can use high-quality templates, cool effects, and there's a commercial sounds library too, for making sure your content ticks all of the legal boxes (see our guide on how to make a TikTok video for more on sound usage). I'm going to show you the very basics of how to use CapCut in this tutorial, and hopefully it should help anyone starting out with the app, or with the desktop version of the software if you're using one of the best laptops for video editing.
Try CapCut Pro's 7-day free trial now
How to use CapCut for video editing:
Step 1 - Download CapCut
There are a number of ways that you can install and use CapCut. I personally use the CapCut mobile app, as I mostly shoot video footage using my Samsung Galaxy S24 Ultra, or you can also use the online version of CapCut or download the desktop version of CapCut if you prefer to edit with a larger screen. You can even use CapCut with one of the best iPads for video editing if you have media imported or stored on your Apple iCloud account for quick access.
• To download CapCut for mobile, head to the Google Play Store or App Store for iPhone users.
• To download CapCut for desktop, head to CapCut's website for a free download link.
I would strongly advise making an account with CapCut for free if you plan on logging into the software on multiple devices, as this helps keep everything backed up in one place for easy access when you need it.
Step 2 – Create a new project
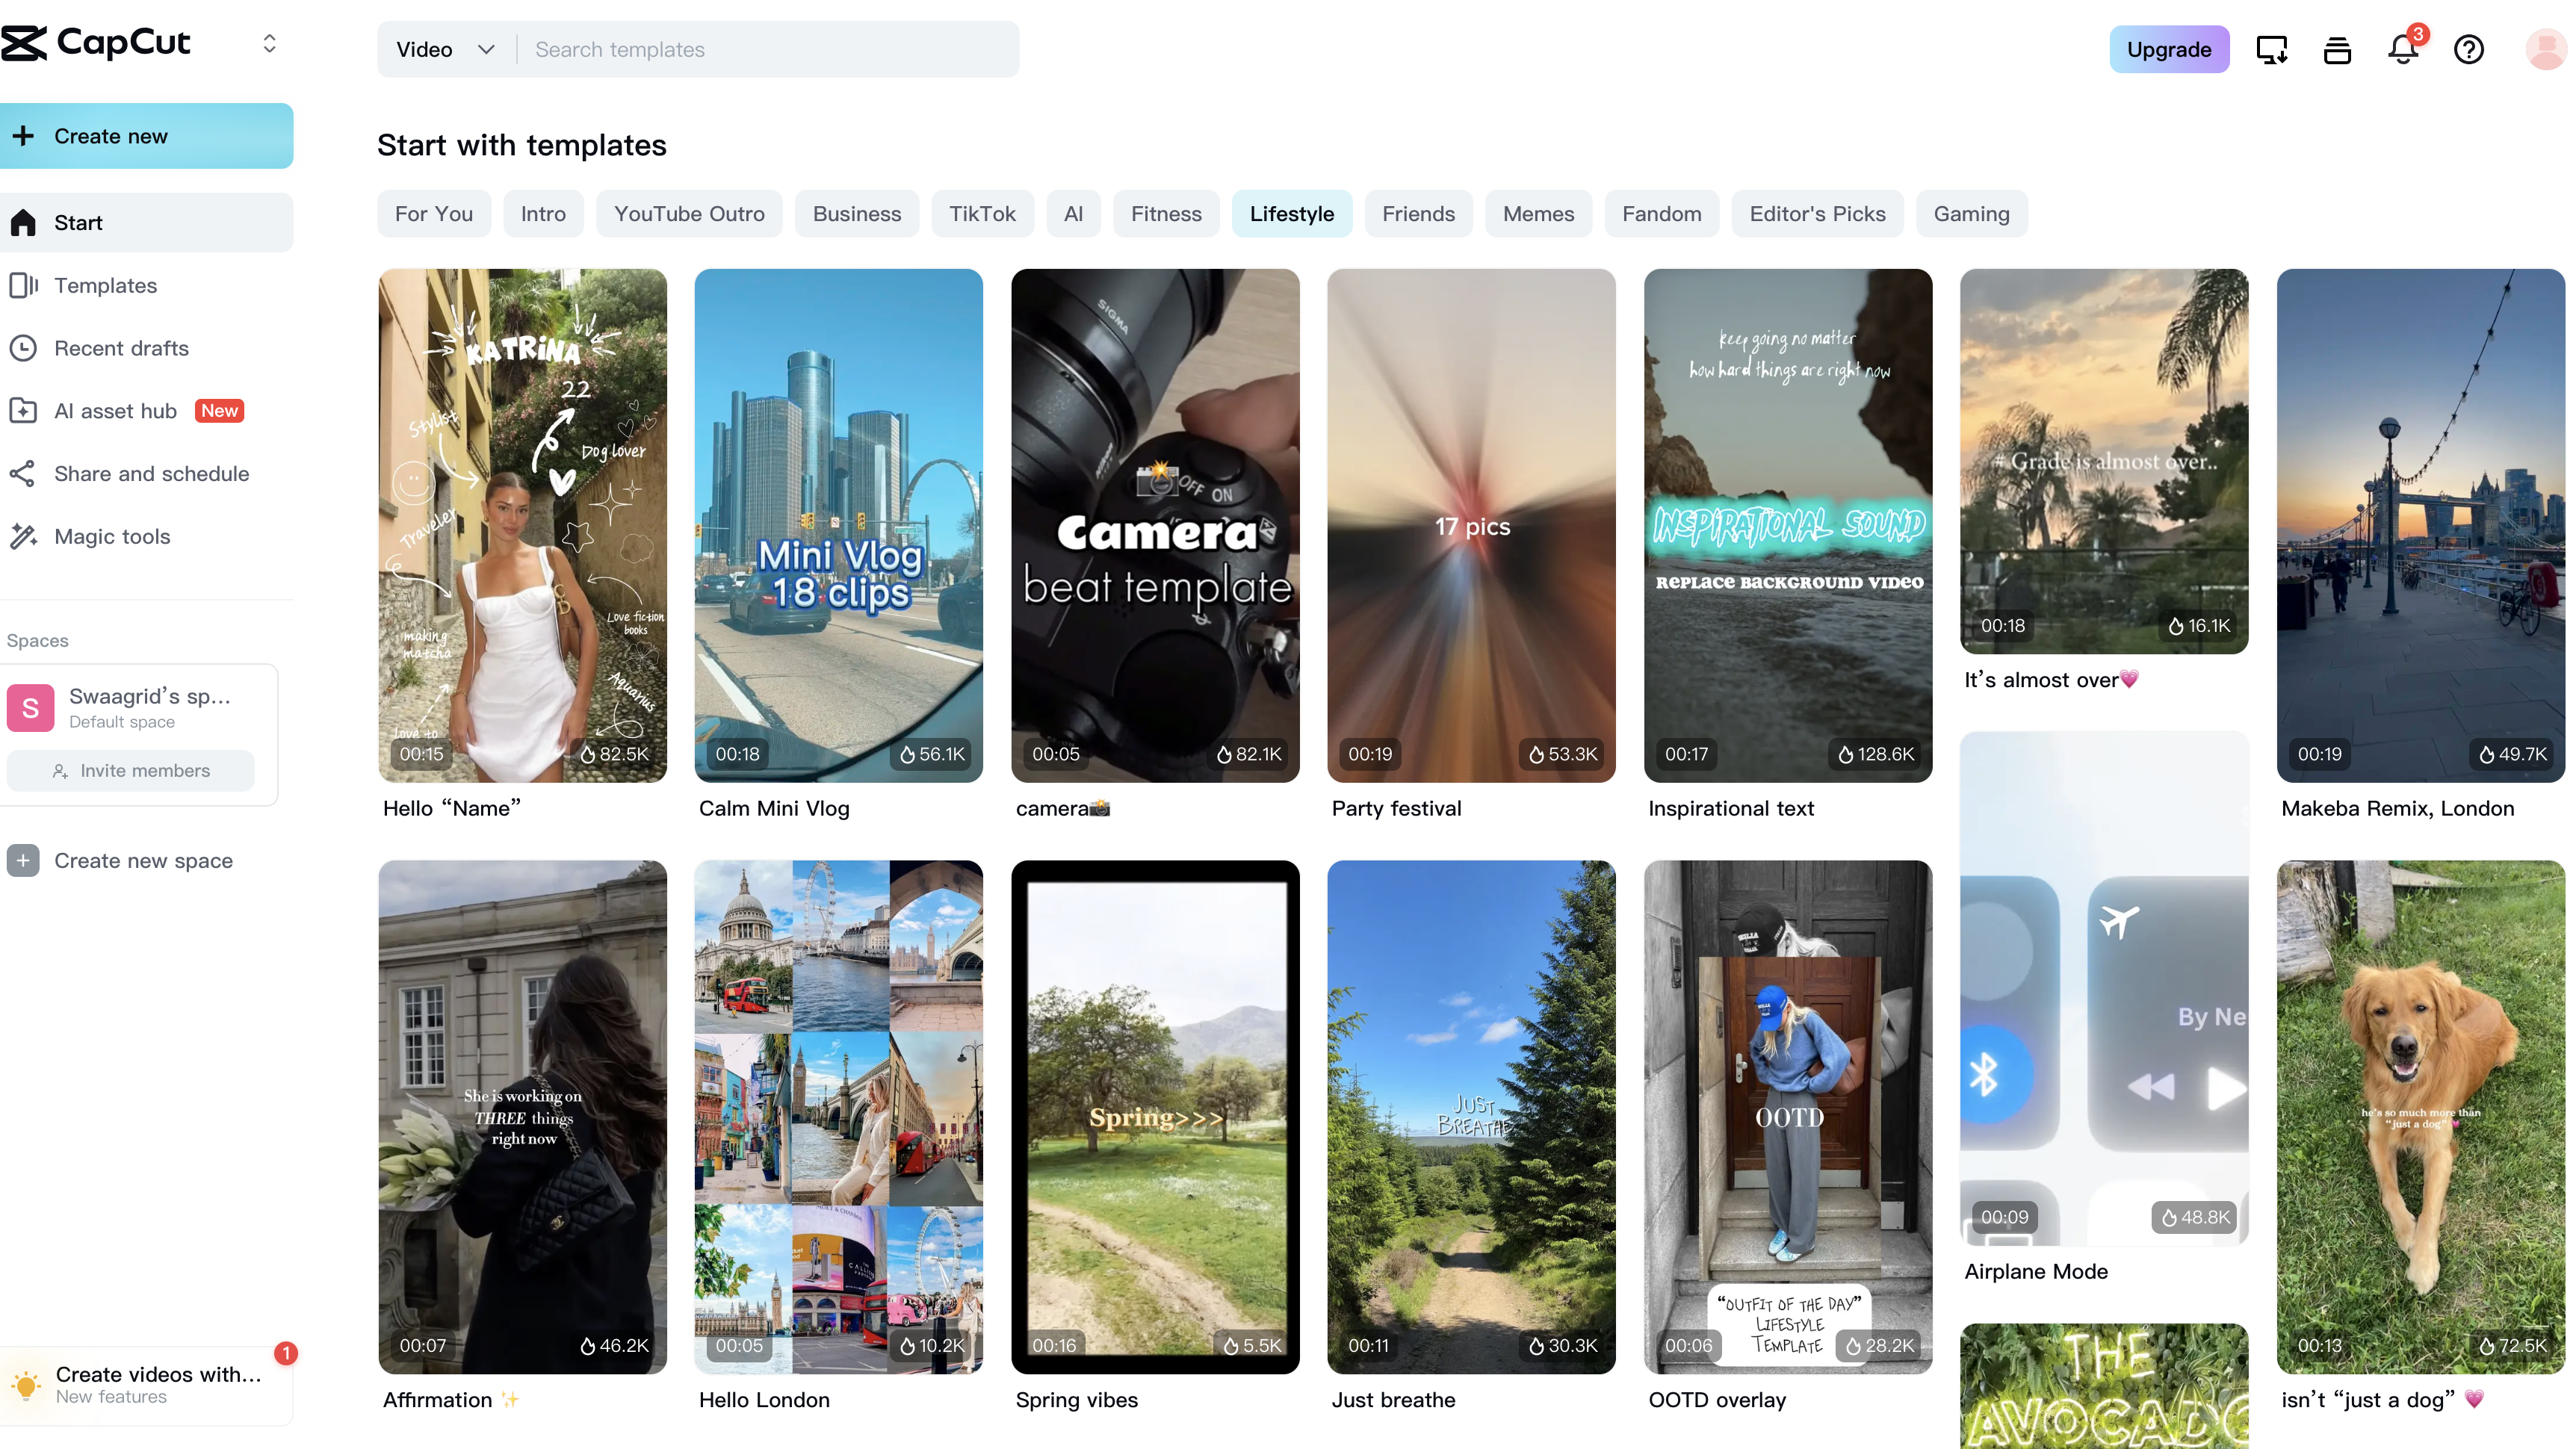
Once you're up and running with CapCut on your chosen device, the next step is to create a new project by importing your media into the software. This can be done entirely from scratch, by selecting multiple videos and images from your device and importing them into the project, or you can start off by using a ready-made CapCut template (free to use), and replacing the template with your own content.
Alternatively, you can also upload your media into a project, and then convert this into an existing template later by clicking on the 'Templates' icon along the bottom editing panel (we'll get more into editing CapCut videos in the next step).
Step 3 – Edit and sharpen up your content

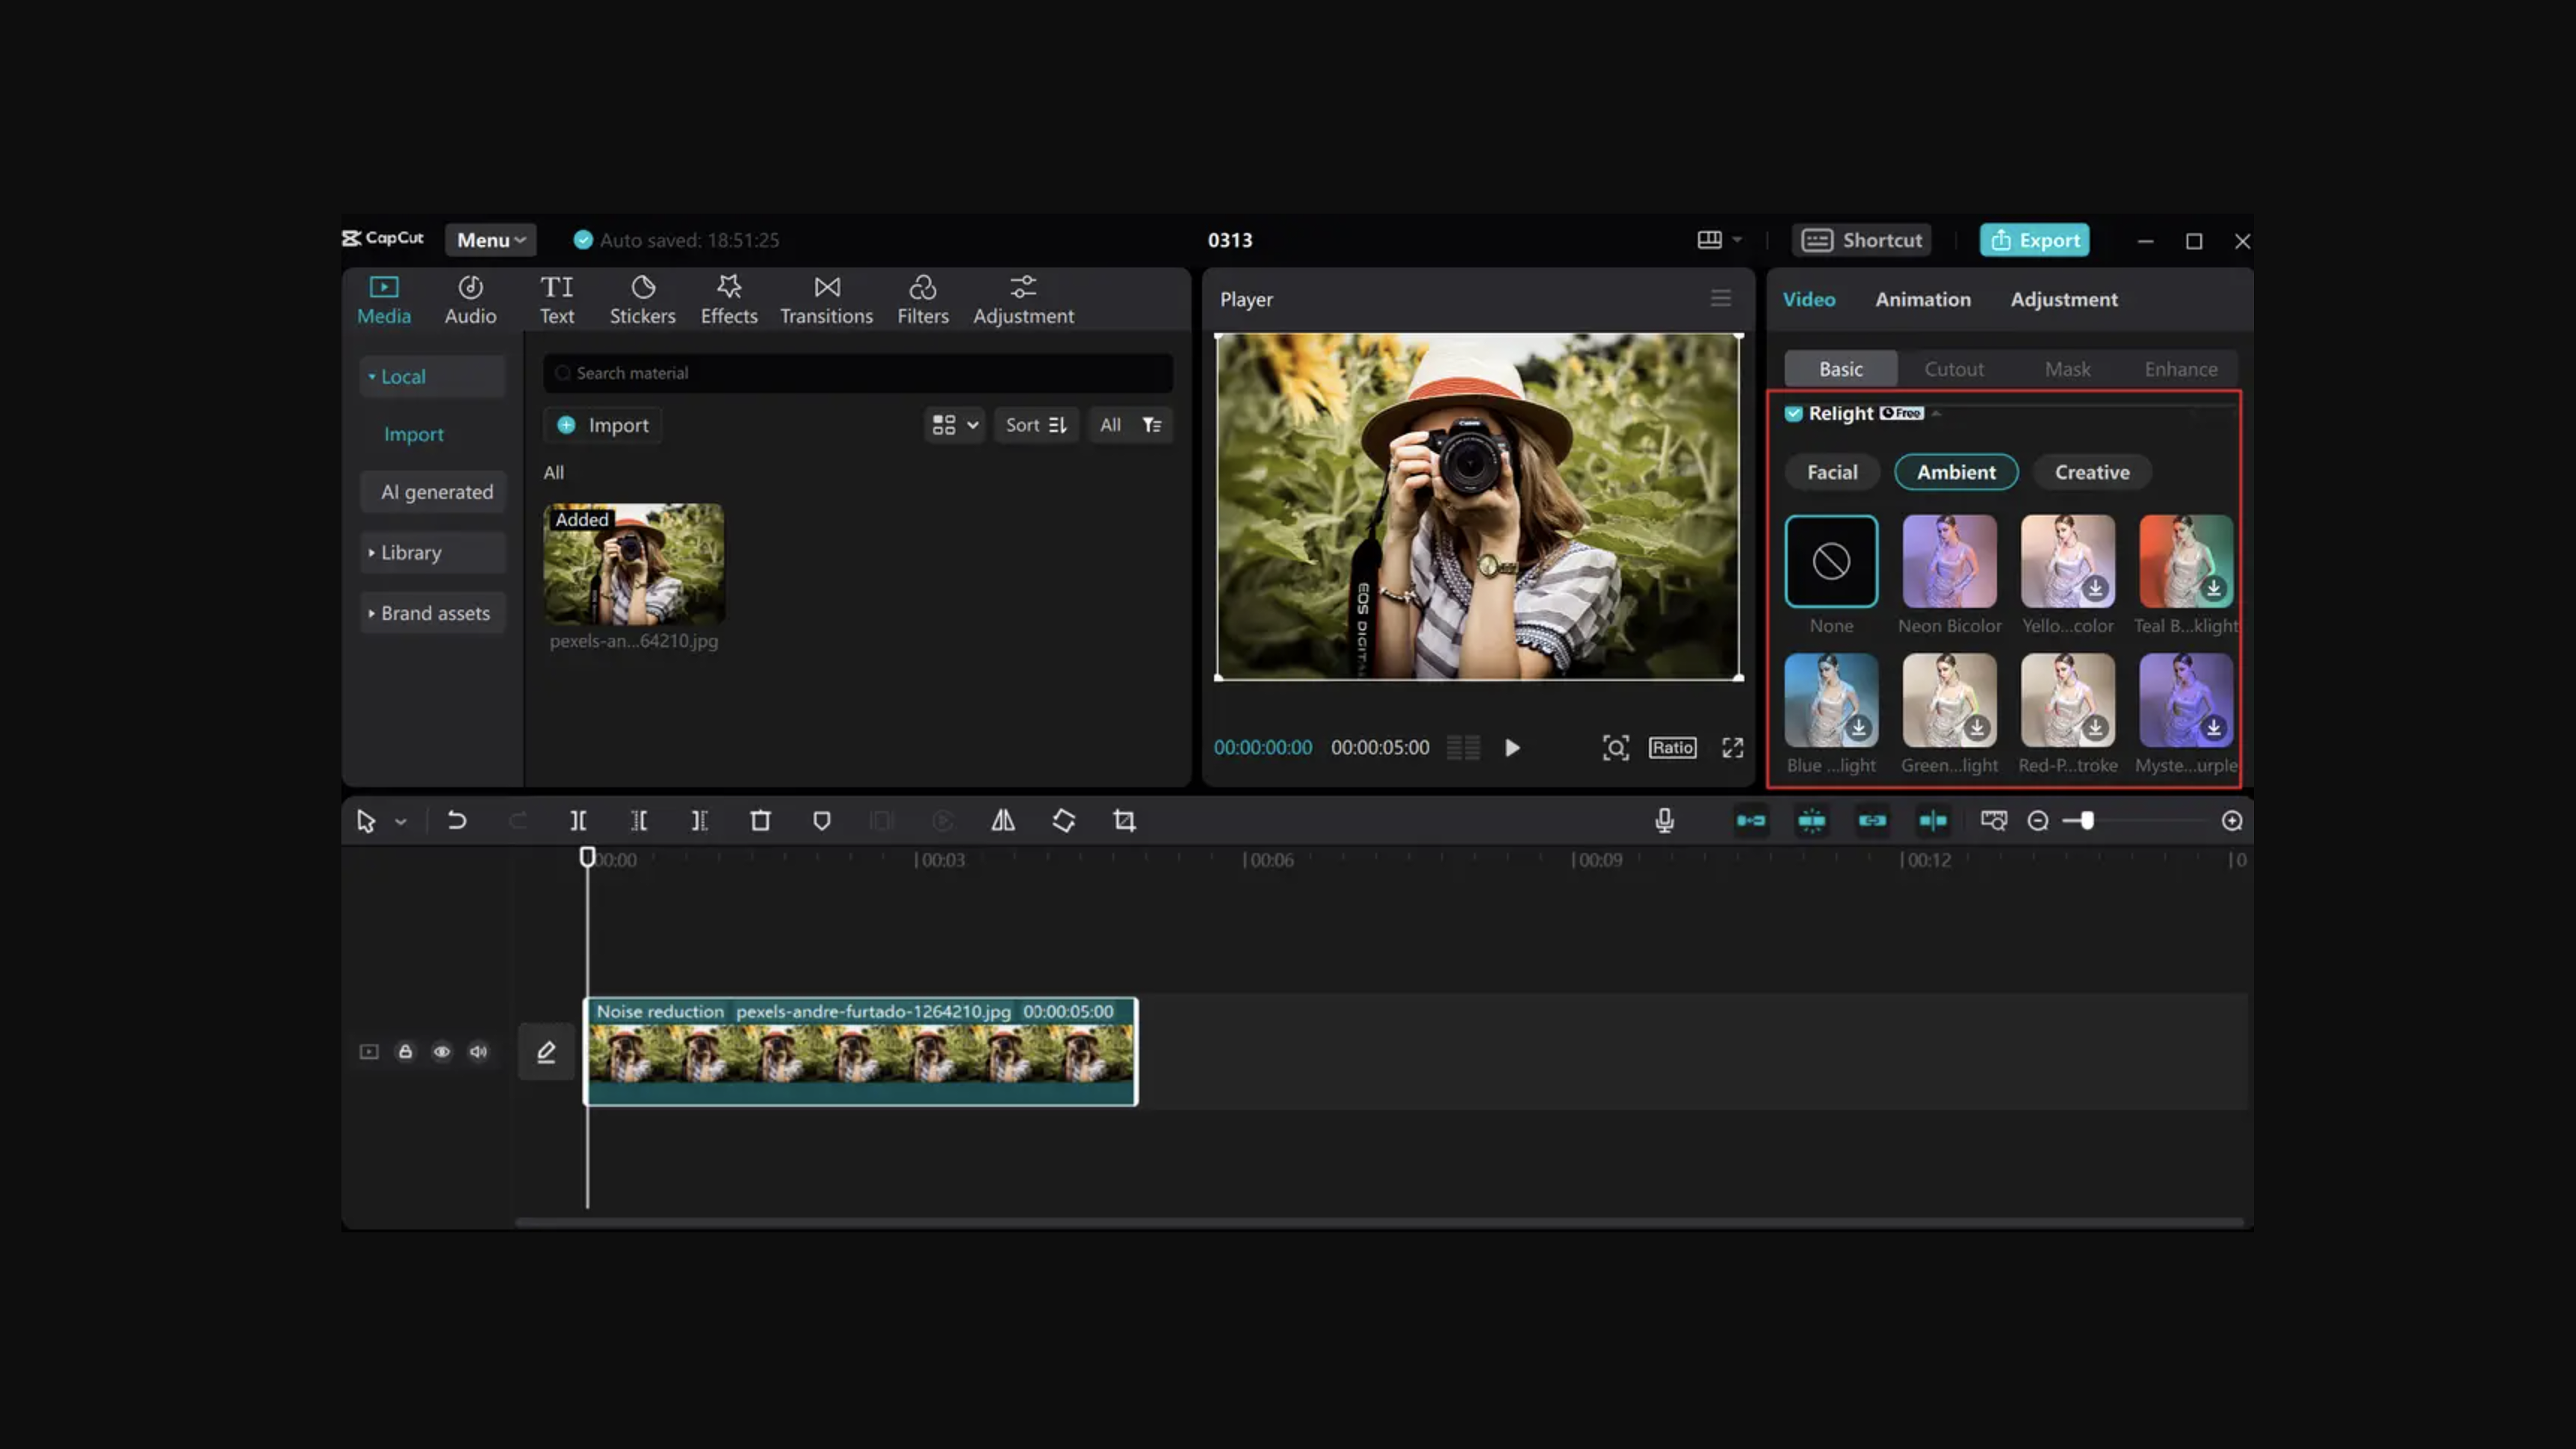
Now you've installed CapCut and imported some footage, it's time to get editing. I find CapCut's interface to be extremely user-friendly, with each editing tool or editing category assigned to a basic icon, and laid out plainly along the bottom panel (at least on mobile) for you to swipe along and find what you need.
Keep an eye out for the little blue diamond symbol that you might see on top of some icons, as this means you need a CapCut Standard subscription to use it. Similarly, you might come across a purple diamond icon above a tool, which means it will require CapCut Pro to use.
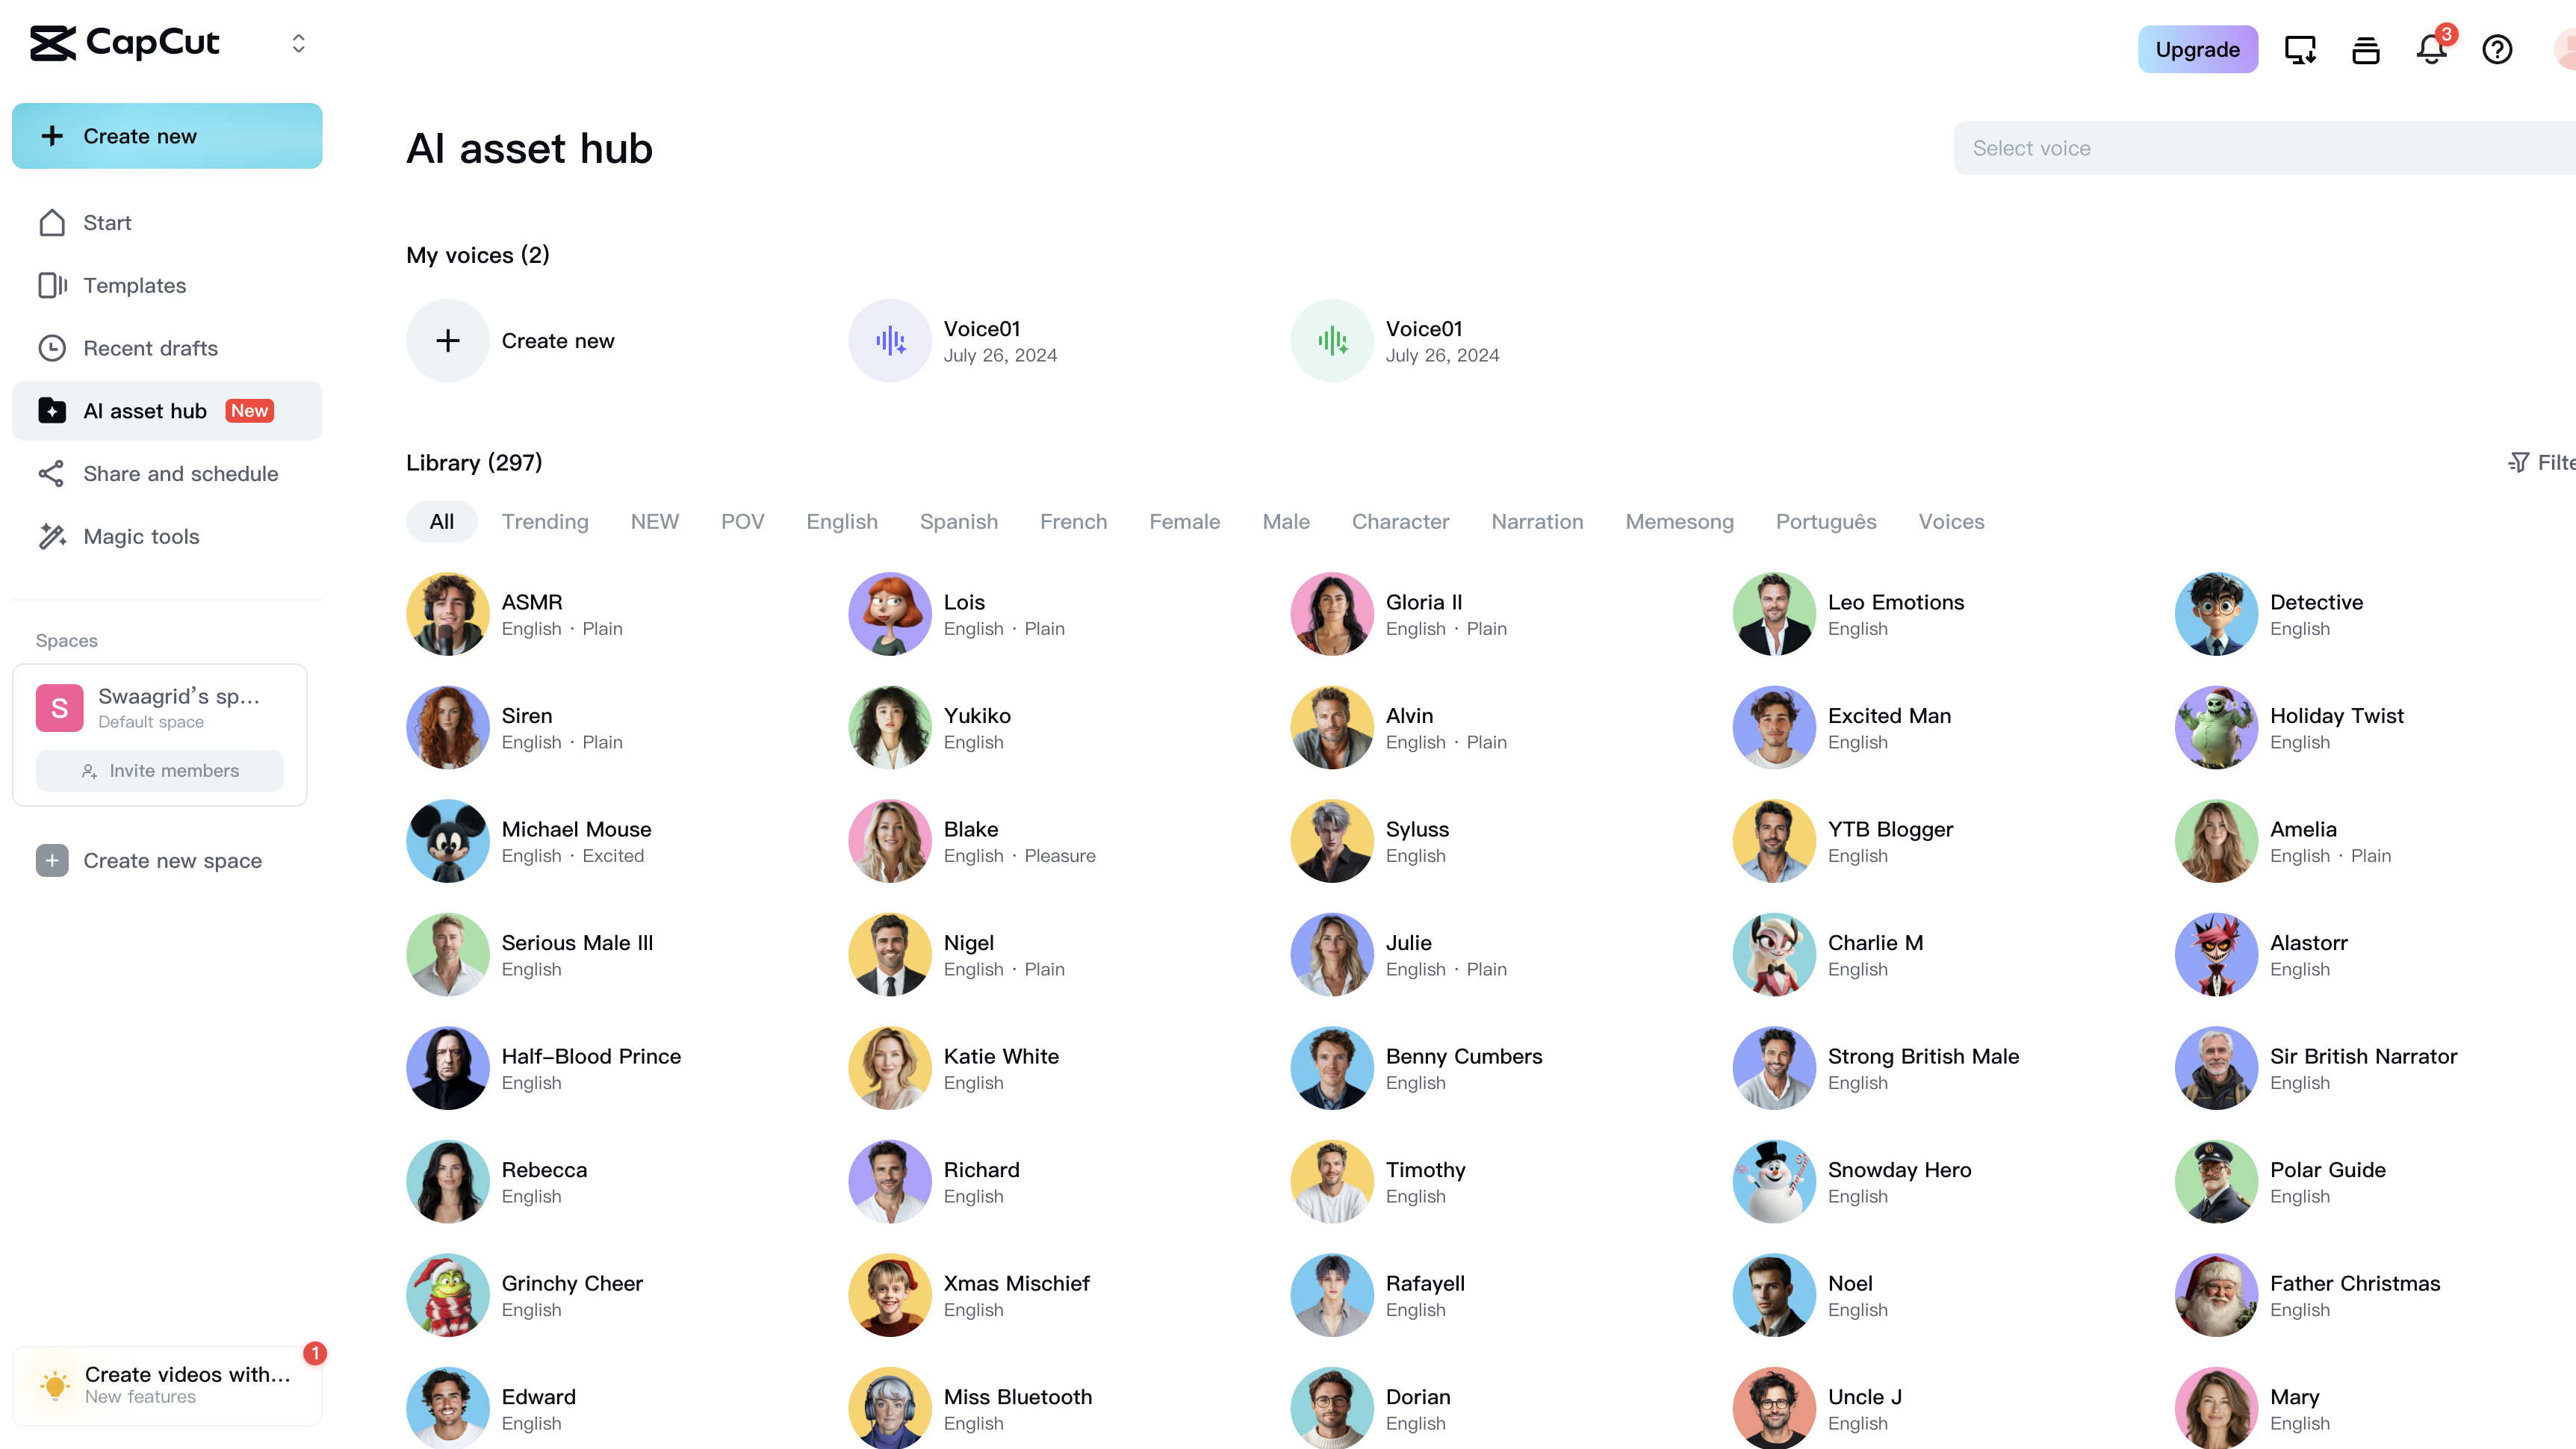
The three CapCut editing tools that I use the most are Split (used to slice clips into chunks for deletion or moving around), as well as AI text to speech (when I want a funny character like the Trickster to narrate my captions), and also Speed (to control the speed of each clip to make it faster or slower), which comes in handy for unboxing videos with a lot of dull footage.
Other adjustments I use frequently include adding text and captions, adjusting the aspect ratio, enhancing voice to be louder if I've recorded a voiceover, and tweaking the overall video quality to be more stable and reduce noise (these are standard features). When using CapCut to edit for the very first time, my advice is to start by shortening clips to make the video more concise and picking a sound that complements the video nicely.
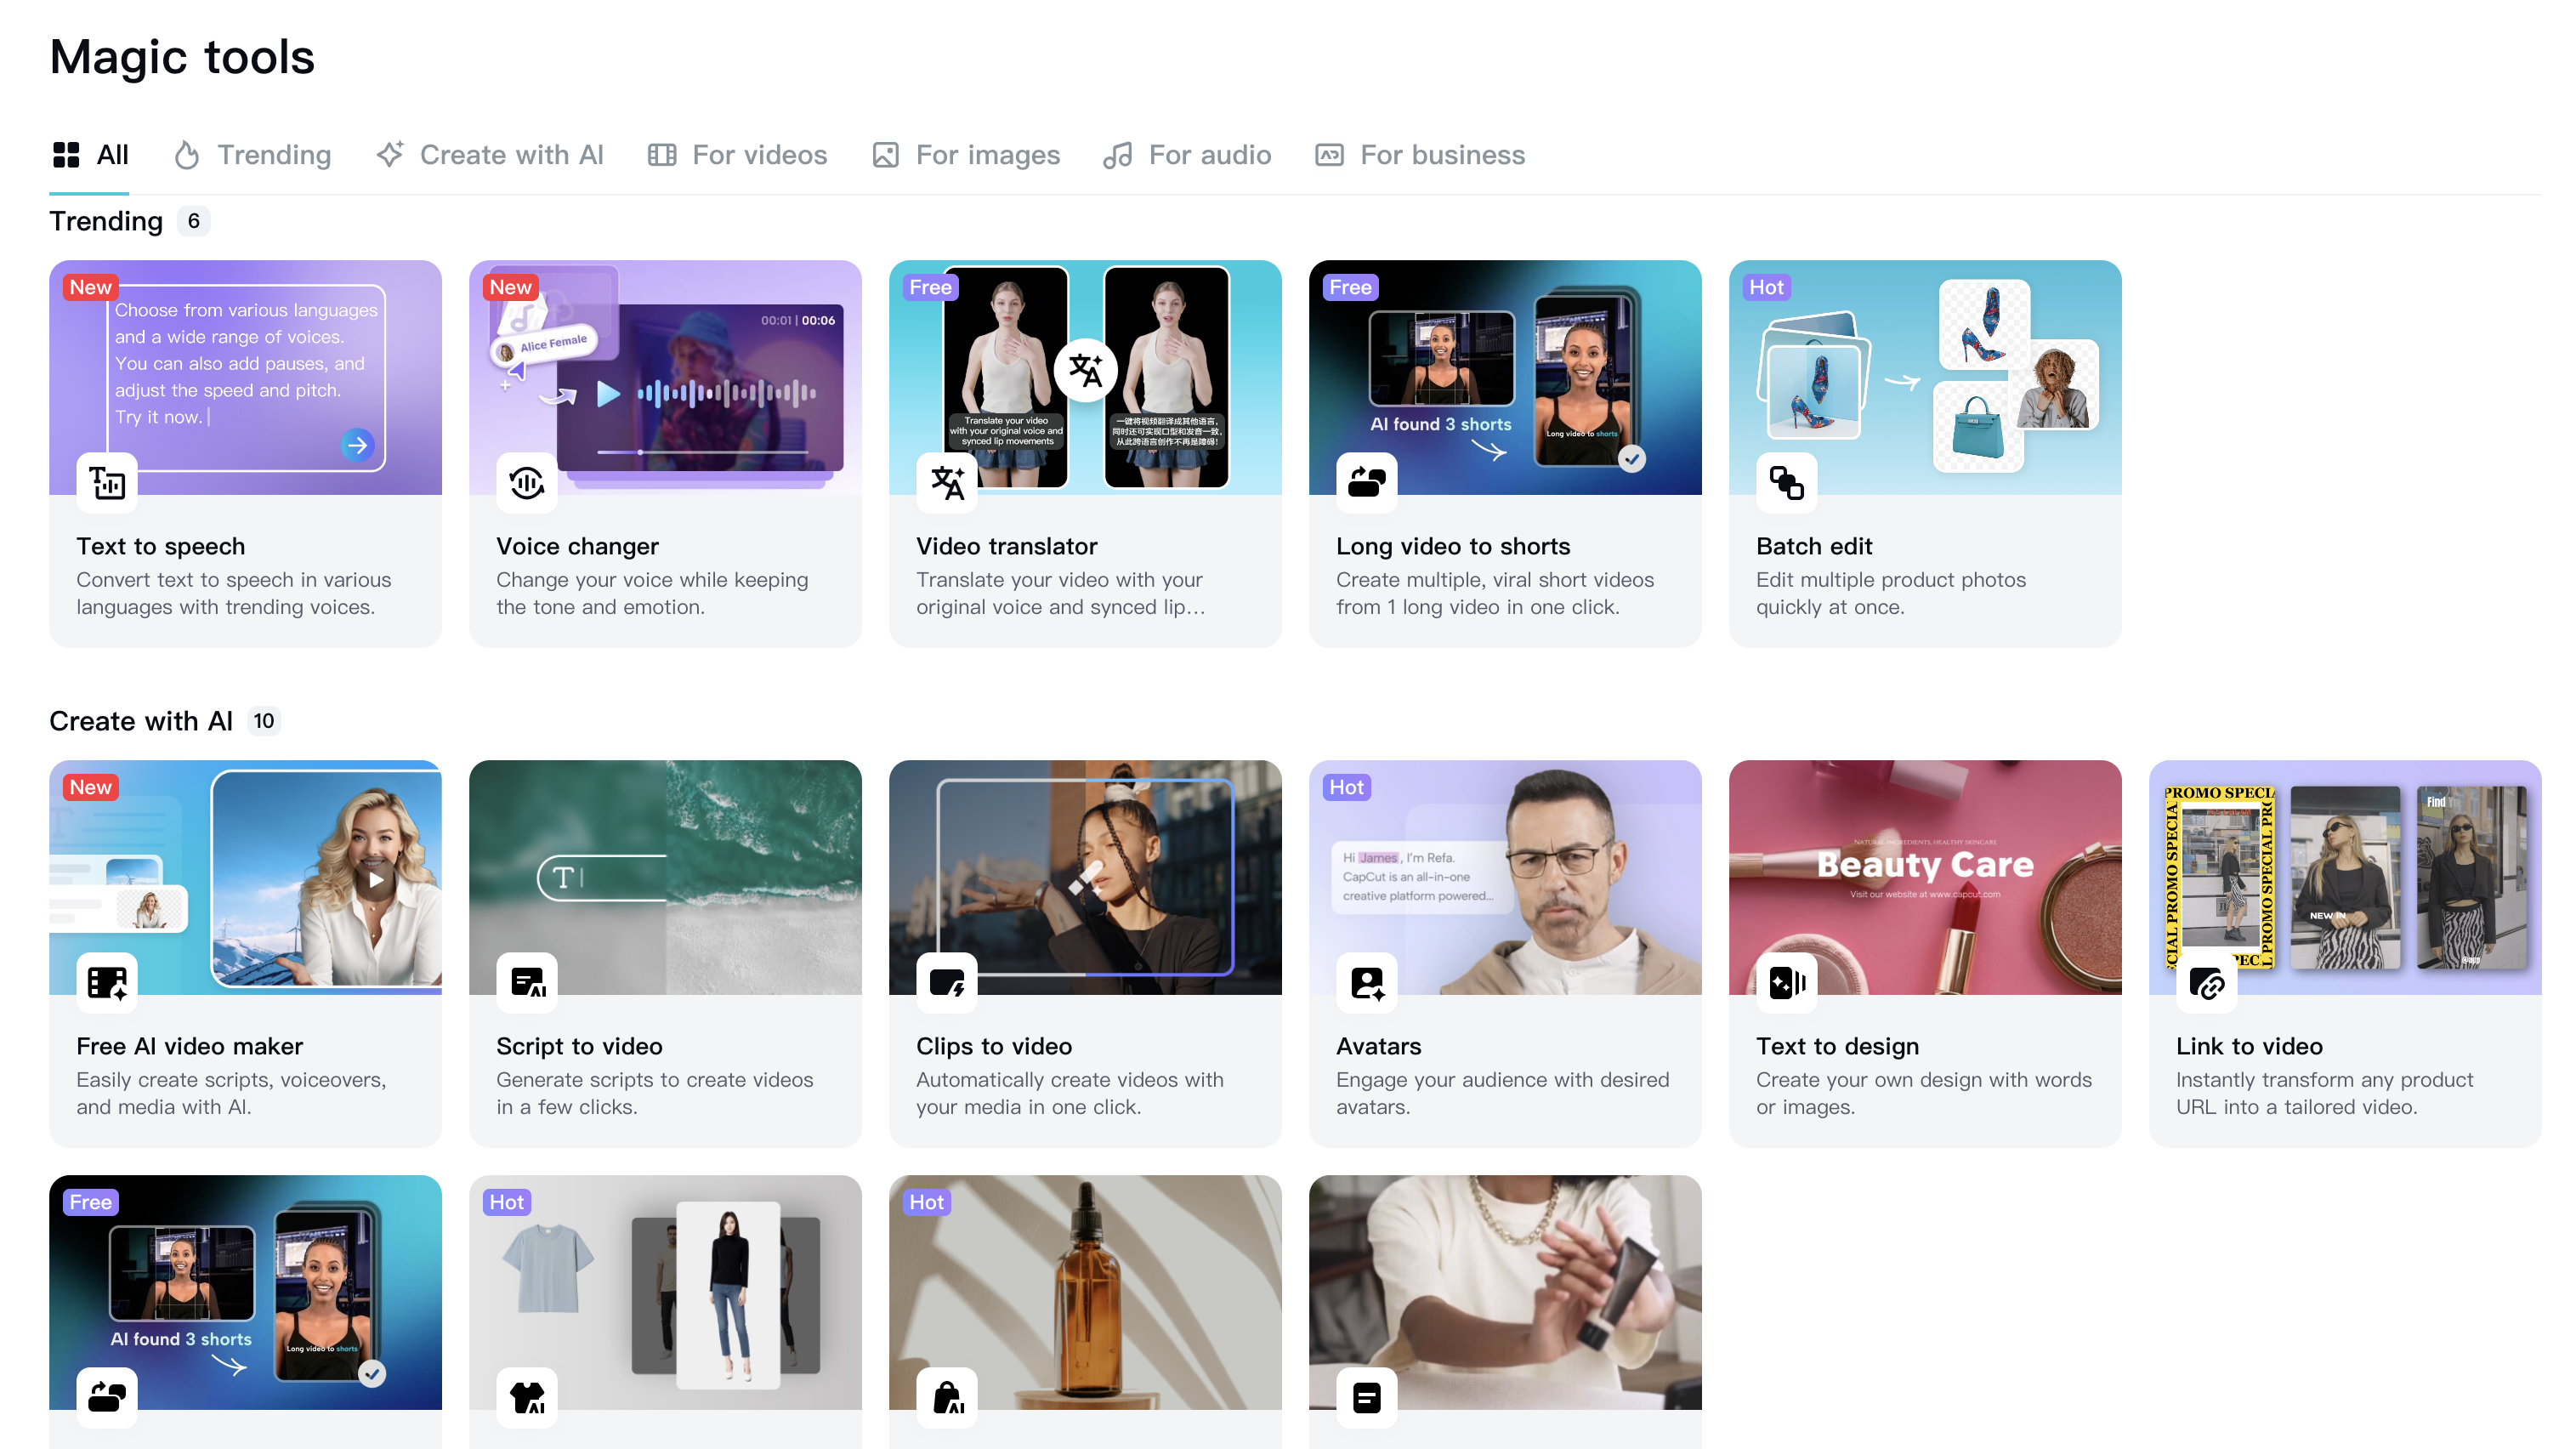
There are plenty of AI tools included with CapCut that are free to try out, like AI expand and AI remove, and plenty of AI templates (where the software will convert your image into an AI-altered version) that are free to use but only once or twice. In general, I think CapCut has a great editing suite that reminded me a lot of Adobe's Premiere Pro when I first started using it, with a lot of options to help creatives produce better content.
Step 4 – Export your content to another platform

Once you're happy with your CapCut video, you've added a groovy sound, and you've triple-checked it to make sure there are no errors, then you can now export your video and prep it for upload onto another platform.
You can tweak the export settings before you tap the blue Export button, by adjusting things like the resolution (up to 4K), the frame rate (up to 60fps), applying optical flow (standard feature), and changing the code rate.
Be sure not to leave the screen while your video is exporting, as this could impact or cancel the process. Once your content is ready, you can choose to export it straight to social media platforms like TikTok or Instagram, and CapCut also saves the completed video to your device's camera roll, which is handy for distributing however you like.
Be aware of music usage and licensing rules on whichever platform you plan to publish your video on, as this could result in account violations and your content getting muted (including any voiceovers) or taken down entirely in a worst-case situation. As long as you're following guidelines then you should be okay.
Top tip: If you plan on uploading your video to TikTok, be sure to use the 'add cover' feature on CapCut before you export. This allows you to add a cover to your video with some text, that will appear on your TikTok page and give viewers a brief insight into what your video is about.
Understanding CapCut plans
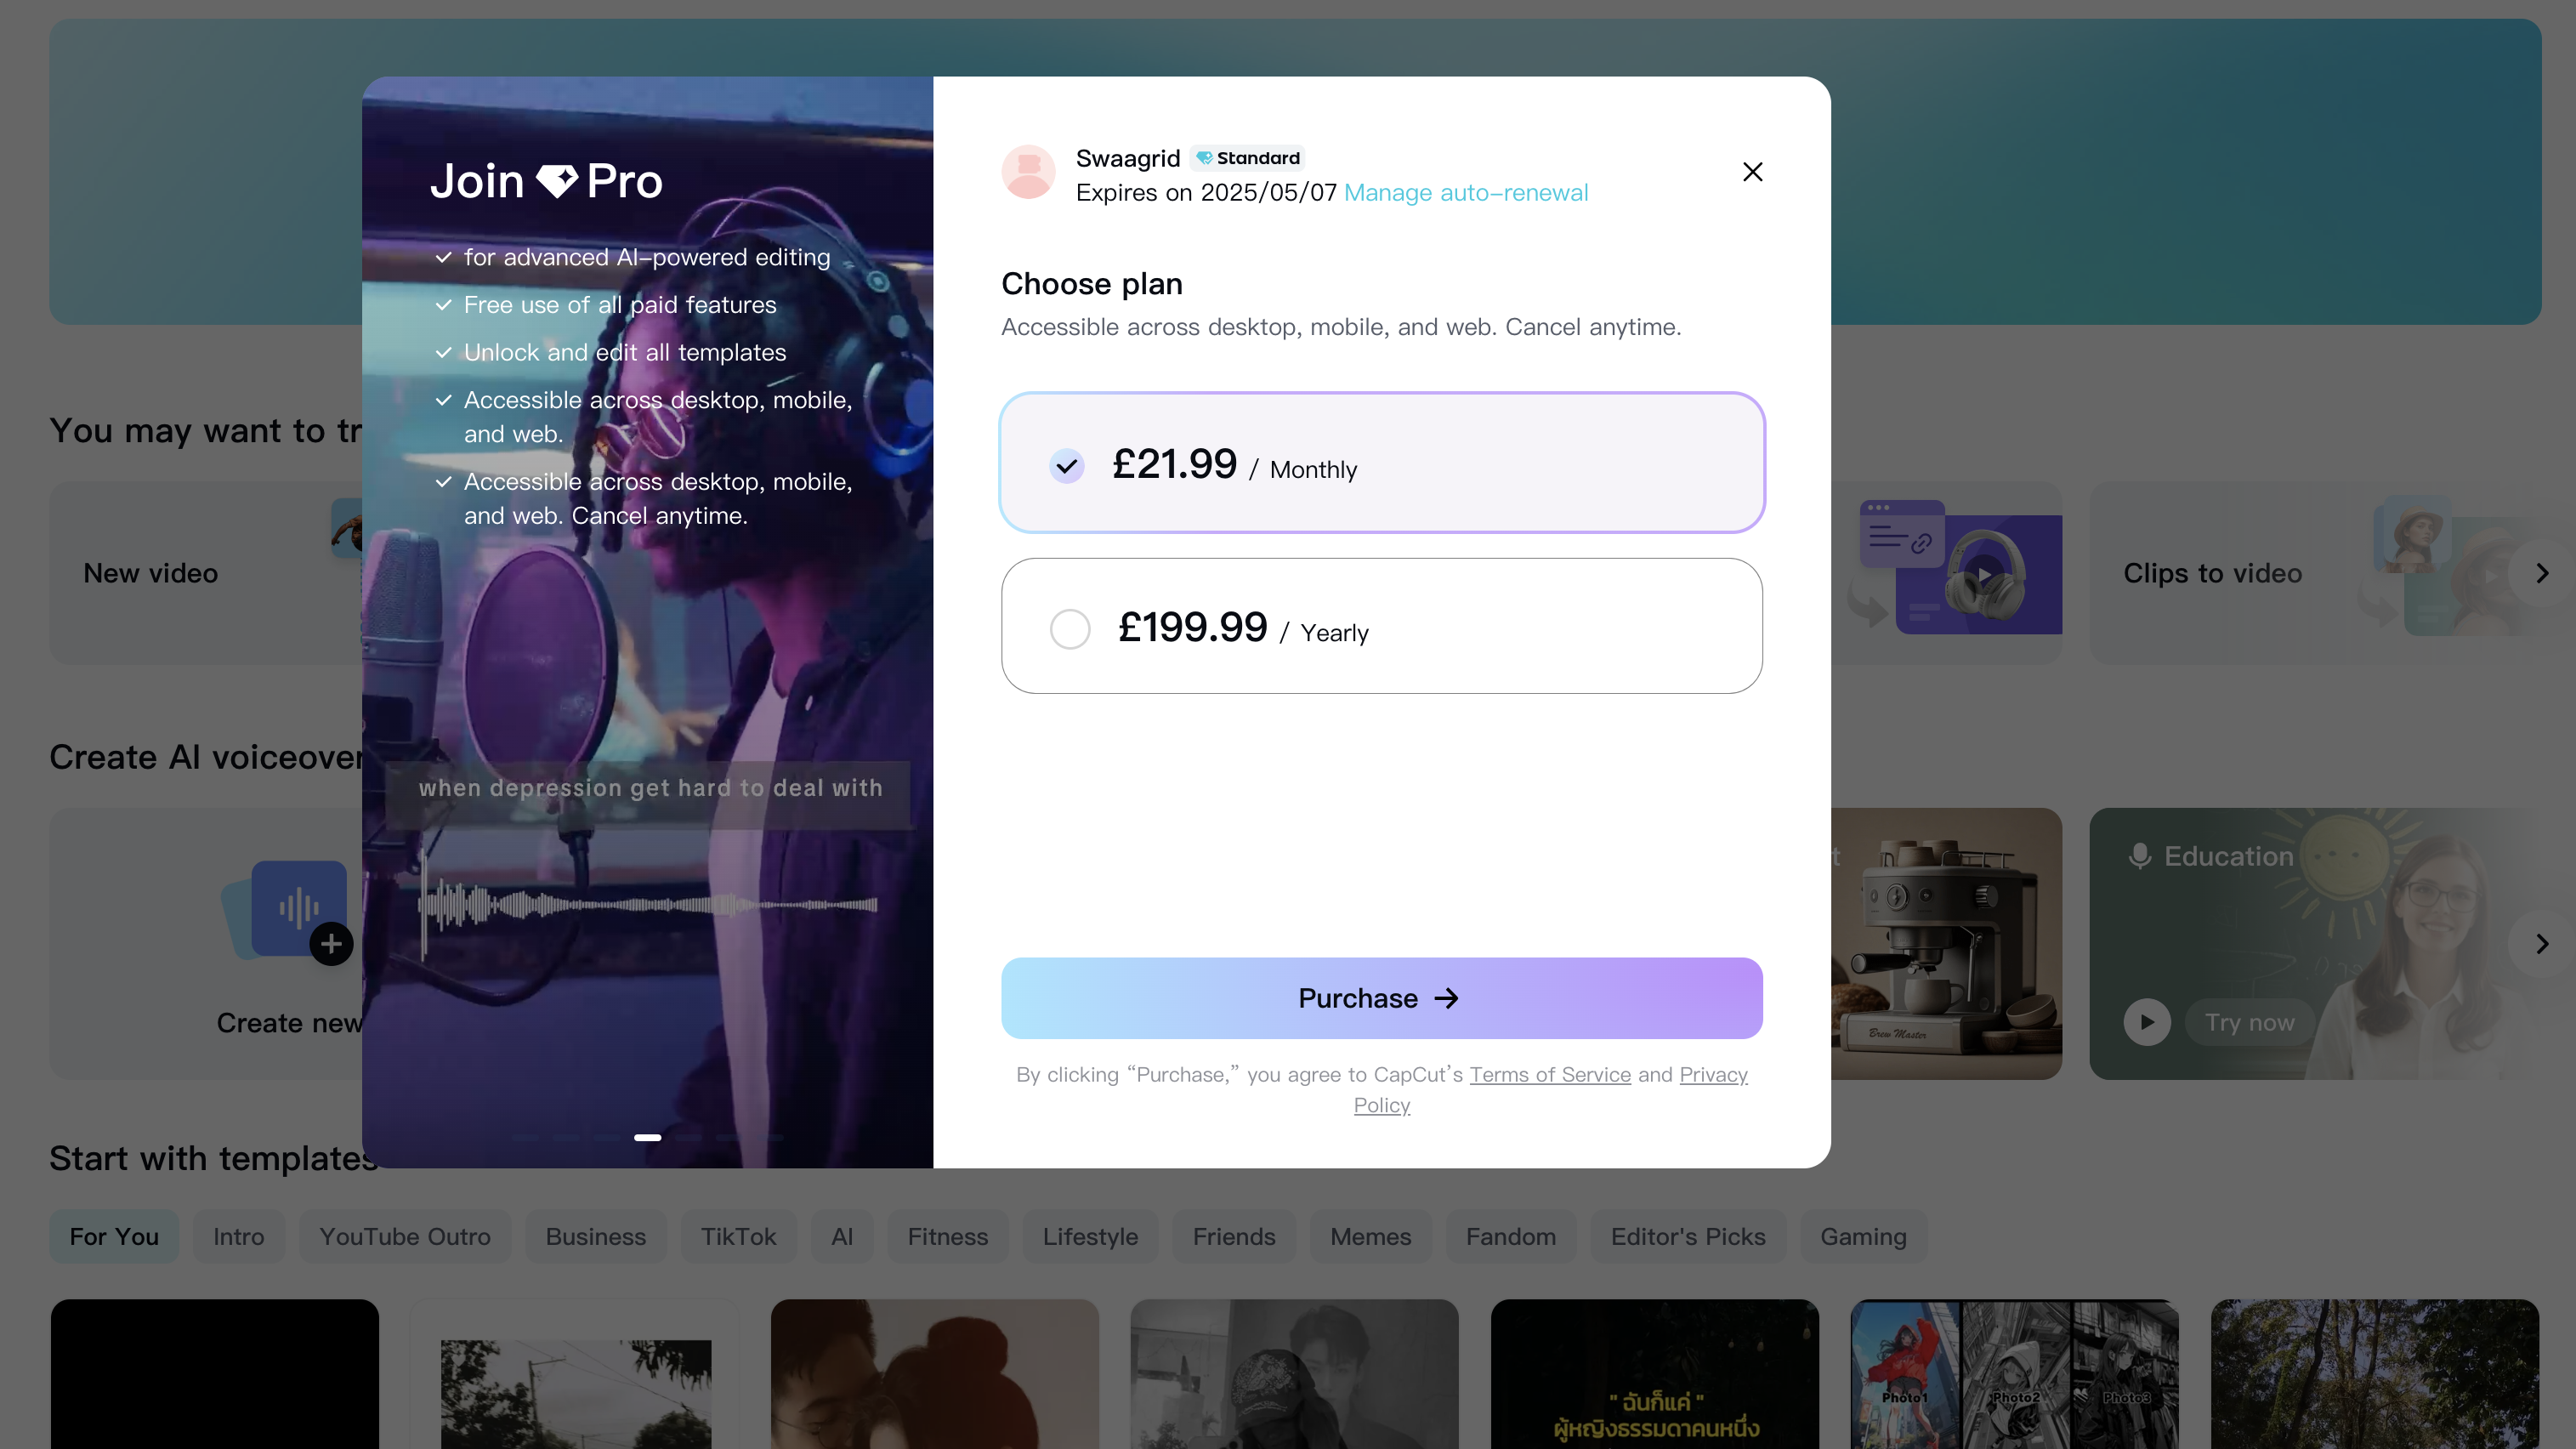
While Capcut is 100% free to download and use, things have gotten a little complicated in recent months with the platform's paid subscription tiers.
There used to be just CapCut (free) and CapCut Pro (a paid subscription), which offered extra editing tools, filters, and features – but now the company has rebranded CapCut Pro into CapCut Standard, which sits between the free and Pro tier subscriptions at $9.99/ £10.99 per month or $89.99 per year, while CapCut Pro has been sneakily increased to $19.99/£21.99 per month or $179.99/ £199.99 per year for even more features.
If you're new to CapCut entirely, my advice would be not to worry about any subscription tiers for now and just get familiar with the basics of CapCut. As you learn how to use the software, you'll come to realise which features you rely on most, and whether or not you're willing to pay extra for advanced tools.