Turning artwork into physical products can bring a whole new audience to your creative designs and ideas. But how do you go about turning something on paper or canvas into a mug or a t-shirt, and ensuring a high-quality finished result?
For this piece, I speak to two artist-illustrators with experience in creating projects from their artwork, and the studio manager of a printing company to give you some advice and help you avoid pitfalls along the way. If you’d like specific advice on producing t-shirts check out our pro tips for t-shirt designs, or read on for more general insight. Or see how to sell your work online for tips on the next step.
Meet the professionals
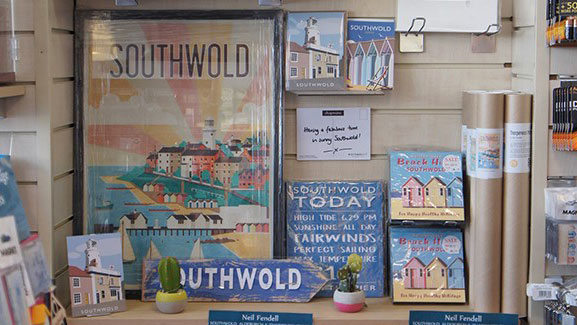
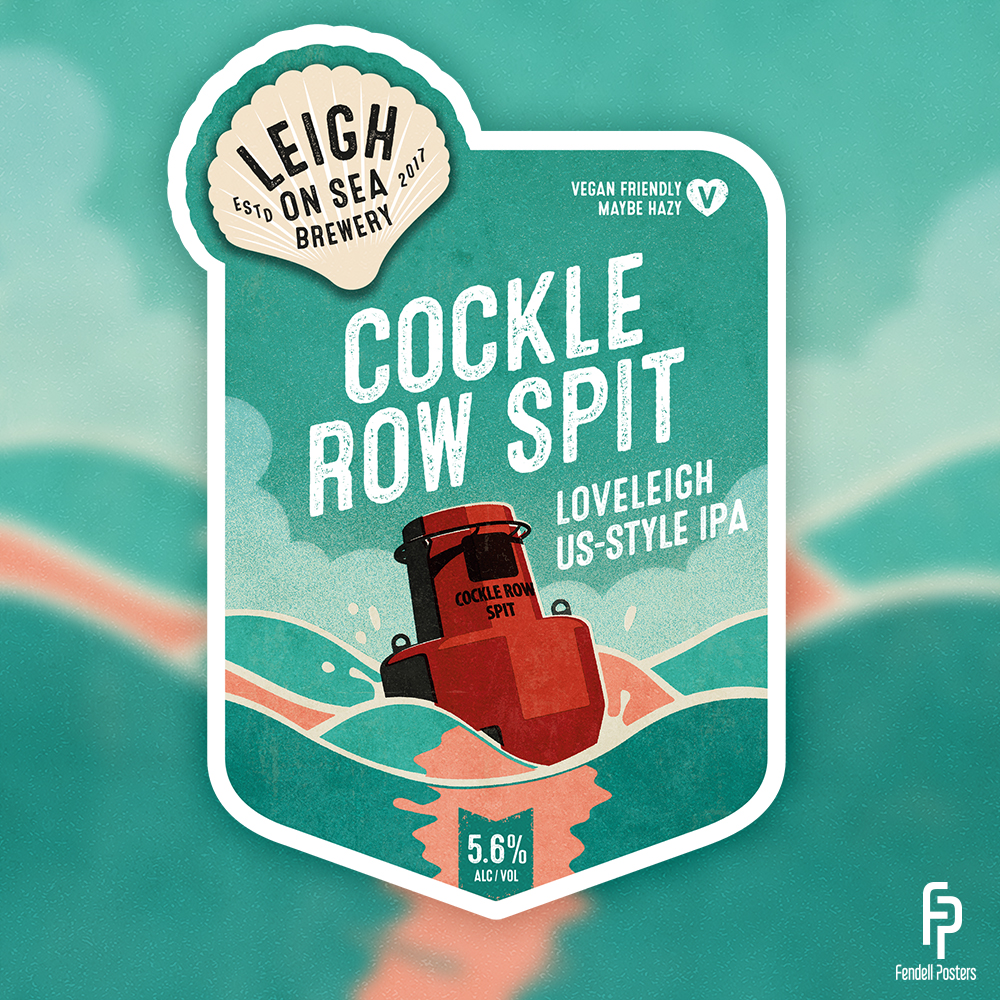
Neil Fendell is a graphic designer by trade, with a sideline in retro-inspired posters, mugs, greetings cards, and even beer labels.
Sarah Douglas is the owner of Sticker Kitten, a crafting and accessories brand and has experience in papercraft products, 3D printing and pattern design.
Jess Williams is the Studio Manager at Instantprint, where artists go for greeting cards, notepads, postcards, calendars and more. Jess and her team provide expert advice and proofing, alongside innovative online design tools to support their wide customer base.
01. Digitise your art
Traditional paints and pens are still a favourite for many artists, but that does mean there’s another step to the process to get the artwork print-ready. “If you’re creating with traditional media the most important thing is to scan your artwork into your computer in high resolution," Sarah recommends.
"Depending on the design and whether you want to make it into a repeat pattern, you’ll also need to use Photoshop to remove the background.”
Traditional paintings can make a statement, but they are not editable works, however, there are ways to ensure you get the best possible results.
Sizing is key if your artwork isn’t editable, Jess says. "We recommend making the artwork at the largest size you will need. Scaling large artwork down will be fine as there will not be a loss of resolution, however scaling non-editable artwork up would lead to a loss of resolution and therefore pixelation."
02. Choose the right digital software
Although the Adobe family of products are very well known for illustration and graphic design, Affinity is another feature-packed, but more affordable option to consider– and there are many others, too.
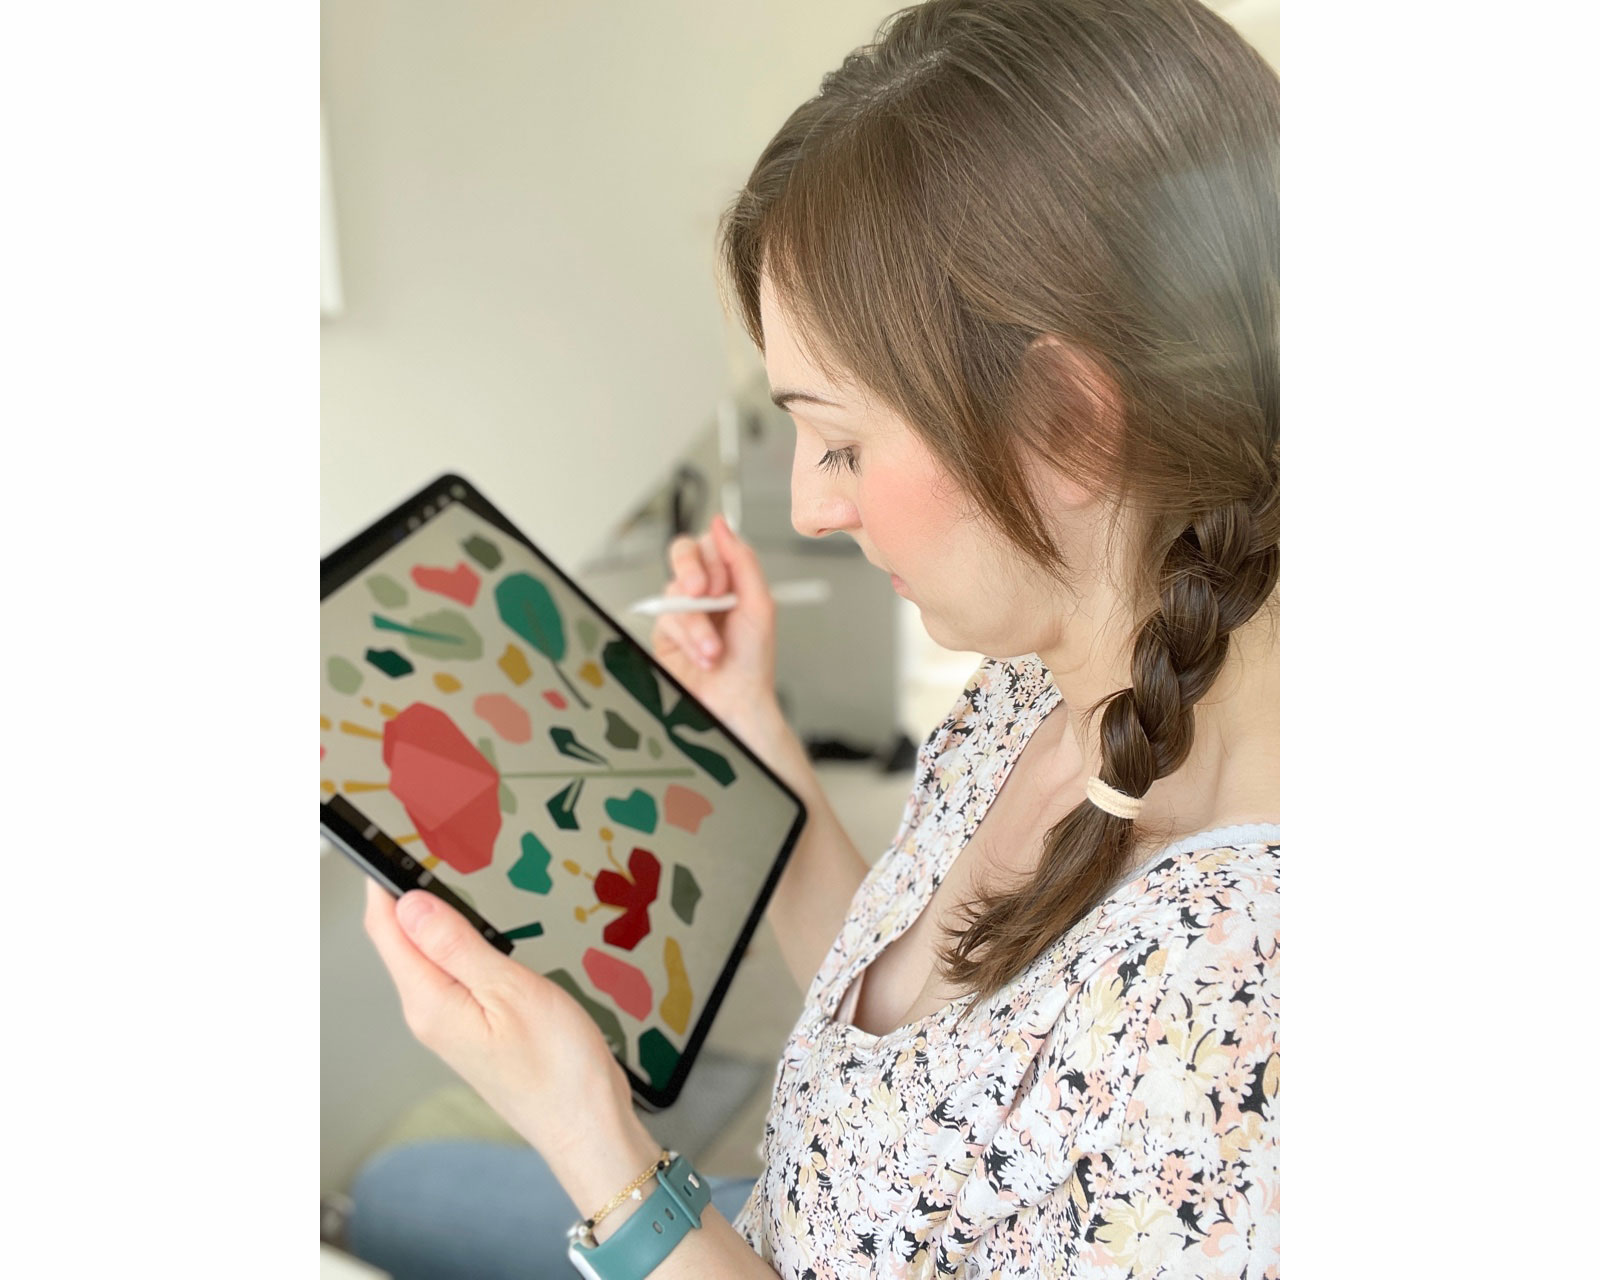
Part of the process is finding what works for you, as Neil found out using Adobe products. “Initially my work was crafted using Adobe Illustrator, but I’ve transitioned to Procreate on the iPad along with the Apple Pencil," he says. "The tactile feeling of drawing directly onto the screen provides a more intuitive and natural approach to my illustrations.”
When it comes to preparing artwork for print, though, Neil feels Photoshop is the way to go. “I utilise Photoshop for final touches," he explains. "One of the key aspects of my process involves playing with textures and colours in Photoshop to add depth and richness to my designs. Whether it’s enhancing the vibrancy of hues or adding intricate textures to evoke nostalgia, Photoshop serves as a versatile tool in bringing my vision to life."
Sarah expands on this. “Bear in mind that raster (pixel-based) art created in Procreate or Photoshop for example cannot be made bigger without affecting the quality of the image. Create on as large a digital canvas as is practical for you. If you are creating vector artwork in Adobe Illustrator for example, making the artwork bigger is not a problem.”
03. Avoid common pitfalls
Getting your illustrations and artwork in the correct formats and resolving quality issues will give you the best chance of the print quality first time around. We’ve touched on scaling up or down, but what about some of the pitfalls to avoid? Working at a printing company Jess sees it all, but shares some of the common pitfalls here.
- Artwork not having enough bleed or safe area.
- Fonts that are not embedded (preserves all text formatting). This sometimes results in us not being able to use the file.
- Low-resolution issues.
- Artwork supplied in RGB (and other formats) rather than CMYK (Cyan, Magenta, Yellow, Key Colour Black. We have to convert this and there could be a colour change.
Printing services often have blogs and help/resource sections to help you understand required formats and how some might affect print quality. Do check them out as you ‘prepare to print’.
04. Consider your print options
There are 3 main ways you can create physical products from your artwork, each with pros, cons, and cost considerations.
Print Option 1 – Do It Yourself
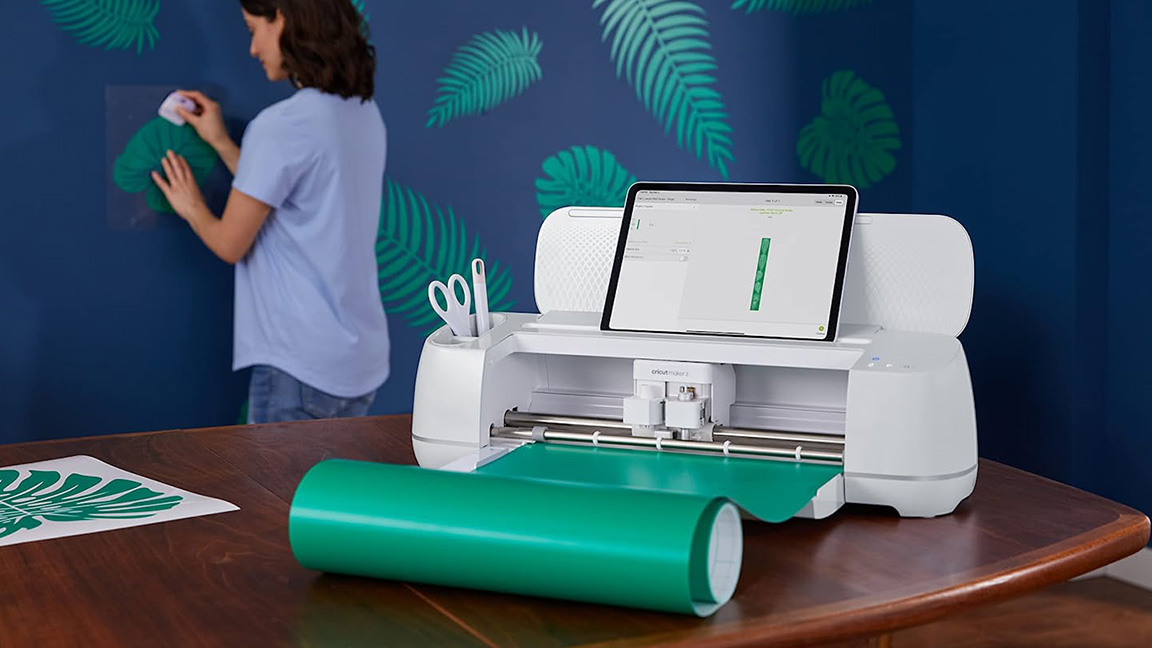
In many cases, the more you order the cheaper it gets but it’s not always a practical option when starting out with new products. If you have the time and budget, investing in some equipment to produce at home can be more cost-effective longer term after set-up costs.
There’s also the option to upgrade machines to provide more accurate cutting, and a wider range of designs, which is great for stationery and craft products.
We turn our illustrations into stickers and ephemera (cardmaking toppers) that we produce in-house. For us, this has definitely been more cost-effective," Sarah says.
"We had a cutting machine anyway and purchased a high-quality inkjet printer for £160. As time went on, we upgraded to a Silhouette Portrait and then a Siser Juliet. This set-up has been a great investment as it allows us to print and cut all sorts of sticker designs without keeping much stock." See our pick of the best Cricut machines for some options.
A 3D printer is another tool in the arsenal, with a relatively low upfront cost, but you’ll need the space, and to factor in the cost of maintenance and materials. With either option, Sarah advises that “it’s something that you need to have a keen interest in, and enjoy using and experimenting with, otherwise it can become a burden and frustration.”
Print Option 2 – Print On Demand Platforms
Online operations such as Red Bubble and Society 6 are often a starting point for artists looking to sell their designs. You can upload artwork and can see it mocked up on a range of products from phone cases to home décor. Neil has found that these platforms "provide valuable insight into how artwork translates onto various merchandise, offering a glimpse into the potential customisation required for optimal results.”
Artists can choose from editing options, set prices, and then hit publish on your shop/area of their website. While you market the designs, the fulfilment side is handled in-house. For Neil, this is a definite plus point. “These services handle the printing and shipping processes on-demand, meaning there’s no need for an initial expensive outlay or the hassle of managing inventory," he says.
"While this approach yields a smaller profit margin due to the costs associated with manufacturing and fulfilment, it’s an accessible and risk-free option for getting started selling artwork."
Sarah adds “If you already have a fan base for your designs, POD sites can be a good place to show off your work. I think it suits artists that already have a following, or design specifically to current trends and with a high turnover of designs.”
Print Option 3 – Printing Companies
If you want to scale up your business then a printing company that sends products to you to sell could be the way to go. Positives include access to high-quality machinery, choices of finish and materials to suit your budget, and free design tools. Key to the success of this method is the team behind the scenes using their expertise to make it happen. This is where Jess and her team at Instantprint, or a similar service, come in.
“Our studio team can proof the widest range of products, from big to small, simple to complex," Jess says. "Our expert operators inspect your product at every stage of production ensuring it's in line with our standards. You can always talk to our team of experts online, over the phone or via email, you’re never left in the dark.”
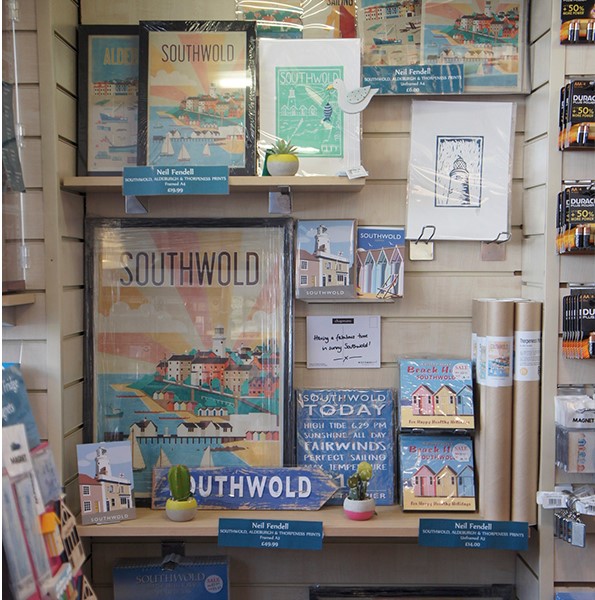
When Neil was in a position to scale up his product range he discovered saving money on orders was a possibility. “Ordering in bulk reduces the costs significantly, particularly for items like posters, but also mugs, badges, and bags where the setup costs are the primary expense," Neil advises.
"You soon discover producing a bespoke, or only a few of any items to sell is very expensive and difficult to make a profit so printing multiple of a design is advantageous. Many online printing companies offer sample packs allowing artists to touch different paper finishes, or see sample printed products to help you decide what you’re looking for."
It can be worth shopping locally and building a relationship with small businesses. Sarah tried this for printing her paper packs and found the benefits outweighed the additional costs. “They may not be the cheapest but it’s been invaluable to visit them in person, discuss design specs and technicalities, and of course collect them ourselves too so we’re not paying for shipping,” she says.
05. Where else to sell your products
There are several other online and in-person ways to sell your work, but each have pros and cons. Be sure to weigh up what's most important to you and your brand before signing up and giving them a go.
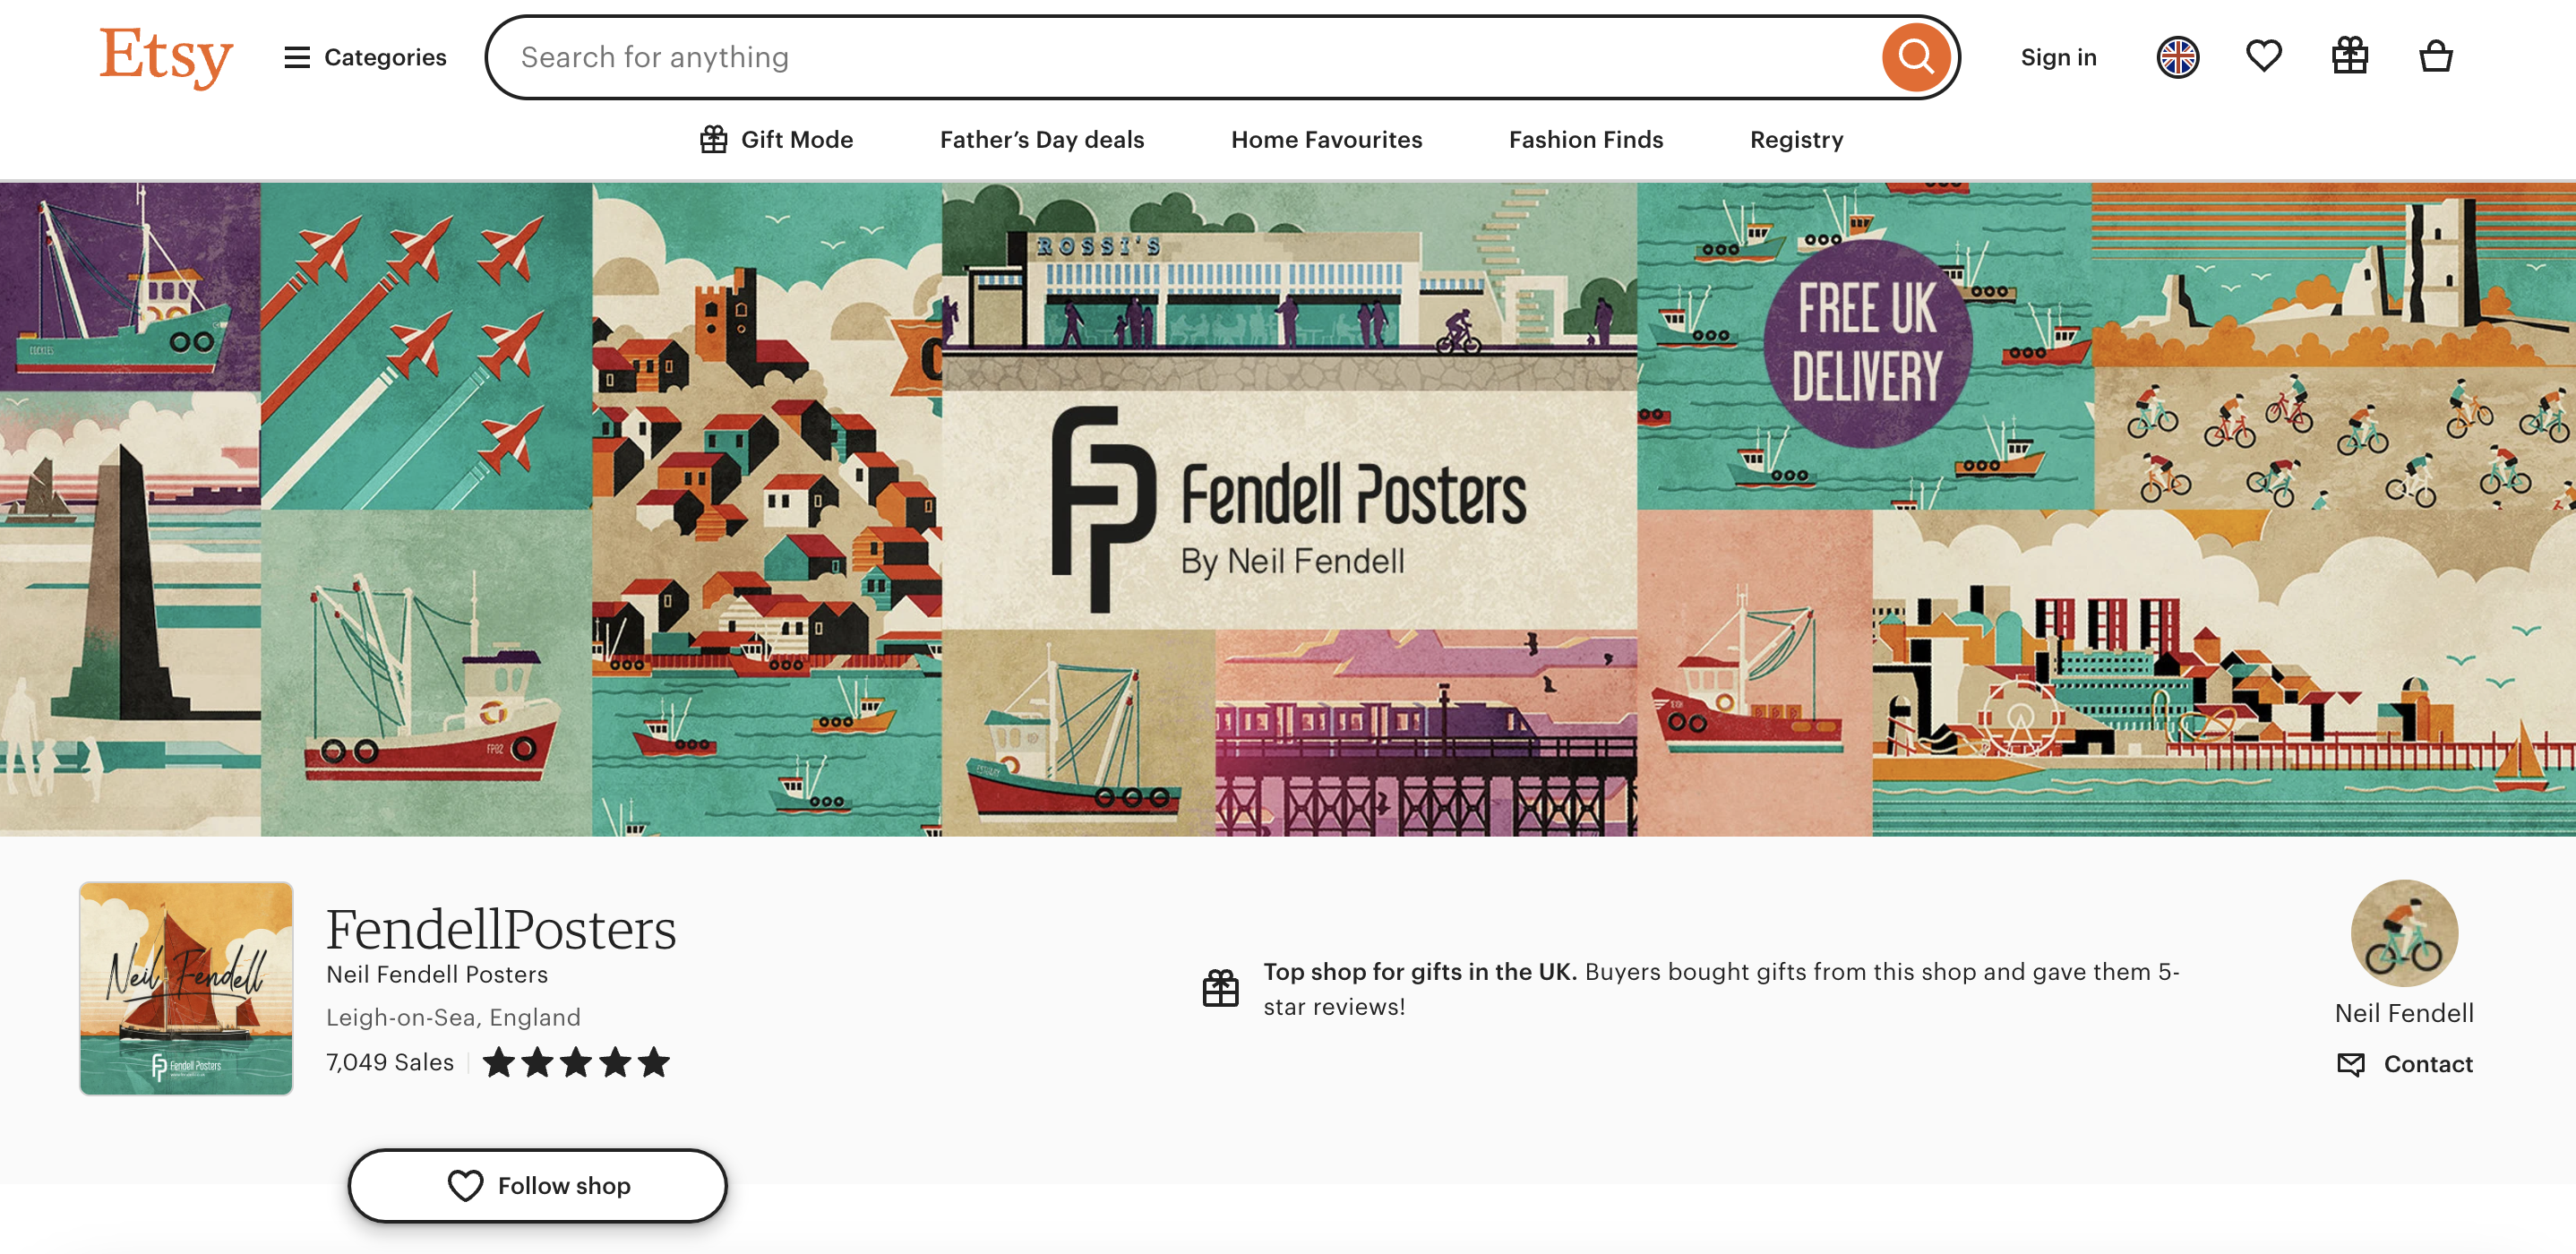
Etsy is a huge commercial platform to be seen on and gives you greater control over price and branding, but fees per sale may be prohibitive, so it’s important to find out what’s working in that environment. Find out more about Etsy with our Etsy How-To Guide.
Neil has sold his posters, mugs, and other products in a variety of set-ups and says research into each avenue is key. “Participating in markets and pop-up shops can be viable avenues for selling artwork, although they require careful consideration to ensure they align with the target market and yield a satisfactory return on investment," he says. "Additionally, exploring opportunities with individual makers shops or pop-up clubs can offer a middle ground between online and brick and mortar sales.”
See more on the best places to sell design online.
06. Think about the end product
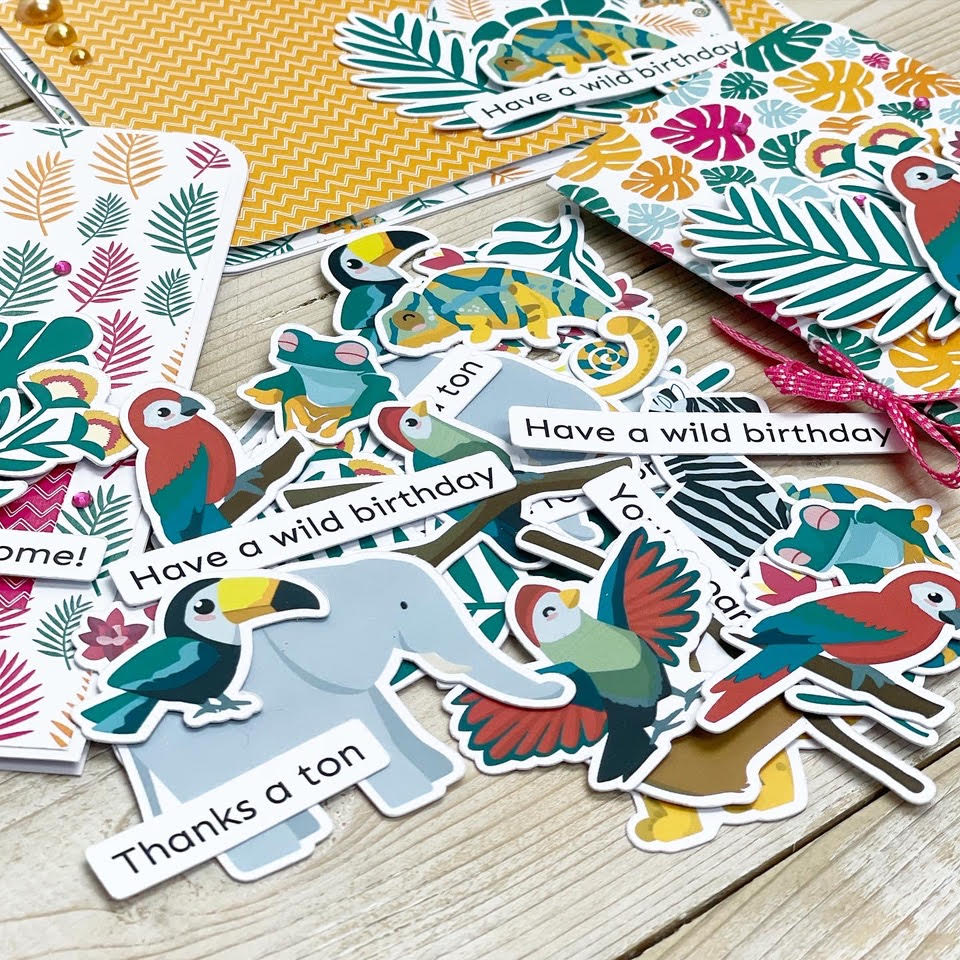
There’s a lot to think about when turning your products into merchandise, but it all starts with how you want to bring your visions to life.
“Do you envision a range of t-shirts with your cute characters on them? Would you love to design reams of wrapping paper featuring your watercolour art? Start small and simple and consider where and how your products will be sold, and how you will market them to people who love what you do," Sarah suggests.


