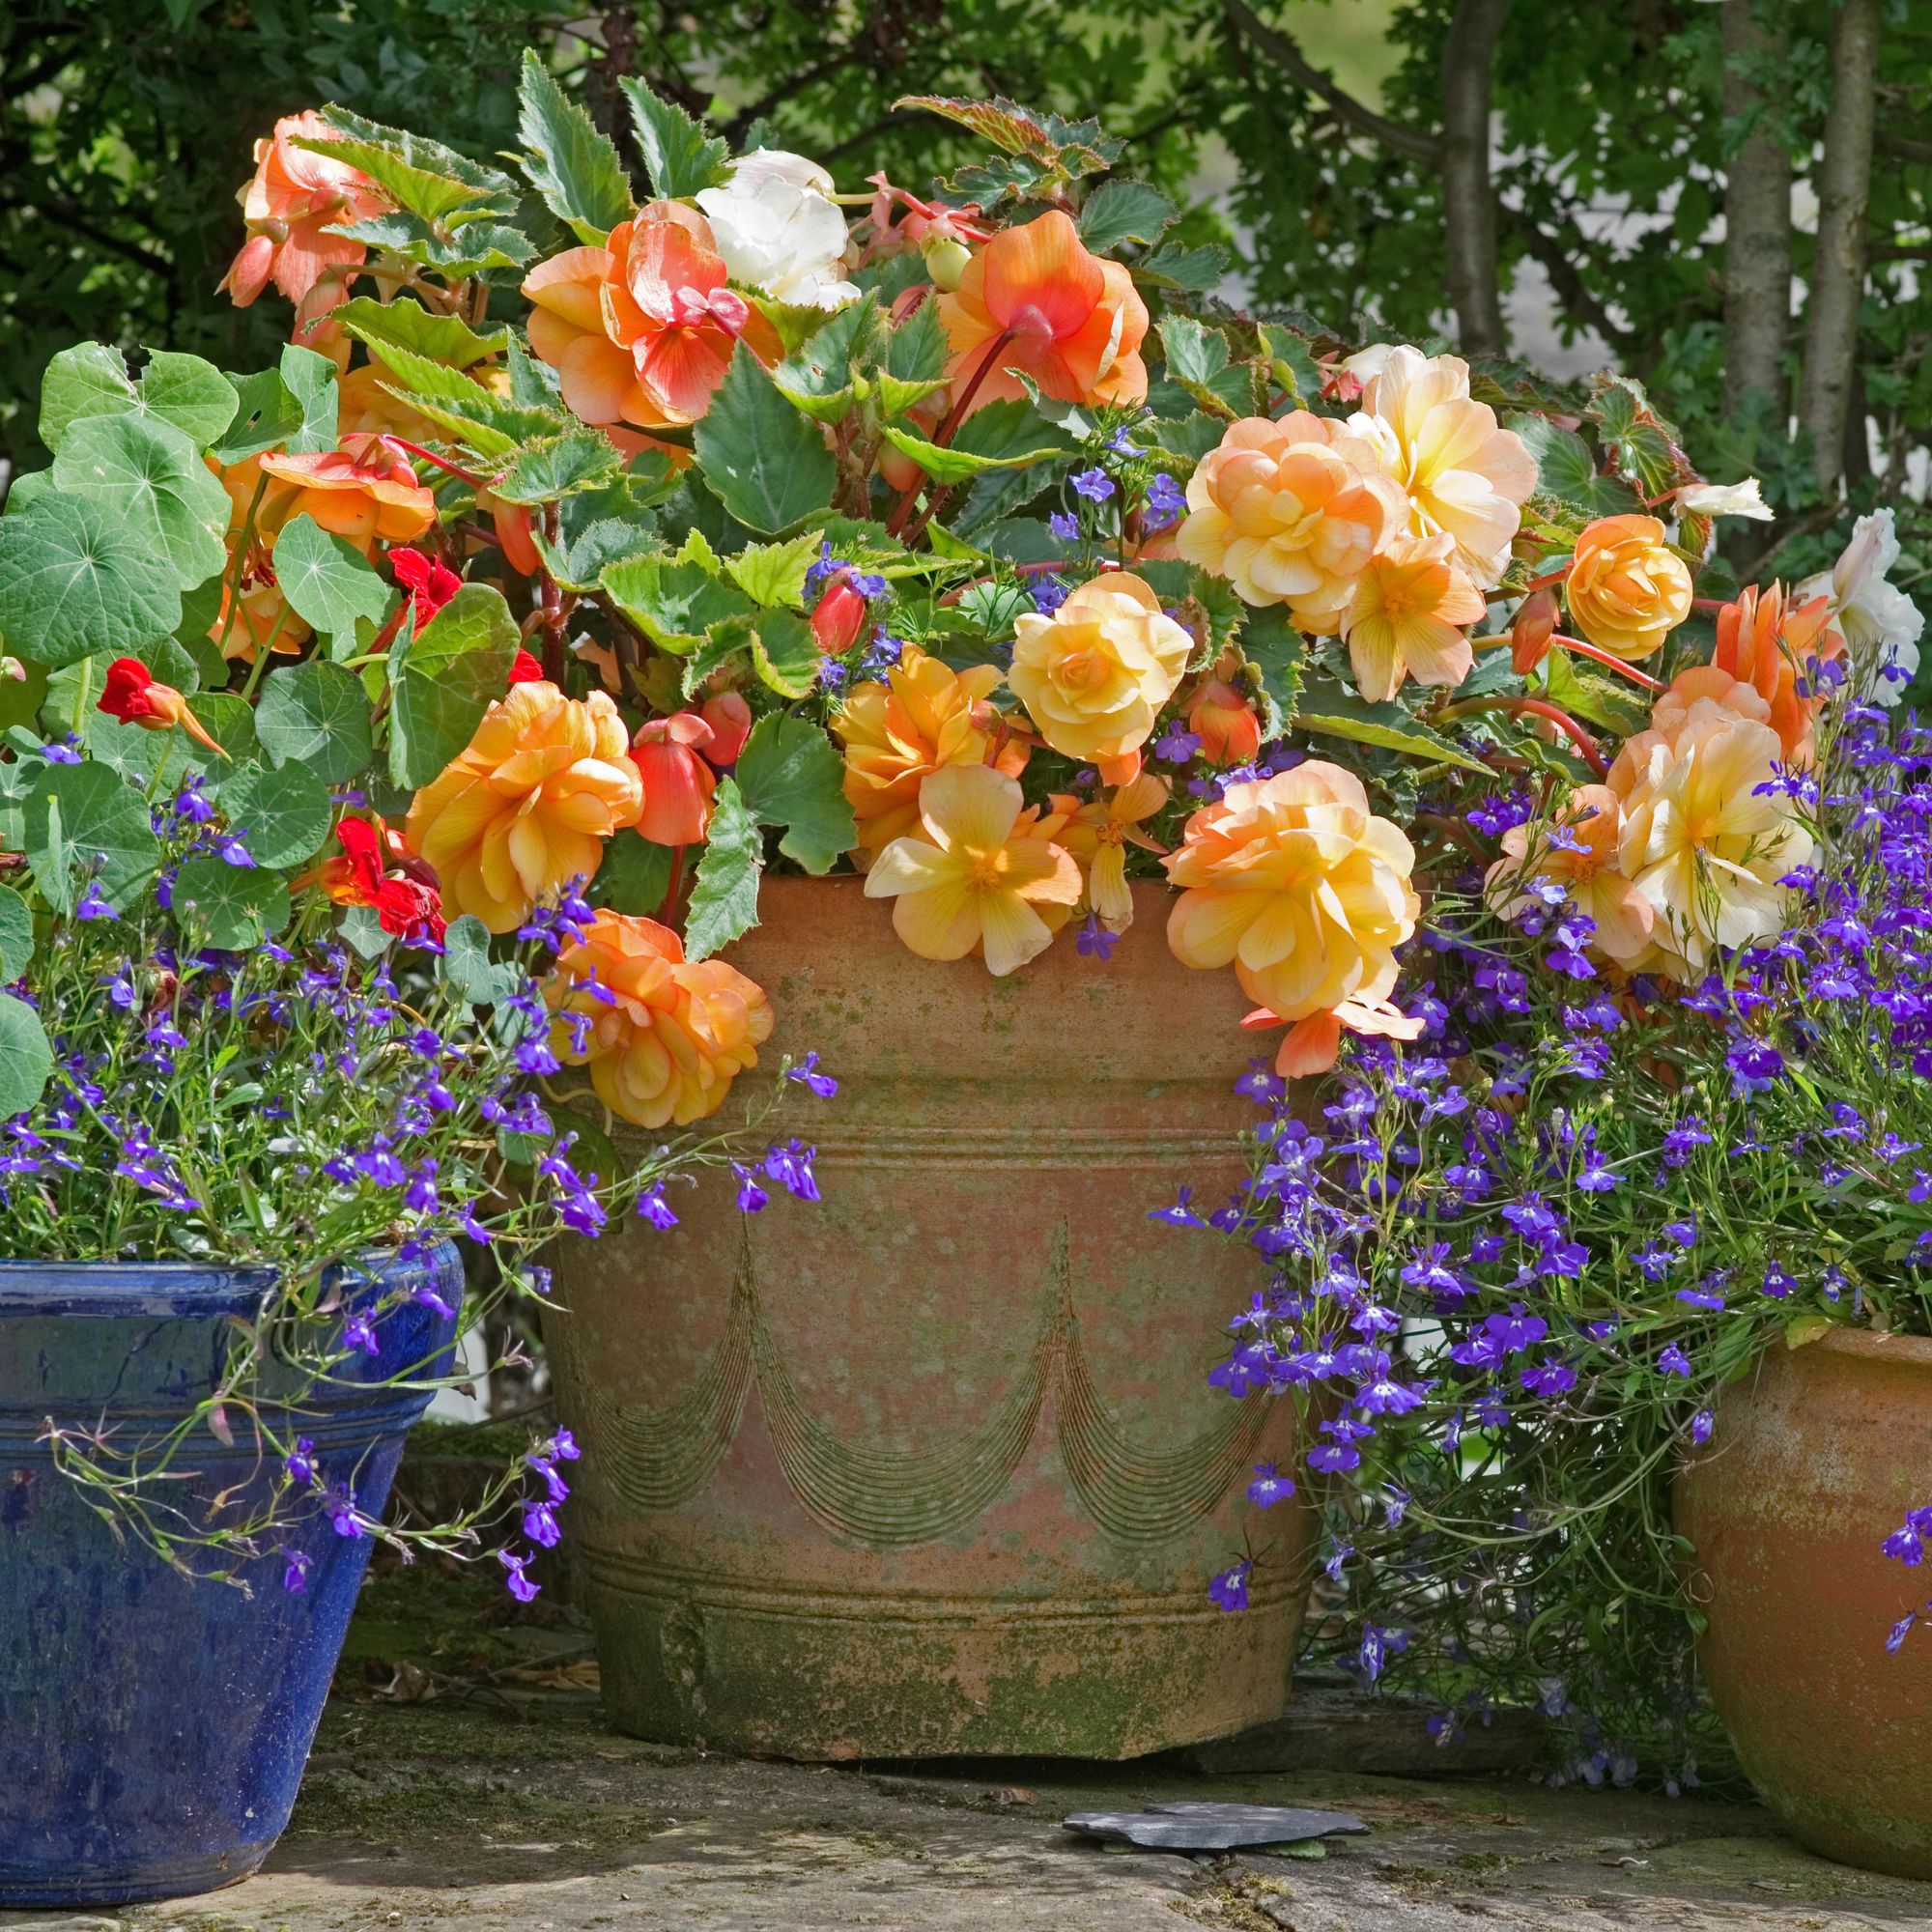
Once upon a time, they were dismissed as being too old fashioned. Now, though, these bold and flamboyant flowers are finally taking their place in the spotlight – so, naturally, people are desperate to learn how to grow begonias from tubers.
Why? Well, because tubers aren't just a cost-effective way to reap the benefits of these shade-loving plants: they're also key to starting your growing season earlier, leading to an even more vibrant floral display come summer.
Of course, if you know when to plant begonias, you're already on the path to success, but there's more to this all-important gardening task than simply shoving your tubers in some soil and hoping for the best...
How to grow begonias from tubers
Low-cost and easy to grow, begonias are forever a welcome addition to any and all hanging basket and garden border ideas – and, so long as you learn how to overwinter your begonias, they're also a surefire way to add colour to your garden year after year.
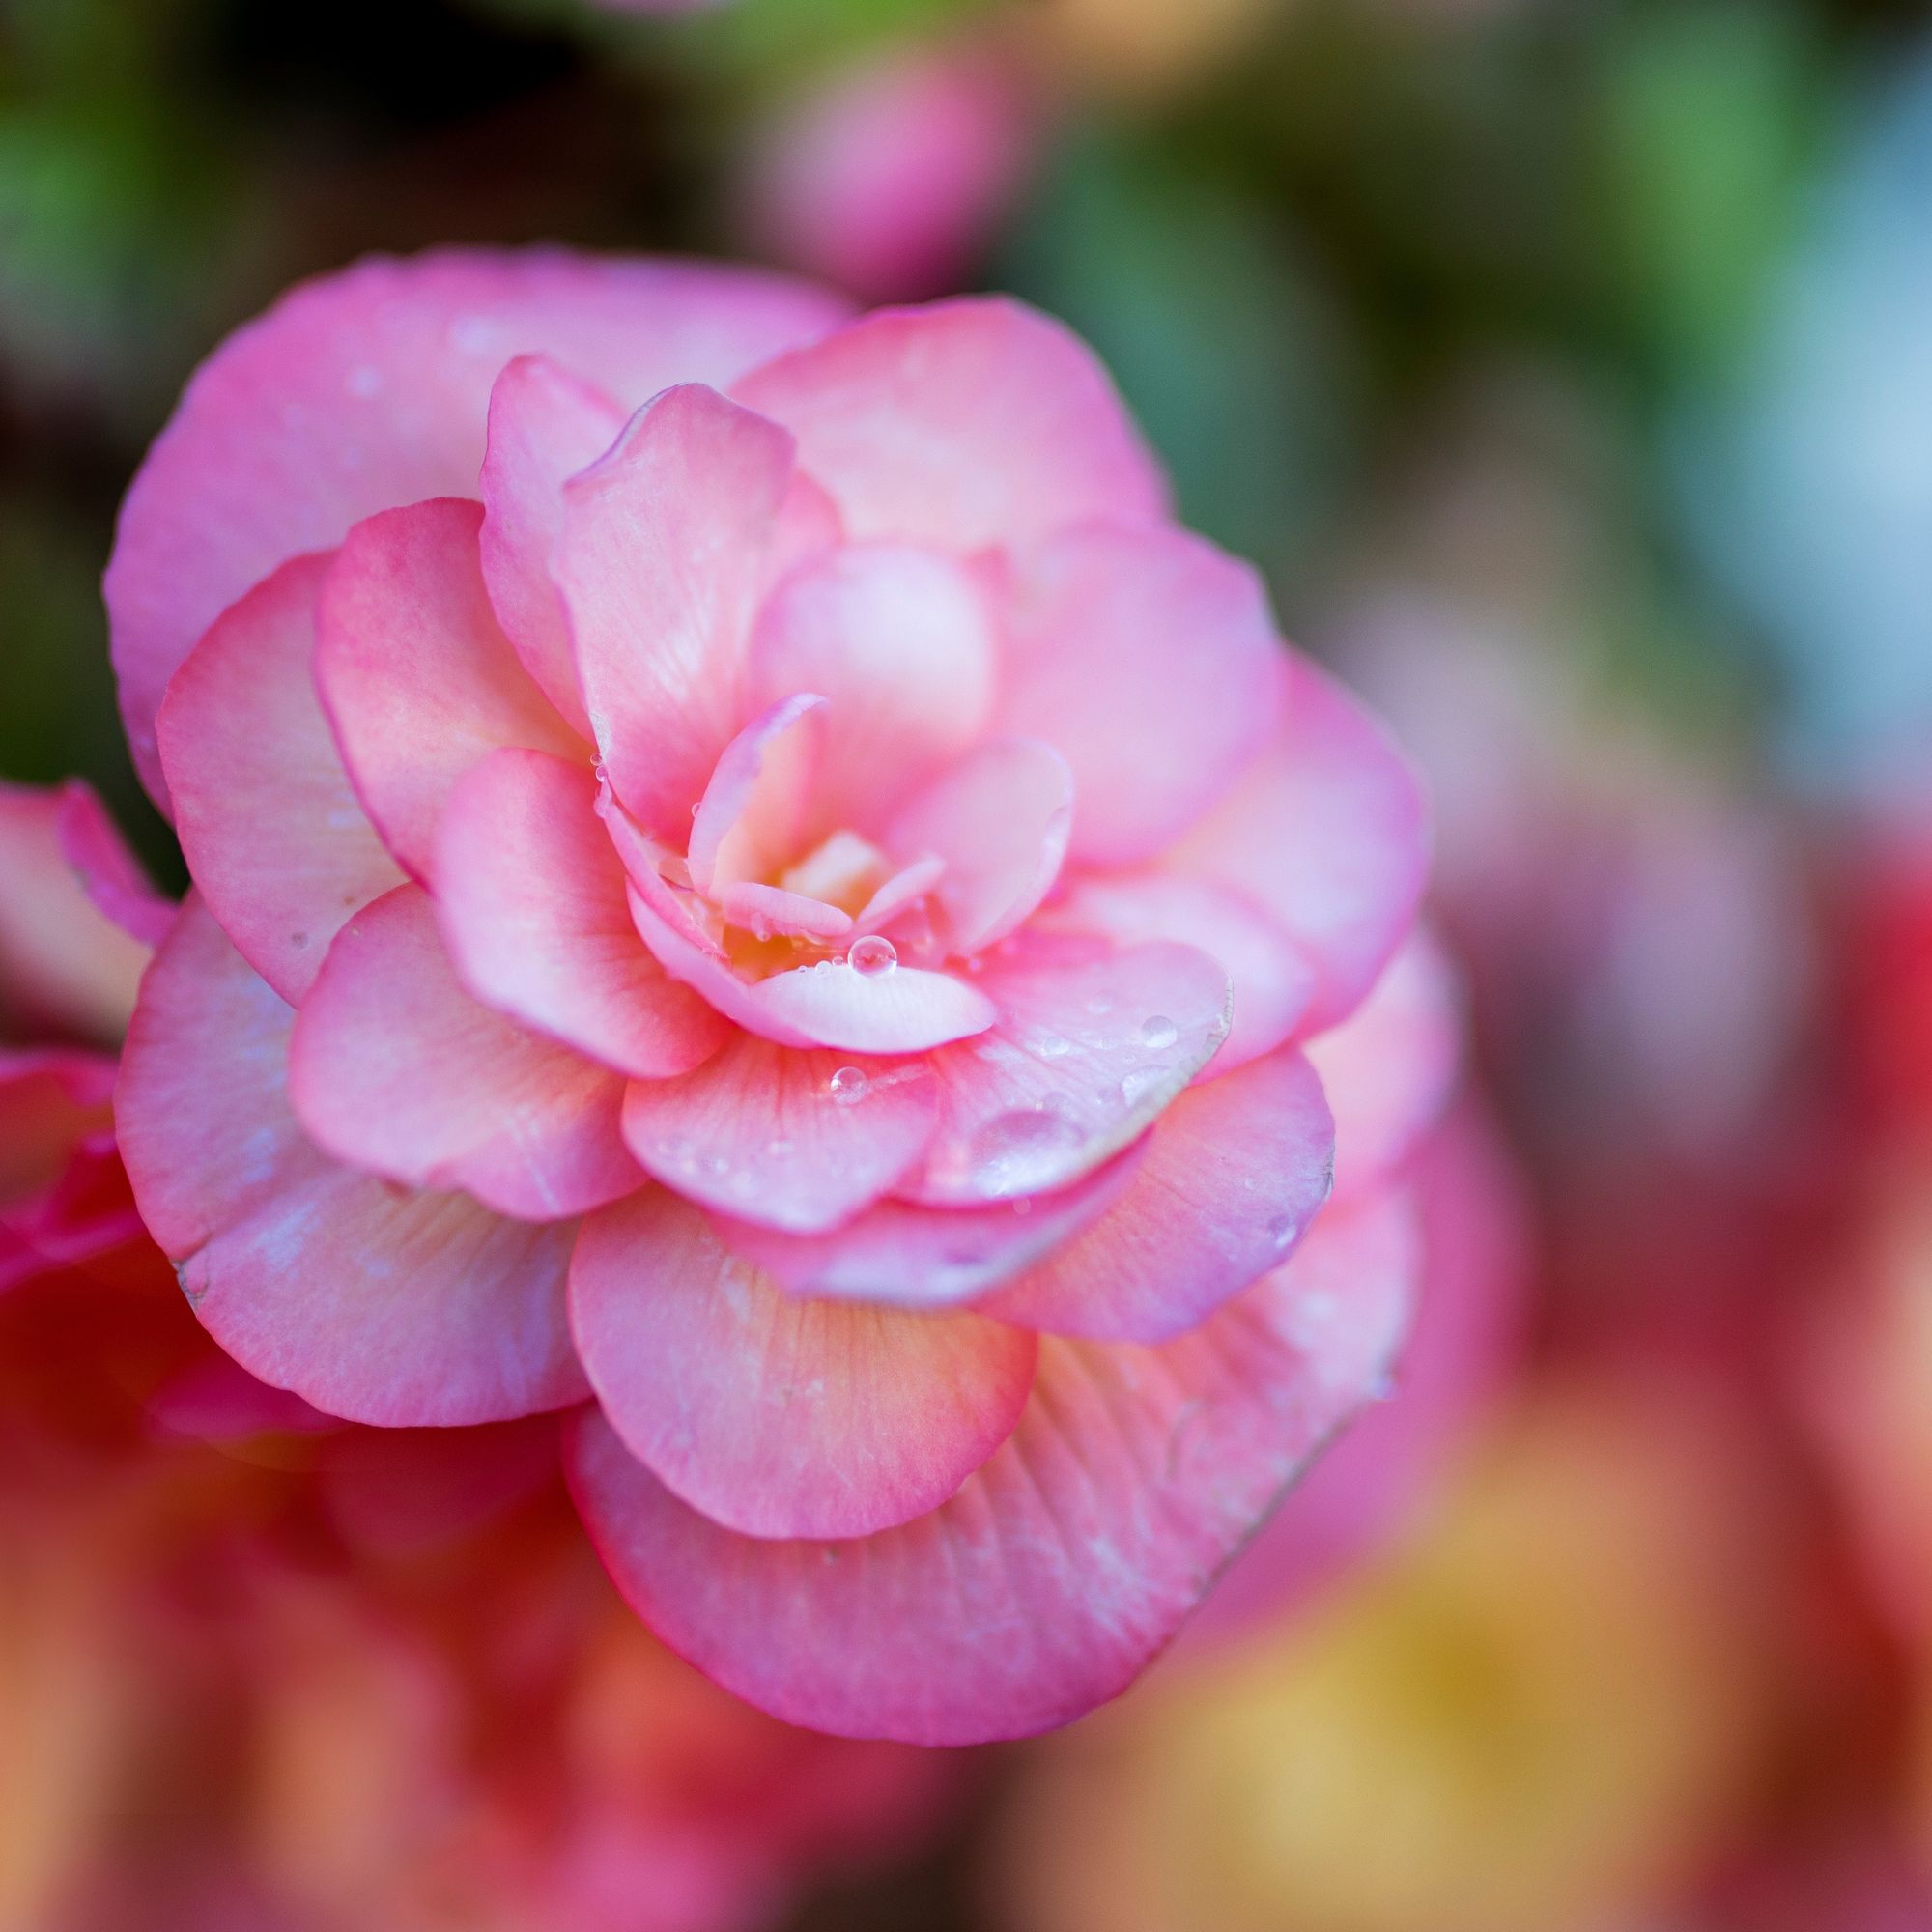
Now, learning how to grow begonias from tubers isn't just a fun and unique gardening experience – it also brings with it several advantages.
'Firstly, tubers can be more cost-effective in the long run, as they can be stored and replanted year after year, offering a bounty of blooms with just a single investment,' promises Craig Wilson, co-founder, director and in-house gardening expert at Gardeners Dream.
'Additionally, starting begonias from tubers allows for an earlier start to the growing season, as they can be sprouted indoors well before the last frost, leading to a longer and more vibrant flowering period.'
Noting that tubers also tend to produce larger, more robust plants with a spectacular display of flowers, Craig promises that mastering this growing technique will provide an 'eye-catching feature in your garden or home'.
'This method not only connects you more closely with the cycle of plant life but also offers the satisfaction of nurturing your begonias from their very beginnings to their full, flourishing glory,' he finishes.
Convinced to give it a whirl for yourself? Here's how to grow begonias from tubers like an absolute pro.
Where to buy begonia tubers
These weather-resistant blooms promise non-stop flowering all summer long and on into autumn.
Boasting showy apricot flowers, this variety of begonia will bloom repeatedly over the summer months.
The clear red flowers of this begonia are perfectly offset by its glossy heart-shaped leaves, making it a striking addition to your garden.
'When selecting begonia tubers, prioritise quality for a successful start,' advises Craig, who urges gardeners to 'opt for firm, undamaged tubers, as these are more likely to grow and bloom beautifully'.
'Larger tubers usually lead to more flowers, enhancing your garden's display,' he adds.
As well as begonia tubers, you will also need...
What you will need
With cottage garden ideas forever trending on social media, there's never been a better time to learn how to grow begonias from tubers. As ever, though, it's always best to gather your equipment to hand before you get started.
- A greenhouse or polytunnel (if you intend to start your tubers off indoors)
- A good quality peat-free compost, like Rocket Gro's Multi-Purpose Compost Peat Free With Added John Innes from Amazon
- A selection of shallow trays or pots
- A slow-release fertiliser, like Miracle-Gro All Purpose Continuous Release Plant Food from Amazon
Step-by-step guide
When it comes to learning how to grow begonias from tubers, you have two options available to you.
'As they don’t grow in cold conditions, begonia tubers can be started off in March or April undercover (aka in a greenhouse or polytunnel),' explains Morris Hankinson, director of Hopes Grove Nurseries.
'Otherwise, you're best waiting until May when all the frosts have passed and planting them directly outside,' he adds.
With that caveat in mind, then, here's what you need to do to hop on this major garden trend.
1. Work undercover
If you already know how to sow seeds successfully, planting up your begonias should be an absolute doddle.
'Kick off your begonia journey indoors to bypass the chilly end of winter,' says Craig, noting that you should plant your tubers indoors around 6-8 weeks before the last frost date gives them a protective start.
'This early beginning extends the flowering season, allowing your begonias to bloom earlier and longer, filling your garden with colour and life sooner than outdoor-sown plants.'
2. Prepare your container
Choosing the right container is crucial when learning how to grow begonias from tubers.
'Shallow trays or pots with excellent drainage mimic their natural growing conditions, preventing tuber rot,' advises Craig.
'Fill these with a well-draining, peat-free potting mix, creating an ideal environment for tubers to sprout. This step ensures your begonias have the best start, with healthy roots and foliage development.'
3. Plant your tubers
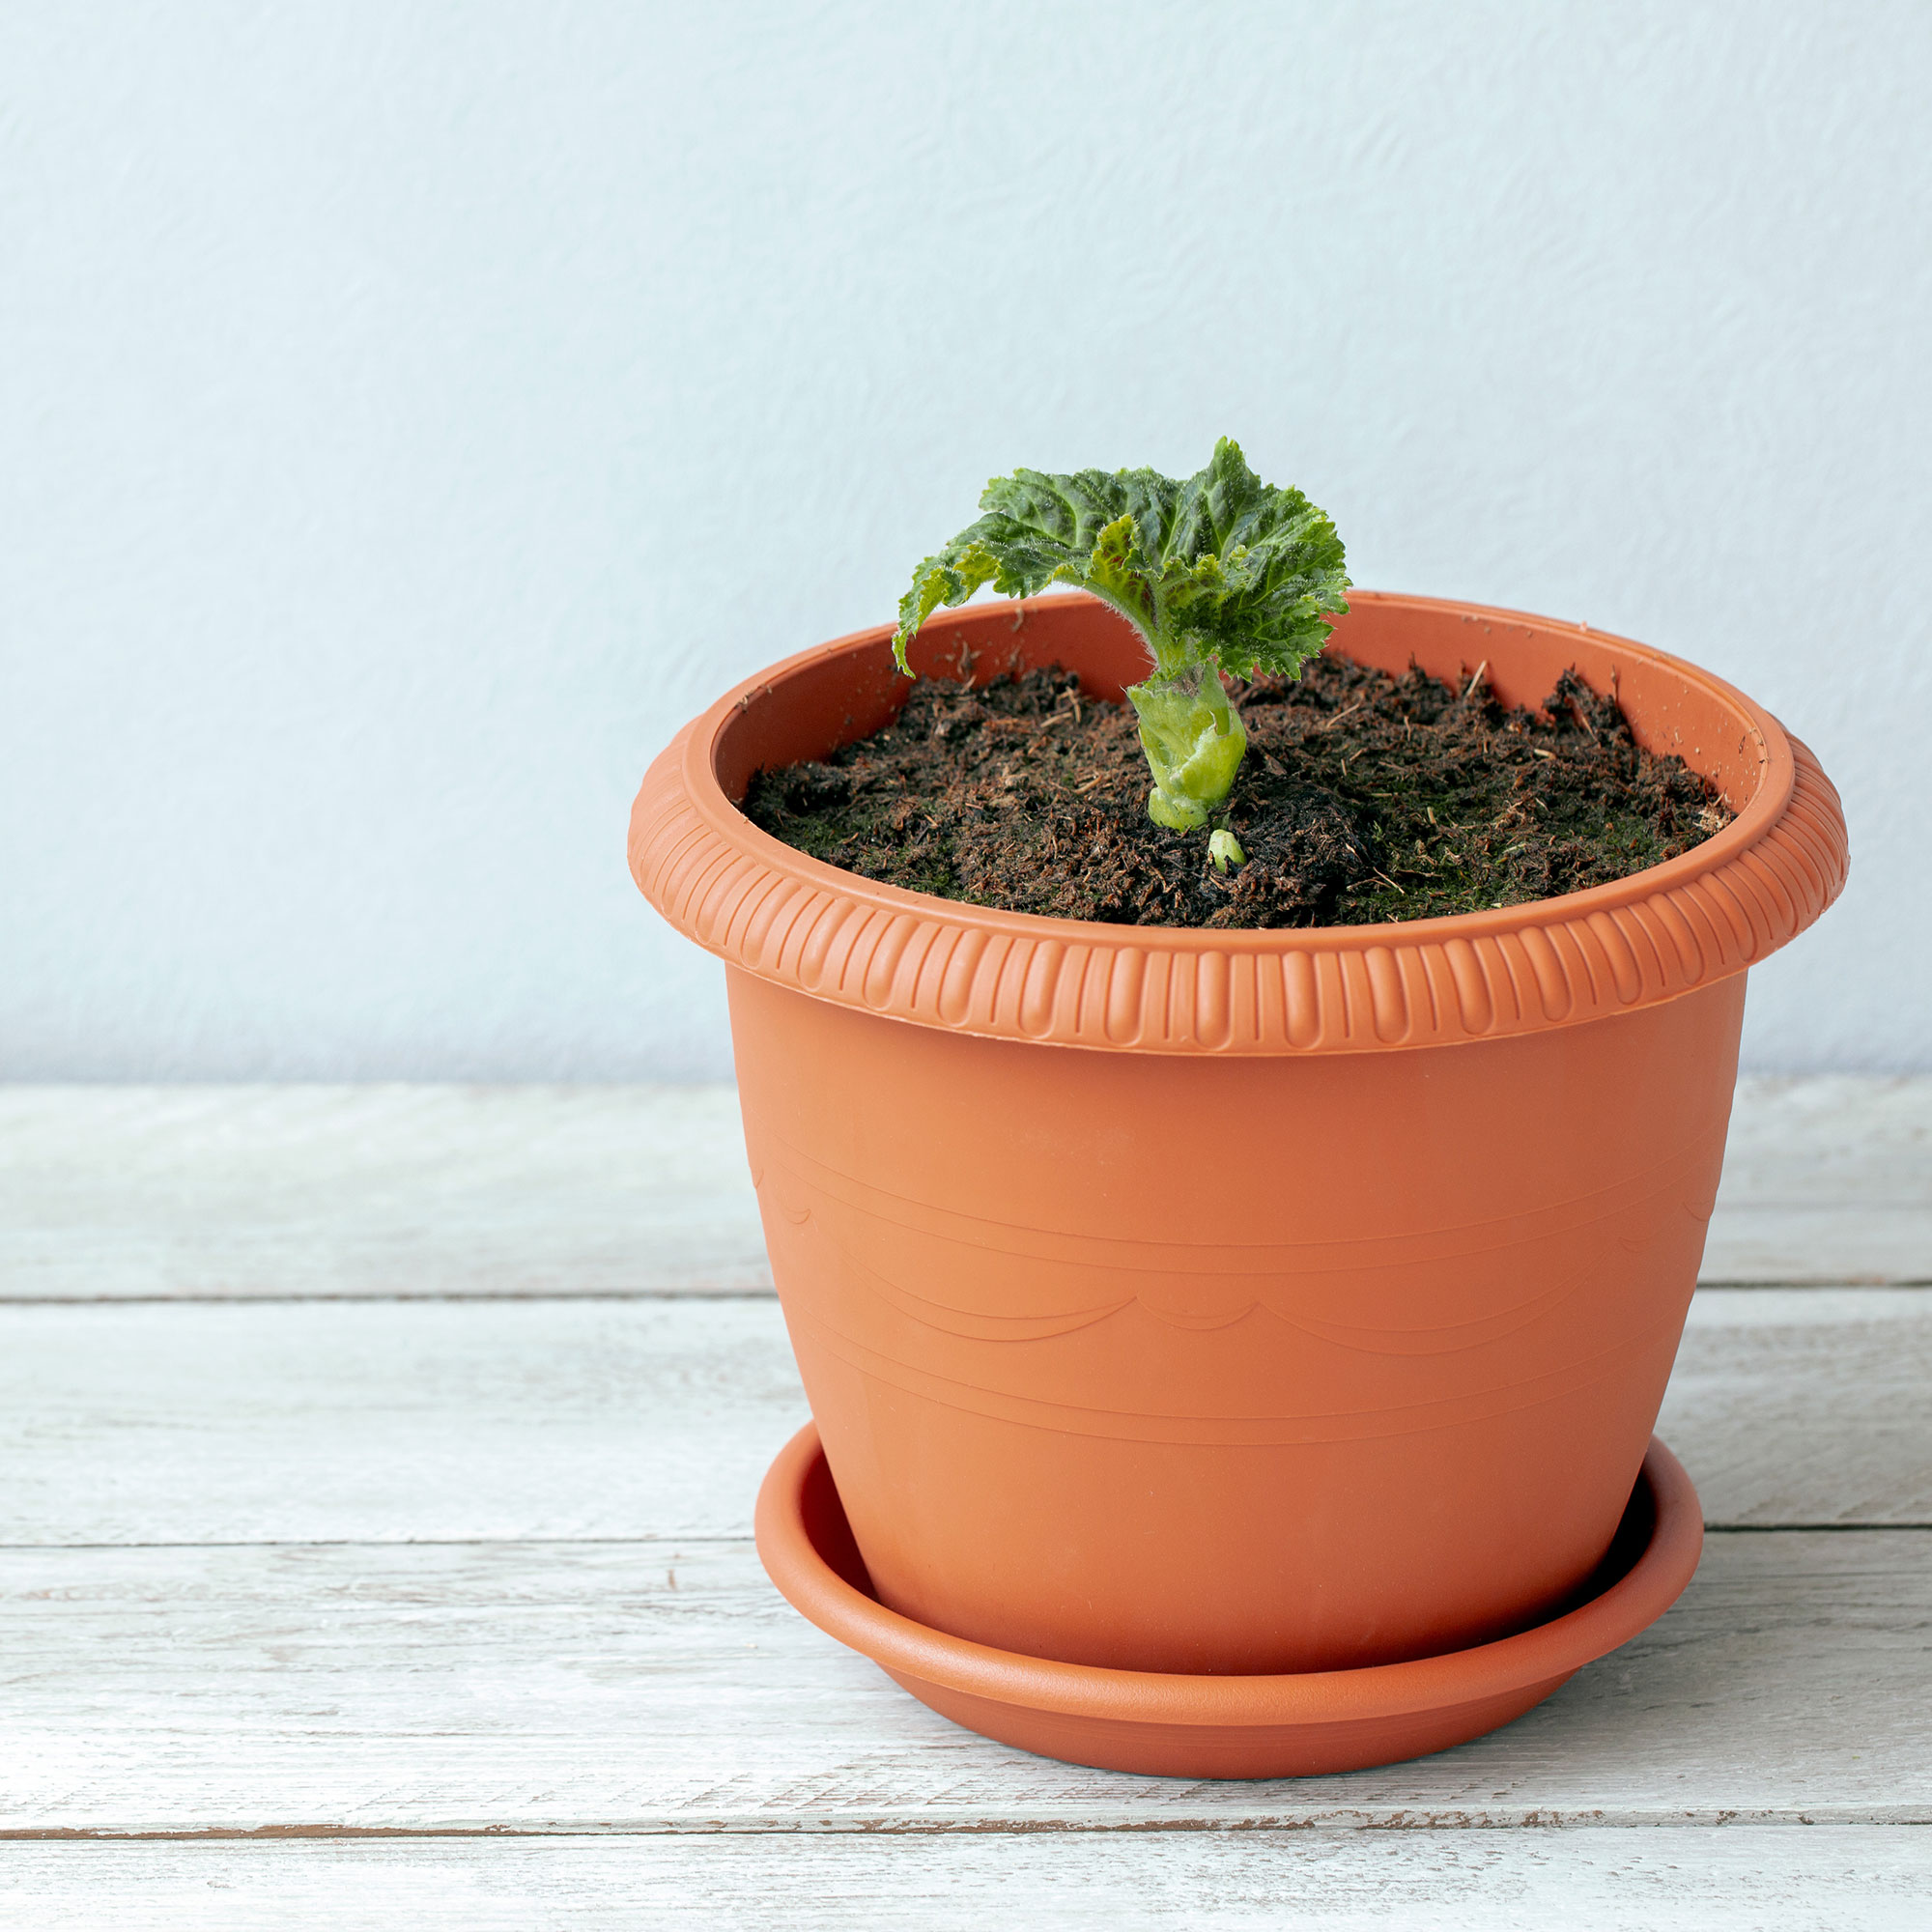
Planting begonia tubers correctly is key to their growth – and this all begins with (yes, really) making sure you're not planting them upside down.
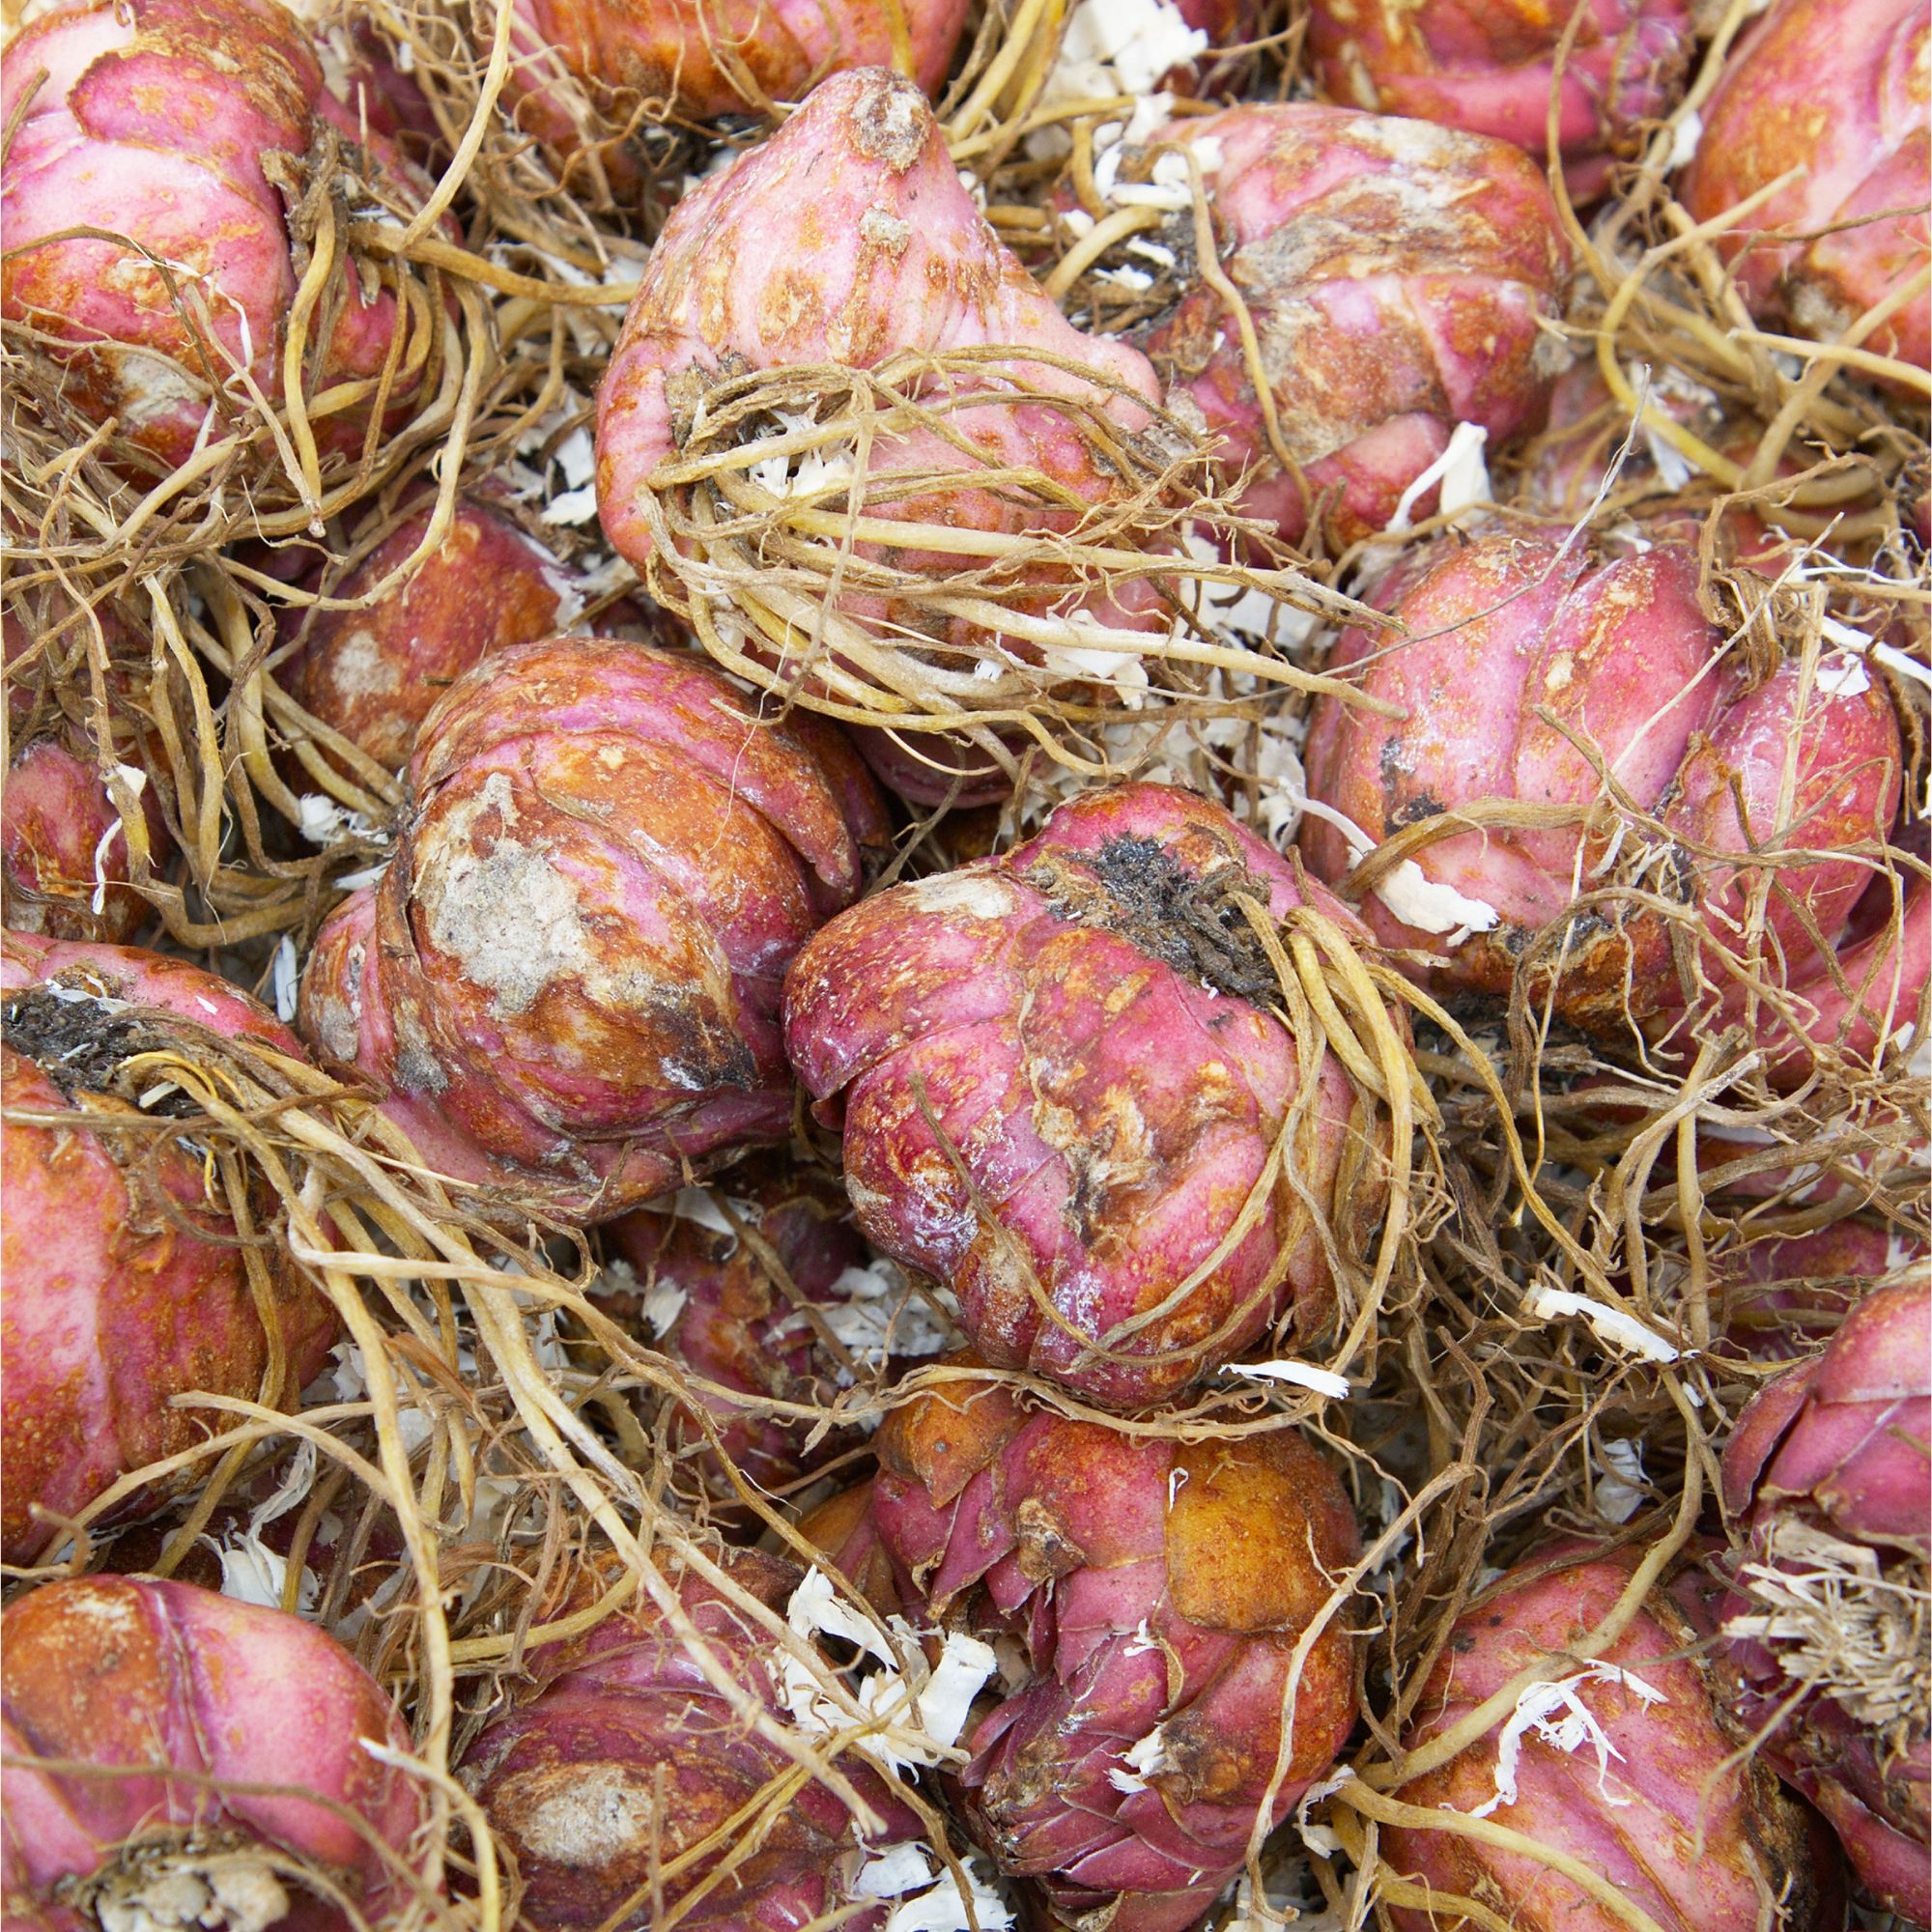
'Place them concave side up, barely covered with potting mix, allowing space for shoots to easily break through the soil,' says Craig.
'You want them to be sat at about 2cm deep,' adds Morris, noting that they will need a gentle watering to help them settle in properly.
'Don’t overwater them, though, or the tubers will rot,' he warns.
4. Show them some TLC
If you really want to grow begonias from tubers like a pro, you'll need to make sure they have the conditions they need to thrive.
'Positioning them in a warm, bright area away from direct sunlight ensures they receive the gentle warmth and light they prefer, mimicking their ideal growing conditions,' says Craig.
Keep the soil moist but not soggy: as ever, it's one of the biggest garden watering mistakes anyone can make!
5. Get transplanting
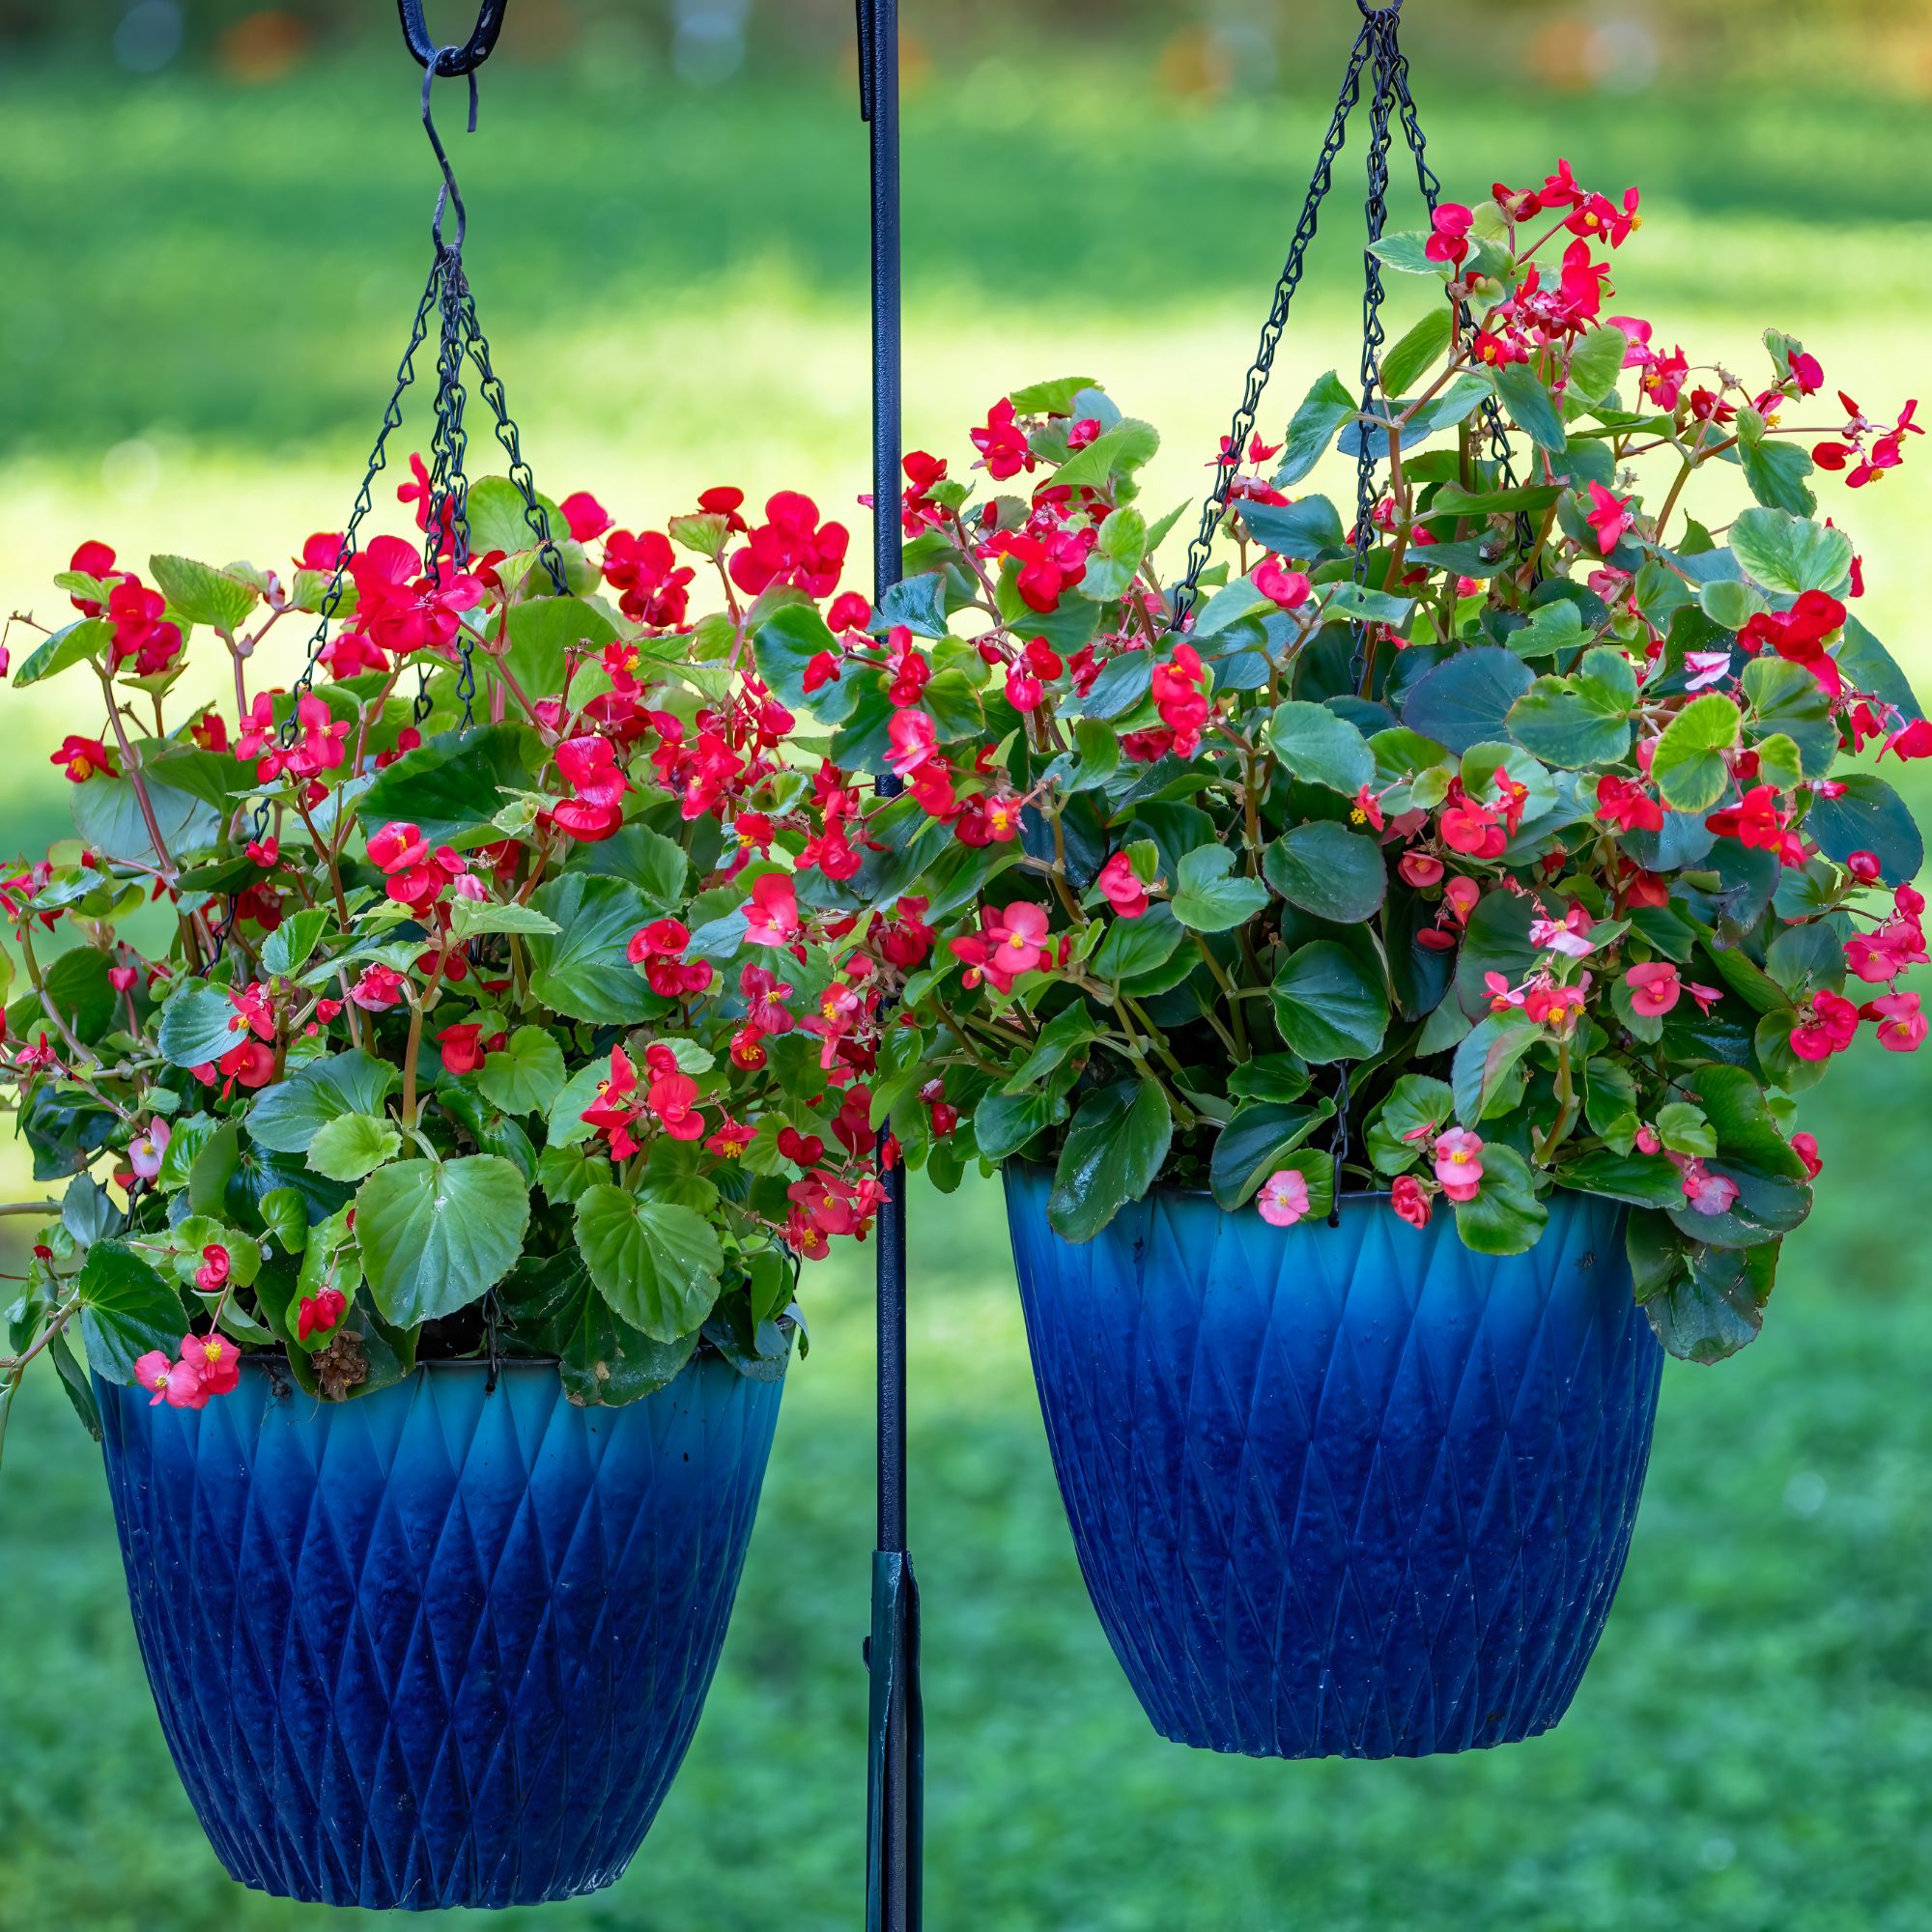
Once frost risks have passed and your plants are sturdy, it's time to move your begonias to their final growing spots, whether in beds or containers.
'Plant them at the same depth as they were in the trays to avoid shock, ensuring a smooth transition to outdoor life,' advises Craig.
Morris, meanwhile, notes that it's viral you 'position your begonias in part or dappled shade'.
'While some sun will be fine, too much direct sun will cause them to wilt,' he explains.
6. Pay them the attention they deserve
Again, Craig stresses that your begonias will thrive if they're treated to 'consistent moisture, especially in dry conditions, so be sure to provide just enough water to keep the soil moist but not soggy'.
'Regular feeding with a balanced fertiliser supports vibrant blooms and lush foliage, keeping your begonias looking their best throughout the growing season,' he adds.
Morris agrees, noting that it's a great idea to 'mix some slow release fertiliser into the compost or feed with a seaweed or tomato feed every week throughout summer to prolong flowering.'
FAQs
How do you start begonias from tubers?
'Begonias are grown from tubers, which similarly to bulbs, store energy when dormant and after planting in moist, well drained conditions will start to shoot and grow into beautiful begonias,' says Morris.
If planting into pots and containers undercover, he advises that you 'use a good quality peat free compost and place the tubers about 2cm deep, covering over with some more compost and give them some water'.
Be sure to keep them warm and watered, and be prepared to pot them up as they grow bigger.
'Then, harden them off outside before planting out into the ground or move the pots outside for the rest of the summer,' he finishes.
What month do you plant begonia tubers?
Begonia tubers are best planted in the spring between March and April – although, if you don't intend to start them off undercover, be sure to wait until all risk of frost has disappeared.
What is the top and bottom of a begonia bulb?
Yes, there is a right way and a wrong way up when it comes to planting begonia tubers.
'Each tuber has a concave side, where you'll see shoots emerge, and a rounded side, which should face down when planting,' explains Craig.
Now that you know how to grow begonias from tubers, you're all set for a garden filled with colour all summer long.
Even better? You can make your tubers last longer than ever by overwintering them.
'Simply lift them after the first frost, cut the plan back to about 5cm and store somewhere dark and cool but frost free until you are ready to plant them again the following year,' advises Morris.
That's more than enough for us to be getting on with in the garden for now, we think...


