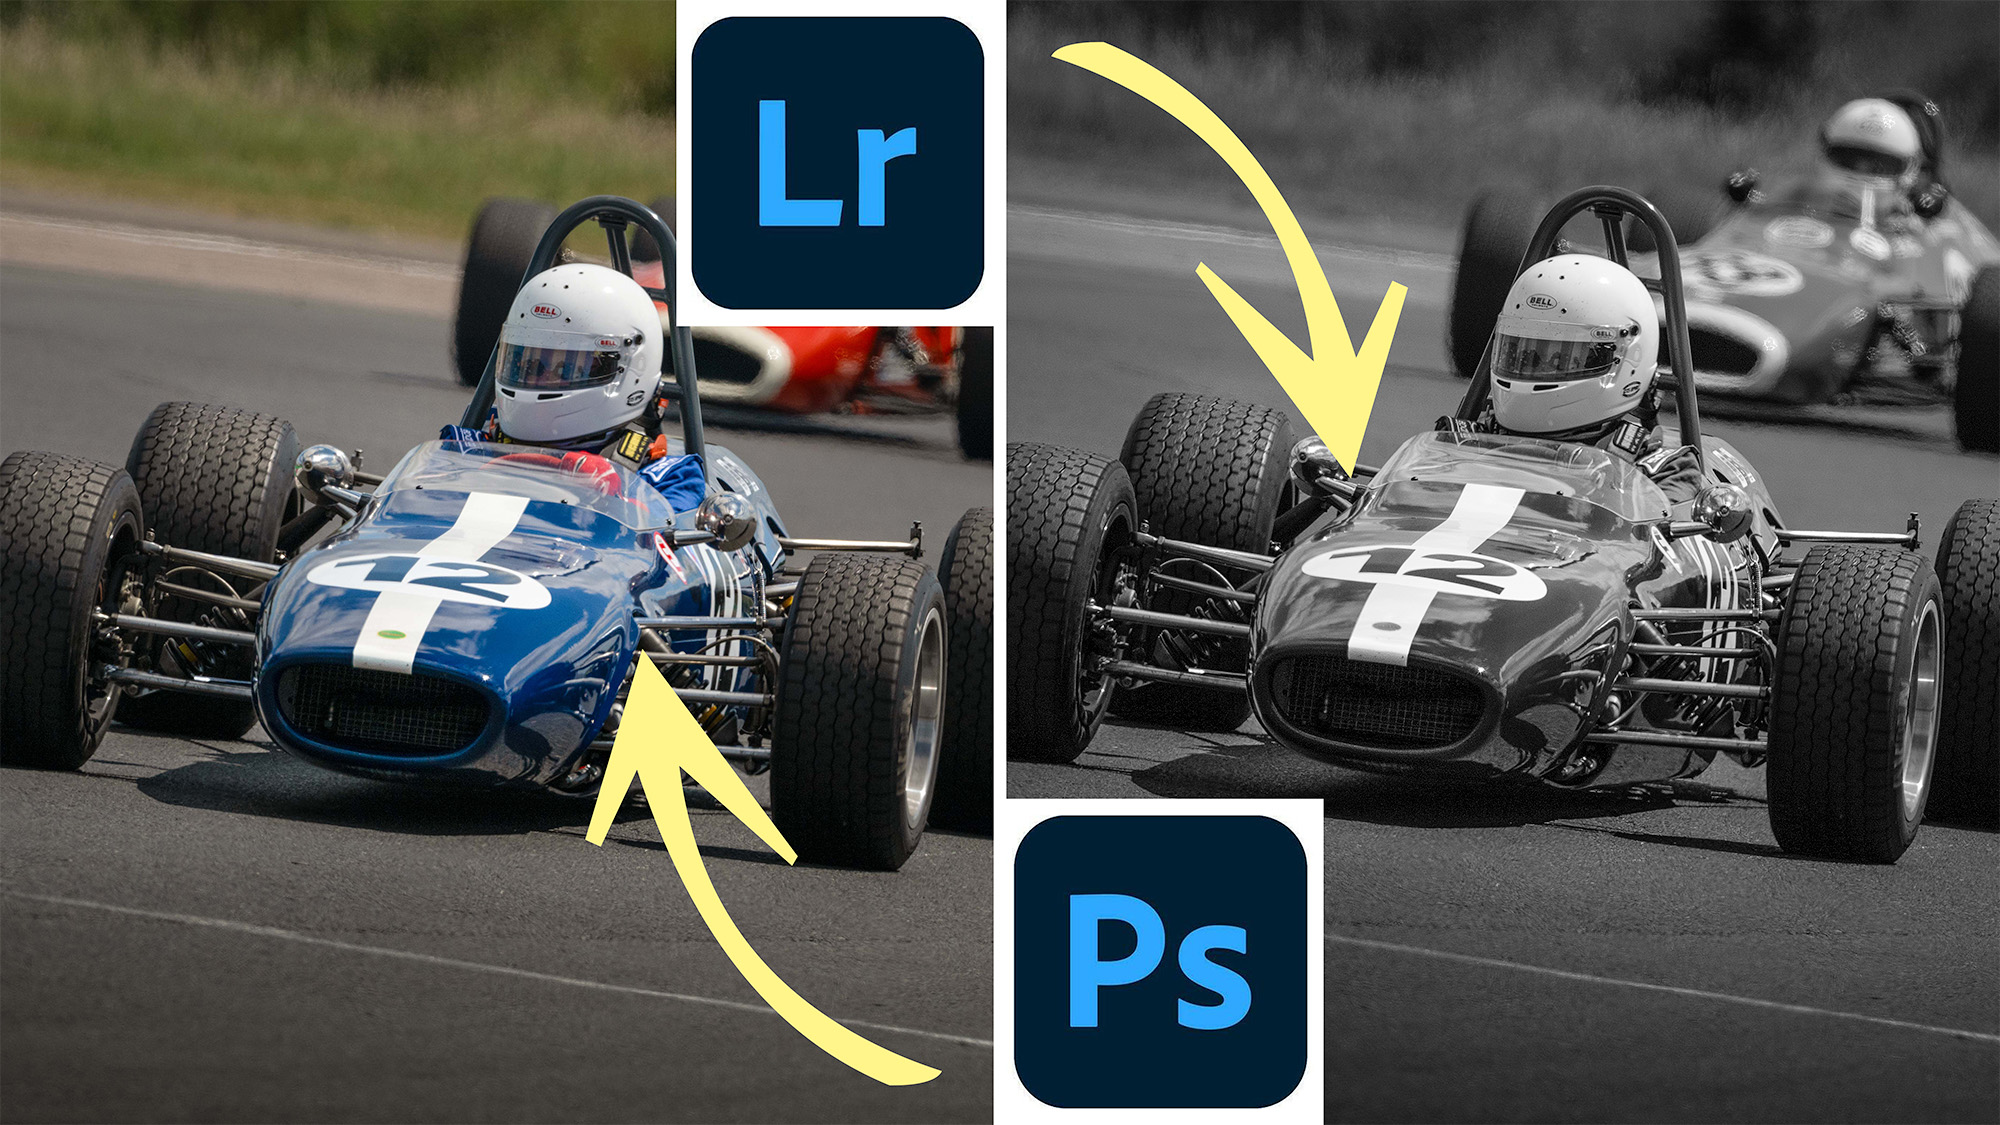
There used to be a variety of reasons why you'd switch from Lightroom CC to Photoshop CC, but the line between two of the best photo editing software packages has become increasingly blurred.
This is largely thanks to once-exclusive functions in Photoshop – such as masking and cloning – making their way into Lightroom, giving Adobe CC users fewer and fewer reasons to enter the post-production giant’s flagship photo editing suite. But for more complicated photo edits that require layer-based tweaks or specific editing tools, Photoshop still reigns supreme.
As such, you may find yourself performing simple tonal edits in Lightroom and importing your image into Photoshop for additional tweaks. But did you know, you can return said image to Lightroom once you're finished? Best of all, it doesn't matter whether you're using Lightroom Classic – like me – or Lightroom CC, the process is the same. Here's how to do it…
1. Move from Lightroom to Photoshop

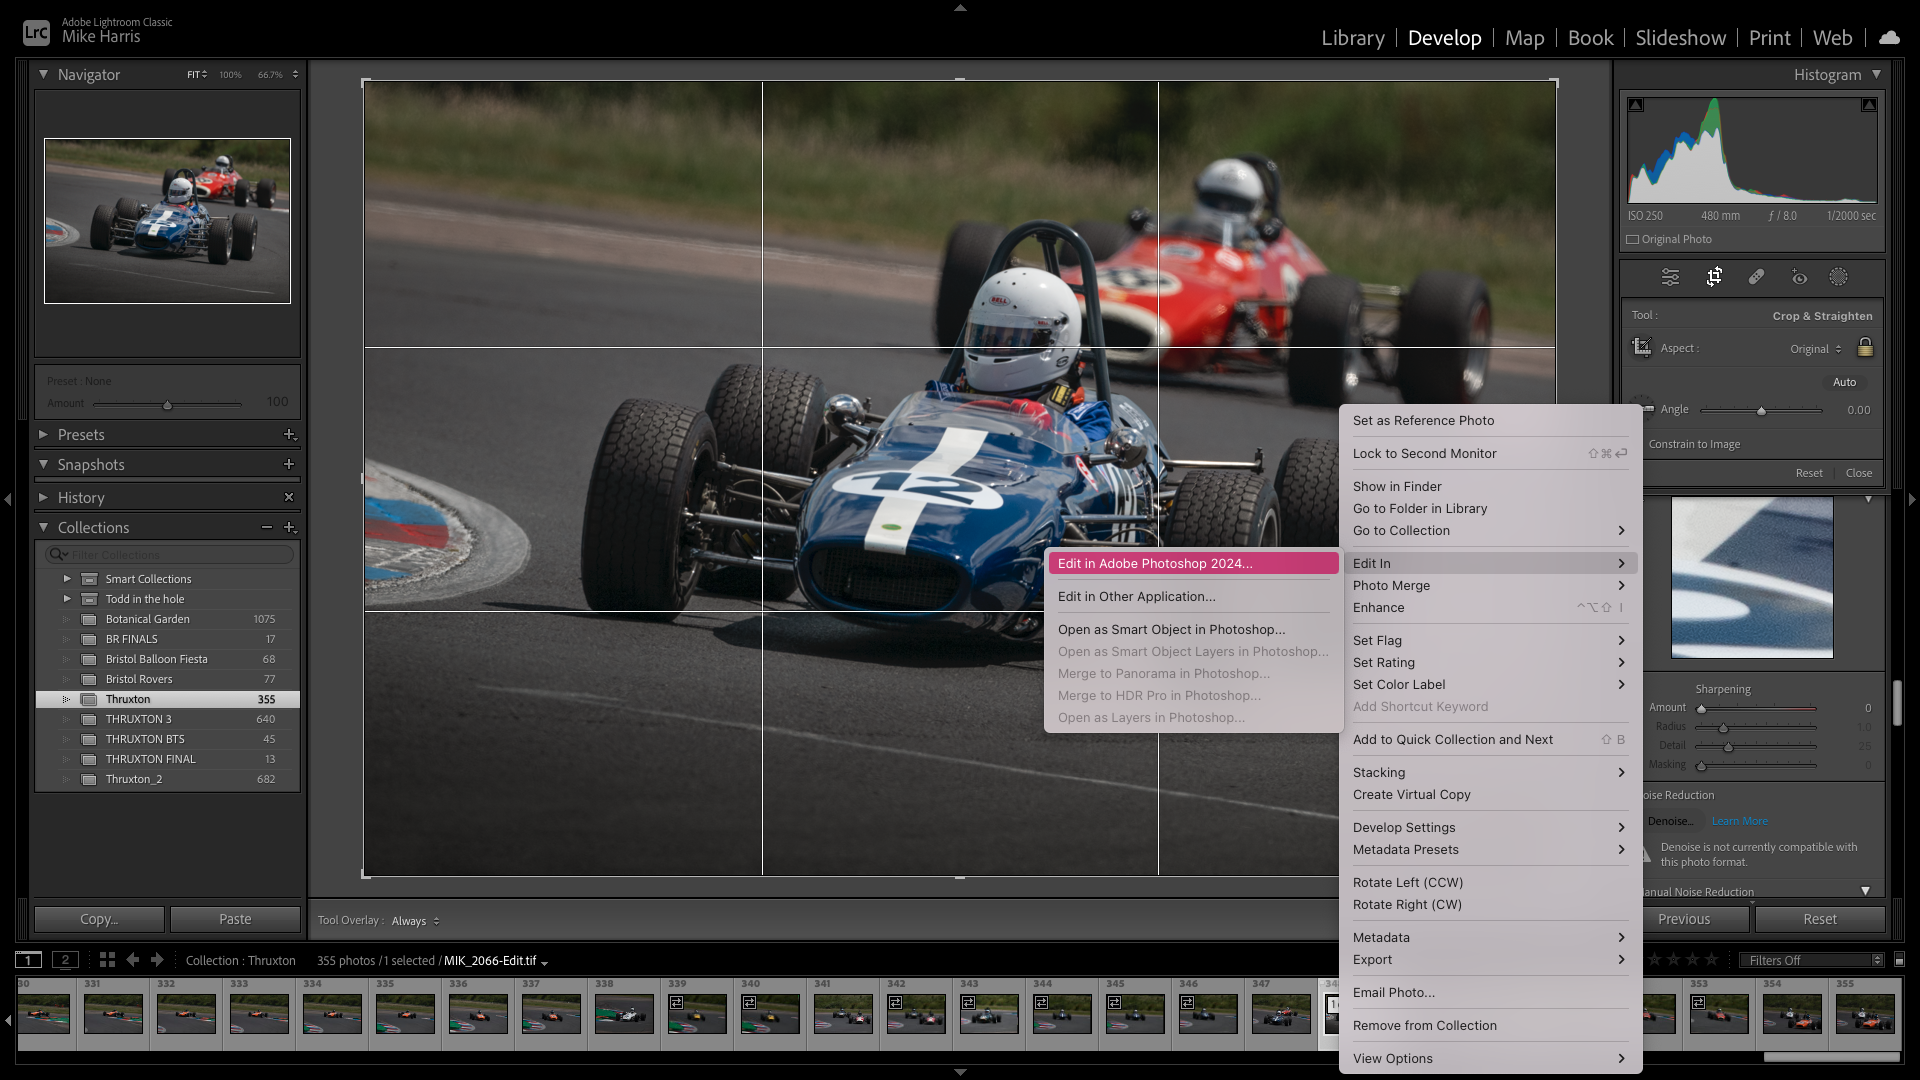
If you're used to editing in Lightroom you're probably aware that, by right-clicking on your chosen image in the Filmstrip, you can select Edit in > Edit in Adobe Photoshop 2024. Alternatively, you can simply right-click on the image itself and select the same menu options.
You may receive a dialogue box; if so, ensure that 'Edit a Copy with Lightroom Adjustments' is checked. This will import the image in question directly into Photoshop, with any changes you've made in Lightroom, so you can continue your editing workflow seamlessly.
2. Move from Photoshop back into Lightroom

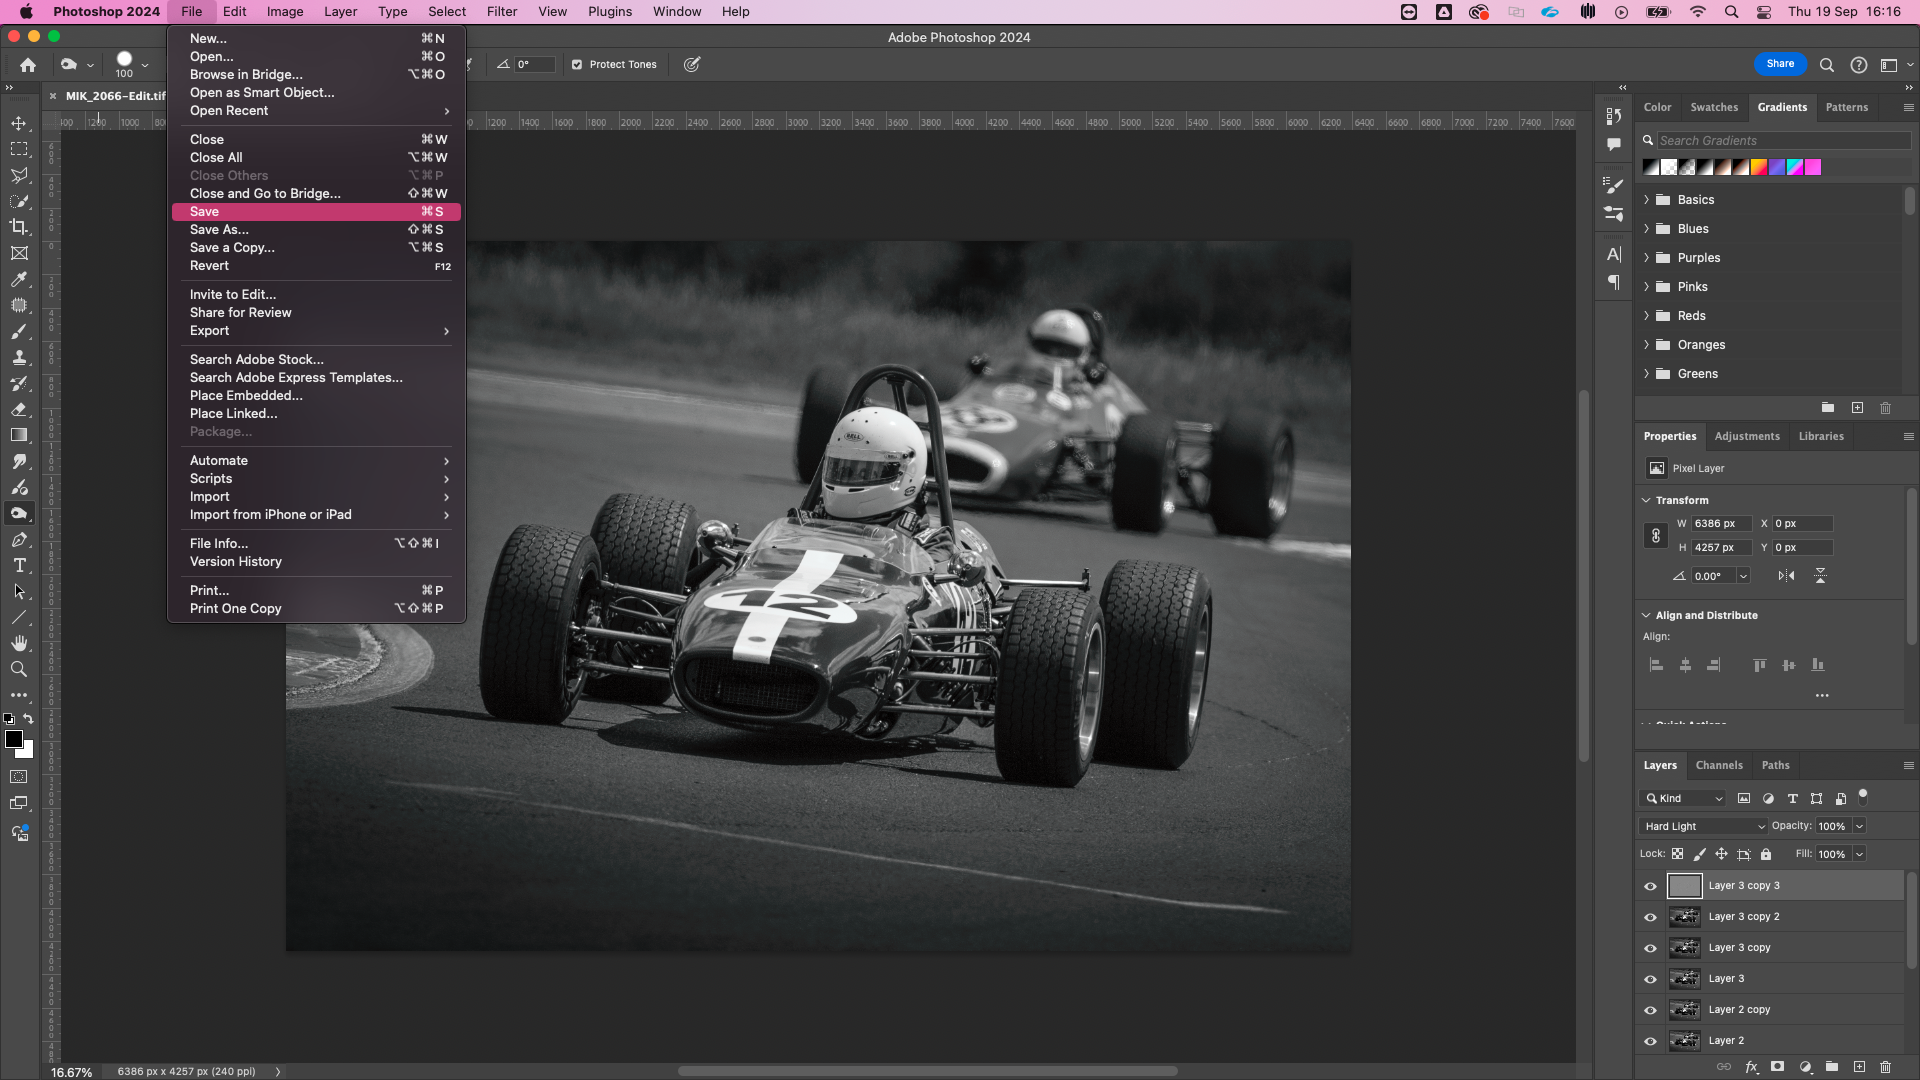
What you might not know is that you can reverse the process by importing the image back into Lightroom with your Photoshop changes still intact. To do this you simply select File > Save or File > Close > Save.
Hitting 'Save As' used to be a recipe for disaster, but recently I've found that hitting 'Save As' and saving a TIFF, Photoshop or Large Document Format file works, even if you change the file name. However, I personally avoid doing this as I've found in the past that renaming a file can break the link to Lightroom.
3. Continue editing in Photoshop

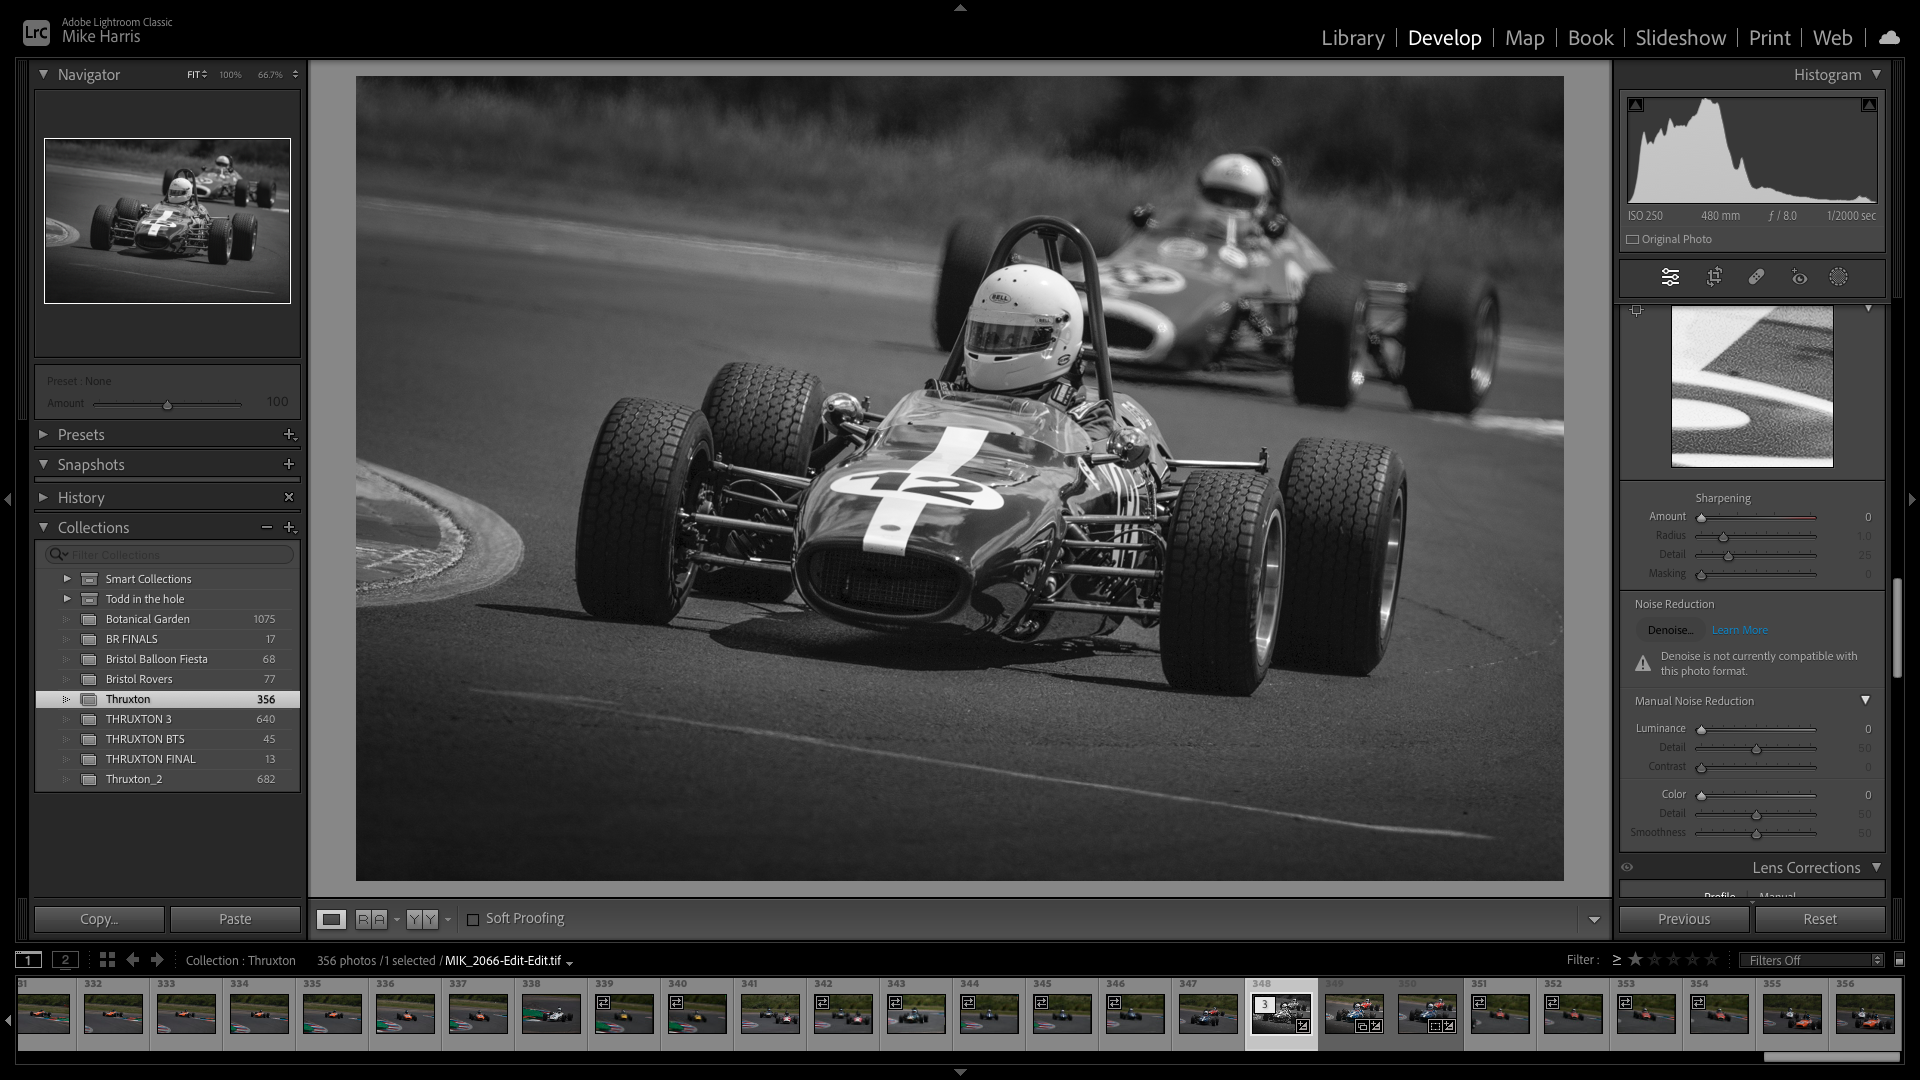
Once your image is safely back in Lightroom, you'll notice that a copy has been made with the Photoshop changes – so your original Lightroom edit is still available. You're now free to continue editing the copy and can even import the copy back into Photoshop for further tweaks, if you so wish.
So there you have it. If you didn’t already know about this painfully simple tip, it might just revolutionize your photo-editing workflow in Adobe CC.


