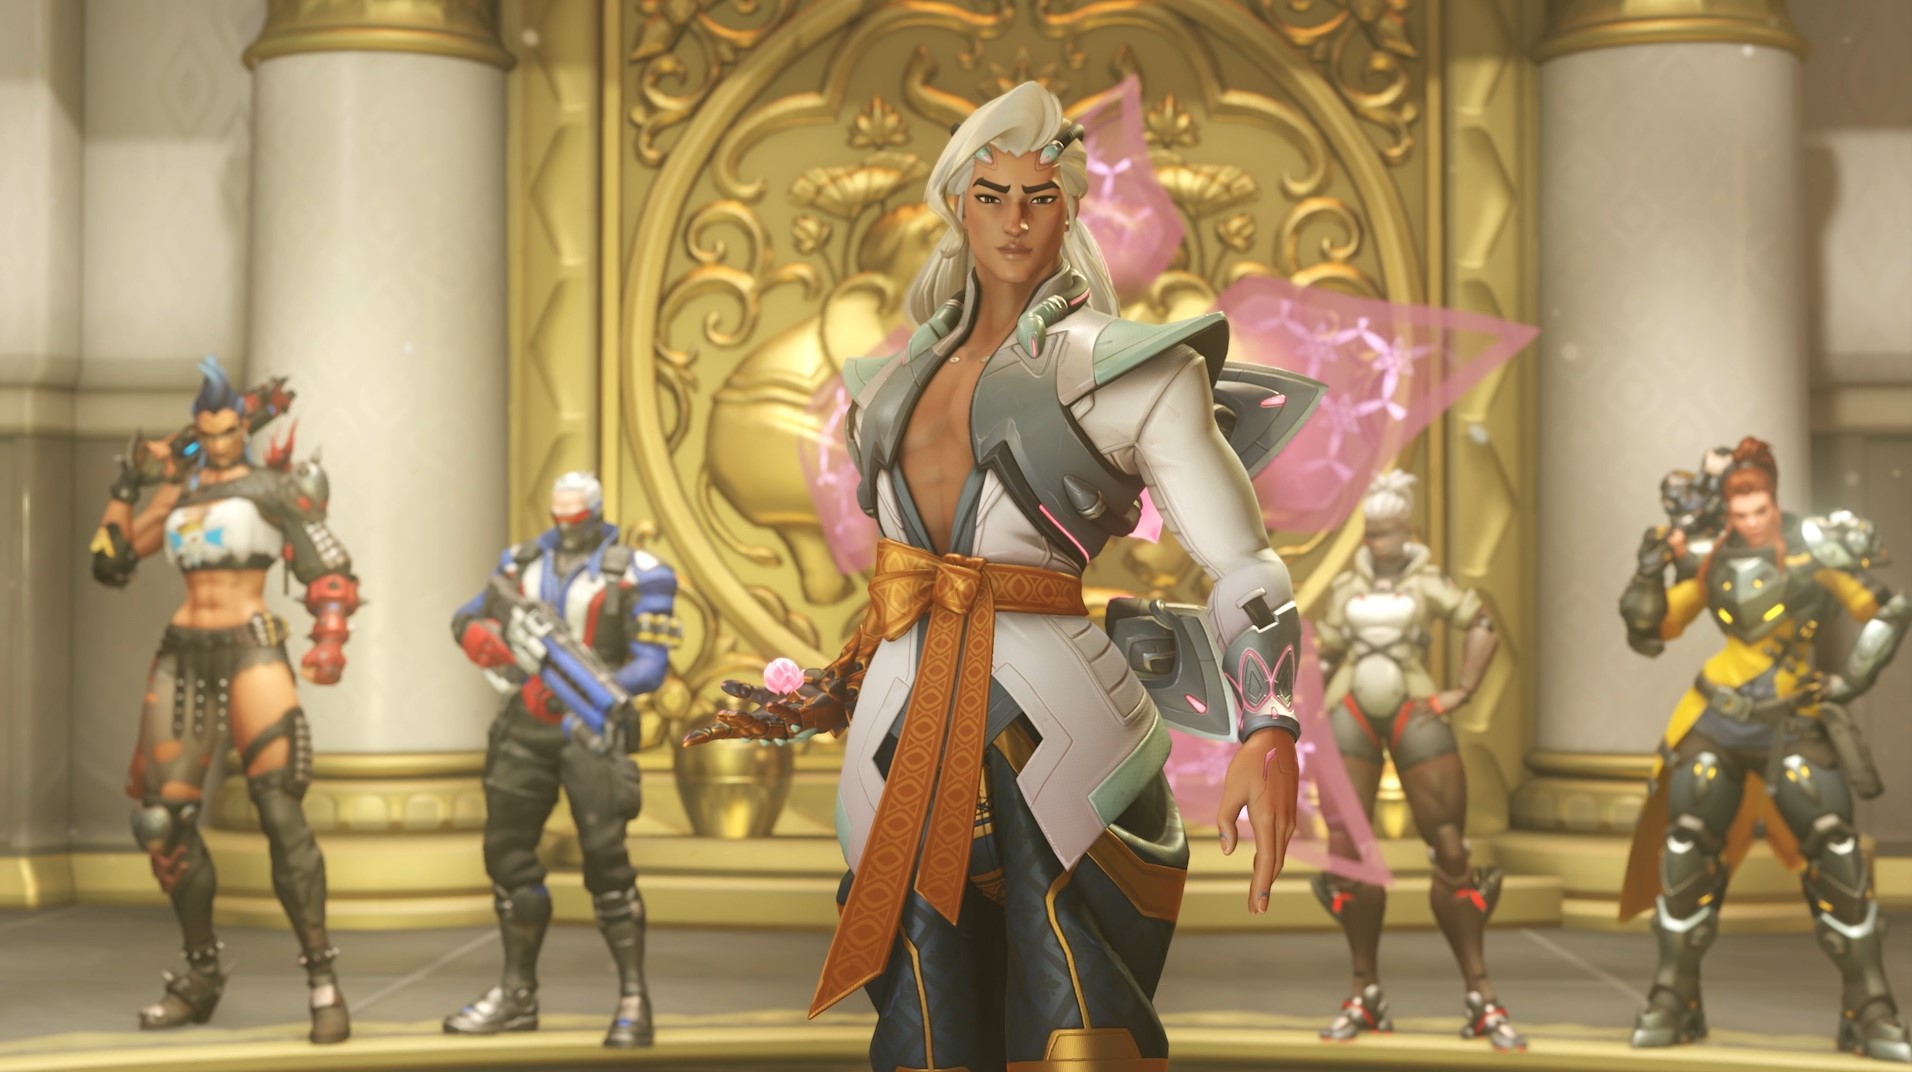
Update 4/4/23: This list has been updated with Overwatch 2's latest hero, Lifeweaver, as well as a fresh tier list put together following recent balance changes.
Overwatch 2 is a character-based shooter with predefined team roles. Having a good group synergy is often crucial, and knowing how to perform your role correctly is key to victory. Like many Blizzard games, Overwatch is very accessible, even for gamers who aren't traditionally into shooters. Some of the characters don't even utilize guns. Instead, they play more like melee classes you'd expect to see in a first-person action RPG.
There's something for everyone in Overwatch, but if you want to master the game, you'll not only need to learn your chosen character's abilities, but also your enemy's. Overwatch takes inspiration from MOBAs by giving each hero an Ultimate ability, which are powerful moves that charge up whenever you deal damage or heal your allies. These skills can and often do change the outcome of a match, but are, like everything else in the game, counterable with good timing, ability management, and teamwork.
Between the original Overwatch's launch heroes and the numerous characters that have been added throughout the game's lifespan, the arrival of the Overwatch 2 relaunch, and beyond, there are now a staggering 36 playable heroes — and more are always on the way. As such, understanding what each character is capable of, what their strengths and weaknesses are, and how each new hero fits into the metagame are all crucial parts of growing as an Overwatch player. We'll help you do just that in this guide, while also offering some gameplay tips and suggestions that will elevate your in-game performance.
Overwatch 2 tier list: Best heroes to play right now
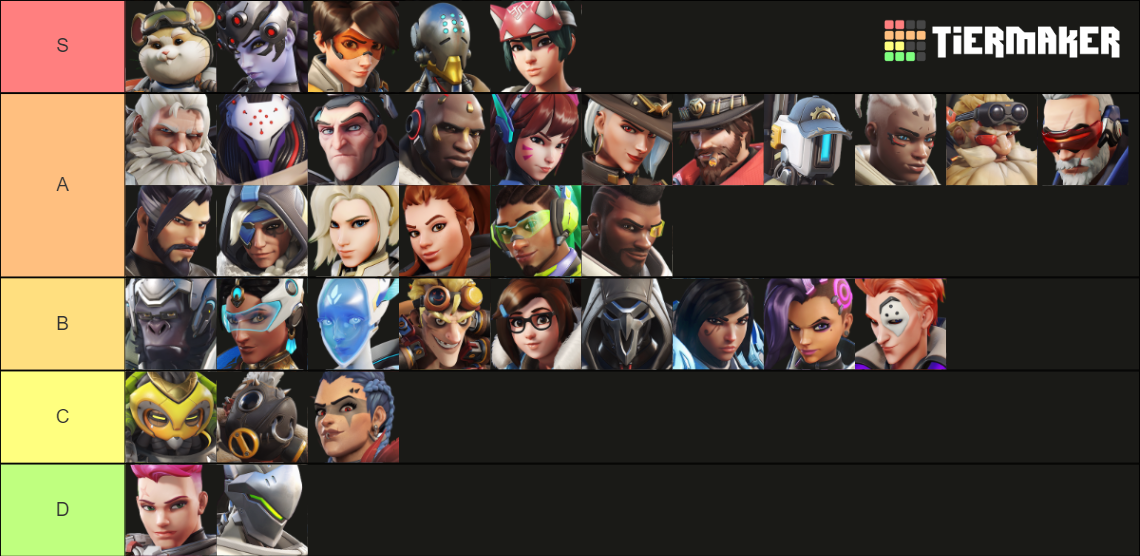
While all Overwatch 2 heroes are strong enough to be effective in general play, some of them are more competitively viable than others. Whether you're planning on jumping into the game's Competitive mode or you just want to play as the best overall characters, it's useful to know which heroes are considered meta and which ones are more situational. With that in mind, we've put together a tier list based on our own experience in-game as well as opinions and recommendations from highly-ranked and professional Overwatch players that you can view in the image above or in the table below.
Something that's important to note is that a hero being low on the tier list doesn't mean that they're not worth playing. It just means that they're not as effective as other heroes are in a wide variety of maps, modes, and situations. Characters that fit into specific niches aren't bad, they're just situational. Many heroes also fare better or worse depending on which Competitive rank you're playing in; for example, while Bastion's damage output may feel oppressive in lower ranks, more skilled players will be able to counter him easier since they know how to exploit his weaknesses.
Also, players can expect frequent Overwatch 2 hero changes and reworks as Blizzard endlessly works to keep the game balanced. As tweaks are made moving forward, certain heroes may become more or less powerful. We'll keep this tier list updated frequently as the Overwatch 2 metagame develops.
Right now, Overwatch 2 is in one of the most balanced states that it has ever been in, as most of the game's heroes are viable in competitive play. The ideal characters to pick are largely dependent on the maps you get when matchmaking, though there are some notable outliers. Wrecking Ball, Widowmaker, Tracer, Kiriko, and Zenyatta are the best overall heroes right now, with Wrecking Ball's extremely high durability and disruptive abilities, Widowmaker's potential to take over games with one-shots, and Zenyatta's huge damage output and Discord Orb utility standing out as uniquely powerful. At the low end, both Zarya and Genji are considered pretty weak right now, as are Orisa, Roadhog, and Junker Queen.
Ana guide: Abilities and tips
Role: Support
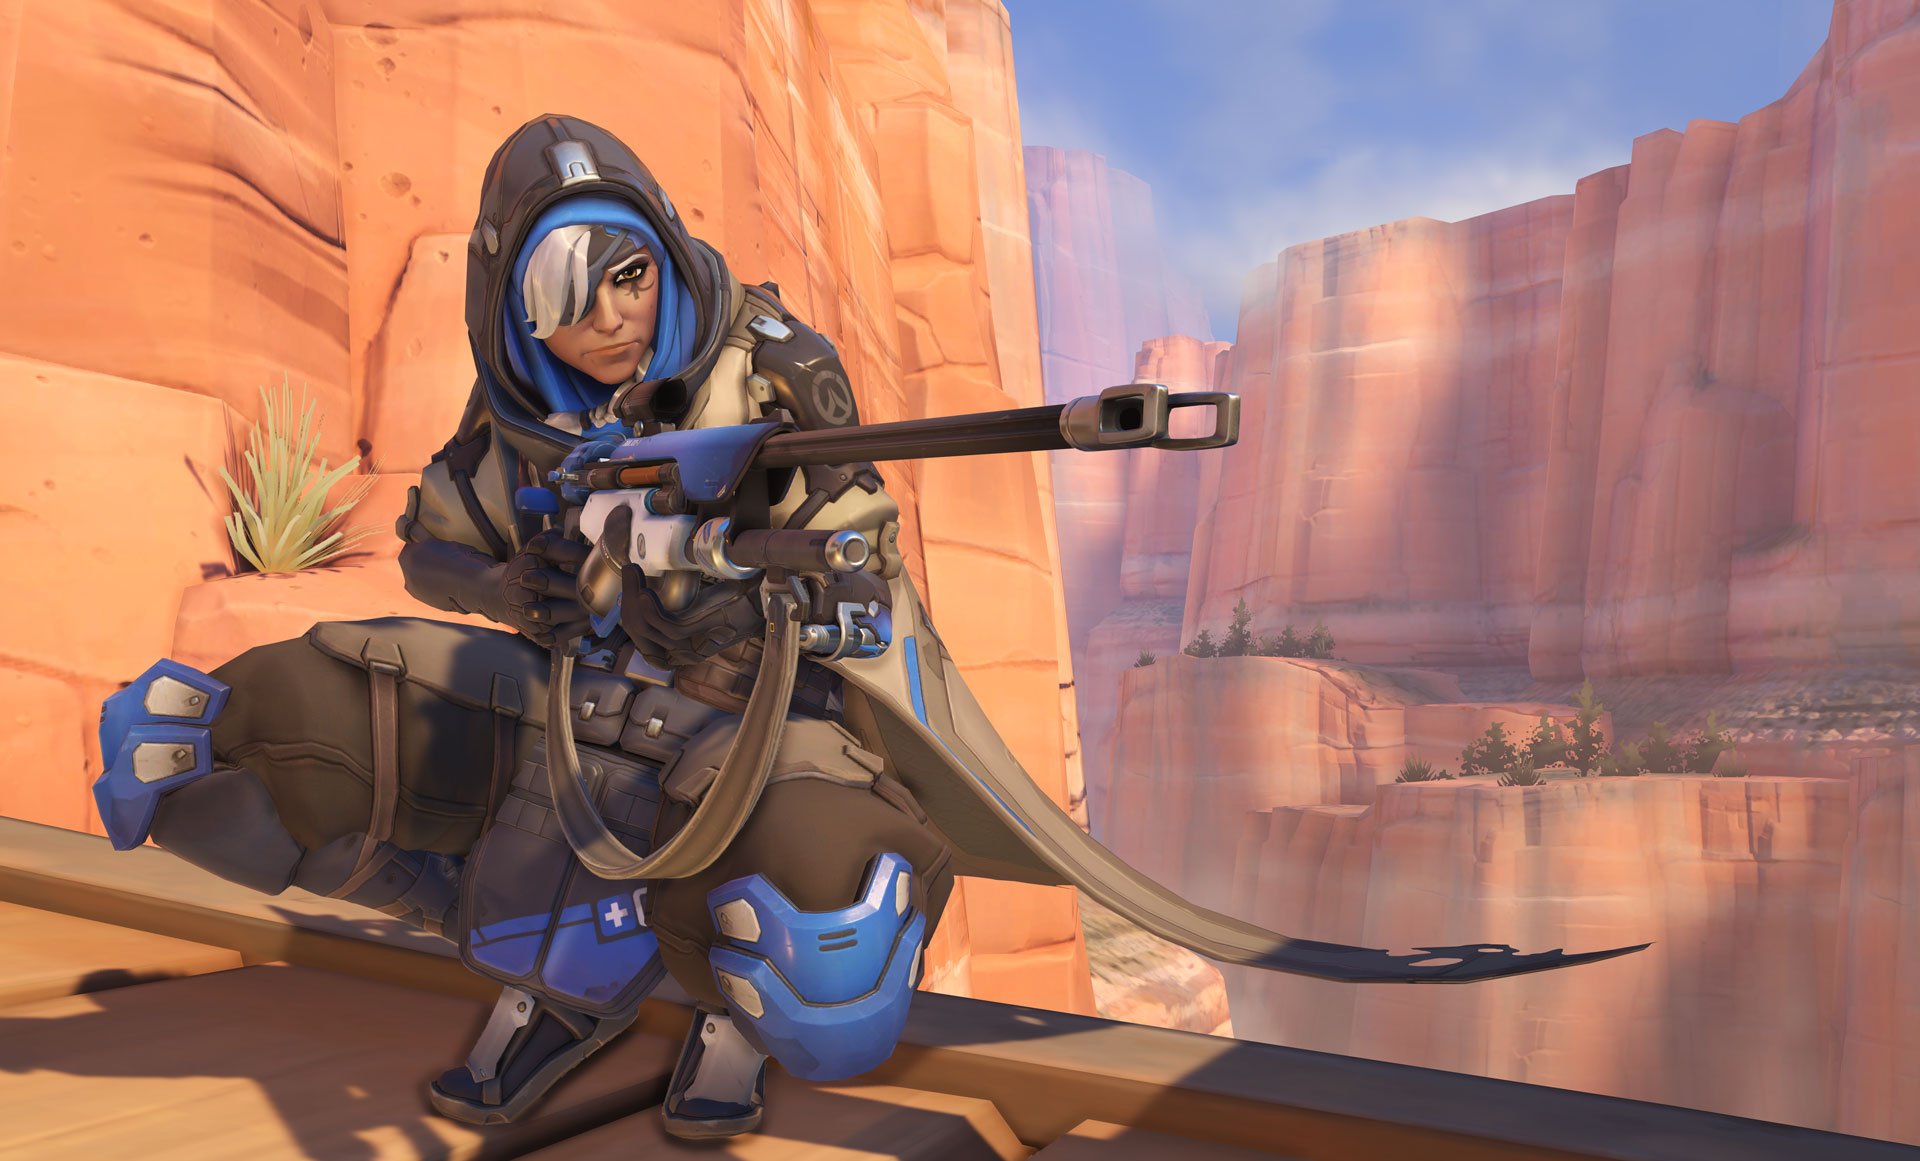
Ana was the first character added to the original Overwatch post-launch, bringing another sniper into the mix. Unlike other long-range characters that excel at damage-dealing, Ana is a powerful support and comes with abilities that allow her to both heal and damage opponents effectively. With her versatile arsenal and high potential, Ana is — and likely always will be — one of the strongest heroes in the game.
- Like Overwatch's other sniper heroes, Ana is best utilized when kept away from the front line. With limited health and long-range abilities, she needs to hang back from the action. Because of these weaknesses, she often struggles against characters like Sombra or Tracer that can easily get up close.
- Ana's abilities allow her to deal solid damage and dish out strong health regeneration, making for an interesting gameplay dynamic. Make sure to avoid getting focused on either playstyle and adapt your approach depending on the situation.
- Ana's main weapon, her Biotic Rifle, has two different firing modes. These modes change the weapon's projectiles, depending on whether the rifle is zoomed-in or zoomed-out. When zoomed-in, the rifle fires hitscan projectiles, which essentially have no travel time and land where you've chosen to aim. When zoomed-out, projectiles will have slight travel time, requiring a little more planning per shot. Damage and healing stats don't change between these modes.
- The Biotic Rifle and Biotic Grenades are the most versatile components of Ana's loadout. With the ability to heal allies and damage foes simultaneously, these two weapons are a great combo in more chaotic encounters. When combat is building up around chokepoints on the map, use these weapons to not only help your team but also push back the enemy.
- In particular, the Biotic Grenade's ability to prevent enemy support players from healing their teammates is devastatingly effective, and in many cases can be enough of an advantage to win fights outright. We recommend saving it for opportunities where you can hit multiple enemy players with this debuff.
- Ana's Sleep Dart ability is a fantastic tool for shutting down enemy Ultimates or making it easier for your teammates to land their own. Generally, good targets for Sleep Dart are enemy tanks or damage heroes that are using their Ultimate.
- Ana's Ultimate, Nano Boost, adds to her support skillset, allowing her to buff one teammate for a limited amount of time. The ult grants faster movement, higher damage, more damage resistance, and a huge burst of healing. Make sure to hold back this ability until a crucial moment in combat.
When playing as Ana, make sure to watch out for fast approaching enemies. Since she's a lightweight character, it only takes a few well-placed critical hits from offensive heroes to knock Ana down. Also, make sure to be wary of players tranquilized by Sleep Dart, as any form of damage will awaken drowsy foes. If a friendly Ana sleeps someone, don't wake them up unless you know you can secure the kill. If you sleep someone, call the play out to your teammates so that they don't accidentally wake your target up before your team is ready to eliminate them.
Ashe guide: Abilities and tips
Role: Damage
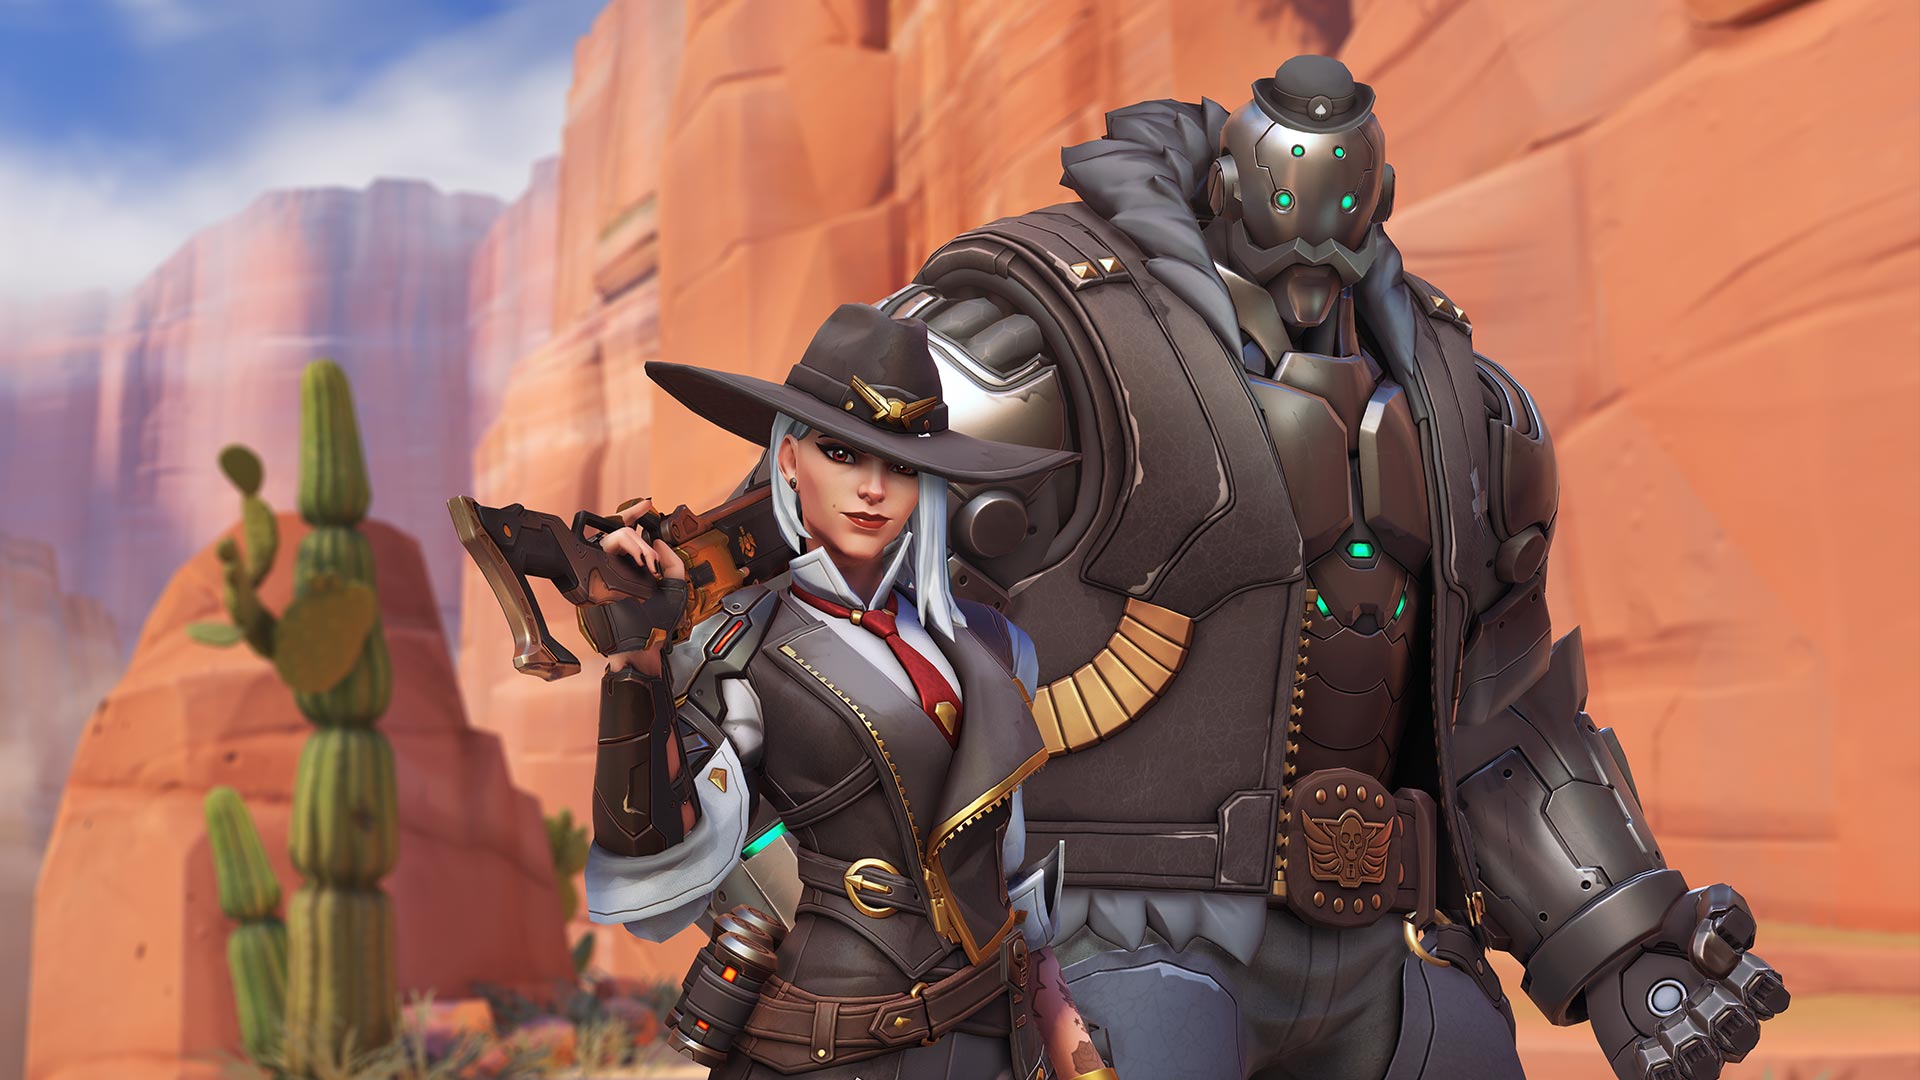
Ashe is a crackshot mid-range damage hero that excels at dishing out heavy damage with headshots. Ashe is a great choice for people who are good at picking foes off at a distance, though notably, she struggles to fight in close-quarters.
- Ashe is strong from high ground positions since they give her a better view of the battlefield. Her Viper Rifle does heavy damage on critical hits, and having a good vantage point will help you hit them. Make sure you aim down the rifle's sights for maximum damage, too.
- Ashe is an effective counter against aerial heroes like Pharah, Echo, and Mercy, as the hitscan nature of her rifle makes picking flying characters out of the sky easier to do.
- Ashe is weak when she's faced with lots of tank shielding. Try and find an angle to get around the shields, or ask teammates to try and forcefully disrupt the enemy position so you can do more damage.
- The Coach Gun ability knocks Ashe backwards while also pushing enemies hit with it away from her, giving her more room to work with. Use it when enemy players get too close.
- The Coach Gun can also be used to reach high ground in a pinch, though this leaves you without it for a few seconds in battle.
- The Dynamite ability does moderate damage when it explodes and also sets enemies on fire, making it a good ability to use on foes when they're grouped up.
- Ashe's B.O.B. Ultimate is an excellent way to contest objectives. B.O.B. has 1,200 HP and does good damage, forcing the other team to respect his presence. Be aware, however, that he can be stunned or slept by enemy players. Therefore, try to wait until the enemy uses those types of abilities before calling B.O.B. into the fray.
Overall, Ashe is a strong character if you can hit your shots. We recommend practicing with her in the Practice Range or in Quick Play before taking her into any competitive setting due to how hit-or-miss she is depending on your accuracy.
Baptiste guide: Abilities and tips
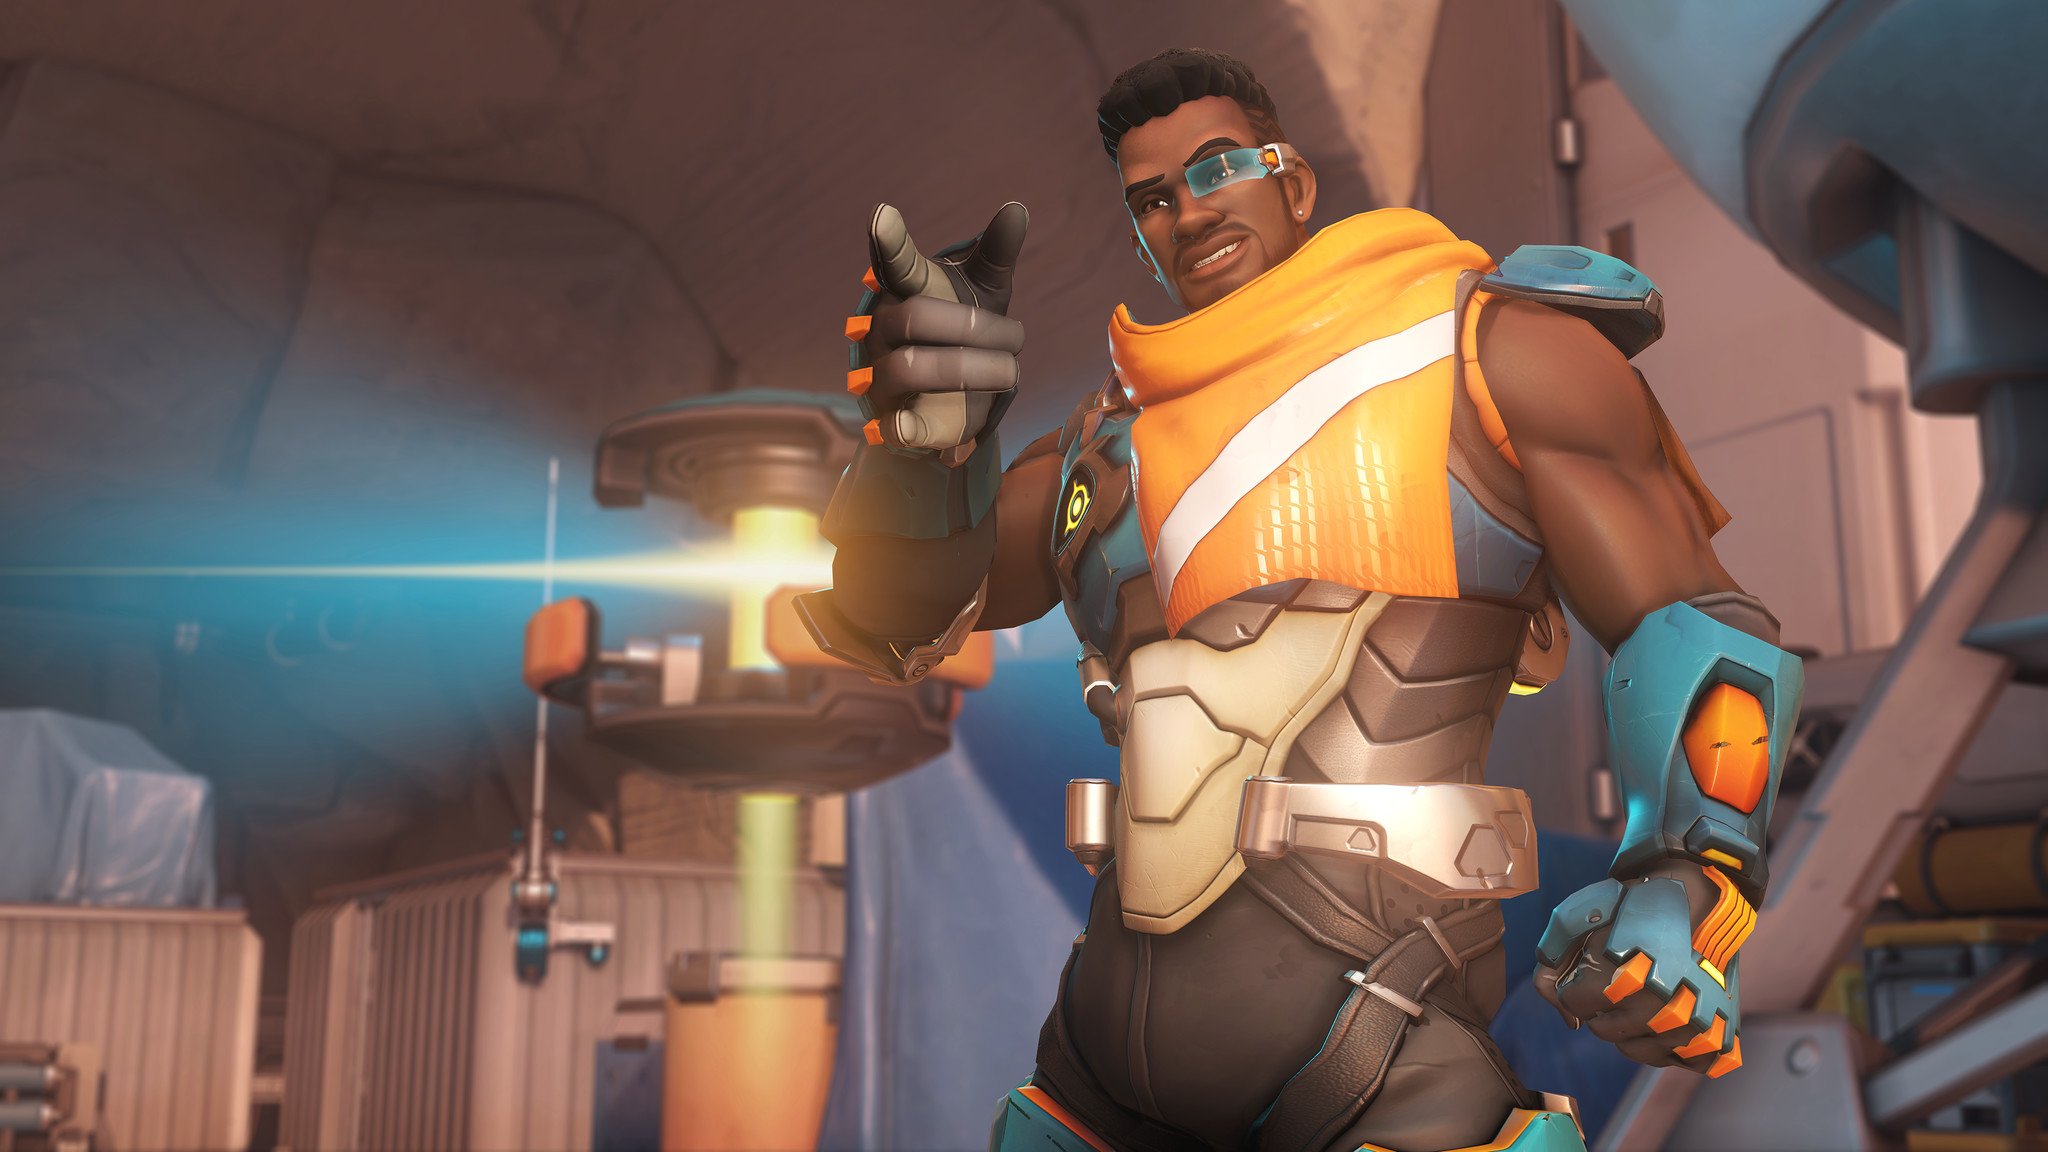
Role: Support
Baptiste is one of the most versatile support heroes in Overwatch, as he's capable of dishing out strong healing, decent damage, and more. He's not quite a sniper like Ana is, but he's a strong choice for mid-range engagements on maps with lots of chokepoints.
- Baptiste is most effective when fighting from high ground and peppering foes and teammates alike from a distance with his Biotic Launcher. In close-range combat, he struggles to fight effectively.
- You can use Baptiste's Exo Boots to hop up to pieces of high ground or escape from enemies that get too close for comfort. Watch out for enemy snipers, though, as the arc of your jump makes you an easy target for them.
- The Biotic Launcher's alternate fire shoots healing grenades, while the primary fire shoots a burst of accurate bullets. The healing grenades are great for healing several teammates at once, while the primary fire is a great tool for picking off isolated players and landing critical headshots.
- Baptiste's Regenerative Burst ability should be used when standing next to several teammates, as it provides everyone it effects with healing over time.
- The Immortality Field is a great tool for situations where normal healing won't cut it, as anyone in its area-of-effect can't be killed. Just make sure you put it in a place where enemies can't easily destroy it but teammates can still stay in its line of sight, such as around a corner your team is protecting.
- The Amplification Matrix Ultimate is an amazing tool to use in chokepoints, as it significantly increases the damage of attacks your team fires through it. Use it in situations where your team needs the extra firepower to break through defensive abilities or lots of tank shielding.
When playing as Baptiste, make sure you take the high ground as much as you can. This will give you a better field-of-view to fire at enemies or heal your team from, and the height advantage partially protects you from enemy return fire as well. Also, be very reserved and tactical with your usage of Immortality Field, as it has a very long cooldown.
Bastion guide: Abilities and tips
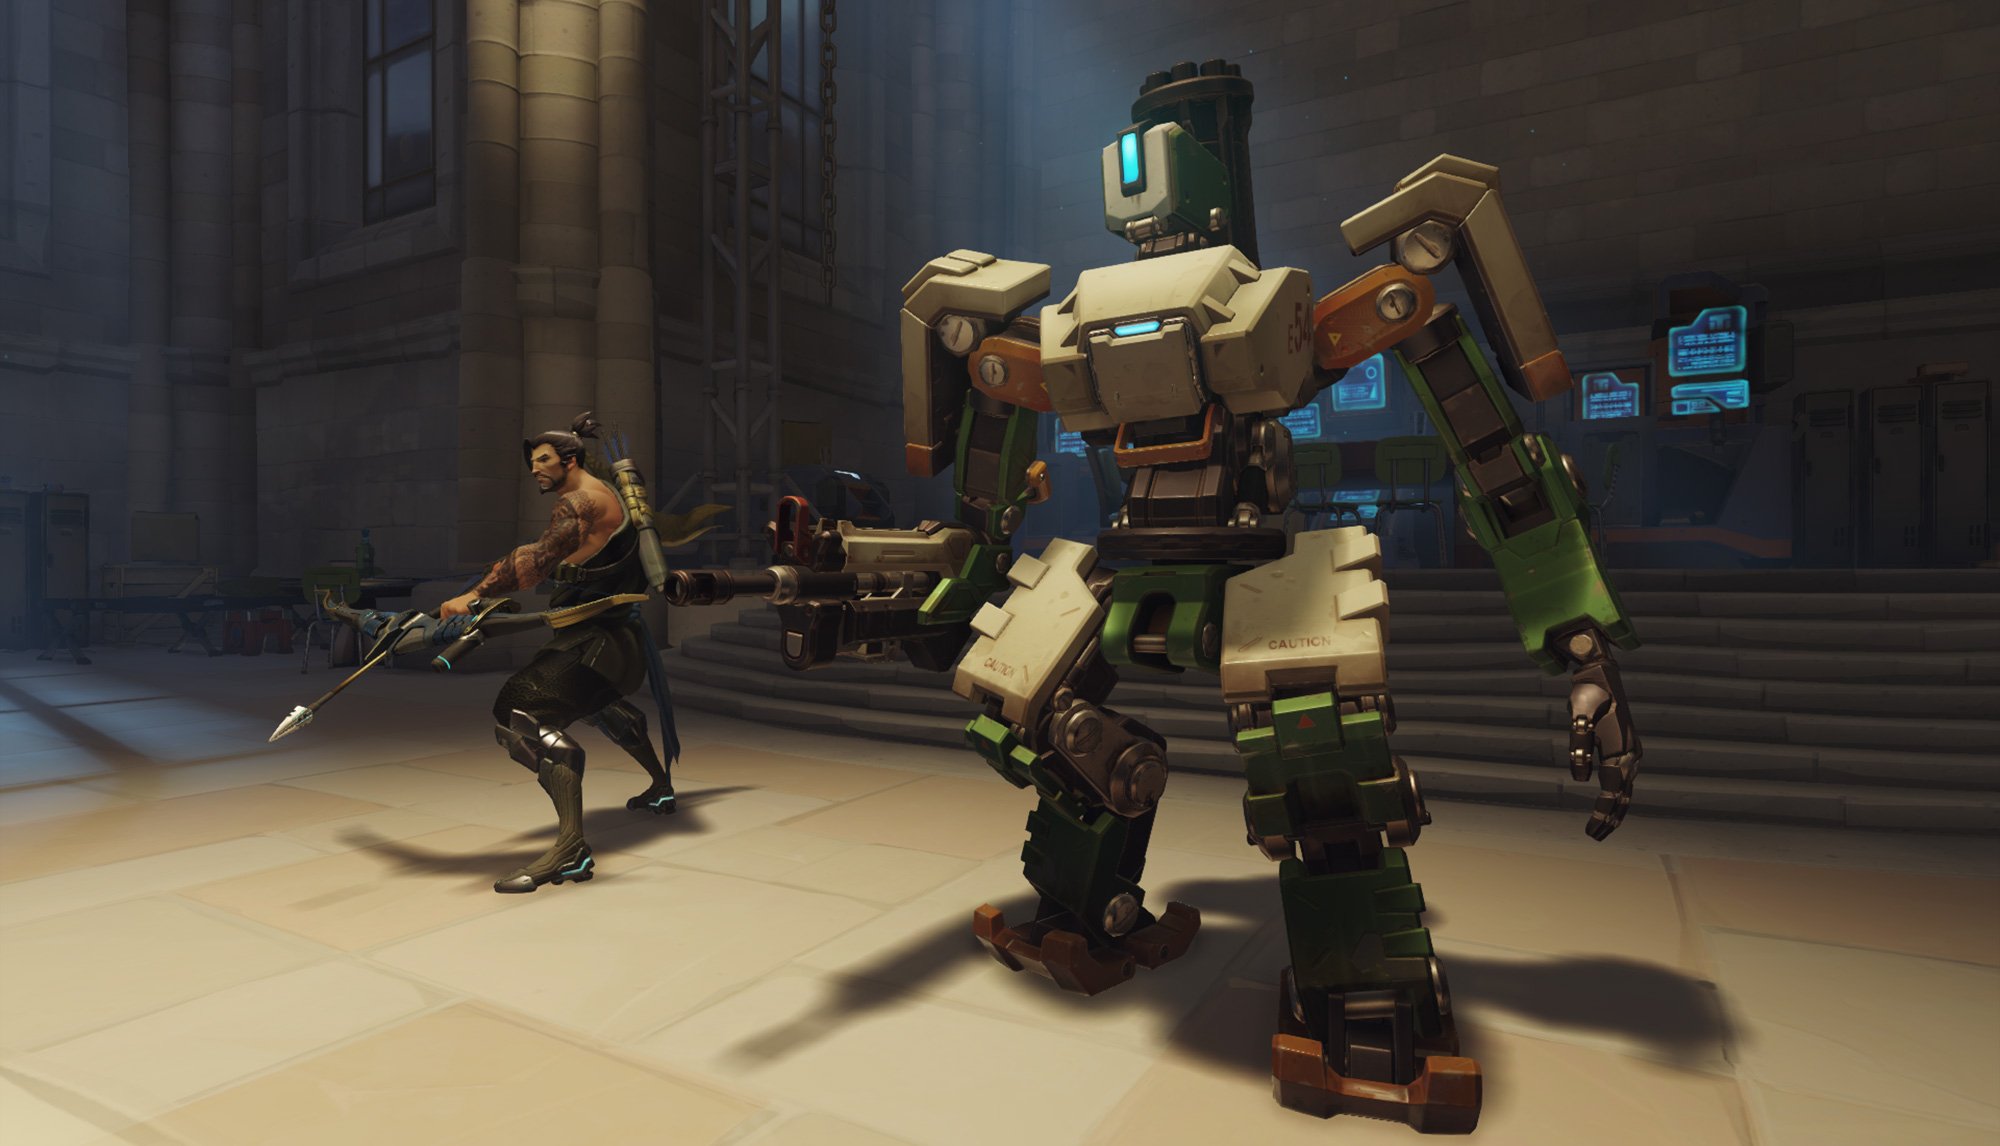
Role: Damage
Bastion was originally a strictly defensive hero, but was reworked to be more offensively capable in Overwatch 2. Beyond his standard machine gun, he can also transform himself into a rolling minigun tank and decimate characters in the mid-range in seconds. He's also capable of using a sticky grenade for burst damage, and his Ultimate is useful for both area denial and Ultimate combos with allies.
- Bastion is effective against characters like Reinhardt or Sigma that rely on using a barrier to protect themselves and their allies. This is because his damage output is extremely high relative to most other characters.
- Bastion's biggest weaknesses are his large hitbox and lack of mobility. If you're caught out of position while using Bastion and your team isn't able to support you, you're most likely going to die quickly.
- Bastion's Configuration: Assault ability transforms him into a mobile battle tank, and his minigun can rapidly shred through tank barriers and the heroes using them for cover at close and mid-range. It's far less effective at long range, though.
- Whenever you're in Configuration: Assault form, Bastion's Ironclad passive will proc and provide 20% damage resistance. This allows you to survive damage you'd otherwise die from, so don't be afraid to be a little aggressive so that you can pressure opponents with your damage output. Just don't overextend away from your team.
- Bastion's A-36 Tactical Grenade can stick to enemies and will deal heavy damage to them. However, you can also use it to boost your jump by firing it at your feet, running over it, and crouch-jumping as it explodes. This can help you reach high ground and other types of advantageous positions, helping you counteract Bastion's low overall mobility.
- The Artillery Ultimate allows you to launch explosive shells at three separate areas on the map that have a wide area-of-effect and deal huge damage. Note that this Ultimate can be used from anywhere, including from within roofed structures.
- Artillery can be used effectively to deter your opponents from pushing or retreating, as the threat of its damage will force them to avoid the targeted area. It also pairs excellently with Zarya's Graviton Surge or Reinhardt's Earthshatter, as these Ultimates immobilize opponents and make it easy for you to rain fire down on them.
- Note that you're completely stationary and unable to defend yourself while using Artillery, so move into cover before using it.
Despite Bastion's high damage output, his exploitability makes him rather difficult to play at times. Heroes like Pharah and Widowmaker are good for taking out Bastion, attacking from afar where the effective range of his weapons is diminished. Teleporting in close with Tracer's Pulse Bomb Ultimate is practically designed for taking out Bastion, and Genji's Deflect ability can redirect Bastion's deadly fire right back at him.
Brigitte guide: Abilities and tips
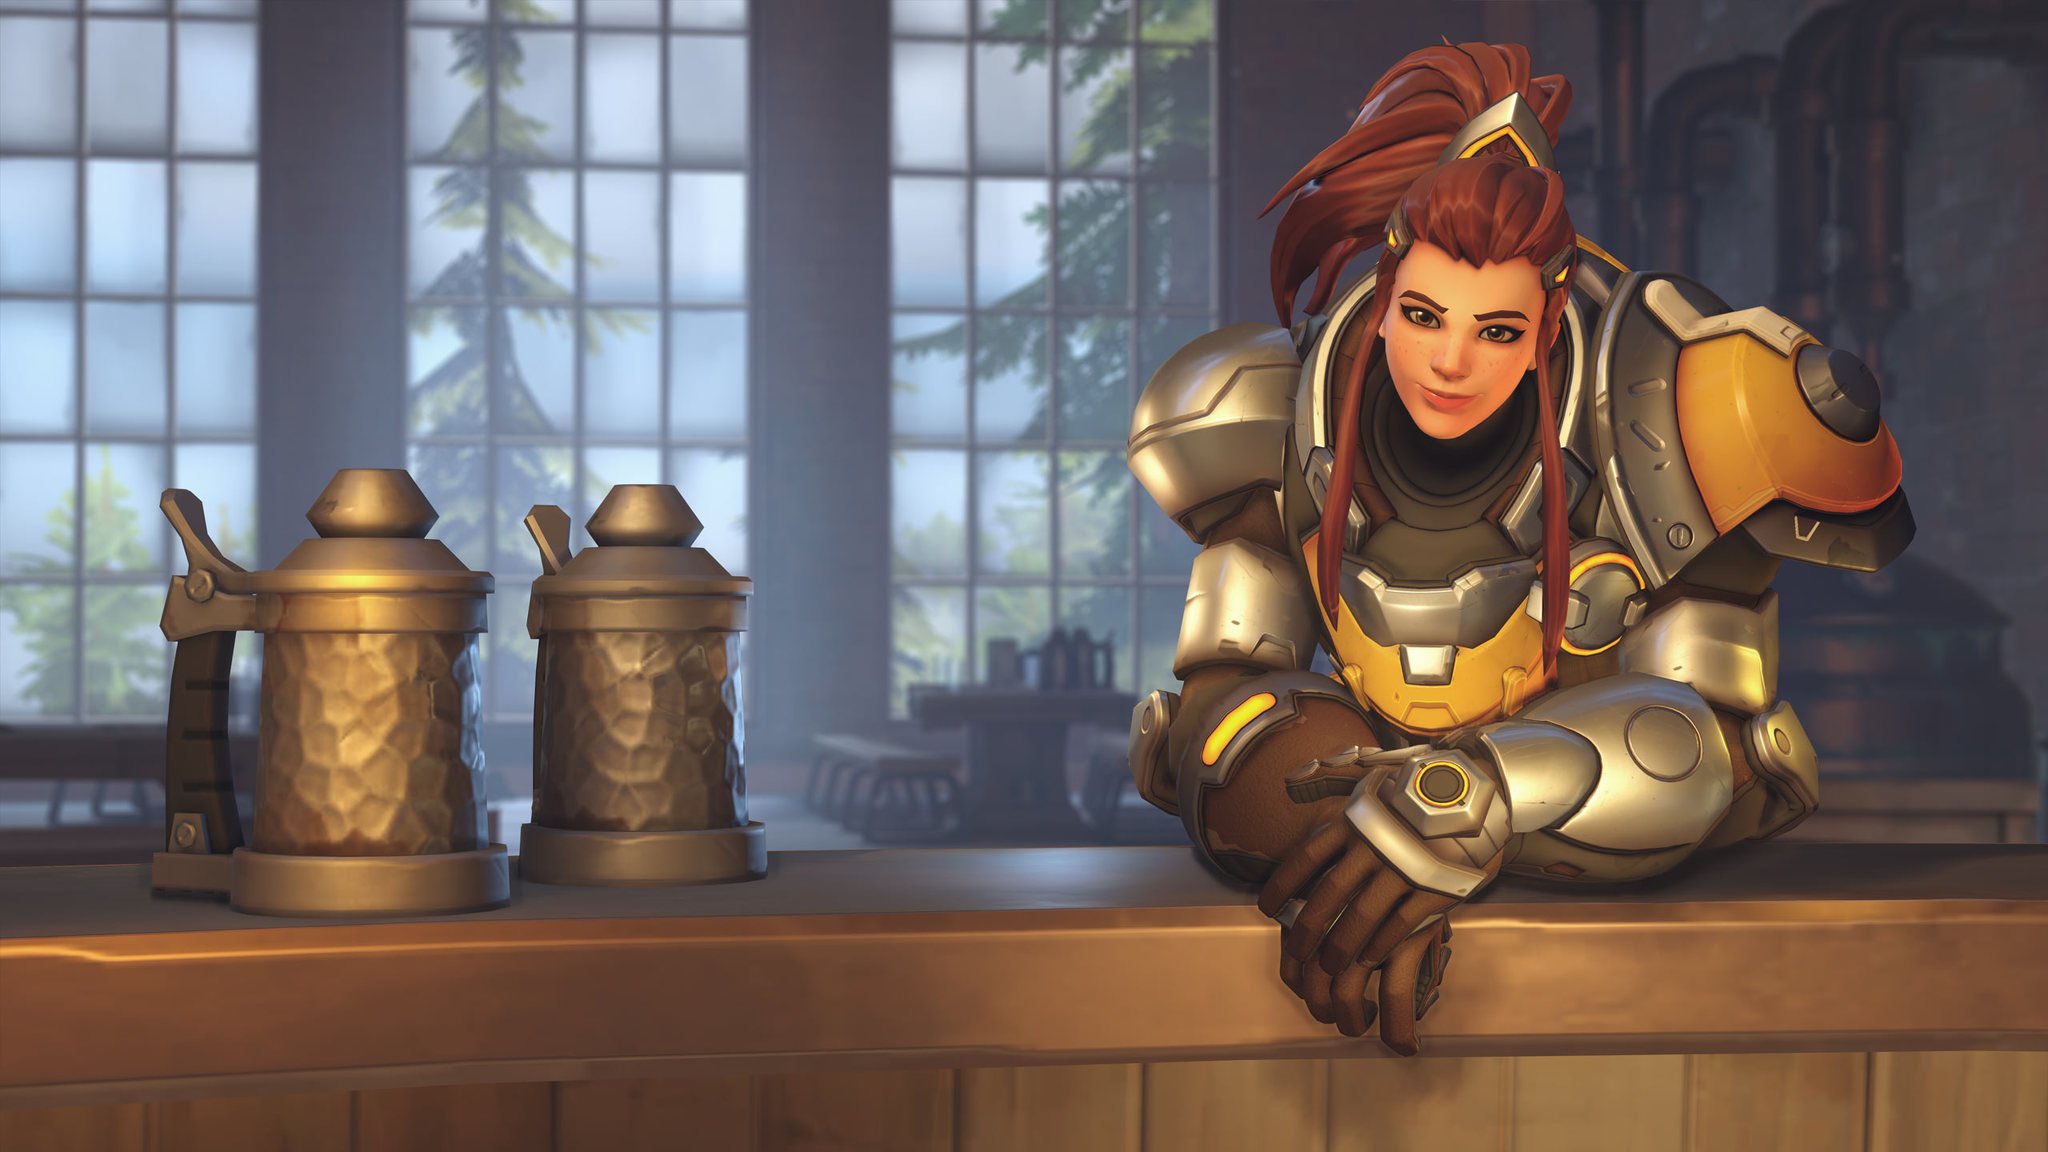
Role: Support
Brigitte is a brawly close-quarters support hero that thrives off of hitting enemies with her Rocket Flail. This procs the Inspire ability, healing nearby teammates as well as herself over time. Additionally, she can use Repair Pack to heal allies in bursts, and her Rally Ultimate builds up Overhealth for herself and allies over time.
- Brigitte thrives off of being in the thick of the fight, as she needs to hit enemies to keep Inspire going. Don't be afraid to jump into the fray.
- You can use the Whip Shot ability to boop enemies into hazards or to forcefully reposition them away from you or your allies. It also "overrides" enemy movement abilities, allowing you to counter moves like Winston's Jump Pack.
- You can use the Repair Pack ability for burst healing, which you'll need in scenarios where the slow heal-over-time of Inspire won't be enough to save a teammate.
- Brigitte's Barrier Shield ability doesn't have a ton of health, but you can use it to block particularly dangerous attacks such as Ultimates or explosives.
- The shield can also be used to Shield Bash, which does 50 burst damage and procs Inspire. You can also use the burst of forward momentum for movement.
- The Rally Ultimate is best used during a push or a hold attempt, as the continuous Overhealth generation will help negate damage throughout the entire fight.
Fighting Brigitte is tough in close-quarters, but it can be done with burst damage characters like Reaper or Junkrat. Bastion also chews through her shield instantly, and heroes that can attack from afar or above like Ashe or Echo are good picks as well.
Cassidy guide: Abilities and tips
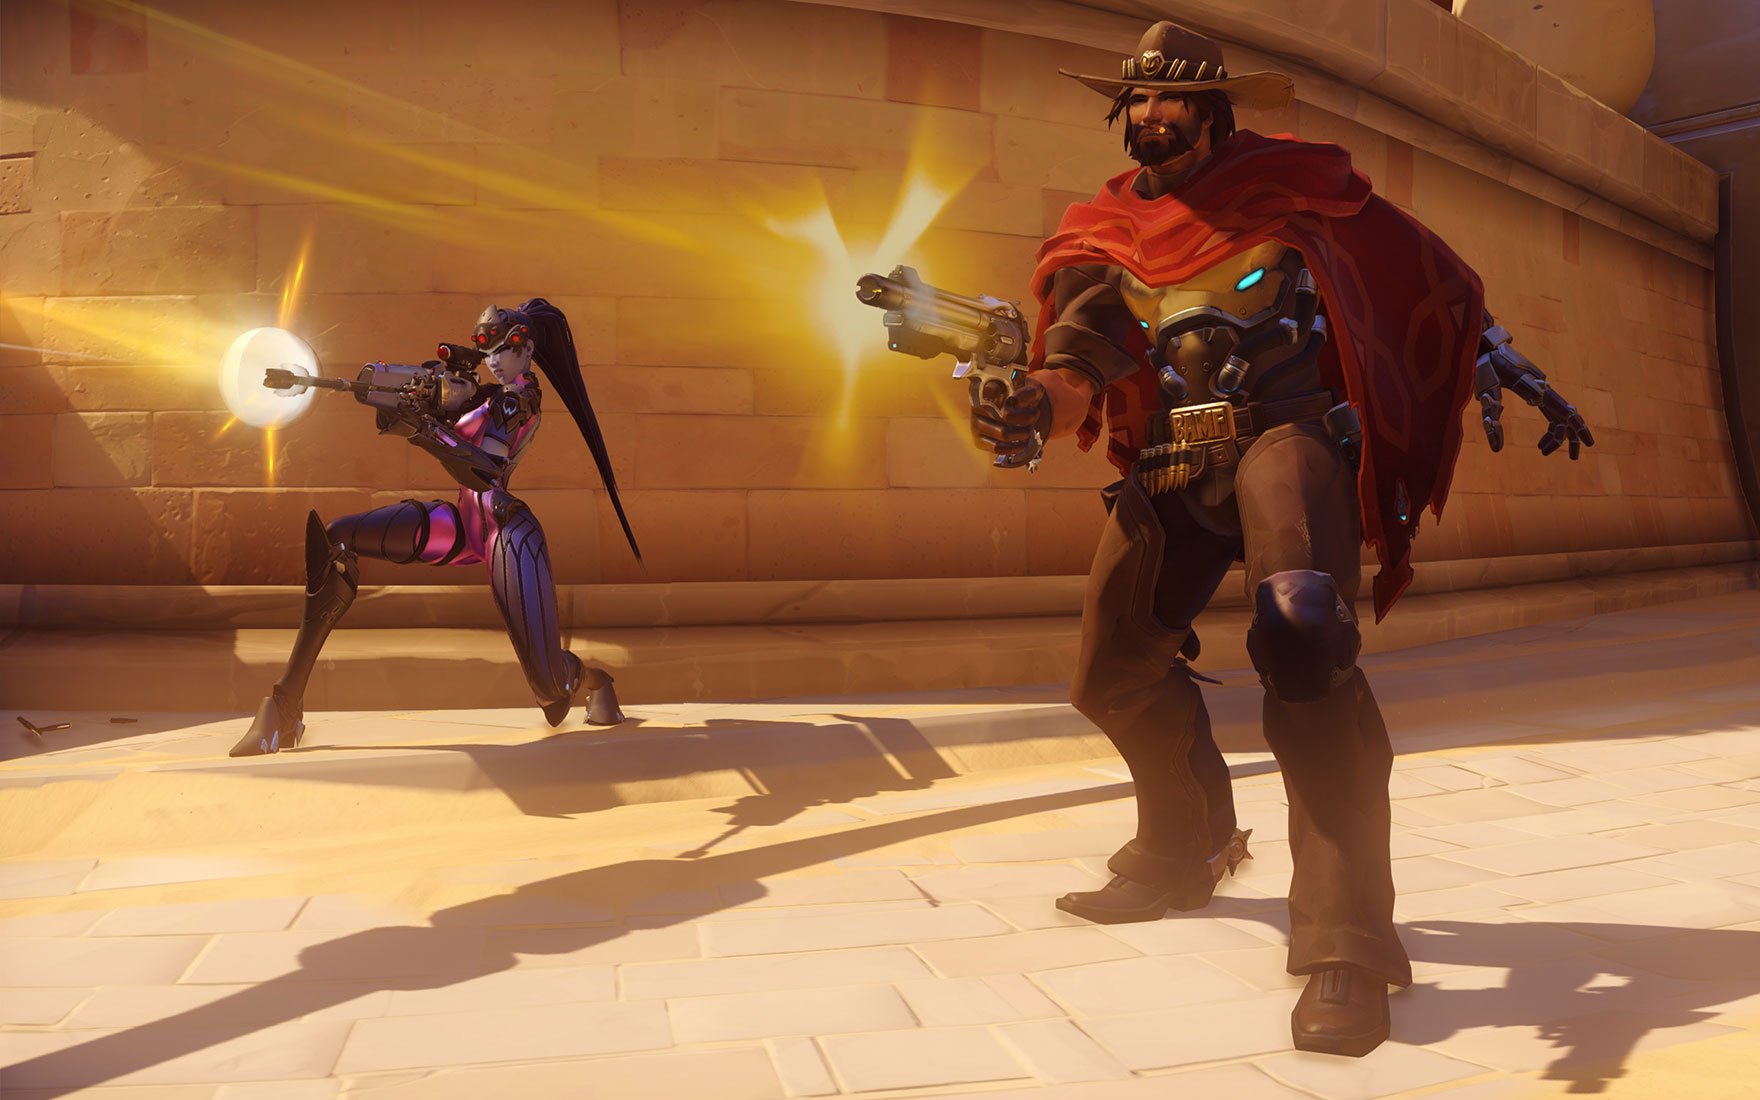
Role: Damage
Cassidy is an incredibly dangerous Wild West gunslinger. Beyond his accurate single shot primary fire, Cassidy's Fan The Hammer ability empties his Peacekeeper revolver rapidly, working almost like a channeled shotgun. He also has a sticky grenade that's very easy to land and does strong damage, making him effective in one-on-one duels. Cassidy's Ultimate, Dead Eye, can be hard to pull off, but it can wipe out an entire team if the stars align.
- Cassidy works best at medium range. He can also be effective up close if you ambush players with Magnetic Grenade and a follow-up shot or two.
- Learning maps is important when playing Cassidy. He's most effective when taking high ground or attacking from places the enemy wouldn't expect, which often means off-angles.
- Cassidy's Dodge Roll also reloads his weapon, so using Fan The Hammer, rolling, then using it again can help you take out tank barriers quickly. It's also an effective way to keep up the pressure with volleys of precise single shots.
- If you're not shooting a barrier, avoid using Fan the Hammer. Since you can't control the trajectory of the bullets, you're much better off using your primary fire to land clean headshots.
- Dodge Roll can also be used aggressively, helping you close the gap to finish someone off quickly.
- Dead Eye takes a little while to charge up, during which time most players will have reacted to the Ultimate and hid. This Ultimate is best used from high vantage points when enemy players are distracted and aren't close to cover that can block your line of sight. Don't feel like you have to use it as soon as you unlock it.
- Dead Eye can be fired instantly, which doesn't do any effective damage but will instantly reload the Peacekeeper revolver. This is a useful way to use the Ultimate in scrappy close-quarters fights.
Cassidy has few defensive capabilities and can be killed very quickly if his teammates aren't supporting him. Junkrat's traps and explosives are very effective against Cassidy, and characters with invulnerability moves like Mei, Moira, and Reaper can negate his Magnetic Grenade damage. He also struggles against Widowmaker and Ashe whenever they can target him from afar, as their weapons have better range than his does.
D.Va guide: Abilities and tips
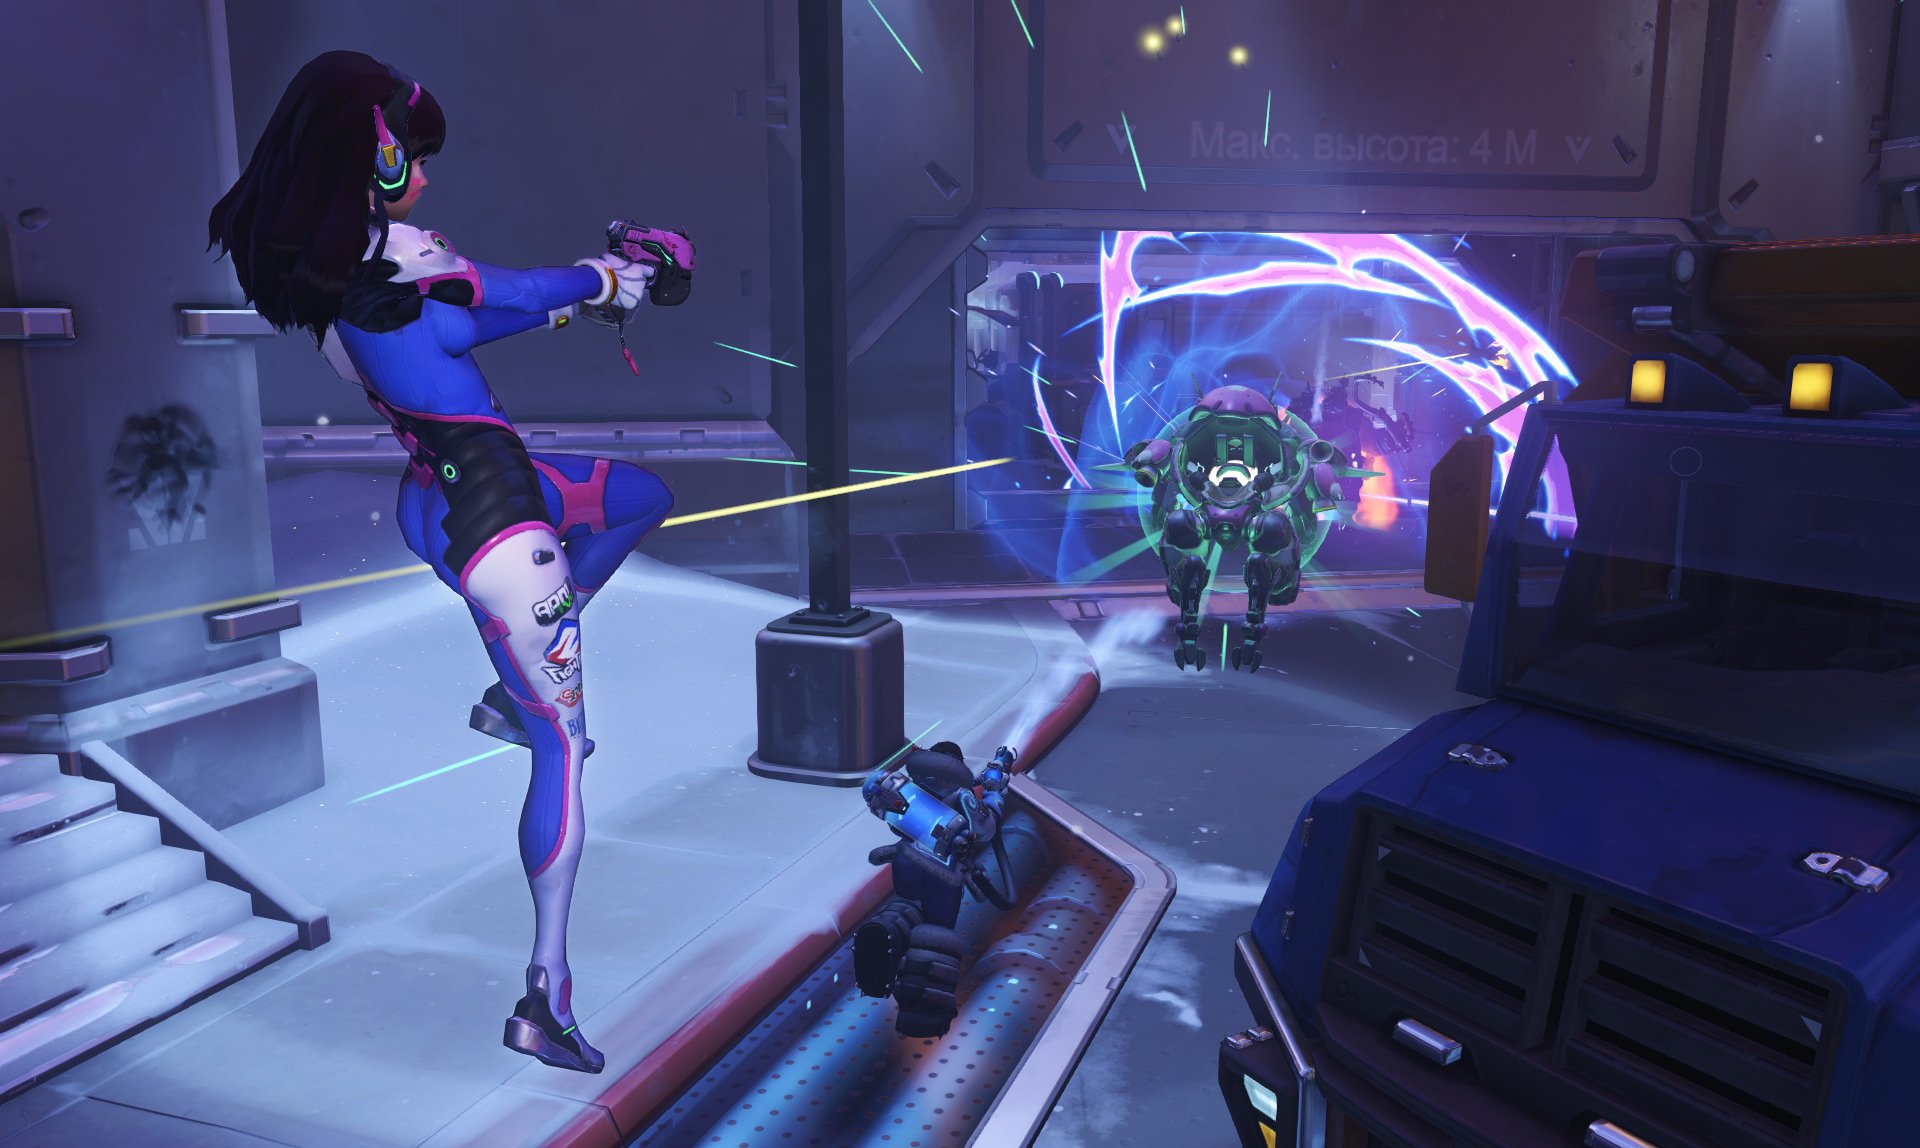
Role: Tank
D.Va is an interesting hero due to her mech. When D.Va's mech is destroyed, she pops out and can run and shoot freely. Outside of her mech, D.Va's Ultimate gauge builds up while using her pistol, and allows you to call in a new mech. When she's in her mech, her Ultimate causes it to self-destruct, dealing massive damage in a wide area. Both Ultimate gauges build up independently to ensure you don't lose out on your Self-Destruct Ultimate.
- D.Va is an aggressive tank, as her abilities and weapons are geared towards close-range fighting. Learning when to retreat and when to push forward is central to D.Va gameplay, and she can be good on both offense and defense.
- D.Va's Defense Matrix ability can be used to block almost anything, including many Ultimate skills. Use it to save your teammates from nasty abilities or intense focus fire. It cannot absorb beam-style attacks such as Zarya's Particle Cannon primary fire, though.
- D.Va's mech Fusion Cannons have infinite magazines and do not need to be reloaded, but have shotgun-like bullet spread, meaning you'll want to get up close and personal to make the best use of them. Even though their damage is relatively low, they can be great for harassing players from a medium distance as well.
- D.Va's Boosters allow her to fly for a brief time, which can be great for getting into flanking positions or retreating to a health kit. You can also use them to quickly help a teammate who's being attacked. Hitting enemies while using them also damages them, making them a fantastic option for initiating encounters.
- D.Va's Boosters also have a small knockback effect when rammed into other players. This can disorient teams and even knock players off of high ground or into environmental hazards.
- When combined with her Self-Destruct Ultimate, Boosters can be used to slingshot her mech over walls and into groups of enemies, who often won't see it coming until it's too late. Use this to get your mech bomb around enemy defensive abilities.
- While outside of her mech, D.Va's pistol does surprisingly good damage. Make sure to shoot from afar to build up your Ultimate gauge as fast as possible. Strafe and fire at enemy's head level for critical damage.
- If you find yourself in an awkward position while outside of your mech, such as behind enemy lines, it's best to jump into a nearby environmental hazard. This is because you won't have to waste time waiting for your Call Mech Ultimate in a place you're not likely going to escape anyway, and can instead just respawn and join your team.
D.Va is a disruptive and versatile hero, but she's not overly dangerous by herself. The hitbox for getting a headshot on her mech is fairly large and central to her model. Additionally, if you're fighting a D.Va, remember that avoiding the line of sight of her Self-Destruct completely negates its effect. Slip behind some map geometry or hide behind a friendly tank player's shield to avoid dying.
Doomfist guide: Abilities and tips
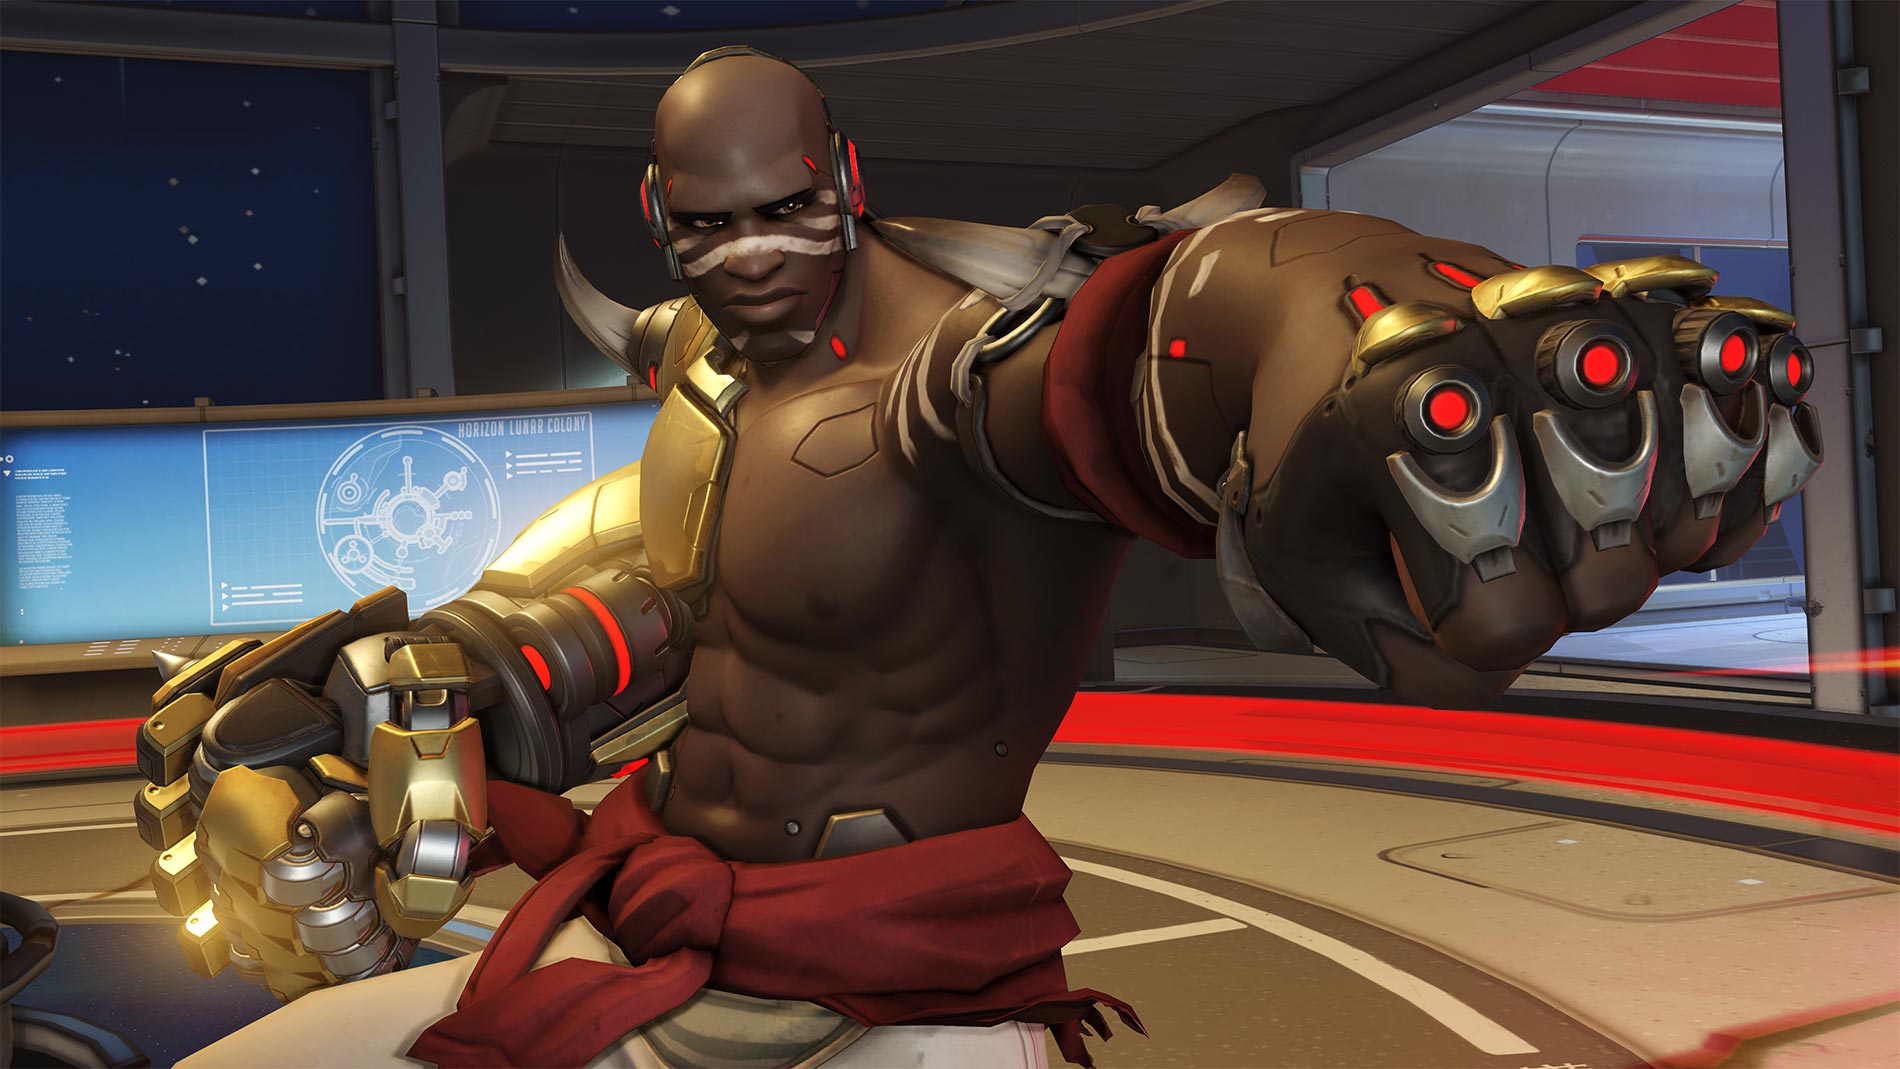
Role: Tank
Doomfist is unique in that he plays more like a fighting game character than a character from a shooter game, and though he used to be a damage hero, he was reworked into a tank character for Overwatch 2. Playing Doomfist well requires knowledge of his abilities and how to combo them together without being caught out by enemy players.
- All of Doomfist's abilities give him a small amount of shields when he damages enemies with them, meaning that you can get up close and personal with foes without worrying about dying too much.
- Doomfist's deadliest ability is his Rocket Punch, which can severely hurt many heroes if you charge it up and punch players into walls. Notably, it isn't stopped by shields, but you will trade stun with charging Reinhardts. This will knock both heroes on the ground for a few seconds.
- The Power Block ability slows you down, but gives you a massive 80% damage reduction and buffs your next Rocket Punch after you absorb 100 points of damage, making it go farther and hit harder.
- The Seismic Slam ability allows you to launch yourself through the air in a chosen direction, and creates a shockwave that damages and slows targets near you when you land. It can also be cancelled mid-air if needed.
- Doomfist's Hand Cannon primary fire is a great tool for finishing off damaged enemies or softening them up for a Rocket Punch follow-up, but it only has four shots before the ammo needs to recharge. Fire wisely.
- The Meteor Strike Ultimate inflicts heavy damage and slowdown to enemies in its radius, meaning that it's a great tool for enabling your teammates to go on the offensive or counter-attack a group of pushing players.
While it may seem counterintuitive and suicidal to leap into the enemy team's position, it's important to understand that that is what Doomfist is designed to do. Even if you can't get kills with his abilities before escaping, they'll still knock players out of their positions and make it easier for your team to follow up. The best way to counter a Doomfist is to hit him with crowd-control options such as Roadhog's Chain Hook or Mei's ice weaponry. These things slow him down and make him easier to focus fire.
Echo guide: Abilities and tips

Role: Damage
Echo is a mobile damage hero, effective at both close and medium ranges. Her abilities enable her to quickly attack from different angles, but since she can be quickly killed by burst damage if you aren't careful, mastering her movement is key.
- Echo's Flight and Glide abilities allow her to fly through the air and attack from aerial positions. This makes her harder to hit for most projectile heroes, but flying predictably will leave you exposed to hitscan heroes like Soldier: 76, Ashe, Cassidy, and Widowmaker.
- The Tri-Shot primary weapon is a powerful tool for softening enemies up for your other abilities, but it often won't be enough to do the heavy lifting all on its own.
- The Sticky Bombs ability can be used to fire a stream of sticky explosives at the enemy team, which explode after a second for strong damage. They're best used when enemies are already weakened and clumped together.
- Echo's Focusing Beam does disgusting damage against targets who are at half HP or below. It has pretty solid range, too, so use it on hurt foes trying to run away.
- The Duplicate Ultimate can be used to become one of the heroes being used by the other team for a short while, and you can use all of that hero's abilities, including Ultimates. Your Ultimate charge rate is hugely boosted during Duplicate as well, so try and copy a hero that has a strong Ultimate. Reinhardt, Zarya, Sojourn, and Genji are all good choices.
Echo is excellent for scrappy chaotic fights, but she can often struggle in situations where she's being targeted by skilled snipers and other hitscan heroes. She's a great counter option if the other team has a lot of shields and chokepoint-focused heroes, as she can avoid or get around many of their abilities with her flight.
Genji guide: Abilities and tips
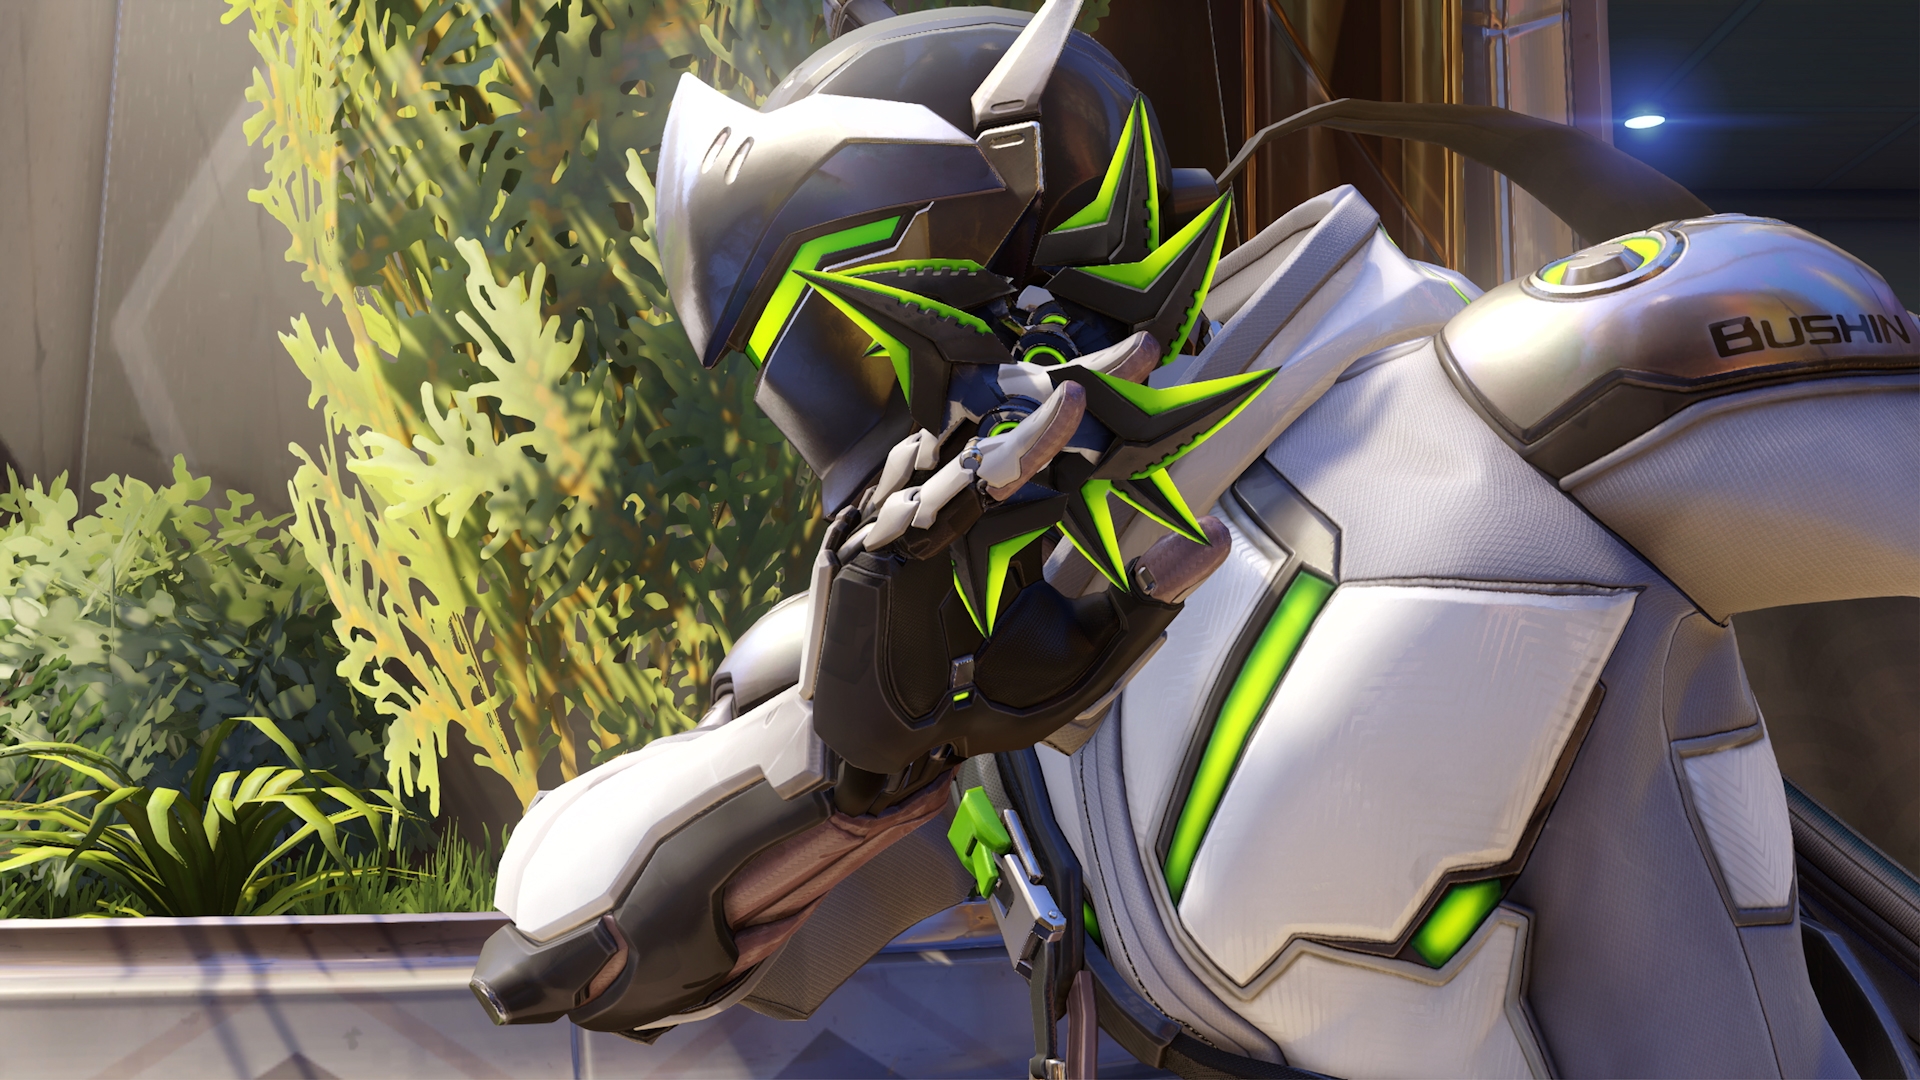
Role: Damage
Genji is arguably the most difficult hero to master, but he's also well-suited to Overwatch 2's fast-paced 5v5 format (though right now, he's pretty weak). He's very mobile, complete with a double jump, a dash attack that can be used for aerial mobility or escape, and a passive ability that can be used to climb walls. He also has a powerful ability called Deflect, which will reflect most forms of incoming damage back onto opponents. However, the fact that you have to be aggressive with him means that he can die easily if you're not experienced with his movement.
- Genji is best utilized in one-on-one situations against other damage characters where his superior mobility and versatile abilities can be used to overpower a duel opponent.
- Genji's Shuriken attacks are very accurate and can take out players even at long ranges quite quickly.
- Genji's alternate Shuriken attack sends out three quickly in an arc, dealing more damage at close range in a shotgun-like way.
- Use Genji's Wall Climbing passive to get the drop on enemy players. His Swift Strike can be used to dodge as well as attack, too.
- Use Genji's Dragonblade Ultimate when the enemy team is distracted, as most squads will turn on Genji immediately to prevent him from maximizing his damage. Also, paired with Ana's Nano Boost, Dragonblade is arguably the best damage Ultimate in the game.
- Activating Dragonblade resets Genji's Swift Strike. Therefore, we recommend Swift Striking into the air to get a clear view of a good target to go after first, then casting Dragonblade, then using Swift Strike again to dash towards said target.
- Every kill Genji gets will reset his Swift Strike, including Dragonblade kills. Use this to quickly zip from one Dragonblade target to the next.
- Use Deflect to rapidly destroy Bastions, turrets, snipers and other enemies who utilize projectile attacks. Deflect even works on projectile-based Ultimate abilities. Note, however, that it doesn't work on beam-based attacks like Winston, Symmetra, or Zarya's primary fire.
In the right hands, Genji is a very dangerous hero, but he requires a lot of patience and practice to get good with. Genji also doesn't do tremendously well against tanky heroes like Reinhardt and Roadhog, and he's quite susceptible to explosions, too. Tanks should do their best to shut Genji down, as they're the only class of hero that can stand up to the damage of Dragonblade. Reinhardt in particular is great for this with his high health and powerful melee attacks, though he's not the most mobile option. Therefore, stick relatively close to your tank during Dragonblade attacks.
Hanzo guide: Abilities and tips
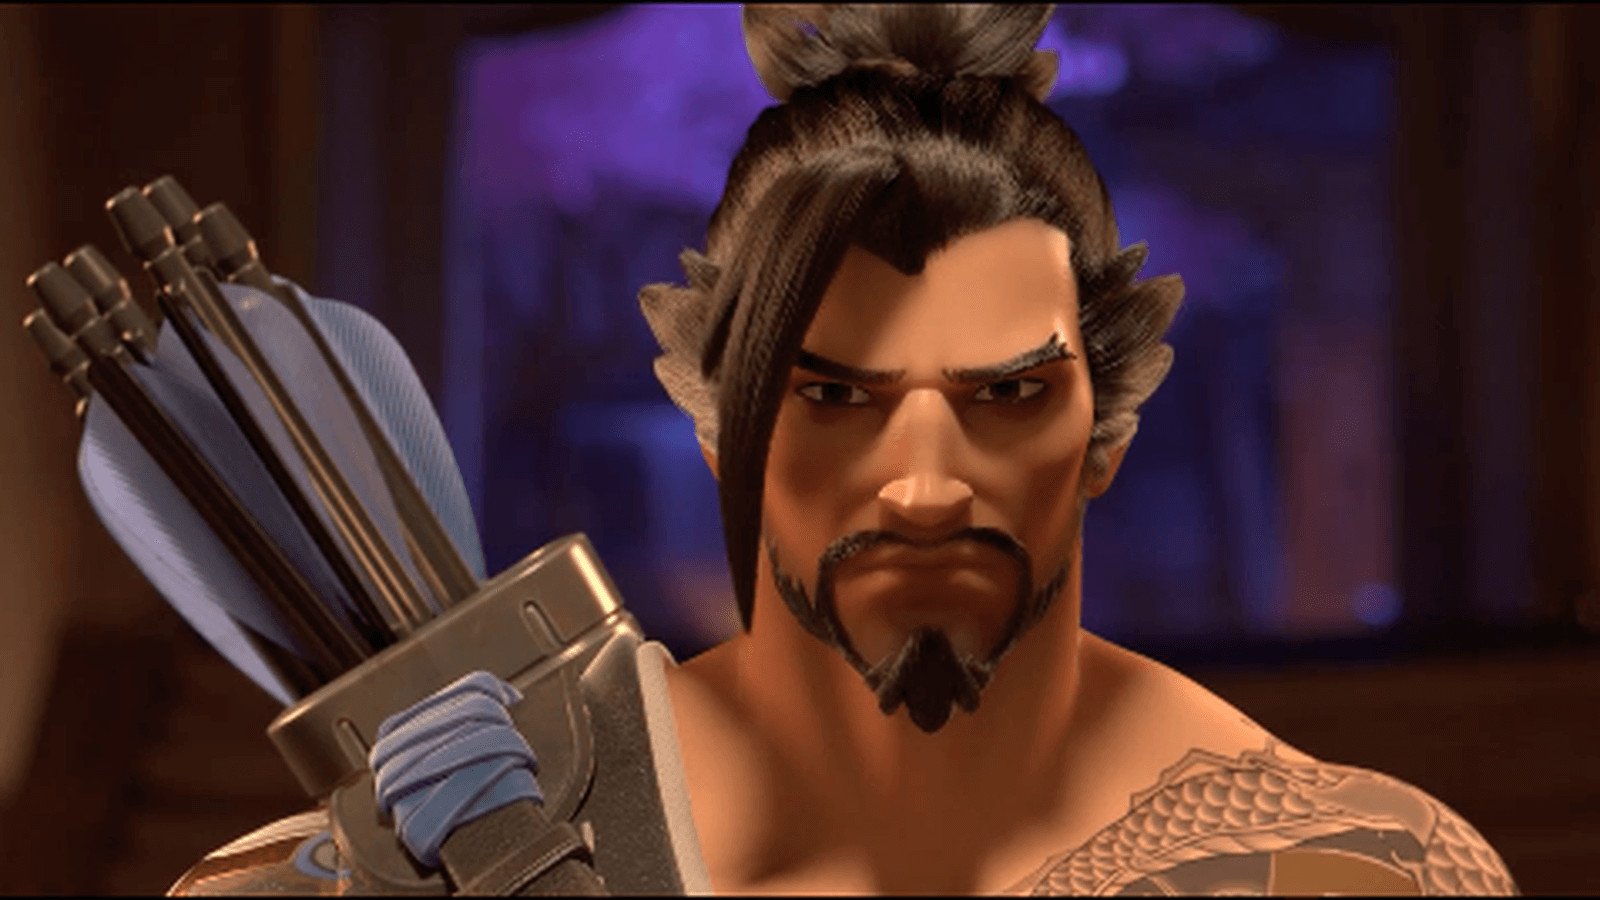
Role: Damage
Hanzo is the brother of Genji and is a sniper with some good utility. His arrows suffer from gravity drop but have generous hitboxes, meaning that he's a little more forgiving than a hero like Widowmaker. He also can create sonar fields at specific locations that allow allies to see through walls and can rapidly fire multiple arrows in quick succession, too. His Ultimate, Dragonstrike, can be utilized in various ways and has great potential as both an area denial and raw damage dealing tool.
- Like Genji, Hanzo can climb walls, allowing him to gain access to areas many other heroes can't reach easily.
- His arrows deal more damage depending on how long you spend drawing his bow, so hold the attack button down to get the maximum effect.
- Hanzo's rate-of-fire is fairly slow, but firing quick shots at lower damage can help you win a duel in a pinch, especially if your opponent is expecting fully-charged arrows.
- Storm Arrow can be used to deal large amounts of damage to enemies in rapid succession. Try to fire it down chokepoints and into grouped up opponents.
- You can use the Lunge ability to give yourself an extra burst of movement in a direction or to quickly dodge incoming attacks. It's a strong tool in duels, as you'll be able to throw off your opponent's aim.
- Sonic Arrow is especially effective if you stick it into an enemy tank, as they're likely to group up with their team and reveal the entire enemy team's location to you.
- His Dragonstrike Ultimate fires an arrow that produces a gigantic dragon that travels through walls across the entire map, dealing huge damage over time to anyone touching it. Due to its slow movement, it's often easy to avoid, but firing it at chokepoints, objectives, or spawn areas often results in kills. At the very least, you'll disrupt the enemy team's positioning. You can also try to pair it with Ultimates like Earthshatter or Graviton Surge for maximum killing potential.
Countering Hanzo is fairly simple. Like most snipers, he's weak up close, although it should be noted that he's not as weak as Widowmaker or Ashe since he can fire off a fully-charged arrow pretty quickly. Nevertheless, getting close to him makes it difficult for him to be effective.
Junkrat guide: Abilities and tips
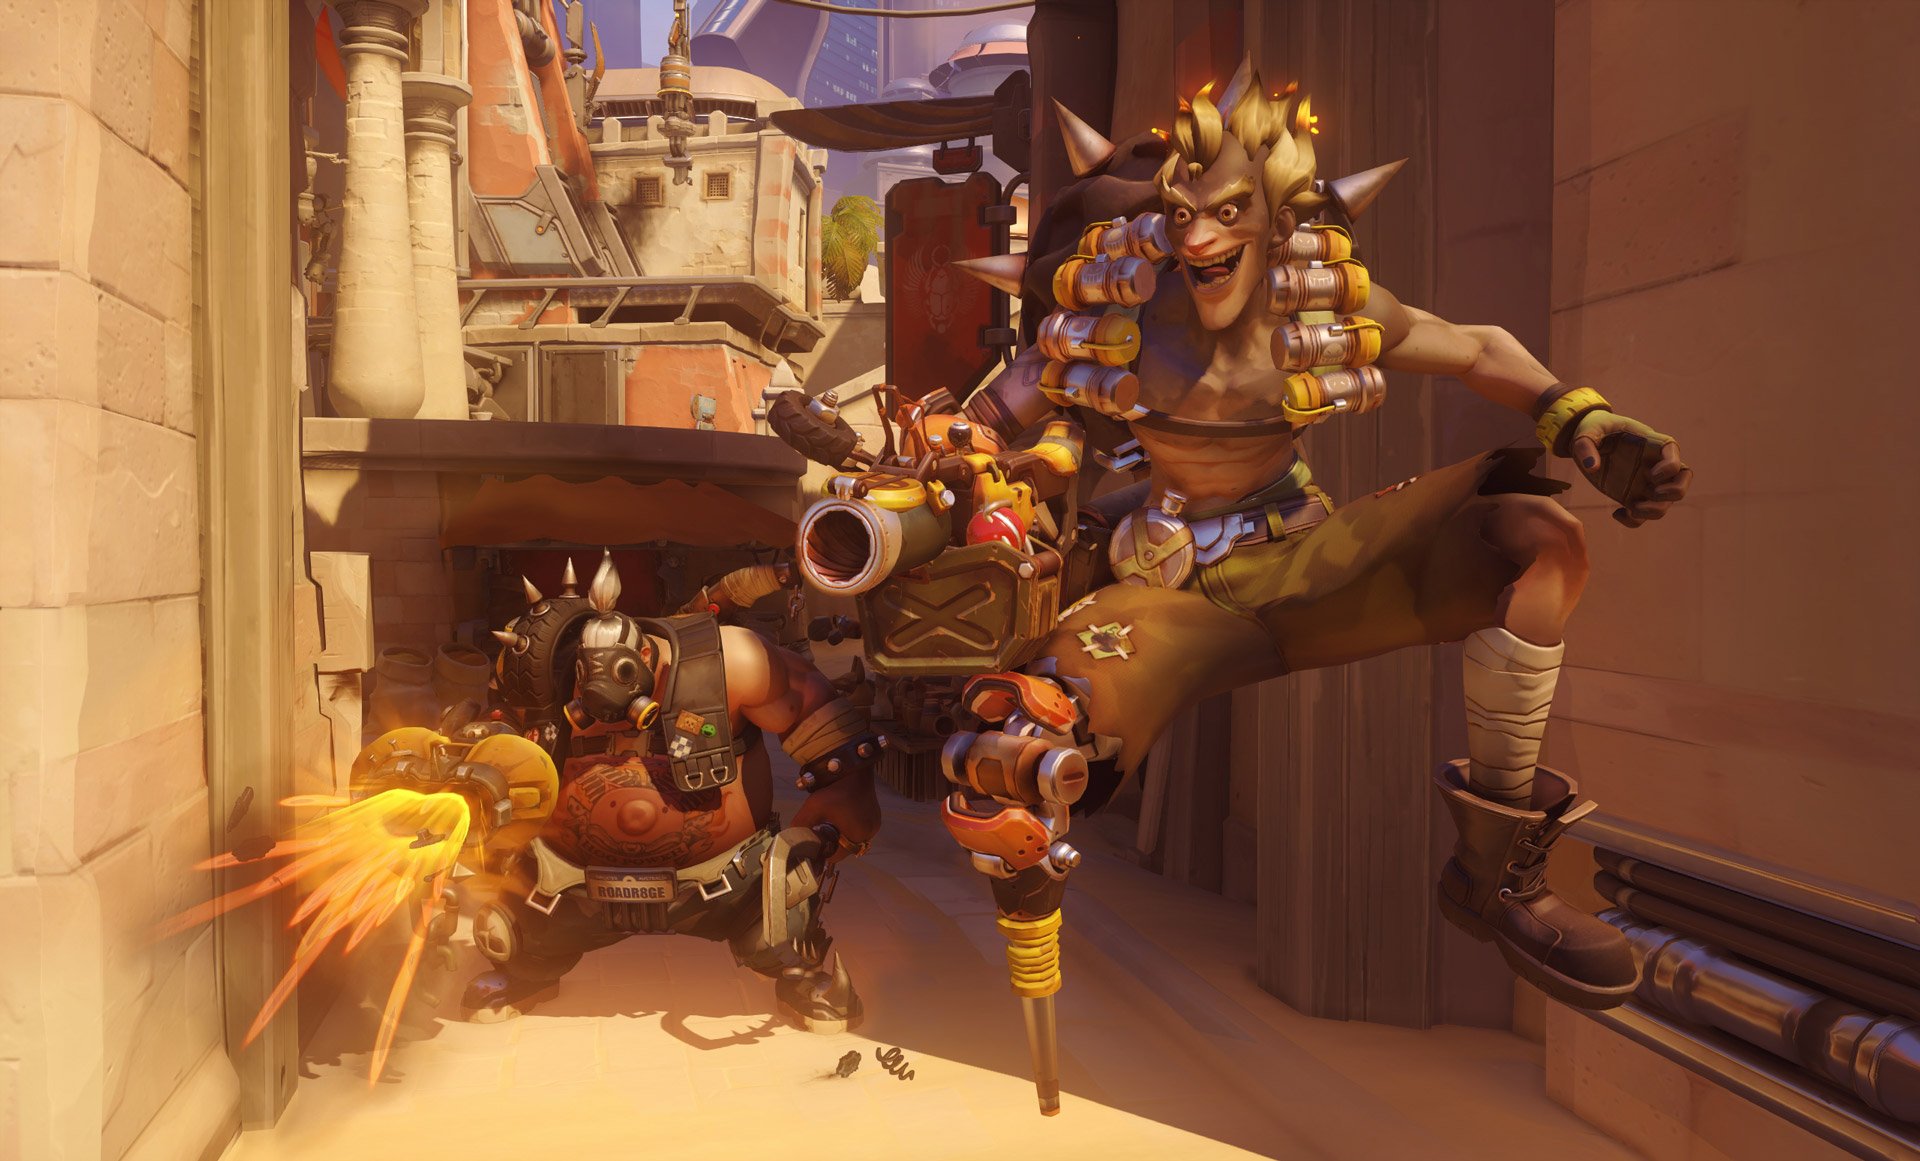
Role: Damage
Junkrat is an explosives junkie who can be surprisingly effective in the right hands. His main Frag Launcher fires bouncing explosives that deal impressive damage. He also has a trap that will keep players locked in place when triggered, and can produce remotely triggered stationary mines. His RIP-Tire Ultimate spawns an explosive tire that tears across the map and deals a huge amount of damage in a wide area of effect when detonated.
- Junkrat's high damage output makes him an effective option against tanky compositions with barriers or other defensive abilities. Though he doesn't do as much damage as a Bastion can, the benefit of choosing Junkrat is that he's more flexible and harder to exploit.
- Junkrat's Steel Trap is best deployed behind walls, around doorways, and near objectives where unsuspecting players will walk straight into them. You can also use the trap aggressively at close range, following it up with a quick blast from your Frag Launcher.
- The same applies to Junkrat's Concussion Mines, which also causes knockback. Even if the mine doesn't kill, it will knock unsuspecting players off the map or up into the air for easy follow up.
- Concussion Mines can also be used to help Junkrat leap to high vantage points, utilizing the explosion as a jump boost.
- RIP-Tire can scale walls and jump, making it harder for enemies to destroy or see coming. Note that it will also stay fairly silent if you keep it still, making it an effective ambush tool against players passing by the hiding spot you've chosen for it.
- RIP-Tire won't deal enough damage to one-shot most tanks, but it will easily blast damage and support characters to bits. Aim to detonate it near these heroes, ideally while they're not close to their tank and their defensive abilities.
- You're completely defenseless while using RIP-Tire, so make sure you cast the Ultimate from a safe location in cover.
Junkrat is fairly squishy and can be killed quickly by most characters, so if you're having a hard time dealing with him, try to find ways to separate him from his tanks and supports. Roadhog can use his grappling hook to pull RIP-Tire out of harm's way (likely sacrificing himself in the process), but otherwise, a few well-placed shots nullify a RIP-Tire entirely. He's also weak to long-range fire and attacks from the air, as his grenades are tough to aim against these targets.
Junker Queen guide: Abilities and tips
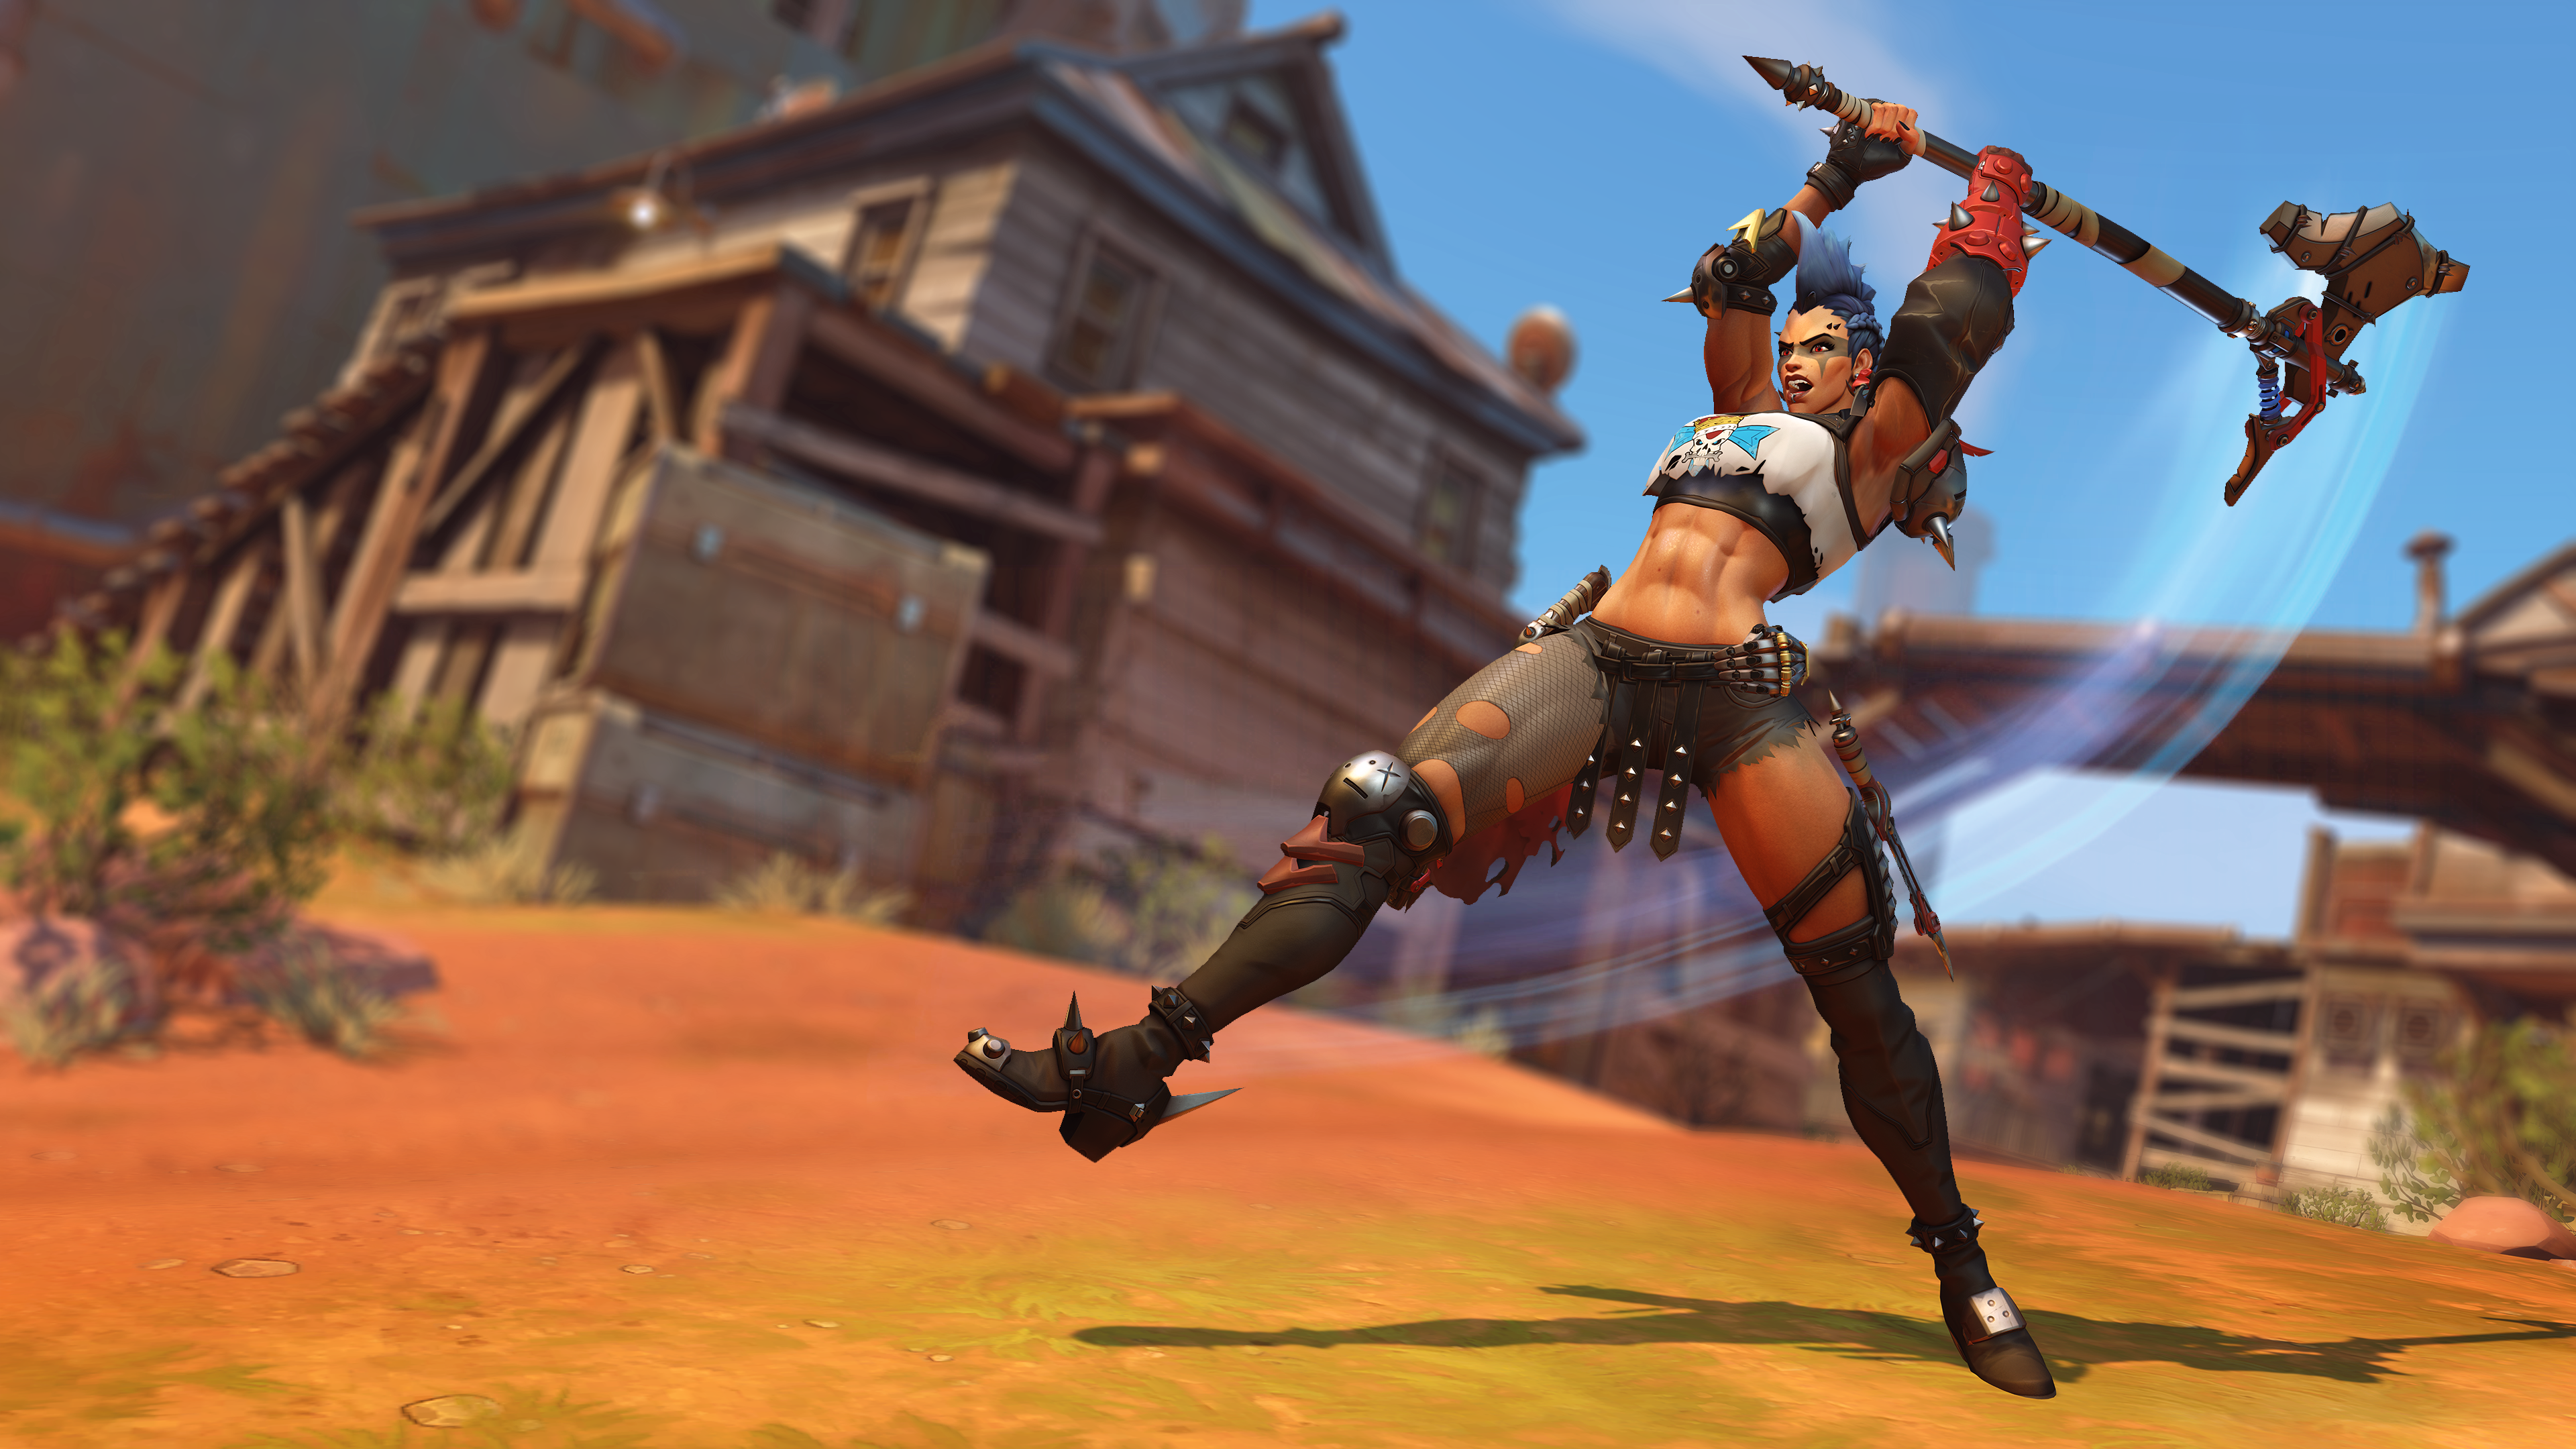
Role: Tank
Junker Queen is one of the three new heroes added with the launch of Overwatch 2, and she's a close-range brawler with lots of damage-over-time capabilities and the ability to both buff her allies and debuff her enemies. Her Rampage Ultimate can be a huge team fight swinger, and the rest of her kit is effective in the right hands as well.
- Junker Queen's Scattergun is an effective tool for pressuring opponents at close-to-mid range, but is basically useless from afar. Try and get close to foes to make the most of it.
- The Commanding Shout ability buffs Junker Queen and her allies with a temporary health bonus and faster movement speed, making it ideal for breaking through chokepoints or counter-attacking an offensive push. Since it's an aggressive ability, don't use it defensively.
- Carnage allows you to swing a massive axe at opponents that does a moderate amount of burst damage and initiates a bleed damage-over-time effect. It's a good ability for initiating close-range fights, but it's also a good tool for finishing wounded enemies off.
- The Jagged Blade ability lets you throw Junker Queen's knife at foes and then call it back. Hitting them inflicts bleed, and if you manage to stick someone with the knife, it will pull them towards you.
- Junker Queen's quick melee attacks also inflict bleed. An effective way to do lots of damage quickly is to stick an opponent with Jagged Blade, pull them towards you, hit them with a Scattergun shot, and then quick melee them.
- The Rampage Ultimate sends Junker Queen flying forward in a tornado of sharpened metal, making all opponents damaged bleed and inflicting an anti-heal debuff similar to Ana's Biotic Grenade. You'll be charging right into the enemy team when using it, so don't commit to a Rampage unless you've got a good amount of health.
- The Adrenaline Rush passive allows you to heal off of the damage you do with bleeding. Therefore, you should always be looking for ways to proc bleed on enemies, as it will improve your survivability significantly.
Junker Queen struggles against long-range threats, so Widowmaker, Ashe, and even Hanzo are all effective against her. Pharah and Echo are good choices as well since Junker Queen can't do much about airborne enemies. Reinhardt can go toe-to-toe with Junker Queen's brawling and emerge victorious due to his large health pool and powerful Rocket Hammer, while Winston can avoid her without much issue and go after her teammates instead.
Kiriko guide: Abilities and tips

Role: Support
Kiriko is another of Overwatch 2's new launch heroes, and has quickly become an incredibly powerful option for support players that like to fight and heal at the same time. Like Brigitte, she's a battle support, and she's capable of effective single-target healing, high critical hit damage, clutch saves, and strongly empowering her teammates. She's arguably one of the most versatile characters ever released, and she's expected to be at the top of the meta for quite awhile because of this.
- Kiriko can wall climb like Genji and Hanzo, which is useful if you want to take high ground.
- Kiriko's Healing Ofuda track to teammates but have a bit of a slow travel time, so begin sending them towards teammates right before you expect that they'll take damage. This will allow you to start healing them right away.
- The Kunai secondary fire ability deals 300% damage on critical hits, so try and aim for the head (or whatever crit spot your target has).
- Kiriko's Protection Suzu can cleanse debuffs and makes allies invincible for a very brief moment. Use it to counter enemy Ana Biotic Grenades and Sleep Darts, or to protect your team from bomb-style Ultimates like Tracer's Pulse Bomb, D.Va's Self-Destruct, and Junkrat's RIP-Tire.
- Swift Step is one of the most powerful escape abilities in Overwatch, as it allows you to teleport to your teammates through any obstacle, including walls. Use it when you need to retreat.
- Alternatively, you can also use Swift Step to teleport into an ongoing fight, which is useful for contesting an objective with your team in Overtime scenarios. You'll be without an escape tool for a bit, though.
- The Kitsune Rush Ultimate creates a path on the ground that buffs you and your team with increased attack, reload, movement, and ability cooldown speed. It's phenomenal for initiating assaults on objectives, making it particularly useful while on the attacking side.
- Kitsune Rush is also an excellent tool for getting your team through well-defended chokepoints. The movement speed buff allows you and your allies to spend less time clumped up in the choke, and your increased firing speed and ability cooldowns will help you overpower defenders blocking your path.
Kiriko doesn't have any hard counters and is generally able to hold her own against most characters. The best way to take her down is to pounce on her after she uses her Swift Step with mobile heroes like Winston and Genji. Sombra is also an effective hero to play against Kiriko since she can briefly disable her abilities, preventing her from using Swift Step or Protection Suzu.
Lifeweaver guide: Abilities and tips
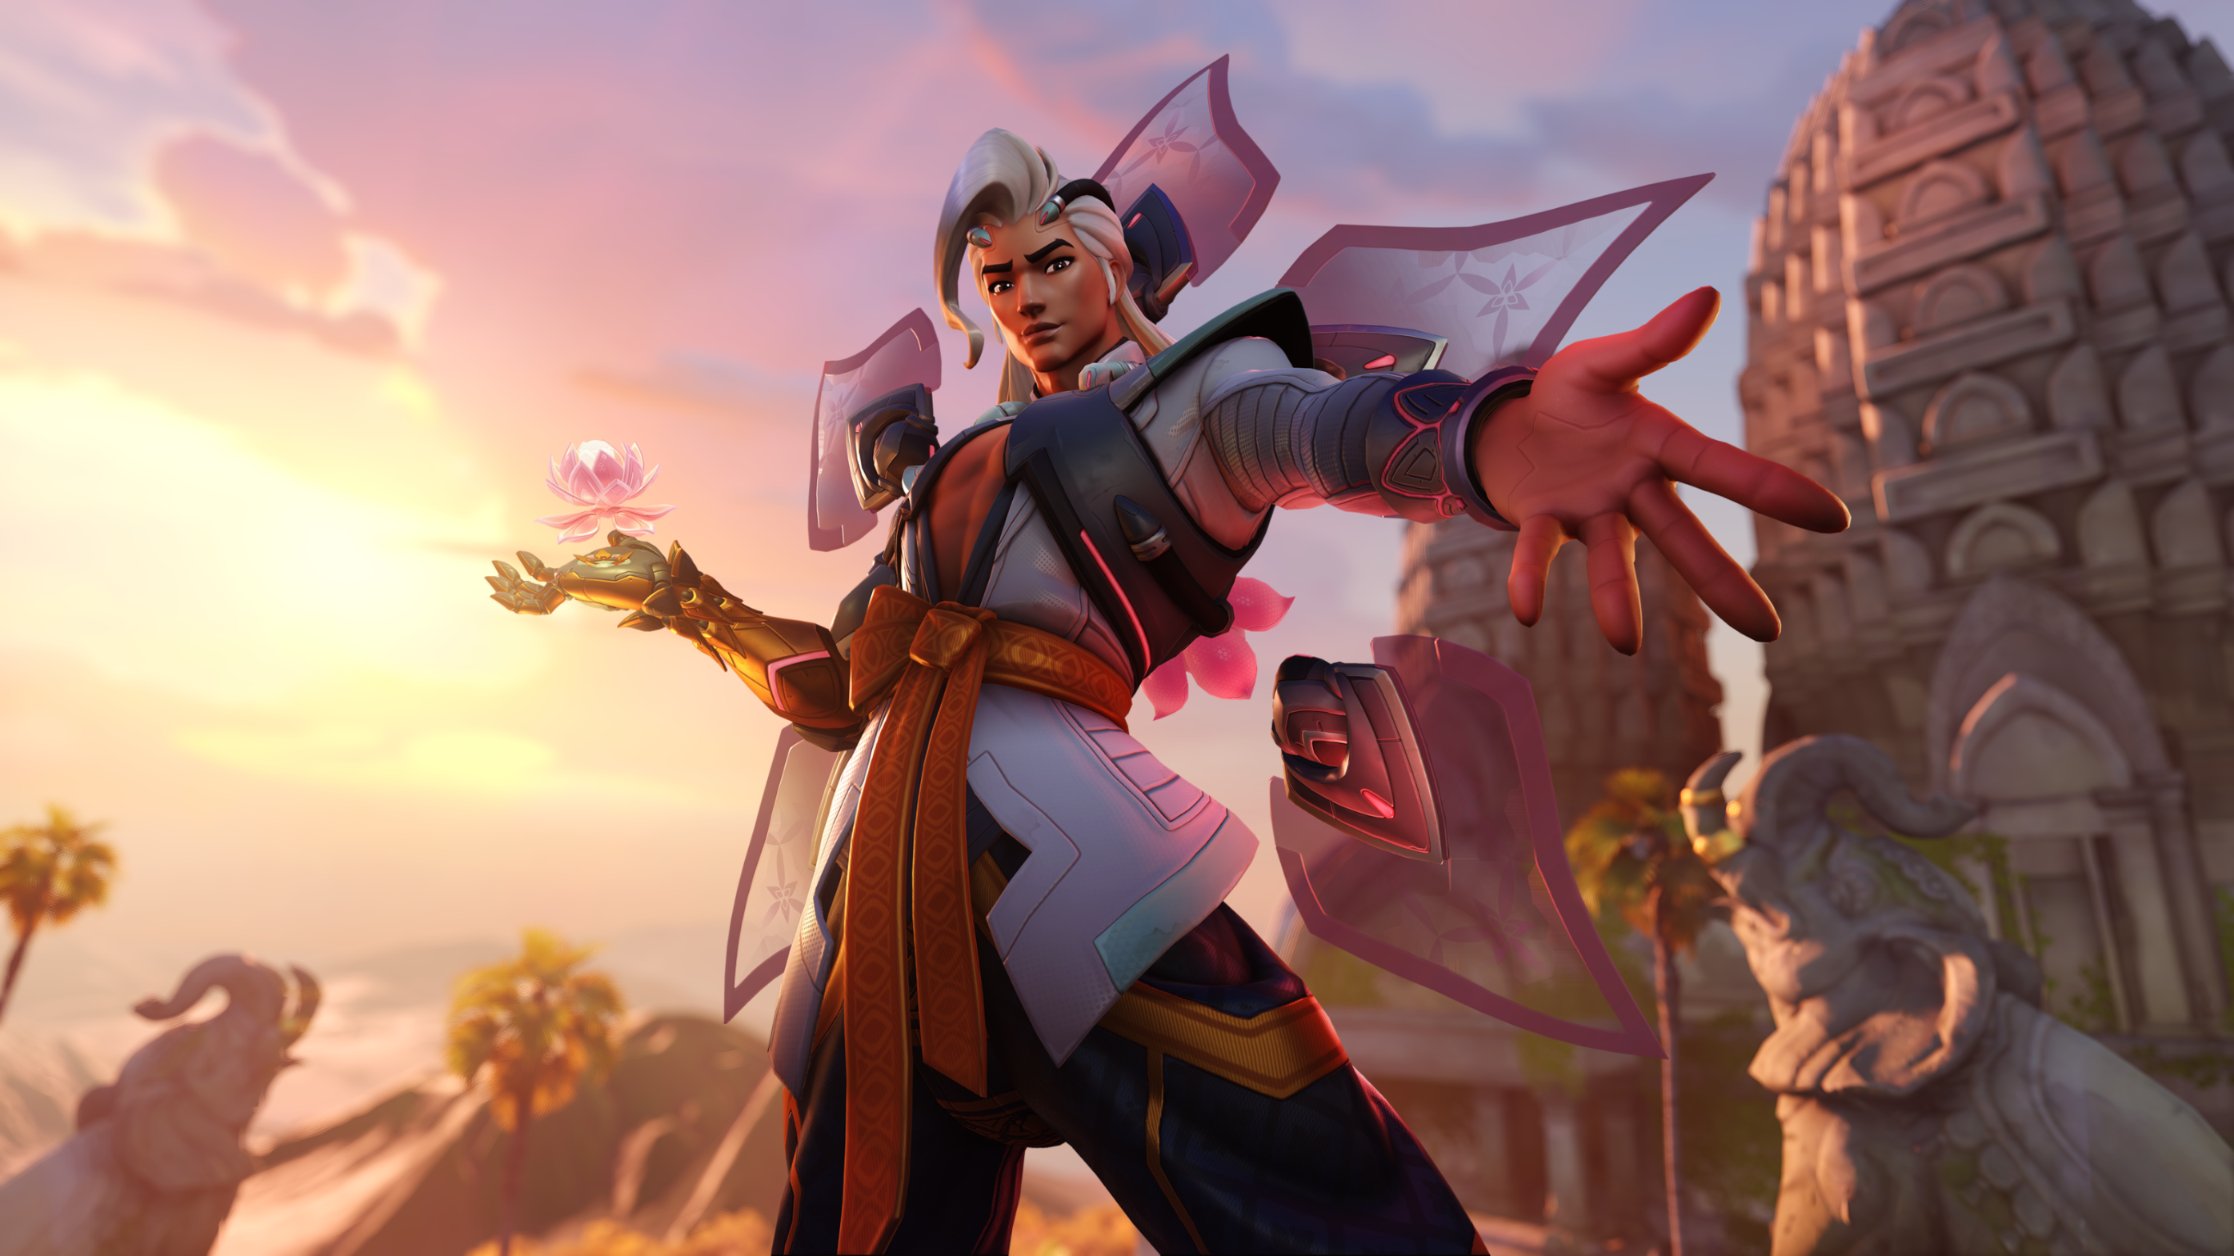
- Role: Support
Lifeweaver is Overwatch 2's newest hero, and is scheduled to become available when Overwatch 2 Season 4 launches on April 11. Similar to Ana, he can both enhance teammates and disrupt enemies with his abilities, although he accomplishes this in very different ways.
We have a complete Overwatch 2 Lifeweaver hero guide that goes over all of his abilities in-depth, so we'll keep things short here. His main Healing Blossom ability allows him to heal allies with bursts of charged energy, while his alternate primary fire Thorn Volley allows him to defend himself and contribute decent damage to engagements. His secondary fire, Petal Platform, throws down a platform that will automatically lift into the air when someone steps on it (ally or enemy). Rejuvenating Dash is a dodge move that lightly heals Lifeweaver when he uses it, and Life Grip allows Lifeweaver to save teammates by protecting them with a shield and rapidly pulling them towards him. There's also his Parting Gift passive, which creates a health pickup when he dies that both allies and enemies can pick up. Finally, his Tree of Life Ultimate will periodically heal nearby allies wherever he creates it, and can also be used to block incoming abilities, damage, and players.
While Lifeweaver isn't in our hands yet, we do have some tips to share based on what we were able to learn from the marketing Blizzard has done for the hero.
- Healing Blossom is significantly more effective when you charge it, and since doing so doesn't use more of your ammo, there's no reason not to do this.
- You can use Rejuvenating Dash while charging Healing Blossom casts, so make sure you keep charging the ability whenever you perform the dodge.
- If you jump at the end of Petal Platform's ascent, you'll get a boosted jump with more height and distance.
- You can use Petal Platform to nullify certain enemy abilities like Orisa's Terra Surge Ultimate by raising them into the air.
- Petal Platform can also be used to give your allies high ground or help them reach it.
- Life Grip can save teammates from environmental deaths, so be sure to use it this way.
- You can also use Life Grip to pull allies into groups of enemies, which may be beneficial if said ally is a character like Reaper or Pharah that has powerful and/or explosive Ultimate abilities.
- In addition to healing allies, Tree of Life also blocks damage, abilities, and players. Therefore, you can use it as a shield against attacks or as a barricade that stops enemy players from reaching an objective.
In terms of counters, the developers have said that they expect that Sombra will be effective against him since she can hack his Petal Platform and EMP his Tree of Life to destroy them. Heroes with lots of vertical mobility will also be able to keep up with Lifeweaver and his team when they use his Petal Platform, reducing its value.
Lucio guide: Abilities and tips
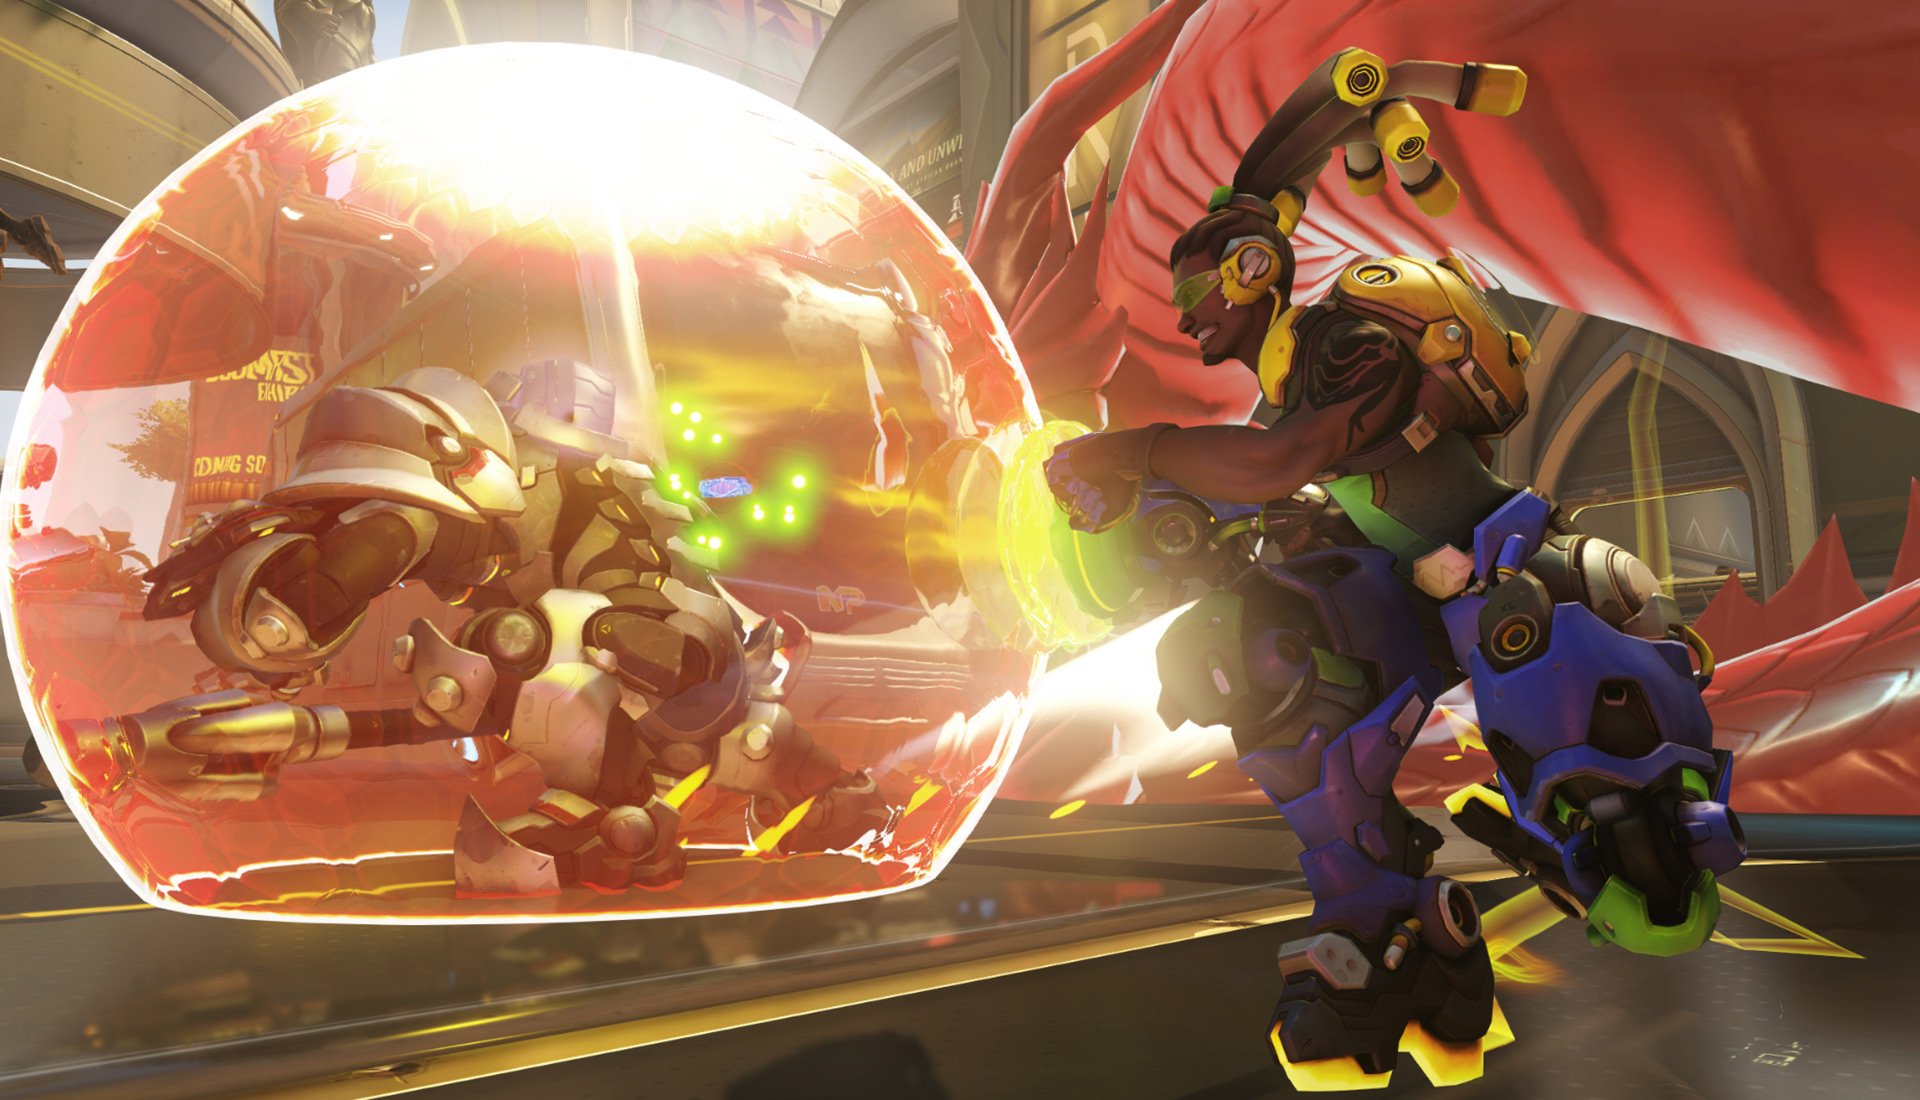
Role: Support
Lucio is probably the most approachable character of the lot, as he has passively regenerating health that also heals everyone around him. He can also switch from healing to a speed boost, which makes him and everyone around him go faster. Essentially, he's a futuristic bard. Both of his songs can be boosted to improve their effectiveness temporarily, which is great for mitigating damage or rushing to take a position.
- Lucio moves very quickly, and his passive healing can make him particularly hardy, especially when stacked with the passive healing from standing near the payload on Escort gametypes. Don't be afraid to get into the middle of battle.
- His Sound Barrier Ultimate grants a huge Overhealth boost to all nearby players, which is great for mitigating an enemy team's Ultimate or giving your allies a boost during an offensive push. It decays rapidly, though, so you'll have to time it carefully.
- Sound Barrier is based on line-of-sight, so physical walls and enemy tank barriers can prevent the Ultimate from benefitting your teammates. Make sure you're with your team when you cast it.
- Amp It Up is generally more effective when used with speed boost rather than healing, as the huge movement speed buff it provides can enable teams to go on offense extremely quickly. Only use it with healing if your team is already in the thick of the fight on the objective.
- Lucio's alternate fire causes a knockback "boop" effect, which can be very disruptive. You can use it to separate enemy players from their allies, and it can also be used to push enemy players into hazards.
- Lucio can wall-ride, which helps him traverse certain areas inaccessible to many other characters. Wall-riding also builds up extra speed, making Lucio even harder to hit and enabling him to reach and contest objectives better than other supports can.
- Harass the enemy team with Lucio's primary fire, which travels slowly but has great accuracy and range. The damage isn't great, but it can often be the difference maker in close situations, especially if you manage to land critical hits.
- In close range, an effective combo you can perform is to boop an enemy into a corner, then fire a volley of primary fire projectiles at their crit spot, and then immediately follow up with a melee attack.
Lucio can be pretty annoying to take down, especially if his team is competently protecting him. He has no methods of escape beyond wall-riding, so focus fire him down as a team. Crowd-control abilities like Sleep Dart also make him incredibly easy to kill, and mobile characters like Winston and Genji will have no trouble keeping up with him. Notably, Reinhardt is great at keeping Lucio from touching objectives, as his Rocket Hammer's damage and knockback forces Lucio to keep his distance.
Mei guide: Abilities and tips
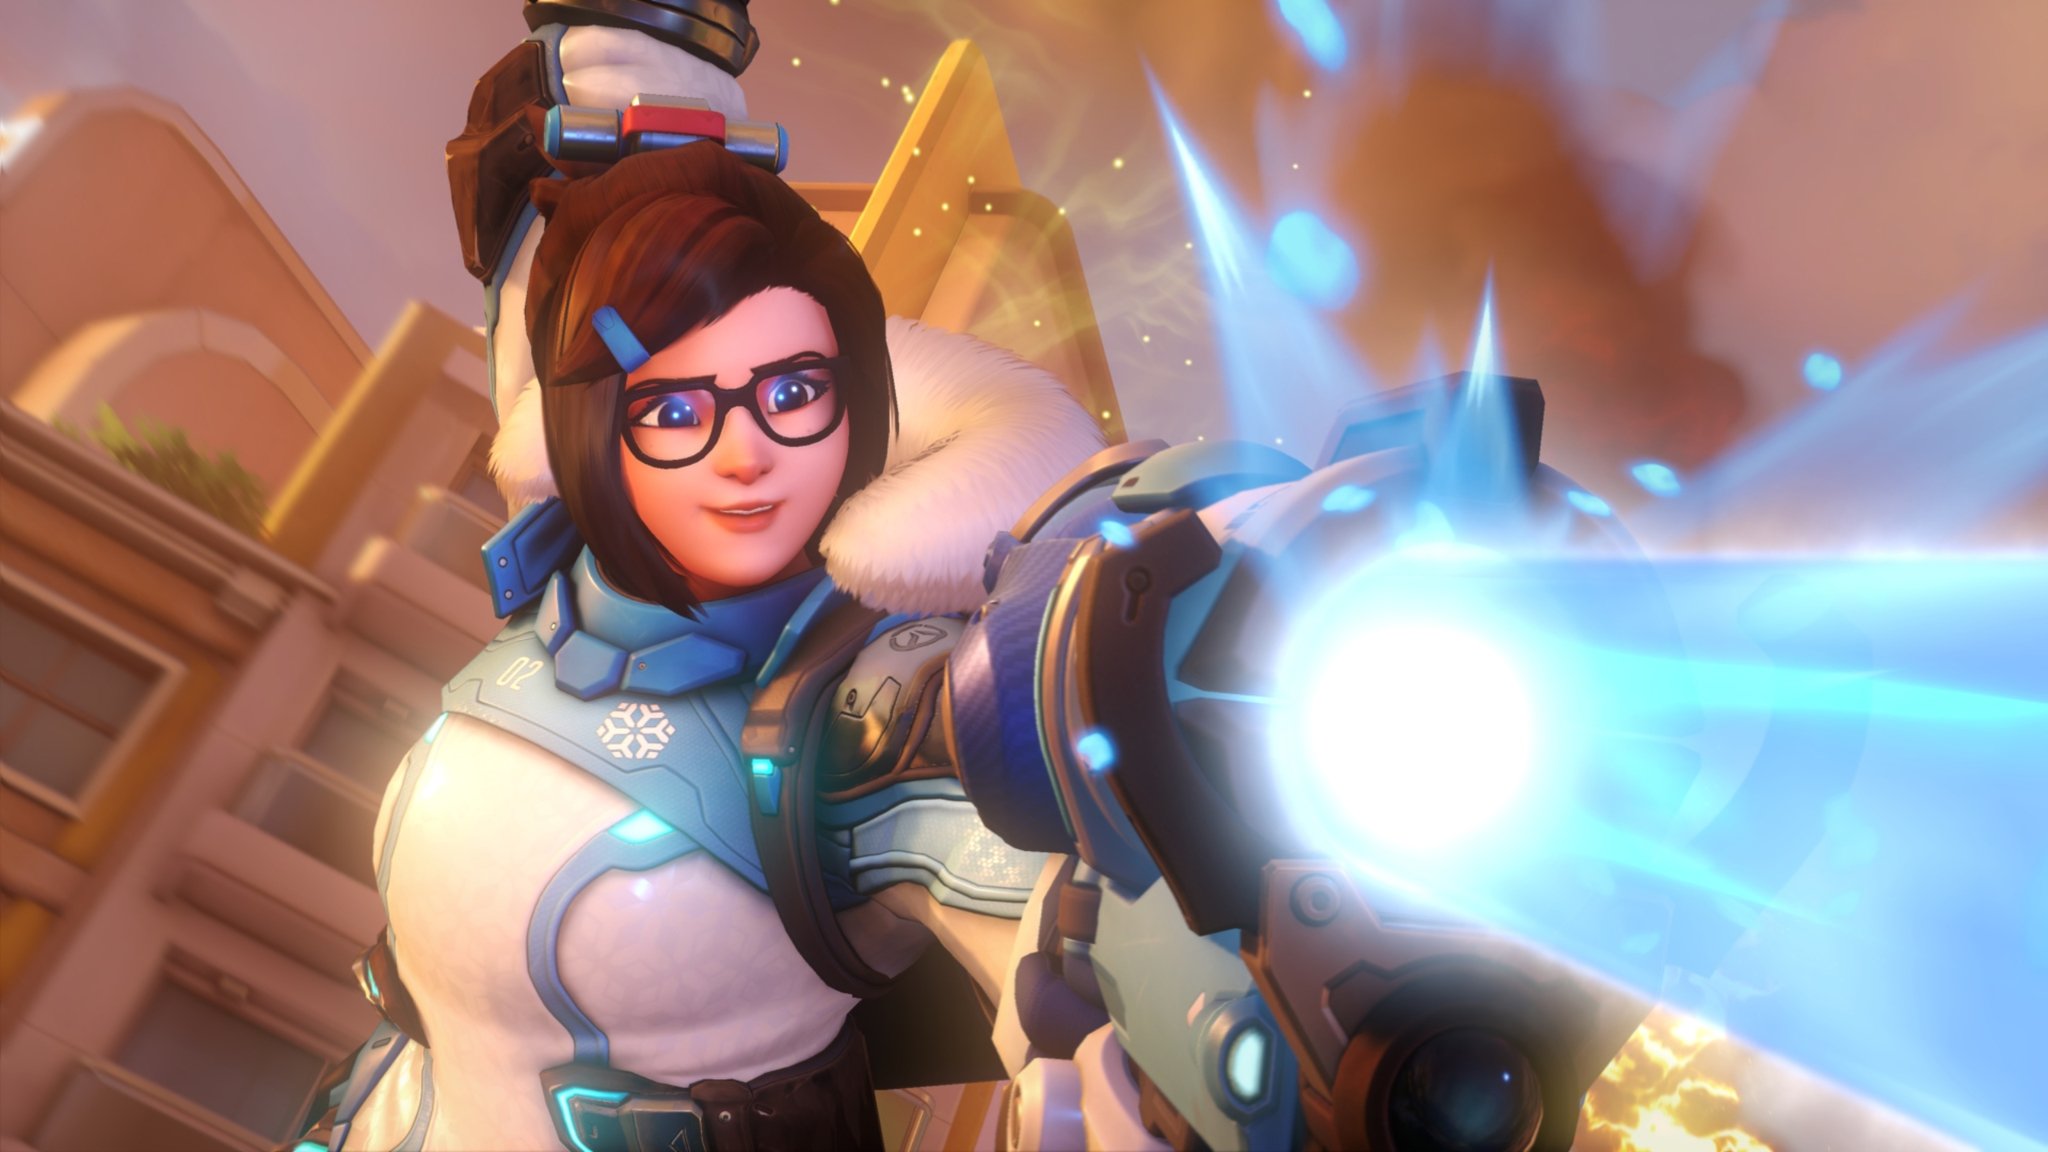
Role: Damage
Mei is a fairly versatile hero, capable of pushing offense, winning duels, and supporting her team with potent utility. Her Ultimate is one of the most powerful in the game when it comes to winning an objective, and her abilities are perfect for disrupting foes and enhancing allies. However, her range is very limited and the effectiveness of her kit is highly map dependent, making her more of a niche hero than most.
- Mei's main weapon emits a freezing ray that gradually slows down enemies and deals moderate damage over time. This slowdown effect supersedes speed boosts and makes opponents easier to hit.
- The alternate fire of Mei's weapon shoots out a large icicle that deals high damage, especially when landing headshots. Slowing enemies with the primary fire and then landing critical hits with the alternate fire is very effective.
- Mei's Ice Wall can block enemy turrets, snipers, Ultimates, doorways and choke points. It can also work as an elevator, enabling Mei and coordinated allies to gain access to areas typically available only to some of the most mobile heroes.
- Ice Wall is perfect for isolating enemy players as they attack your position, especially when the foe in question is a low-mobility hero like Reinhardt. Wait for one or two enemy heroes to push forward, then use Ice Wall to separate them from their team. By the time their friends break through your wall, your team should have taken them out.
- You can also use Ice Wall to lift teammates or enemies up by placing it underneath them. This is useful if you want to help allies get to high ground, or you want to suddenly thrust opponents into the line of sight of abilities like an allied Dead Eye or D.Va Self-Destruct.
- Mei's Ice Block makes her invincible for a few seconds while also granting healing. It can be used as a portable health kit, but it can also be used to distract and bait enemies into wasting their more powerful attacks.
- Mei's Ultimate, Blizzard, can freeze an entire team in a huge area of effect. Using this ability on groups of players stood on objectives is incredibly effective. Frozen players are completely immobilized and can't use abilities or fight back, making it incredibly easy to headshot them with icicles.
Mei's Ice Wall makes her a huge threat on maps with lots of tight chokepoints, though she struggles in more open arenas that have less geometry for her to use in conjunction with her Ice Wall to trap foes. Without her cooldowns, Mei will die very quickly, and attackers like Reaper can avoid her freezing gun completely with Wraith Form. She's also weak against heroes with aerial mobility like Echo and Pharah, as well as characters like Winston, Wrecking Ball, and Tracer that can get around her crowd control with their high mobility.
Mercy guide: Abilities and tips
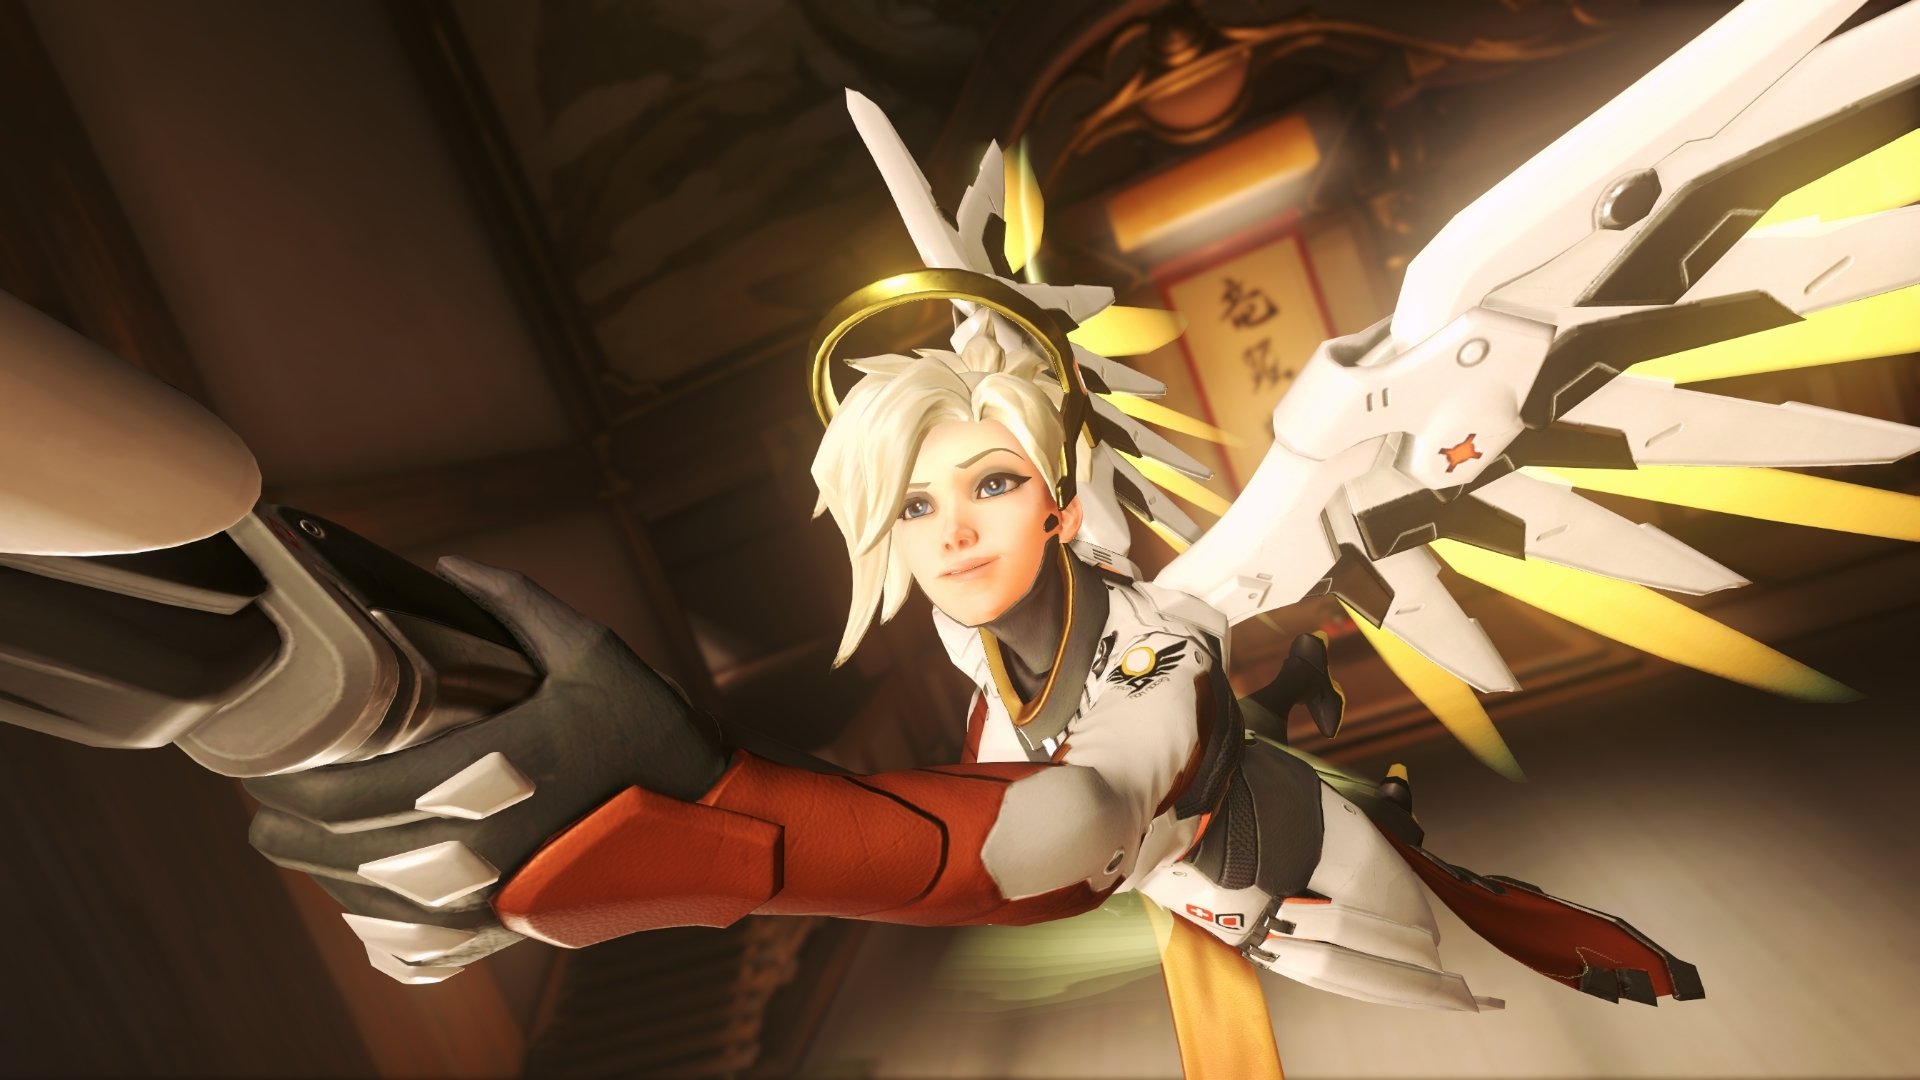
Role: Support
Mercy is a support character that can change the outcome of matches in the right hands. She has almost no offensive capabilities, designed primarily as a healer. Mercy can be frustrating to play when queuing solo, as she often needs a lot of support from other heroes. She can rapidly heal or damage boost a single player using her staff, and can also aerial dash between allies. She can also revive a player after death, and her Valkyrie Ultimate allows her to provide a team-wide healing or damage boost for several seconds.
- Mercy's Ultimate charges very quickly if you're always healing and damage boosting people. Therefore, try and make sure everyone on your team is healed up between engagements, and always damage boost your friendly damage heroes as much as you can.
- In battle, prioritize healing players that are actively fighting. Healing someone who is out of combat may result in somebody who is in combat dying. Triaging is required to succeed.
- Try to buddy up if possible. Mercy's Guardian Angel aerial dash works incredibly well with an airborne Pharah, and players will have a harder time picking you off if you're hovering in the air, which Mercy can do by holding down the jump button.
- If you're being targeted, rapidly flying between allies can help you evade damage.
- Mercy's damage boost alternate fire can wreak havoc when used in conjunction with a friendly player's Ultimate, but don't forget to keep them healed, too.
- Mercy's regenerates her health even faster than other support heroes do after she's survived a few seconds without getting hit, so if you're severely hurt, play to avoid damage until the regen kicks in.
- Use Valkyrie when your team is pushing or when you need to defend a position from heavy assault. Also, try to stay out of enemy line of sight while using Valkyrie so that you're not exposed to snipers.
Mercy is fairly easy to kill due to her low health and her need to be in the midst of battle to heal people, though her mobility does make her a little tough to aim at. Heroes with knockback abilities like Lucio can easily separate Mercy from her healing targets, and mobile heroes like Tracer, Genji, and Sombra can pounce on her in the seconds between her Guardian Angel dashes. Roadhog's Hook combo also decimates Mercy, though she can be rather difficult to land it on. She's also weak to long-range attacks from snipers.
Moira guide: Abilities and tips
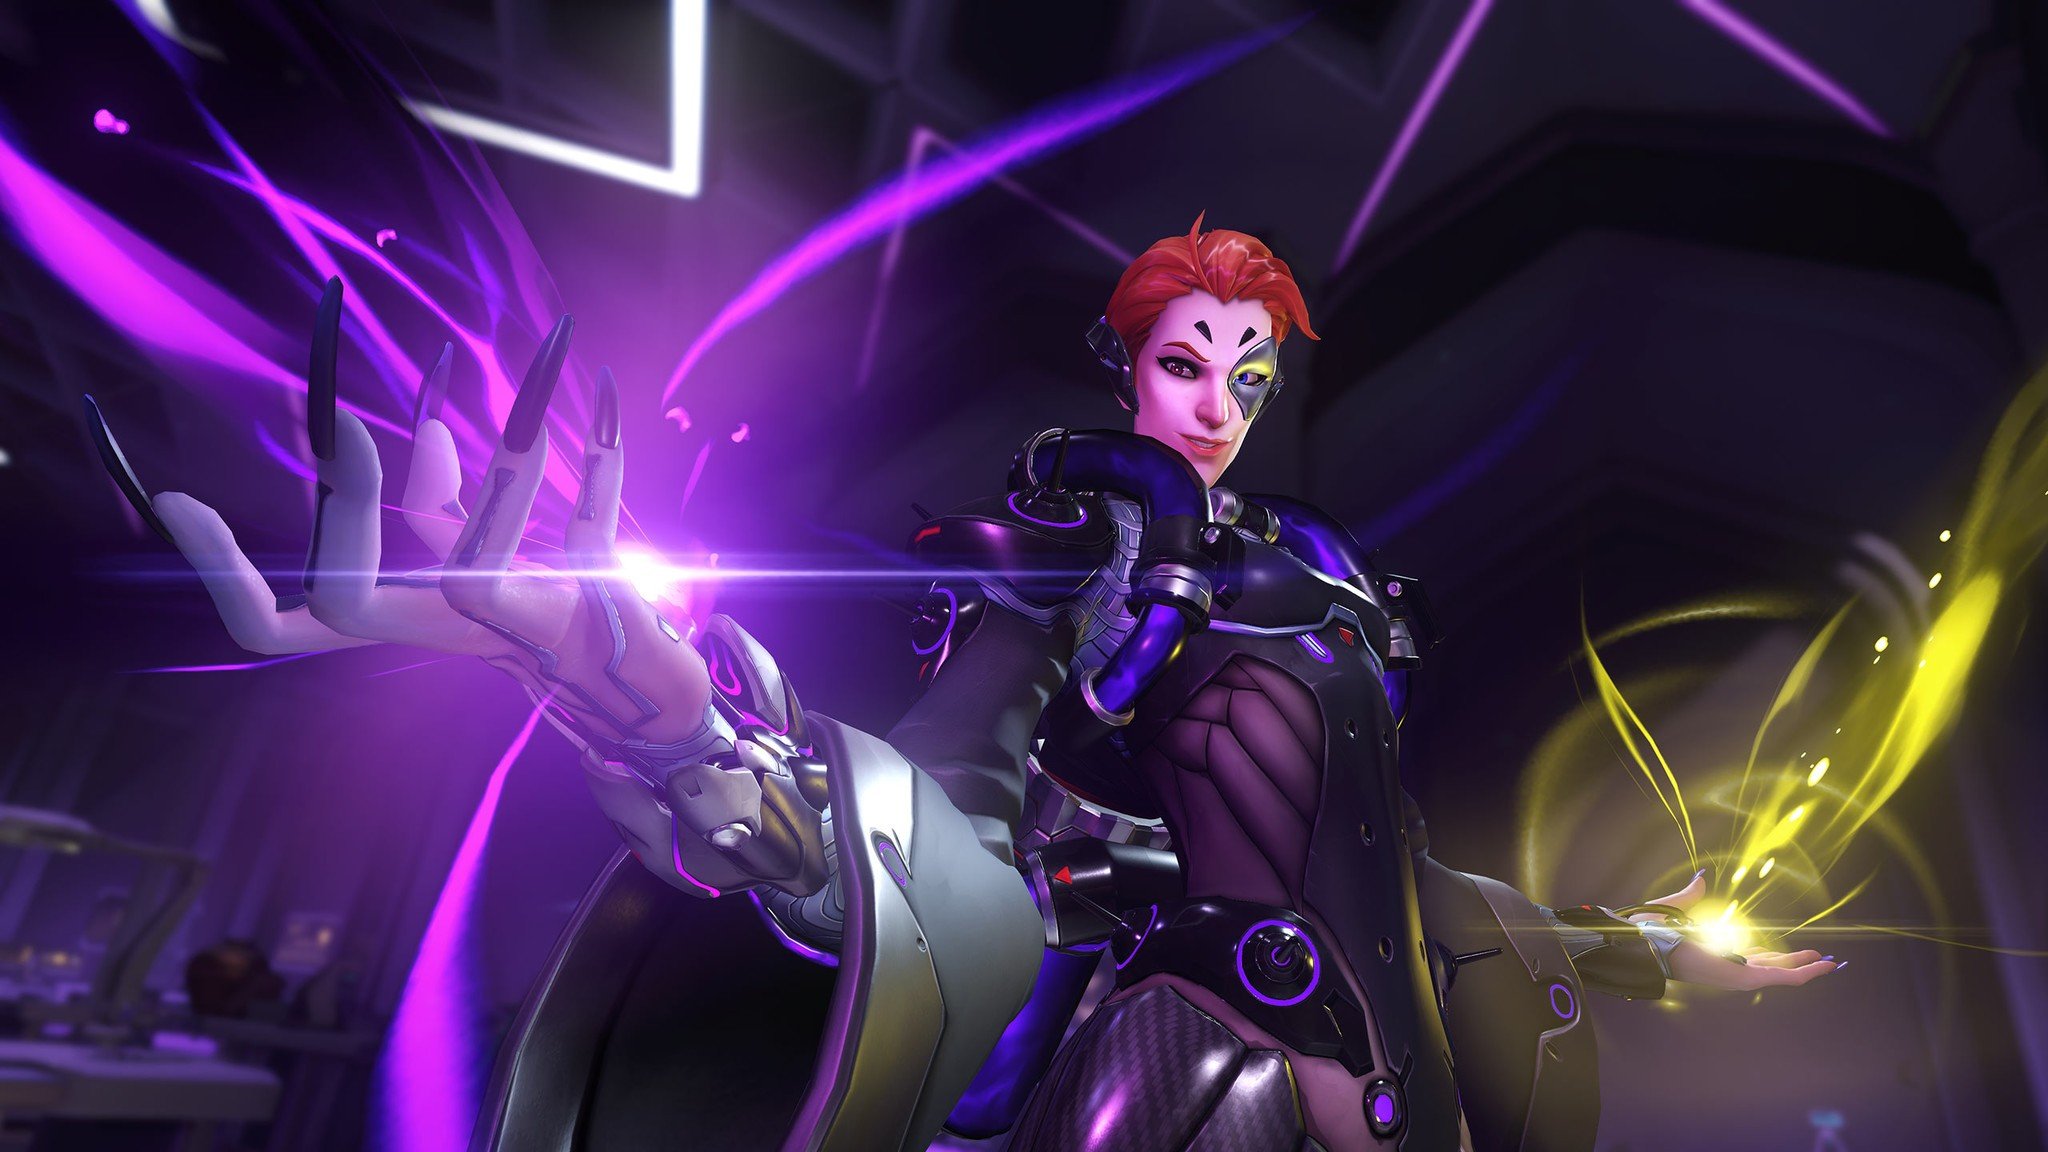
Role: Support
Moira is a close-range support with powerful healing that affects multiple allies at once, making her powerful when used in tightly-knit brawl compositions. She's weak at range, but her powerful healing and sustained support damage are a force to be reckoned with nonetheless.
- Biotic Grasp should be used as your team takes damage so that their health stays high. Try to use it sparingly, though, as it has to be recharged naturally or by way of using Moira's alternate fire to damage foes.
- If you're injured, damage enemies to heal yourself with Biotic Grasp. Alternatively, you can also use a Biotic Orb for self-healing.
- Biotic Orbs are best used for extra team healing, although you can use the damage version of the orb to finish off injured and retreating enemies.
- Fade can be used to dodge dangerous attacks and abilities, including enemy Ultimates. You can even use it to escape Zarya's Graviton Surge, which is useful.
- Fade is also useful for "ramping" off of angled surfaces to reach high positions, as the speed boost it provides effectively allows you to super jump off of them. This is especially useful when trying to escape attacks from flankers, though it's a highly situational maneuver.
- The Coalescence Ultimate is perfect for pushing into an objective, as it heals teammates and harms enemies simultaneously. Try and line up the beam so it's doing both.
Countering Moira isn't too hard, provided your team has a good composition to deal with her teammates. She's pretty easy to kill if you can bait out her Fade early (provided you can hit your shots against her). She's weak to burst damage from characters like Junkrat in particular, as it can overpower her slow Biotic Grasp self-healing.
Orisa guide: Abilities and tips
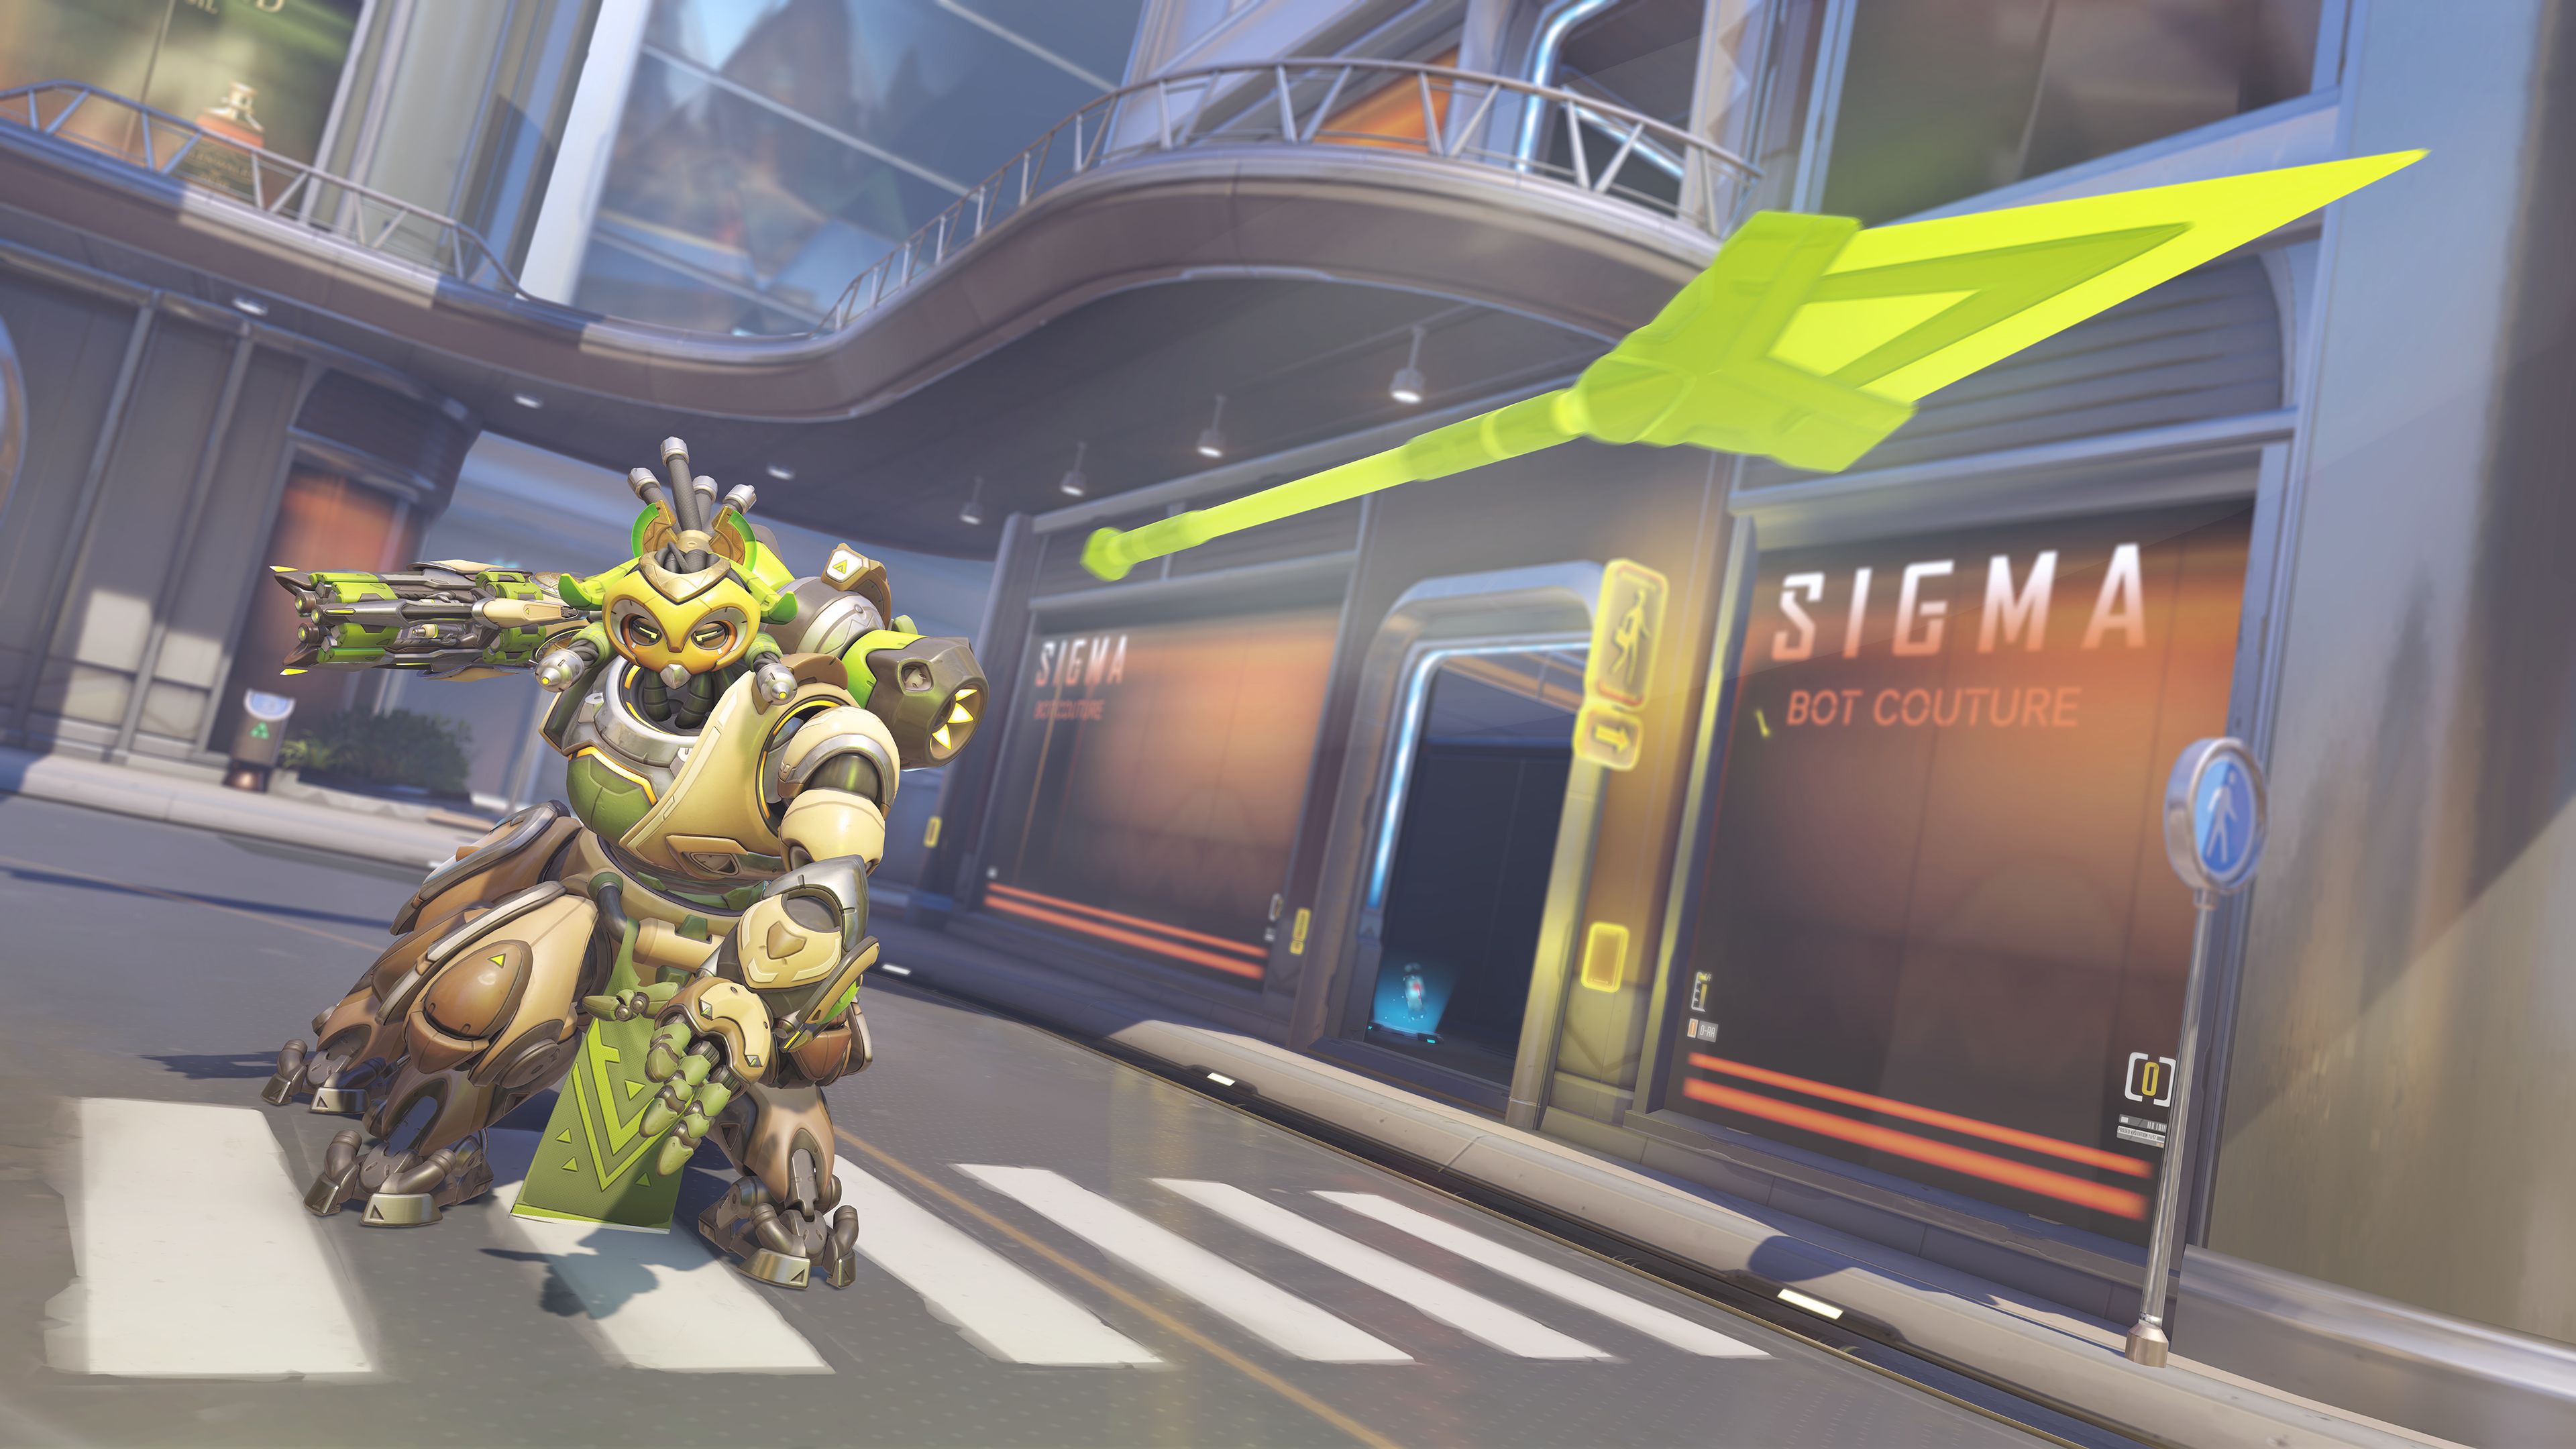
Role: Tank
Orisa used to be Overwatch's definitive "bunker" tank, but in Overwatch 2, she was reworked to be more of a frontline brawler. She's a lot like Junker Queen, trading the ability to buff allies for extra tankiness and more effective damage overall.
- Orisa's Augmented Fusion Driver isn't super deadly, but it puts out good sustained damage over time. Use it to suppress enemies as they try to attack your position or while you're advancing towards theirs.
- Use Fortify to make yourself incredibly resistant to enemy damage and become immune to stuns and boops. Save it for when the enemy is pushing your position hard, you're assaulting their territory, or when characters like Lucio and Pharah are trying to knock you into environmental hazards.
- Energy Javelin can be tricky to land, but it does good damage, knocks players back, and interrupts their abilities. It even does extra damage and stuns them if you knock them into a wall, making the ability particularly effective on maps with lots of interior arenas.
- Javelin Spin is an effective tool for pushing into enemy territory, as it speeds you up, destroys projectiles, and forcibly pushes opponents back.
- Javelin Spin is also a great tool for separating a player or two from the rest of their allies, which makes them easier to focus down and kill.
- The Terra Surge Ultimate is relatively easy to escape since players can move away from you as you're charging it, but it's devastatingly effective in Overtime when used on objectives. This is because the enemy team can't leave the objective without losing, forcing them to stay put and take heavy damage from your Ultimate.
High damage output heroes like Bastion and Junkrat are great against Orisa, as are flankers like Genji and Tracer. Mei can use Ice Wall to separate Orisa from her allies, while Pharah can bombard her safely from the sky as none of her abilities are ideal for combat with airborne targets.
Pharah guide: Abilities and tips
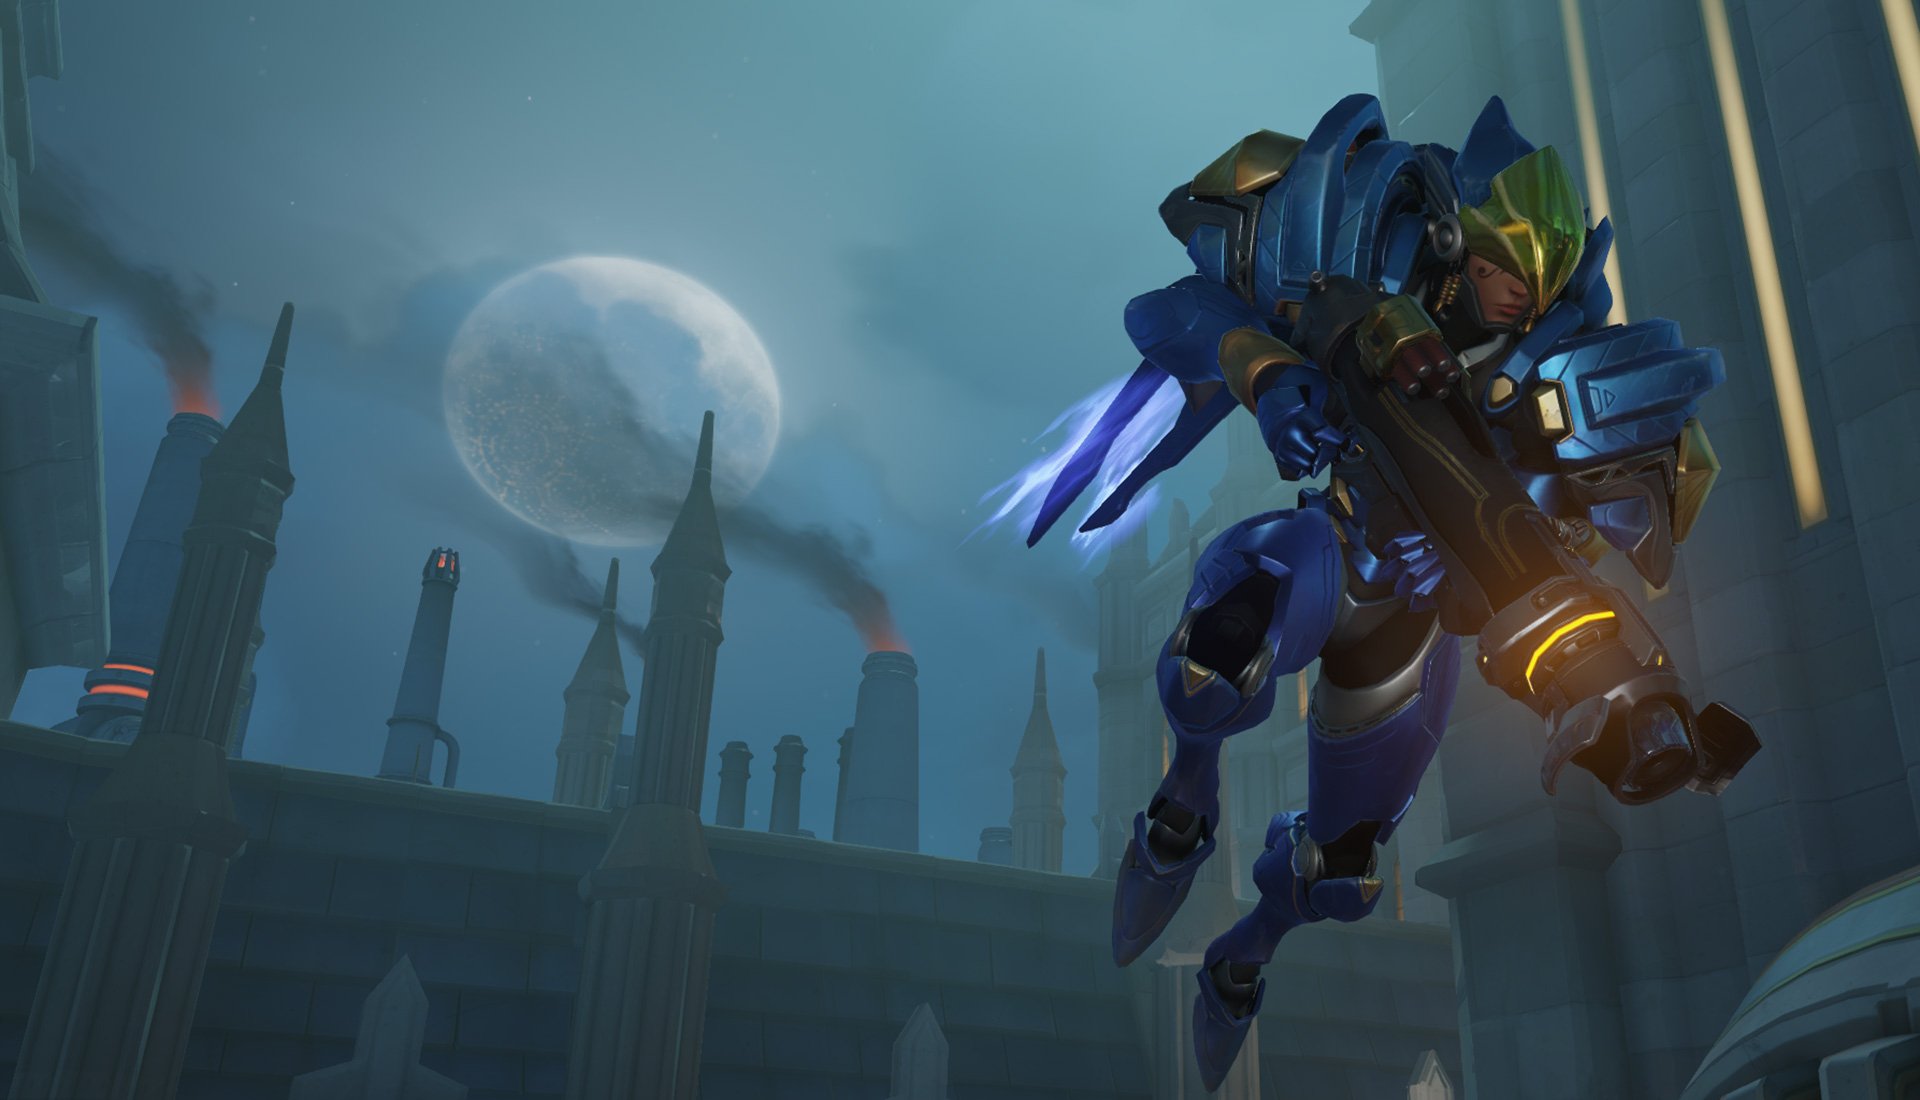
Role: Damage
Pharah is a hugely mobile hero, and she offers a set of offensive abilities seen in many first-person shooter titles. Between her powerful Jump Jets and overall maneuverability, Pharah is best seen in the most open areas of Overwatch's maps.
- As Pharah is one of the few truly mobile characters in Overwatch, staying in the air is the key to success. While her Rocket Launcher is still capable on the ground, attacks from the skies are more likely to catch enemies off-guard.
- Pharah's Barrage Ultimate ability, which fires a huge volley of rockets, is best used directly above opponents within sight of your healers. It does immense damage, but also leaves Pharah vulnerable to focus fire.
- Don't forget that while Pharah is an offensive hero, that her abilities can also be used in a defensive manner. Using her Jump Jets, Pharah can quickly escape the battle, retreating to parts of the map other characters may struggle to reach.
- Due to the nature of Pharah's Concussive Blast and Rocket Launcher, they can be great for pushing enemies away from objectives and into the sights of other offensive allies.
- Concussive Blast is also perfect for knocking enemies into hazards.
- Another great way to use Concussive Blast is to blast a vertical wall right next to you in mid-air, giving you a strong burst of horizontal momentum that makes you harder to target effectively.
- You can also fire a rocket at the ground, jump, and use Concussive Blast to rocket jump, which is useful for getting into the air when you don't have your Jump Jet available.
A good Pharah can feel impossible to challenge, but the best answers to her are hitscan damage heroes like Soldier: 76, Cassidy, Widowmaker, and Ashe. All four of these characters excel at picking Pharah out of the sky from range. D.Va is also an effective tank against her, as she can fly up to Pharah's position and harass her in ways most heroes can't. Notably, Ramattra's Ravenous Vortex is capable of pulling her to the ground if she flies low enough, effectively immobilizing her.
Ramattra guide: Abilities and tips
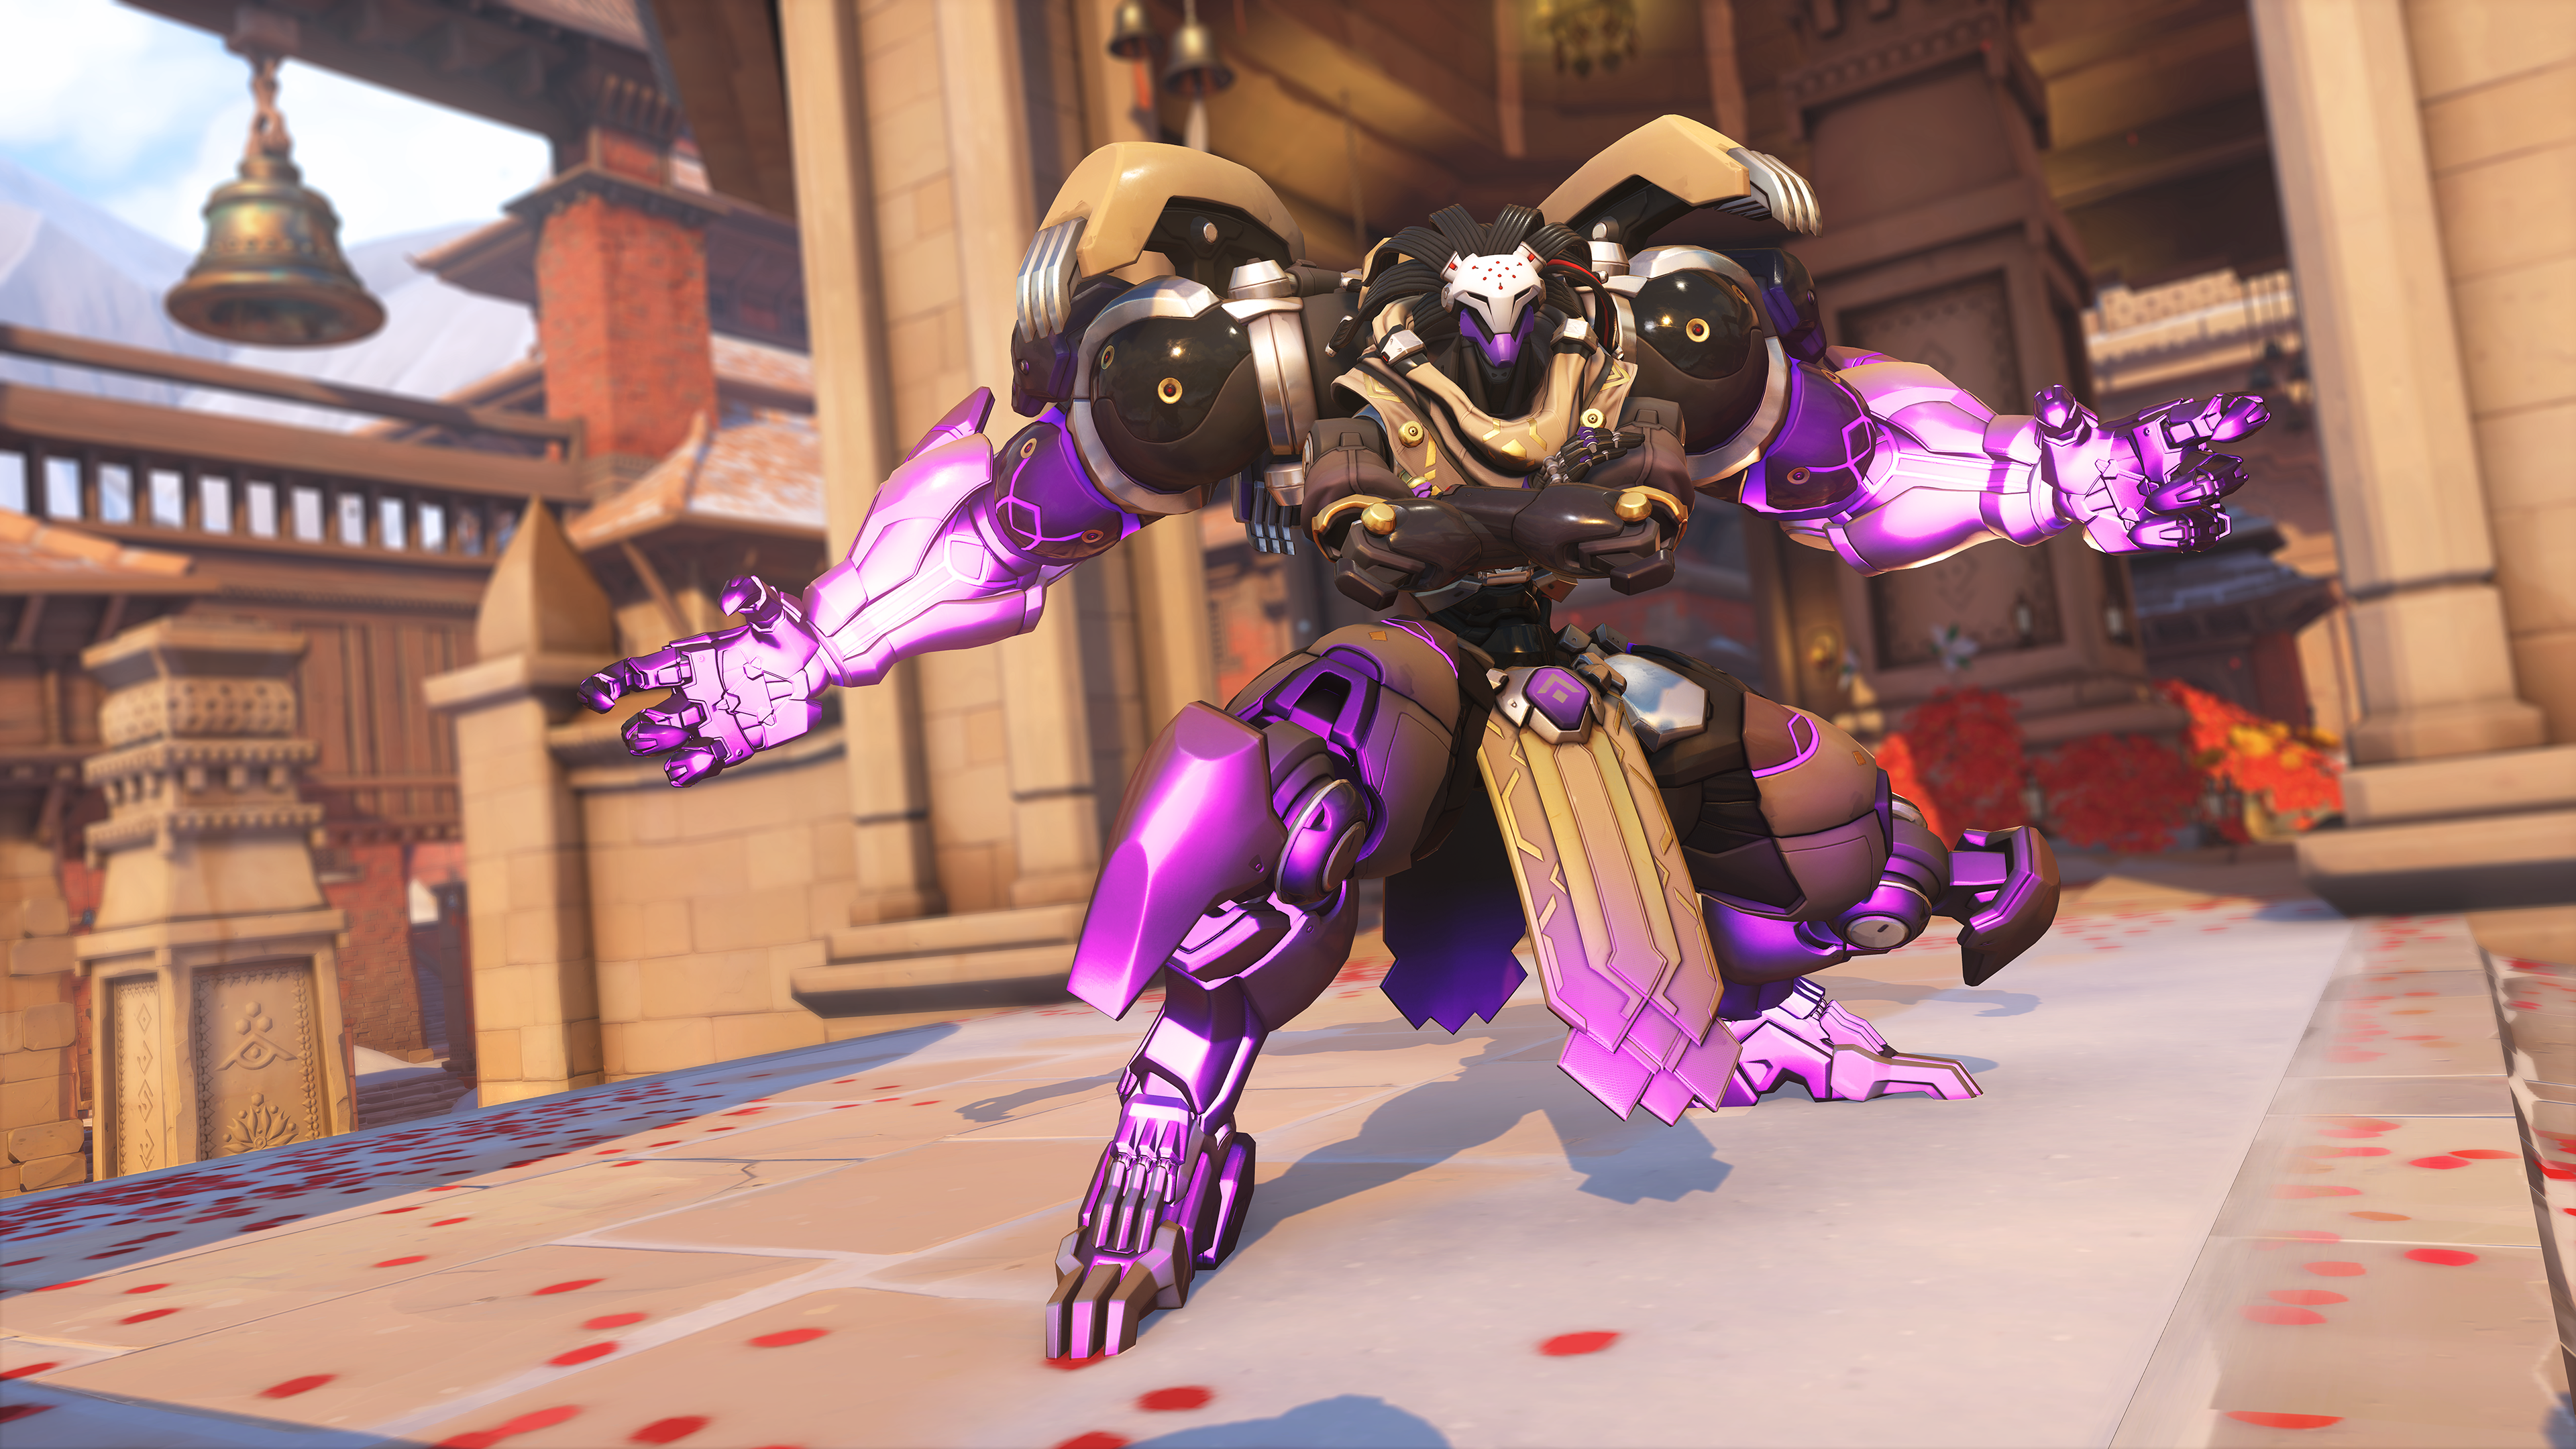
Role: Tank
Overwatch 2's newest hero is Ramattra, the leader of the Null Sector faction and a powerful tank. We have a dedicated Ramattra hero guide that goes into extensive detail about the character, but we'll provide a summary of everything you need to know here.
Ramattra is unique in the sense that unlike any other hero in the game, he can transition between two forms — "Omnic Form" and "Nemesis Form." In his Omnic Form, Ramattra can create a barrier for his allies and harass enemies from afar with projectiles. In Nemesis Form, Ramattra grows in size, gains extra armor, and gets the ability to tear up his opponents with deadly punch attacks or block to significantly reduce incoming damage. Ramattra's Annihilation Ultimate activates Nemesis Form and allows him to forcibly take and control space, weakening the damage of anyone near him by half, slowly draining their health, and extending the duration of the Ultimate indefinitely until targets either die or are able to escape its area of effect. In both of his forms, Ramattra can also use the Ravenous Vortex ability to slow down enemies and "ground" them, preventing jumps or flight.
- At range, Ramattra's Void Accelerator projectiles are fairly slow despite their high damage potential. Therefore, you need to lead your shots to hit enemies consistently.
- Ramattra's Void Barrier is durable at 1,000 HP, but it also has a long cooldown. Avoid using it at the "poke" stage of a fight, and instead place it down when your team or the enemy's begins committing to a serious engagement.
- Since Ramattra doesn't have any mobility options of his own, make sure you use Ravenous Vortex's slowing and grounding effects to reduce an opponent's movement and make them easier to fight. Note that this ability can effectively pull Mercy, Pharah, and Echo out of the air.
- The extra health Nemesis Form gives you makes you very durable, and the piercing punch attacks are great for launching an assault on the enemy frontline. The Block ability also allows you to absorb even more damage that would otherwise kill you or your teammates.
- Try to pair Ravenous Vortex with your Nemesis Form, as its slowing effects will stop enemies from escaping the range of your punches.
- Use your Annihilation Ultimate during critical battles for an objective. If enemies have to contest the payload or a point, they'll be forced to get in range of the ability.
- One significant weakness of Annihilation is that enemies behind a barrier aren't considered to be in your line of sight. As such, they won't be affected by the Ultimate, which will prevent you from extending its duration. Therefore, try and avoid enemy barriers whenever possible while using the ability.
Ramattra is available on Tier 45 of the Season 2 Overwatch 2 Battle Pass for free-to-play fans. People who buy the Premium Battle Pass can unlock him immediately.
Reaper guide: Abilities and tips
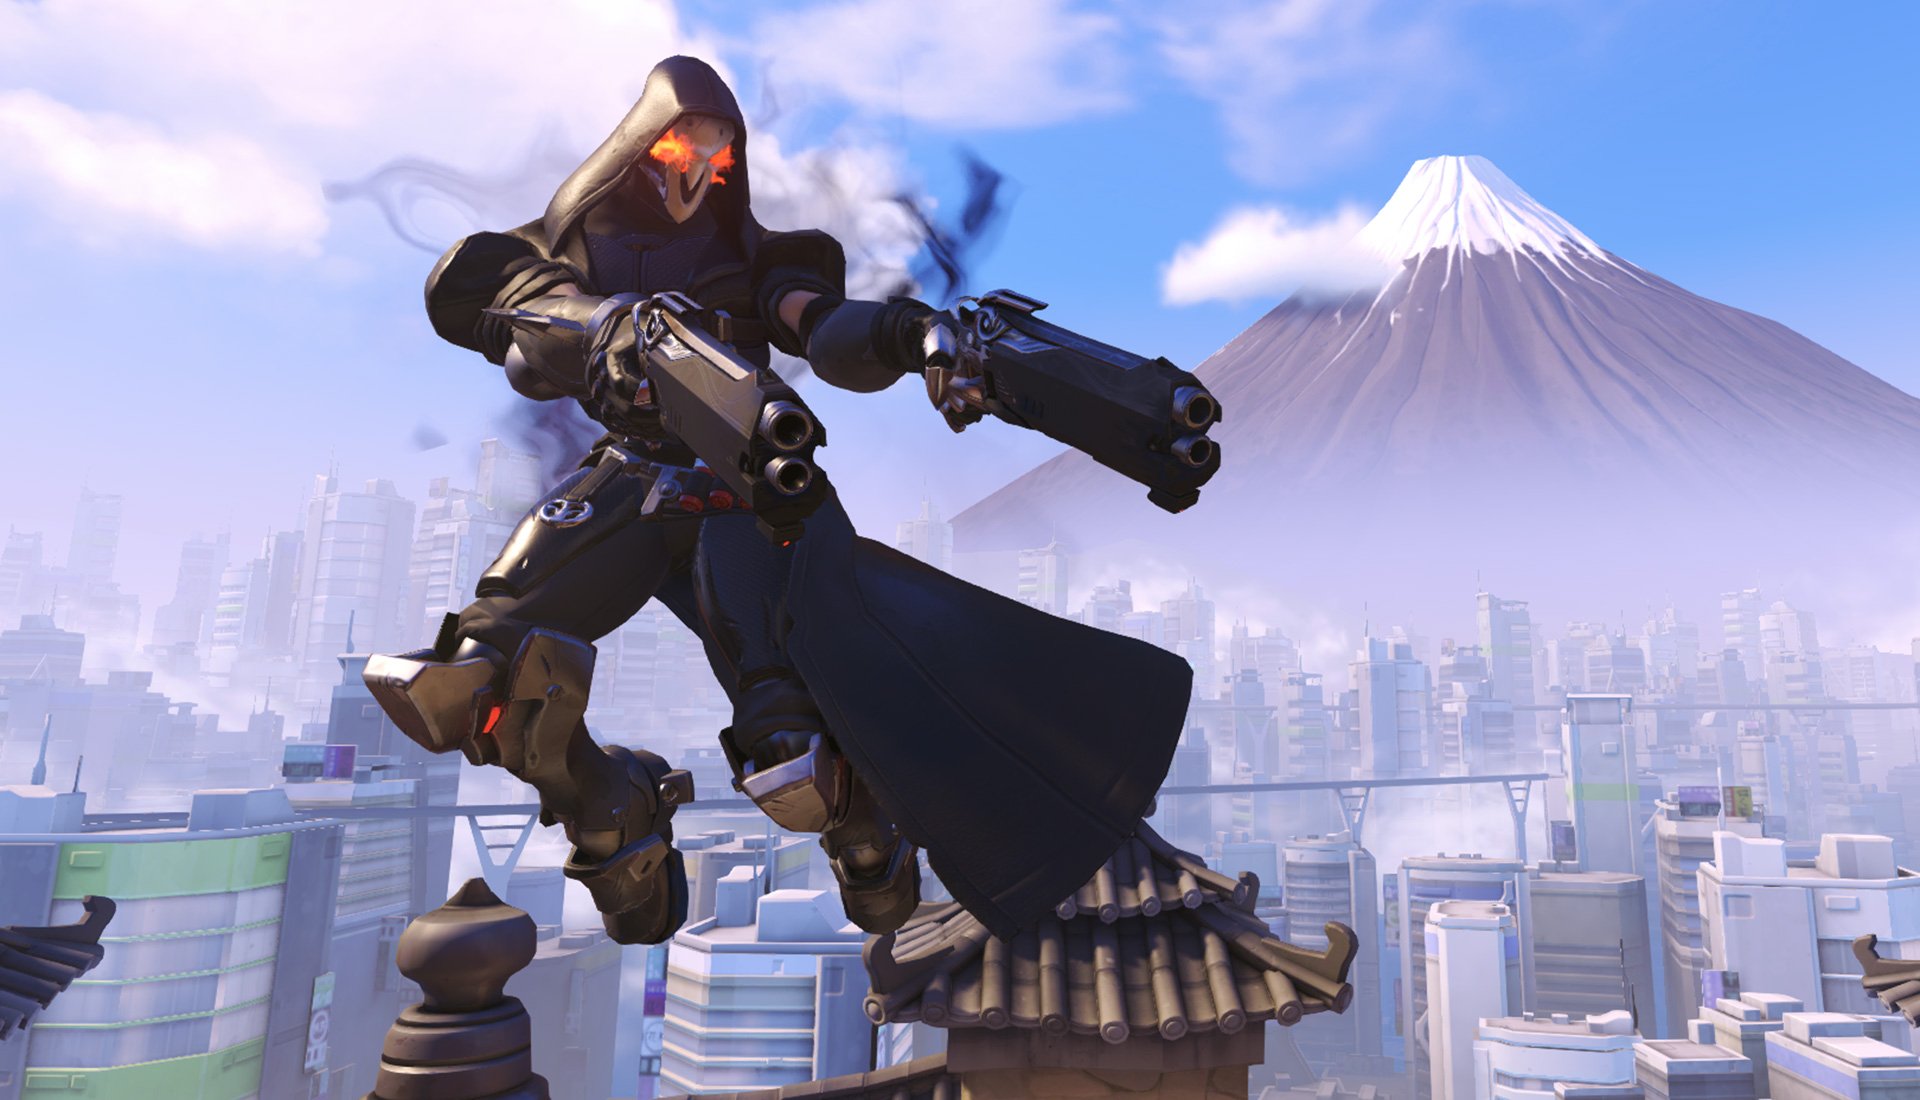
Role: Damage
Reaper is unrivaled up close since he wields dual Hellfire Shotguns and abilities that allow for quick traversal across geometry. These abilities place a huge focus on close-quarters combat, but they can and should be used for fast entry and departure from combat as well.
- Reaper's most powerful tools are his two trusty shotguns, which deliver significant damage at close range. Hellfire Shotguns can frequently provide rapid kills up close, but damage soon drops off when moving away from the target.
- Note that attacking opponents with the Hellfire Shotguns also returns a portion of your damage to you as health, making Reaper tankier than many players realize as long as you're not missing most of your shots. Don't be afraid to get aggressive.
- With Reaper's two shotguns being close to useless beyond a few meters, a careful balance of offensive and defensive play is required. Reaper's Shadow Step can be used to teleport into flank positions, followed by a quick exit with the Wraith Form after heavy damage is dealt.
- Both of Reaper's main abilities can also be used to move around the map in a more efficient manner. Both Shadow Step and Wraith Form can be used to jump between usually inaccessible areas, while also safely bypassing key chokepoints.
- Use Wraith Form to avoid powerful Ultimates and other dangerous abilities.
- Wraith Form also serves as Reaper's primary escape tool. Once you've gotten a pick or have dealt heavy damage up close, use Wraith Form to retreat back to your team and get some healing.
- The Death Blossom Ultimate is best used in populated areas, such as objectives or congested sections of the map. Like many Ultimates, Death Blossom leaves Reaper in a vulnerable position, which makes both timing and positioning a major component for effective execution.
Reaper's biggest weakness is his lack of range, meaning that snipers and mid-range heroes can pick him off whenever he isn't able to stay in close-quarters. He's also a poor choice against airborne heroes like Pharah and Echo, as he doesn't have any way to challenge their vertical mobility.
Reinhardt guide: Abilities and tips
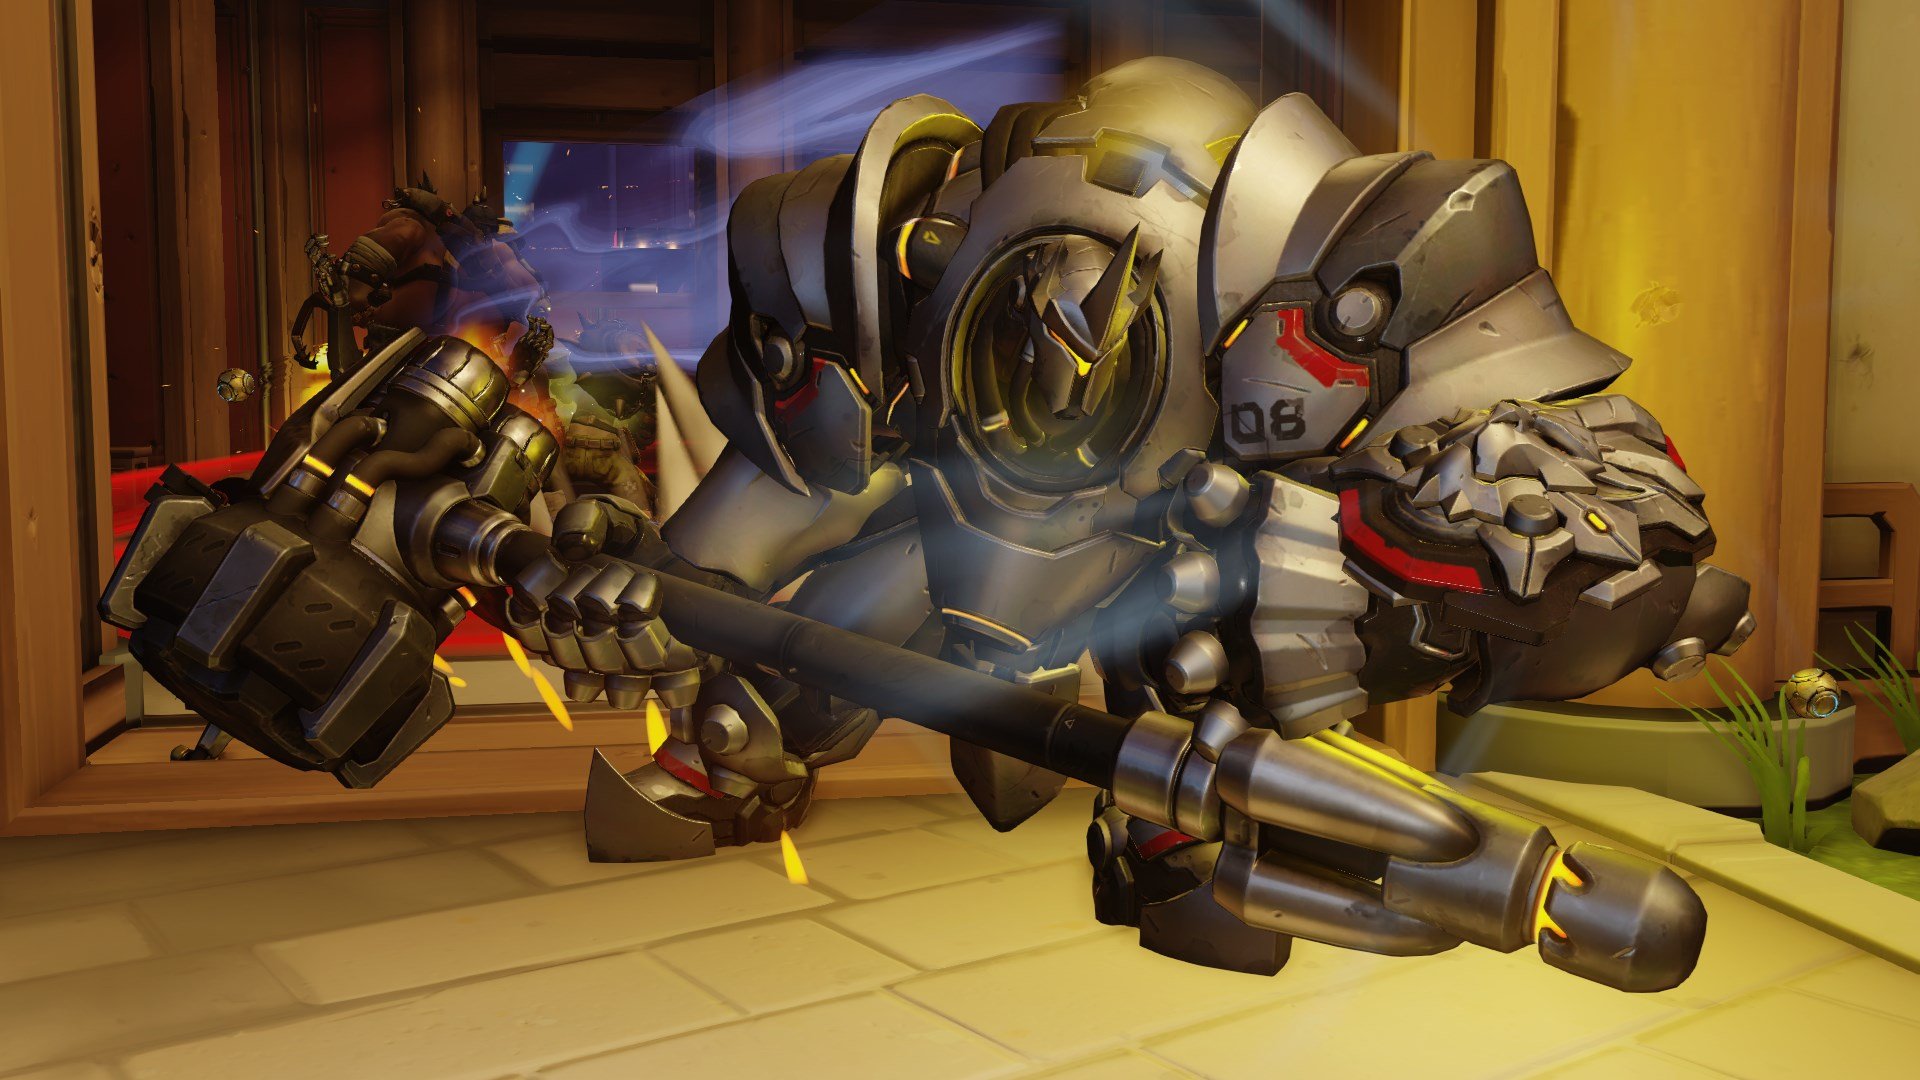
Role: Tank
Reinhardt is one of Overwatch's few melee-centric characters, with heavy protection from projectiles but an inability to repel fast-moving enemies. Despite his armored exterior, Reinhardt can be easily taken down if he overextends and doesn't have support from his team. However, a smart Reinhardt with a solid team at his side can seem unstoppable. Reinhardt's defense against ranged attacks is his Barrier Field shield, which can be used to protect his allies and lure enemies into the swing of his Rocket Hammer. He's the perfect tank for pushing into fortified areas or defending one when more mobility than what Orisa is capable of is required.
- Reinhardt's main contribution to his team is the Barrier Field, which extends beyond his player model to block up hallways and shield allies from danger. It's a great offensive tool for pushing forward towards an objective.
- Use your shield to defend allies using their Ultimates. Protecting them while they're using these important abilities is a very effective strategy.
- Reinhardt's Rocket Hammer deals a heavy 75 damage per swing, making it a devastating close range weapon. It allows him to batter damage and support heroes to death, and also enables him to brawl at close range even more effectively than Junker Queen or Orisa can.
- Rocket Hammer also knocks opponents side-to-side, making it harder for them to run away from Reinhardt's attacks. Don't hesitate to be aggressive if you manage to isolate a damage or support hero, because it's unlikely they'll be able to get away from you.
- Reinhardt's Firestrike projectiles do 95 damage when it lands and can pierce multiple targets, making it a great "poking" ability in chokepoints. You can also use it right after hitting someone with your hammer to perform a powerful damage combo.
- Charge can be used to pin enemies to walls for extremely high damage, often outright killing many heroes. Make sure to cancel your Charge if you miss your target and are going too far into enemy territory, however.
- Reinhardt's Ultimate is his Earthshatter ability, outputting moderate damage and a knockdown effect in a focused cone. Try and hit multiple players with the ability to maximize its effectiveness.
- If your target is high-priority, don't be afraid to "solo shatter" a single opponent. This will take them out of the fight and allow your team to score an important kill.
- Earthshatter can be blocked by enemy barriers, including enemy Reinhardts. Try and use it unexpectedly so that enemy tanks don't see it coming.
- Notably, Earthshatter does incredible damage to anyone that the hammer directly impacts when Reinhardt swings it down. If your opponents are right on top of you during an important fight, consider trying to directly smash them with the Ultimate for one or more instant kills.
Reinhardt's biggest weakness is an attack from behind. With a shield and primary weapon tailored for front-facing attacks, focusing on finishing off an enemy can leave Reinhardt exposed to attack. Flankers like Tracer and Sombra are effective against Reinhardt as a result. Tank-busting characters like Bastion and Junkrat are good against him, too.
Roadhog guide: Abilities and tips
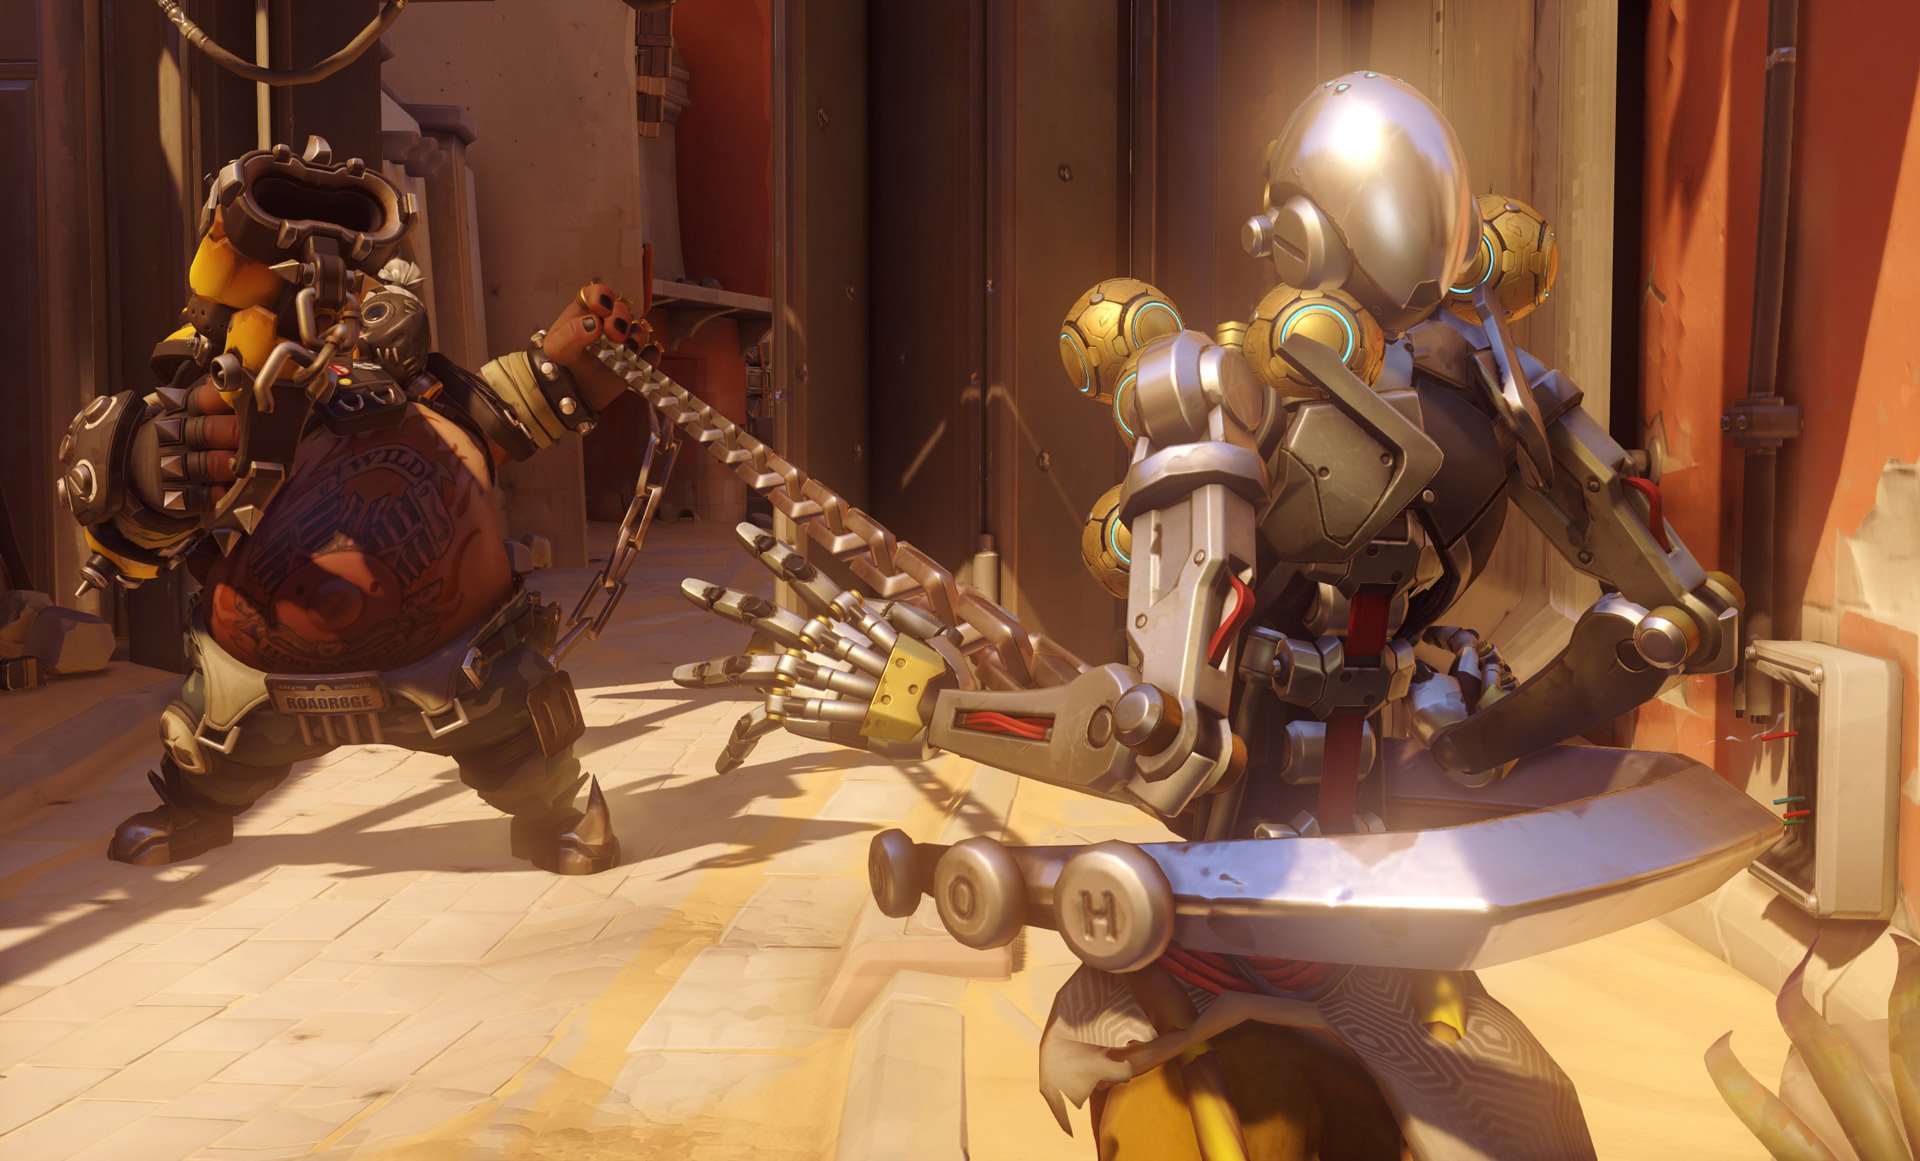
Role: Tank
Roadhog is a versatile tank that can be incredibly disruptive, though he lacks the ability to directly protect his allies. His Chain Hook combined with his shotgun-like Scrap Gun can instantly kill weaker offensive heroes, and his Hook has a broad range of additional utilities. Roadhog can also heal himself, and his Ultimate turns his Scrap Gun fully automatic, giving him the ability to disrupt an entire enemy team with waves of knockback and damage.
- Roadhog has a lot of health, but can die quickly with focused fire. Stay near cover so you can slip out of the line of sight and heal yourself.
- When you use Chain Hook, target weaker characters like damage dealers and healers and hold down your Scrap Gun primary fire, performing a quick melee right after. You'll instantly kill most of these characters with this combo.
- Chain Hook can also be used on several maps to pull players into pitfalls. Use this standing near the edge for maximum effect.
- Chain Hook can be used to grab Junkrat's RIP-Tire and D.Va's Self Destruct mech. While this might result in sacrificing your life, sometimes it might be worth doing to save the team.
- Make sure that you're not pulling these explosive objects into your team when you hook them, too!
- Roadhog's Scrap Gun does pretty terrible damage at longer ranges, but his alt fire helps the spread travel a little bit further. It's also a decent weapon against tank shields.
- Use Take A Breather often to top off your health. Sometimes it's a good idea to use this even in the middle of battle, as it provides some strong damage resistance and can be used to absorb deadly abilities.
- Whole Hog is a powerful area denial tool that allows you to forcibly knock opponents away from an objective. Use it to help your team capture a point or prevent enemies from contesting it. If you trap players in a corner, you can also pin them against the wall with Whole Hog's knockback to kill them rapidly.
Roadhog is a walking meatshield, which means that he's constantly susceptible to damage. Tanks with shields, such as Reinhardt and Sigma, make it easy for their allies to take advantage of this since they don't have to worry about Chain Hook while behind a barrier. D.Va is also an effective choice, as Defense Matrix can save teammates from falling victim to Roadhog's Scrap Gun follow-up after they get hooked. Reaper has the health and damage to go toe-to-toe with Roadhog up close, and Bastion can rip Roadhog to shreds with Configuration: Assault, too. Notably, Ana can also hit Roadhog with her Sleep Dart and Biotic Grenade incredibly easily, making her a hard counter to him.
Sigma guide: Abilities and tips

Role: Tank
Sigma is a great tank hero to pick when sieging hardened defenses, as his Hyperspheres do good damage and his barrier is highly repositionable. Also, Kinetic Grasp converts enemy projectiles into shields, and Accretion can be used to stun enemies attacking you and your team.
- Sigma's Hyperspheres can be bounced around corners. Use this to safely spam enemies from an indirect angle.
- Reposition Sigma's barrier often. It will get destroyed quickly if you leave it in one place due to its moderate health pool.
- Kinetic Grasp can be used to absorb enemy Ultimates. If you know an enemy has a projectile Ultimate, try and hold onto Kinetic Grasp for as long as you can so you have it available when you need it.
- Holding onto Kinetic Grasp for as long as possible in general is a good idea, as it's the only way you can protect yourself whenever your barrier is recharging.
- Accretion is a great tool for briefly stunning enemy tanks or damage heroes, and it can even cancel certain Ultimate abilities. Try and aim it above enemies if they're far away since the rock arcs.
- Gravitic Flux does good damage, but your main use for it should be to set up enemy players for team follow up. Try and catch as many enemies as possible in it since it disables movement and allows your teammates to easily finish foes off.
The best way to counter Sigma is to surround him with lots of zippy mobile heroes. His Hyperspheres aren't very good at taking down fast targets, so flanking him is ideal. He's also weak at longer ranges.
Sojourn guide: Abilities and tips
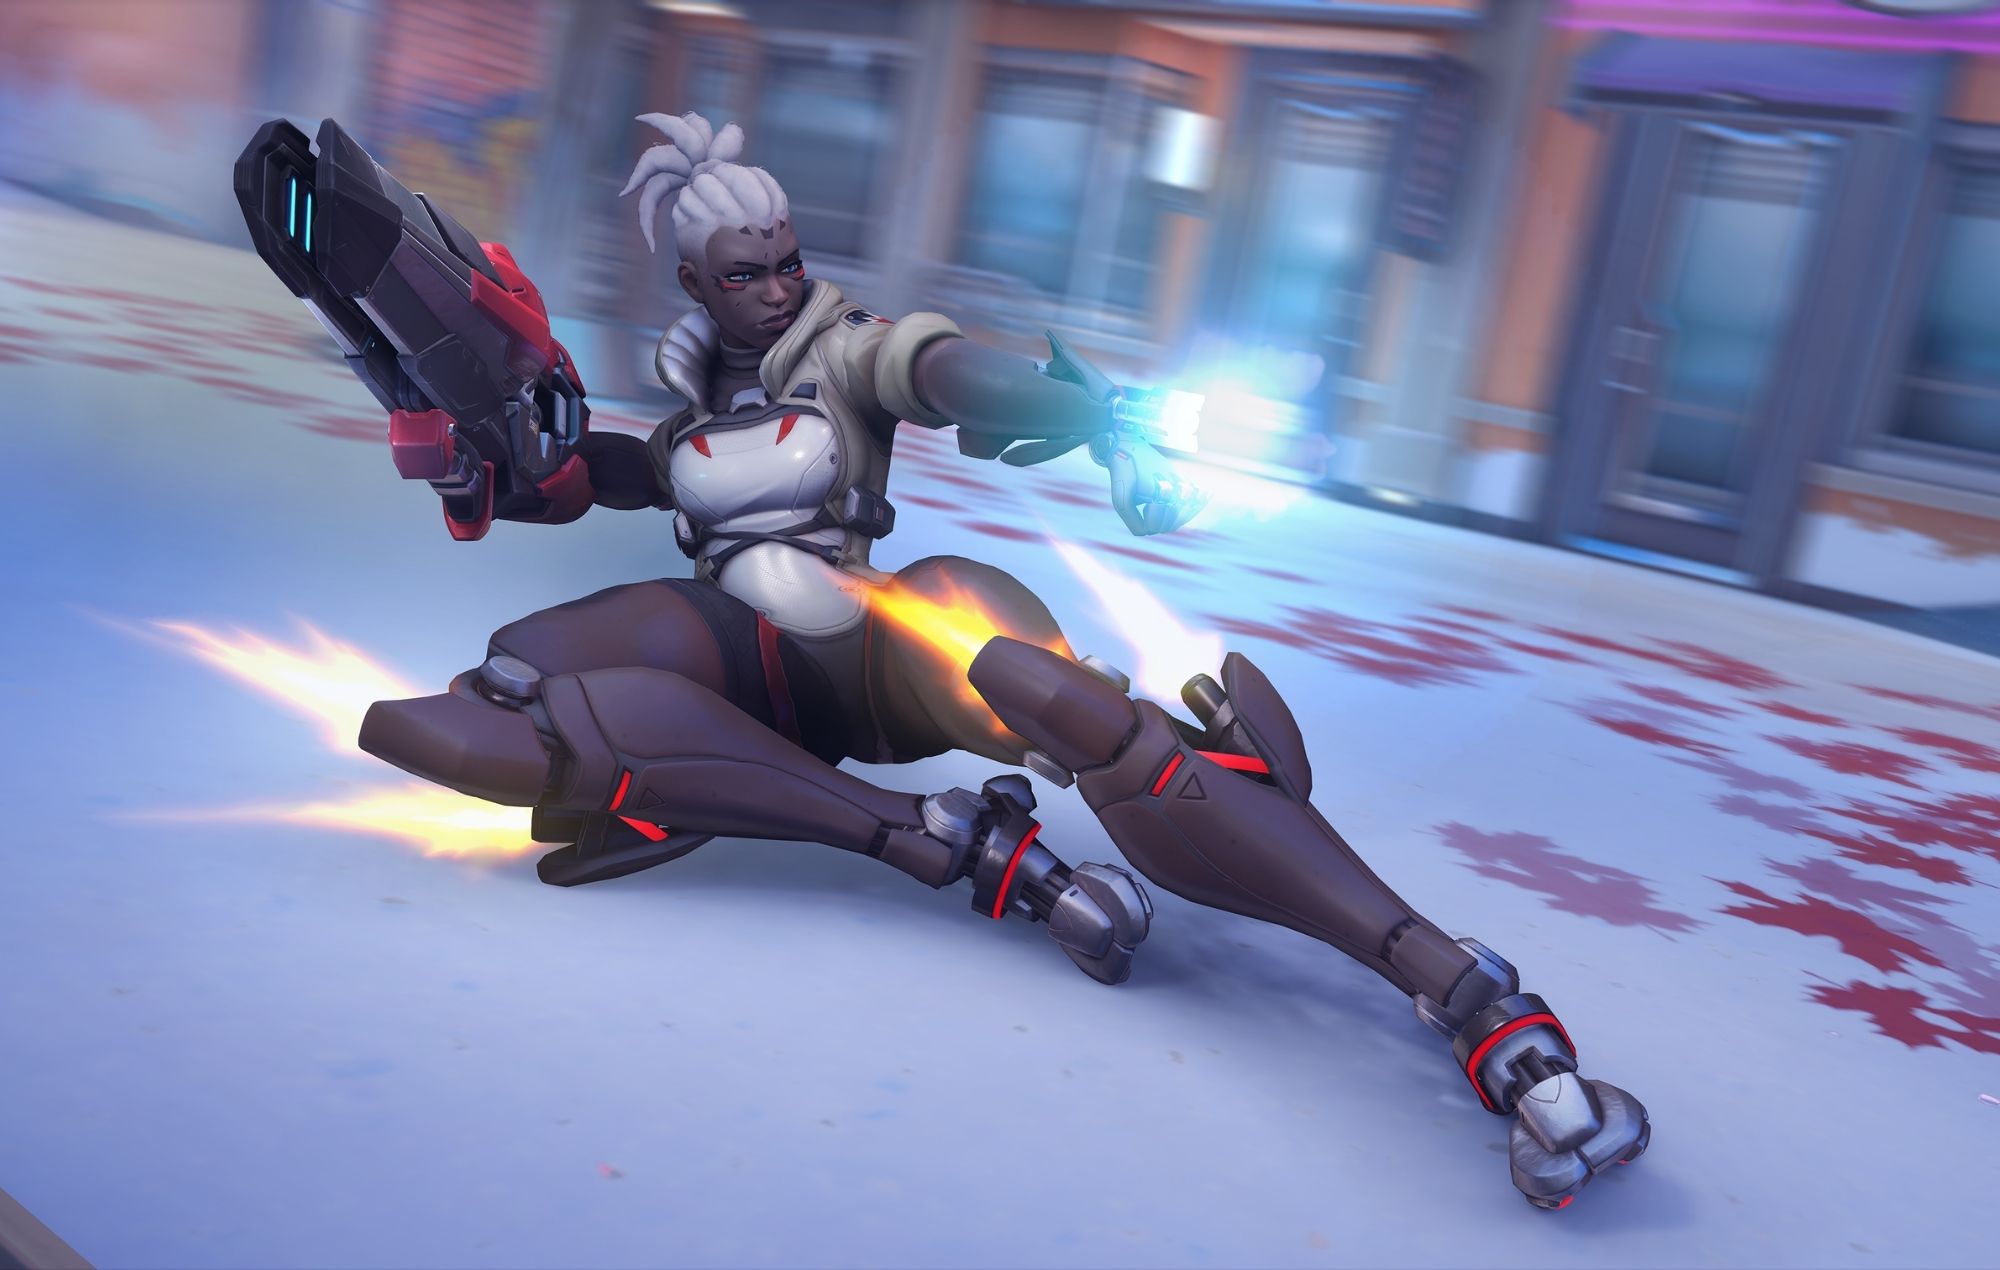
Role: Damage
Sojourn is another of Overwatch 2's launch heroes, and is a versatile and lethal damage character that's viable in many different situations and on many different maps. Her Railgun can output some of the most powerful mid-to-long range precision damage in the game, making her an exceptionally-rewarding character to become skilled with.
- Sojourn's Railgun is capable of dishing out moderate damage with its rapid-fire primary attack that charges the weapon up. Then, she can fire a powerful energy bolt with the alternate fire that has the capability to one-shot headshot most damage and support characters.
- The Power Slide ability allows you to rapidly move in a chosen direction while also lowering your hitbox, making you more agile and evasive.
- If you jump while Power Slide is active, you'll perform a large vertical jump that can and should be used to get on high ground or dodge incoming abilities.
- The Disruptor Shot is an effective crowd control tool that slows enemies caught within it. Use it to make lining up Railgun headshots easier.
- The Overclock Ultimate automatically charges up Sojourn's Railgun, allowing you to fire multiple fully charged beams in quick succession. It's a fantastic Ultimate to use while enemy damage and support heroes are exposed and aren't being shielded by a tank.
Sojourn's rapid mobility and strong precision damage output make her a versatile hero without many strong counters. With that said, one weakness you should exploit is that she struggles to get much done if her opponents have tank barriers to hide behind. Because of this, Reinhardt, Ramattra, and Sigma are excellent picks against Sojourn in many situations. Winston is a strong option, too, as he can jump onto Sojourn and block her attacks with his bubble.
Soldier: 76 guide: Abilities and tips
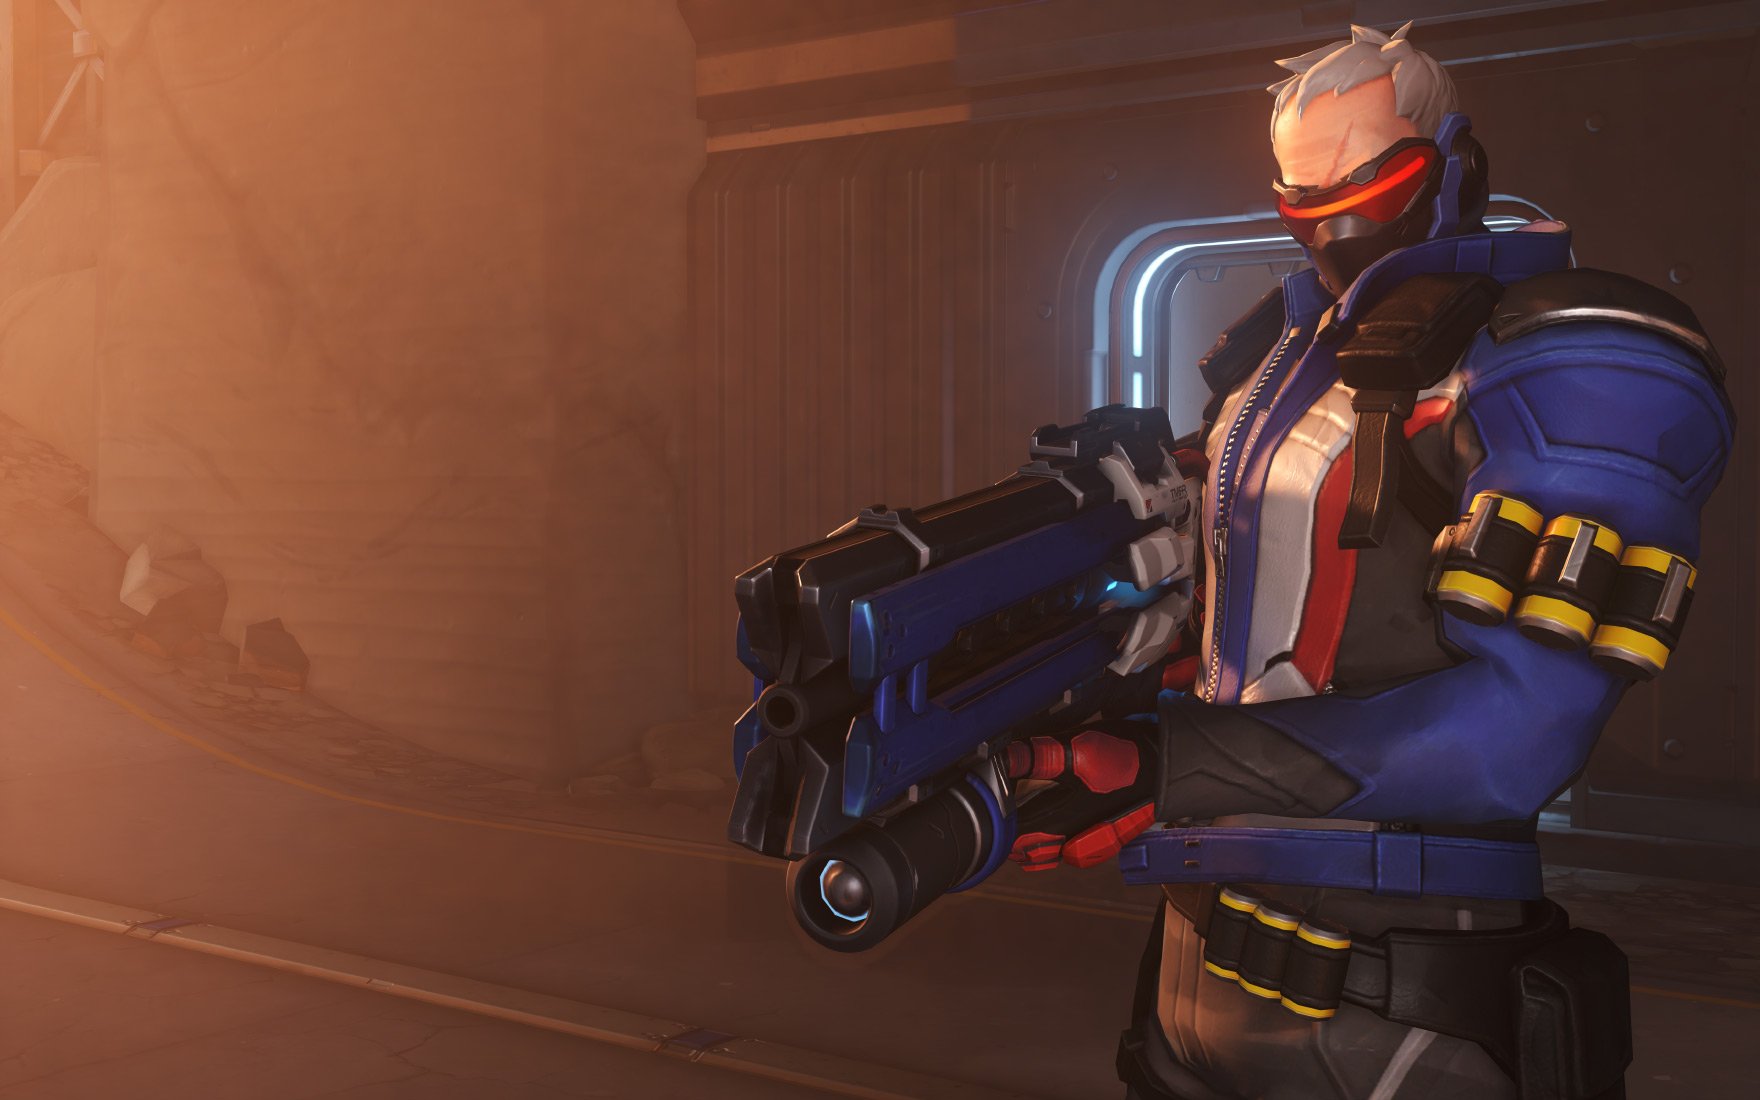
Role: Damage
Soldier: 76 is the perfect hero to play when moving from mainstream first-person shooter titles to Overwatch, as he possesses a range of abilities accustomed for approachability. Soldier: 76 uses a Heavy Pulse Rifle as a primary weapon, alongside a rifle-mounted rocket launcher and a health station that can be used to heal himself and nearby allies. Soldier is also able to sprint for an unlimited period, unlike any other character in the game's roster.
- Soldier: 76 is balanced in almost all respects, with reasonable health, an accurate weapon at most ranges and a mixed collection of abilities. As a result of this balance, he performs well in most scenarios.
- The Helix Rockets used by Soldier: 76 have a fixed velocity and aren't affected by bullet drop. This makes the rockets a perfect long-range projectile to deal minimal splash damage to distant targets such as snipers and turrets. It's also effective as a burst damage tool in duels with other heroes.
- Soldier: 76's rifle is very accurate, making him great at a medium range. It can be particularly effective at shutting down an airborne Pharah.
- Use Soldier: 76's Healing Station frequently to keep your health topped off. It stacks well with passive healing from Lucio and others.
- Soldier: 76's Tactical Visor Ultimate auto-locks onto enemies over a short period. This is most effective on nimble enemies with less health, such as Tracer and Genji, and is also very useful against "slippery" opponents like Mercy, Lucio, and Pharah.
Soldier: 76 is effective in most scenarios because of his high versatility and adaptability. As a result, he has no glaring flaws. That said, he doesn't stand out much either, being a jack of all trades. Several damage dealers can defeat Soldier: 76 in close quarters without too much trouble, particularly Cassidy and Reaper. He's also weak to brawly tanks up close, and will struggle against snipers far away as well.
Sombra guide: Abilities and tips
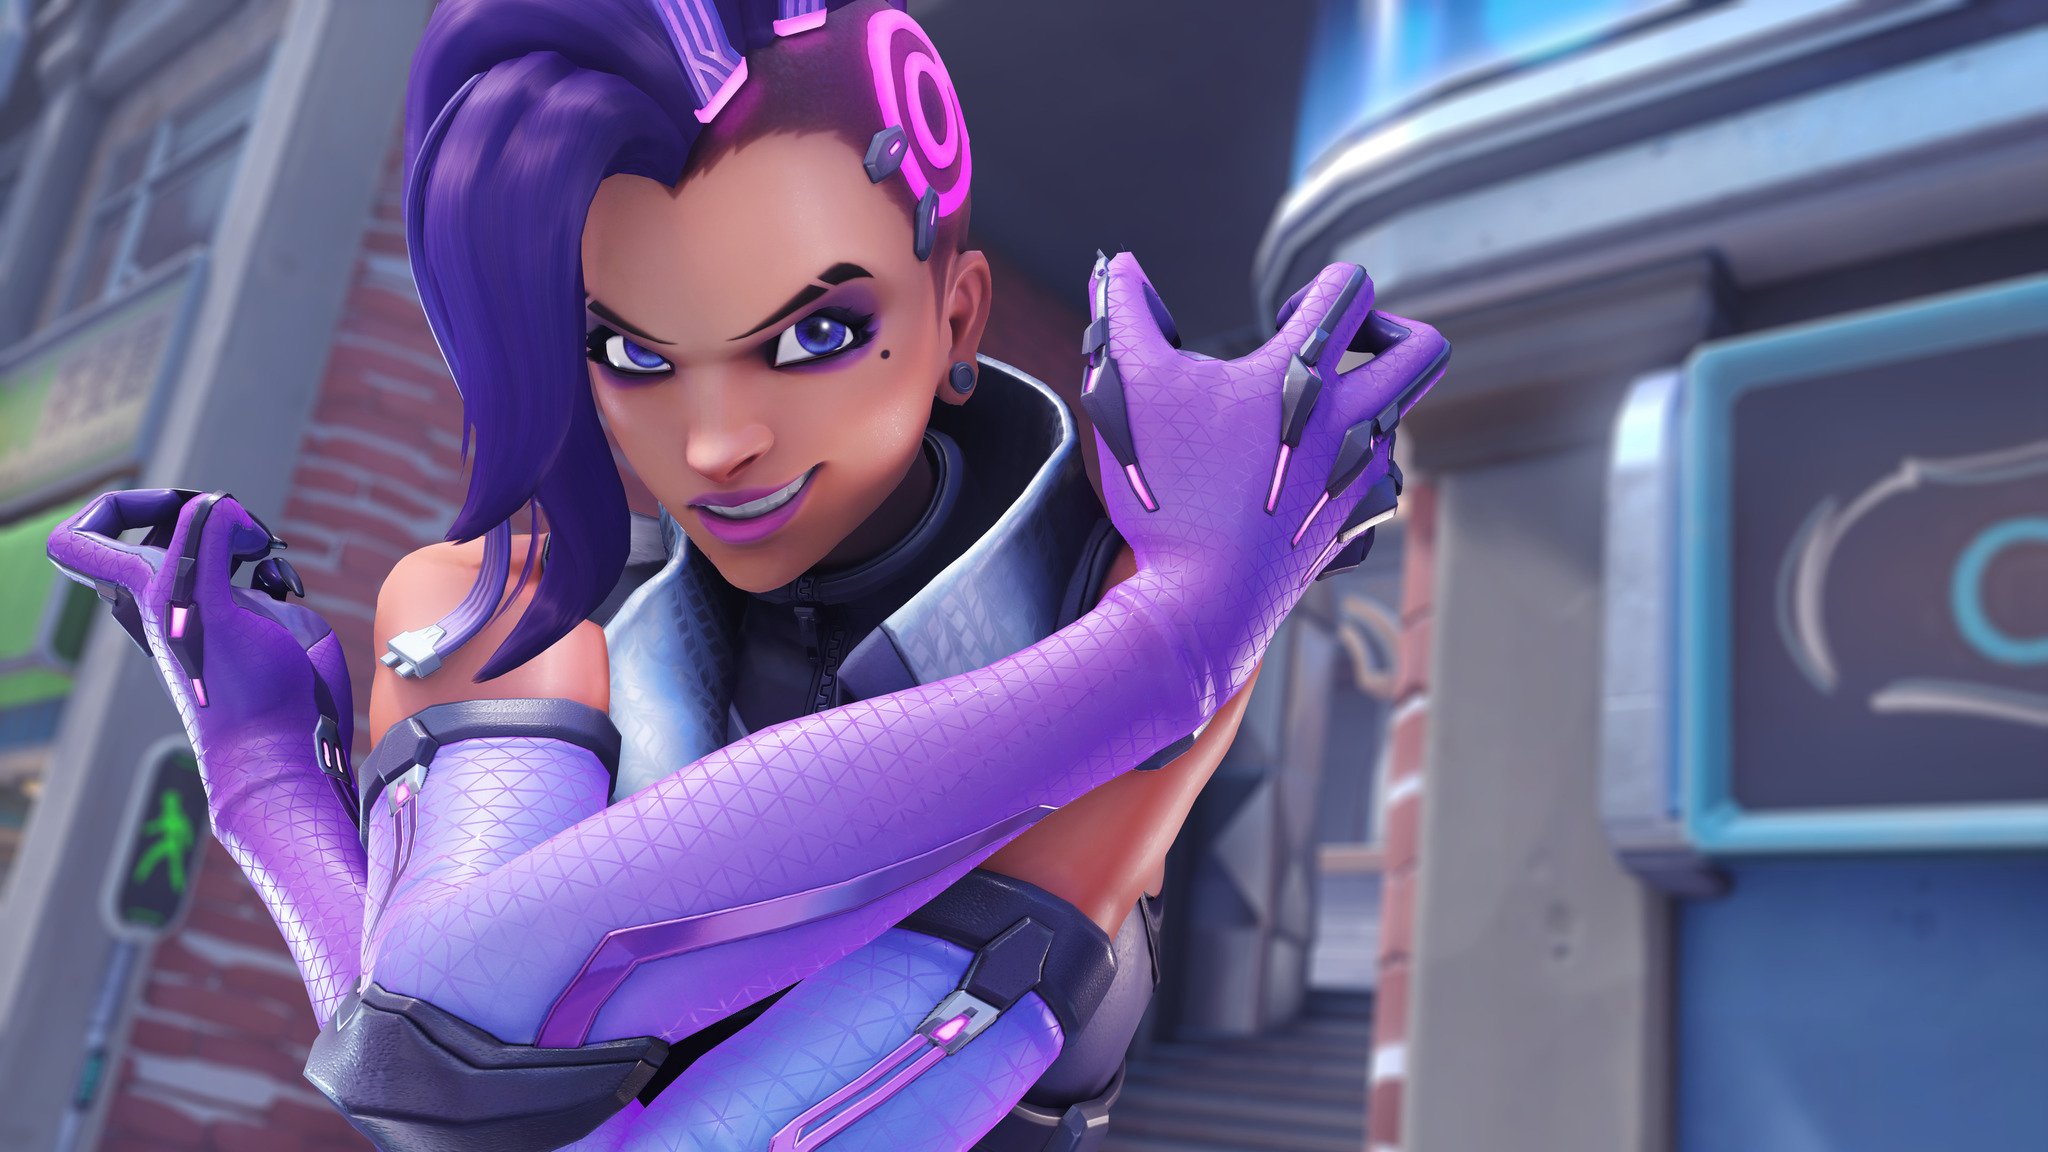
Role: Damage
As a hacker with a huge reliance on speed and stealth, Sombra's greatest strengths lay with her unique abilities to confuse enemy players. She can also briefly disable enemies with her hacking, which can prove invaluable.
- At her core, Sombra is an offensive character, sharing some similarities with Tracer. With lower health but the ability to move fast, her skills and weapons are ideal for disruption, harassment, and assassination. Equipped with a fully-automatic Machine Pistol, Sombra's primary weapon can deal significant damage, but only at short range.
- Sombra's advantage in close-quarters combat is complemented by her Stealth ability. Allowing for quick and stealthy movement across the map, it's best used to get the jump on unsuspecting foes.
- Her Translocator ability acts like a teleporter, which jumps Sombra back to the location where it was placed. The Translocator should be placed in a safe location before diving into combat.
- The Translocator can be used at any time after leaving your hands. This includes teleporting in mid-air to travel previously impossible routes.
- Sombra's Hack is another useful tool, allowing you to briefly disable an enemy's abilities and make them take an extra 40% damage from your Machine Pistol. It's perfect for assassinating isolated foes, and can also enable your team to aggress onto your target as well.
- Her EMP Ultimate is a powerful ability in the right hands, with the potential to take down all barriers, shields and abilities in the blast radius. For the most effective use of the ability, use Sombra's Stealth to dash into a crowd of enemies and activate your EMP.
The best way to counter Sombra is to avoid clumping up with your team. This reduces the chances her EMP will be effective. Additionally, keeping a close eye on your surroundings can help prevent her from setting up stealthy plays. Hanzo's Sonar Arrows and Widowmaker's Infra-Sight can also be used to see where she is regardless of whether or not she's using her invisibility. Characters that aren't overly-reliant on their abilities like Soldier: 76 are also good heroes to consider.
Symmetra guide: Abilities and tips

Role: Damage
Though she's technically a damage hero, Symmetra is more of a support in practice. Her Teleporters allow you and your team to attack from unique and unexpected angles, while her Sentry Turrets slow down opponents and make them easier to attack.
- Symmetra's main role involves helping her teammates reach beneficial positions with her Teleporter and increasing the lethality of chokepoints by putting small wall-mounted Sentry Turrets around them.
- Sentry Turrets should be placed in hidden, elevated locations to prevent the enemy team from easily seeking them out and destroying them.
- The Sentry Turrets have a stacking movement impairing effect, and can trap unaware players easily and burn them down.
- Spread out their placement as much as possible because area-of-effect attacks will easily kill them.
- Harass the enemy team by charging up blasts of Symmetra's alternate fire, which sends slow moving but deadly energy balls across the map in a straight line. Her primary fire, meanwhile, ramps up over time and can devastate once fully charged up.
- Use her Photon Barrier Ultimate to create a gigantic wall barrier across the map. This will protect allies, but it's also useful as a line-of-sight denial tool that forces characters like Ashe, Widowmaker, and Ana to reposition from their perches. It can also cut off Lucio Sound Barriers and Zenyatta's Transcendence healing.
Symmetra becomes more powerful the stronger she's left alive during team fights due to her damage ramp up and the stacking effects of her Sentry Turrets. Therefore, picking her off early is an effective way to counter her. Fast and mobile characters can dance around her fairly easily, and she's weak against airborne targets as well.
Torbjörn guide: Abilities and tips
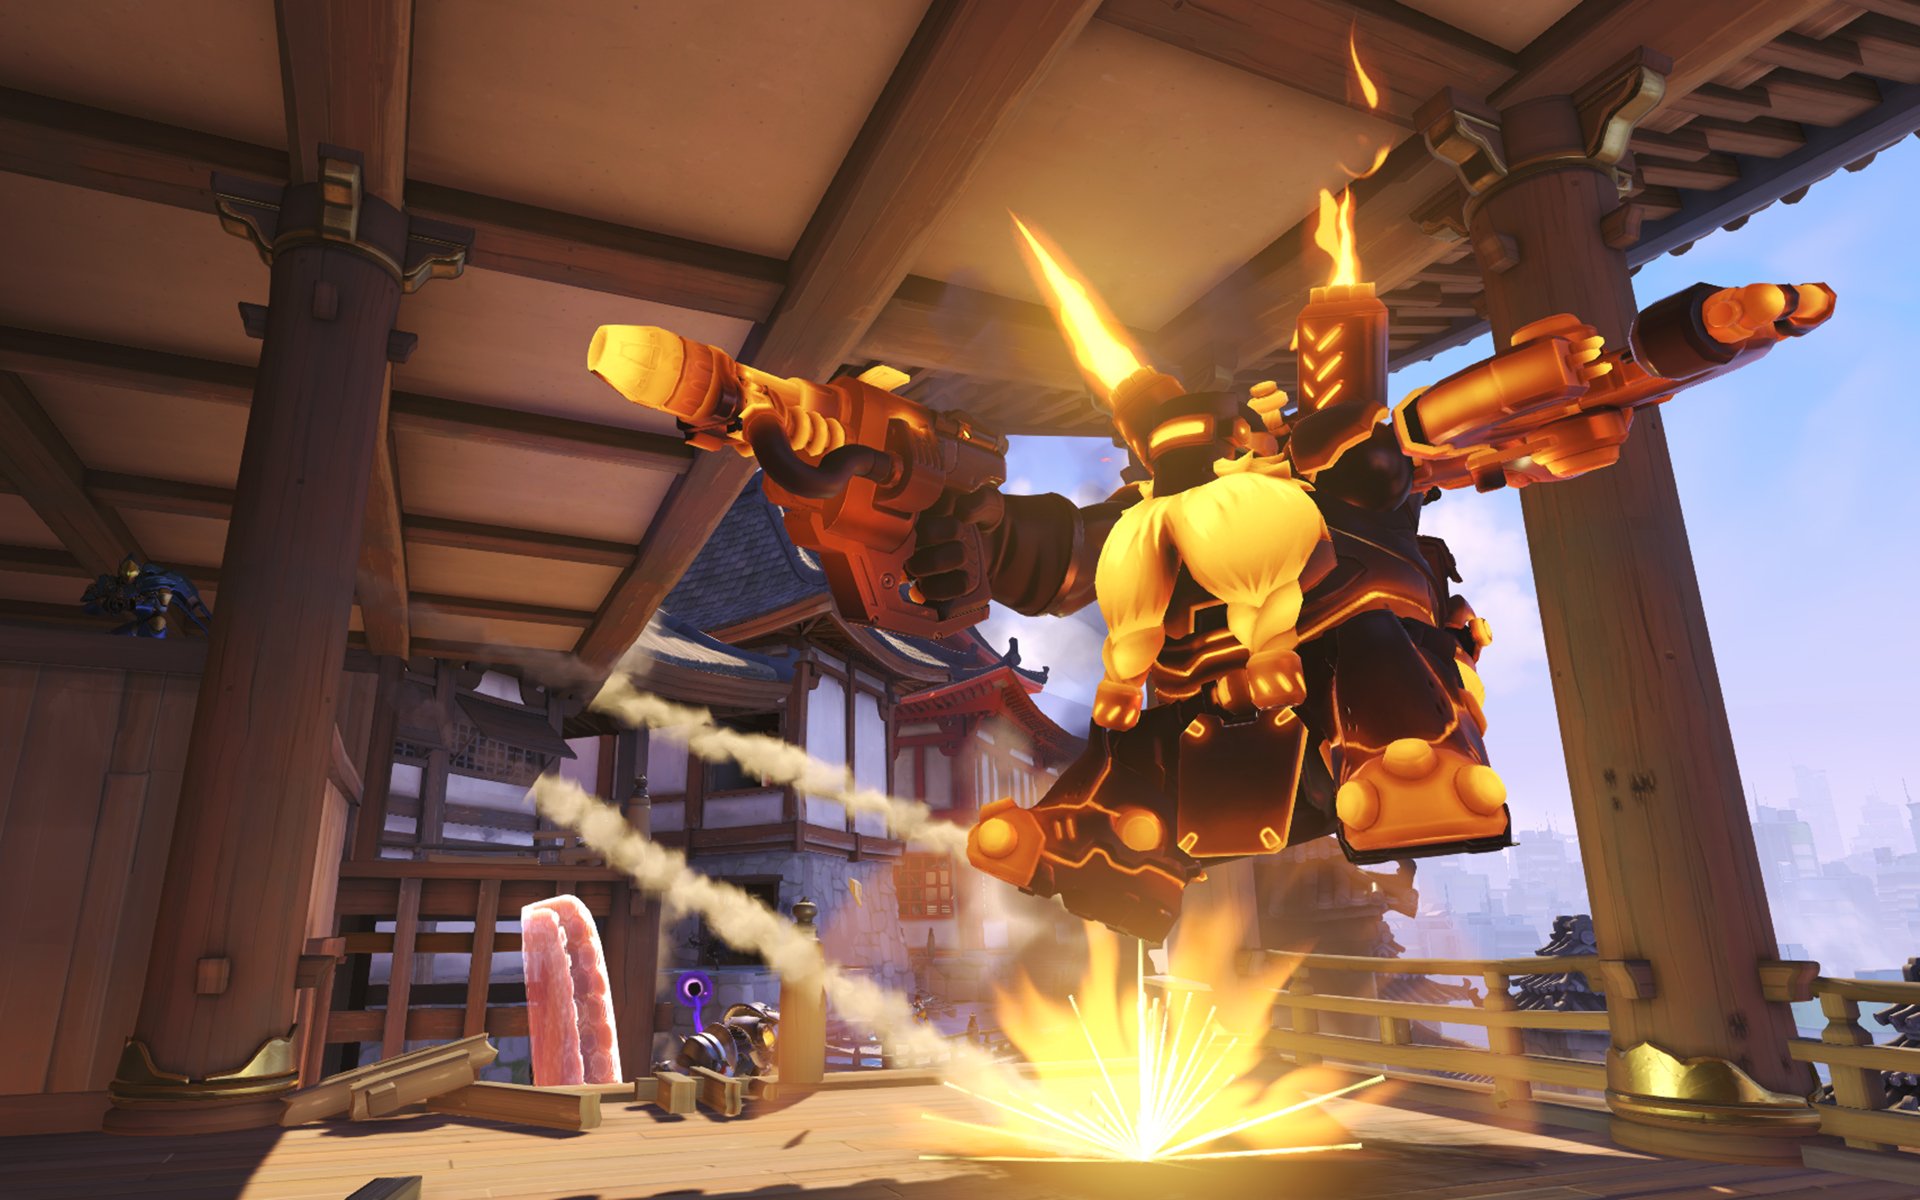
Role: Damage
Torbjörn is Overwatch's turret master, wreaking total havoc in defensive play. Similarly to Team Fortress 2's Engineer, Torbjörn can build a turret that will automatically fire on enemies at significant ranges. Torbjörn can also empower himself with his Overload ability that boosts his health and damage, and his Molten Core Ultimate can be used to create a devastating pile of molten goop that shreds through enemy health and armor quickly. His Rivet Gun is also powerful and very effective in chokepoints, though it can be tricky to aim.
- Set up your turrets in creative positions that cover large swaths of the map but aren't too exposed to enemy fire.
- Use Overload for when you need to be extra tanky or when a damage boost would help you win critical fights.
- Torbjörn's primary weapon has an excellent range, coupled with some bullet drop. Practice with it often to get a feel for how high you need to aim to hit far-off players.
- Torbjorn's alternate attack works like a shotgun, and can be surprisingly devastating at close range. Don't be afraid to wade into close quarters combat to pick people off with Torbjörn, especially after using Overload for some extra health.
- Save your Ultimate for moments when enemies are pushing to an important objective. Forcing enemies to either walk through your Molten Core or take a significant detour is incredibly beneficial.
Torbjörn can be disruptive to teams who don't know how to deal with him, due to the automatic nature of his turrets. Use Pharah, Widowmaker, Junkrat, Hanzo, Ashe, Soldier: 76, or Cassidy to take out his turrets at long range. He also struggles to effectively fight brawly compositions, though he can succeed against them if his turret is allowed to pepper enemies for long enough.
Tracer guide: Abilities and tips
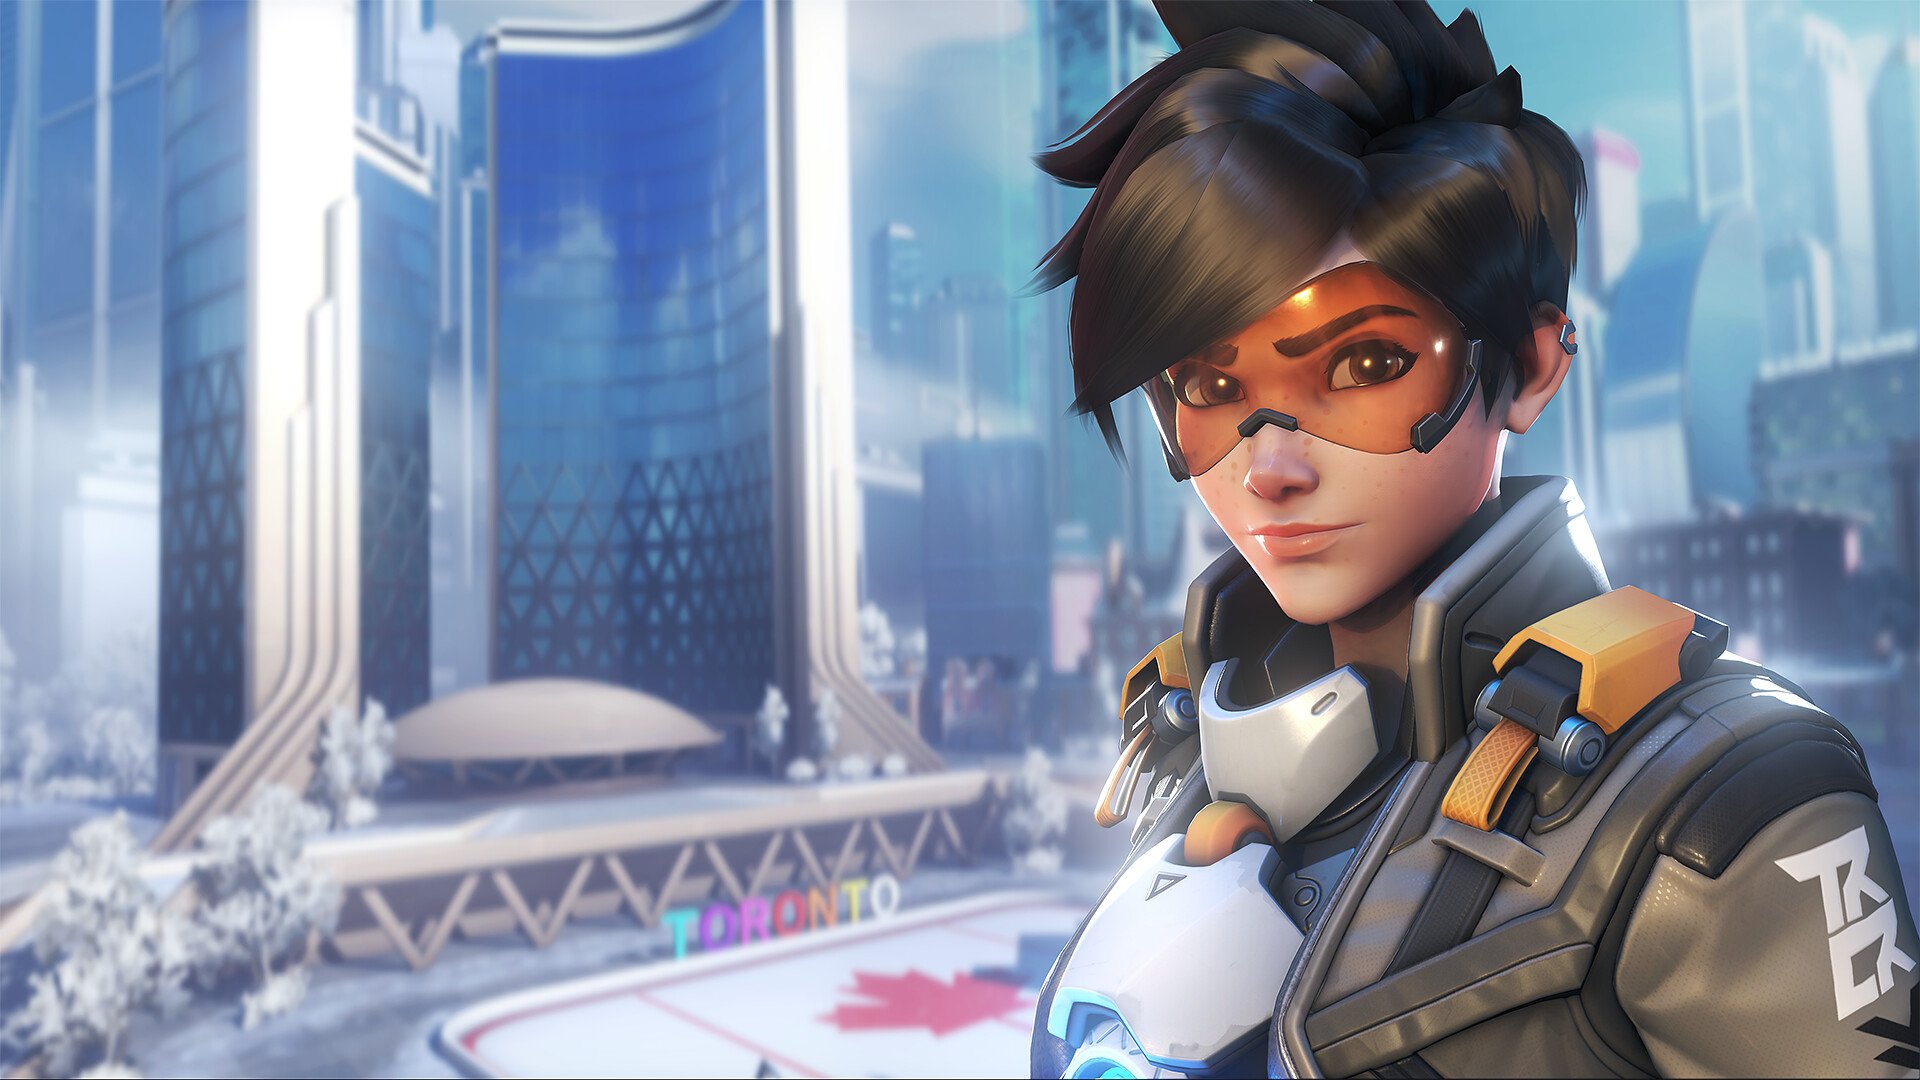
Role: Damage
As seen on Overwatch's cover art, Tracer is one of the most iconic characters in the game's roster. With a truly unique skillset, the reasoning soon becomes apparent, but her abilities are among the hardest to truly master. Tracer's abilities consist of dual Pulse Pistols, Blink teleportation and her talent of rewinding time through the Recall ability.
- With two powerful Pulse Pistols, it's tempting to rush straight into battle with Tracer. However, due to her low health, Tracer suffers under heavy fire and requires a careful balance of offensive maneuvers and cautious retreats.
- Tracer's abilities allow for quick insertion into the field, which pairs perfectly with her Pulse Bomb ultimate. The bomb, which sticks to any surface it lands on, can be used to take out a group of enemies quickly or counter an enemy's Ultimate. It's also incredible for dealing huge damage to tank heroes.
- Both Tracer's Blink and Recall abilities can be used in alternation to confuse oncoming enemies. While this tactic isn't as efficient on high-skill players, it still gives you a few precious seconds to retreat, recover, or pursue the target relatively safely.
- Recall also reverses any damage dealt to Tracer in the last few seconds, so get a feel for using it as a survivability tool.
- Tracer's Pulse Pistols can deal heavy damage at close range, which is most effective while also using the Blink ability to dart between numerous positions.
- Pulse Pistols do a lot of damage but have very small clips. Don't be afraid to melee attack to finish a player off.
Tracer's biggest flaw is her low health, which can result in a quick death if targeted by characters wielding accurate or explosive weapons. Heroes that deal heavy close-quarters damage, such as Reaper and Roadhog, are also formidable foes for Tracer.
Widowmaker guide: Abilities and tips
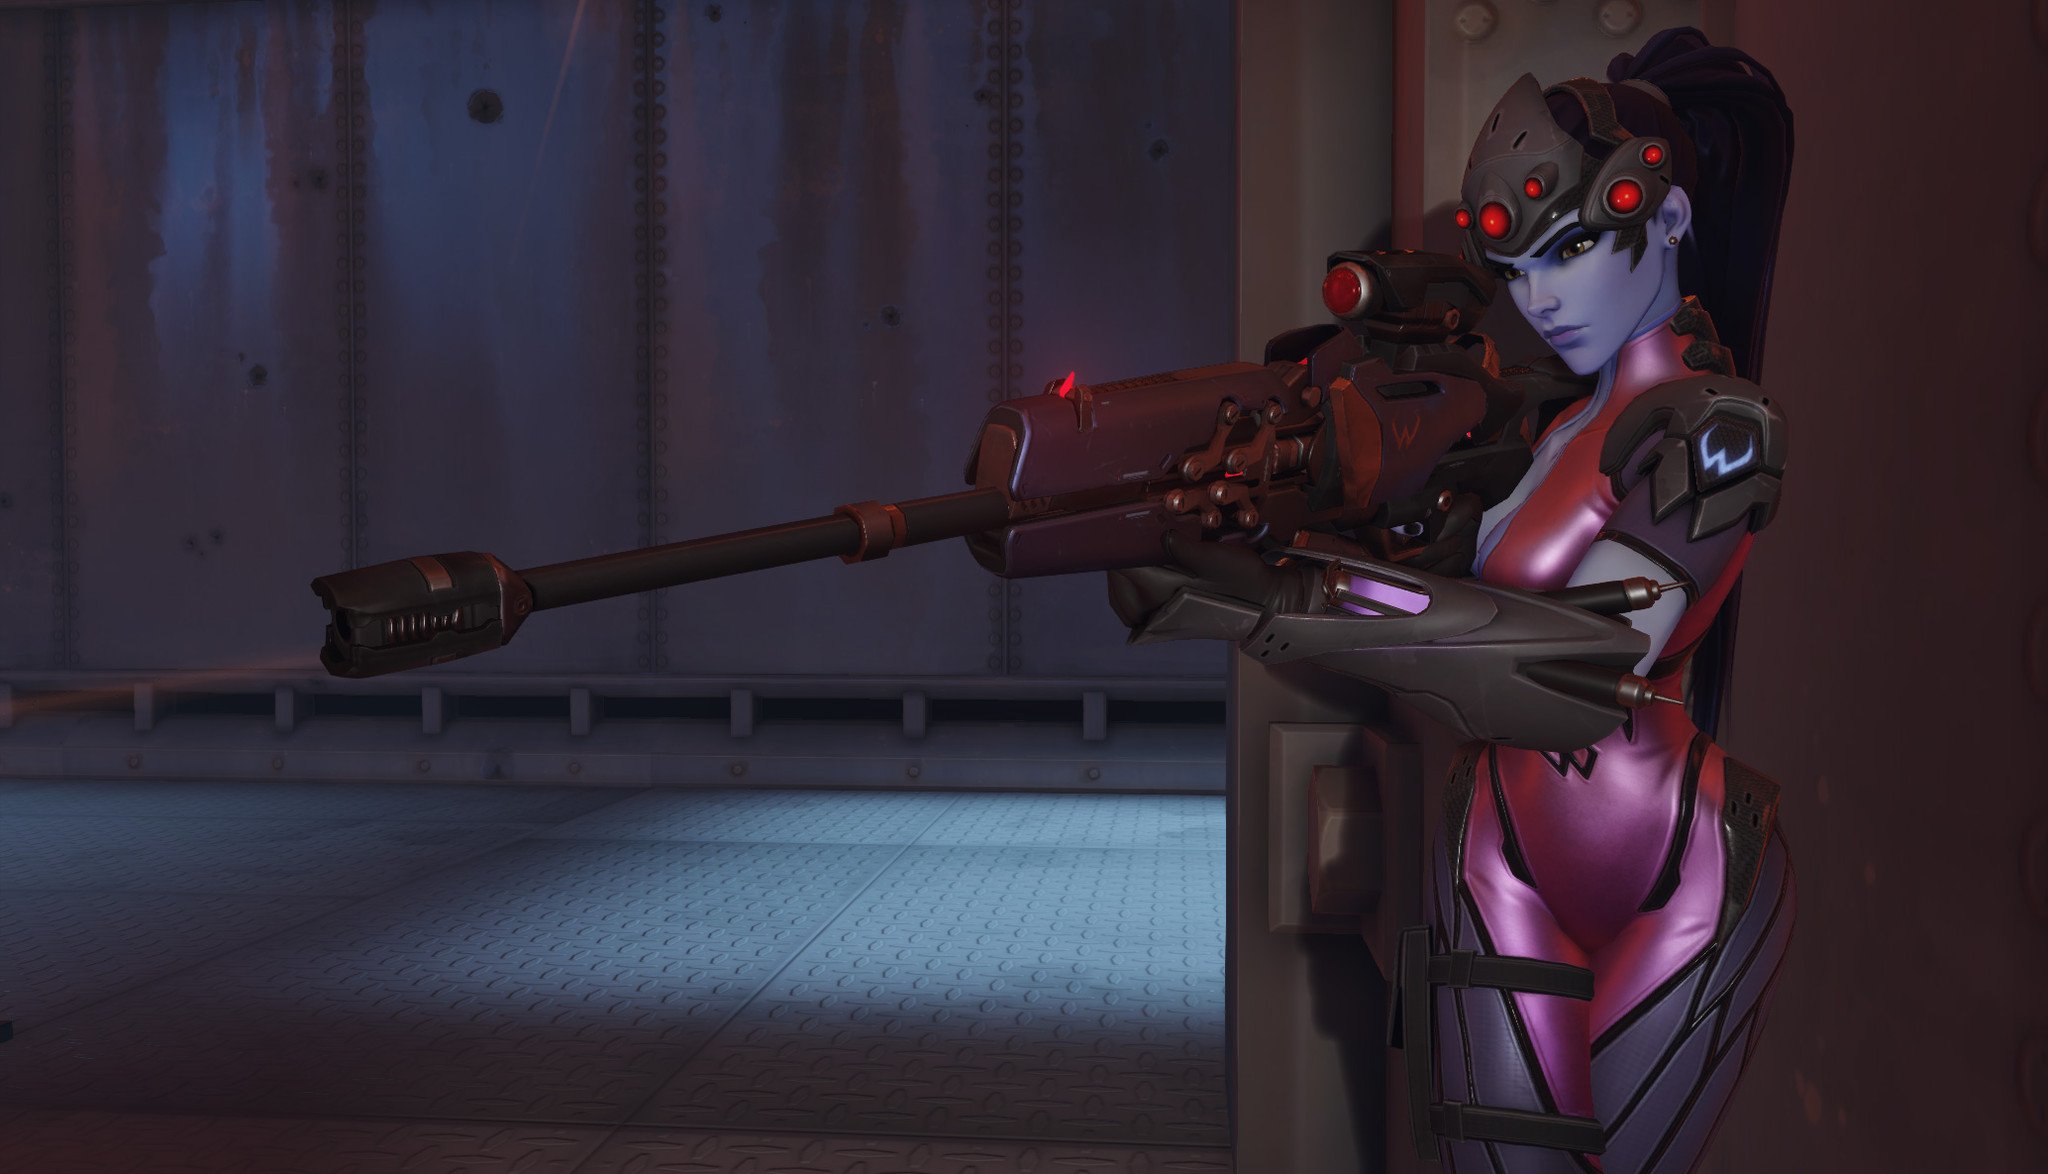
Widowmaker utilizes a sniper rifle and thrives when using high-ground positioning to spot and take out enemy players. Wielding a Grappling Hook to reach sniper perches, Widowmaker can quietly sit above the map and provide support during heated battles. Her Ultimate ability Infra-Sight uncovers all enemy locations, exposing their movements for a few seconds.
- Taking advantage of Widowmaker's unique Widow's Kiss rifle adds versatility to her skillset, with the ability to handle long and short range encounters. Keeping a distance from close-quarters situations is still key, however, as the Widow's Kiss' machine gun mode is only moderately effective.
- Remember that her sniper rifle takes a few milliseconds to charge up, as displayed by the scope itself.
- Widowmaker's Grapple Hook is ideal for reaching obscure sections of the map but is also a suitable offensive and defensive tool. It can be used to get the jump on enemies, but also as a fast escape route in situations where you get "dove" by mobile characters like Winston or Genji.
- Venom Mine will alert you to the presence of a flanking player if triggered while you're sniping. Make sure you place it in parts of the map that lead to your sniper perch.
- Alternatively, you can also use the Venom Mine as a shield in sniper duels. The Venom Mine hitbox will block one attack while simultaneously letting you shoot through it.
- Widowmaker's Infra-Sight Ultimate recharges fairly quickly, and hugely benefits the entire team. Using her Ultimate will oust all the enemy team's positions, which we highly recommend doing before a fight breaks out so your team knows where to attack or defend from.
Widowmaker's low health makes her fairly easy to kill once she's gained the enemy's attention. Flankers can kill her quite easily if they sneak up on her, and Winston, D.Va, and Wrecking Ball are all capable of contesting her as well. Of course, another Widowmaker is also an effective counter-pick if you're skilled.
Winston guide: Abilities and tips
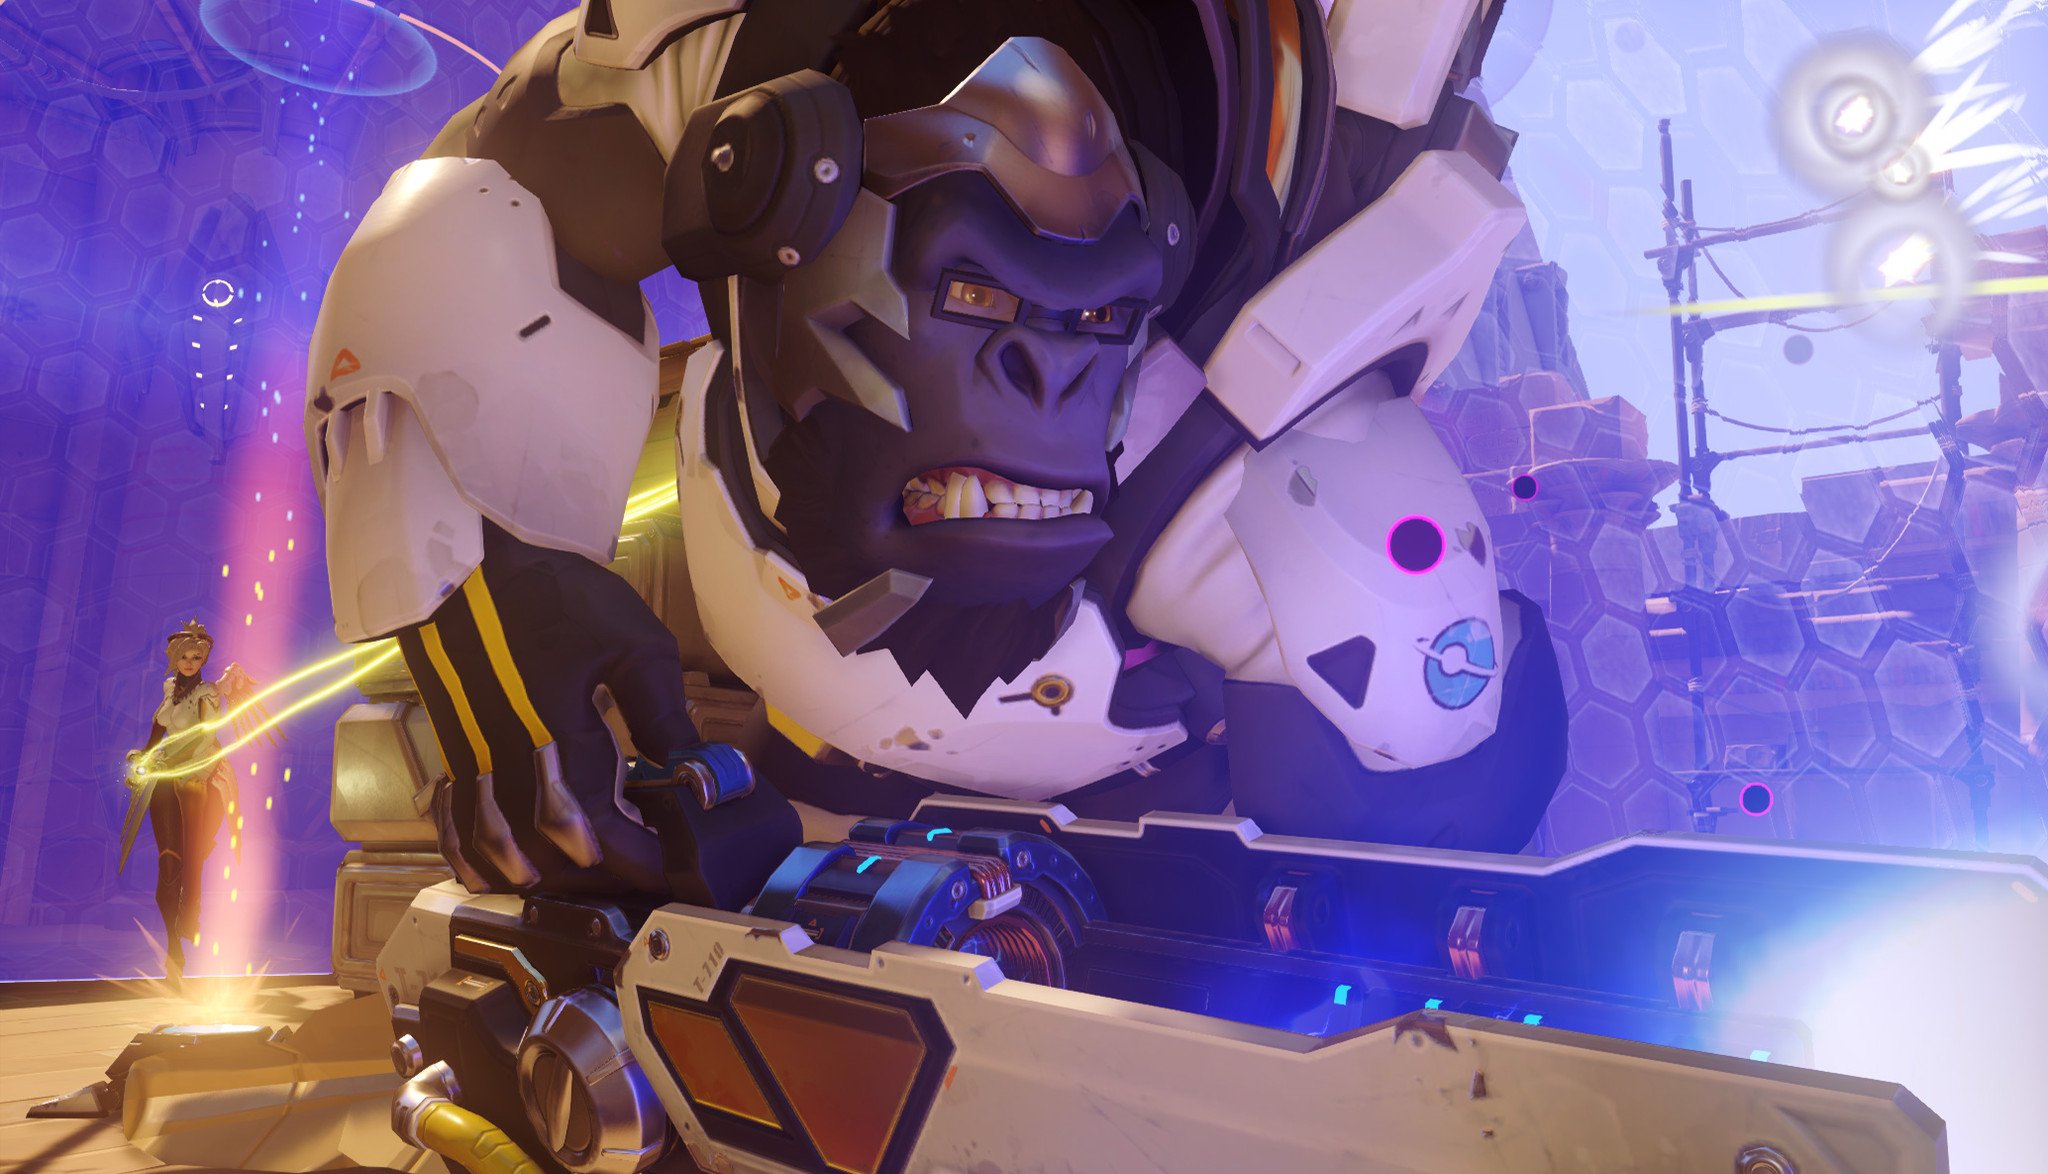
Role: Tank
Winston is armed with a close range Tesla Cannon and a plethora of animalistic abilities. Among these abilities is a Jump Pack ground pound and brutal Primal Rage. With high health, this leaves Winston as a great offensive and defensive hero, held back only by his reduced ground mobility.
- Winston's traits are built around his beastly persona, which takes advantage of his physique in combat. Winston's strength allows for powerful attacks backed by significant force, sending enemies flying among the chaos.
- Use Winston's Jump Pack and Barrier Projector to disrupt the enemy team, but don't expect to get many solo kills. Jump in, smack and zap some people, leap out.
- The Barrier Projector's shield cuts off enemy line-of-sight, making it particularly effective against heroes like Ana and Lucio.
- Winston's Tesla Cannon can inflict damage on multiple heroes at one time, which proves to be especially effective against groups of injured enemies.
- The Tesla Cannon's secondary fire allows you to fire ranged jolts of electricity that are ideal for whittling down foes between your Jump Pack cooldowns.
- If you're playing on a console, consider turning your joystick sensitivity up. Since Winston doesn't rely on careful aiming so much, you'll benefit from the increased movement speed.
- Winston's Primal Rage Ultimate can be used to survive heavy damage, as a result of the doubled health you get upon activating it. Even when running low on health, Winston's maximum health will double upon activating his Ultimate. This makes it great for contesting objectives.
- Primal Rage also enables you to constantly knock back opponents and returns your Jump Pack ability every two seconds, turning you into an unstoppable disruptive juggernaut. Use the Ultimate to force enemy players into awkward positions, isolate foes from their teammates, or even knock them into environmental hazards.
Winston can be frustrating to play against in the right hands due to his mobility and aggressive nature. His direct damage output isn't incredible, but he can disrupt coordinated teams extremely effectively. Focus fire is the key to taking him down, no matter what heroes your team is playing.
Wrecking Ball guide: Abilities and tips
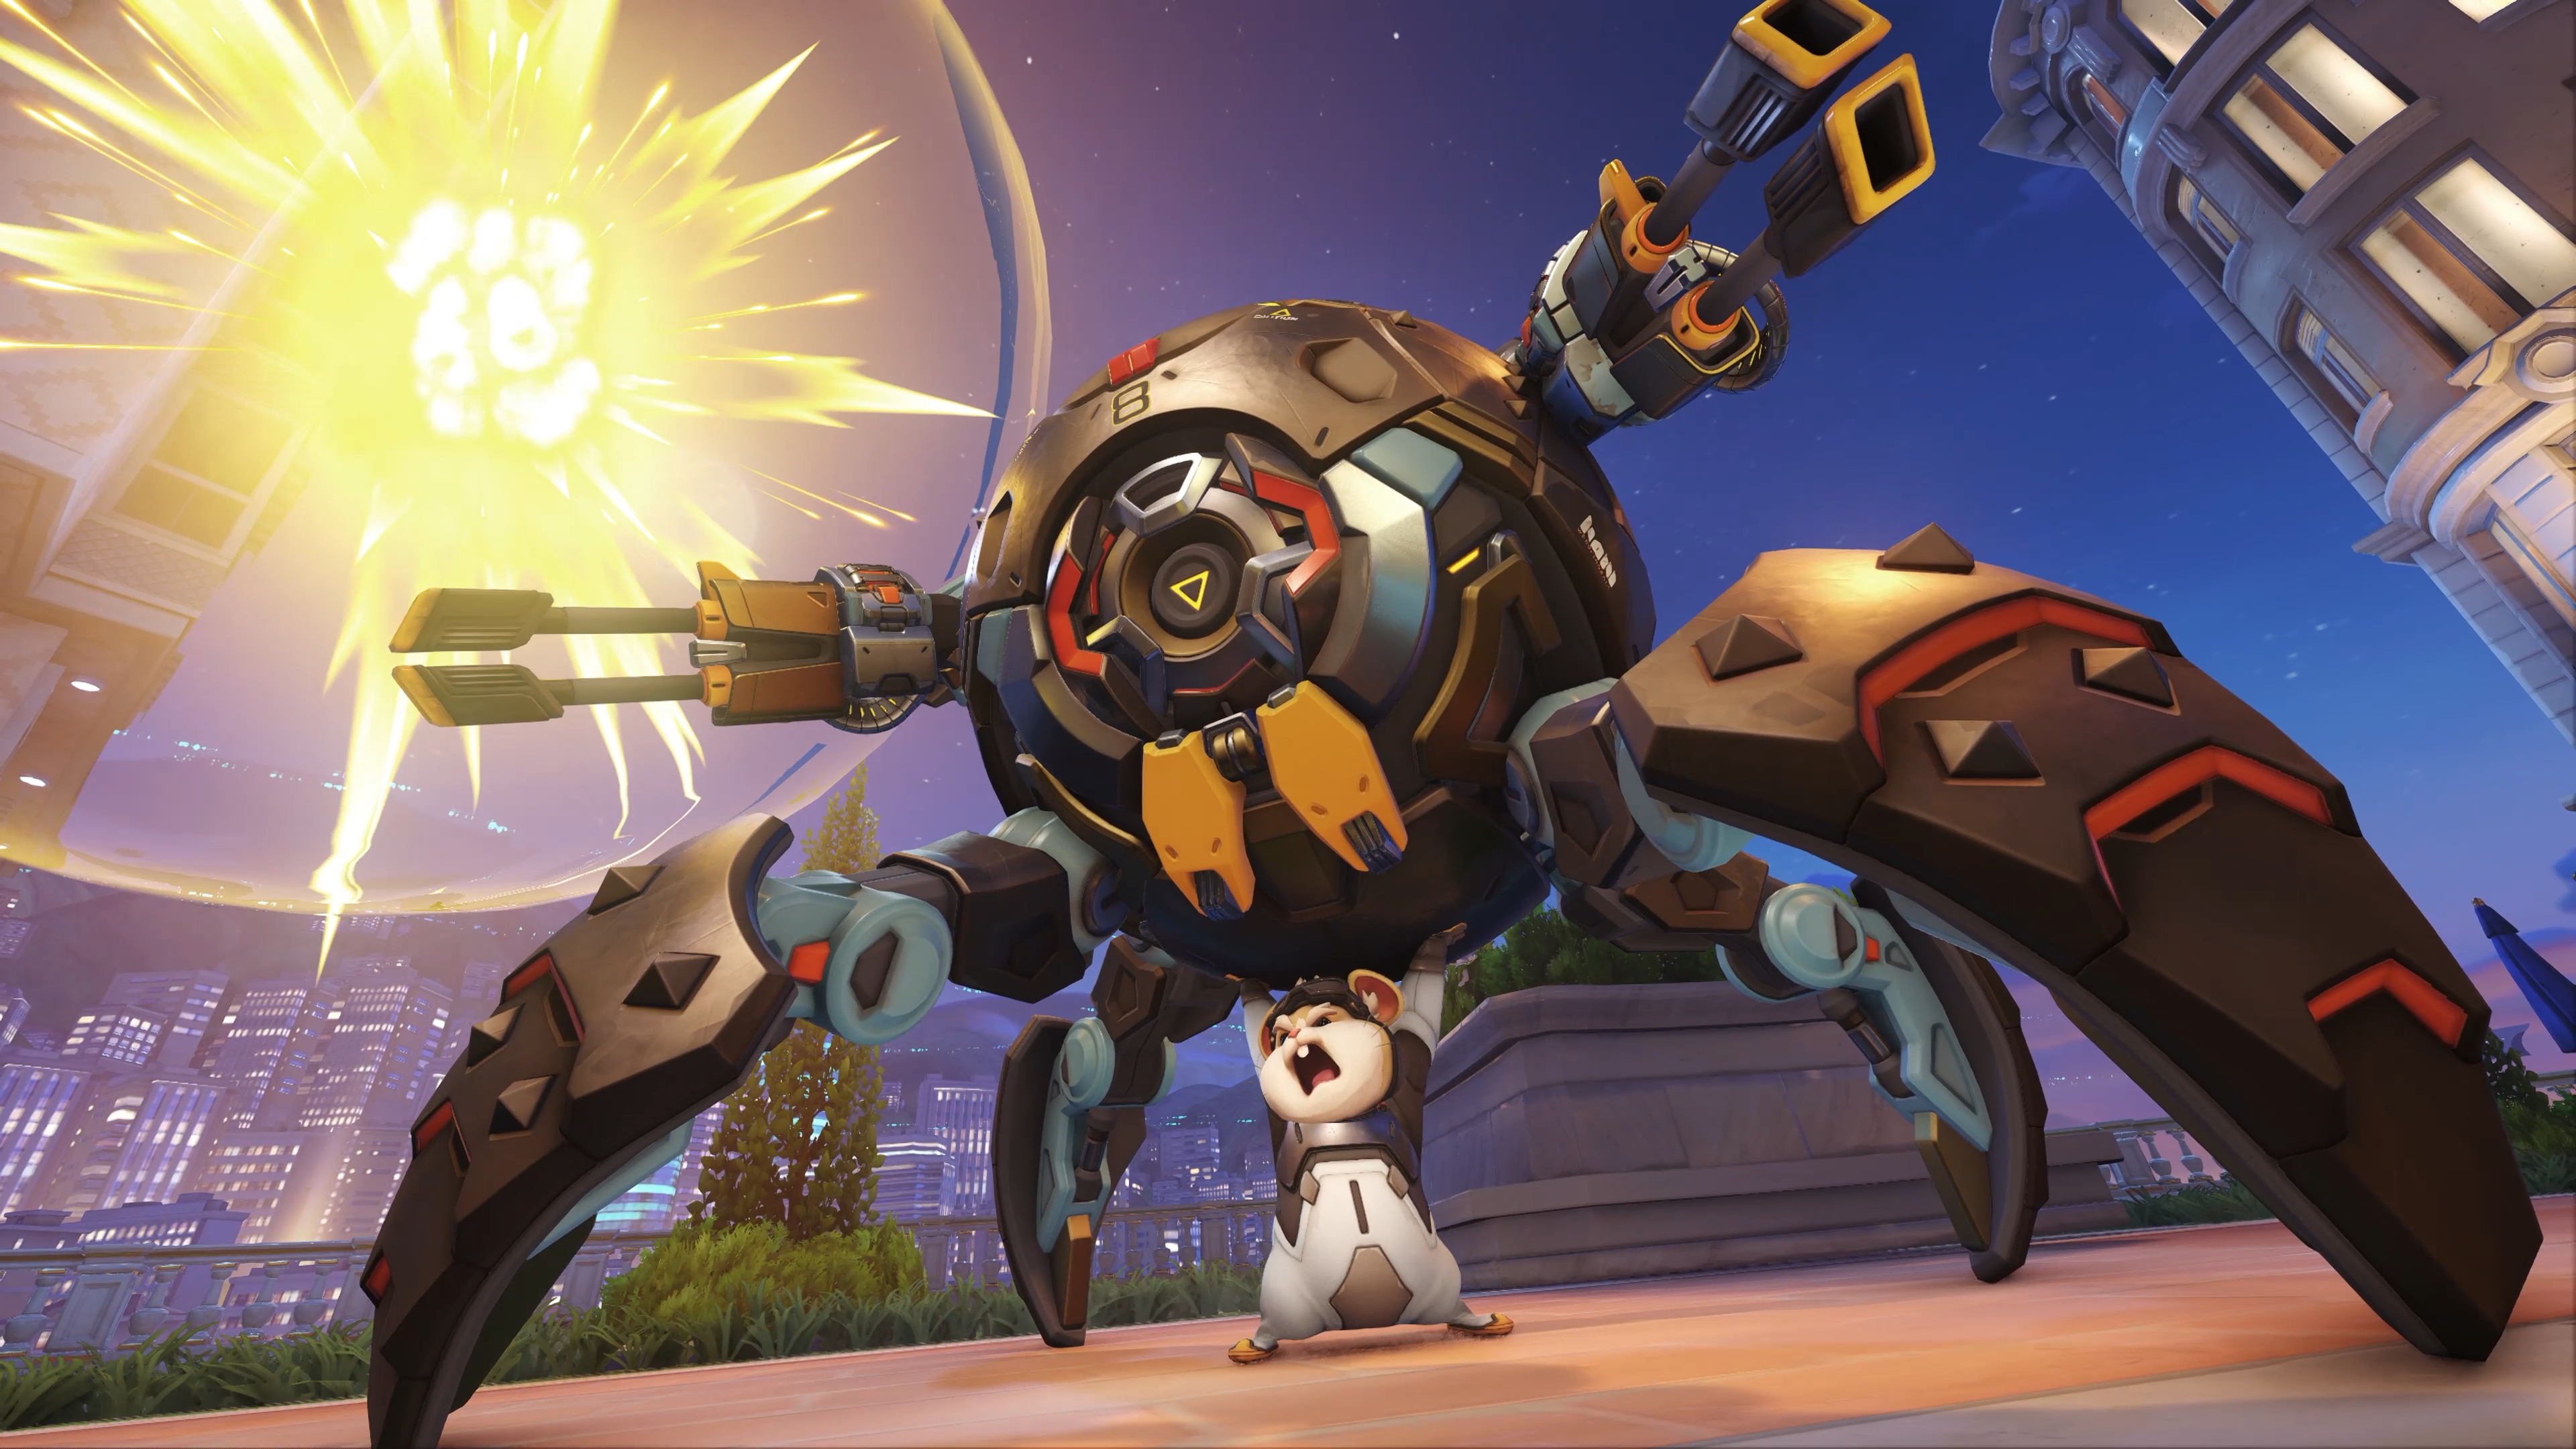
Role: Tank
Wrecking Ball is the ultimate disruption tank, as his entire kit is built around aggressively booping enemies around and then getting out alive. You'll need to master his grappling hook mechanics, but once you do, you'll become an unstoppable force on the battlefield.
- Wrecking Ball's Quad Cannons are a good ranged option when you're not able to physically roll into enemies, but you should prioritize being aggressive with your mech.
- Grappling Claw can be used to build up momentum to the point where you can run directly into enemies for damage and disruption. This can be used to knock enemies out of position and in some cases, into hazards.
- Piledriver is also an effective way to help allies confirm kills, as it boops enemies directly up into the air.
- Use Adaptive Shields when you're deep into the enemy team's line, as it gives you more shields for being closer to more enemies. This will improve the odds of your survival when you go to escape.
- You can use the Minefield Ultimate to cover objectives with deadly explosives, which makes them much easier for your team to capture and hold.
Overall, the best way to counter Wrecking Ball is to use crowd control abilities to slow or stun him. This prevents him from executing his grappling hook movement. Aside from that, you'll need heavy focus fire to burn through his health and shields. Reinhardt's Rocket Hammer and Charge offer solid ways to hinder and cancel his mobility, as does Roadhog's Chain Hook and Orisa's Energy Javelin. Mei is also capable of slowing Wrecking Ball down to a crawl, and Junkrat's Steel Trap will keep him pinned in one location for several seconds if he rolls into it.
Zarya guide: Abilities and tips
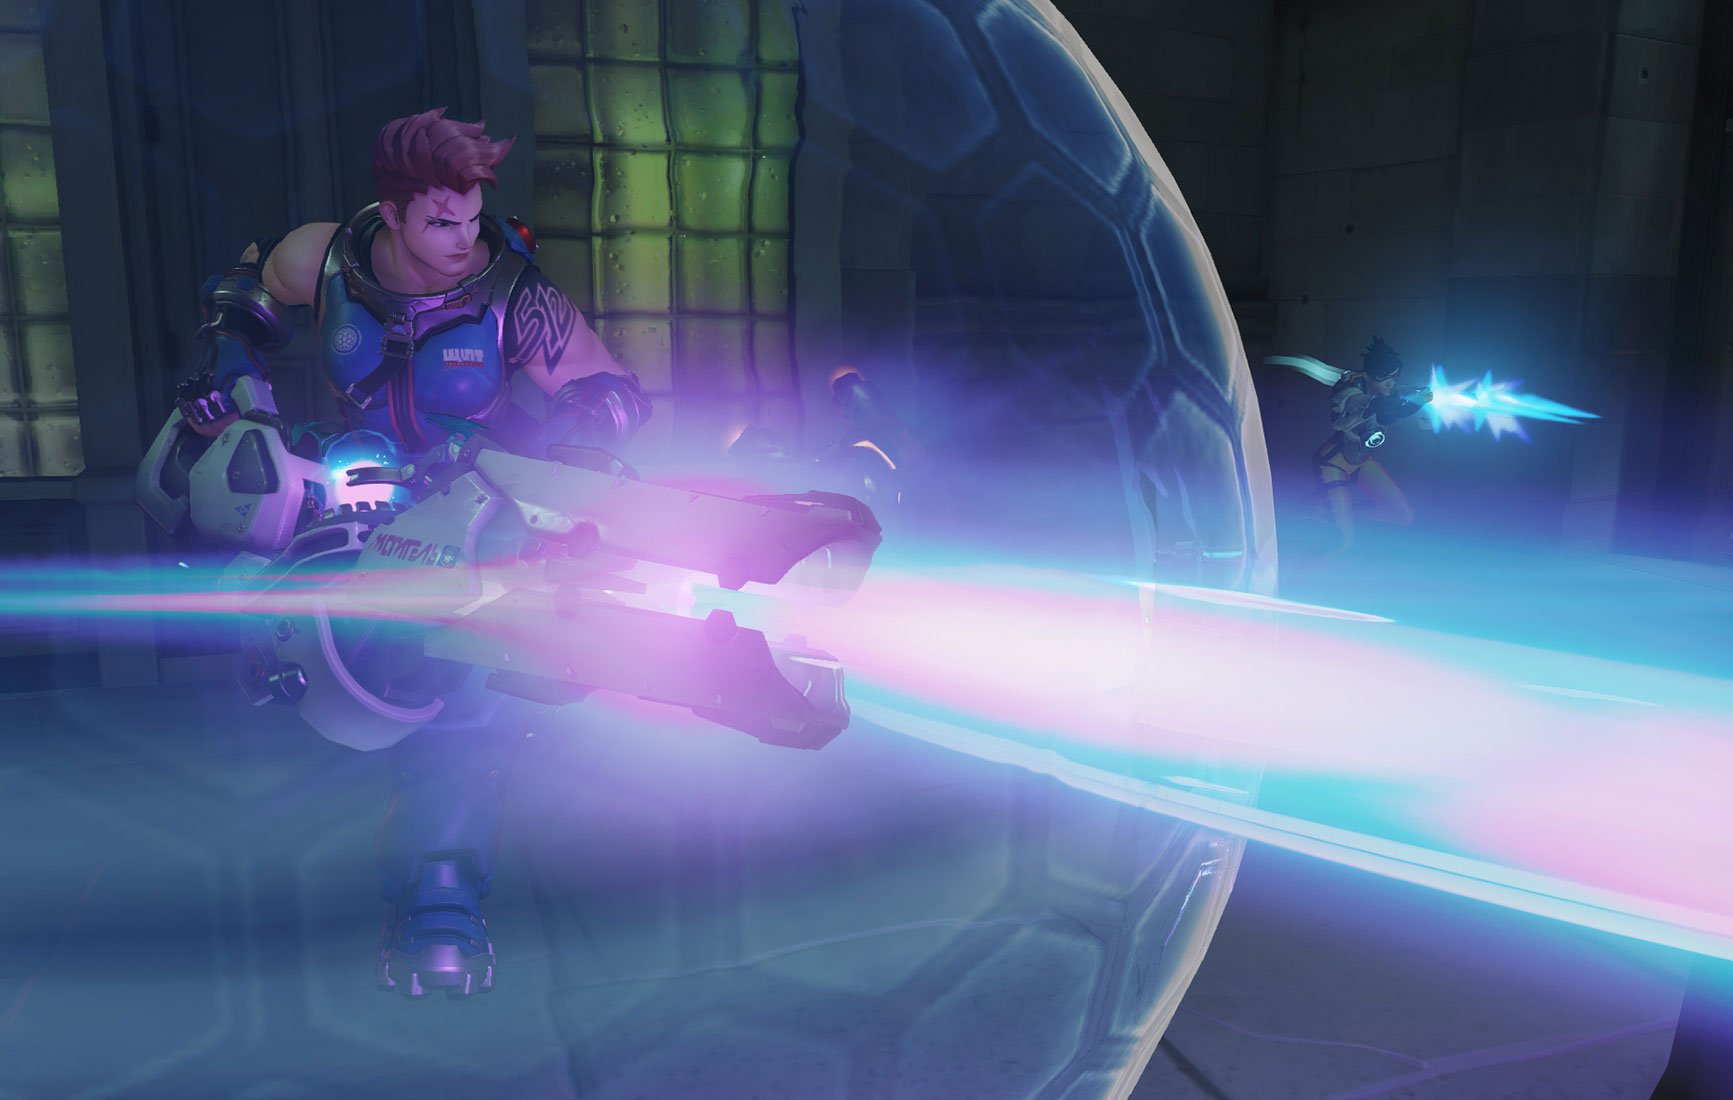
Role: Tank
At her core, Zarya is all about protecting allies and then responding to enemy attacks with powerful damage of her own. Using her Particle and Projected Barrier, damage Zarya or her allies take charges her Particle Cannon, creating a valuable damage boost.
- Zarya's abilities require careful balancing to be used effectively, ensuring damage is frequently taken to utilize her abilities. If operated correctly, her shields can withstand damage from Ultimate abilities.
- If you spot that a friendly player is about to get damaged heavily, project a barrier on them to keep them safe and charge up your weapon.
- You should also bubble yourself once towards the start of each fight, as it's an easy way to get some weapon charge.
- Zarya performs best in enclosed spaces and chokepoints, where incoming damage can easily be controlled and her mid-range damage is most effective.
- The Graviton Surge Ultimate is among the most dominant in the game, with the potential to trap an entire enemy team. If allies are nearby to deal damage to trapped enemies, the Ultimate can be used to wipe out an entire team reliably.
- Graviton Surge can also suck enemy teams off bridges and into pitfalls, depending on where you stick the singularity. Look for opportunities where the gravity well might suck people off the map.
While Zarya takes advantage of incoming damage, she's weak against flanking heroes like Reaper. More long-range characters wielding accurate rifles or rockets will be able to pick off Zarya from a distance as well due to the short range of her weapons. Additionally, Graviton Surge can be survived with support Ultimates like Lucio's Sound Barrier and Zenyatta's Transcendence.
Zenyatta guide: Abilities and tips
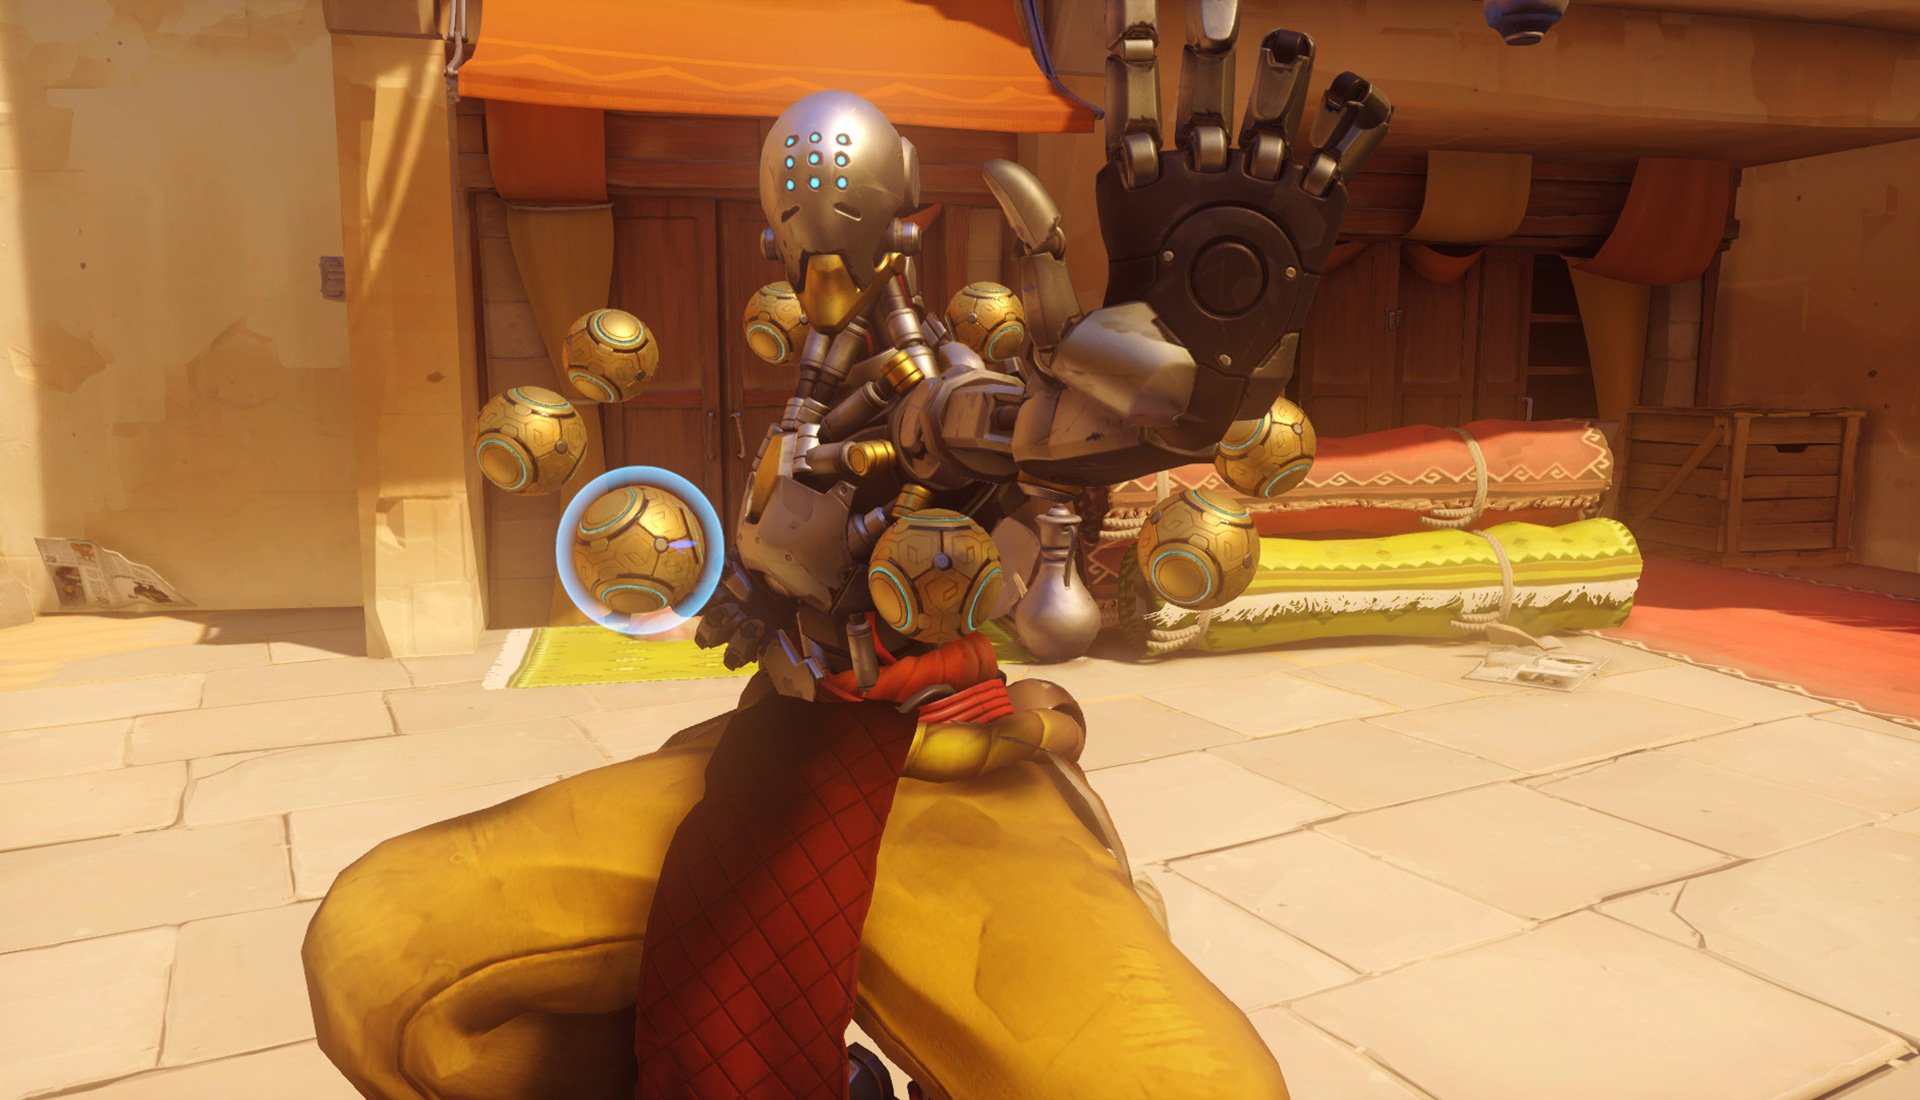
Role: Support
Zenyatta is a balanced support hero, utilizing a variety of orbs to deal damage and maintain player health. The Orb of Destruction is Zenyatta's main attack, which allows his projectiles to be fired in succession. Zenyatta's two primary abilities, the Orb of Discord and Orb of Harmony, provide allies with health and increase damage received by enemy players. His Ultimate, known as Transcendence, makes Zenyatta invincible and provides nearby allies with rapid healing.
- Zenyatta operates best when holding away from the enemy team due to his low health.
- Zenyatta's Orb of Destruction might not be very useful up close, but they allow for multiple orbs to be rapidly fired in succession by holding down the alternate fire button and then releasing. With non-existent bullet drop, these attacks can be used to catch enemies in the distance. When combined with the Orb of Discord debuff, they can drop enemies surprisingly quickly.
- It's best to attach your Orb of Harmony to players you know will actively take damage soon, such as a tank about to go in or a damage player using their Ultimate. The healing it provides is low compared to the output of characters like Ana or Mercy, but it's consistent, which is often all your teammates may need to stay alive.
- The Transcendence Ultimate, which heals surrounding enemies, can be used to survive high damage attacks and enemy Ultimates. Its brief duration makes it hard to time, but when the stars align, you'll save your team from being destroyed.
Zenyatta's combination of low health and average speed means he can easily be taken out by accurate players, although his excellent damage output means that he might take you out first. Widowmaker is particularly good at destroying Zenyatta from long distance where his projectiles are harder to land, and flanking characters can frequently catch Zenyatta distracted as he monitors his teammates' health and places Orbs of Discord.
Overwatch 2 is available now on Xbox Series X|S, Xbox One, Windows PC, PS5, and PS4. Season 4 is scheduled to go live on April 11, 2023, at which point both Lifeweaver and the new season's Battle Pass will become available. If you're a new player and want a head start on progression, consider getting the Ultimate Battle Pass Bundle once Season 4 comes out. It includes Premium Battle Pass access, 20 instant Battle Pass levels, 2,000 Overwatch coins, and a Beekeeper Sigma skin.

