The Orochium Shrine in The Legend of Zelda: Tears of the Kingdom is a complex beast, full of a wide variety of rooms, enemies, and tricky puzzles. It’s longer than many of the other shrines and requires in-depth knowledge of the game’s numerous systems and mechanics.
This shrine is undoubtedly tricky, but this guide will cover how to get through it as easily as possible, step-by-step.
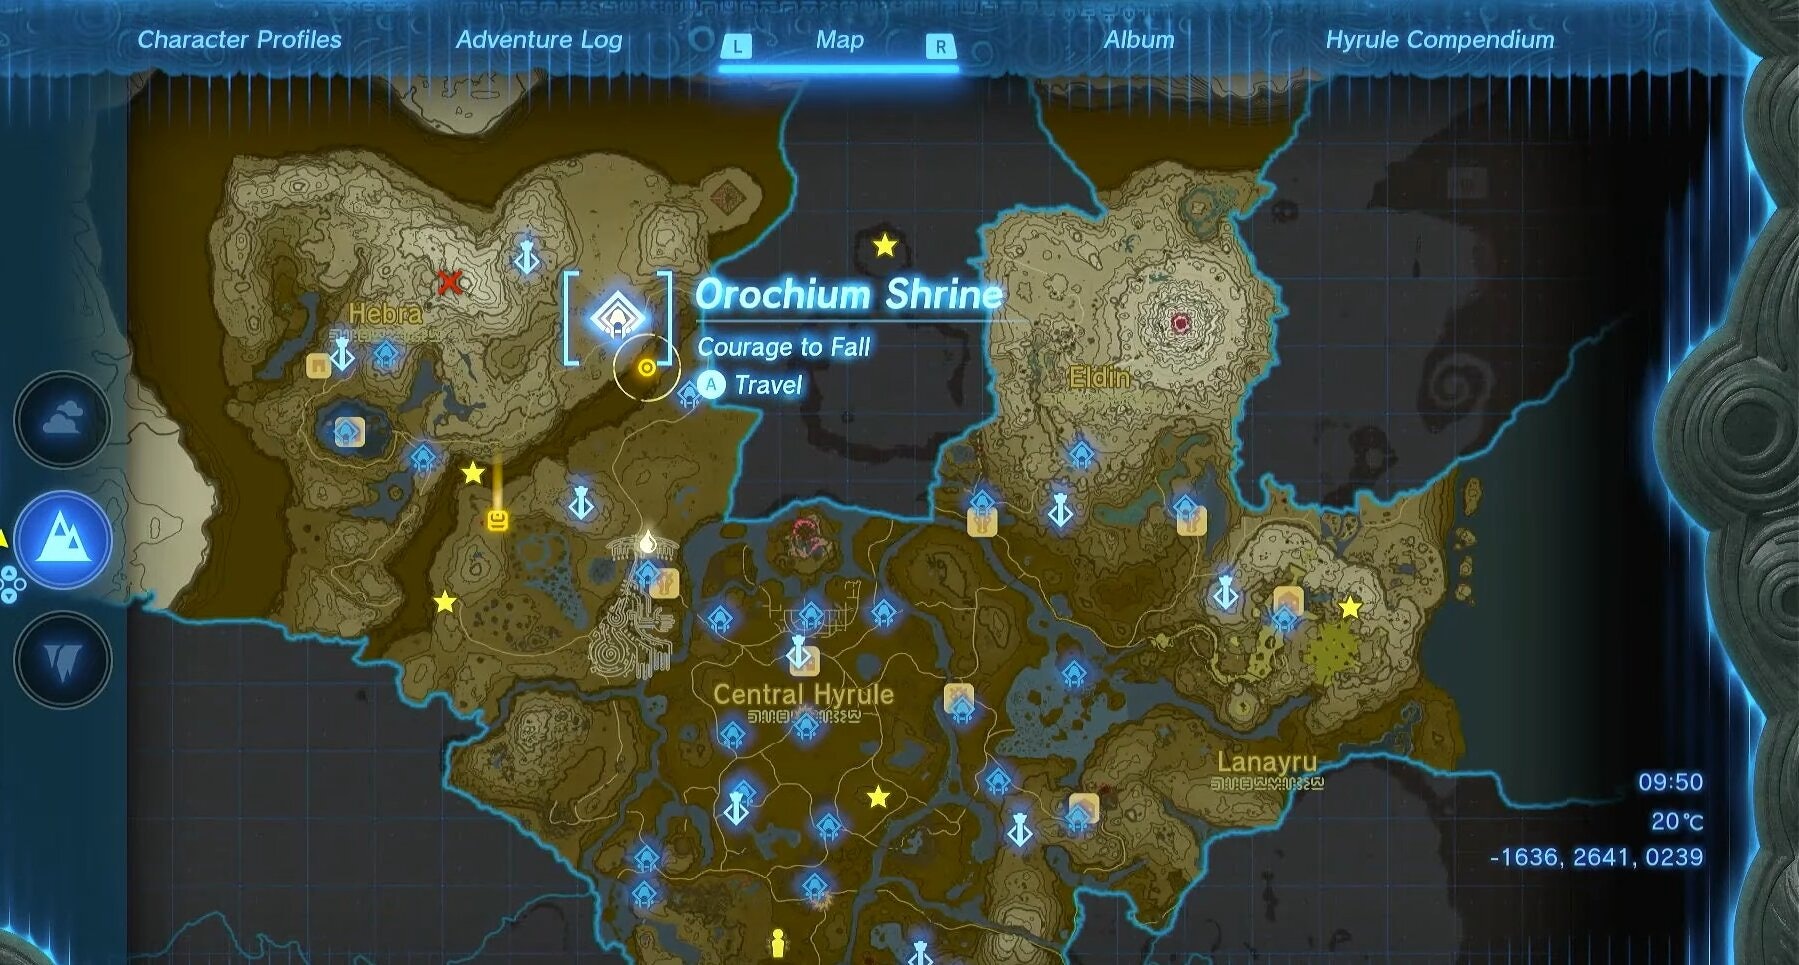
Tears of the Kingdom Orochium Shrine Location
You’ll find the Orochium Shrine in the northwestern region of the map, to the east of Hebra. It’s located between the Pikida Stonegrove and the Forgotten Temple.
Tears of the Kingdom Orochium Shrine Solution
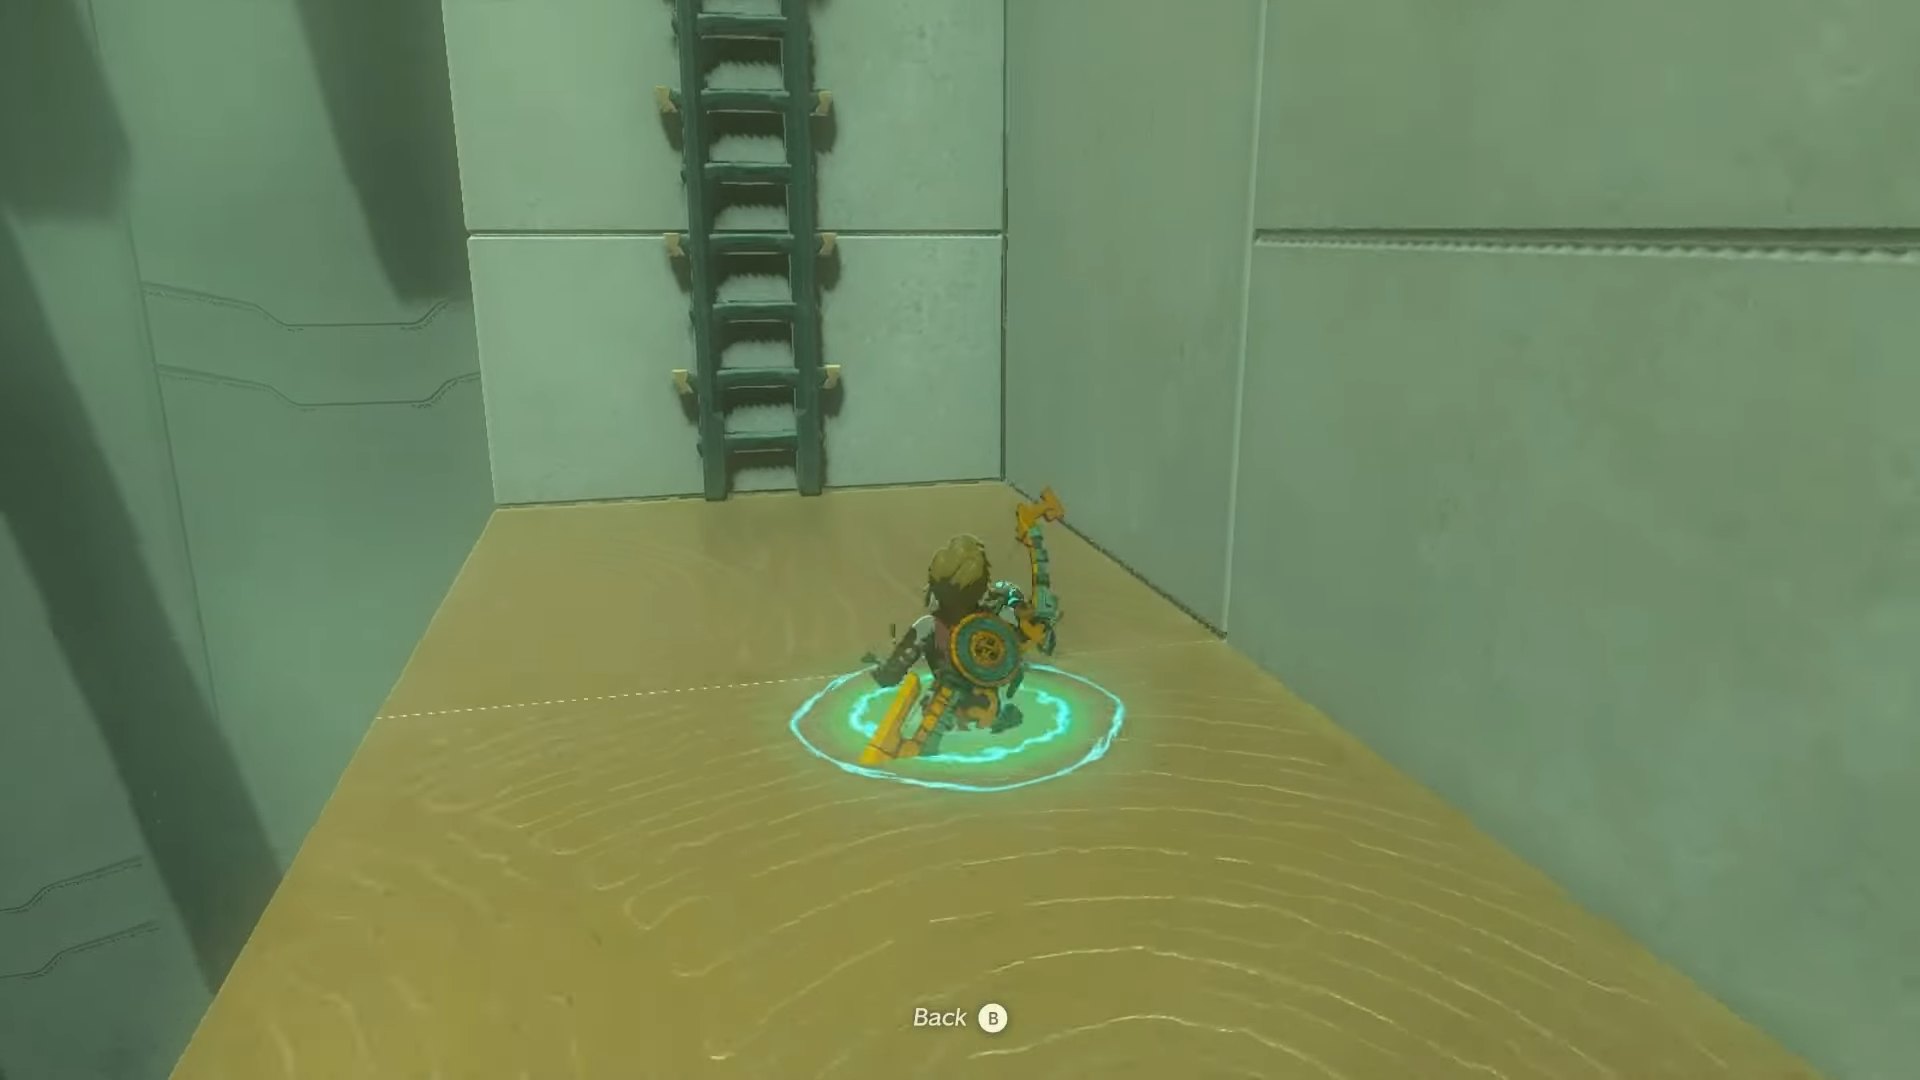
As soon as you start inside the Shrine, run over to the left, where you’ll come across an enemy around the corner. Defeat them, then make your way to the back wall and use your Ascend ability to reach the platform above. Climb the ladder and then crouch down through the small path to your right.
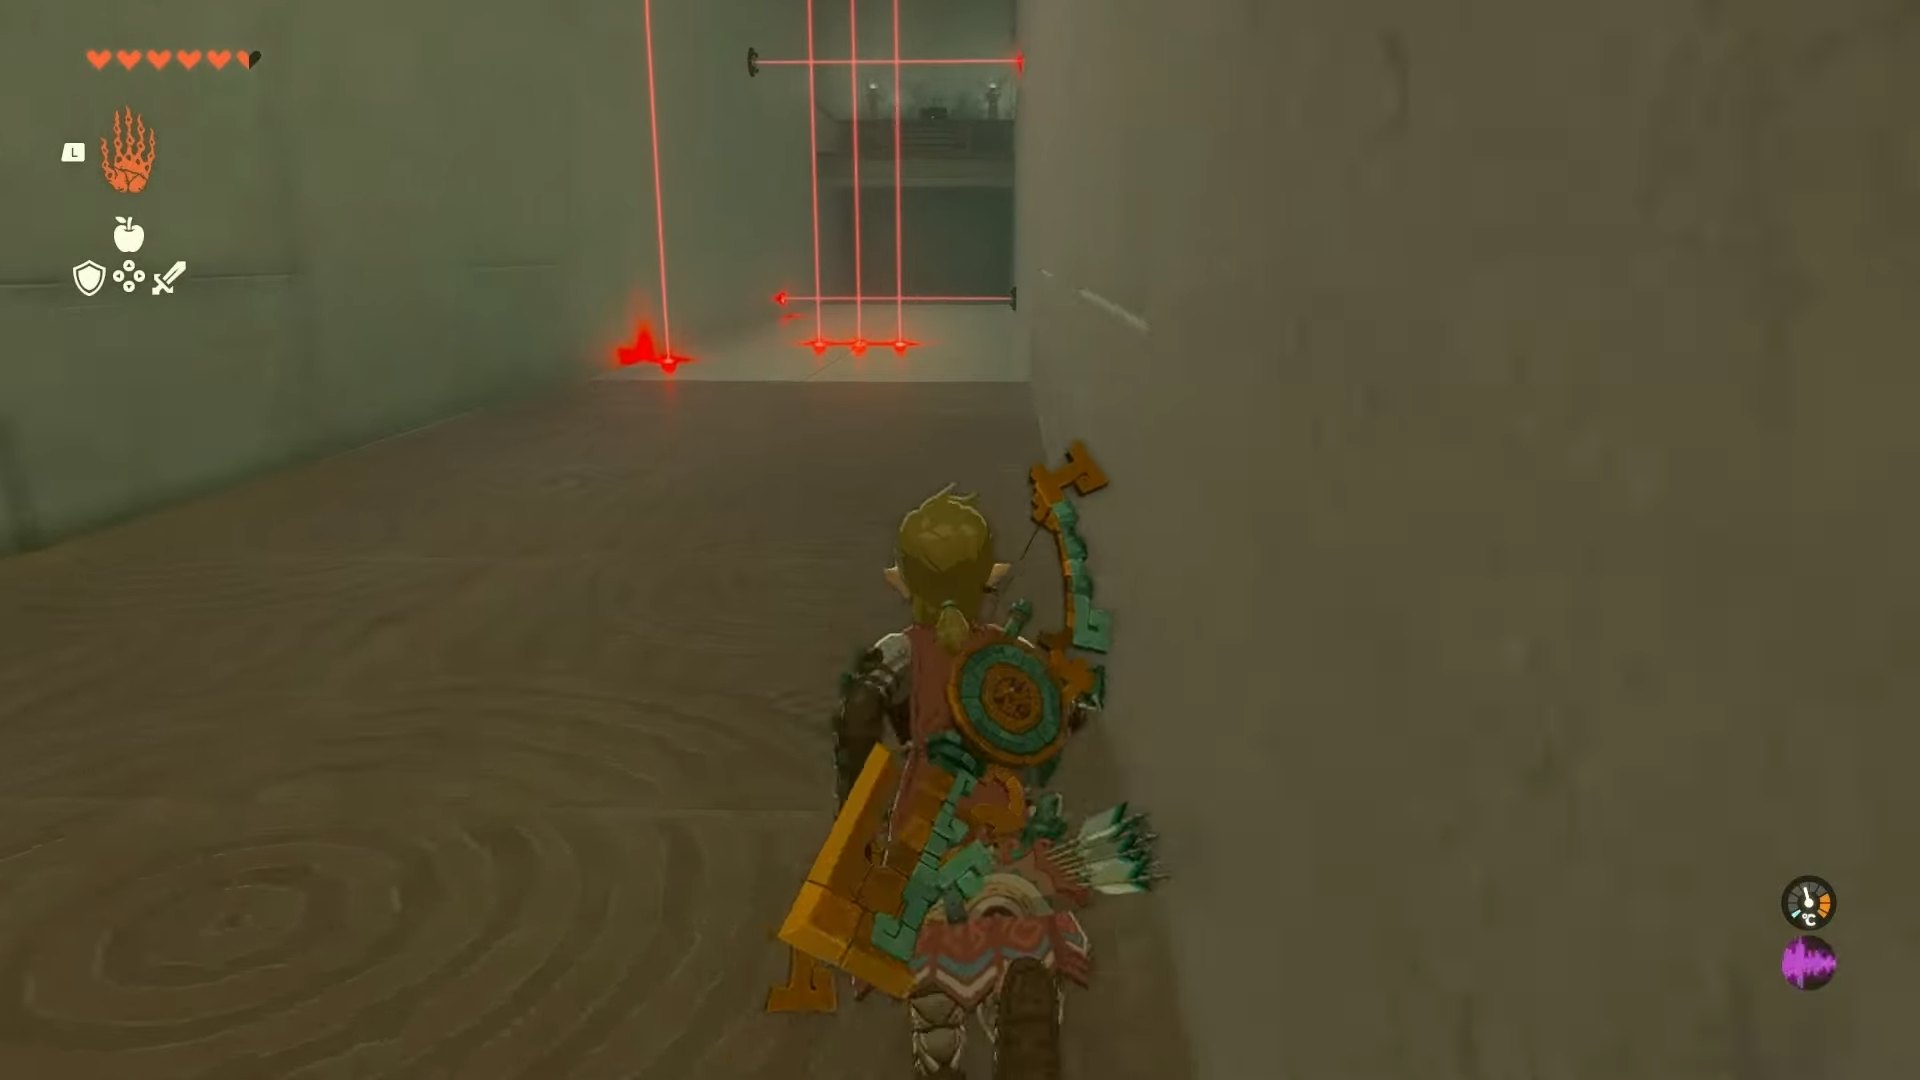
Turn right, drop down onto the enemy below, and then go to the right of the nearby steps to find a chest and an enemy. Open the chest if you’d like and then climb up the steps. Use Ultrahand to open the doors and then you’ll come to a set of lasers.
You need to touch one of the lasers, which will cause a trapdoor to open, sending you to the floor below. This is the trickiest part, as it’s seemingly counterintuitive to get hit by the lasers.
Once you’re below, follow the path past the lasers (don’t get hit by them) and you’ll come to a dead end. Use Ascend to reach the top, where you’ll find a chest containing a Small Key. Grab it and then use Ascend yet again (from directly in front of the chest) to get to the platform above.
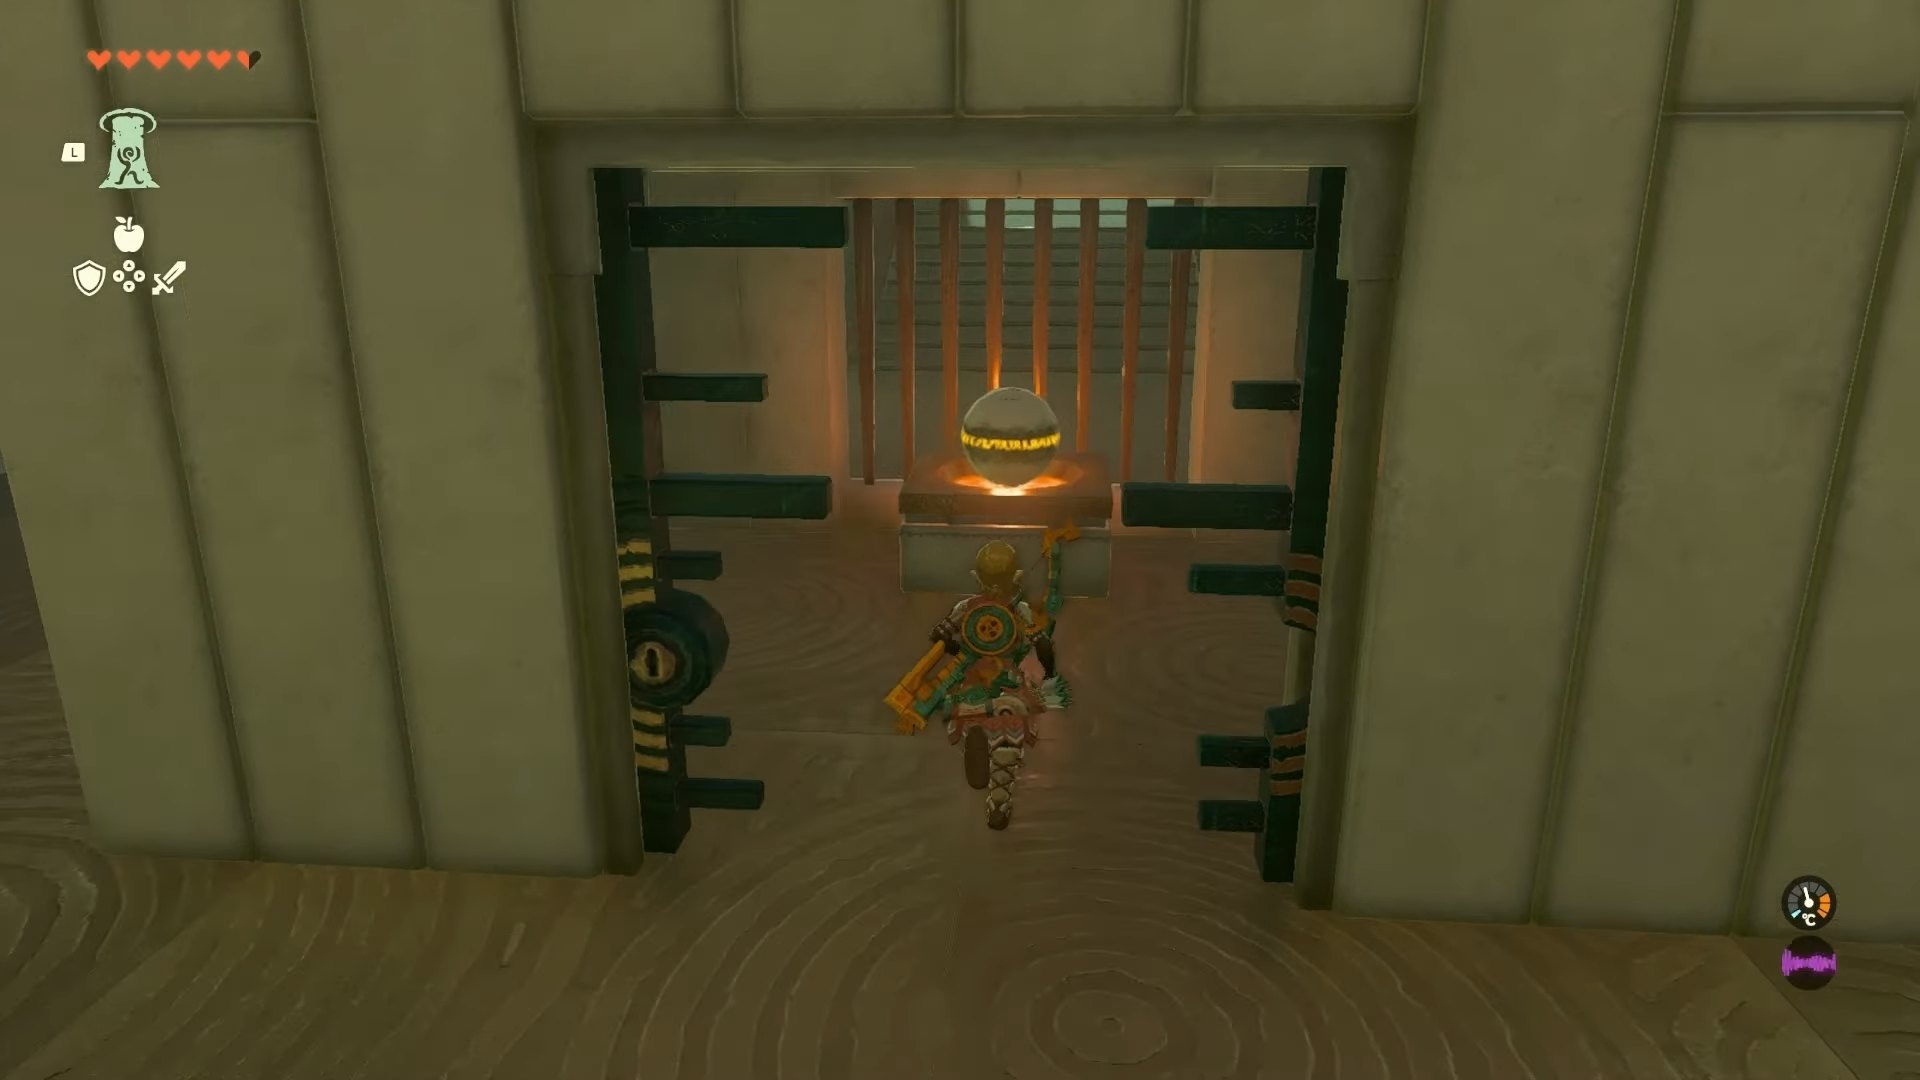
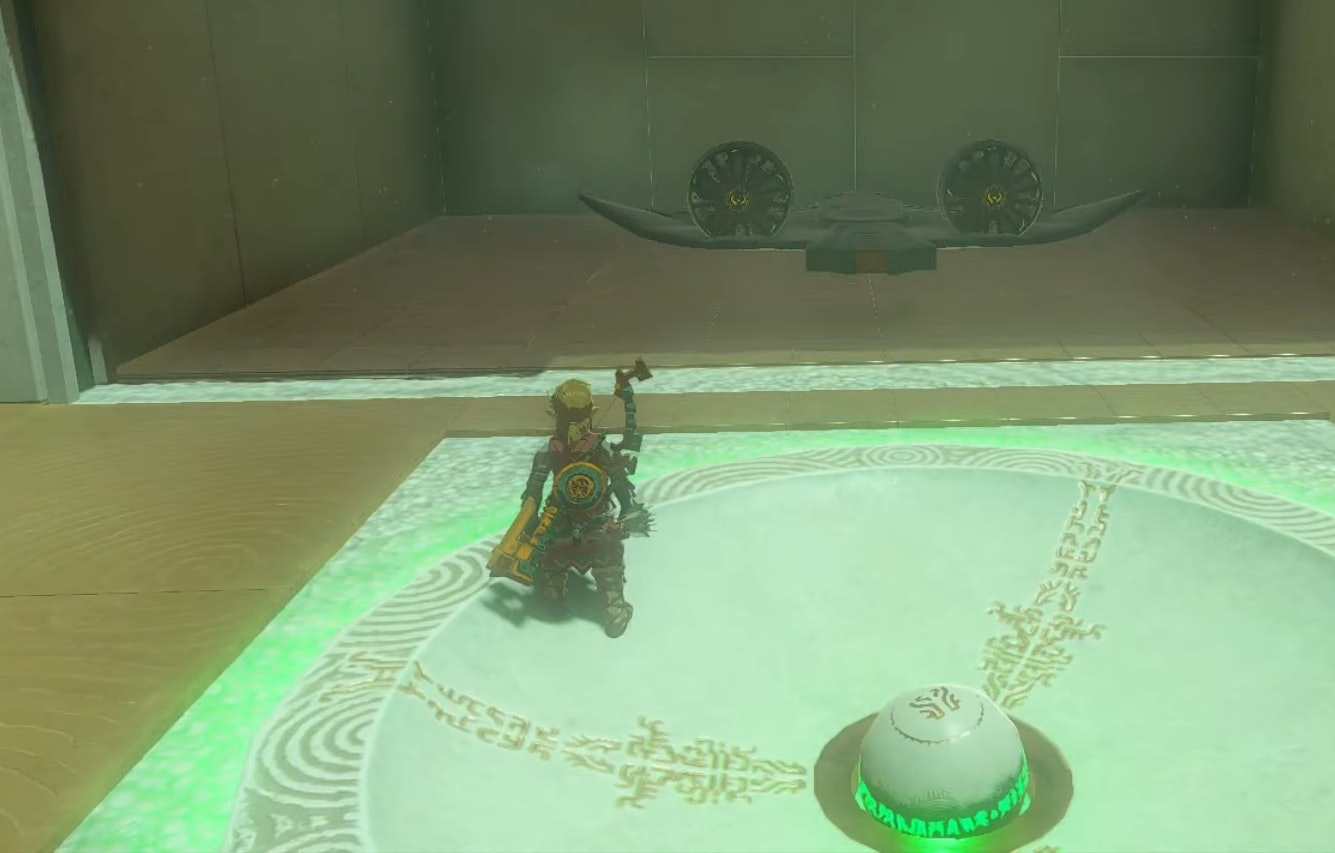
You’ll now be on the main floor where you first encountered the lasers. Head down the steps and grab the ball in the middle of the room, across from the first set of lasers. Then, head back up the steps (where you appeared the last time you used Ascend) and to the left, where you’ll see a platform that continuously raises and lowers. Ride it up to the top, place the ball in the bowl mechanism on the ground, and the nearby gate will lower, revealing a Konai Glider.
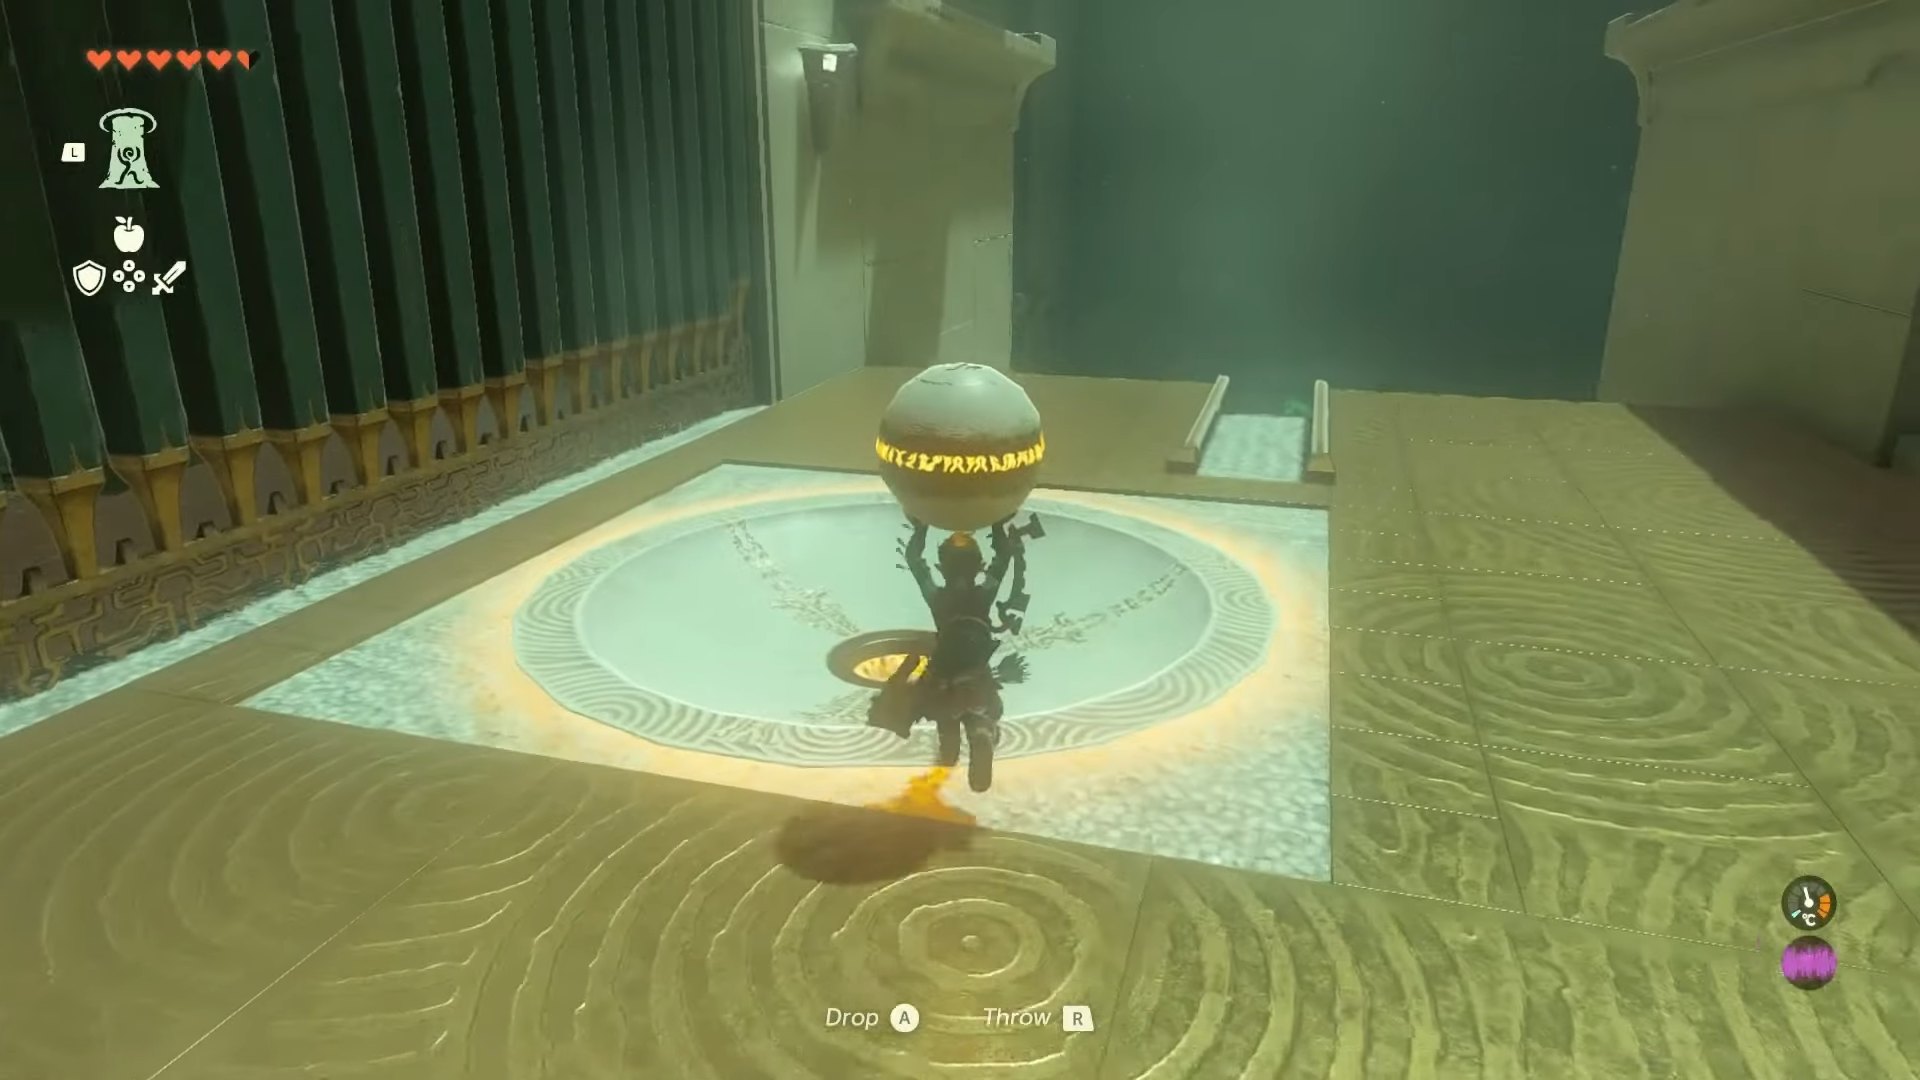
Use Ultrahand to move the Glider onto the rail, then put the ball on top of it. Smack the Fan on the Glider to get it to move forward and then follow it into the room below. Go to where it lands, pick up the ball, and then place it in the bowl mechanism on the ground to your left, which will open the final door of the Shrine, leading to the exit. You can go and collect your hard-earned Light of Blessing for your troubles.
“It's dangerous to go alone!” Check out more of Inverse’s Tears of the Kingdom coverage:
- THE INVERSE REVIEW: Tears of the Kingdom Is the Best Nintendo Switch Game Ever Made
- Tears of the Kingdom’s Best New Mechanic Could Change the Series Forever
- Why Zelda Speedrunners Plan to Take It Slow With Tears of the Kingdom
- Tears of the Kingdom Doubles Down on Breath of the Wild’s Best Inspiration