Just like Breath of the Wild, The Legend of Zelda: Tears of the Kingdom is packed with more 100 Shrines to explore, each of which has its own little puzzle to solve. If you choose to go to Rito Village first, which you should, there are a few Shrines you’ll stumble upon very early, one of which is Mayaumekis.
This Shrine uses the same floating ships with springy sails that you’ll use to reach the Wind Temple, but it can be a little tricky if you haven’t had much experience with these bouncy platforms. Here’s exactly how to solve Mayaumekis Shrine in Tears of the Kingdom.
Mayaumekis Shrine Location

You’ll come across Mayaumekis Shrine early on in Tears of the Kingdom, while pursuing the Tulin of Rito Village quest. The shrine is found in the Hebra region on the Rising Island Chain, which is just above the peak of Hebra Mountain. If you’re following the waypoints for Tulin’s quest, Mayaumekis will serve as your first fast-travel point in that area of the sky.
Mayaumekis Shrine Solution
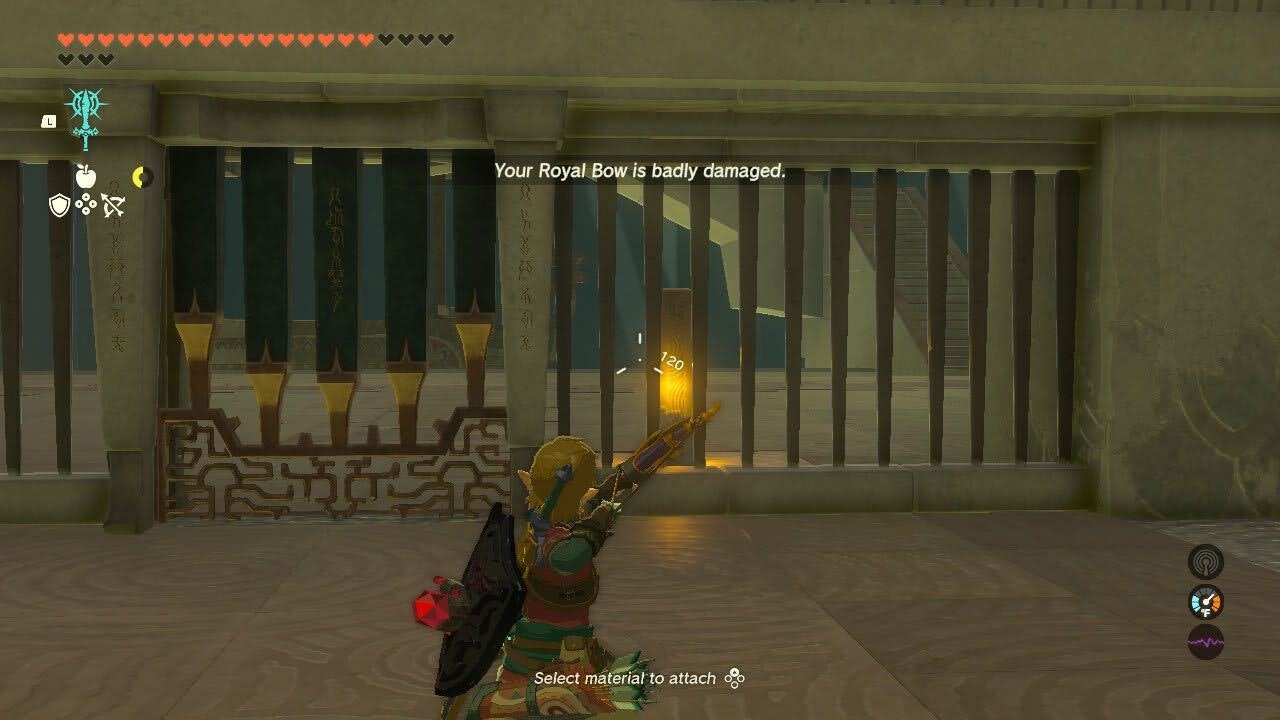
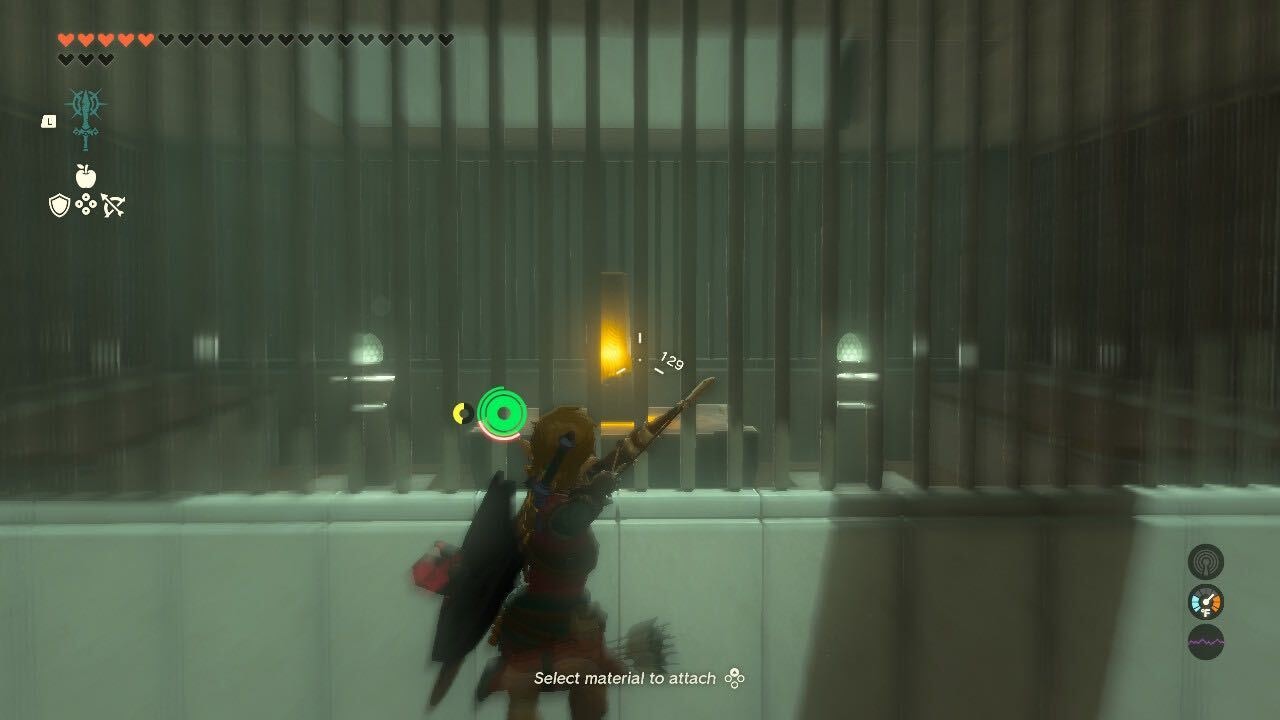
The tagline for Mayaumekis Shrine is “Downward Force,” which is a bit of a hint for the overall puzzle. First off, however, walk toward the locked gate, pull out your bow, and shoot the crystal through the bars in order to open it.
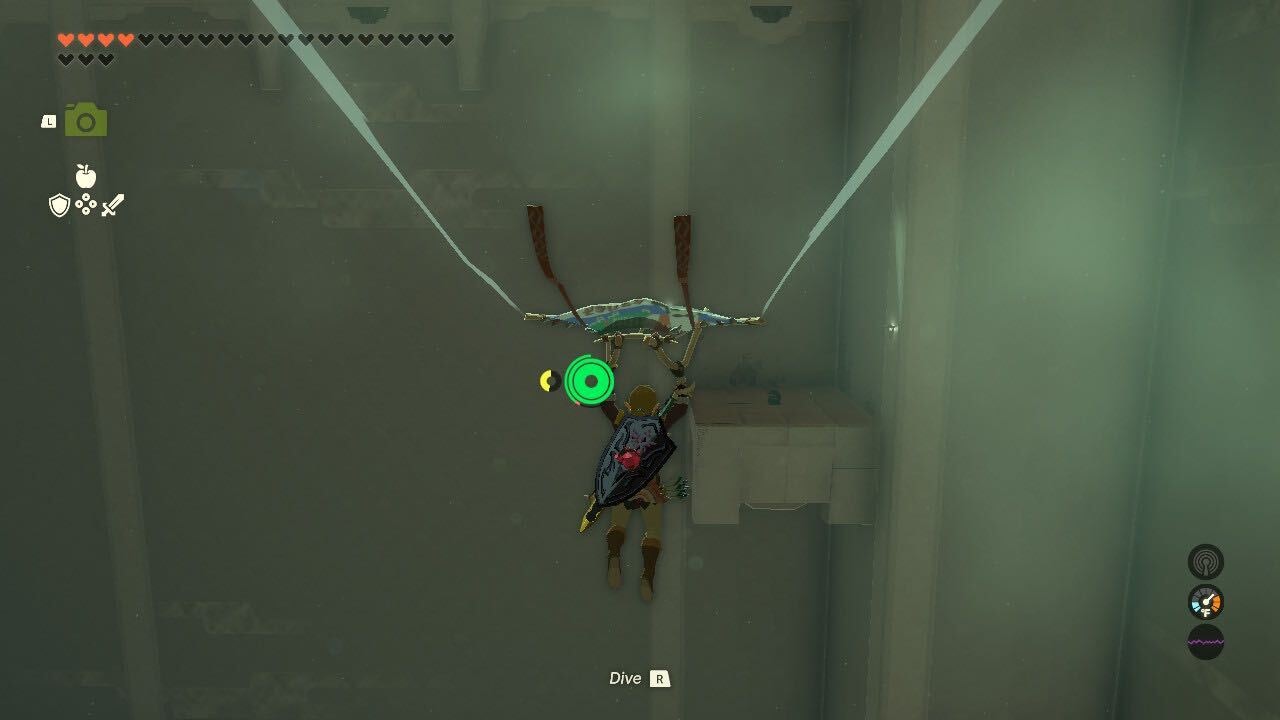
Now you’ll see a number of the floating ships you used to reach the Wind Temple, so head up the stairs and watch out for the Construct at the top. Jump on the sail of the first ship and you’ll be launched high into the air above another platform. Pull out your paraglider to land safely.
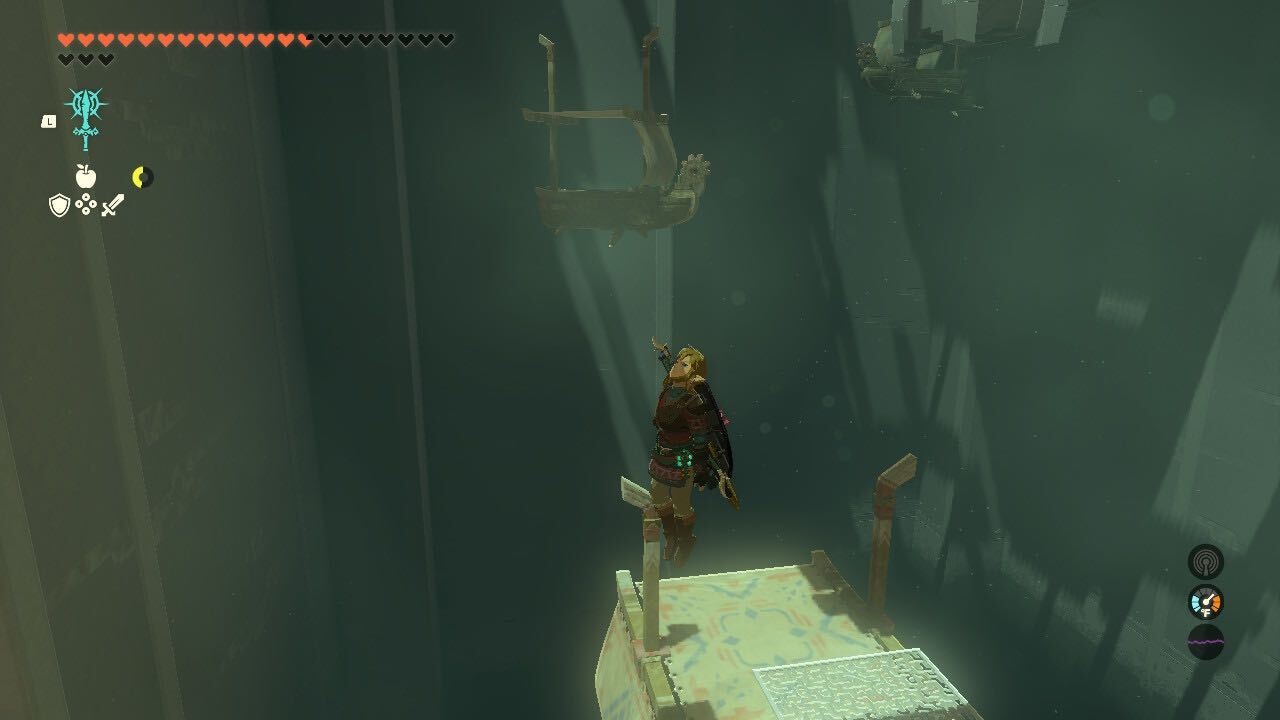
You’ll see another ship straight ahead, but make sure to also note the location of a second ship traveling in a circle in the background. You’ll need to launch yourself off the sail of the first ship, glide to the moving ship and land on its sail, then land on the smaller platform with yet another ship.
Before moving on, if you want to grab the extra chest (contains 10 Arrows) in this shrine you can use the ship attached to this platform.
Facing the ship, the chest is all the way to your left, and you need to pull out your paraglider at the absolute apex of your jump, just as Link is starting to fall, in order to successfully make it. Once you've got the chest, simply glide back to your last position.
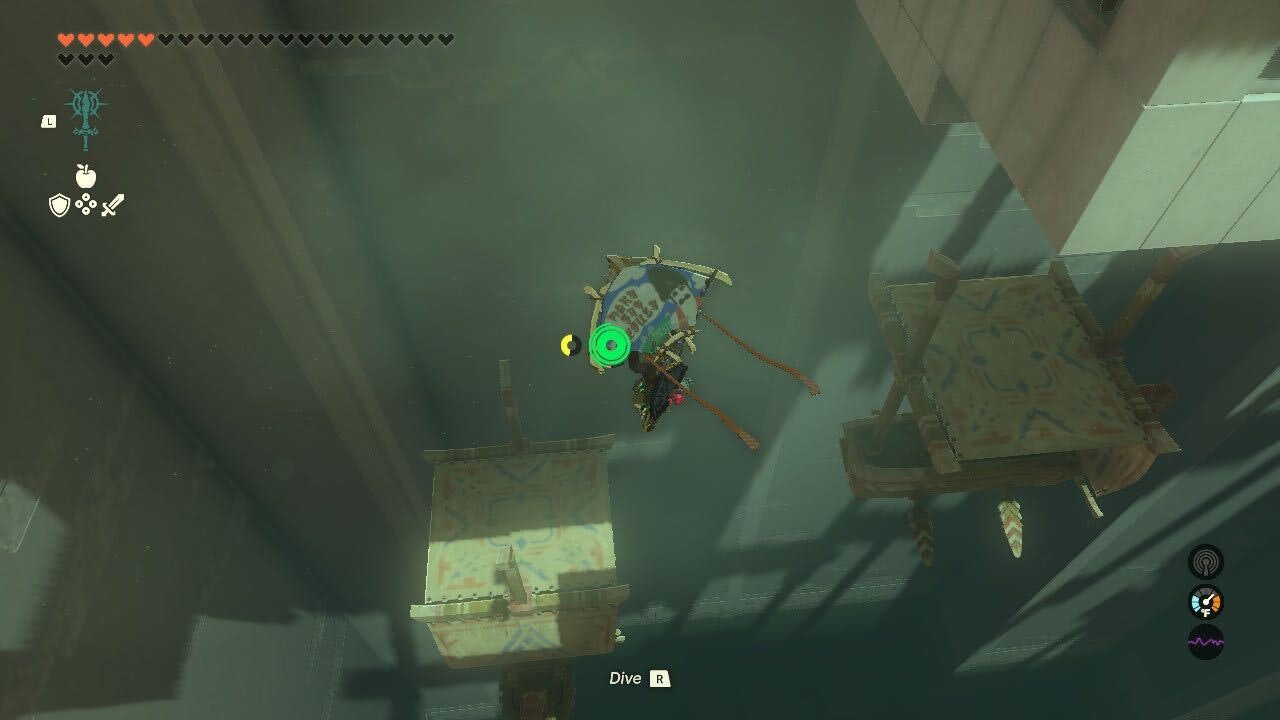
For the final puzzle, you should see a cage containing a crystal just above your position. What you need to do is jump on the sail and pull out your bow just as you’re passing the bars to the cage. This will slow down time and allow you to get a shot on the crystal. If you don’t hit the crystal, simply jump on the ship and try again.
Once you’ve lit the crystal and opened the gate, you’ll need to get onto the ship underneath the cage. To do this, launch off your closest ship, then glide down onto the ship on the left.
Launching off this will make you hit the ceiling, so immediately pull out your paraglider and get to the final ship, launch up through the open gate, and glide down to the Shrine exit.