As soon as spring comes around, many of us start thinking about pressure washing the patio to get outdoor spaces ready for the warmer weather.
It's certainly the quickest way to get it clean. But, this high water pressure cleaning method carries some risk of damage to pavers, so it's important to proceed with a little caution and expert know-how from our maintenance experts.
I've spoken to patio and cleaning experts you can take care of your patio ideas with a pressure washer, without stripping out your grouting or worse.
How to pressure wash a patio without damaging anything
Step 1: Brush and treat the patio first

First things first, it's a good idea to remove any furniture, flowerpots and plants, and brush any winter debris from your patio before pressure washing your patio. Neglecting to do so is among the patio cleaning mistakes to avoid, as using the washer to dislodge solids might leave you applying too much pressure on the surface, potentially causing damage.
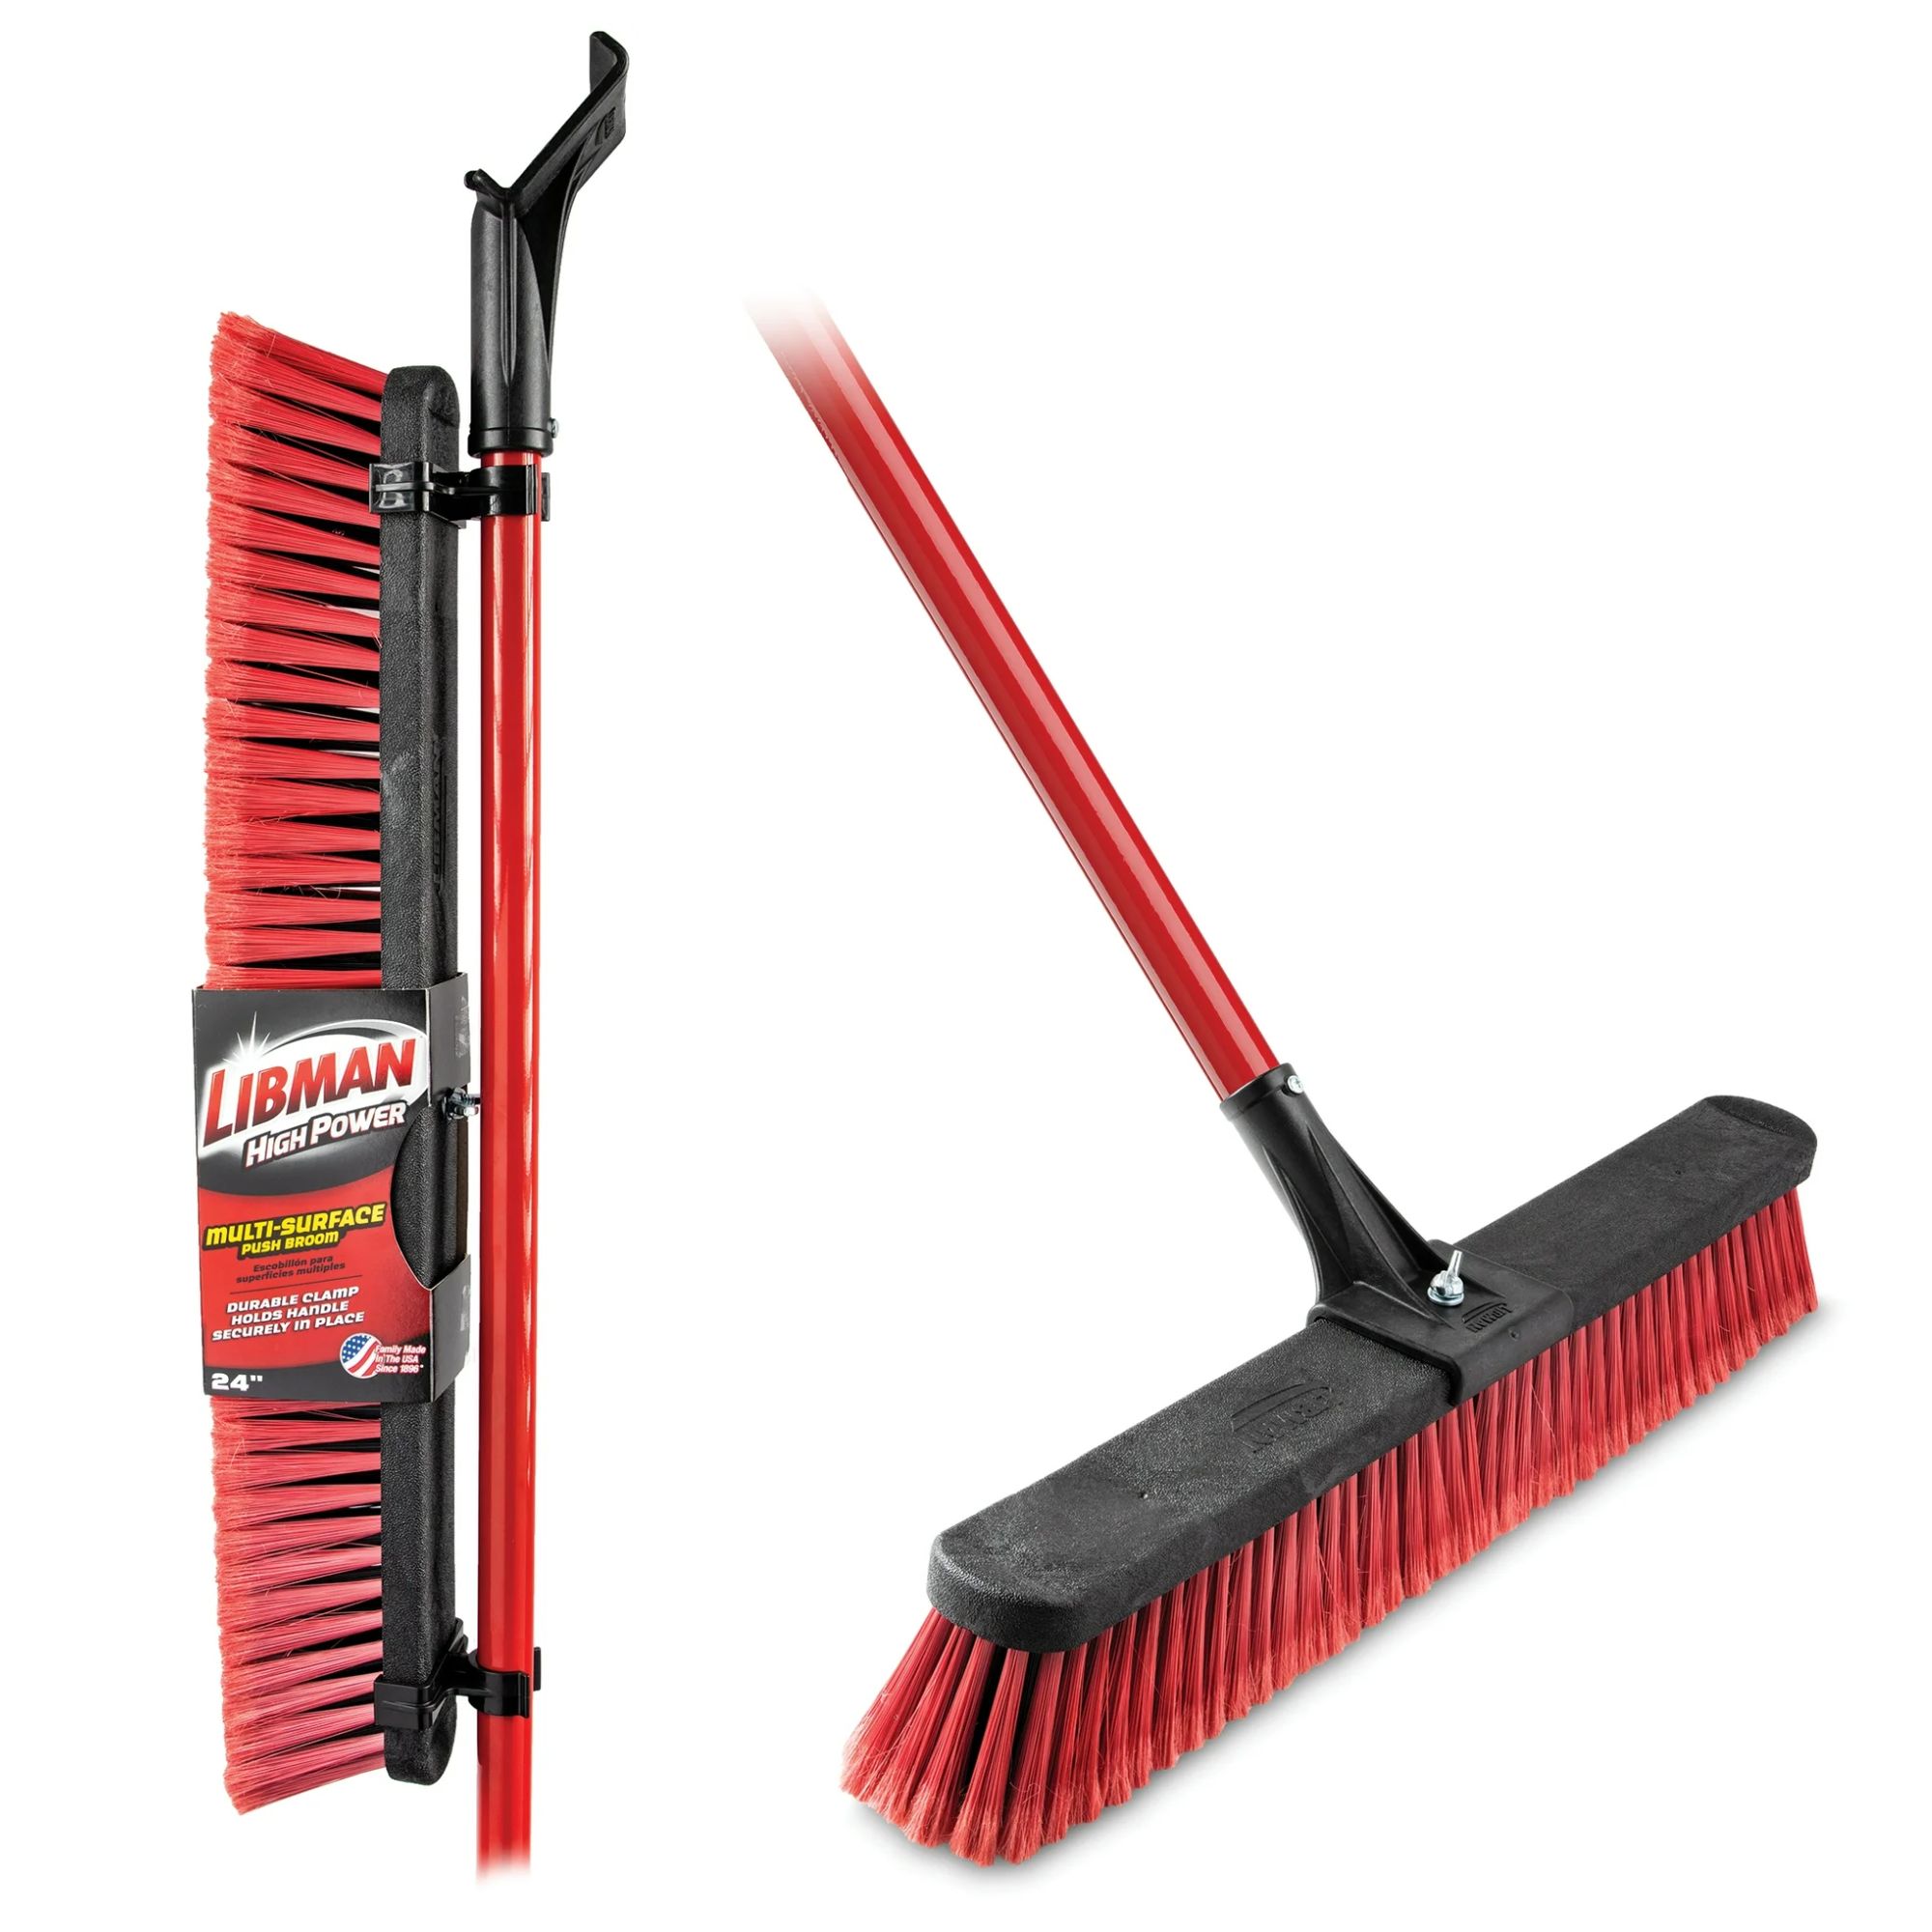
As Karina Toner, cleaning expert and operations manager at Spekless advises, 'Sweep away loose debris with a stiff-bristle broom. Then, apply a pre-treatment cleaner for tough stains.'
While a patio detergent can help remove particularly tough stains, it's not always essential. For regular dirt and grime, water from your pressure washer is often enough to do the trick, even in more extreme circumstances, for example, if you're wondering why your patio is going green.
Some experts swear by it for patio cleaning with a power washer, however. Bryan Clayton, CEO of GreenPal, has worked in the landscaping industry for years. He says, 'My go-to move before firing up the pressure washer is to treat the area with a diluted Simple Green solution.' Simple Green All Purpose Cleaner Concentrate is available for purchase on Amazon.
Pre-soaking the patio with a cleaning solution will also loosen up any residual dirt and algae that may have built up over the colder months, making pressure washing your patio afterward much easier.
All prices were correct at the time of publication.

This multi-surface broom makes it easy to brush away any fine and large debris, like leaves, from your patio, leaving it ready for pressure washing.
Step 2: Test your detergent

You do not have to use a detergent when pressure washing your patio and can skip to step three if you're sticking with good old high-pressure water alone. However, if you are using a cleaning solution on your paver in combination with your pressure washer, first check it's safe for your patio.
Our top pick is the Simple Green Oxy Solve Total Outdoor Pressure Washer Cleaner available at Amazon, which uses the power of peroxide to lift stains and grime without the need for harsh chemicals.
'Before applying to the entire patio, test a small, hidden section to ensure compatibility,' advises Karina. Opt for a particularly dirty spot to test for efficacy, too, such as a corner or crevice against the wall.
Step 3: Pressure wash your patio

Once clear, treated and tested, you're ready to begin pressure washing your pavers. Bear in mind that there are things you should never clean with a pressure washer because of how powerful they are. So, while your patio is one of the things you can clean with a pressure washer, make sure to start on the lowest pressure to avoid damage.
'Begin with the lowest pressure setting,' says Karina, 'Then, gradually increase if necessary, to remove dirt without damaging the surface.'
Because of the strength of a pressure washer, it's also important to angle it correctly. Andy McLaughlin, landscape and paving specialist from RF Paving advises, 'A general piece of advice for pressure washing is to direct the nozzle at a 45-degree angle to the paving, at a suitable distance from the paving.'
This is crucial, as pressure washing your patio at angles closer to 90 degrees could seriously damage the surface, particularly any wooden elements.
Additionally, pressure washing at 45 degrees also helps to disperse the water and cleaning solution more effectively, while preventing streaking. Just ensure you keep the distance of the nozzle from the ground the same, or thereabouts, to maintain a consistent pressure on your patio.
You should also, as Scott Paul, owner of DeckStainHelp highlights, use the right attachment, which will usually be the surface cleaner attachment, or a 25-40-degree fan tip.
'Never use a "turbo" tip as this will heavily scare your patio surface,' he warns. 'When washing use a "pendulum" sweeping motion. Never stop and reverse direction while directly above the surface. This leads to scarring called 'stop marks' that cannot be fixed.'
Work methodically section by section, and be wary when using your pressure washer to get rid of moss on your patio, or to clean patio joints or grout.
'If the pressure is too high, or sprayed directly at the joint, this could result in dislodging the jointing compound,' adds Andy.
And, for brick patios, Bryan advises to be 'super careful' around the grout between brick pavers, using low settings and being as gentle as possible. He adds that he, unfortunately, learned firsthand that breaking away the sand and mortar holding everything together can cause disastrous results.
Once you've finished pressure washing, use your garden hose to rinse away any remaining dirt and cleaning solution that the pressure washer may have left behind.

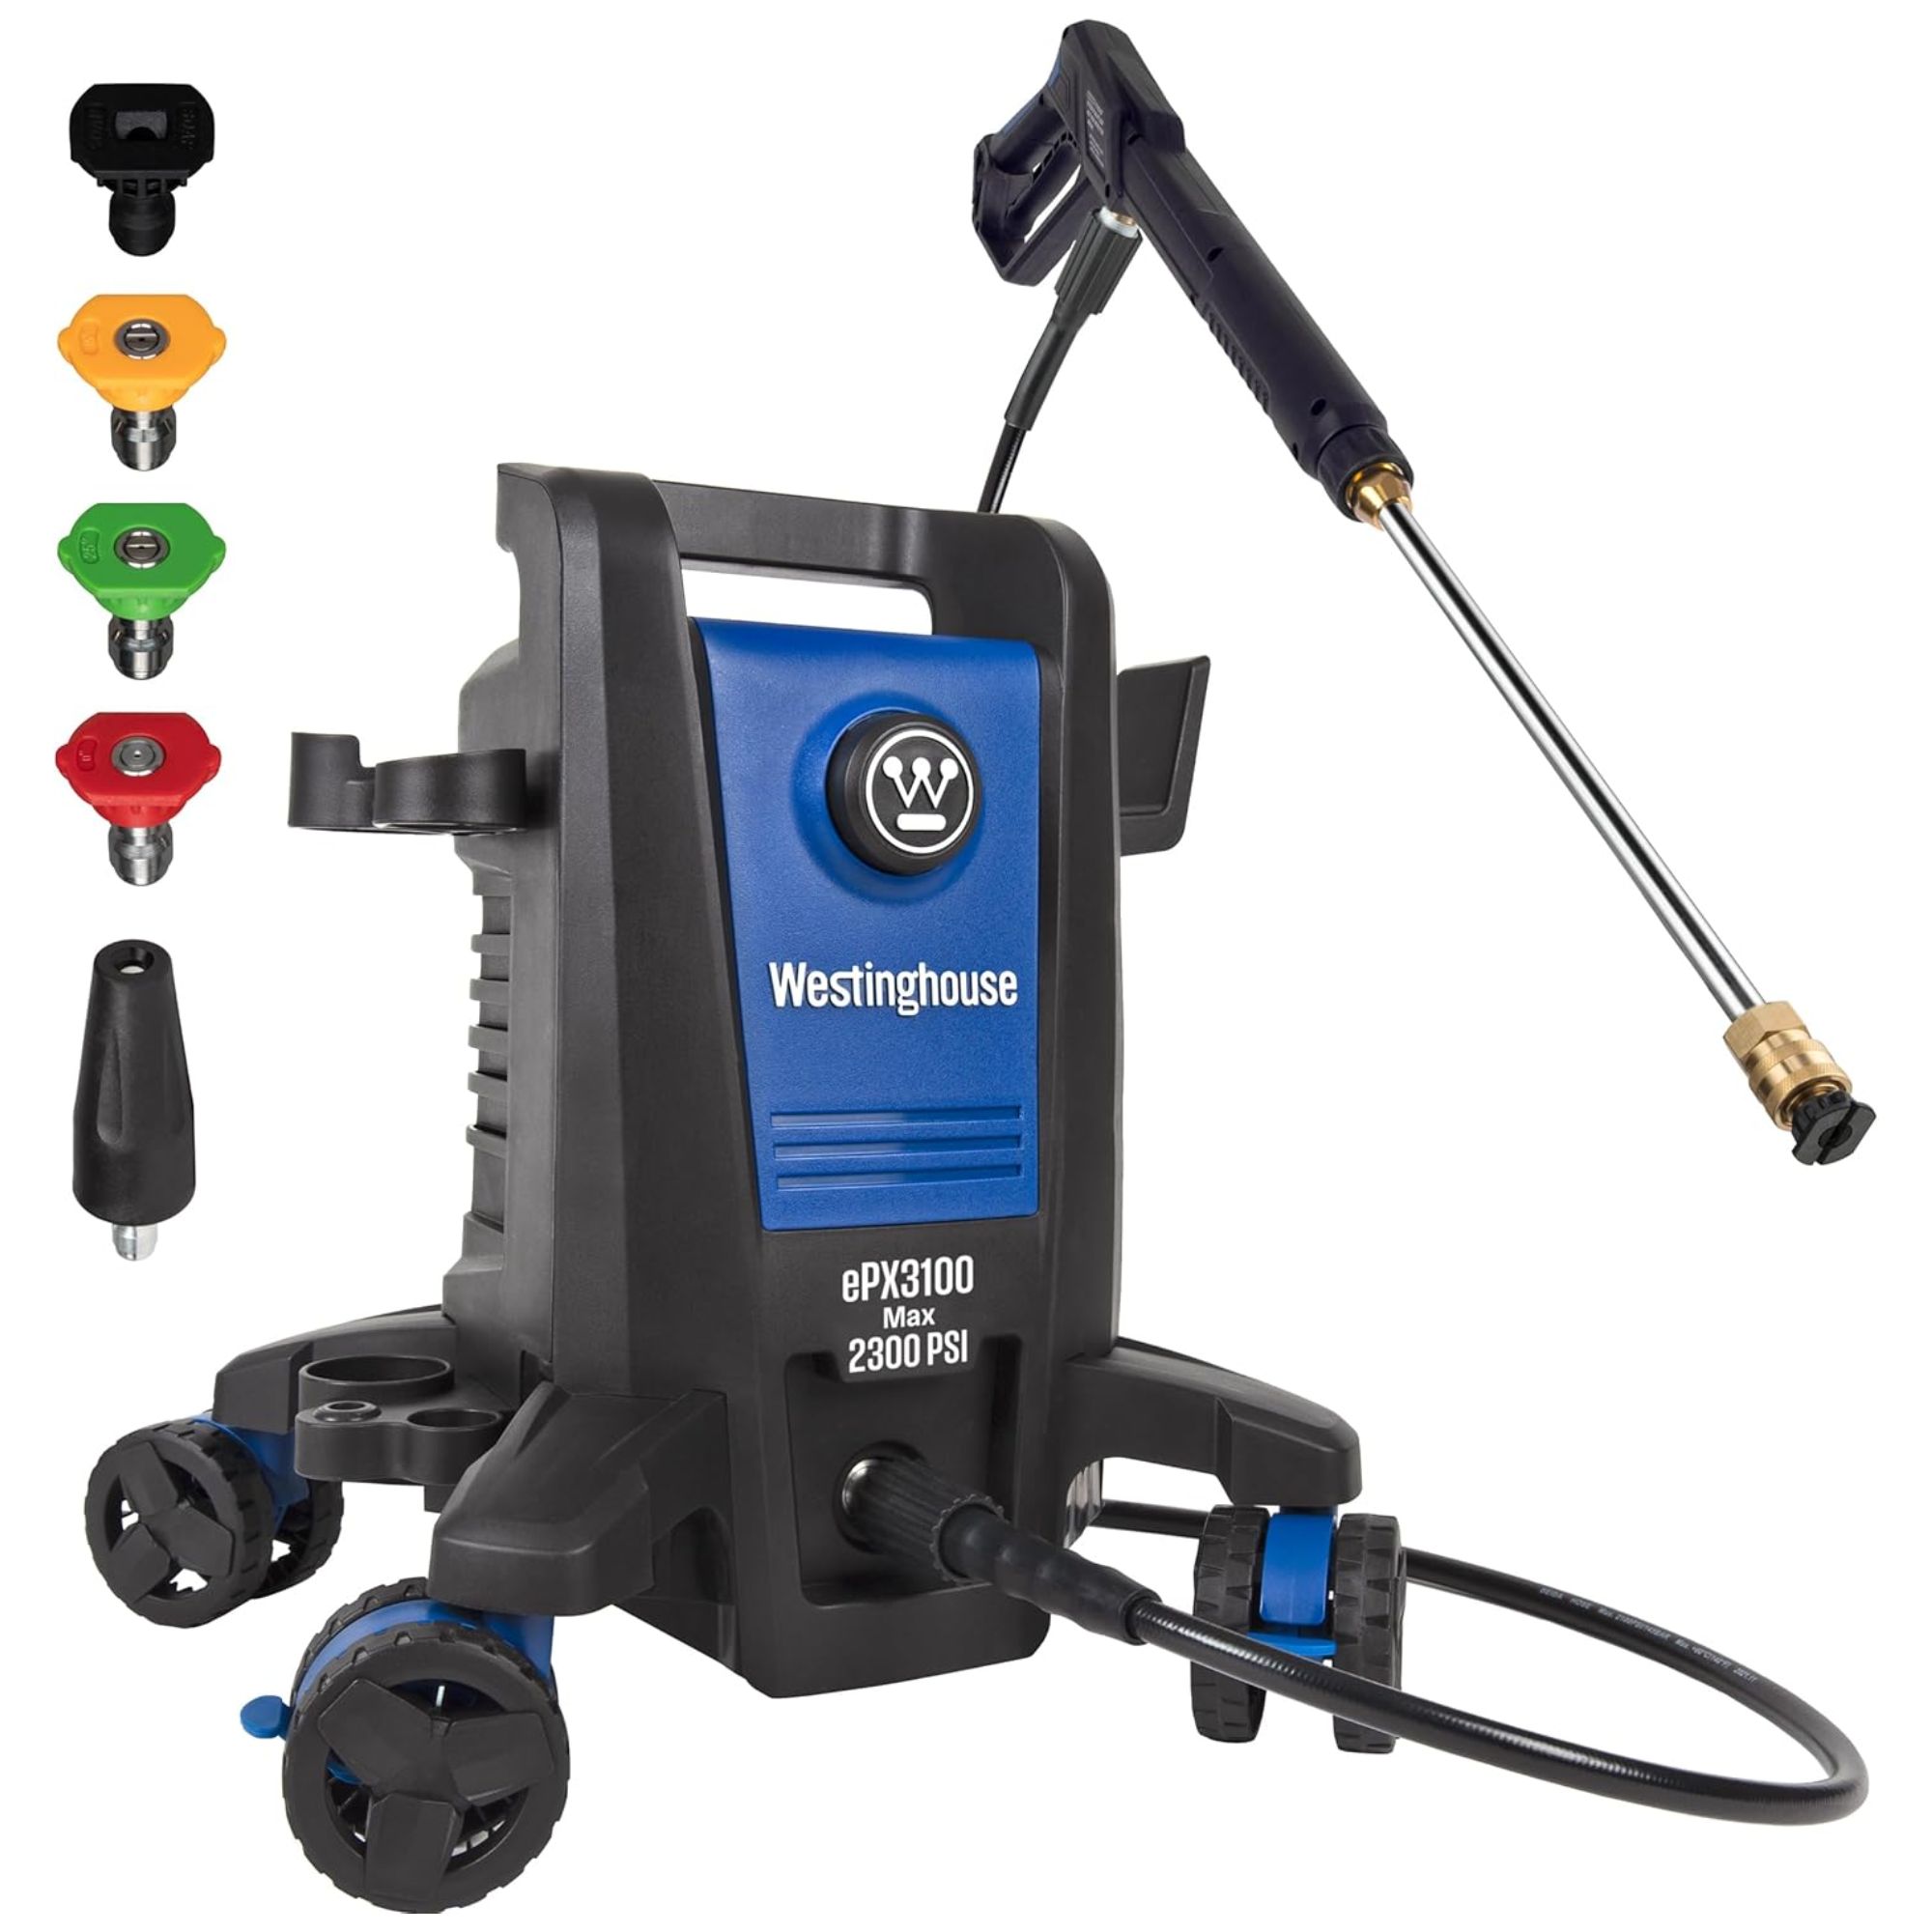
This is a highly-rated option if you prefer to purchase your own rather than rent a cleaning tool such as a pressure washer. It's compact and lightweight for easy storage and portability, and features an anti-tipping design.

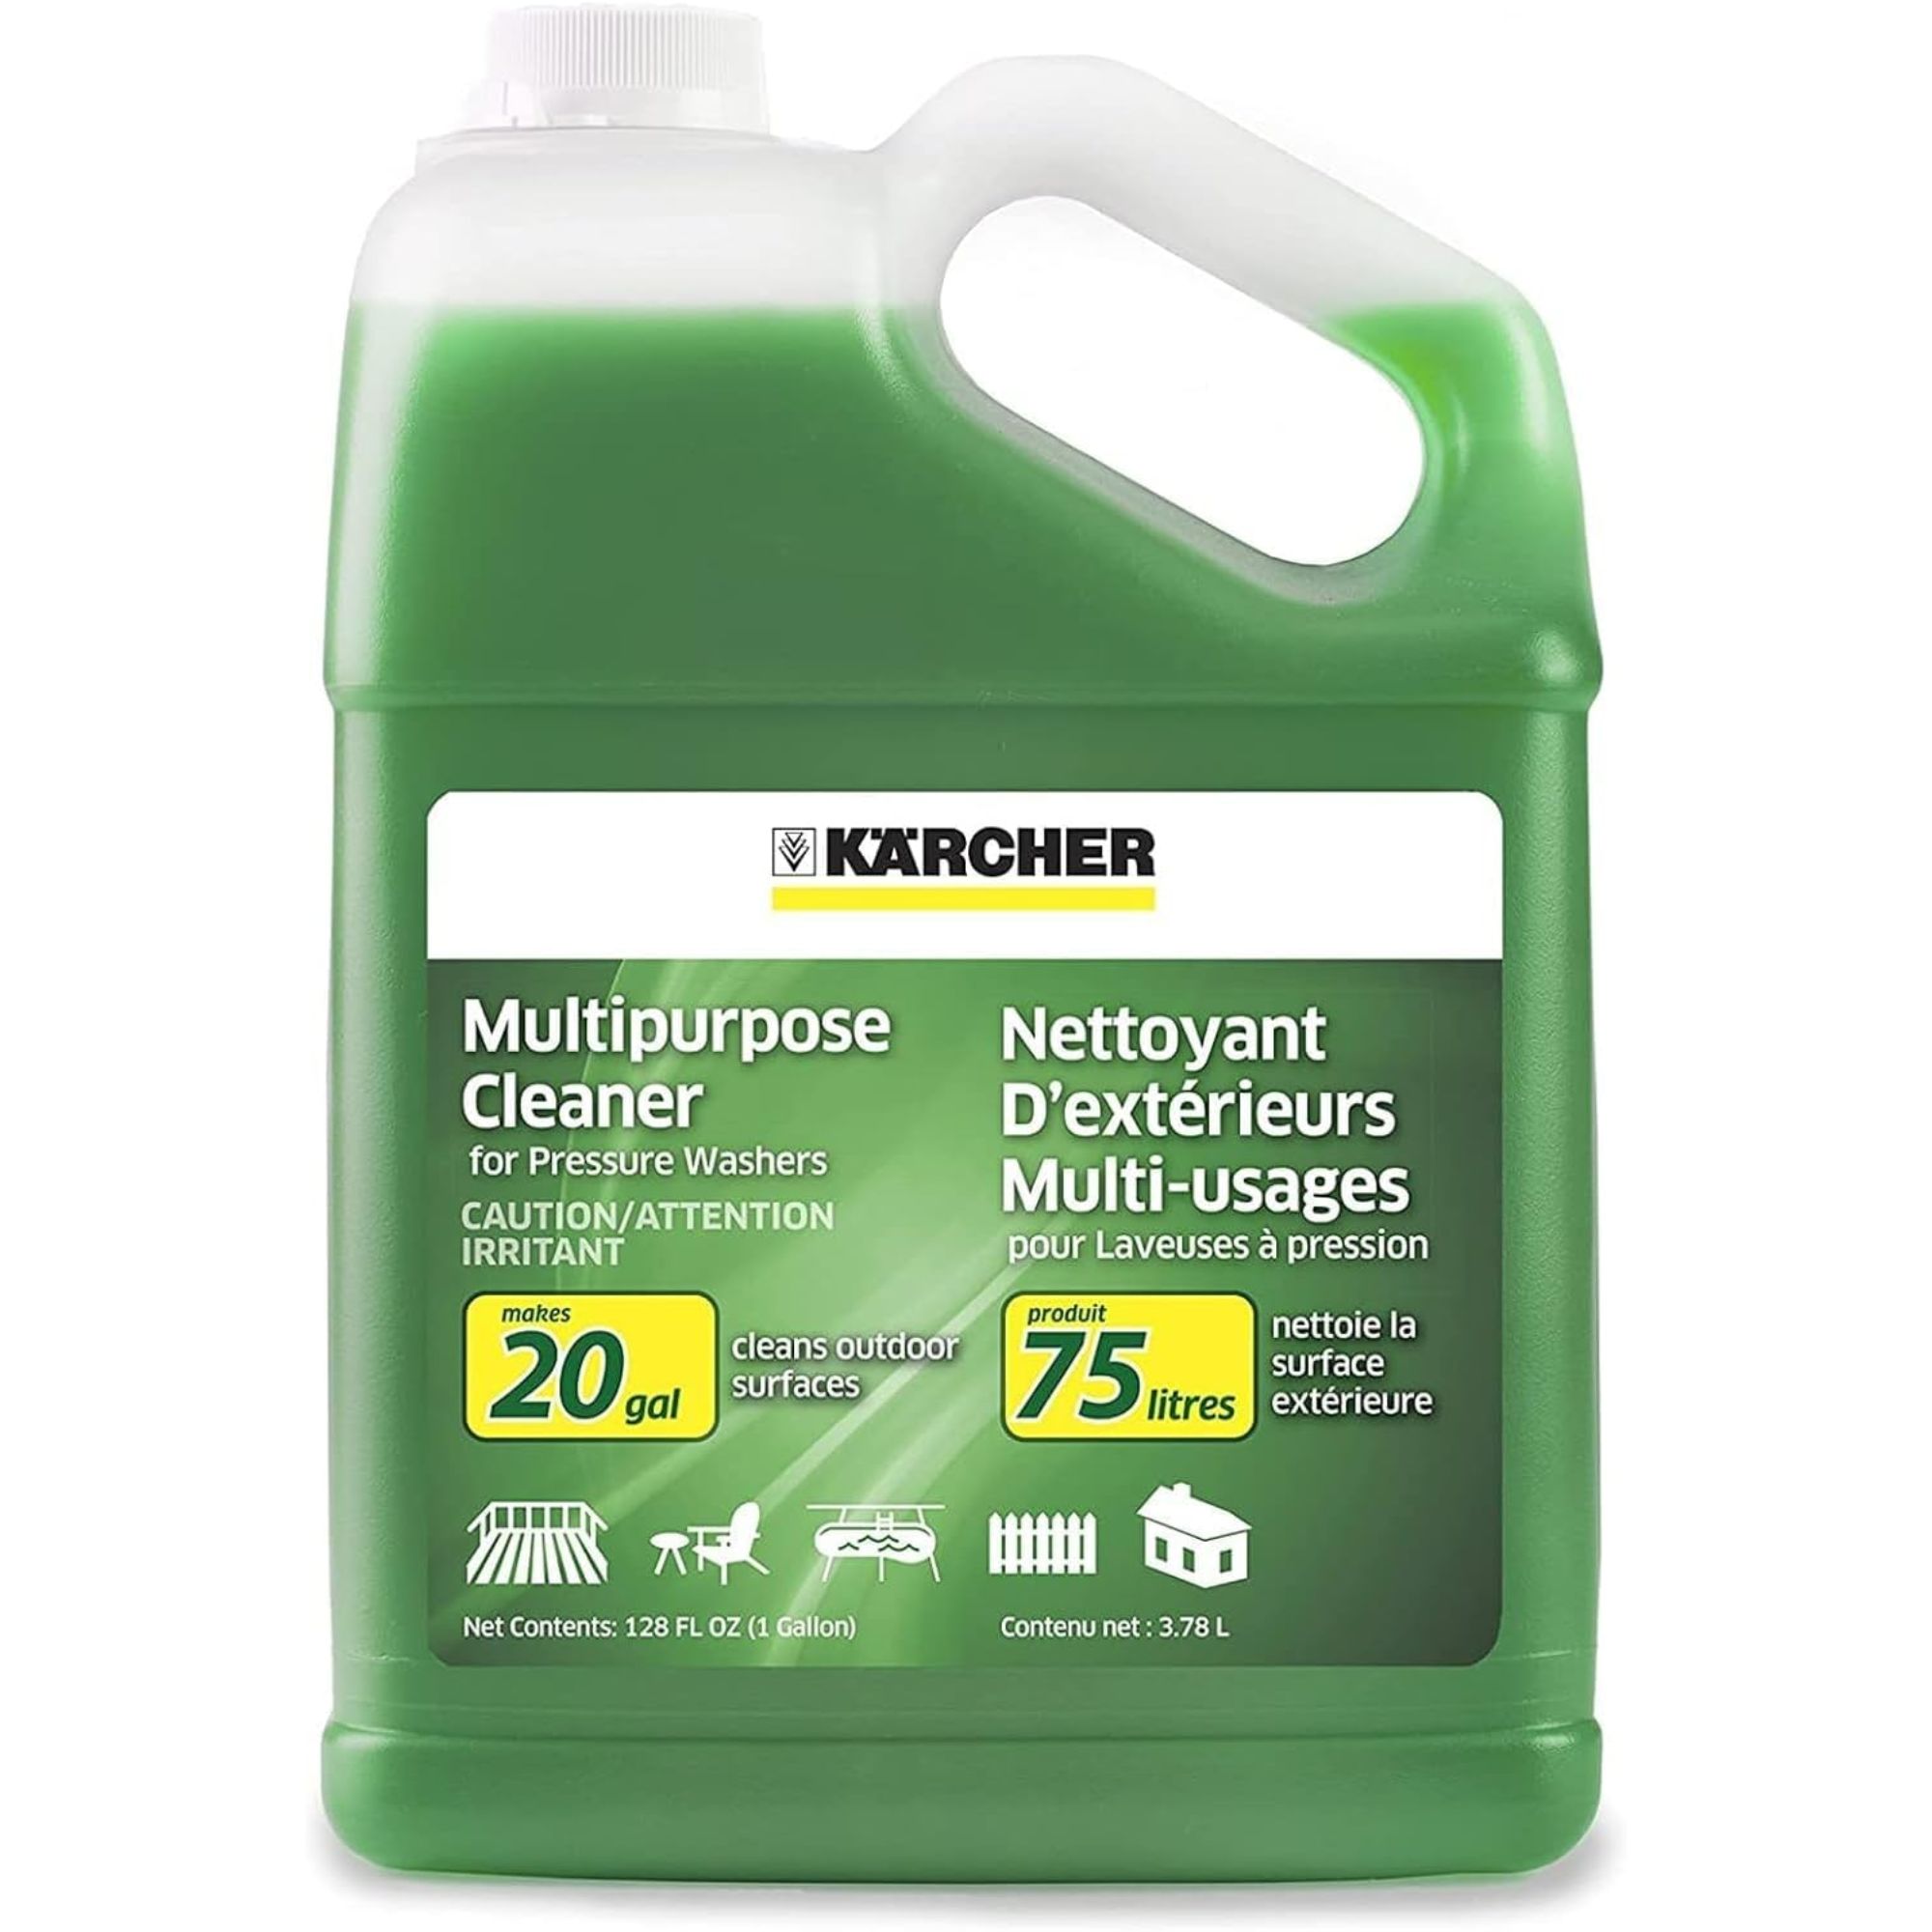
This multipurpose cleaner is designed to work with any pressure washer, with a highly formulated formula for cleaning concrete, pavements, driveways, patio pavers and more.

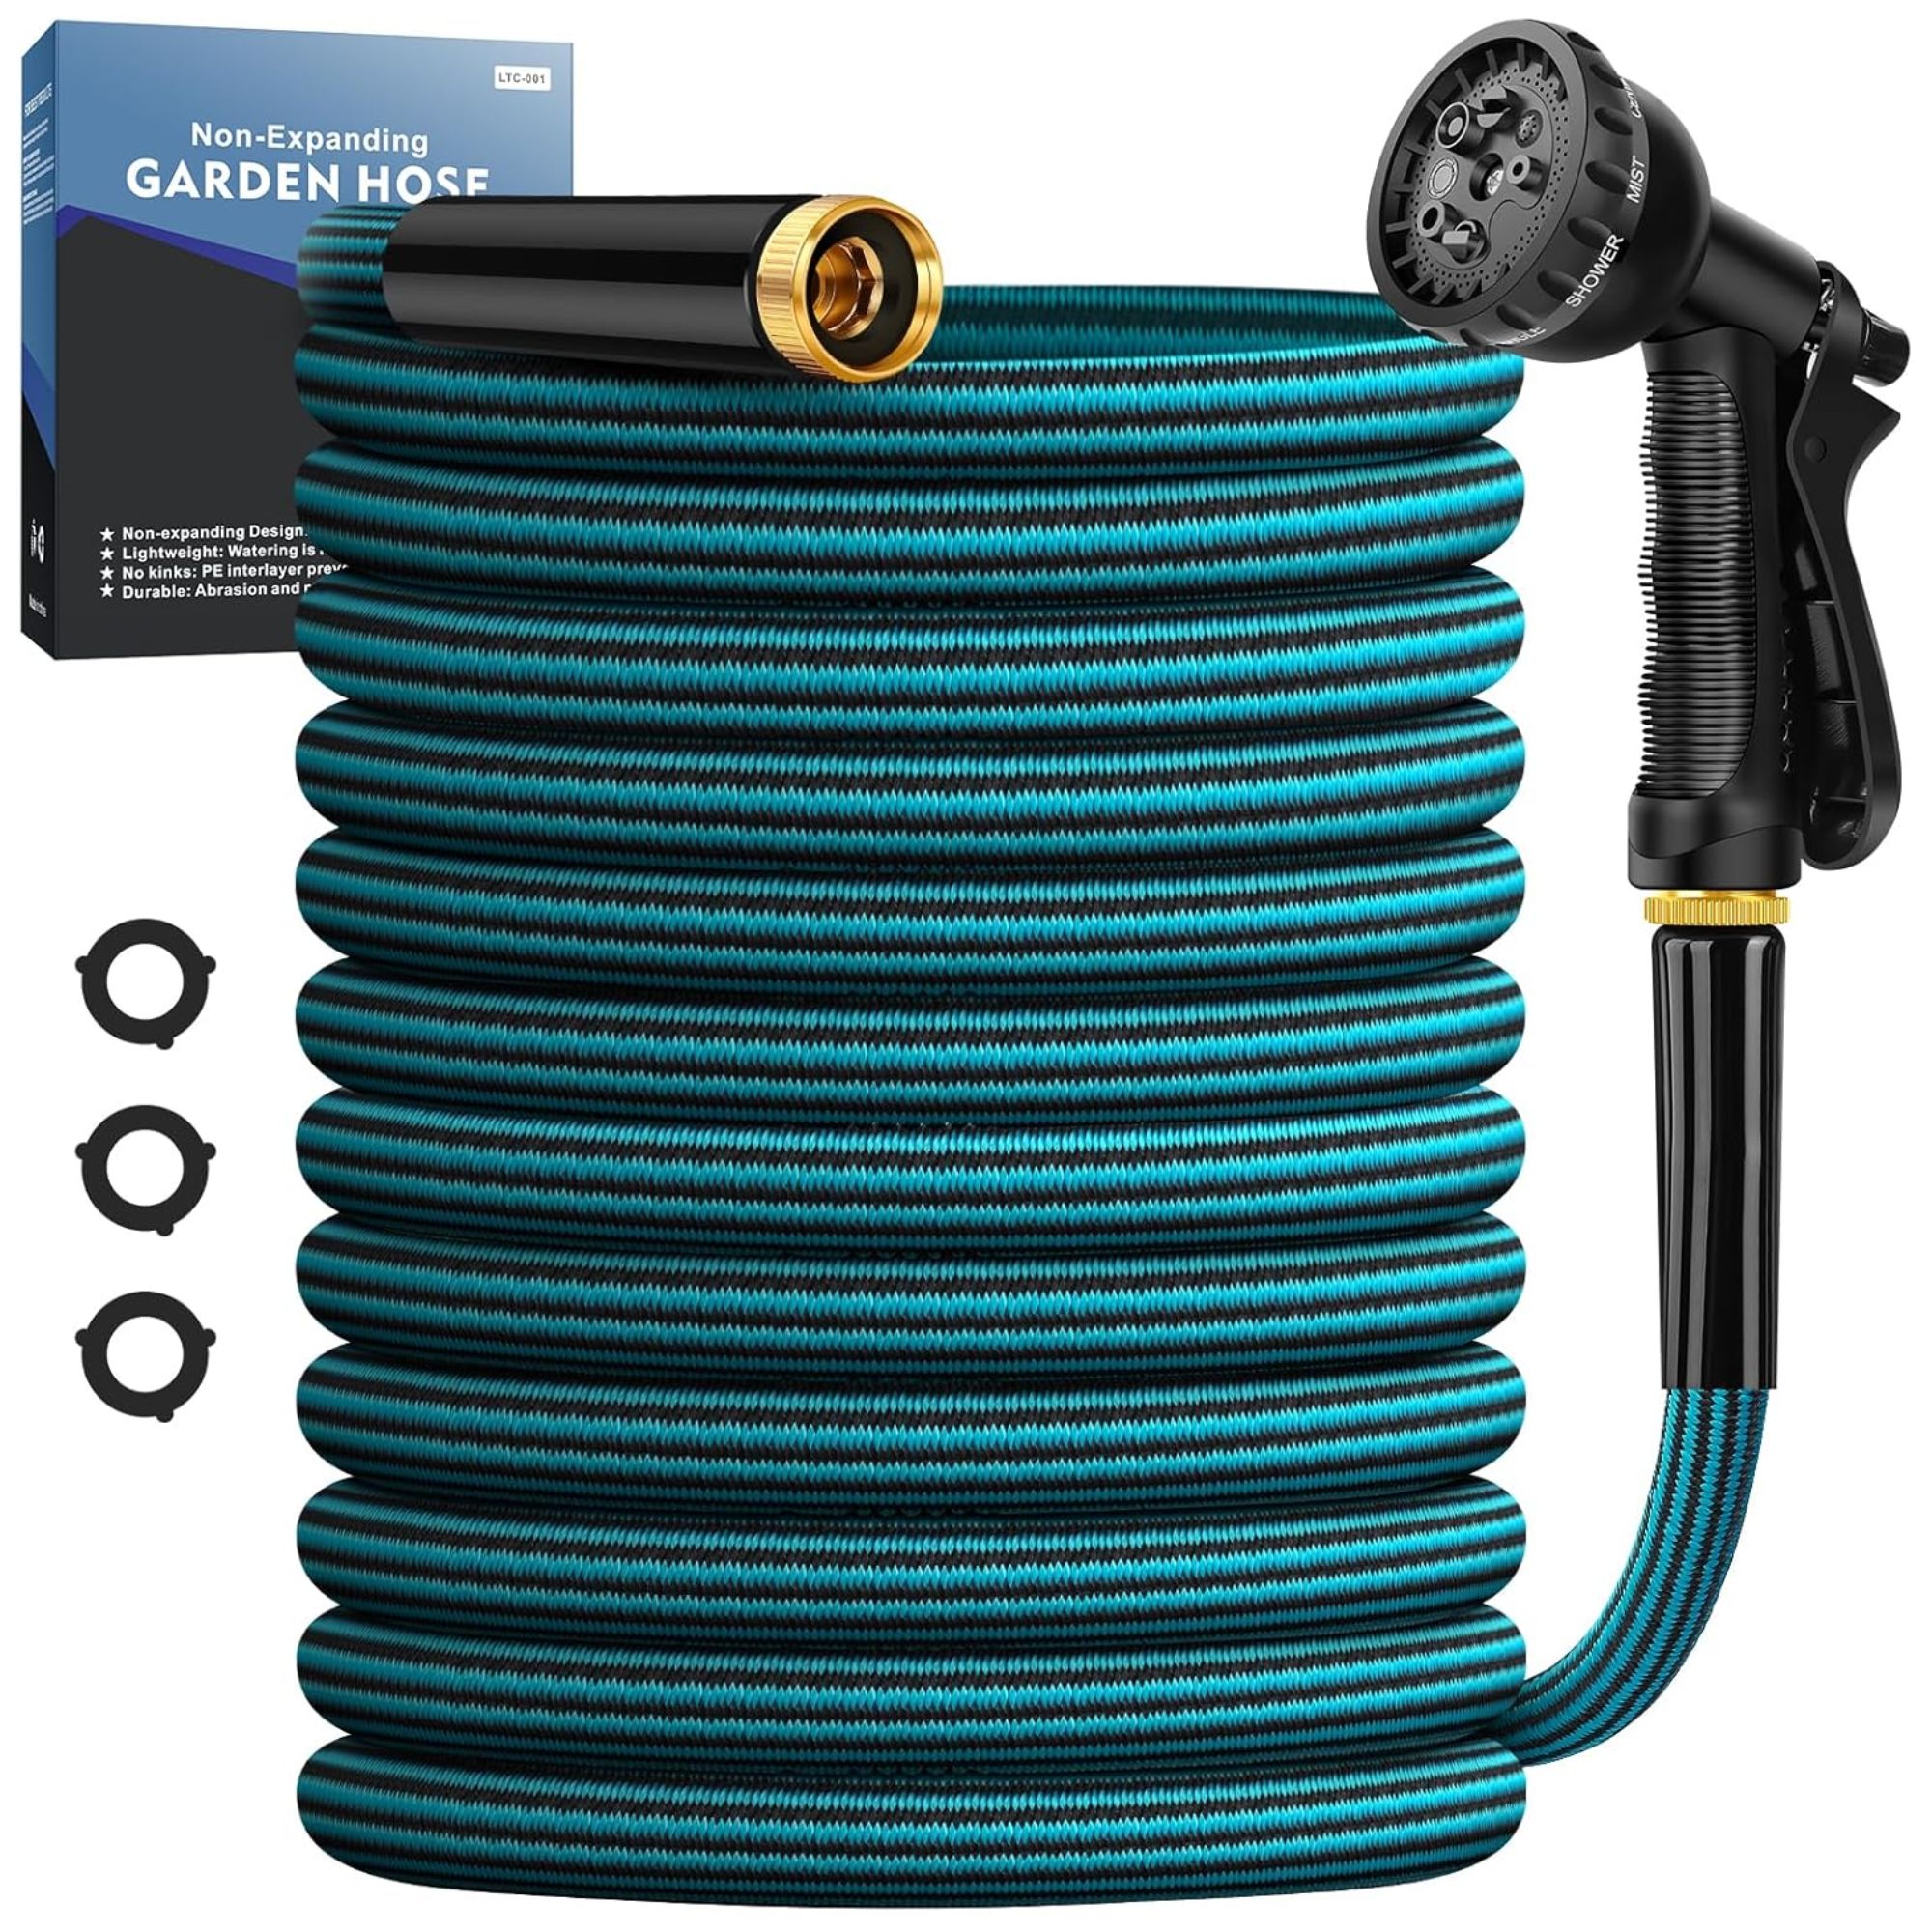
This 50 ft. long garden hose is kink-free, sturdy, flexible, and abrasion resistant for long-lasting use.
Step 3: Leave to dry and treat

Finally, leave your patio to dry thoroughly in the spring sunshine, which is why it's best to pick a sunny day before getting started on this task, until thoroughly dry. This will take around 48 hours.
Then, optionally, you can apply a sealant, such as the Low Gloss Patio Paver Sealer available at Amazon, to seal in all your hard work and protect against future staining throughout the warmer seasons of spring and summer.
Meet our experts
FAQs
Can I use Dawn detergent in my pressure washer?
There are plenty of surprising things you can clean with Dawn Powerwash, but don't be tempted to use it for pressure washing your patio. Dish soap isn't designed for this purpose and may even damage your equipment.
Once your patio is looking clean, you can turn your attention to your spring patio prep, for a gorgeous space that's ready for hosting season.


