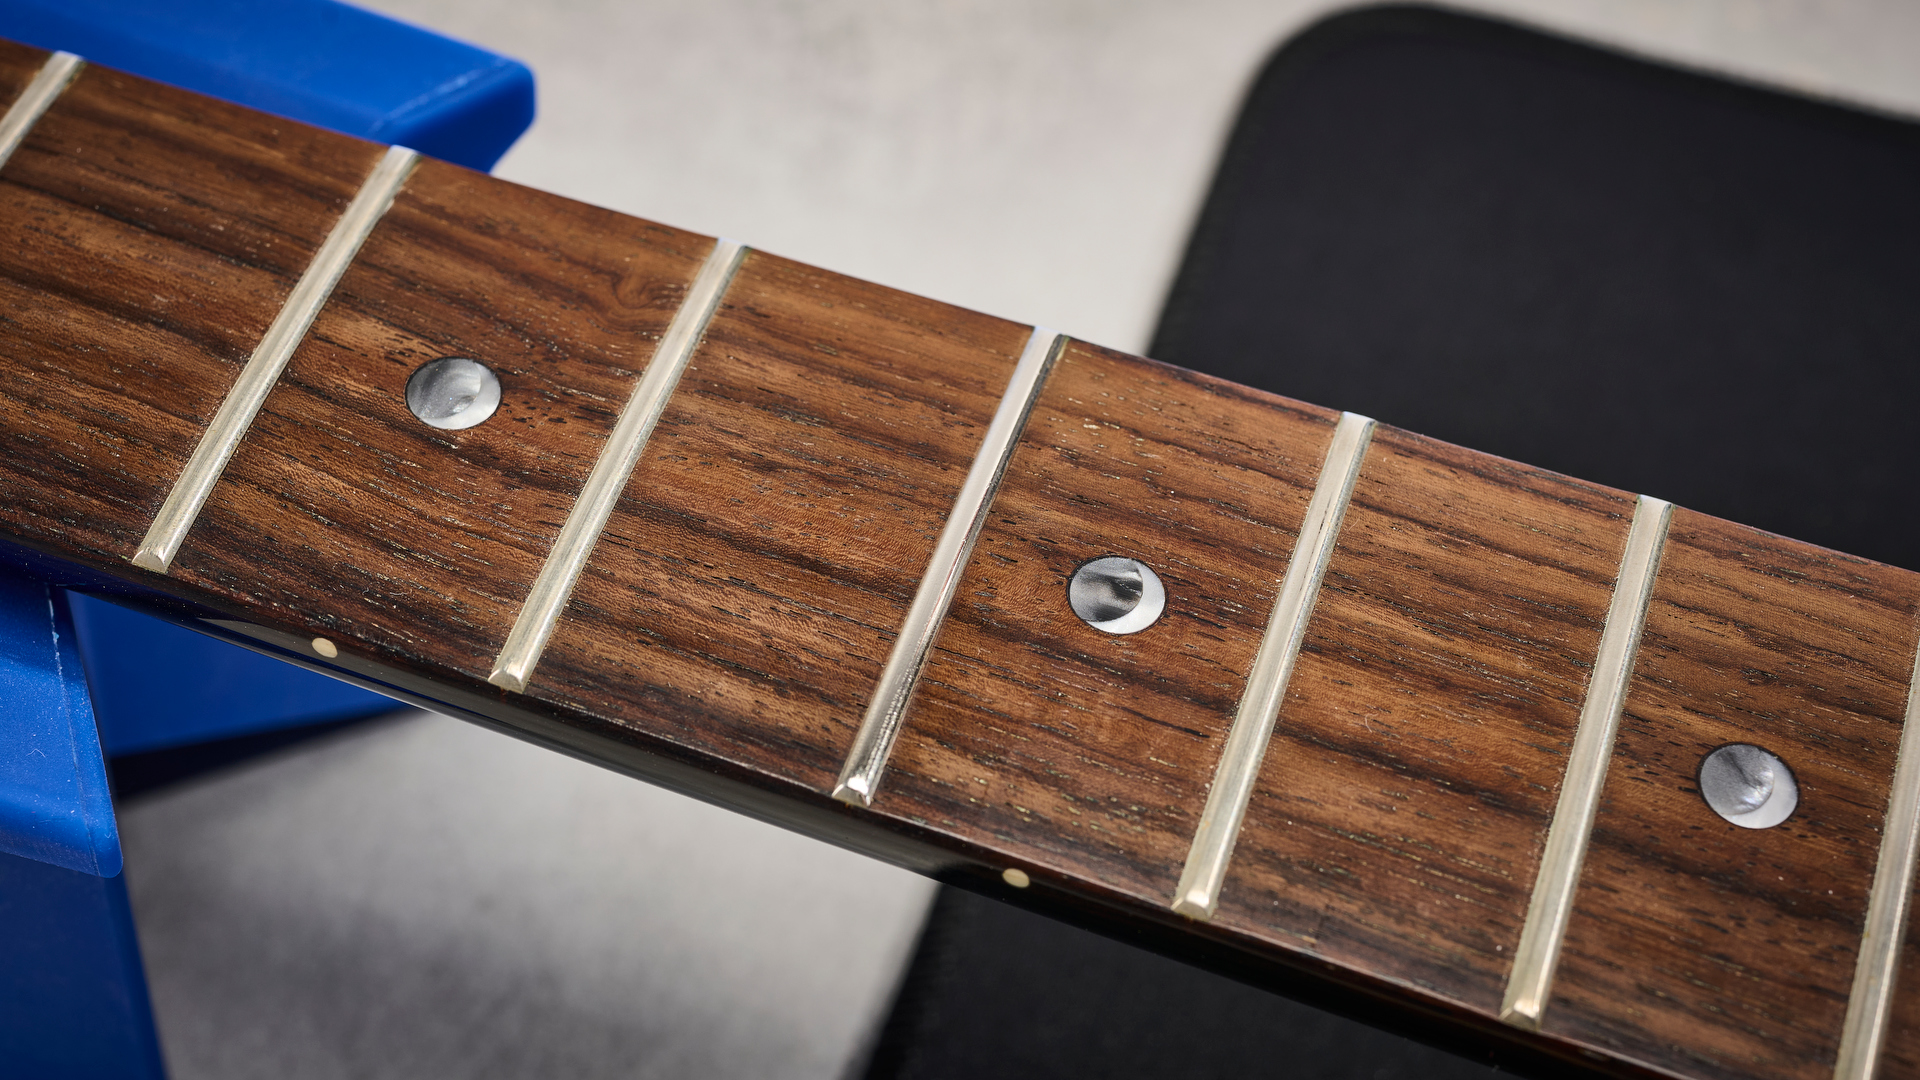
It's ok if you put it off – I've done it too, but sooner or later you will need to clean and polish your guitar frets. You owe your guitar the chance to be its best, and grimy oxidised frets are not going to get there.
Even the cleanest hands shed material when playing guitar and it doesn't just end up on your strings; oils and sweat tarnish the frets underneath too. So the next time you change your strings, use it as an excuse for a fret polish – and I'd like to introduce you to two different ways to get great results and perhaps even less of a chore, both with different needs in mind.
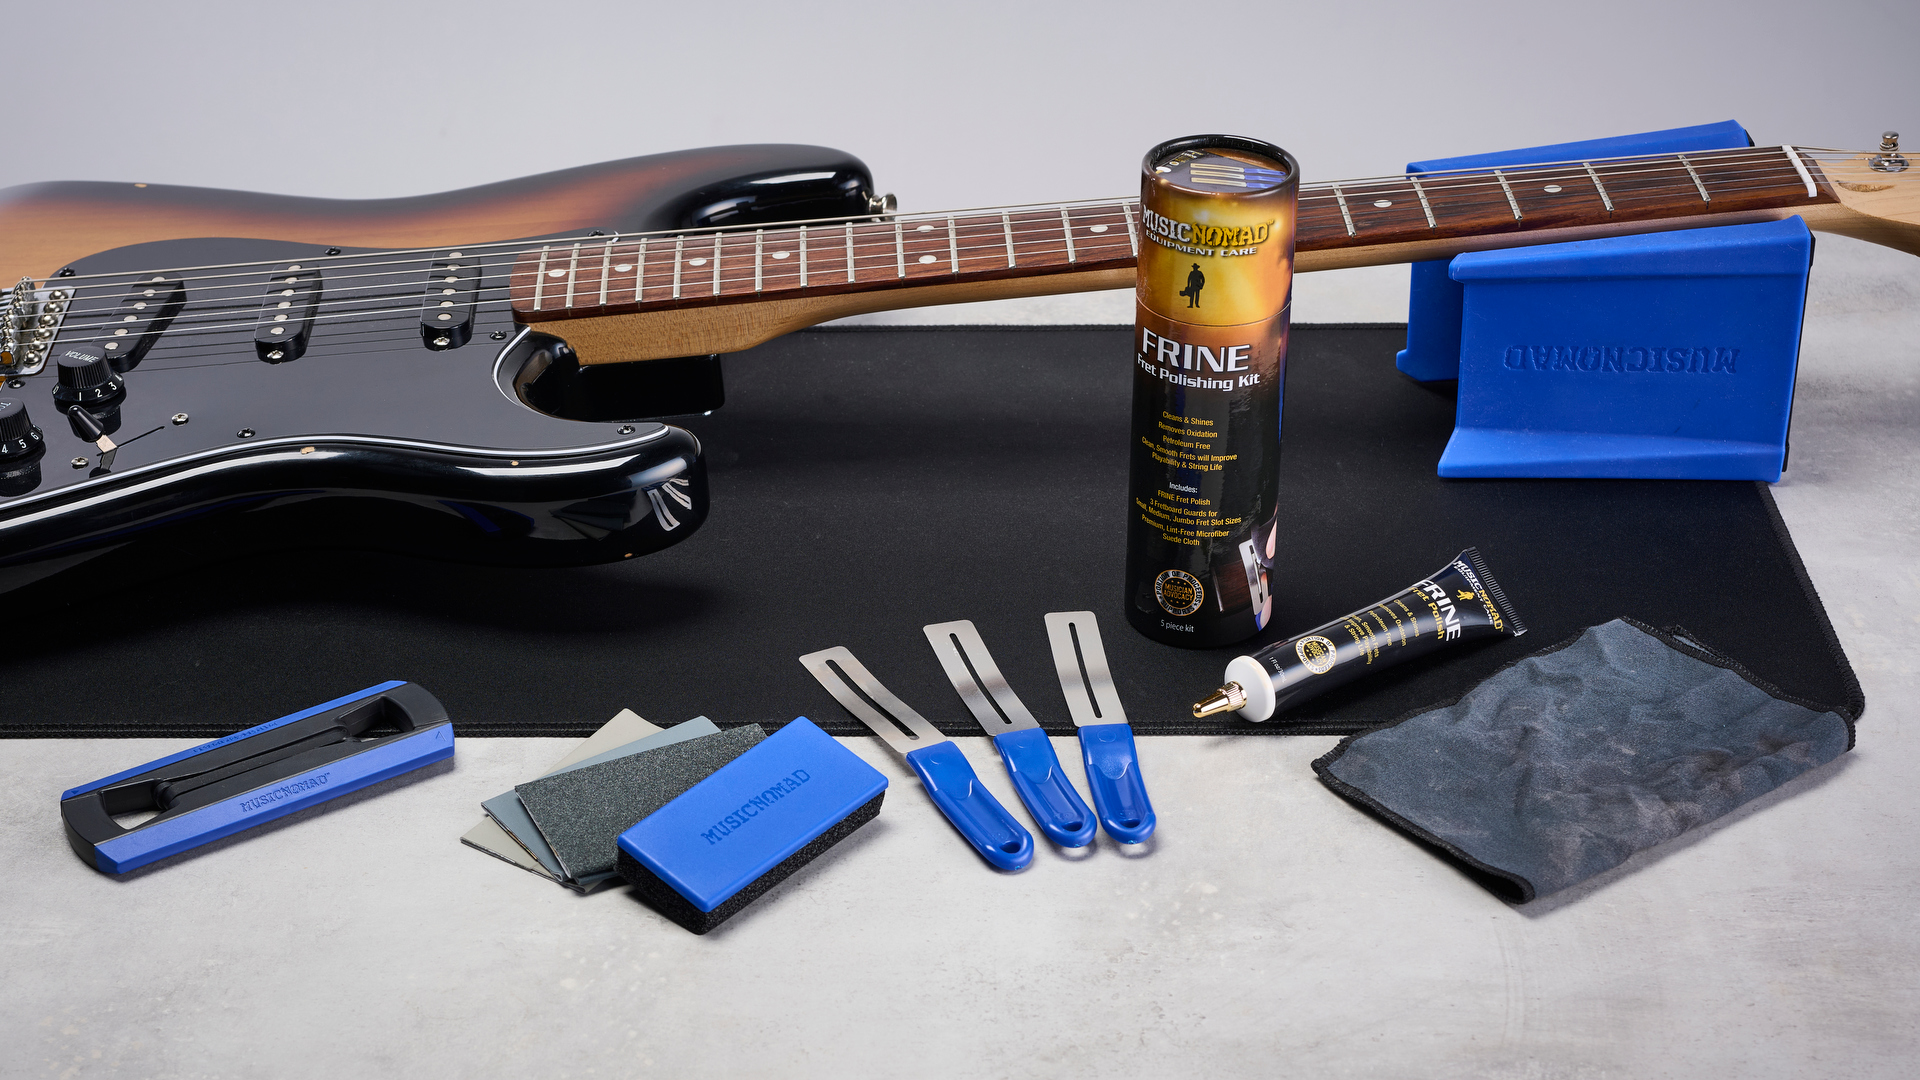
MusicNomad has provided us with the products to illustrate both here – the US company never stops coming up with tools and solutions to make maintenance easier for players and its products are used by pro techs and guitar companies around the world. I tried both and have broken down the processes involved below.
Cleaning and polishing with Frine
MusicNomad has been producing its five-piece Frine Fret Polishing Kit for a while now and it's tried and true for results. In addition to 30ml of the petroleum and silicone-free Frine formula, three different-sized curved fretboard guards and a microfiber suede cloth for application. I think it's $19.99 well spent for the results it gets (it's also available to buy separately), and it's much less messy than using steel wool. Something I don't particularly like near the wood of my fretboards.
The fret guards come in small, medium and jumbo sizes and protect your fretboard from any wayward Frine solution (I wrote about how to condition and clean your fretboard in a previous article). But if you do get any Frine on the fretboard it can be wiped straight off.
Try the guards over your guitar's frets until you find the one that is the best fit.
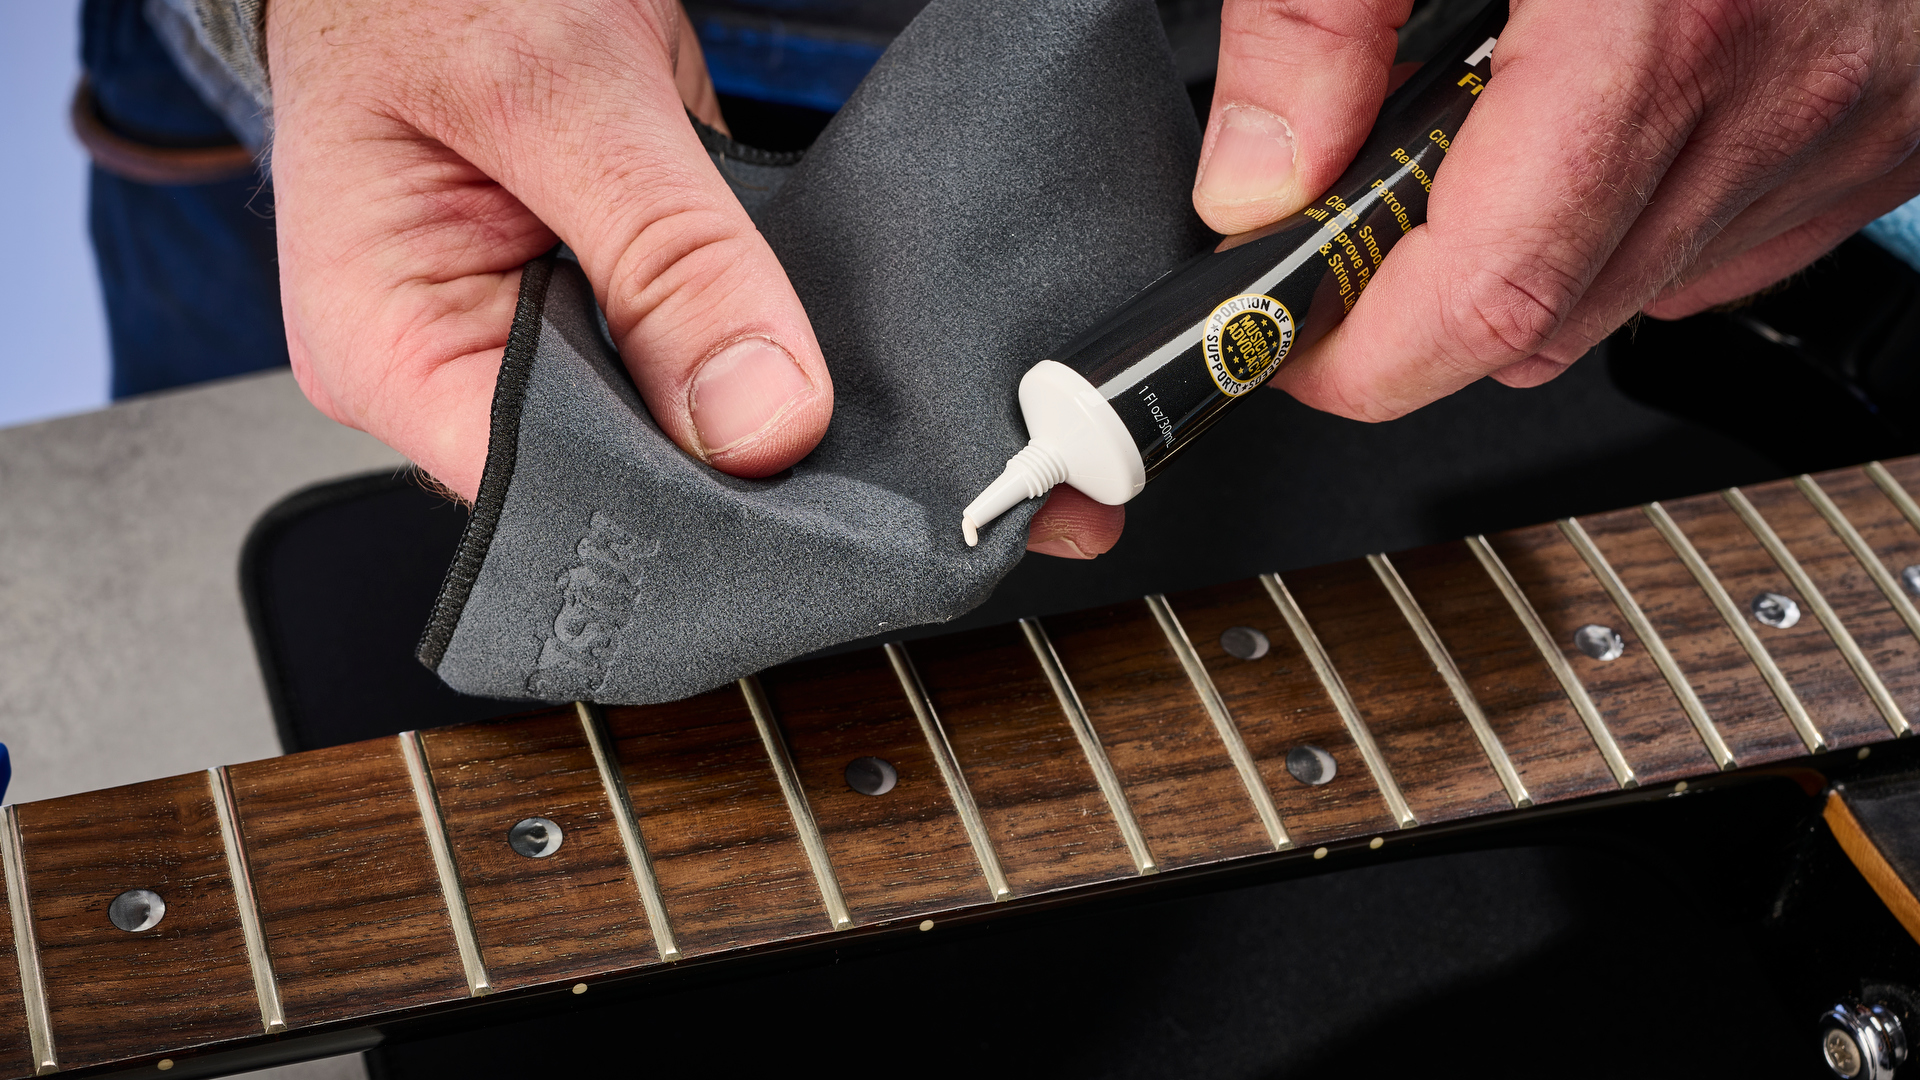
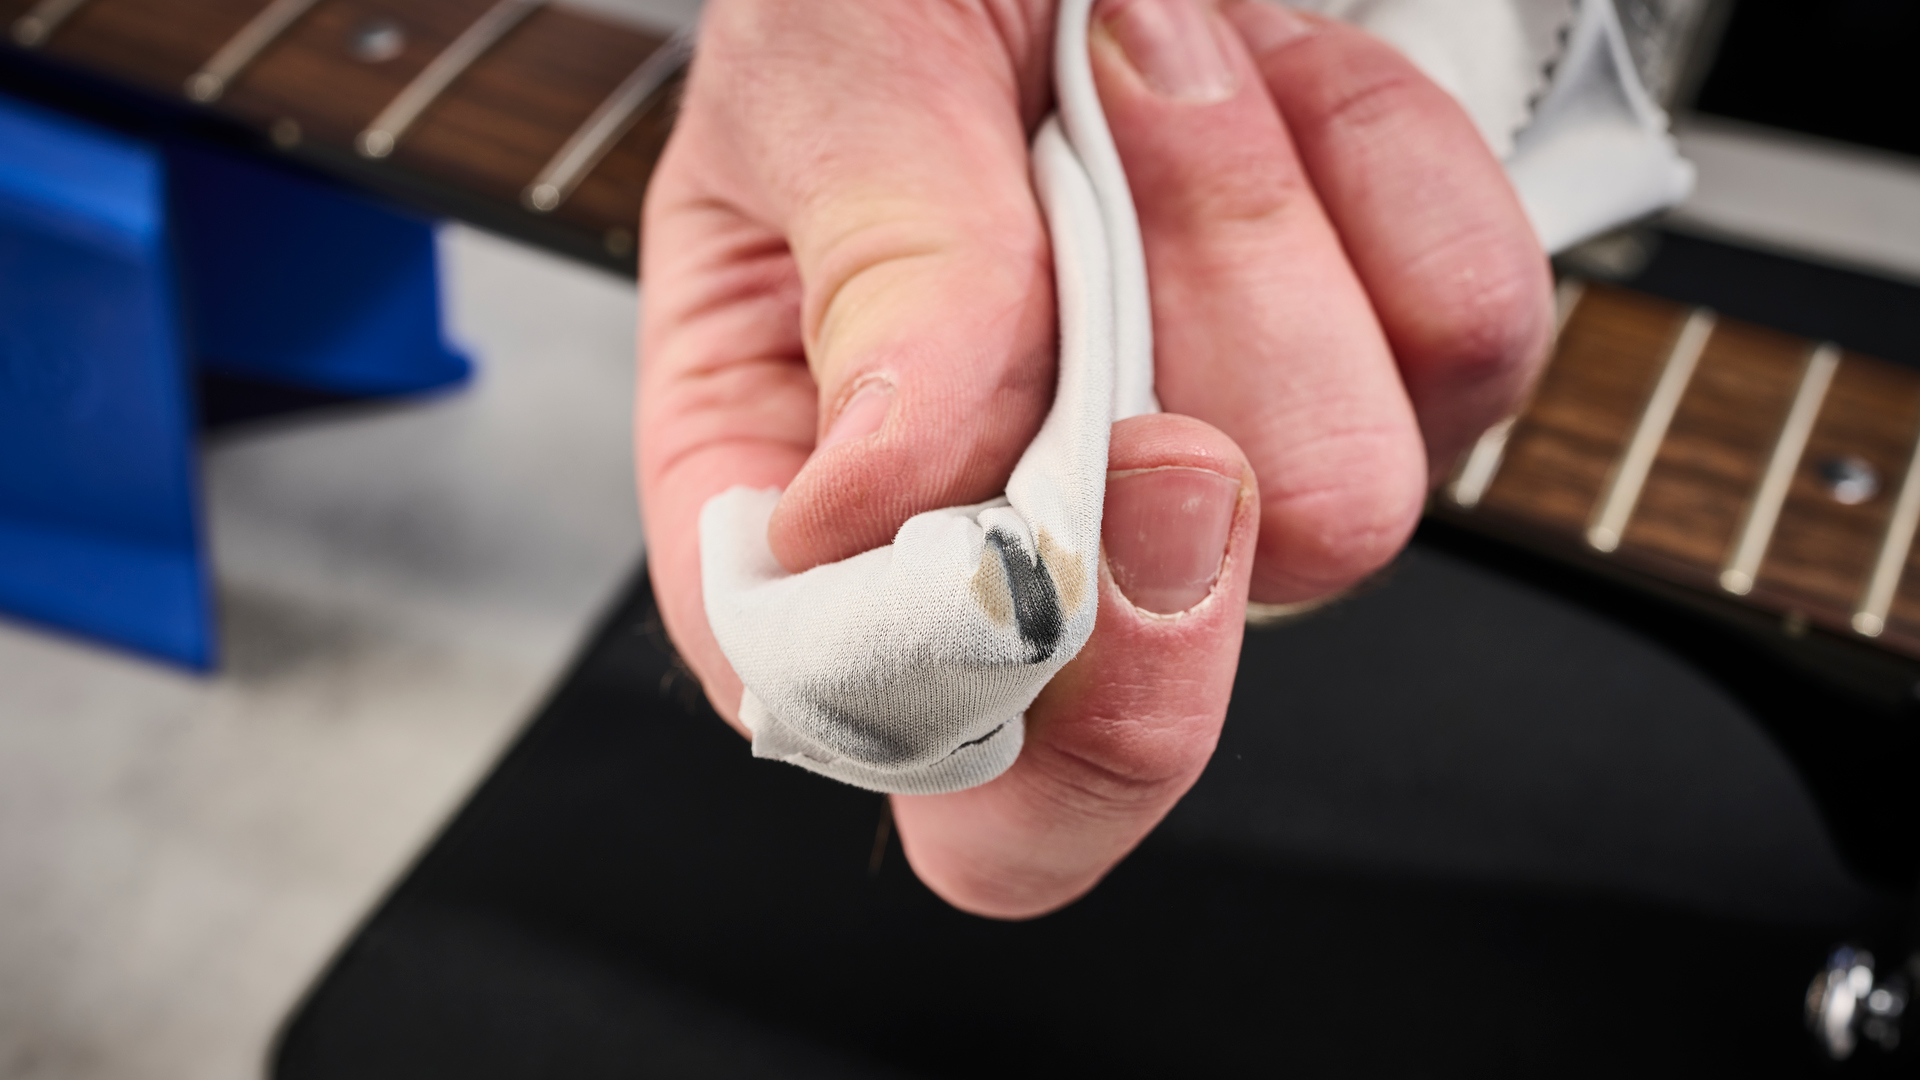
The next step is to apply the Frine (also available to buy separately) with the microfibre cloth while holding the guard in place. You only need a small petit pois-sized amount (so not a full garden pea!) on the cloth then work back and forth. You'll soon soon see the difference and it cleans the grime and oxidation off, resulting in a shinier fret.
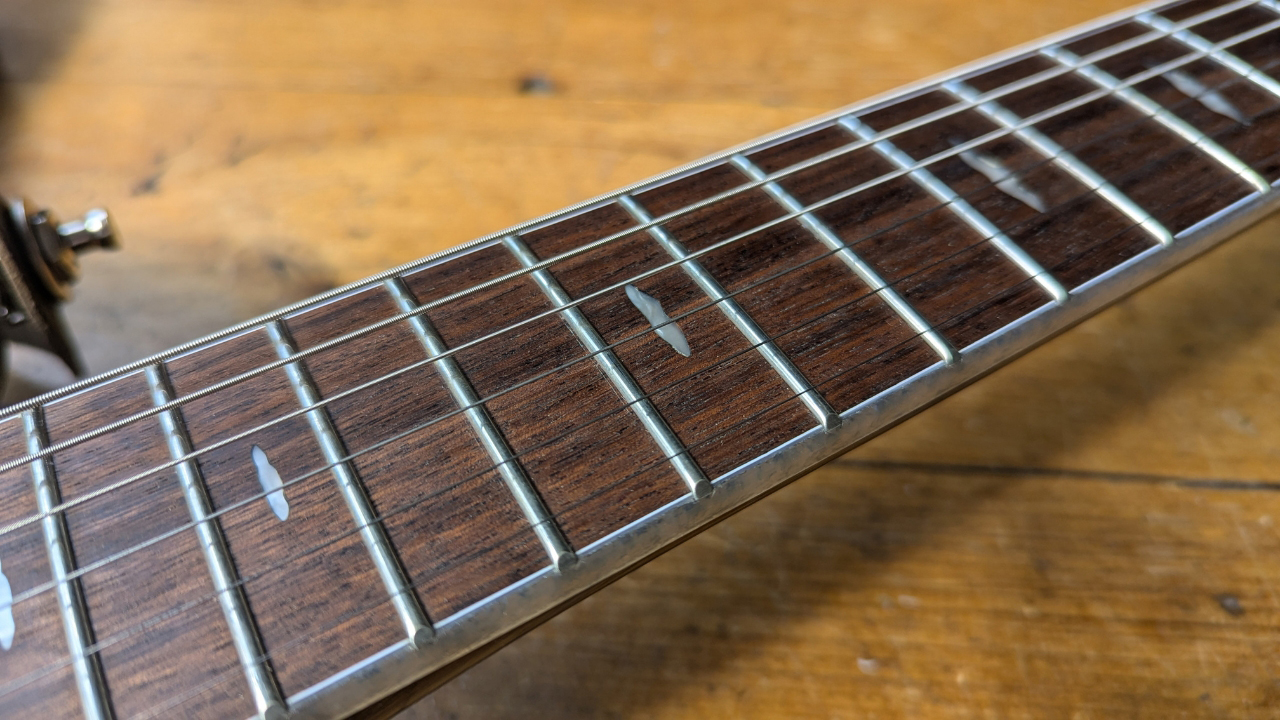
As you can see below, it lifted a noticeable amount of grime off our studio PRS SE Hollowbody guitar. If you're frets have been especially neglected you may want to have another pass with the Frine.
The Frine kit isn't MusicNomad's only option for fret cleaning and polishing. More recently the company has developed the Tracers Fret Finishing Kit. This is aimed for players looking to polish their frets after doing any crowning, beveling and fret dressing work.
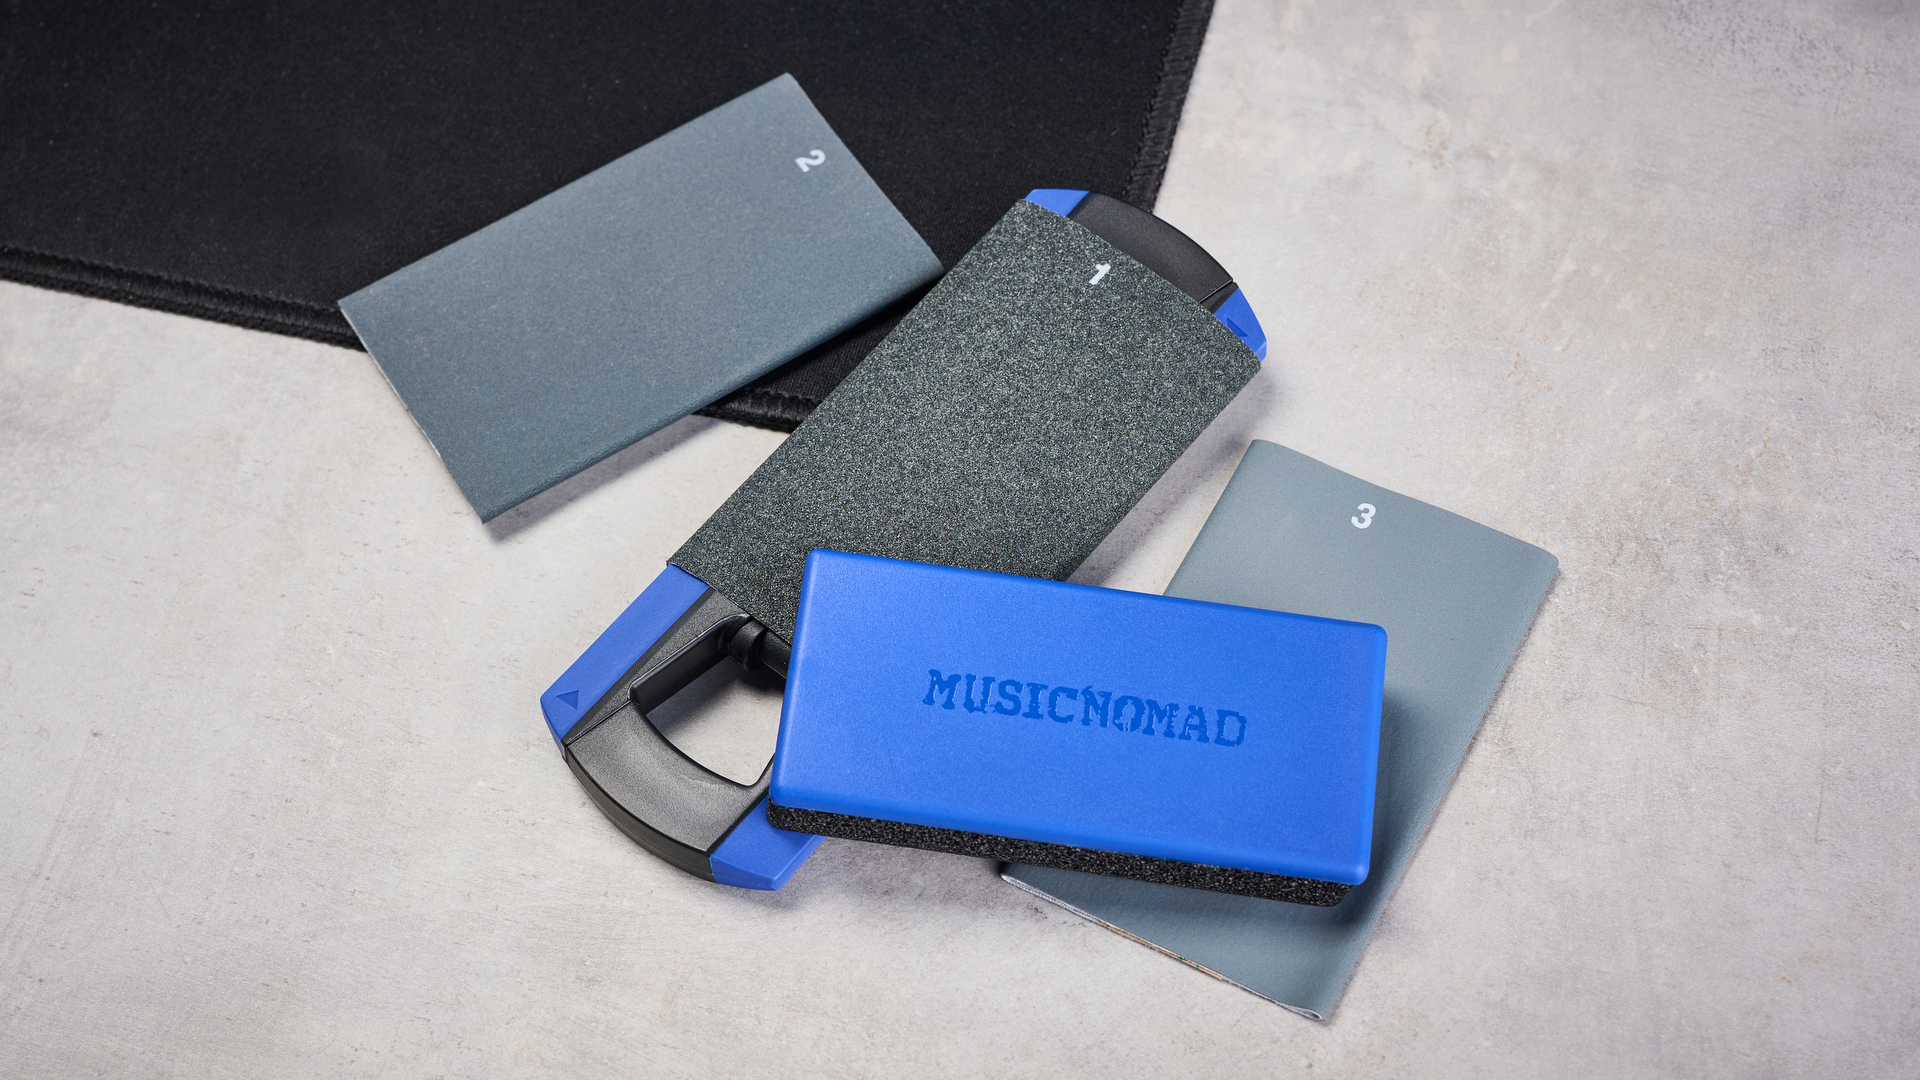
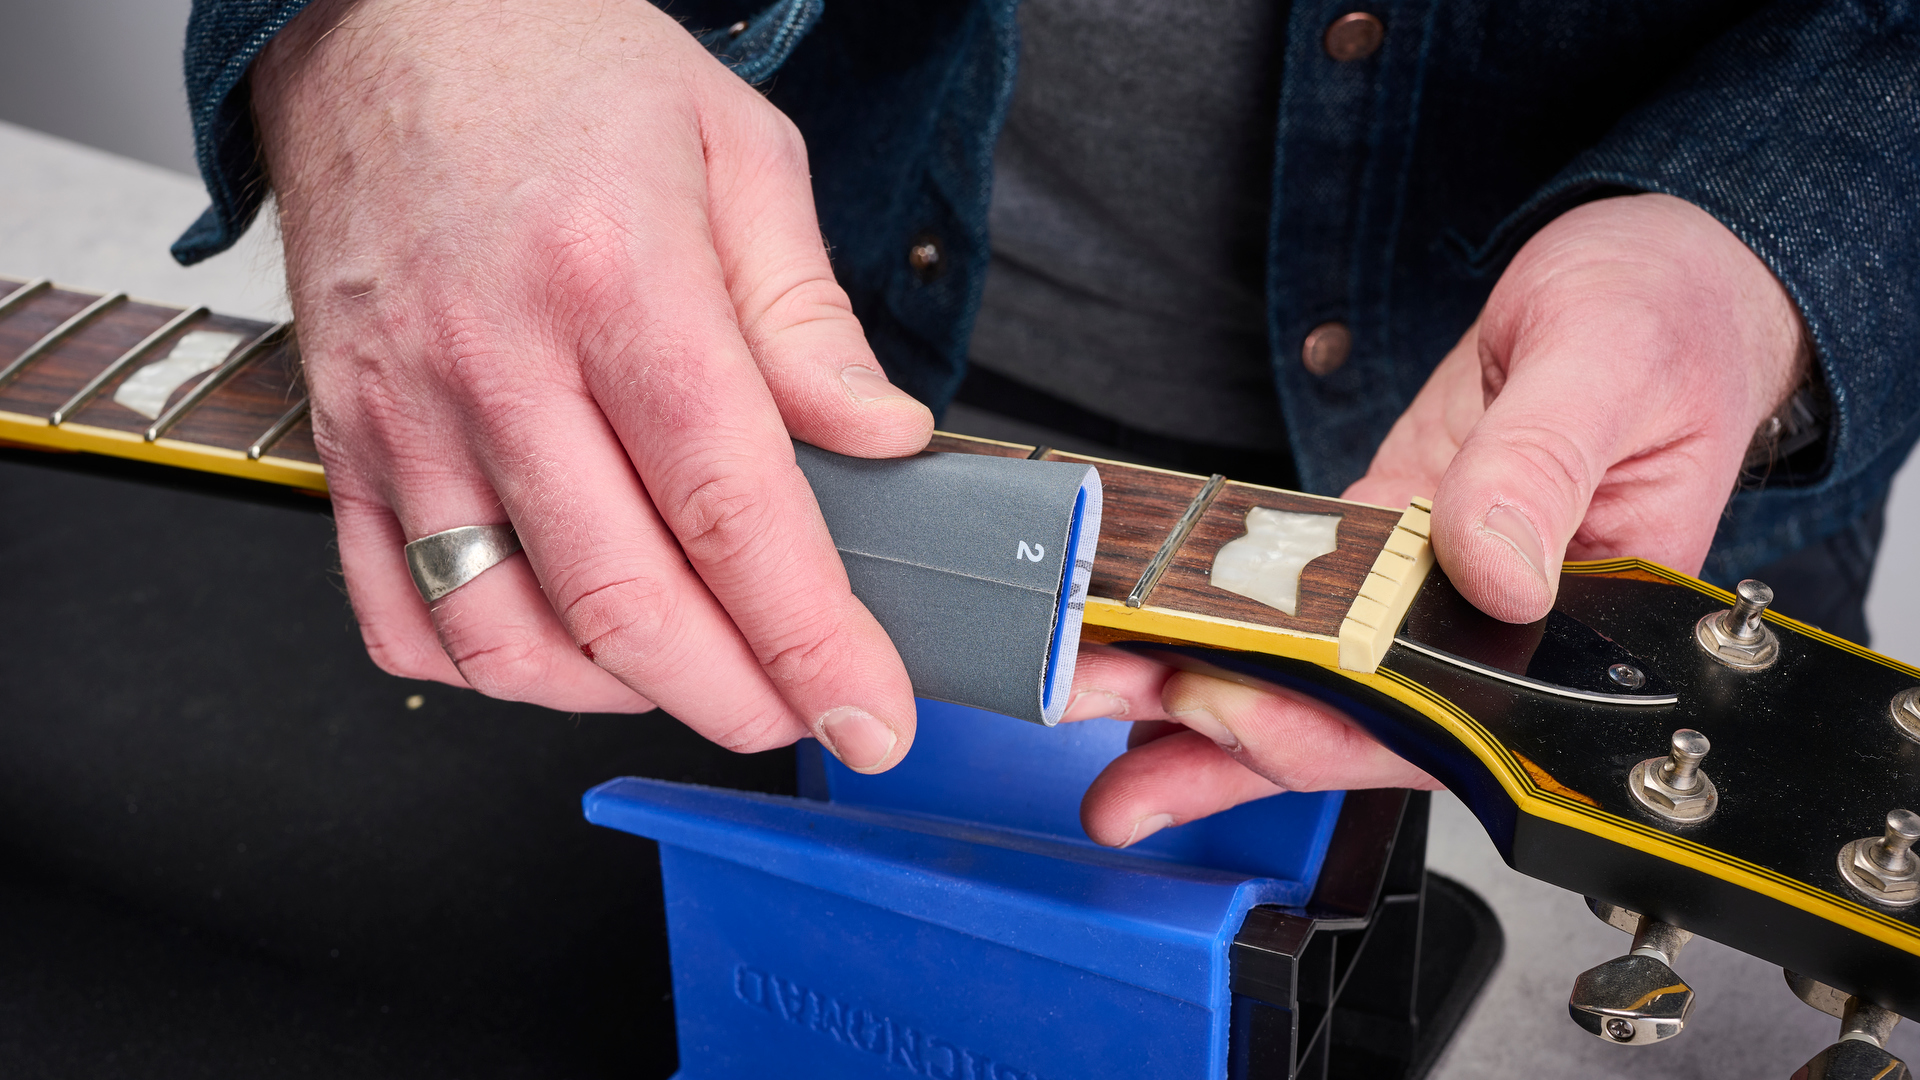
It uses grades of Micro-Mesh as 'loops' to clean and polish the frets, and the kit's innovative handle can even be used to polish fret ends after addressing fret sprout issues.
I'm a big fan of Micro-Mesh and had already been been using myself in pad form for a few years to polish guitar frets. It's a polyester mesh fabric that can be viewed as a far less abrasive sandpaper, and is especially popular for work with jewelry. It comes in a variety of grades with the higher the number, the finer grade. MusicNomad simply number the four grits it uses as with the Tracers kit 1-4 (1,000, 3,600, 6,000 and 12,000 grit) so you know what order to work in.
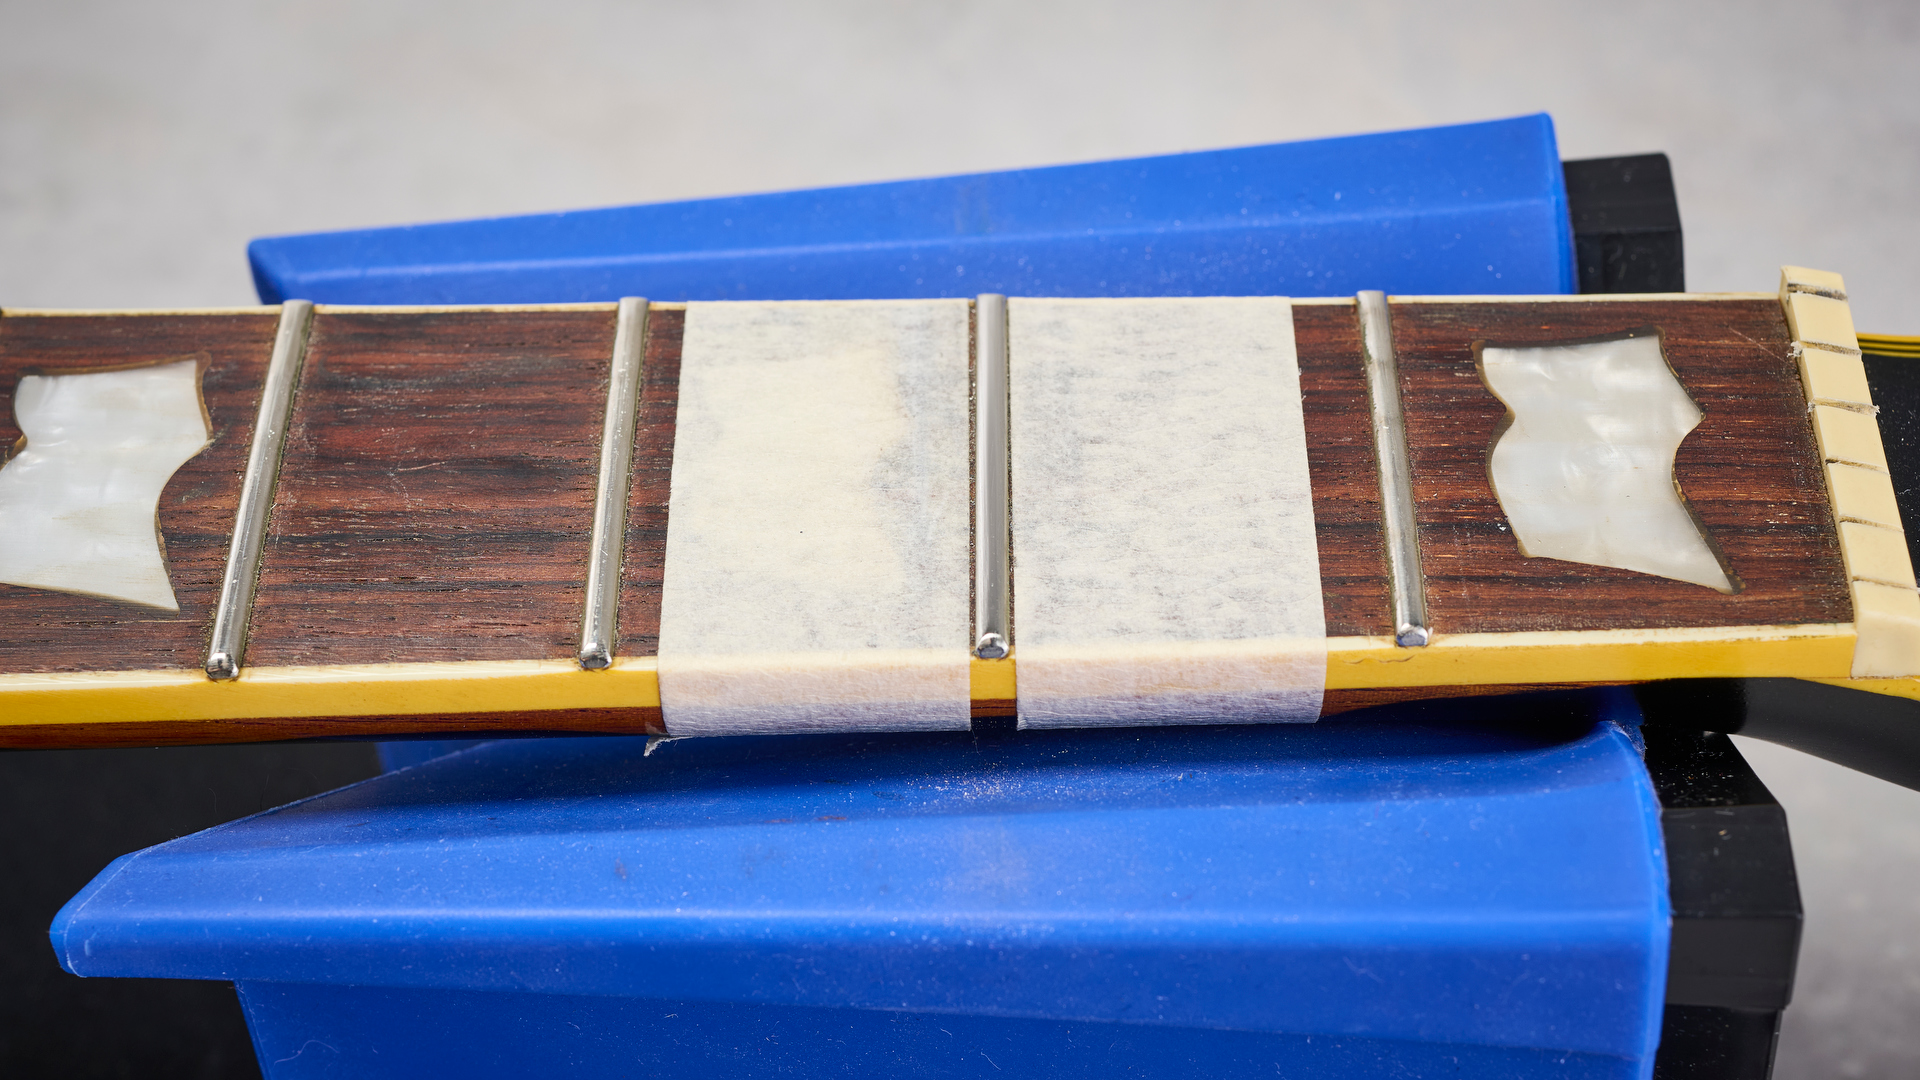
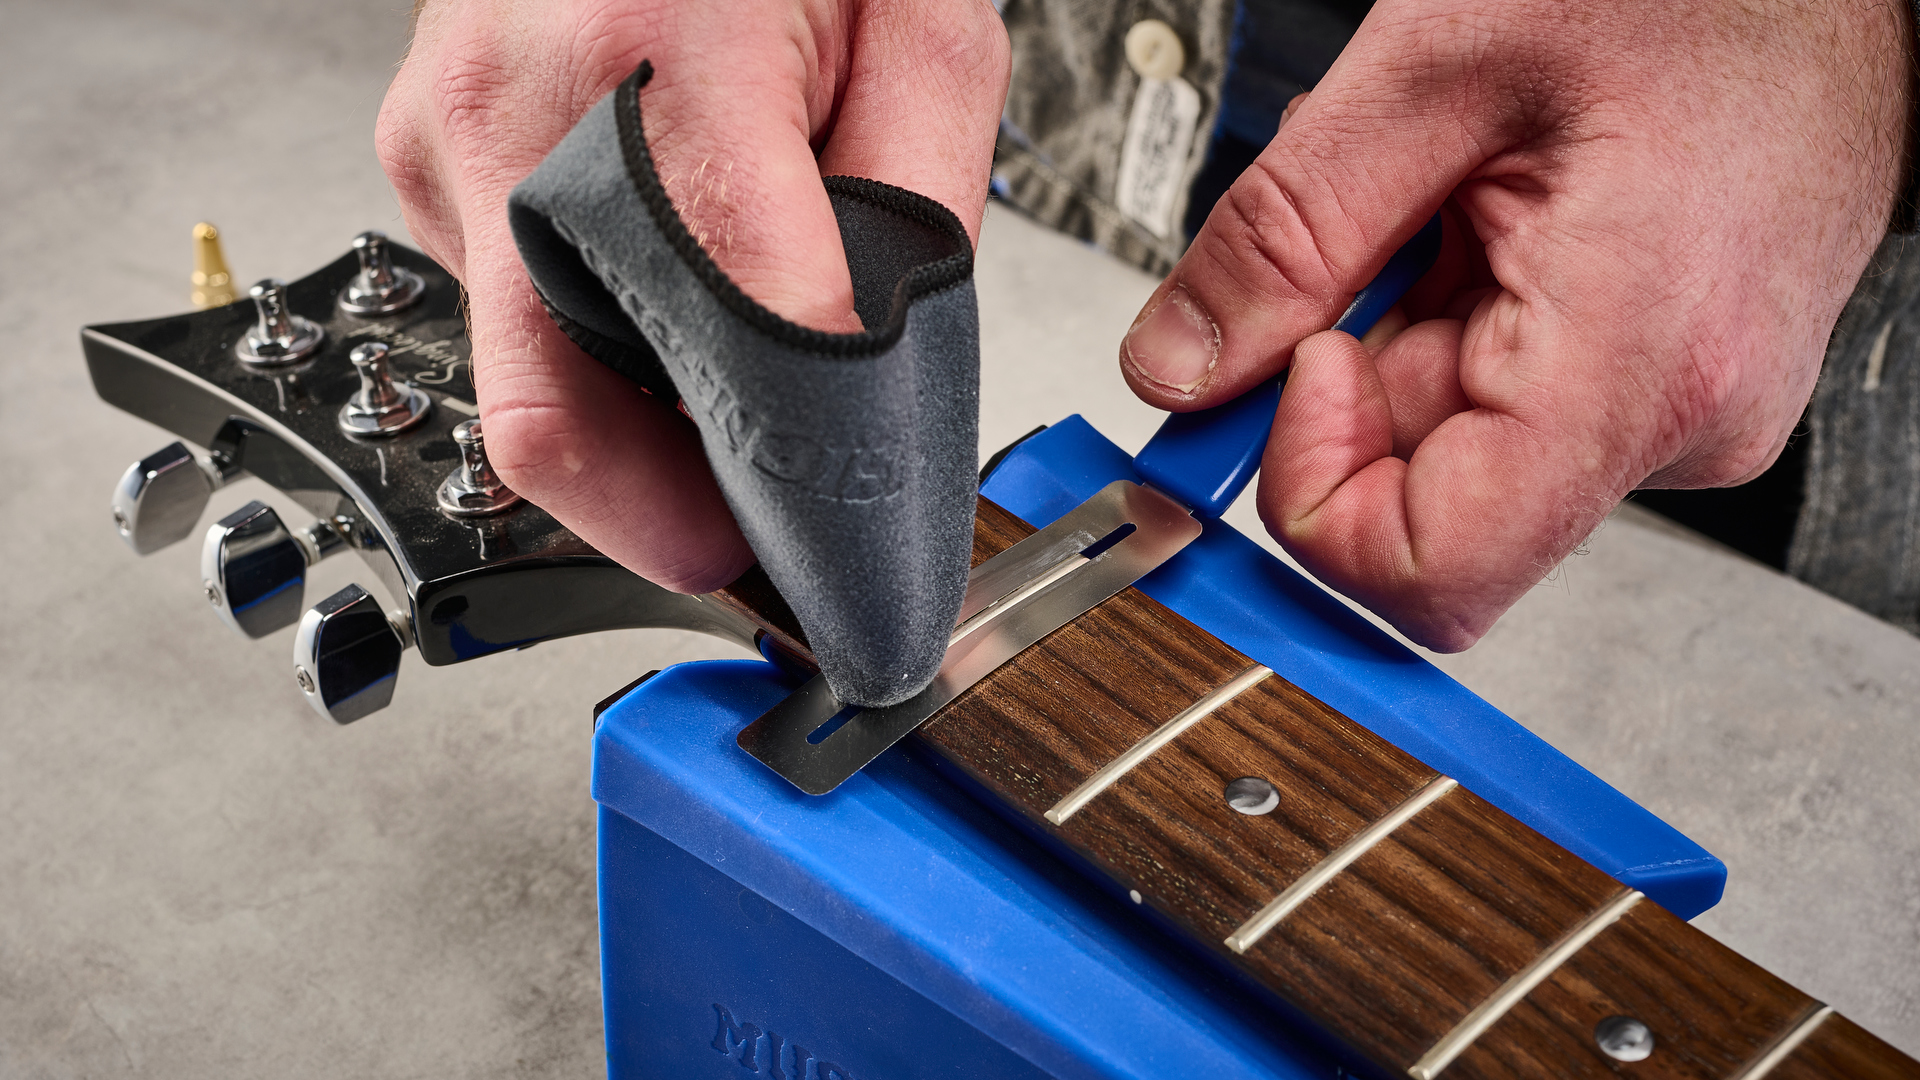
While you can buy fret guards to add protection to your fingerboard (or MusicNomad's Fret Shields that can cover the whole neck and leave the frets exposed to work on), you could also use masking tape either side of the frets.
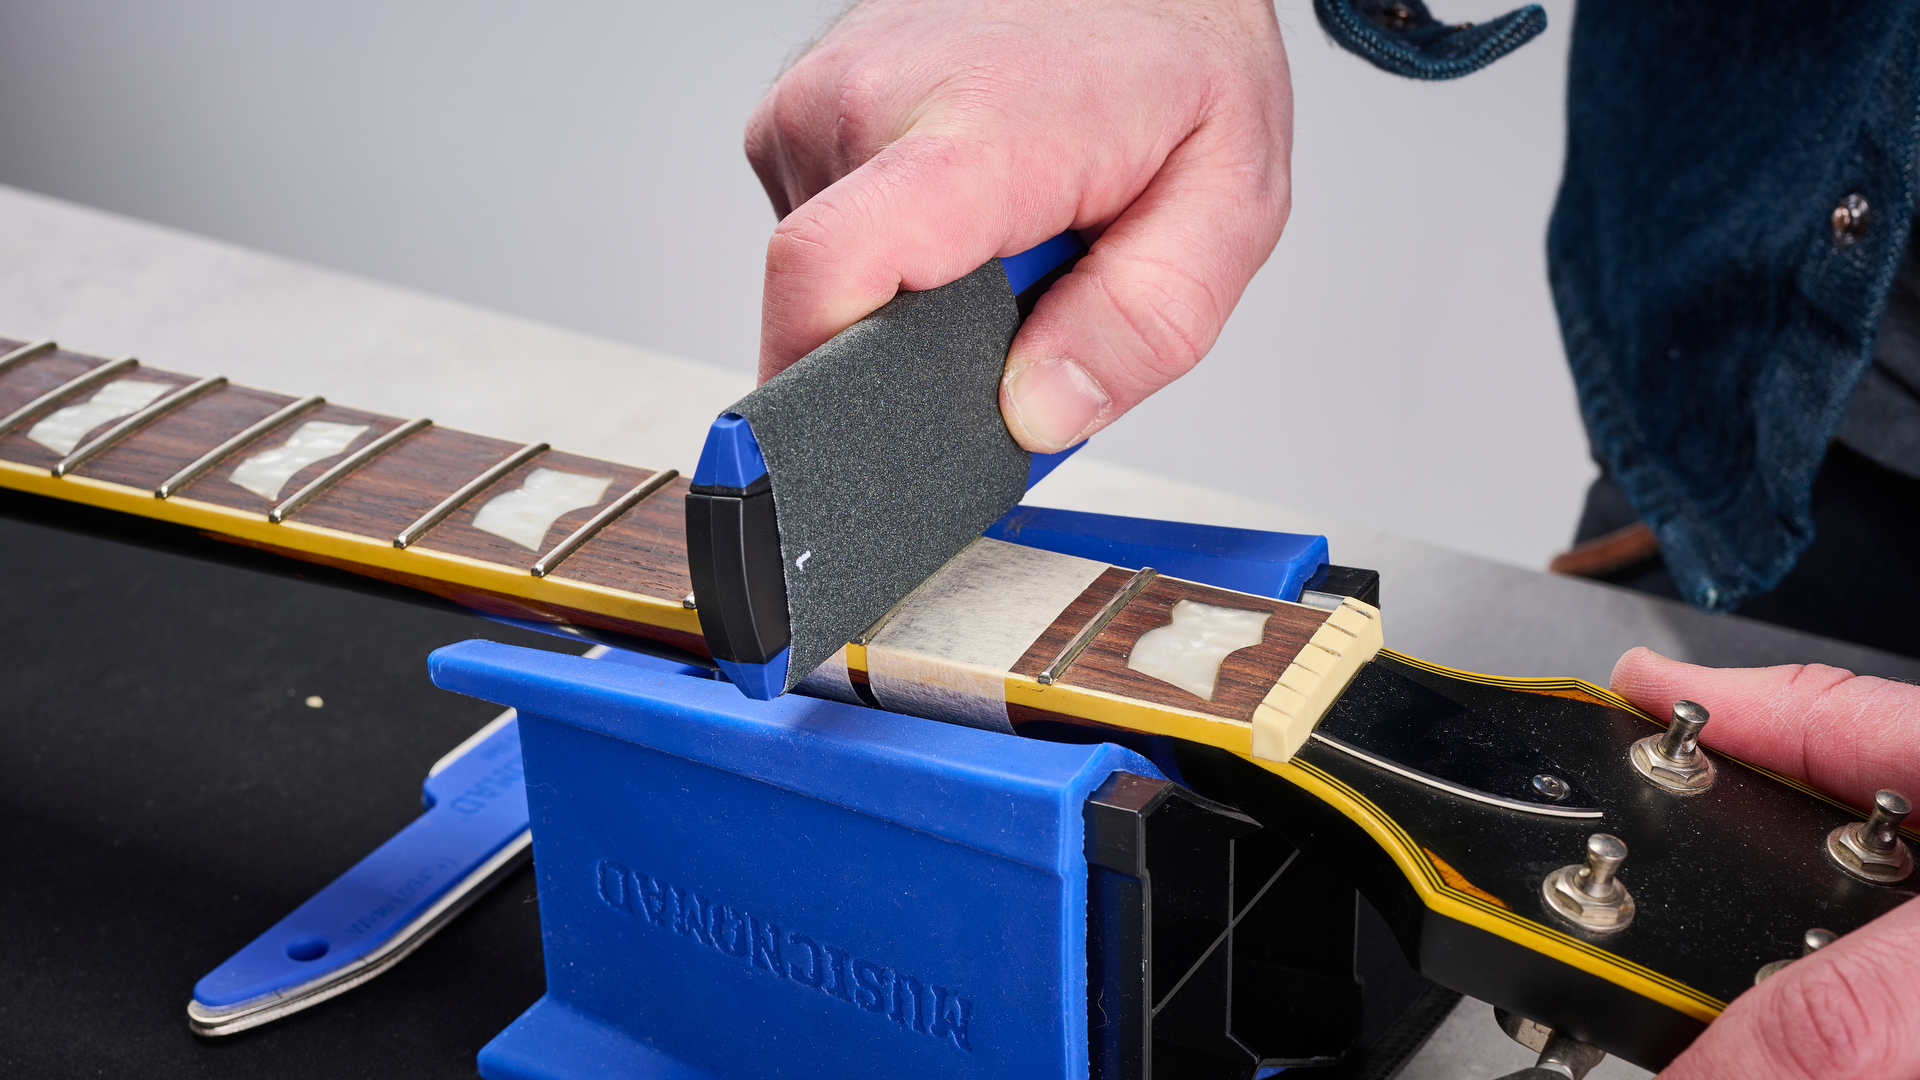
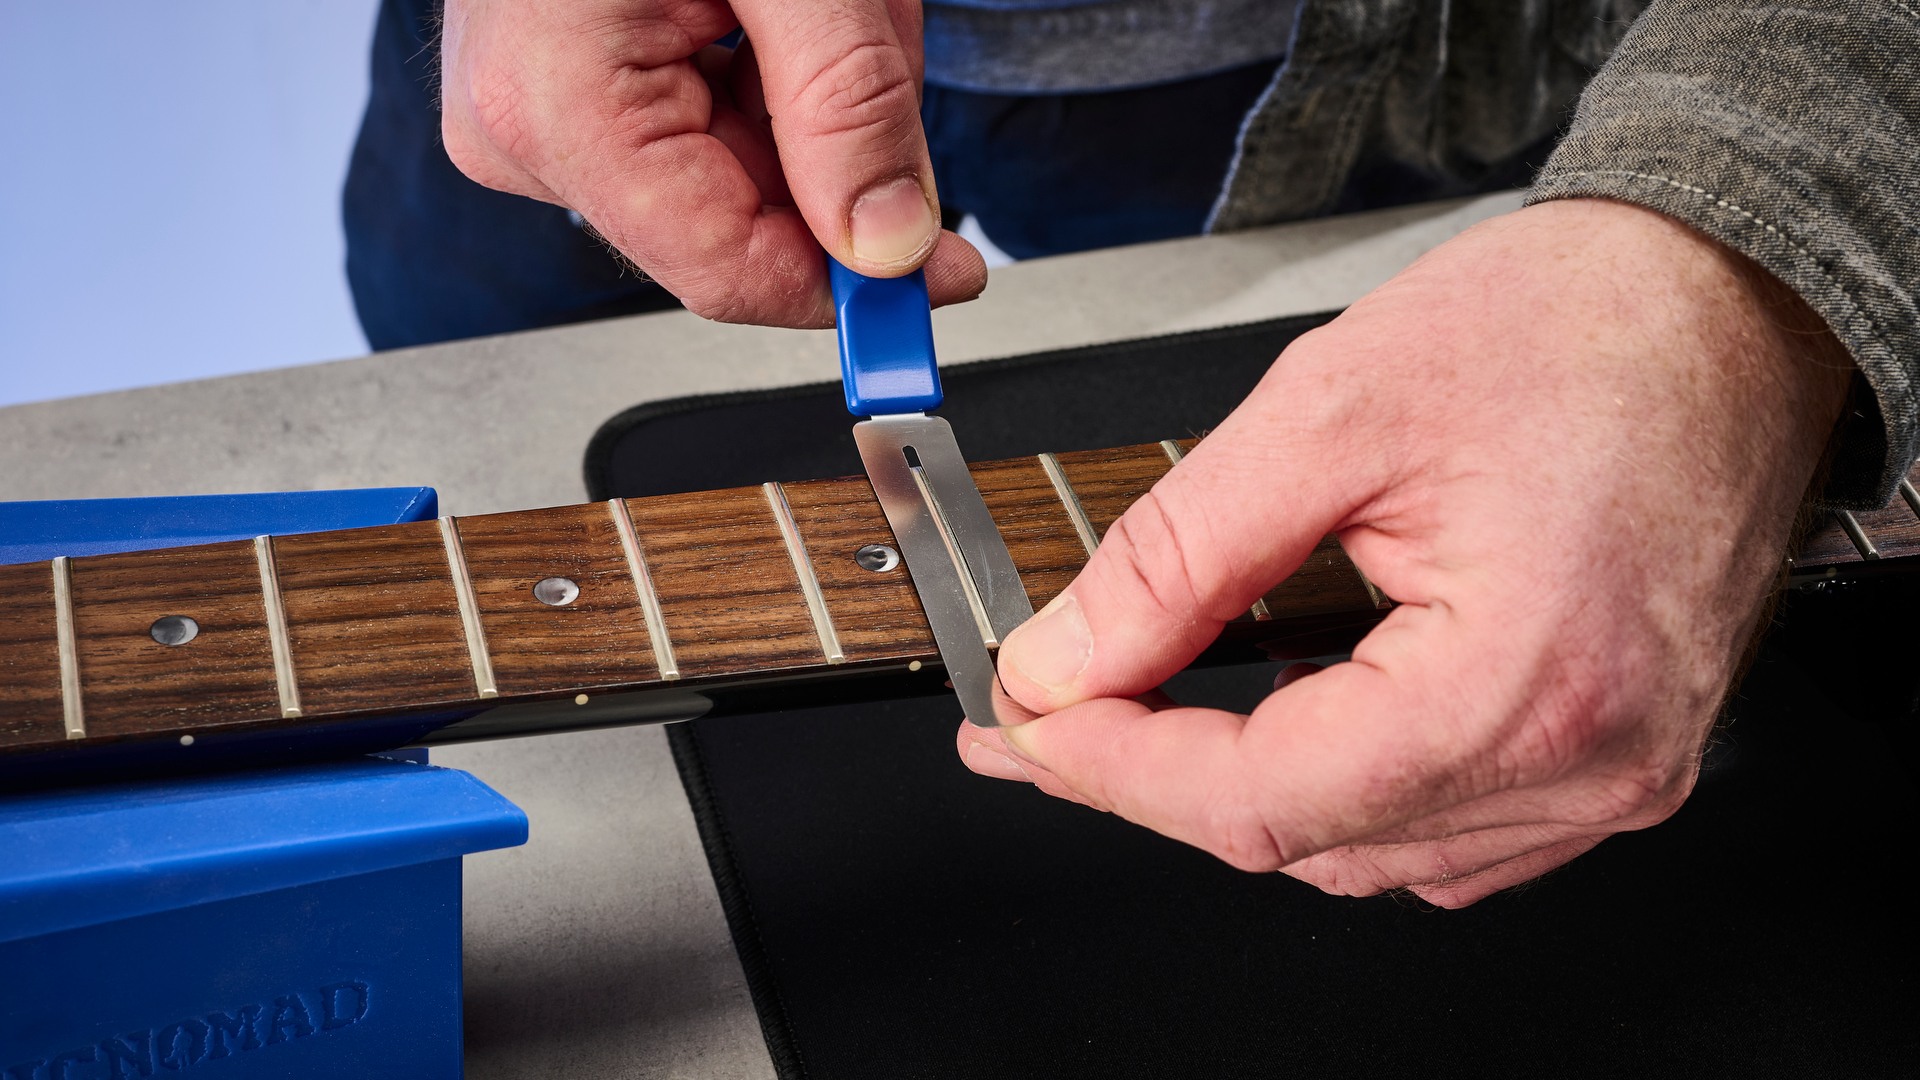
After loading a Micro-Mesh loop onto the spring-loaded Tracers handle, you can use the radiused edge to work on a fret. It's double-sided too. After you've worn a part of the loop down, you can simply turn it to get a fresh piece as a you work along the frets. Start with the first loop and work back and forth along each fret.
Once all the frets are done with one grit, you can fit loop 2 and carry on until finishing with loop 4 and hopefully a mirror finish on your frets. But be careful not to use much pressure when working with Micro-Mesh – let it do the work.
Cleaning with the first grits takes longer in my experience, and by the time you get to loops marked 3 and 4, the process is much quicker as you work through the frets.
The Tracers Kit also comes with a second handle for working on the ends of frets too – one side can polish the bevels and the other can polish the fret corners. As you wear down the Micro-Mesh loops you can buy replacements for the handles too.
- To find out more about the Frine and Tracers kits visit MusicNomad, Thomann and Sweetwater.


.png?w=600)