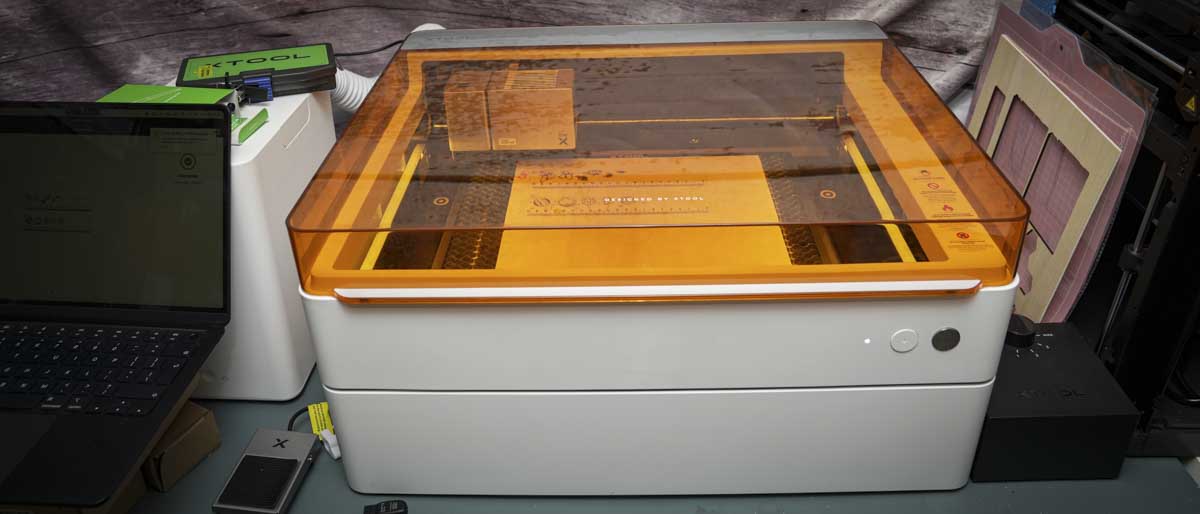
xTool M1 Ultra 30 Second review
Setup and configuration have been made incredibly simple, with xTool's experience from their previous machines ultimately influencing the ease of use. After an initial setup phase where the machine must be plugged directly into the computer to set up the Wi-Fi, from that point on it's fully controllable through the desktop or app interface.
This is much more than one of the best laser engravers we've tested. Offered as a 4-in-1 machine, the M1 Ultra packs in a 10W or 20W laser engraver, full-color inkjet printer, cutter, and pen tool. Effectively, it gives crafters, modellers, and small creative businesses one of the most accurate and comprehensive tool sets on the market.
Setup and configuration have been made incredibly simple, with xTool's experience from their previous machines ultimately influencing the ease of use. After an initial setup phase where the machine must be plugged directly into the computer to set up the Wi-Fi, from that point on it's fully controllable through the desktop or app interface.
Switching tools has been engineered to be a seamless process, with each tool head being quickly swappable and featuring auto-calibration for each. The only manual configuration is marking out the material size in the software, which, once you've run through the process a couple of times, makes sense and is extremely easy.
Likewise, as you swap from laser to print, pen, and cutter tools, the print base you use also changes. Thankfully, this is again a quick and easy process.
If you're looking for a tool with plenty of scope for creating labels, engraving wood and other lightweight materials, printing on non-standard materials, and all manner of creative tasks and projects, then the XTool M1 Ultra really is a great tool.
xTool M1 Ultra: Design
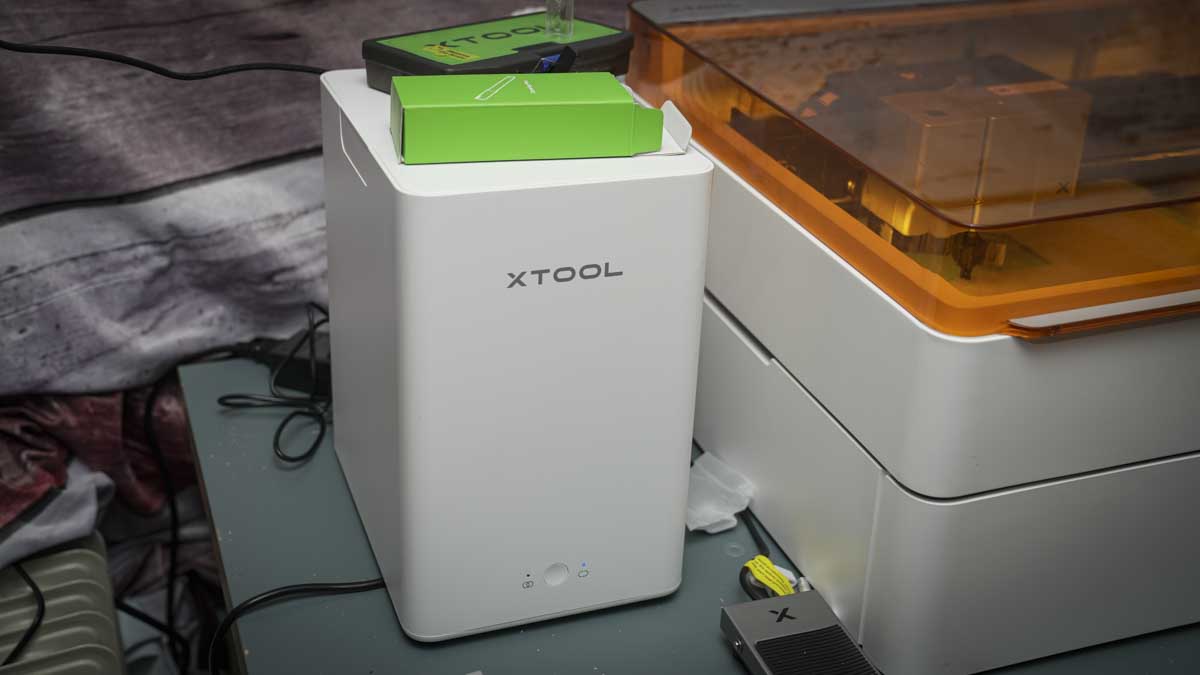
Out of the box, the sleek design of the M1 Ultra impresses with its highly stylish and aesthetic look, which will instantly fit into any stylish creative studio. Setup is quick once the machine is lifted from the box and settled onto any standard-sized work surface. Alongside the machine are a series of extras that need to be fitted, most notably the extractor tube, which can be routed through a window or inserted into the optional compact air purifier.
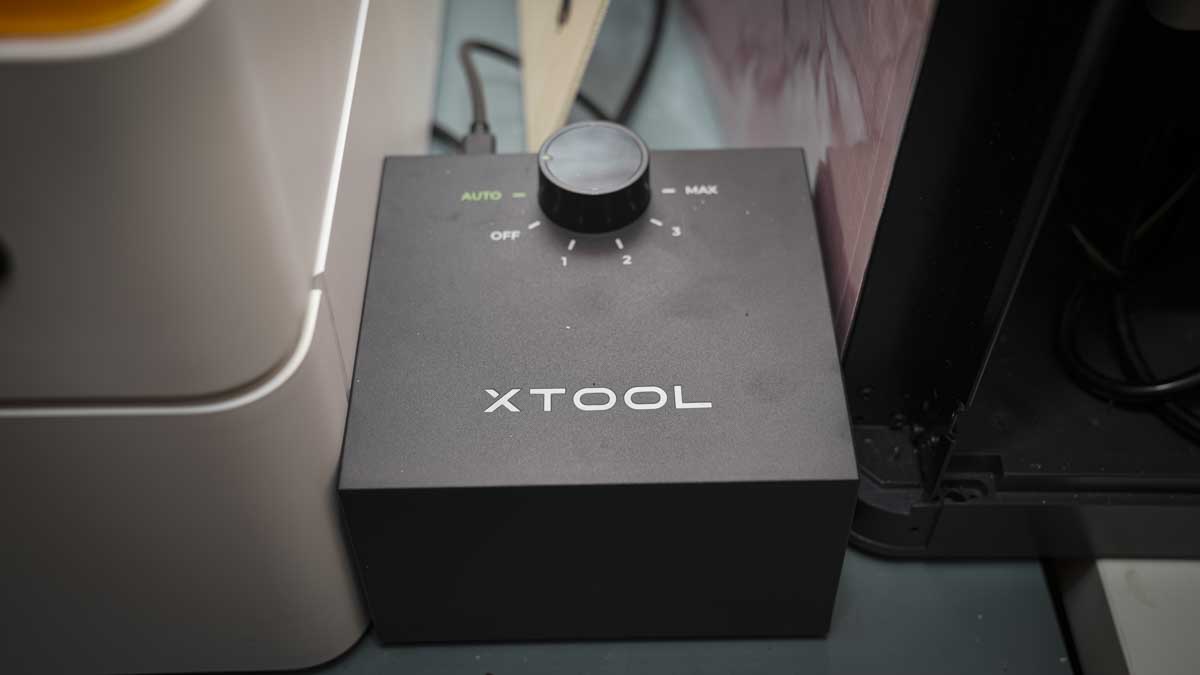
There's also the option for the raiser base, which we used throughout this review, as it gives you a little more flexibility over the material height of the objects you're working with. There's also the Smart Air Assist, which is well worth purchasing if you're looking to use the machine for plenty of laser engraving. This is essentially a blower that helps to force away smoke and debris from the work area, helping to produce cleaner and more accurate engravings. While it isn't essential, its presence will boost the overall quality of your work, and it's one of those extras that may be worth buying when your budget allows.
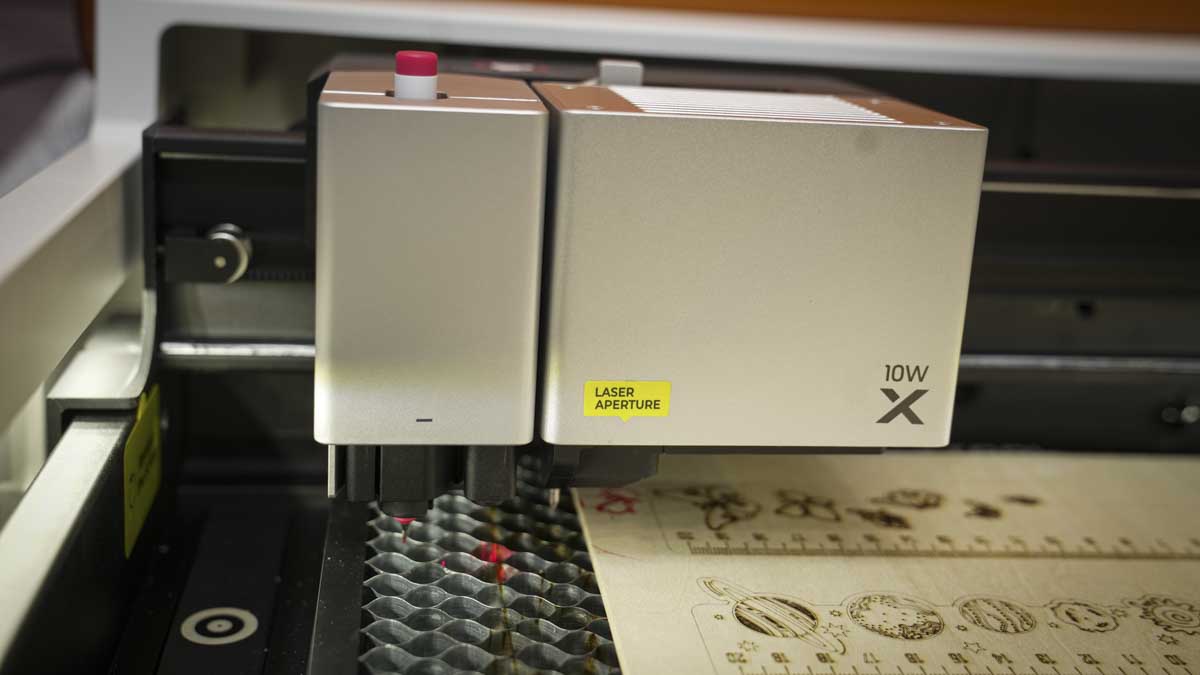
When it comes to the tool heads, you have an option of four. The cutter and pen tools enable you to swap between a variety of cutting tools or colored pens. These tools sit on the left of the machine, while mounted to the right is either the laser or inkjet print head. This means that at any one time, you can have a combination of tools mounted, so you can draw and laser cut, or inkjet print and rotary cut.
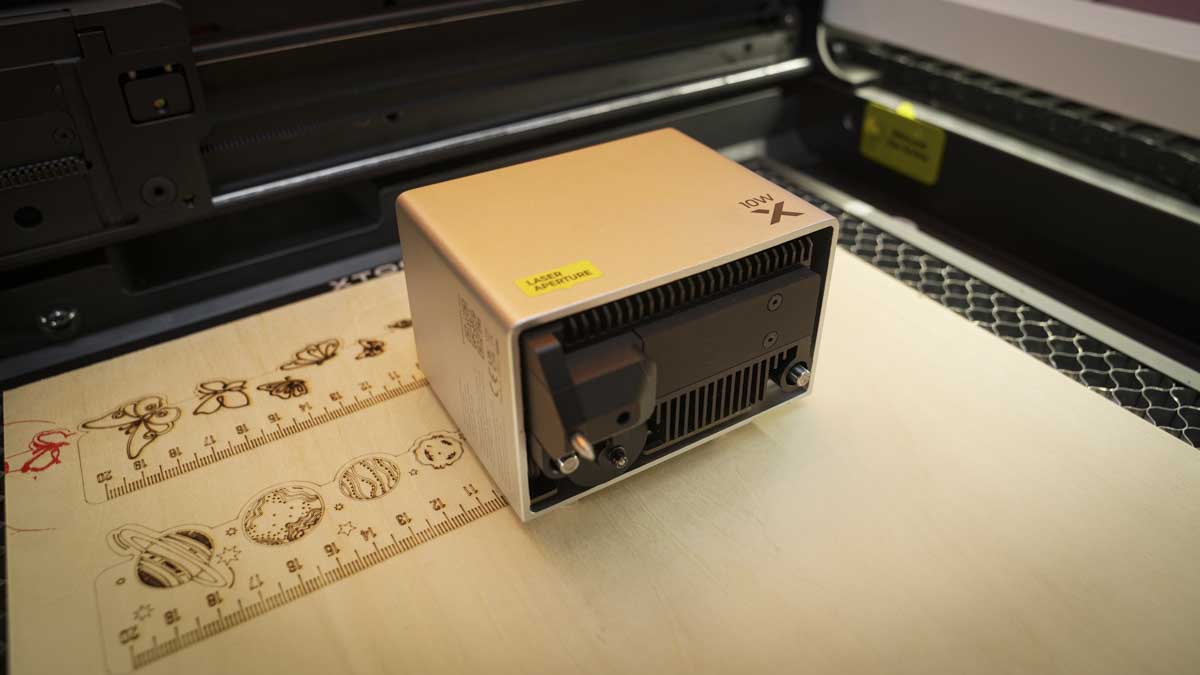
Once the machine is set and ready to go, you can pop in the tool head you want and the platform that goes with it. For example, when fitting the laser engraver, you can use the raiser base with honeycomb or the platform or grate that is supplied as standard. Once everything is in place, you can select the tool from the software and then set the size of the material.
This marking process enables you to accurately lay out your work on the material. It works by physically moving the laser head to the top left and then the bottom right of the material, aligning the laser crosshair projected onto the material surface at each point, and pressing the main button on the machine to set. The software essentially guides you through the process, and there's really little here to complicate—it's extremely straightforward.
As you swap between the different tools, switching out the heads and platforms, the marking process remains the same. Once everything is set and the design for cutting, printing, engraving, or drawing is moved into place within the software, you can tap 'go' in the software and confirm with the large button on the machine to start whichever process has been selected.
This is all impressive stuff, but what really elevates this machine is its multi-tool ability. With each of the tool heads, you can select 'multi-tool' in the software, enabling you to print and then cut. This feature, at this level and price of machine, is truly unique.
xTool M1 Ultra: Features
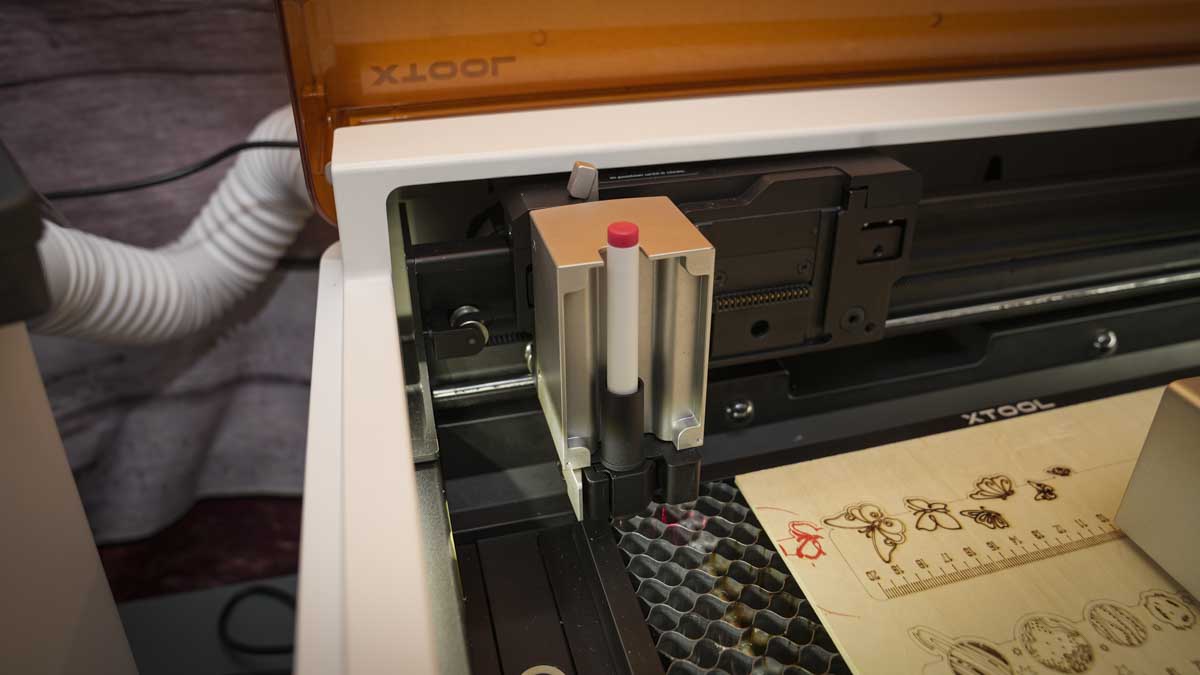
The xTool M1 Ultra should be seen as the heart of a large ecosystem that can be adapted and changed to your needs. As standard, you get the 4-in-1 ability, with the tool heads being easy to swap in and out quickly using the quick-release mechanisms that enable the base 4-in-1 feature set of laser, inkjet, blade, and pen.
With these four options, you have the ability to work with a huge variety of materials, from wood to paper and fabric, whether cutting, drawing, or engraving—far more than you can do with any other machine on the market.
With the xTool Creative Space, you now have access to AI design tools, which enable you to create text-to-art images in a couple of seconds. So if you're stuck for an idea, you can simply input the text you want, and the software will design art around what you've written.
While the M1 Ultra doesn't have a built-in AI camera for positioning, it does have the ability for you to use your camera phone to take a snapshot of the work area and upload it to the software, essentially providing the same effect. This is a bit of a workaround for not having the camera built-in, but it works well nonetheless. Once the image is uploaded, you can then position your designs over the materials nice and accurately.
When it comes to the laser, this is available in a 10W or 20W diode laser, enabling cutting, engraving, and scoring as needed. Again, all options for this can be adjusted through the software, and there is the ability to combine the use of this tool with the inkjet and pen tools if needed.
The blade options enable you to work with foils and cut a variety of materials, including fabrics and felt, with a selection of four blades available for different materials. This tool can be used in combination with the inkjet printer and laser.
We've reviewed plenty of the best inkjet printers, but few come close to the versatility on offer here. The inkjet head replaces the laser head and enables standard full-color printing. The print head is optimized for artwork and allows you to print on a variety of different materials, not just paper. Depending on the materials used, the ink flow adjusts to ensure bright, accurate colors—a feature that no other machine in this price bracket offers.
The final option is the pen tool, which replaces the blade tool, enabling you to translate your digital artwork onto paper as well as other materials. Since the tool uses real physical pens, you get a more natural look to your images, and the more you use the tool and the more worn the pens become, the more natural the images look, replicating the flaws that you would see in hand-drawn images and adding a unique feel to each one. The best part is that you can duplicate the results over and over again, and when used in combination with the other tools, you can draw and then cut out or engrave.
One of the areas that makes the xTool machines so intuitive is the Creative Space software, which enables you to lay out and adjust settings in a visual and easy-to-use interface. What's nice is that xTool has designed an easy-to-use workflow so that if you're a complete beginner, the software will guide you through the basics, including marking the materials ready for your projects. As you gain more experience, you can quickly access the settings and options you want with a little more flexibility and control.
Ultimately, ease of use is at the heart of the machine, and it has been designed as a creative tool for those with little to no technical knowledge.
As with all laser engravers and most other machines of this type, it does take up quite a bit of room. However, for its abilities, it is one of the smaller real laser engraver machines out there, especially with all of its additional capabilities. It's about twice the size, at least, of a standard A4 printer with a scanner, so while it's small compared to laser engravers, it's still a larger machine, measuring 620 mm x 498 mm x 178 mm and weighing in at 12 kg.
Print Technology: Laser, Pen, Cutter, Ink Jet
Build Area: 300 mm x 300 mm (varies slightly for different tools)
Dimensions: 620 mm x 498 mm x 178 mm
Weight: 12 kg
Bed: Optional riser base for height adjustments and rotary attachments
Print Surface: 300 mm x 300 mm (for most modules); inkjet module slightly smaller at 296 mm x 286 mm
Software: xTool Creative Space (XCS), compatible with Windows, Mac, iOS, and Android(
Materials: Wood, paper, fabric, leather, acrylic, metal (for engraving), and more
Print Speed: Laser engraving speed up to 400 mm/s
Inside, the work area is of a decent size, and when used with the laser, you have a 300 mm x 300 mm work area. In blade mode, there's a 300 mm x 300 mm (295 mm x 295 mm for the cutting blade) work area. In pen mode, there's a 300 mm x 300 mm work area, and finally, using the inkjet head, you have a 296 mm x 286 mm work area.
An upgrade from the M1 is the maximum working speed, which increases to 400 mm/s from 250 mm/s. When it comes to the laser options, the M1 Ultra is available with either a 10W or 20W laser, depending on how you intend to use the machine. The option you choose will depend on the materials you intend to cut, with the 10W cutting materials up to 6 mm and the 20W up to 10 mm.
When it comes to connecting to the machine, you can utilize either USB or Wi-Fi, depending on the work you're doing, and it will work with Mac and PC systems as well as iOS and Android.
xTool M1 Ultra: Performance
Initial setup of the machine is quick, with the process of getting started taking around 15 minutes. Installing the laser head and pen tool takes a few seconds, and with the quick-release system, there really is little that can go wrong, thanks to a straightforward approach to each. Likewise, swapping out the laser head for the inkjet head is a process that takes just a few seconds, and once installed, the software, once connected, automatically updates, although there are some functions that you need to update manually.
With our review unit, we also received a host of accessories, including the raiser base, which took all of five minutes to unpack and install, the Air Assist (which is an essential for any type of laser engraving, both for enclosed machines like the M1 Ultra and open machines), and the Air Purifier, which again we would highly recommend. We also received the RA2 Pro for rotary engraving and a few other additions, all of which are easy enough to install and use.
Once the machine is set up, the software can be connected—this requires you to initially connect the machine via a USB Type-C cable. This is easy enough for PC users, but Mac users may find that they need to go from a USB Type-C to A to C connector. Any issues encountered can be resolved easily, as xTool's support is second to none.
Once connected, the Wi-Fi can be set up, and after that, all connections are fast and easy, with just a few seconds needed to connect to the machine through your local area network before it appears in the xTool Creative Space.
Starting out with the laser, unlike other xTool machines, there isn't a preview camera. Instead, you have two options: the first is to mark the material area, and the second is to take an image of the material in situ inside the machine.
In the first option, the mark is selected in the software, along with the shape. For this first test piece, it's a sheet of ply, so a rectangle is selected. Next, opening the lid, the material can be placed onto the platform, and you manually position the red projected crosshair over the top-left corner of the material, then push the button and move the head to the bottom-right corner, and again press the button on the machine. In the software, the rectangular outline of the material is shown, ready for you to place your design. You can then close the lid and start the cutting, engraving, or scoring process.
Swapping between the 40W standard head and the 2W IR head is seamless, with the machine automatically recognising each. The integration of the riser base, while slightly more time-consuming, results in a sleek look that maintains the machine's style and, of course, enables you to fit in large objects. The rotary attachment installation can be tricky at first but becomes more manageable with experience; it's the same accessory as used with the P2 and equally handy and should be on your essentials list with the purchase.
The xTool Creative Space workstation is the central software hub, offering a well-designed and user-friendly interface with plenty of control options. The precision of the 40W diode is particularly impressive, delivering high-detail engraving and crisp cutting quality, making it ideal for modellers and small-scale businesses. The S1's capability to produce some of the best laser-cut objects is a testament to its quality. It is a highly recommended choice for those looking to venture into laser engraving without stepping up to CO2 machines.
The other option enables you to take an overhead view of the material in the machine and then upload it through the app. Then you can place your design accurately onto the material where you want it to appear. This is much the same as the usual AI cameras, and it feels a little off for a machine of this quality to not feature some sort of visual aid or live view through the software. However, once the design is positioned, you can hit 'go' to start the process.
The ease of use of the machine really stands out. As you switch between the other tools, it becomes very clear that the machine has been designed for creative users rather than technical ones. The only technical part is the switching of the tool heads; the rest—marking and taking pictures—is all much like what you would do with other more traditional, hands-on machines, so it shouldn't pose an issue for anyone.
When it comes to the laser quality, we ran the test with both the Air Assist and the Extractor Air Purifier, both of which dramatically help to improve the cut quality, as well as draw all the smoke and fumes safely away from the cutting area. The actual quality of the cut and engrave is superb, and with our 20W review unit, it cut through 5mm ply with absolute ease and precision.
Switching the head over to the inkjet head, the setup and ease of use were again apparent, with the image being laid out onto the work area, ready for printing. While there has been some hype about this replacing other standard printers, this inkjet—while very good—has its own use. Without going into the quality details, this inkjet does one page at a time and not multiples like dedicated printers. However, the quality of the print is excellent, and when used on ply and other materials that standard printers wouldn't cope with, this print head excels. The head and the colours are very much tuned to artwork, and when coupled with the laser or blade tools, they open up a world of creative options.
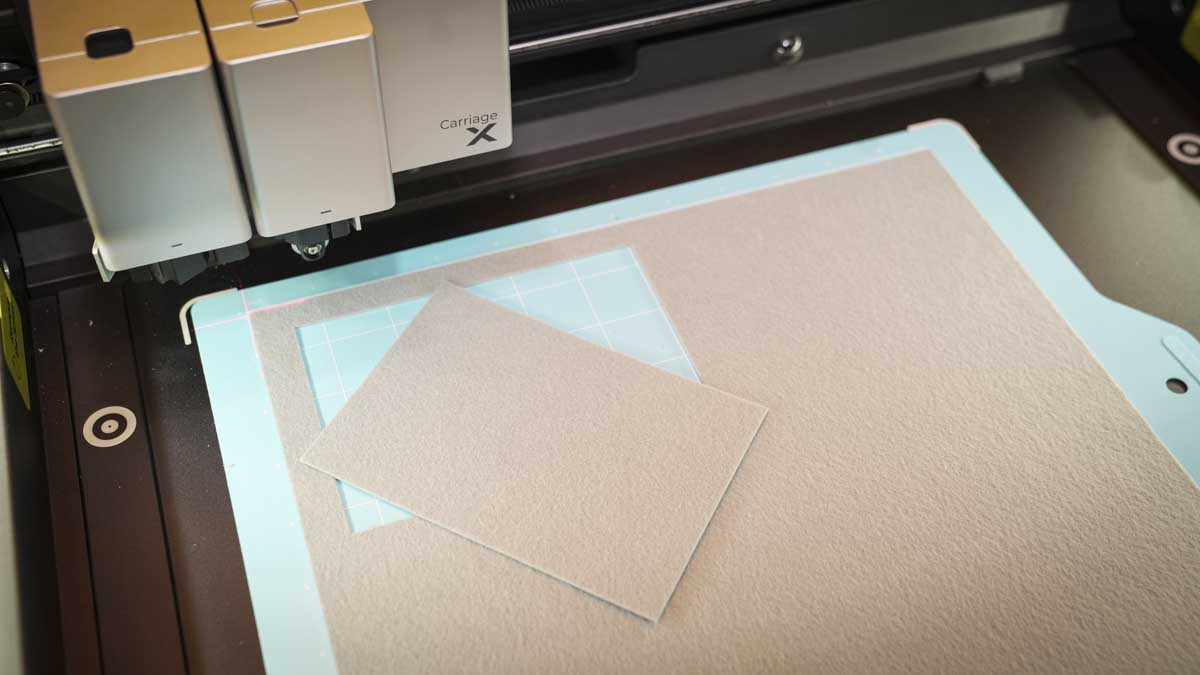
With each of the tools, different work surfaces in the machine are used. If you're selecting to use the multi-tool option, you have to be sure that you pair the correct combination. For the inkjet print head and laser engraver, you can use the slats or the optional honeycomb. Whereas for the blade and pens, you need to use one of the sticky surfaces. These flexible platforms are slightly tacky, enabling materials to stay in place without moving around during the cutting or printing process.
As with the two larger heads, the pens and blades clip into the box next to the swappable heads. Again, they're accessed through the interface, with cutting patterns for material easy enough to lay out, mark, and cut with one of the various tools. Other materials, such as foils, felt, and paper, can all be set up and selected in the software and cut as needed—it's all very intuitive.
Likewise, the pens clip in, and then you can select the colour, add the image or design you'd like drawn, and off the machine goes. If you then want to cut out the design, a cutting path can be applied, and the cutter can be used to cut the material around the printed or drawn design—again, this is all really clever and easy to use once you get the hang of it.
With each tool, the machine is highly tuned and adapts to the needs of each. As the user, you need to swap out heads and platforms depending on what you're doing. When used as a multitool on a single design, you get used to the procedure of which tools and materials can be combined and how to get the results you want. Ultimately, when it comes to laser engraving, the machine is excellent. Likewise, for the blade and pen, these are creative and great fun, with serious professional potential for creative businesses. The inkjet head is excellent, but it is not a replacement for a printer by any means. Rather, it is a printer designed to print onto specialist materials.
As a 4-in-1 machine, the xTool M1 Ultra essentially stands alone and manages to tackle each of its toolsets as if it were a dedicated machine. While it's a shame that there are no preview cameras, xTool has ensured that there are other features and tools that act as a viable alternative. Some might find the actual workspace a little small at just over A4 size, but for the majority of crafters, modellers, and creative businesses, the compromise in space is more than worth it for the tools it gives you access to in such a compact frame.
xTool M1 Ultra: Final verdict
The xTool M1 Ultra is an impressive 4-in-1 machine that brings a wide range of creative possibilities to crafters and small businesses. Its laser, inkjet, blade, and pen tools work seamlessly enabling you to tackle projects involving engraving, cutting, drawing, and printing on various materials.
Although the lack of a preview camera is a slight drawback, the overall performance and versatility of the machine more than compensates. Setup is straightforward, the software is intuitive, and the multi-tool functionality sets it apart from other machines at this price point although there is no real single machine competitor. For its compact size and the professional-level quality it delivers, the xTool M1 Ultra offers great value for the price.
Should you buy the xTool M1 Ultra?
Best 3D printers: Tested, reviewed, rated


