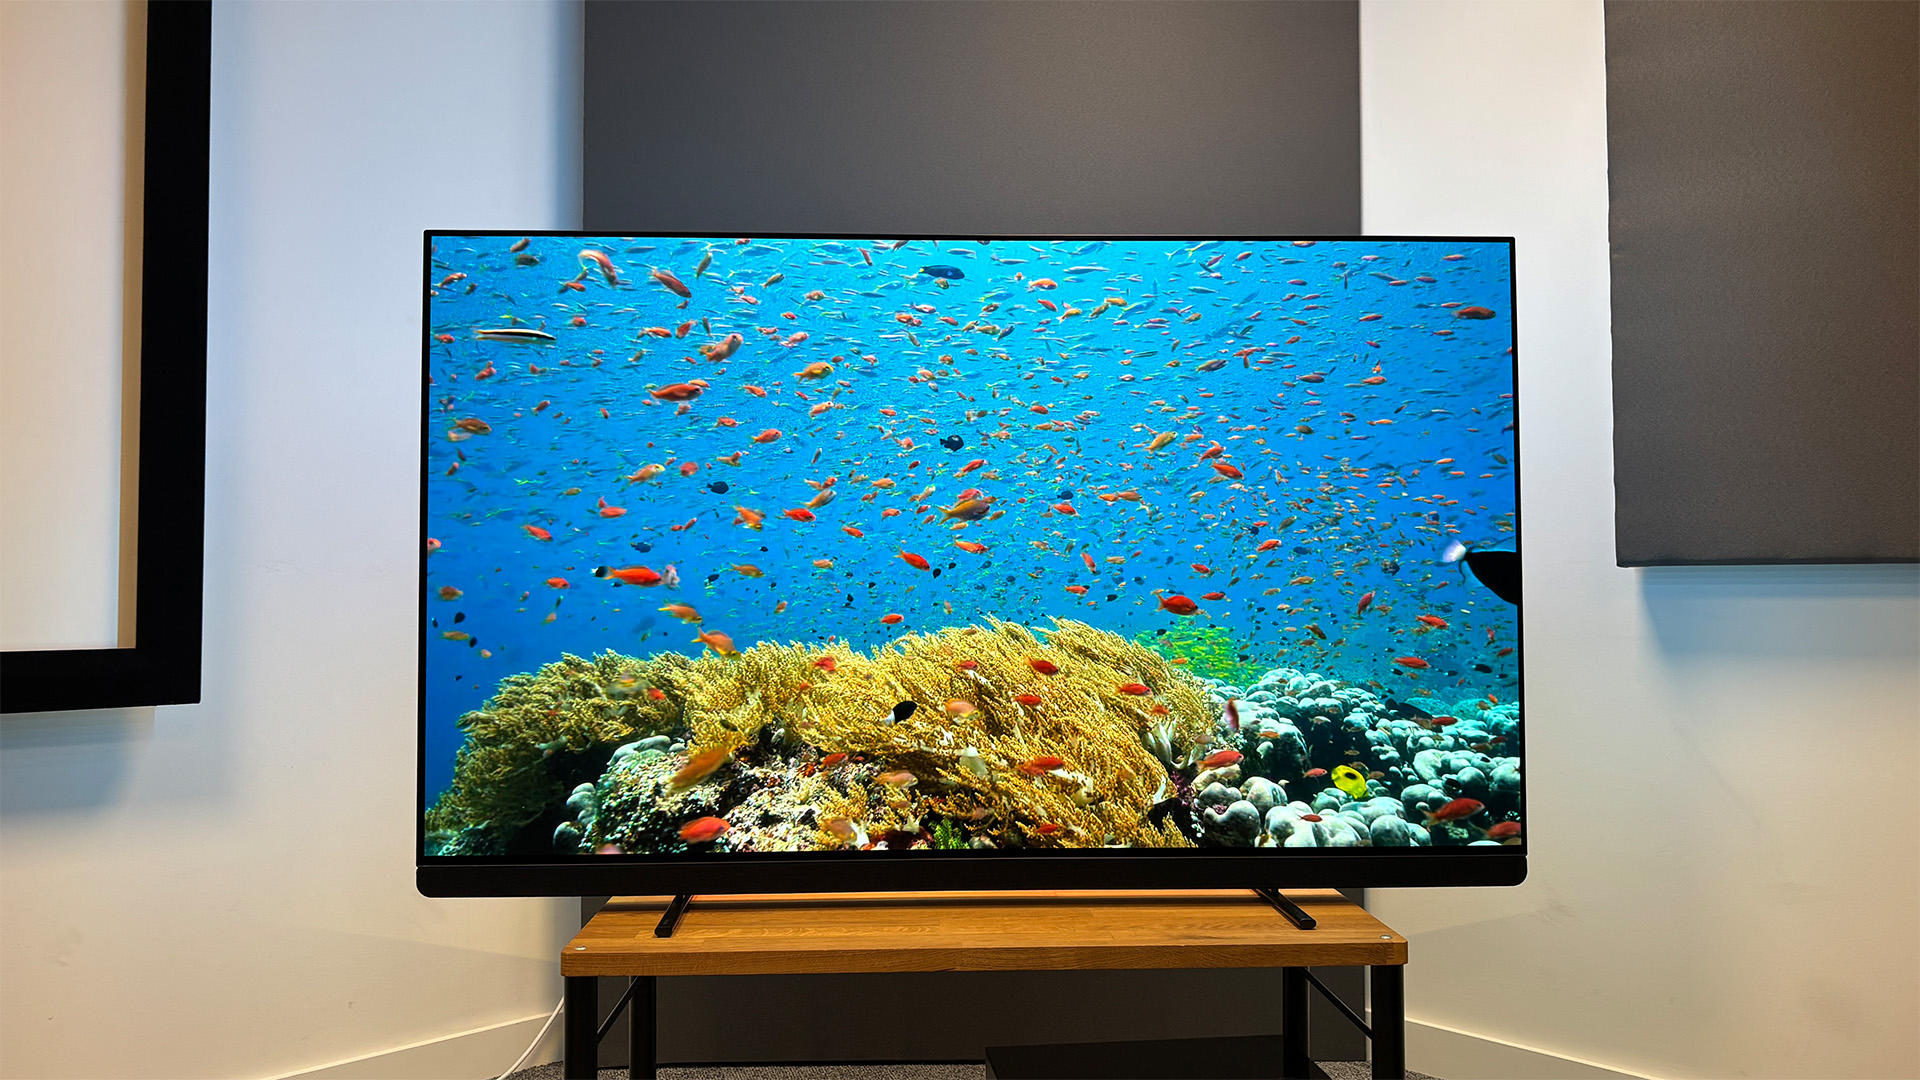
If you’ve read any reviews of TVs or projectors with HDR (High Dynamic Range) technology in recent years, you’ve almost certainly seen the term ‘tone mapping’ and could well have wondered what it means.
You might be surprised to discover tone mapping is arguably the most important feature on any HDR display, but you won’t be shocked to find out it’s also the least understood. Read on to learn everything you need to know about tone mapping.
What is tone mapping?
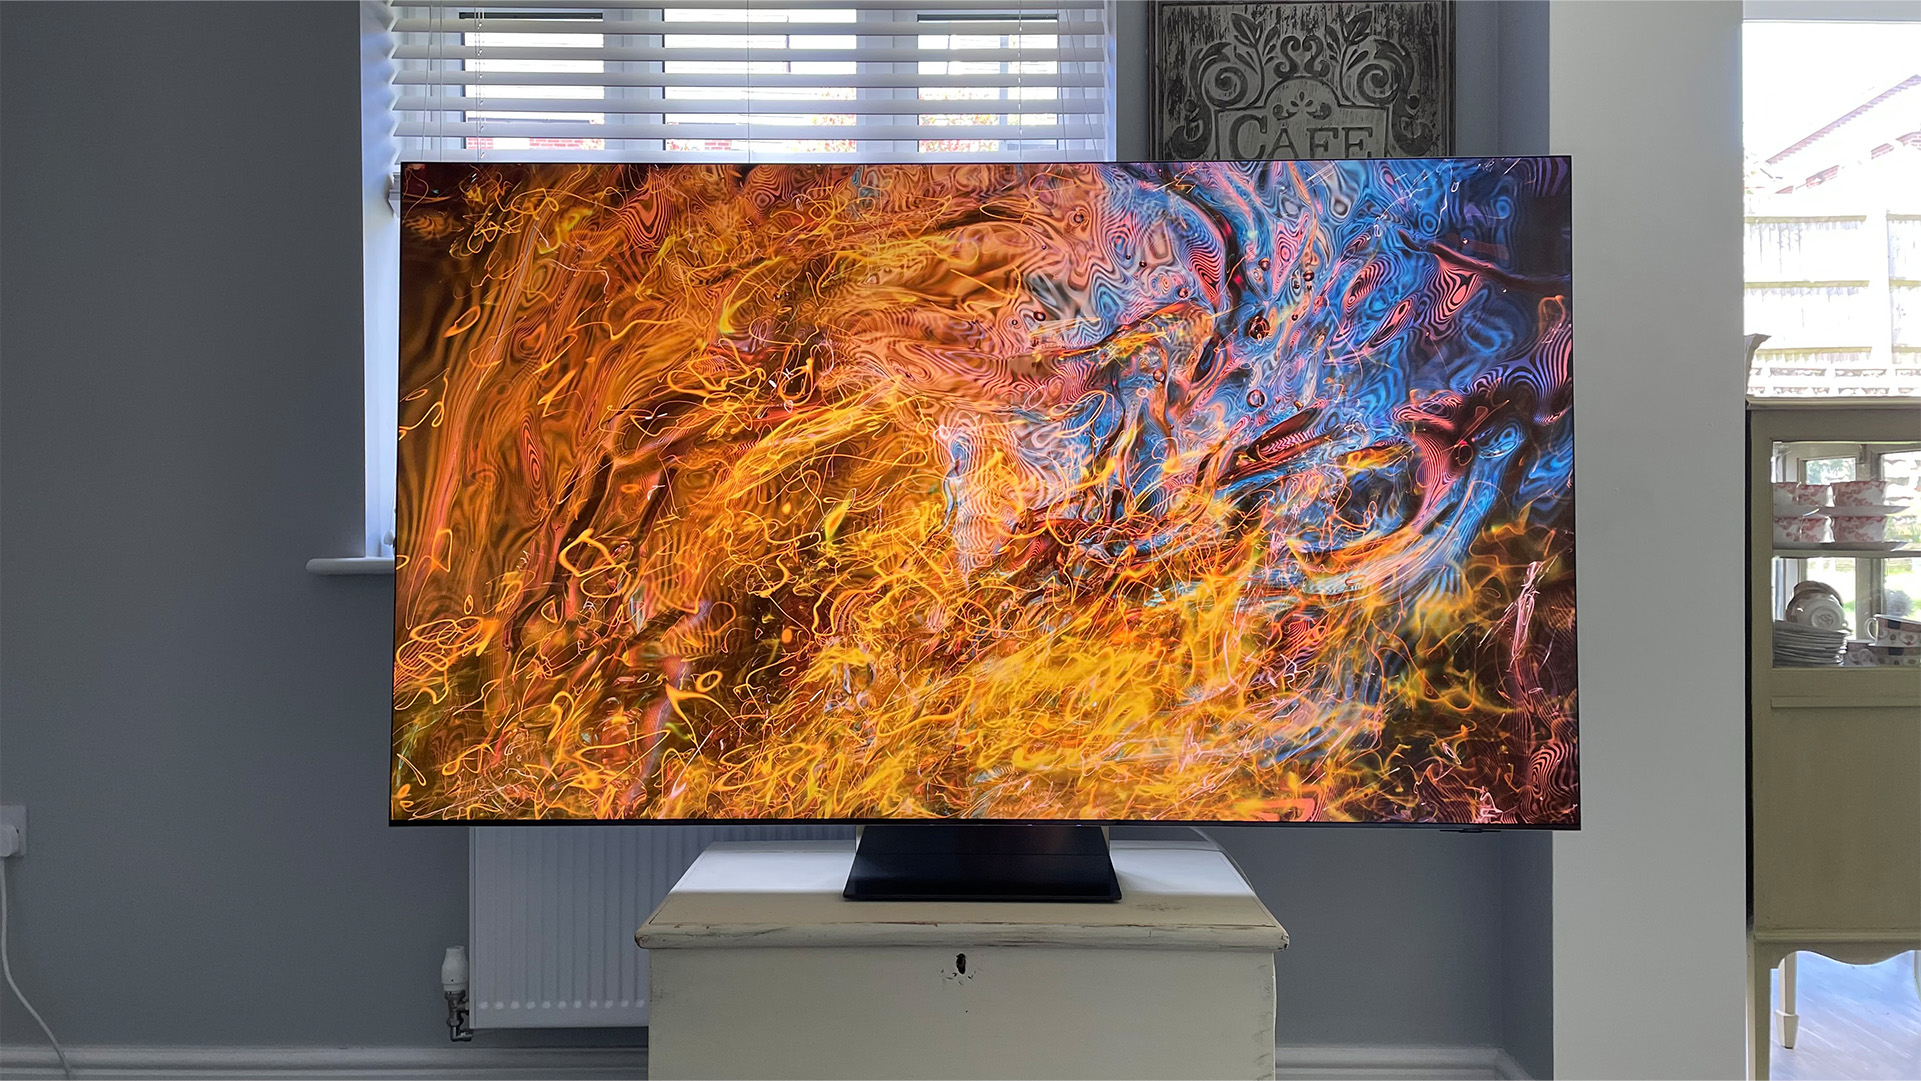
Tone mapping is a process whereby a TV or projector analyses, optimises and then correctly renders high dynamic range content based on the display’s inherent capabilities when it comes to above-black detail, peak brightness and colour gamut coverage.
The combination of brightness and gamut is referred to as colour volume, and this term helps explain tone mapping by way of an analogy. Imagine the HDR content is stored in a 10-litre container, and that the HDR display can only handle a volume of five litres. Tone mapping seeks to fit 10 litres into five litres without losing what made that original 10 litres so good.
Tone mapping is designed to retain the content creator’s original intent by rendering the expanded dynamic range and wider colour gamut of HDR onto a compatible display without compromising the impact of the format by introducing black crush into the shadows or clipping in the bright highlights, and applying the wider gamut without the colours looking oversaturated or unnatural.
Until recently, tone mapping wasn’t necessary, because the requirements of standard dynamic range (SDR) video were easily matched by the capabilities of modern displays. As long as a TV or projector tracked the gamma curve (BT.1886), hit around 120 nits of peak brightness, and covered 100 per cent of the BT.709 colour gamut, you were good to go.
HDR changed all that by capturing the full dynamic range of an image without losing any of the detail, resulting in content mastered using the perceptual quantiser (PQ) function (ST.2084) with brightness peaks up to a massive 10,000 nits, greater latitude in areas above black, and colours based around the larger DCI-P3 gamut delivered within the even bigger BT.2020 standard.
While many TVs are capable of achieving 100 per cent of DCI-P3 and specular highlights of 1000 nits, few can reach 4000 nits and none get anywhere near 10,000 nits, while the brightest projectors top out at around 200 to 300 nits. This is where tone mapping comes in by optimising the look of HDR on displays that might have limited dynamic range compared to the content being shown.
How does tone mapping work?
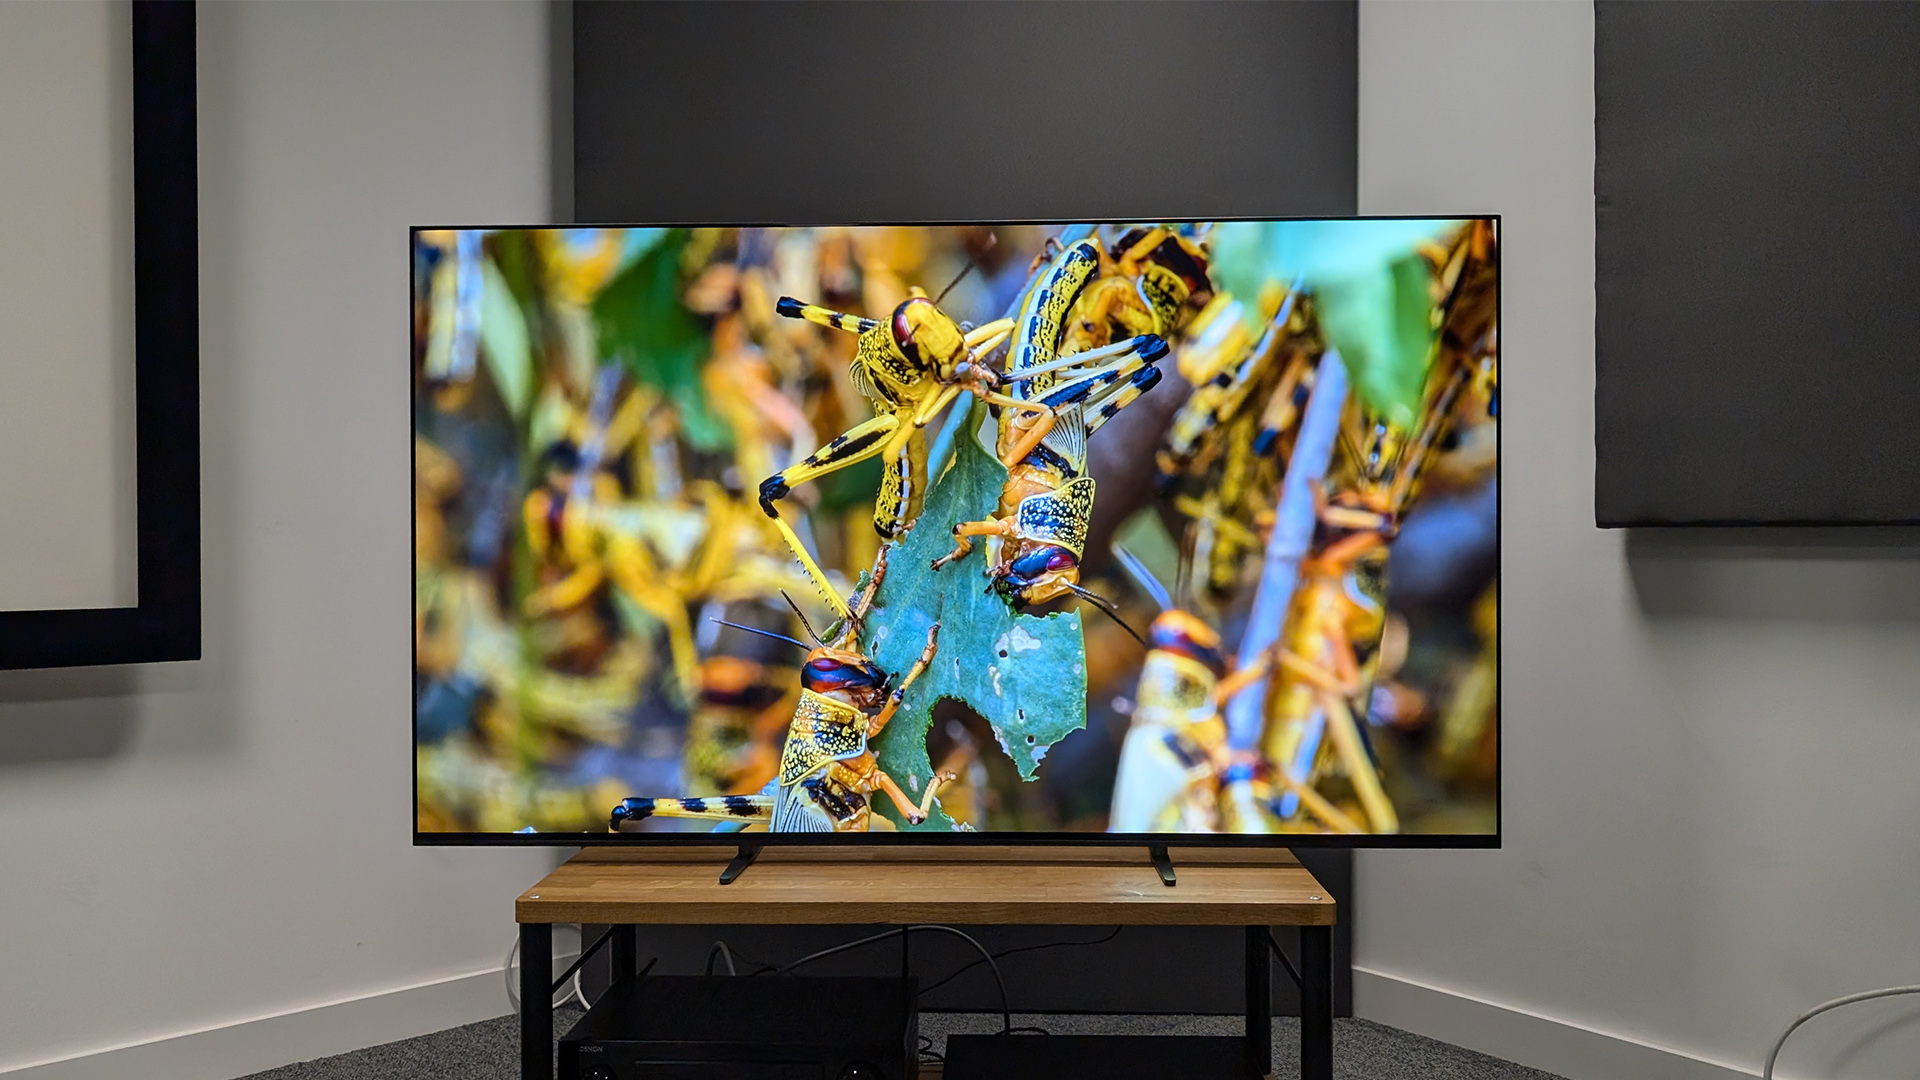
An HDR image has tonal values relating to its brightness and colour, including black and white, which is encoded as information called static metadata. A display’s tone mapping reads this data and then attempts to apply or map the image based on the inherent capabilities of that display. The more capable the TV or projector, the less tone mapping that’s required.
That’s the theory at least, although there are a number of complications in practice. Firstly, and rather obviously, if a display has a very limited peak luminance and colour gamut, there’s only so much even the best tone mapping can achieve. There are plenty of TVs and projectors that claim to support HDR, but the experience they offer is little better than that of a good SDR display.
The second complication relates to how the tone mapping interprets the static metadata, which is composed of the average brightest pixel, and the average brightest overall frame, both of which are then applied to the entire running time of the HDR content.
This data is mapped or scaled down using these numbers, but if the luminance measurement of the brightest average pixel is significantly higher than that of the brightest frame, certain scenes can appear overly dark with limited contrast and crushed blacks. This is why people often complain about HDR looking too dark on their TV or projector.
There are two methods used by display manufacturers to address the inherent limitations of static metadata – dynamic tone mapping and dynamic metadata.
What is dynamic tone mapping?
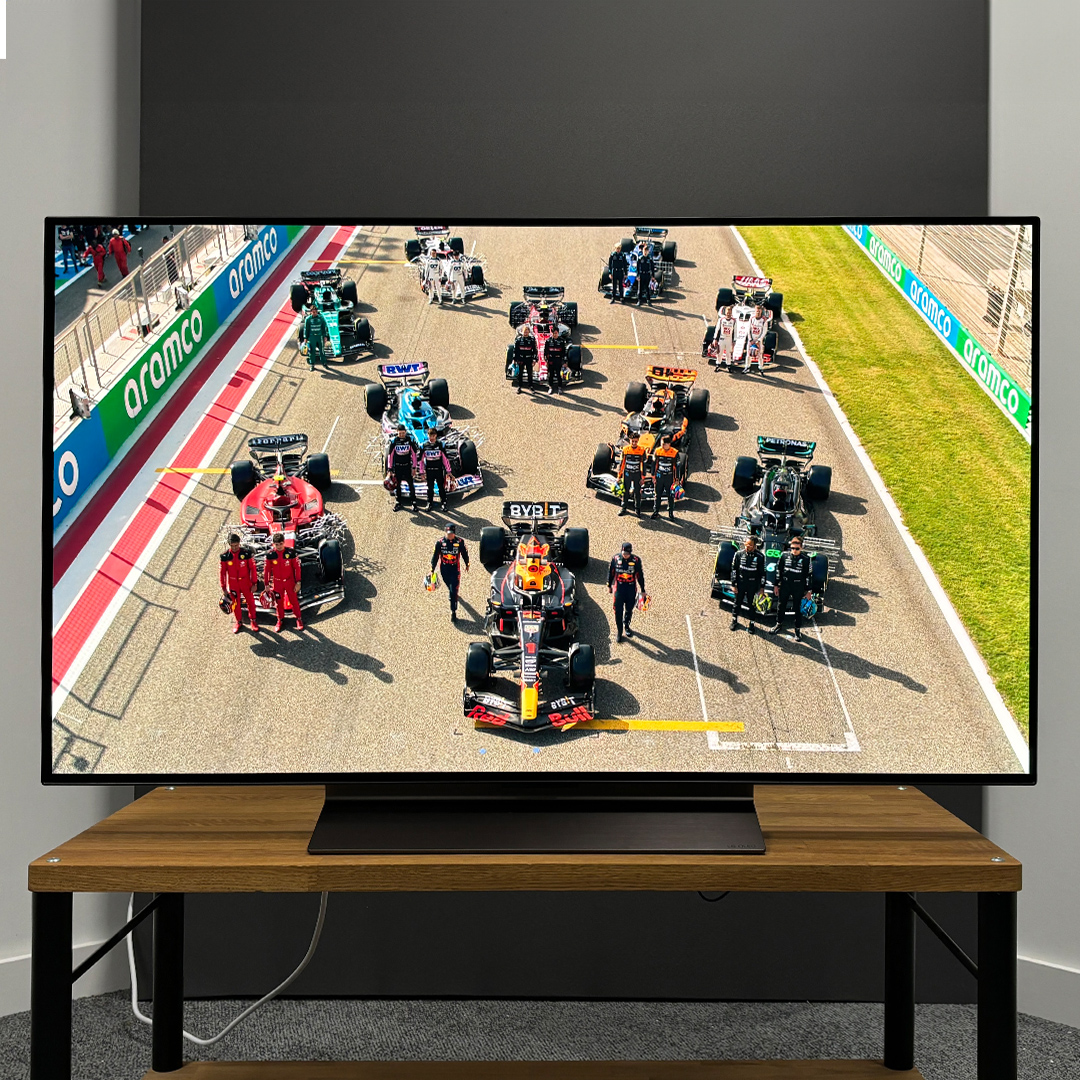
A number of manufacturers try and deal with the limitations of HDR static metadata by employing dynamic tone mapping. This approach uses proprietary processing to analyse the incoming HDR signal and change the tone mapping on the fly, adjusting the darker and brighter parts of the picture to optimise it for the display’s capabilities. If performed correctly, dynamic tone mapping avoids overly dark images, and is particularly useful with dimmer displays.
What about dynamic metadata in HDR10+ and Dolby Vision?
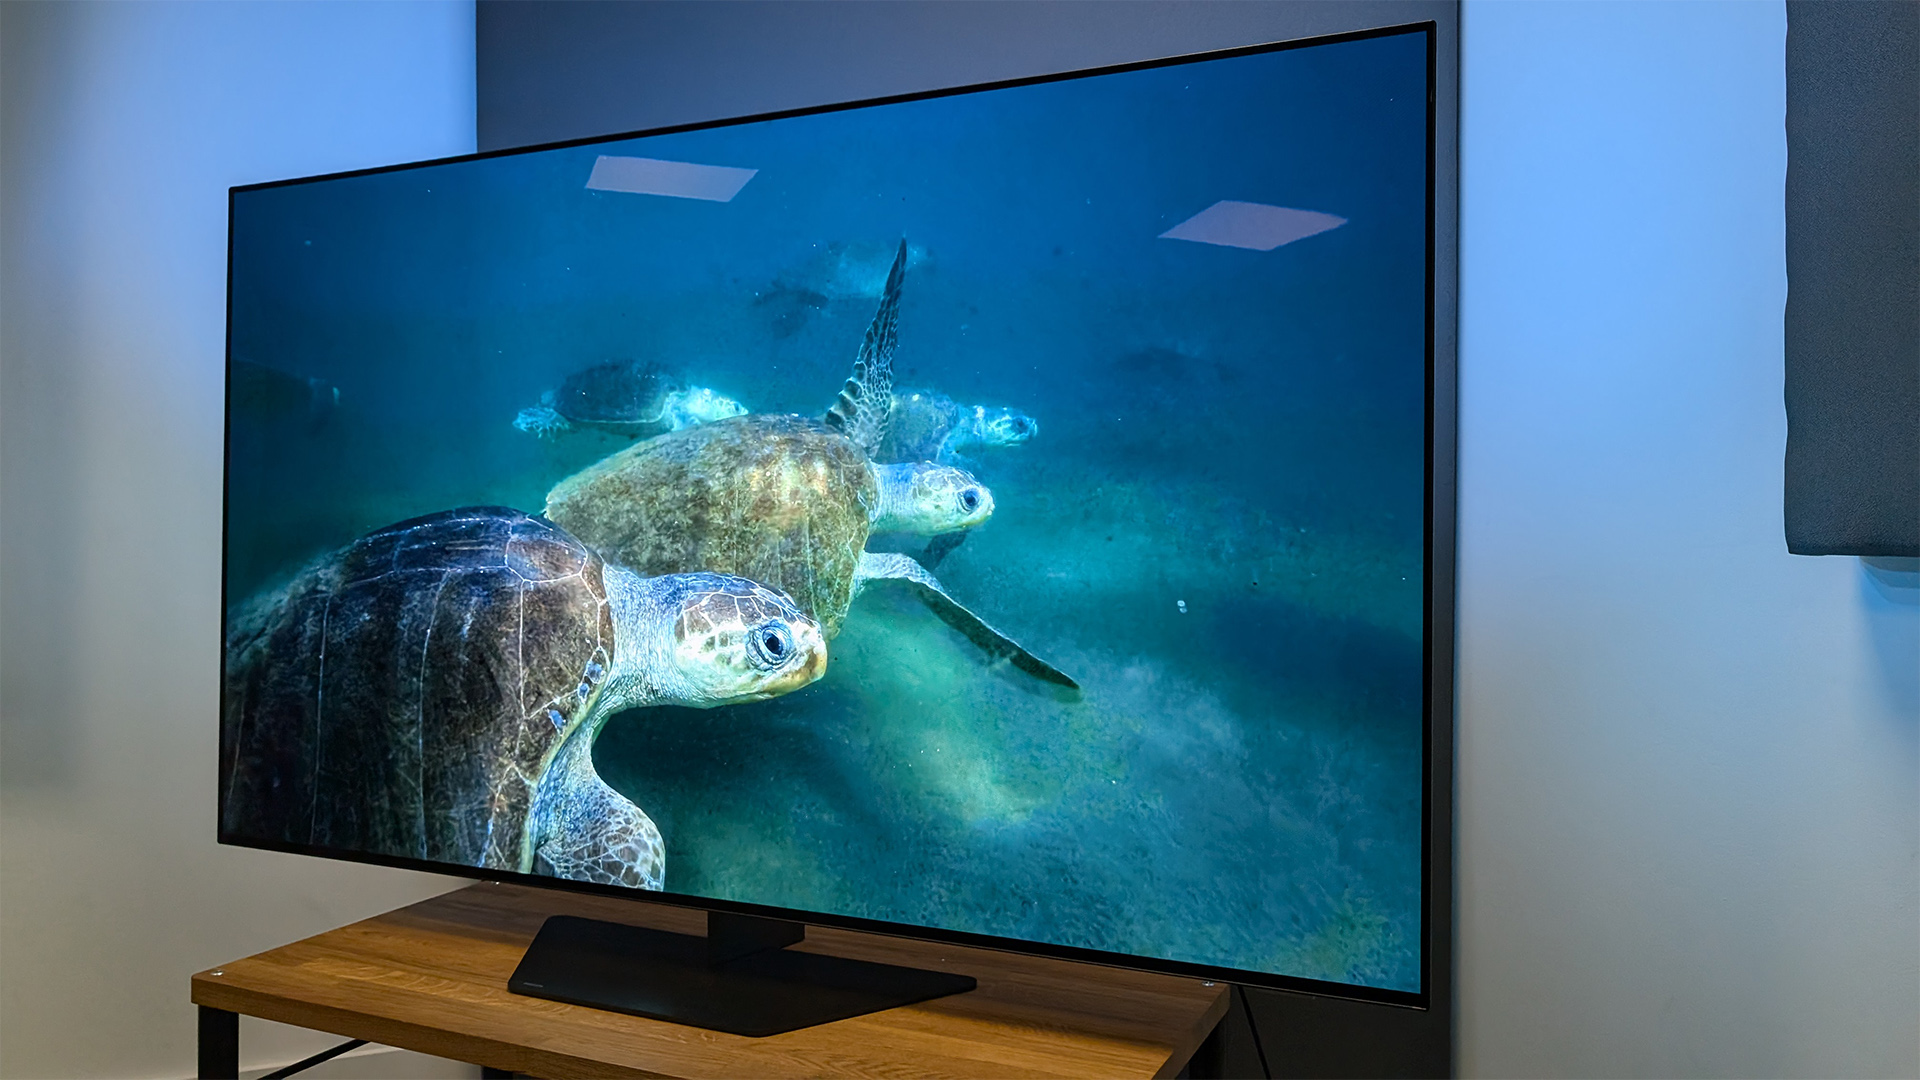
While dynamic tone mapping can be very effective, it should not be confused with the dynamic metadata used by formats such as HDR10+ and Dolby Vision. Whereas the former is analysing the HDR signal in real-time, the latter is encoded into the content. This dynamic metadata changes on a scene-by-scene, and even frame-by-frame, basis, allowing a display that supports either format (or indeed both) to benefit from superior tone mapping because it has significantly more information to work with.
Any content encoded using HDR10+ or Dolby Vision will better reflect the filmmaker’s intent because the encoded dynamic metadata allows a supporting display to correctly emulate the images as originally seen on the professional grading monitor used to create them.
This isn’t necessarily true when it comes to static or dynamic tone mapping, where the processing often manipulates the PQ function to bring out more details in the shadows or give bright scenes greater pop. If you want the tone mapping to match the PQ function as closely as possible, and thus retain the creative intent, the Filmmaker Mode (if available) should achieve this.
How can you tell if your display’s tone mapping is good or bad?
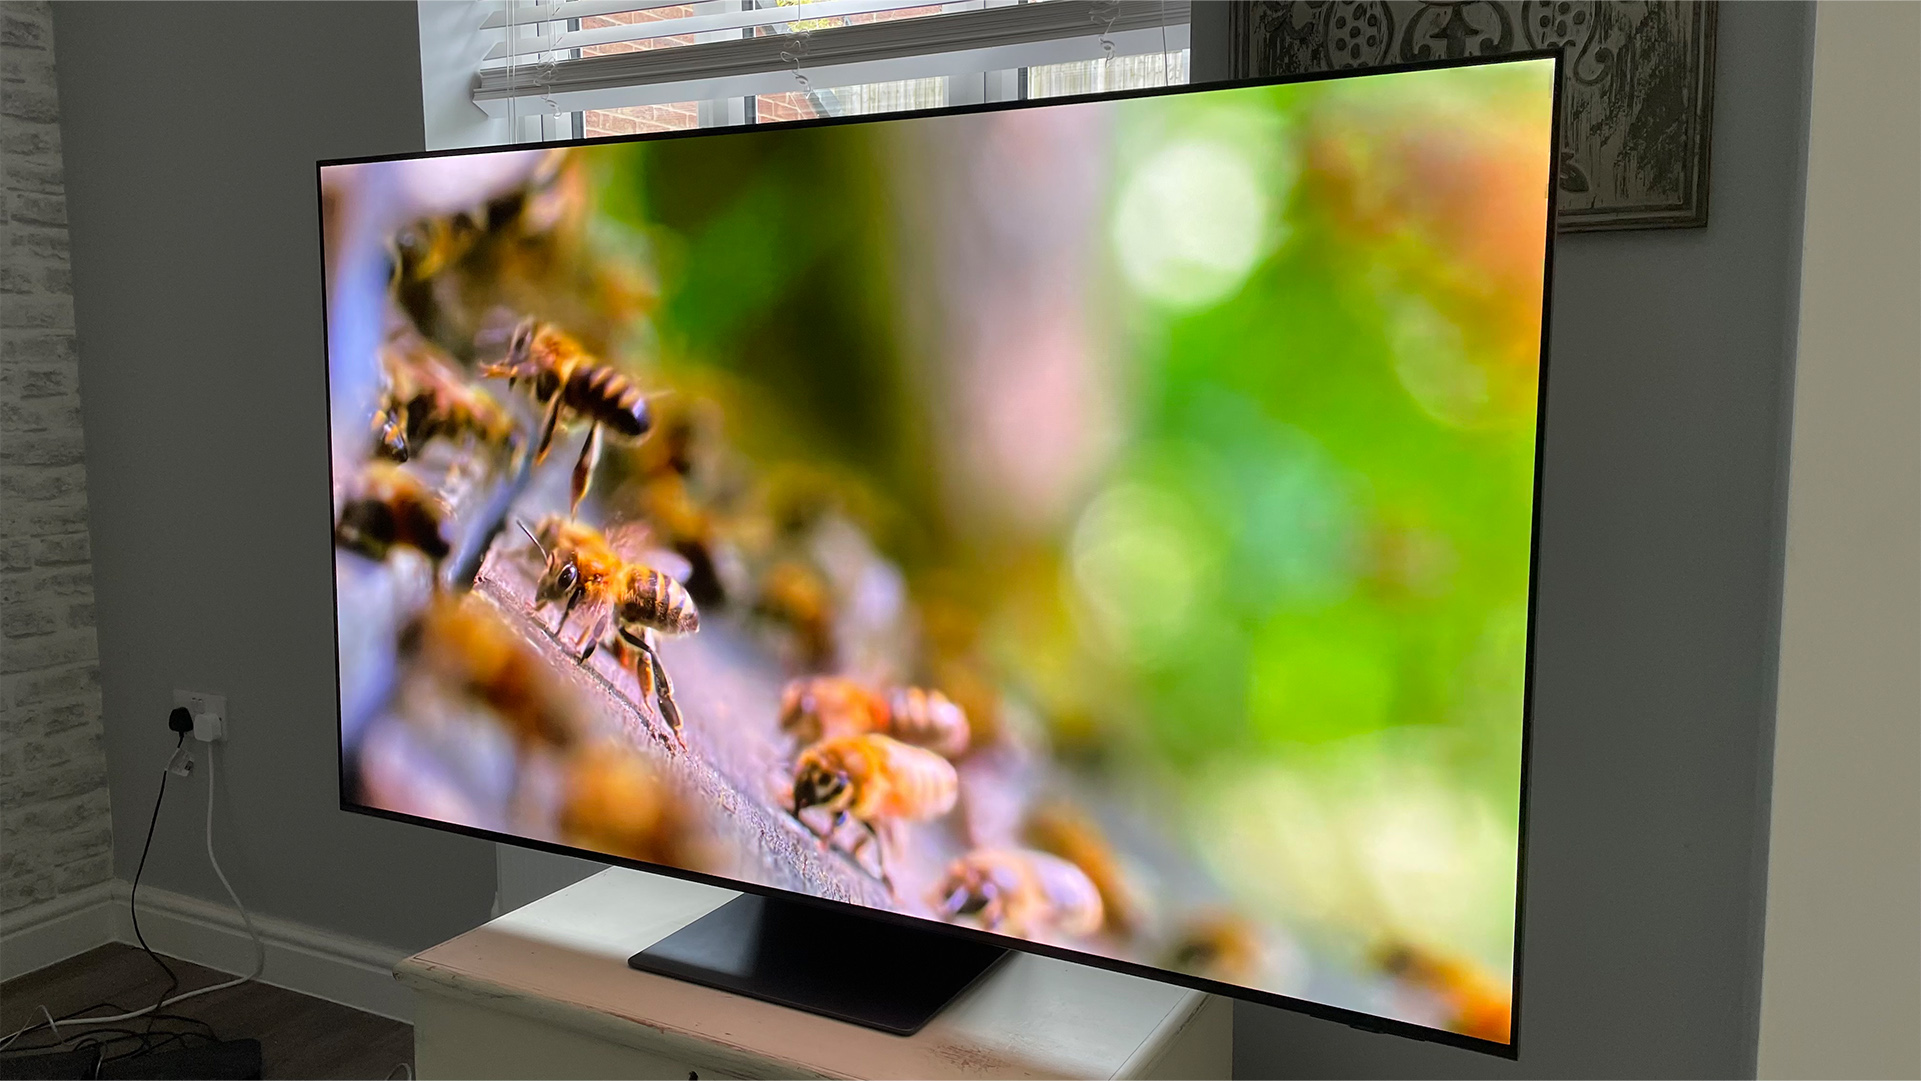
In this exciting new world of HDR video, tone mapping is a vital tool in delivering the experience to the best of a display’s abilities, but how do you know if it’s performing properly or not?
If by some miracle you have access to an evaluation 4K HDR disc such as that created by Spears & Munsil, there are test patterns you can use to check the effectiveness of your display’s tone mapping. If not, put on some content you’re familiar with and look at dark or bright scenes to check for crush or clipping. Can you see detail in the shadows or are they just crushed into black? Can you see detail in highlights such as white fluffy clouds, or are they clipped, looking rather more vaguely defined?
There are often controls you can use to improve the HDR tone mapping on your display, so if it looks as though the image is being crushed or clipped, try tweaking any available settings to improve your experience. In the end, what you’re looking for is tone mapping that gives you the most colours and widest dynamic range – from the darkest shadows to the brightest highlights.
MORE:
The best TVs you can buy, tested by our in-house review experts
Set on OLED? Our reviewers rate the best OLED TVs for every budget
Read our latest TV reviews
I recently learned a depressing stat: HDR accounts for only around 5% of TV viewing


