Garden trends come and go, but as more and more people try to make sustainable changes to their lives, there’s no doubt that eco-friendly garden trends are starting to stick. That’s why you should be asking yourself: What is keyhole gardening?
Akin to permaculture, keyhole gardening focuses on making the most of a bad situation - especially when you have poor soil quality or want to improve nutrient levels to successfully grow your own fruit and vegetables. But while keyhole gardens are very similar to raised garden beds, it’s fair to say that there are a few key differences.
To get the scoop on keyhole gardening, we’ve reached out to experts to see what they had to say on the matter. We also have the lowdown on how you can create a keyhole garden yourself.

What is keyhole gardening?
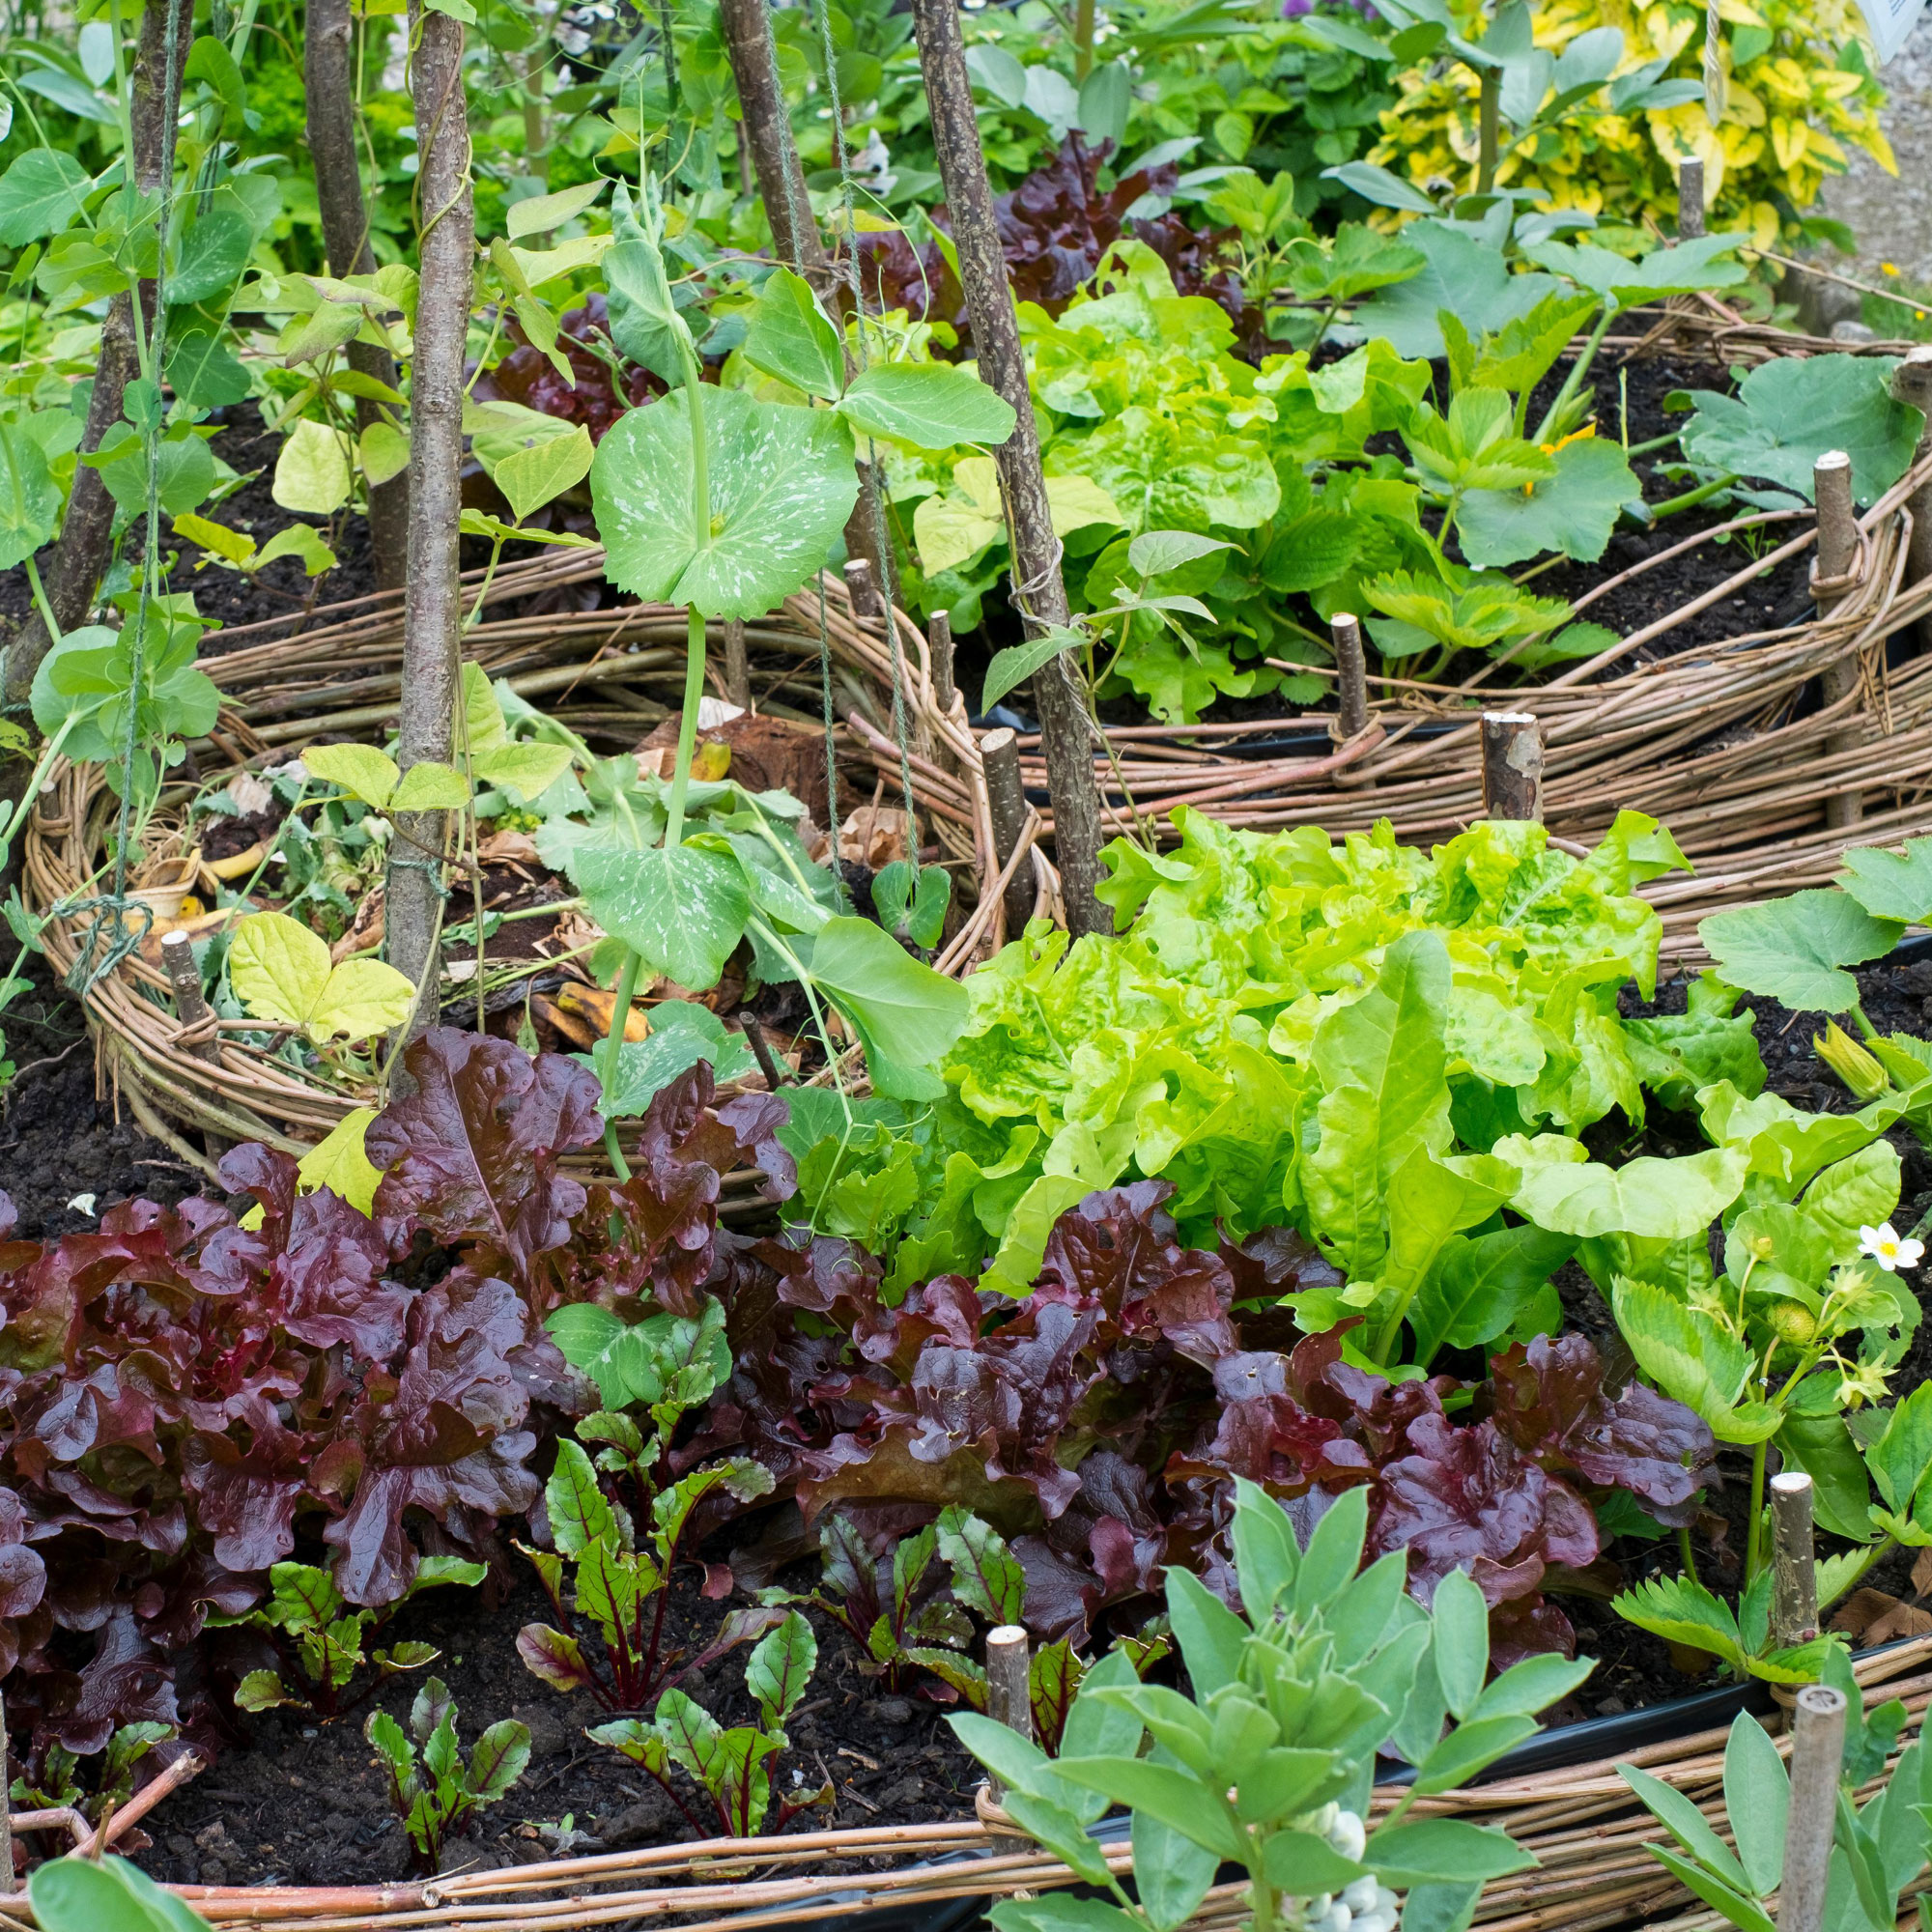
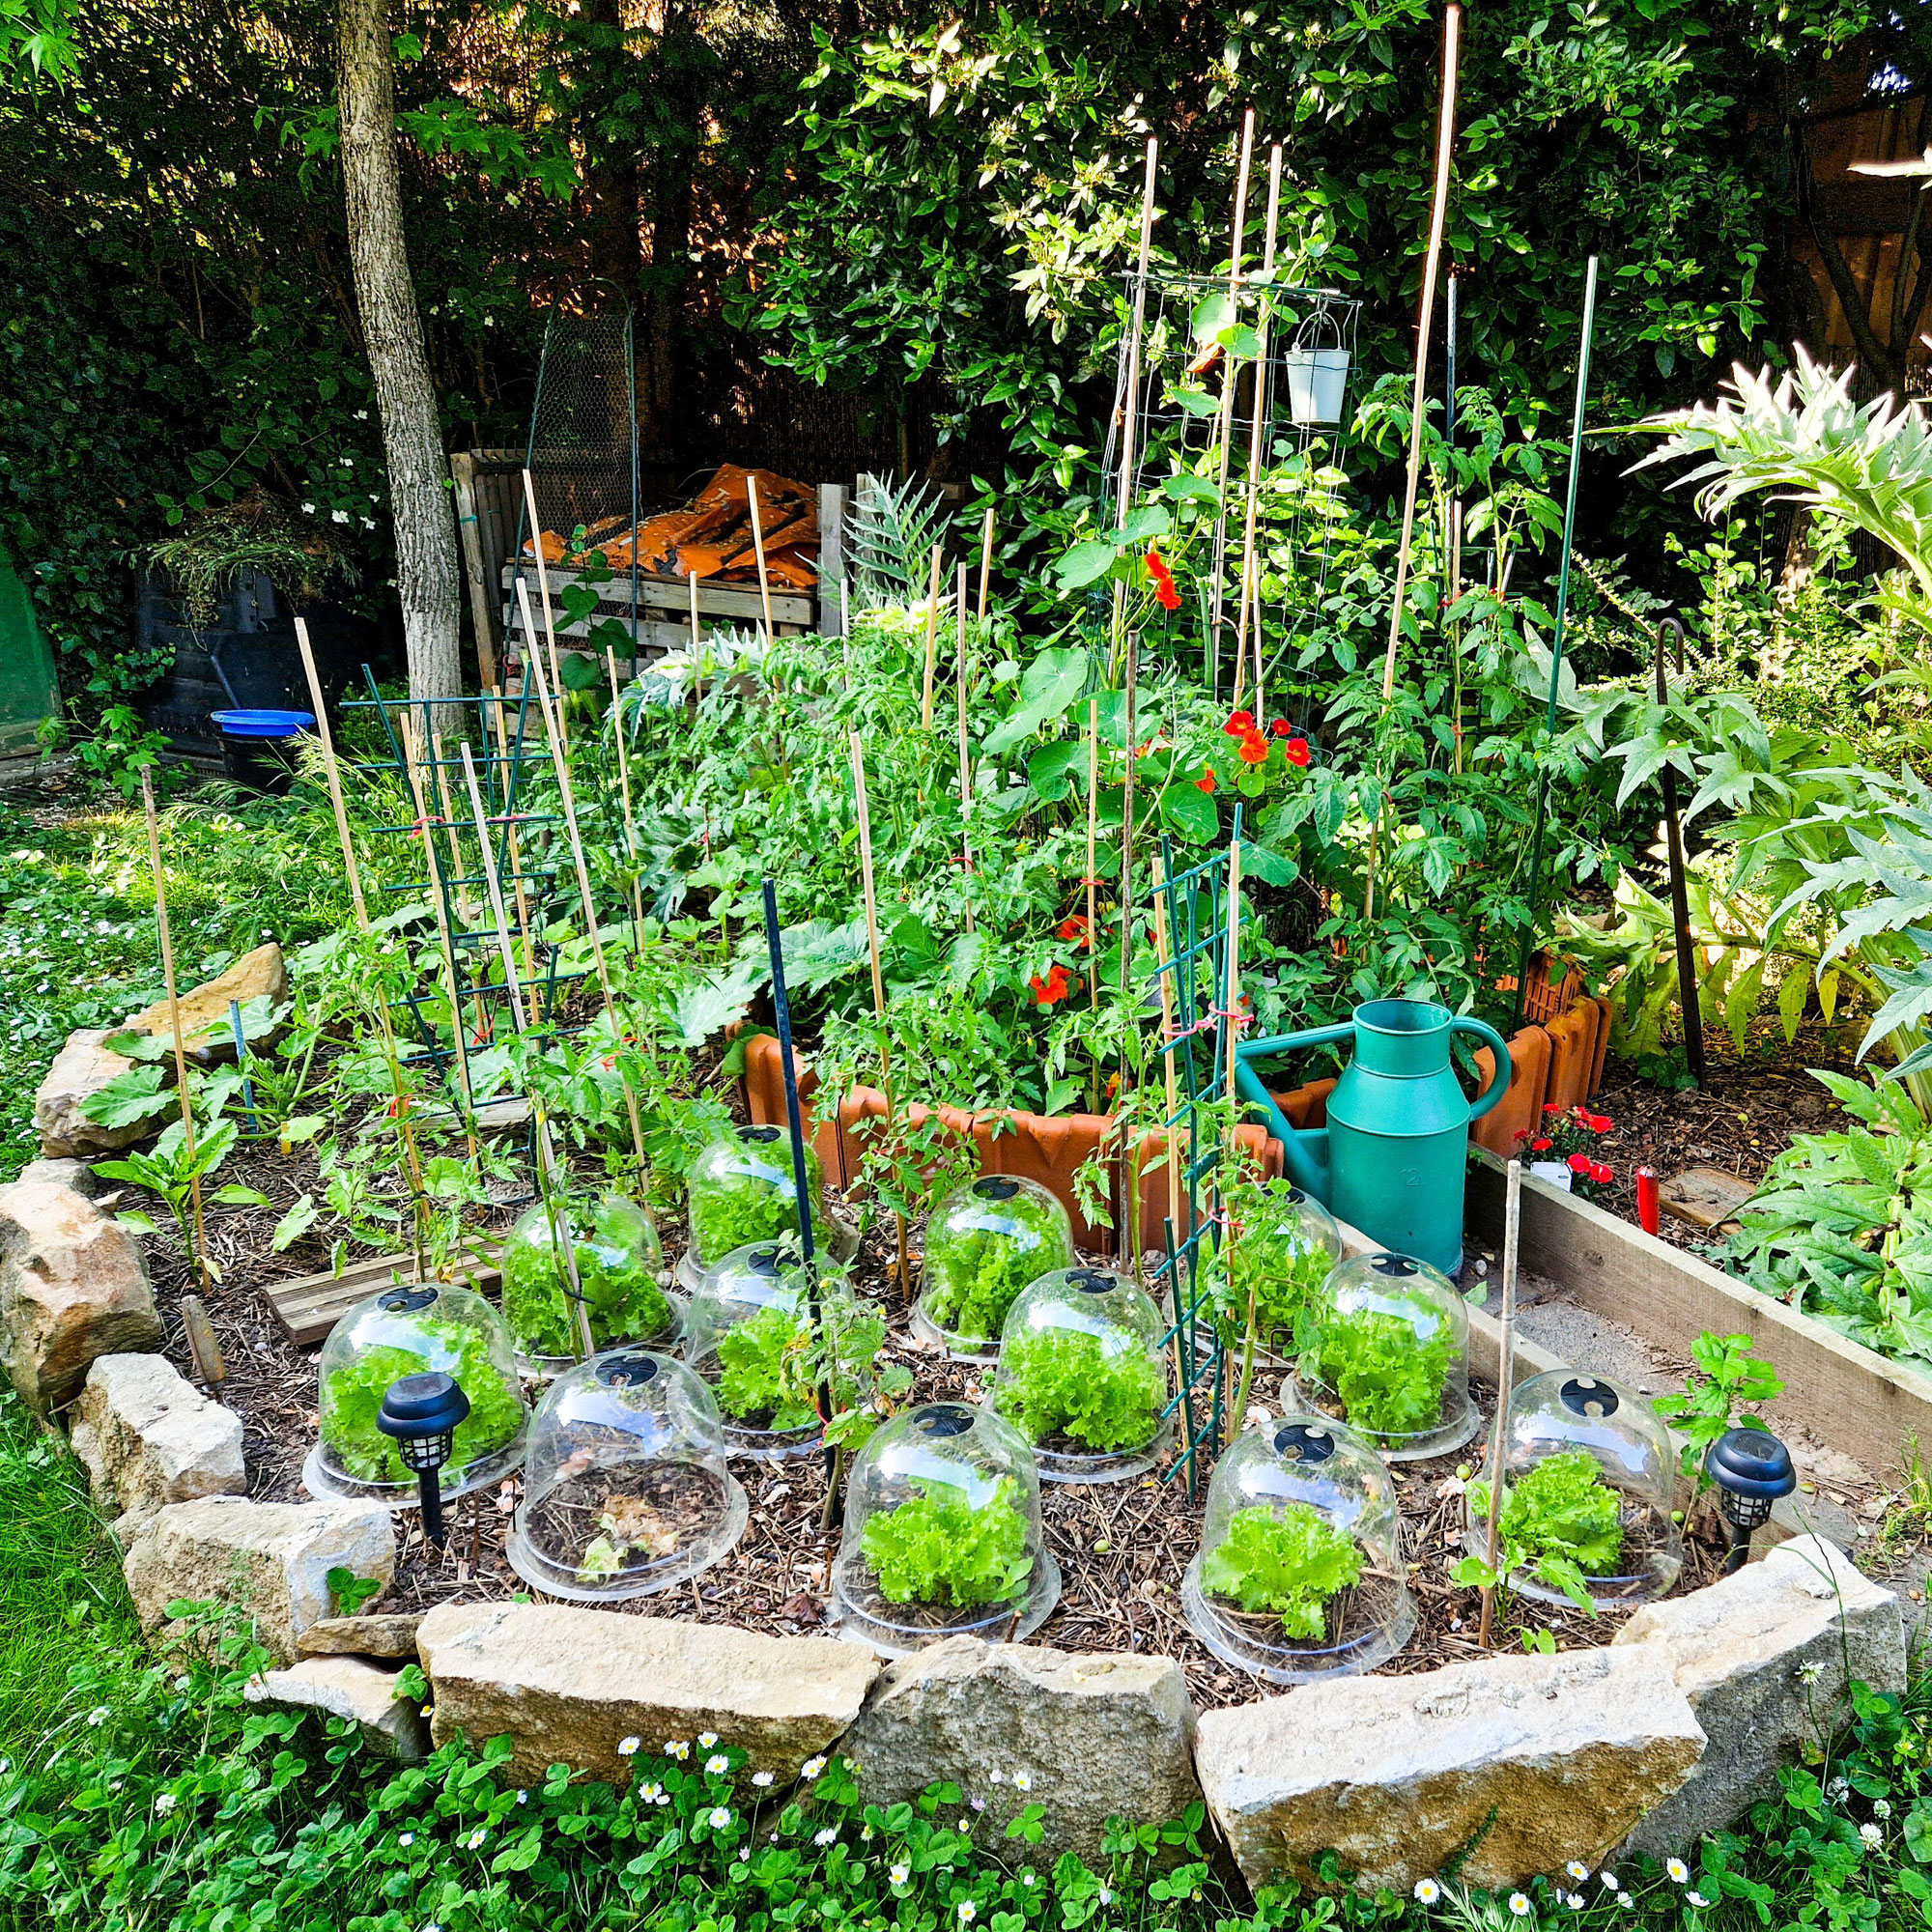
Keyhole gardening may be a new trend to many people, but the concept couldn’t be simpler. John Clifford, a garden expert from Gardenstone, explains, ‘Keyhole planting is when you utilise a raised garden bed that's in a keyhole shape. For example, a circular garden bed with a wedge cut out from it running through its diameter, like a keyhole.’
This central section allows you to reach every inch of the raised bed and forms a pathway towards the middle of the keyhole garden, where a compost heap is located.
Ultimately, this compost heap is the life force of the keyhole garden and is filled with all kinds of organic matter often used as an alternative to soil when filling a raised garden bed. This includes food scraps, cardboard, coffee grounds, grass cuttings, and more.

It’s through this central compost heap that you water your keyhole garden, too. John says, ‘You also water the plants through the compost section, which then provides a steady flow of water to the plants via their roots. This also helps to flush the nutrients from the compost directly to the roots, keeping the plants healthy.’
This will provide the whole bed with a constant water supply and high levels of nutrients, making for a very low-maintenance garden. It’s also convenient for those with dexterity issues or those who can’t bend down to manually add compost to their raised beds or hold a heavy watering can for too long.
In fact, keyhole gardening makes even more sense when you realise that it was developed by farmers struggling with poor soil and lack of water in Africa during the 1990s.

But while English summers aren’t as dry or drought-stricken as sub-Saharan Africa, there’s no doubt that providing plants and crops with an endless supply of water and nutrients is something that we all still aim for.
And if you can do so while using sustainable organic matter from your home and garden, why wouldn’t you want to give it a go yourself?
How to create a keyhole garden

Keyhole gardening is definitely something anyone can try for themselves, but if you’re going to do it… you need to do it properly. It’s important to prepare your garden for this set-up and understand how to make the most of it.
1. Choose the right location
If you struggle with poor soil, a keyhole garden can work wonders. Instead of relying on the soil's nutrients, you can use the nutrients from your food scraps and garden cuttings to feed your plants and crops.
But if you’re not sure whether you have poor soil or not, we’d suggest testing your soil’s pH with something like this Sonkir Soil pH Meter from Amazon. Then, you can choose the location for your keyhole garden based on this.
Aim to plant your keyhole garden where you have poor-quality soil, and focus on choosing a location that’s as flat as possible. You should also ensure that you have at least 6 feet of free space to build your keyhole garden and that the plot receives at least 5-6 hours of sunlight daily.
2. Mark out the base
Before you start building the full structure, it’s a good idea to mark out the base of your keyhole garden to make sure that you’re happy with the size and placement.
To do this, create a base layer using the material of your choice. This could be some leftover bricks from your garage, stone from your rock garden, or wood you bought from the garden centre.
Aim to mark out a round shape, but ultimately you can choose any other shape that suits you and your garden as long as there’s space for the compost heap in the middle.
Alternatively, you could simply buy a ready-made keyhole garden - like this Keyhole Raised Garden Bed from Woodblocx.
3. Build the walls
With the base marked out, you can move on to building the walls. Again, you can use any material you like, but you should make sure that the material you choose is sturdy and will ultimately support the weight of the raised beds.
Morris Hankinson, director of Hopes Grove Nurseries explains, ‘Create an outer wall for your keyhole garden using bricks or logs (or any material that will hold in the soil). The diameter of the raised bed will be around 6ft so keep this in mind when choosing where to do your keyhole planting and when building your outer wall.’
We’d suggest building the walls of the keyhole garden as you would create a raised garden bed with decking boards or railway sleepers that are then secured with nails or screws. However, you could also use bricks or stones as long as the walls are at least 3 feet high.
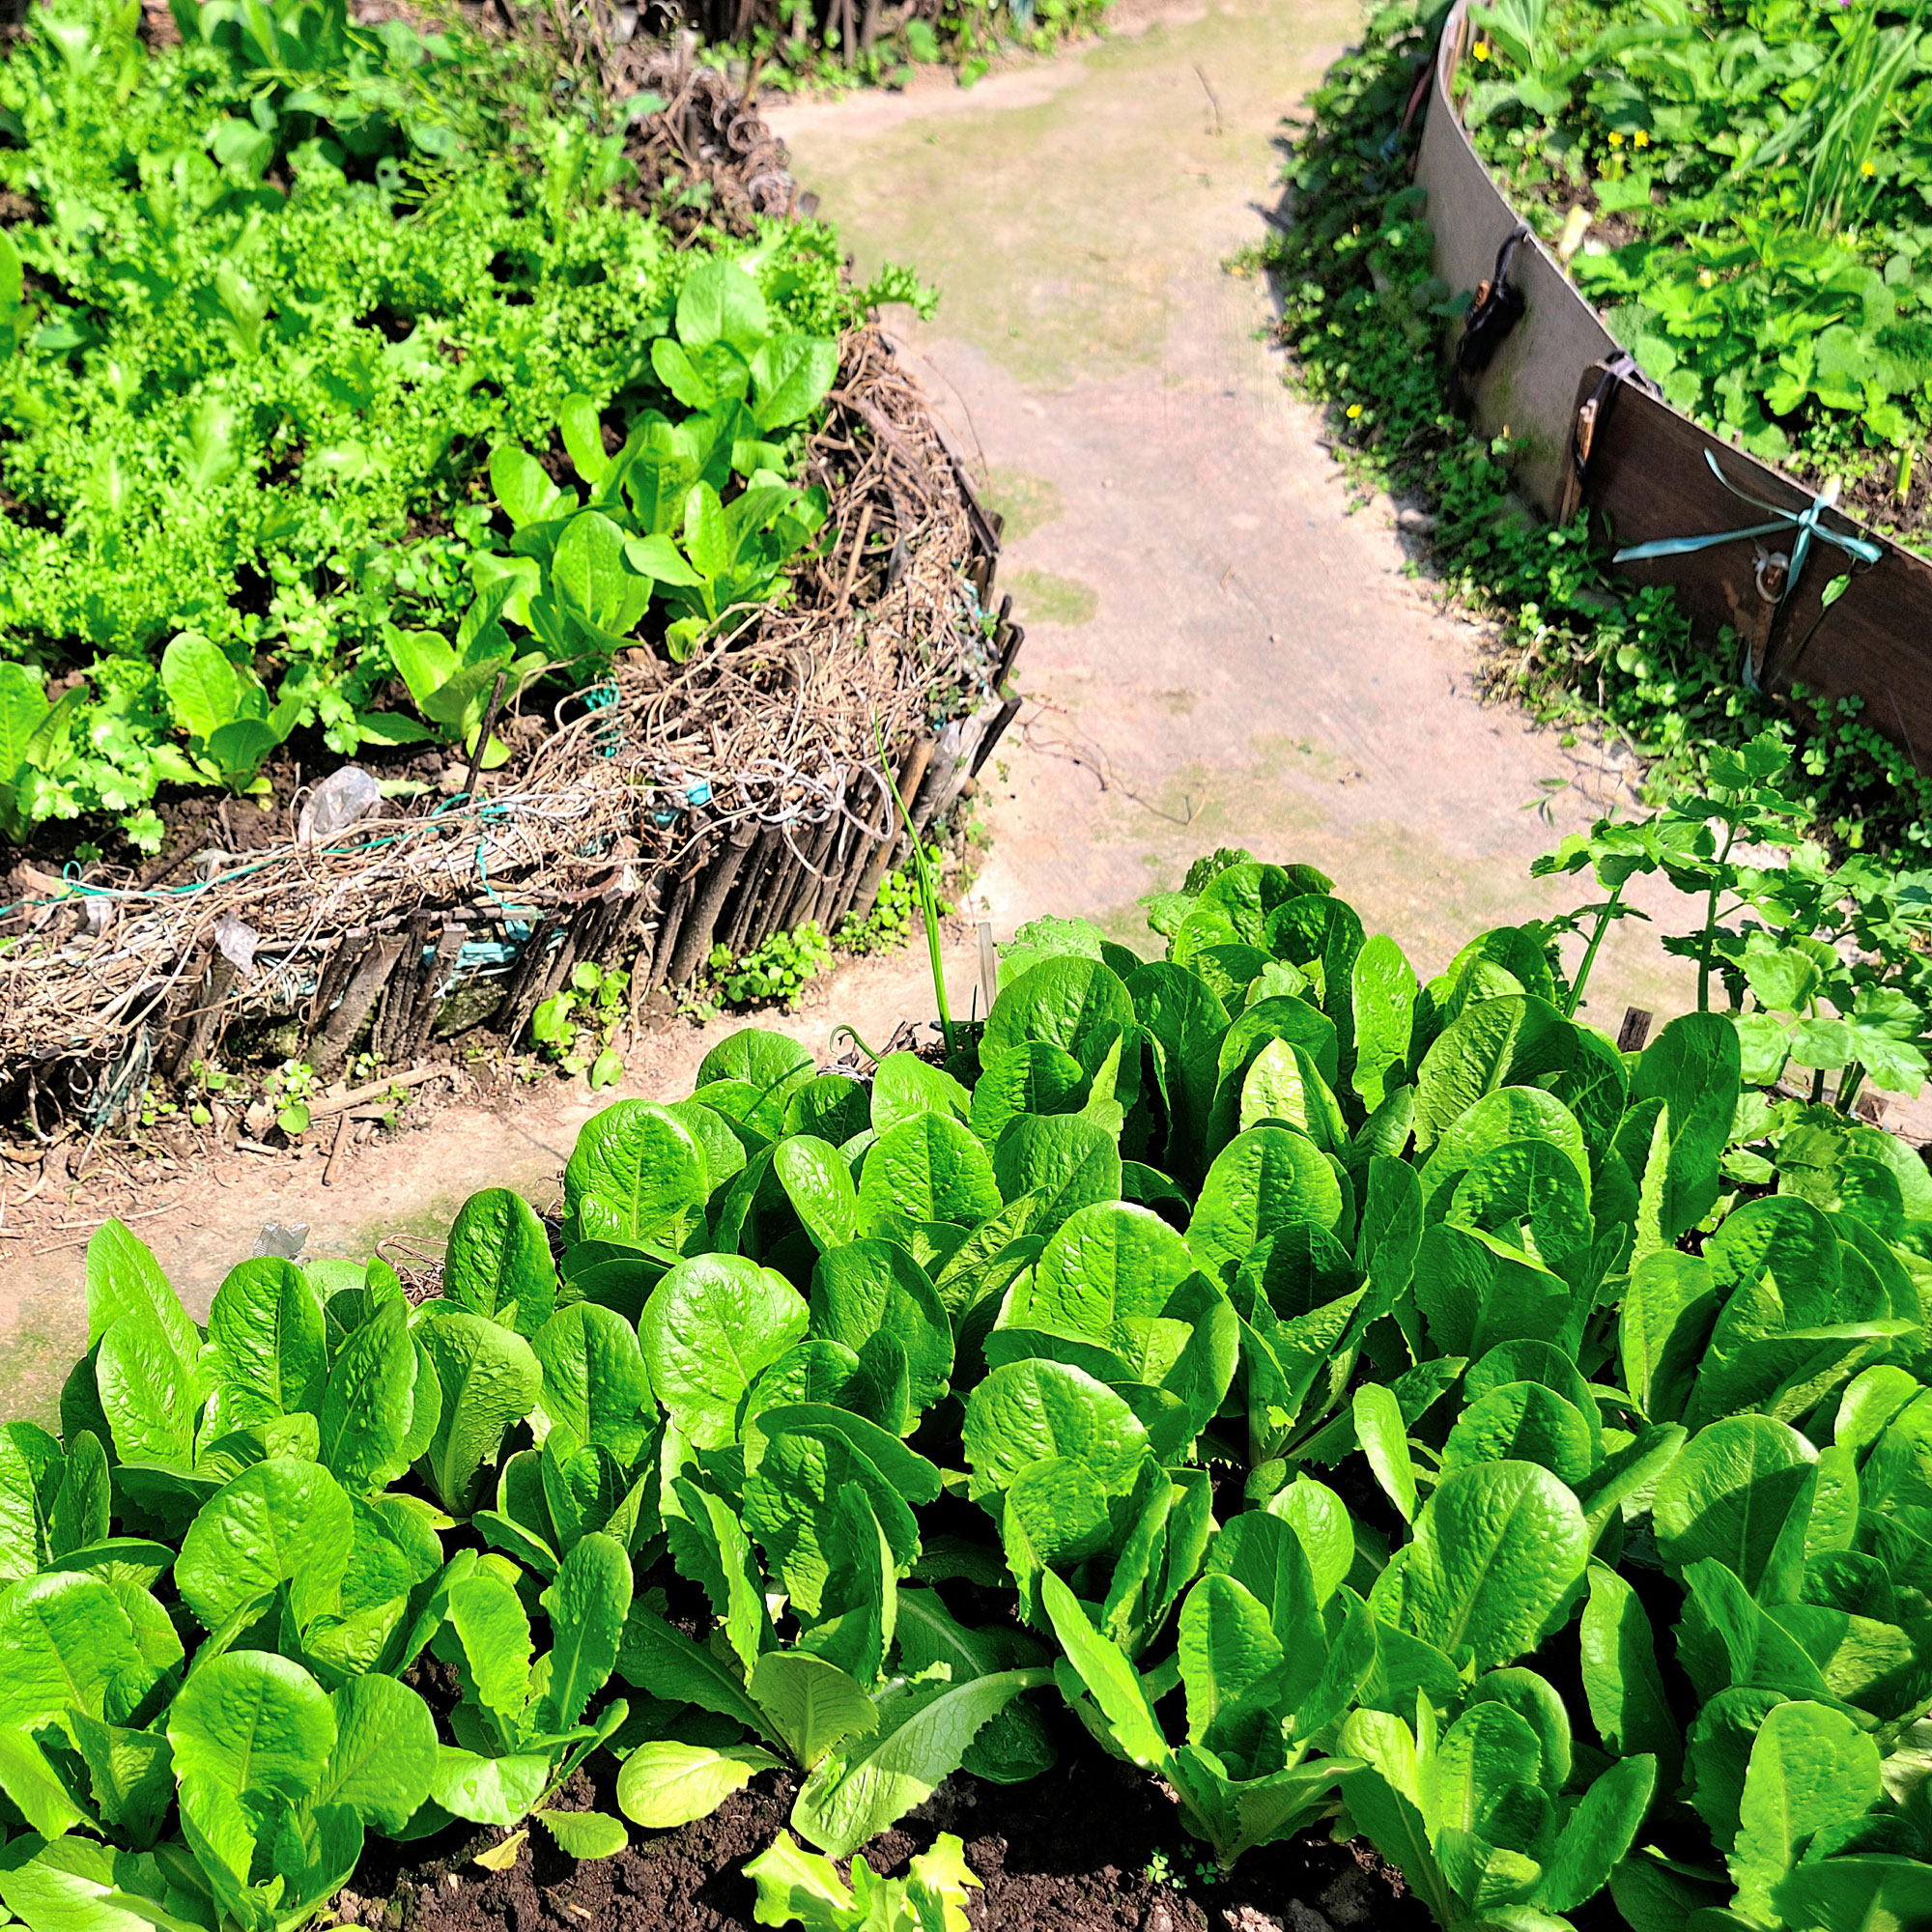
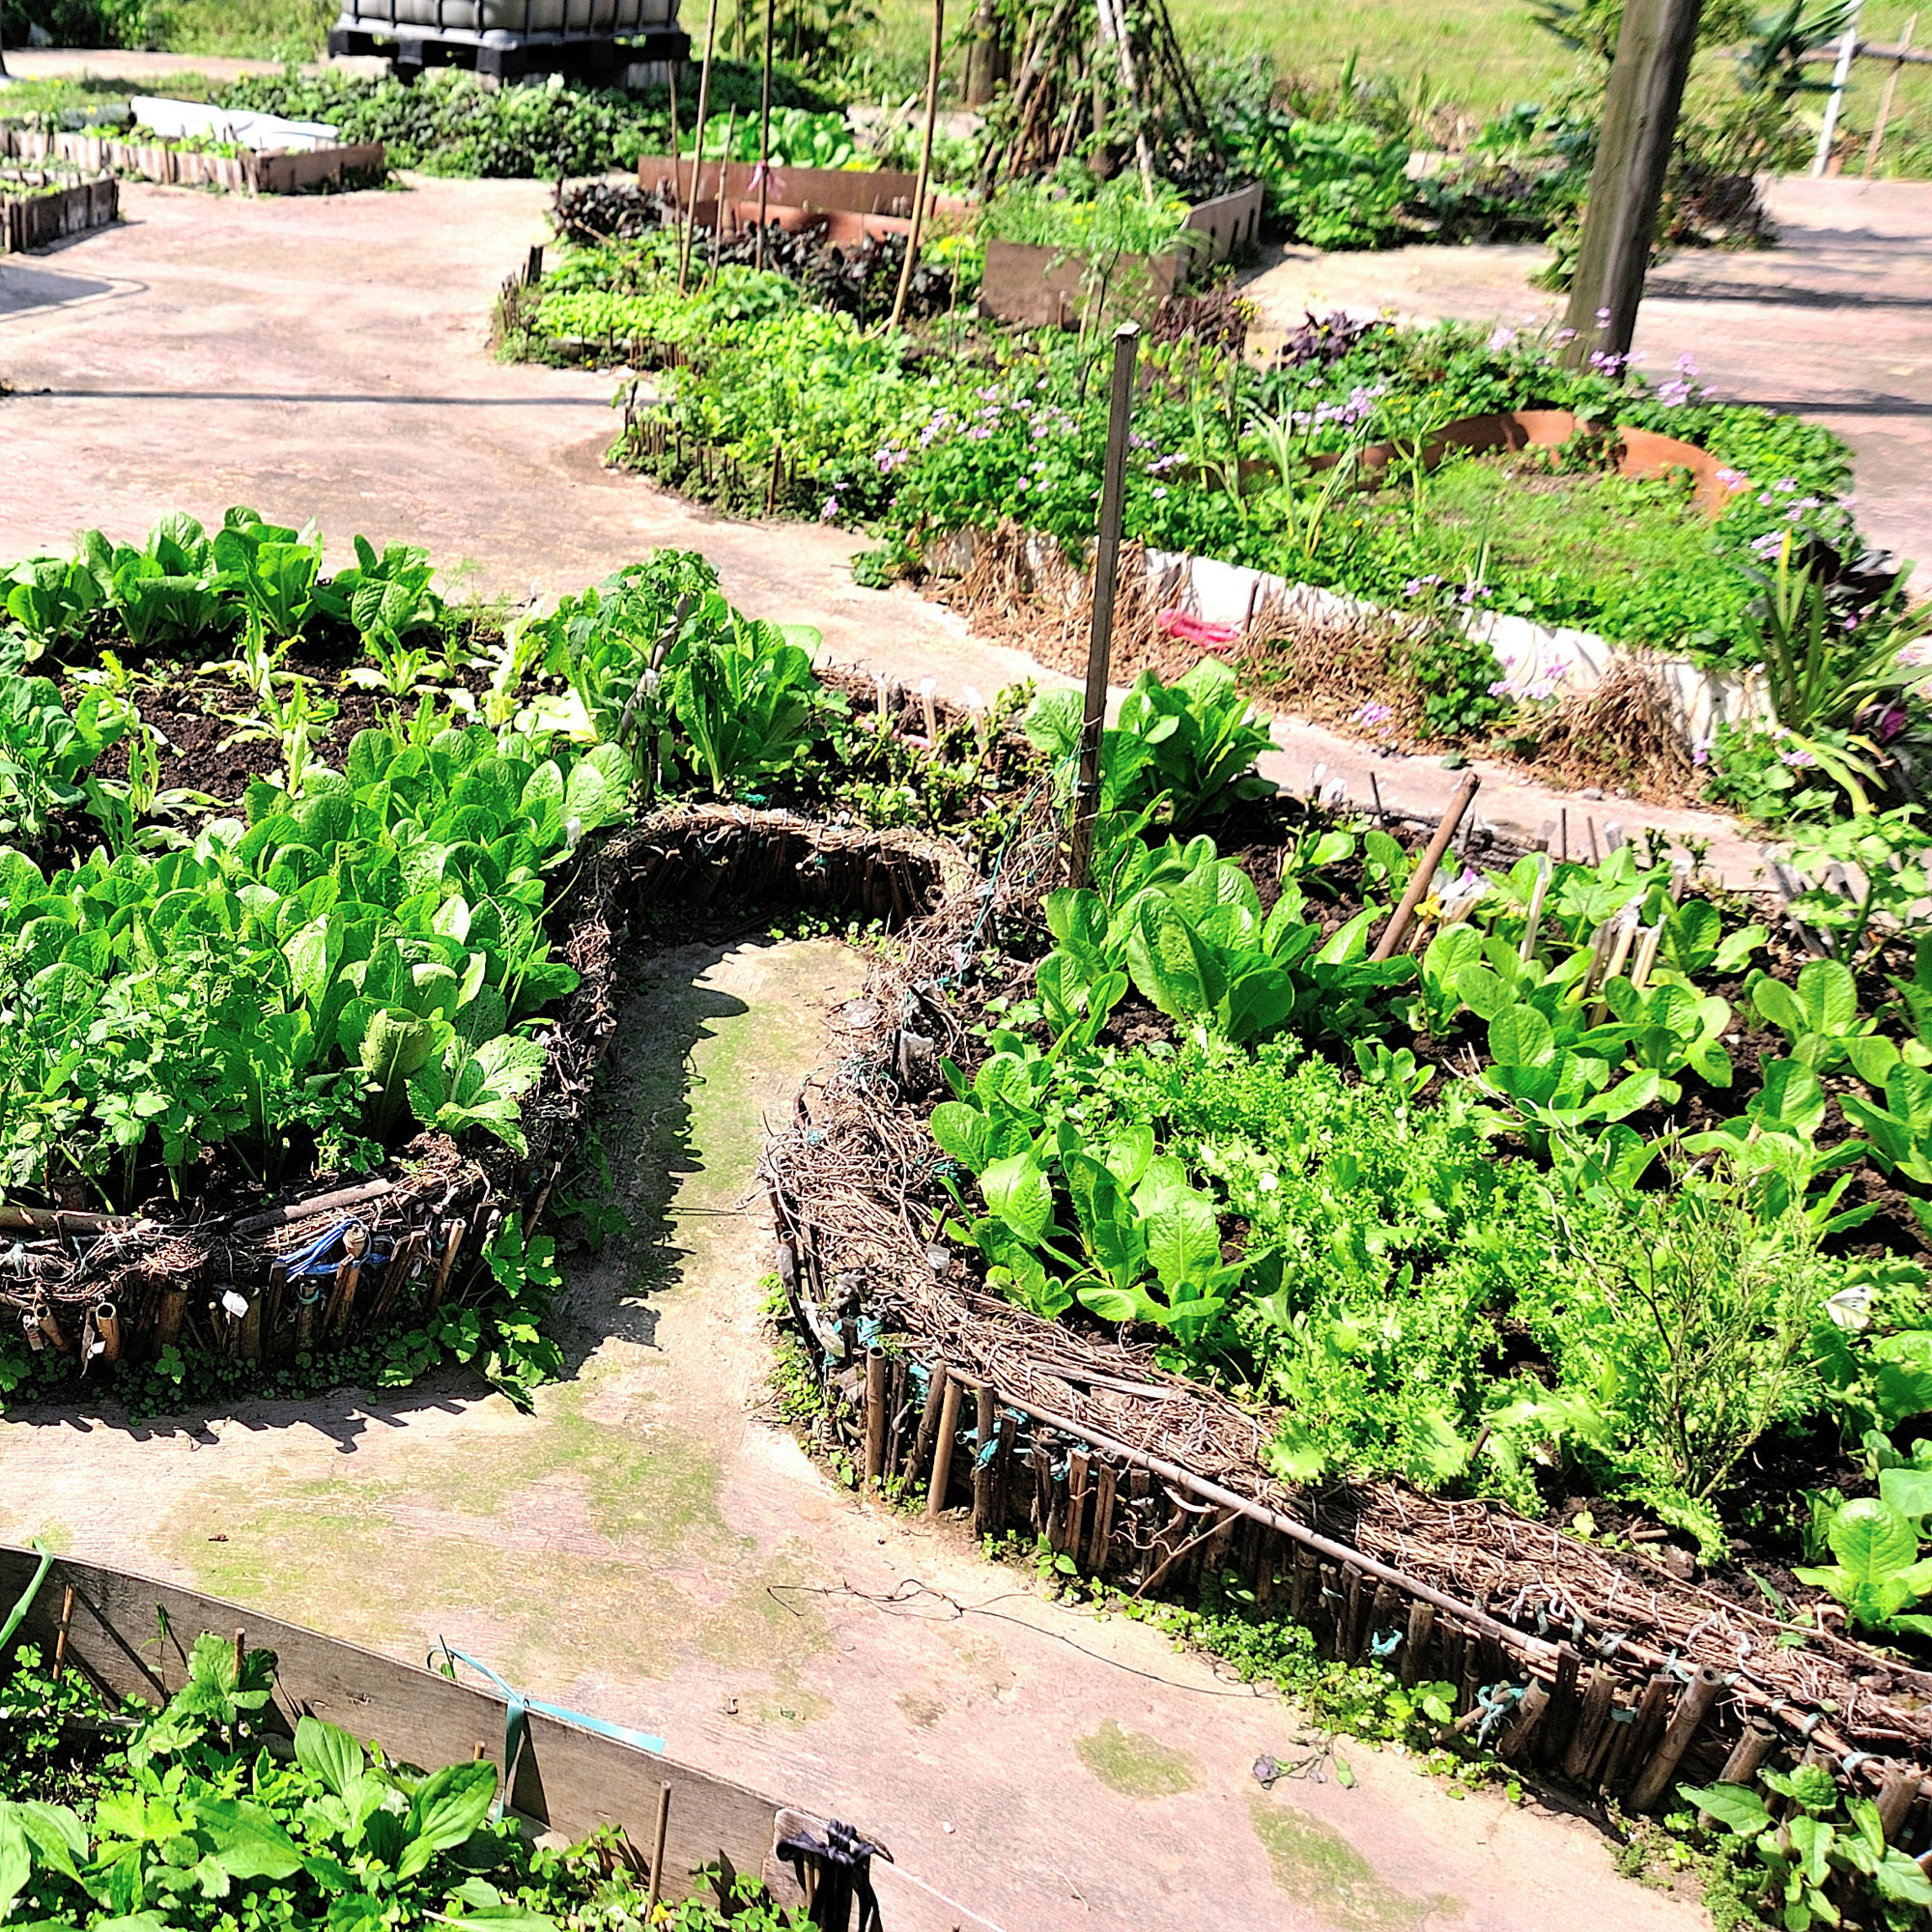
Don’t forget the key component of a keyhole garden when building the walls, though. Morris says, ‘Decide where you want your access path to be (this can be wherever you will find it easiest/most convenient) and leave enough space that you can comfortably walk down it.’
4. Make the compost cage
What makes keyhole gardening so effective is the compost heap in the middle of the garden bed, and the best way to keep this compost together is to use a cage.
To do this, you have two options. You could either make your own compost cage using chicken wire (like this Chicken Wire Mesh Fencing from B&Q) and then secure it with strong ties, but it may actually work out cheaper to buy a ready-made compost cage.
Then, you can pop it in the middle of the keyhole garden and fill the bottom with stones and rocks to help with aeration. Finish by filling it with food scraps and garden waste until it’s full to the brim.
5. Fill the beds
With your walls built and your compost cage in place, the only thing left to do is fill the remainder of the raised beds.
John explains, ‘The bottom layer should be something that allows for good draining, such as pebbles or twigs. Then, there should be a layer of compost materials such as grass or newspaper, which will promote moisture retention in the soil. The next layer above this should be topsoil, and then the layer above this could be mulch, which helps keep the moisture in the soil.’
He also urges, ‘Always remember the slope from the compost section to the plants. Without this, there will be less of a flow of nutrients.’
When the keyhole garden is filled, you can add the plants or crops you want to grow. To give your produce an even better chance of success, it might be a good idea to check out companion planting.
Then, all you need to do is keep your compost cage filled up and water it regularly.
What you'll need
FAQs
Do keyhole gardens smell?
Although keyhole gardens centre around a compost heap, they shouldn’t smell or add an unpleasant aroma to your garden. In fact, the stones at the bottom of the compost cage should ensure that they aid with aeration and airflow.
If you don’t add stones at the bottom of the compost cage, however, you may find that your keyhole garden starts to smell as the compost will start to decompose rapidly after watering. So, always make sure you add stones to prevent this.
What materials are used in keyhole gardening?
To make the raised beds for keyhole gardening, you should use sturdy, secure materials such as bricks or wood. You should then add a central compost cage, which you can make yourself with chicken wire or buy ready-made.
Then, the only thing left to do is fill the keyhole garden with organic matter and compost. You can use garden waste and food scraps to fill the compost cage and then fill the raised beds with store-bought compost.
So, will you be giving keyhole gardening a whirl?


