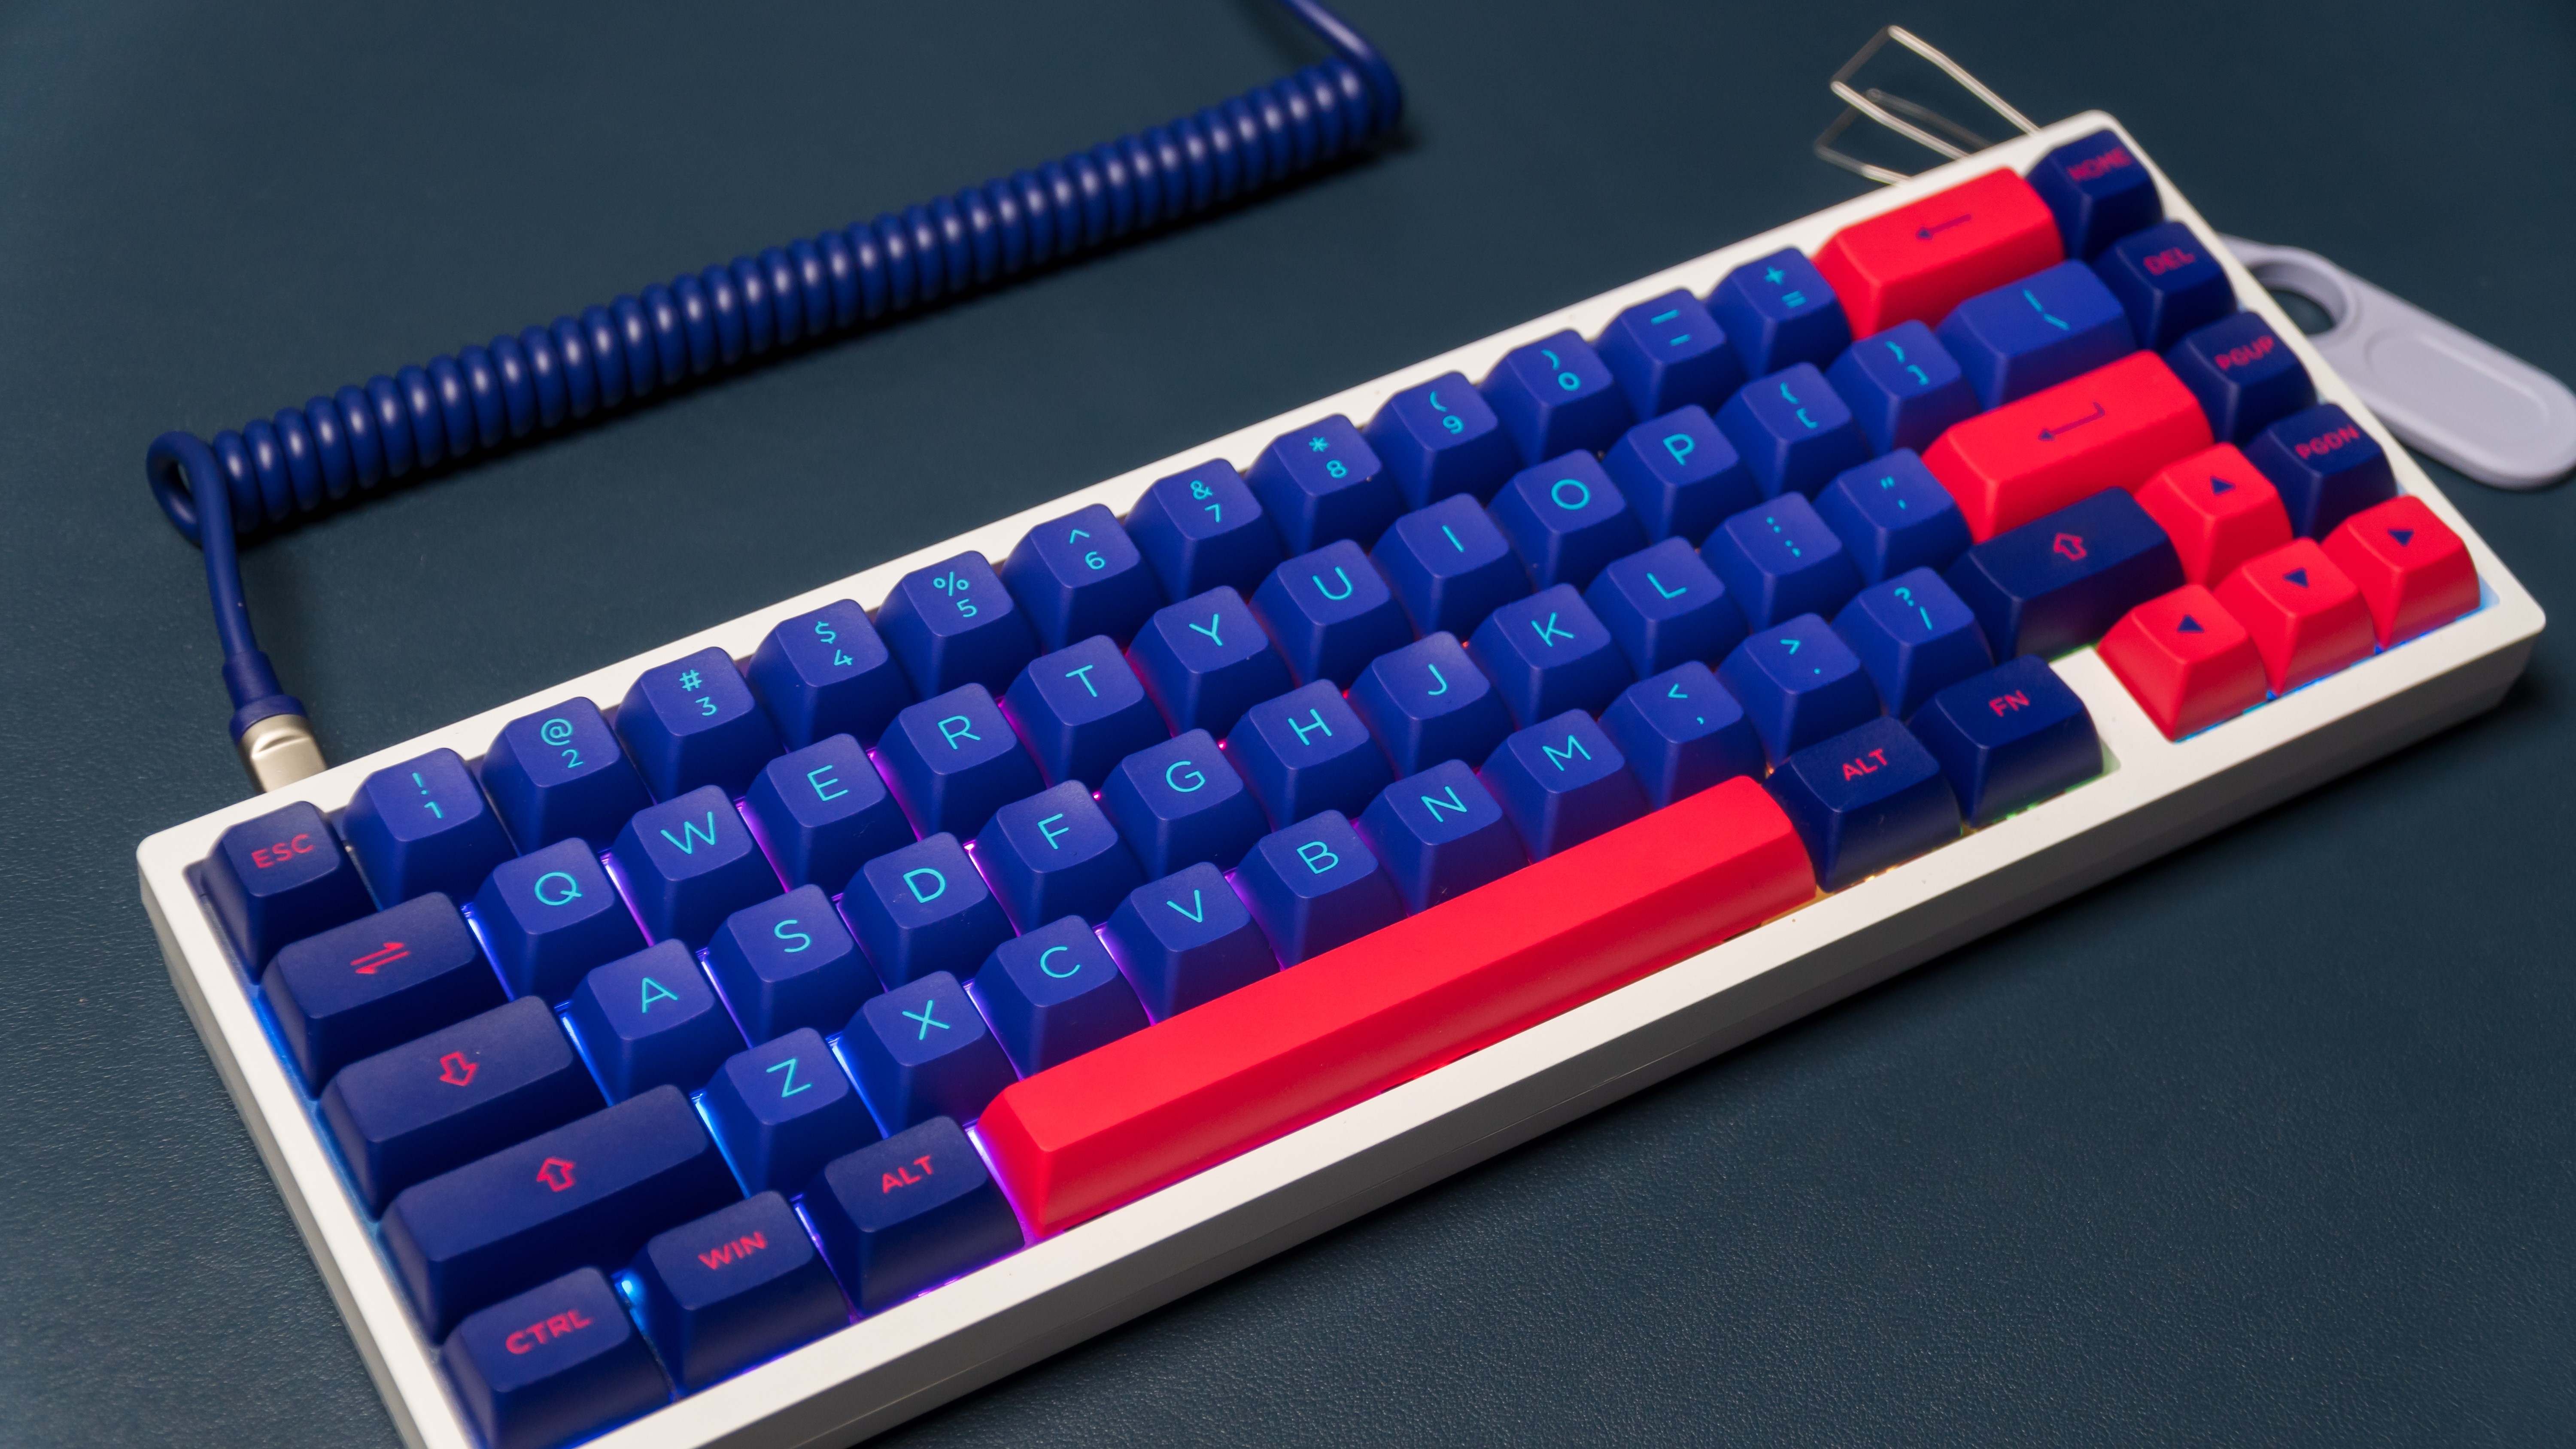
It slowly crept up on me without me even realizing it - the need to tinker and customize my own keyboard. I would have thought it a daft endeavor at one point: why on earth would I want to spend money on changing the sound of my keyboard, or worry about how it felt to press down keys? Well, it turns out it can make quite a difference when - like me - you spend all day, every day using your keyboard for work and pleasure.
Now this isn’t a guide on how to mod your keyboard, we already have a really great guide on how to tune your mechanical keyboard. This article is more about how to get started, what items you will need to customize your keeb, and a few suggestions on some particular products that should get you on the right track without breaking the bank. Be warned though, this hobby can get addicting and VERY expensive if you dive head-first into the rabbit hole.
Where to start?
Where do you start? What’s caused you to even consider modding or updating your mechanical keyboard? Well, let me tell you my story of how it began. It started in a galaxy far far away… no wait, that’s a different story; it all started when I spilled a cup of coffee over my keyboard. I cleaned it as best I could, took it apart, and let it dry, but when I plugged it back in, a portion of the keyboard just didn’t work anymore. It was time to search for a replacement.
Now, up until this point, I had only bought full-sized gamified keyboards that came with RGB (eww), and extra keys for macros and media controls. These boards could be used for work and my substantial PC gaming hobby. I honestly had no idea about sounds and feel, as I’d usually just popped into a shop and picked one up, or ordered one online that had a few features that I desired, wasn’t insanely priced, and I was done.
Thanks (I guess) to some friends who were already into customizing their keebs and a host of articles and YouTube videos on suggested keyboards. I began to wonder what sound I would like, would it be a thock, thack, clack, or ping, and what feedback would I prefer from my switches? Tactile or smooth? There are definitely so many options to consider.
Pick a size
Start off by choosing the size of keyboard you would like, from the popular 60% mini keyboards to 80% TKL Ten Key-Less (no number pad), to 100% full-sized keyboards. There are many more keyboard sizes available, so think about what would be best for you. Don’t go blowing all your cash straight away on expensive options. Have a look at maybe modding a cheaper keyboard first, then work your way up as you become more comfortable with modding techniques.
Some great starting keyboard options include:
- RK Royal Kludge RK61 60% Wired Keyboard $42
- EPOMAKER TH80 Pro 75% Wireless, Wired, BlueTooth $89
- DROP CTRL Barebones Keyboard Kit $109
You can also buy pre-made kits with all the bits and pieces you need to construct your own keyboard and really tailor it to your specifications with some changes to the types of switches or keycaps you choose to use. If possible, try to opt for a hot-swappable keyboard that lets you change your switch type with ease without having to involve a soldering iron.
Pick a switch

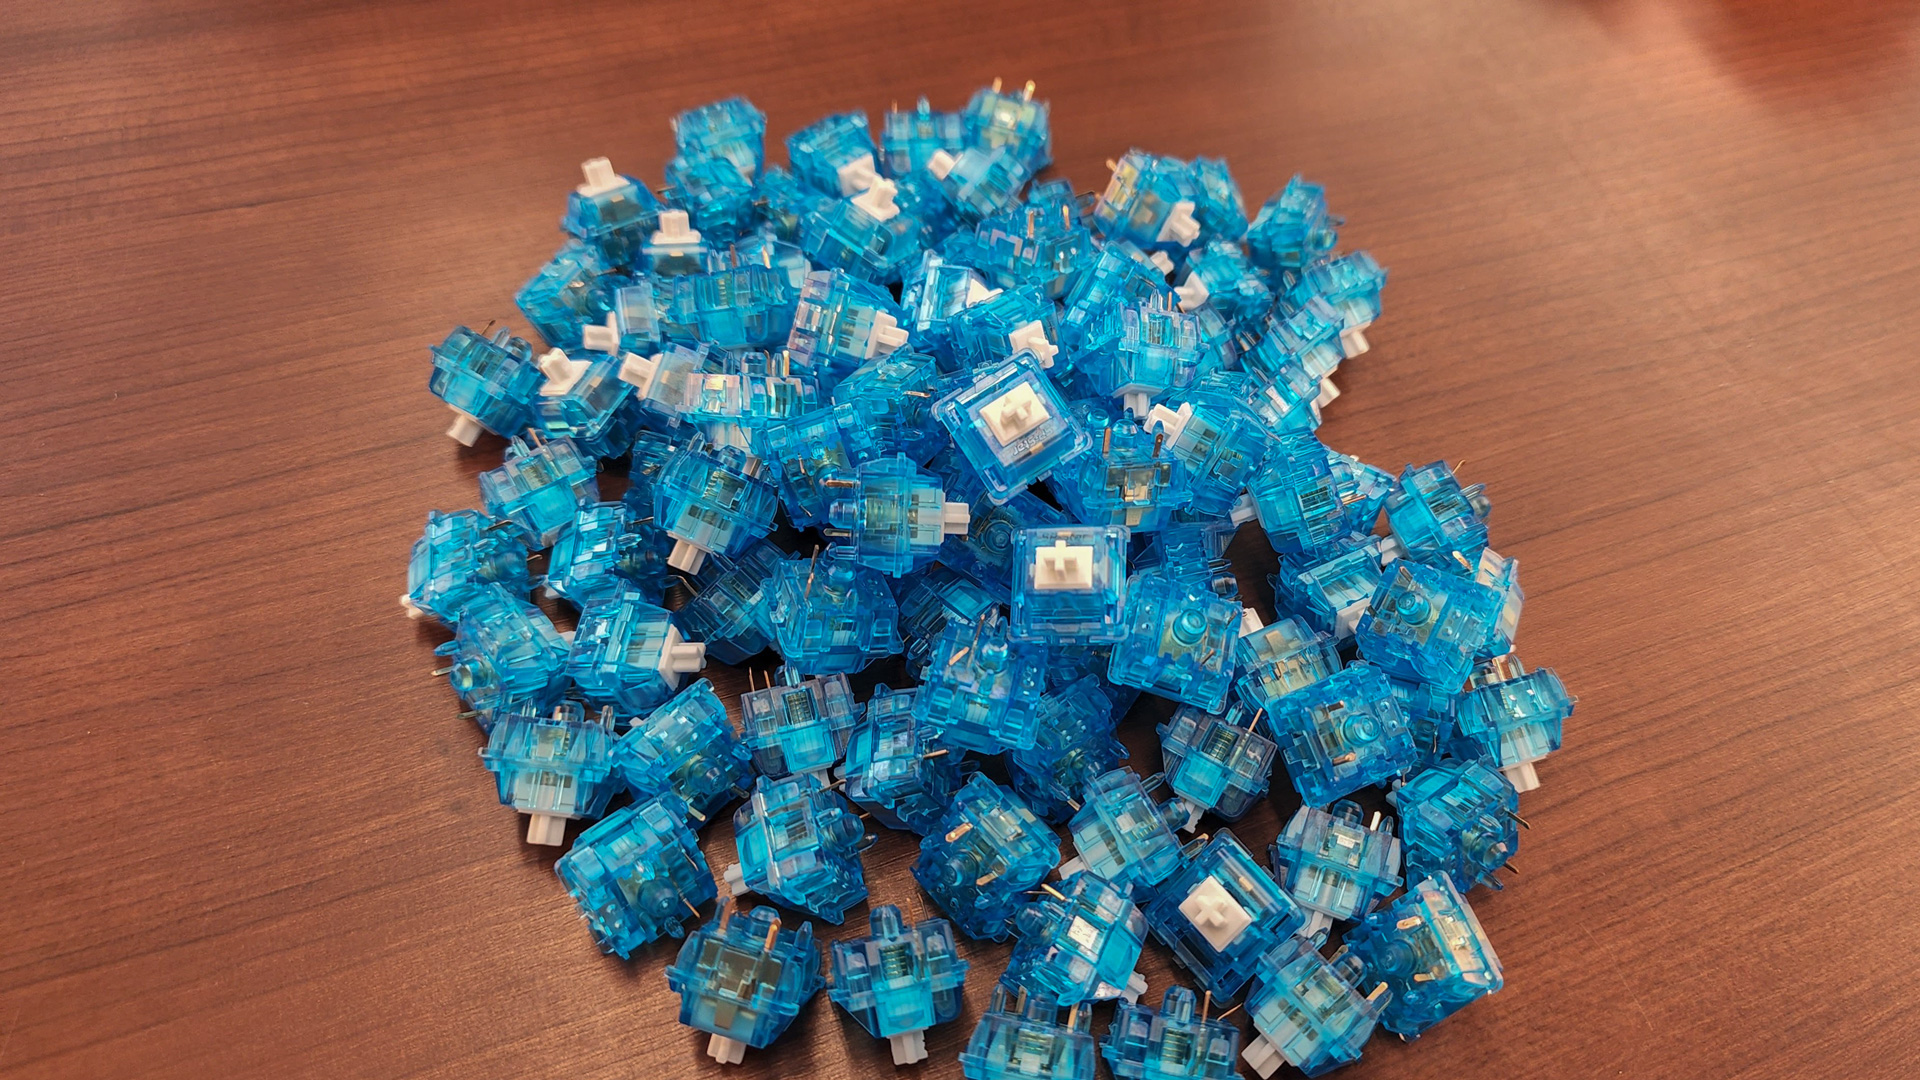
The feel of a switch can vary greatly, with differing actuation heights, and the type of smoothness from either a linear switch or some tactile feedback from a bump switch, and whether you want that clicky sound. Gamers usually prefer the smoother linear approach, whilst typists often prefer a tactile or clicky switch feel. This really depends on personal preference. For example, I prefer silent linear switches for both. At night I prefer not to wake up the house with a super-clacky keyboard - and yes, the silent switches still make a noise.
To help you choose a switch, you really do need to try them out for yourself. A lot of manufacturers offer little test kits for you to try out a selection of different switches, and although they do cost a few dollars, it is definitely advisable before buying all your switches and emptying your wallet. Other options are to try a little test kit from Amazon with a selection of switches and keycaps.
Many of our editors like clicky switches, particularly those from Kailh. Editor-in-Chief Avram Piltch swears by his Kailh Box Glazed Green switches.
Lubing up
If you choose linear switches, you’ll want to add lubricant to them. This not only affects the noise but also the feel - you don’t want to over-lube a tactile switch or it defeats the purpose. You can purchase pre-lubed keyboards and switches, but part of the experience is doing it yourself, and for this, you will need some equipment.
Make sure to pick up a switch-opener to make your job a lot easier - your fingernails will thank you. Other items you will need if you don’t already have them lying around are some good lubricants like Krytox 205g0, small brushes for application, key and switch pullers.
- Krytox GPL-205 Grade 0 switch grease $11
- Super Lube 92003 Silicone Lubricating Grease $19
- G-Lube Glorious Switch Lube $15
- Glorious Switch Opener $8
- Glorious Lube Brush $7
A warning
Watch your spending, set a budget, and just be wary that this hobby like most things can get addictive quickly and spiral out of control into some very expensive territory. The hobby can be very rewarding and almost soothing when you're lubing up 104 or more switches, but make sure you have fun. I wish you good luck in finding the sound and feel of your keeb that brings you the most comfort.
MORE: Best Gaming Keyboards


