
Whether you’ve just picked up a brand new hiking backpack and are coming to terms with its design and capabilities, or have been using the same old MacPac since 1989, one thing is for sure – it will be covered in mysterious gear loops that you have no idea how to use.
I’ve been the proud owner of quite a few really great backpacks over the years but for a long time I was honestly totally baffled as to how to use the gear loops. They never seem to come with any instructions (note to brands: that would be helpful) so over the years, I mainly paid attention to what other trail users did, did a little online research and have even been known to email a company asking for help using my Helly Hansen ULLR RS30 Backpack to attach my cross country skis. Anyway, I’m certain that I’m not the only one who’s been confused by this matter, so in this article, I’ll explain what some of the main loops on your hiking backpack are for.
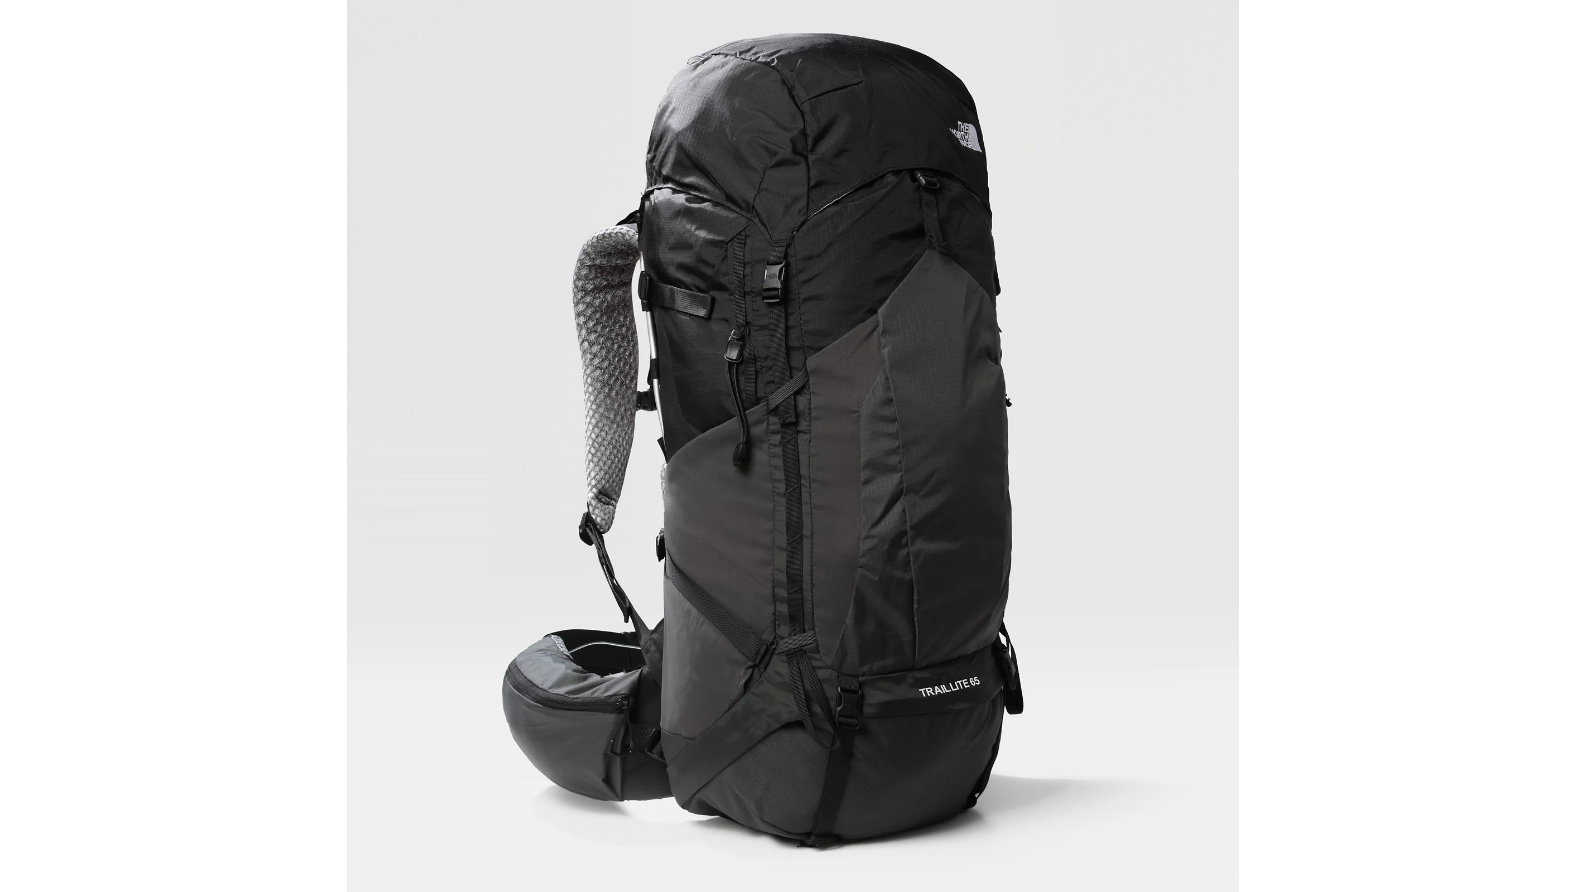
Before we begin, it’s important to note that not all hiking backpacks have the same loops. The Craghoppers Classic Rolltop Backpack 20L is a really simple design without any gear loops at all, while the Osprey Mutant 52 is positively covered in them. To try to secure some middle ground, I’ve picked my North Face Trail Lite 65L backpack for this article, which comes with all the classic loops and straps to demo some of the main uses. You should also know that while I’ve demonstrated the most common uses, you can absolutely feel free to get creative and use the straps on your backpack however you like to secure your gear. If it’s easy to carry and your gear isn’t in any danger of falling off, it works.
With all that in mind, let’s take a look at some of the main loops and straps you’re likely to find on your hiking backpack, and how to use them.
Haul loop
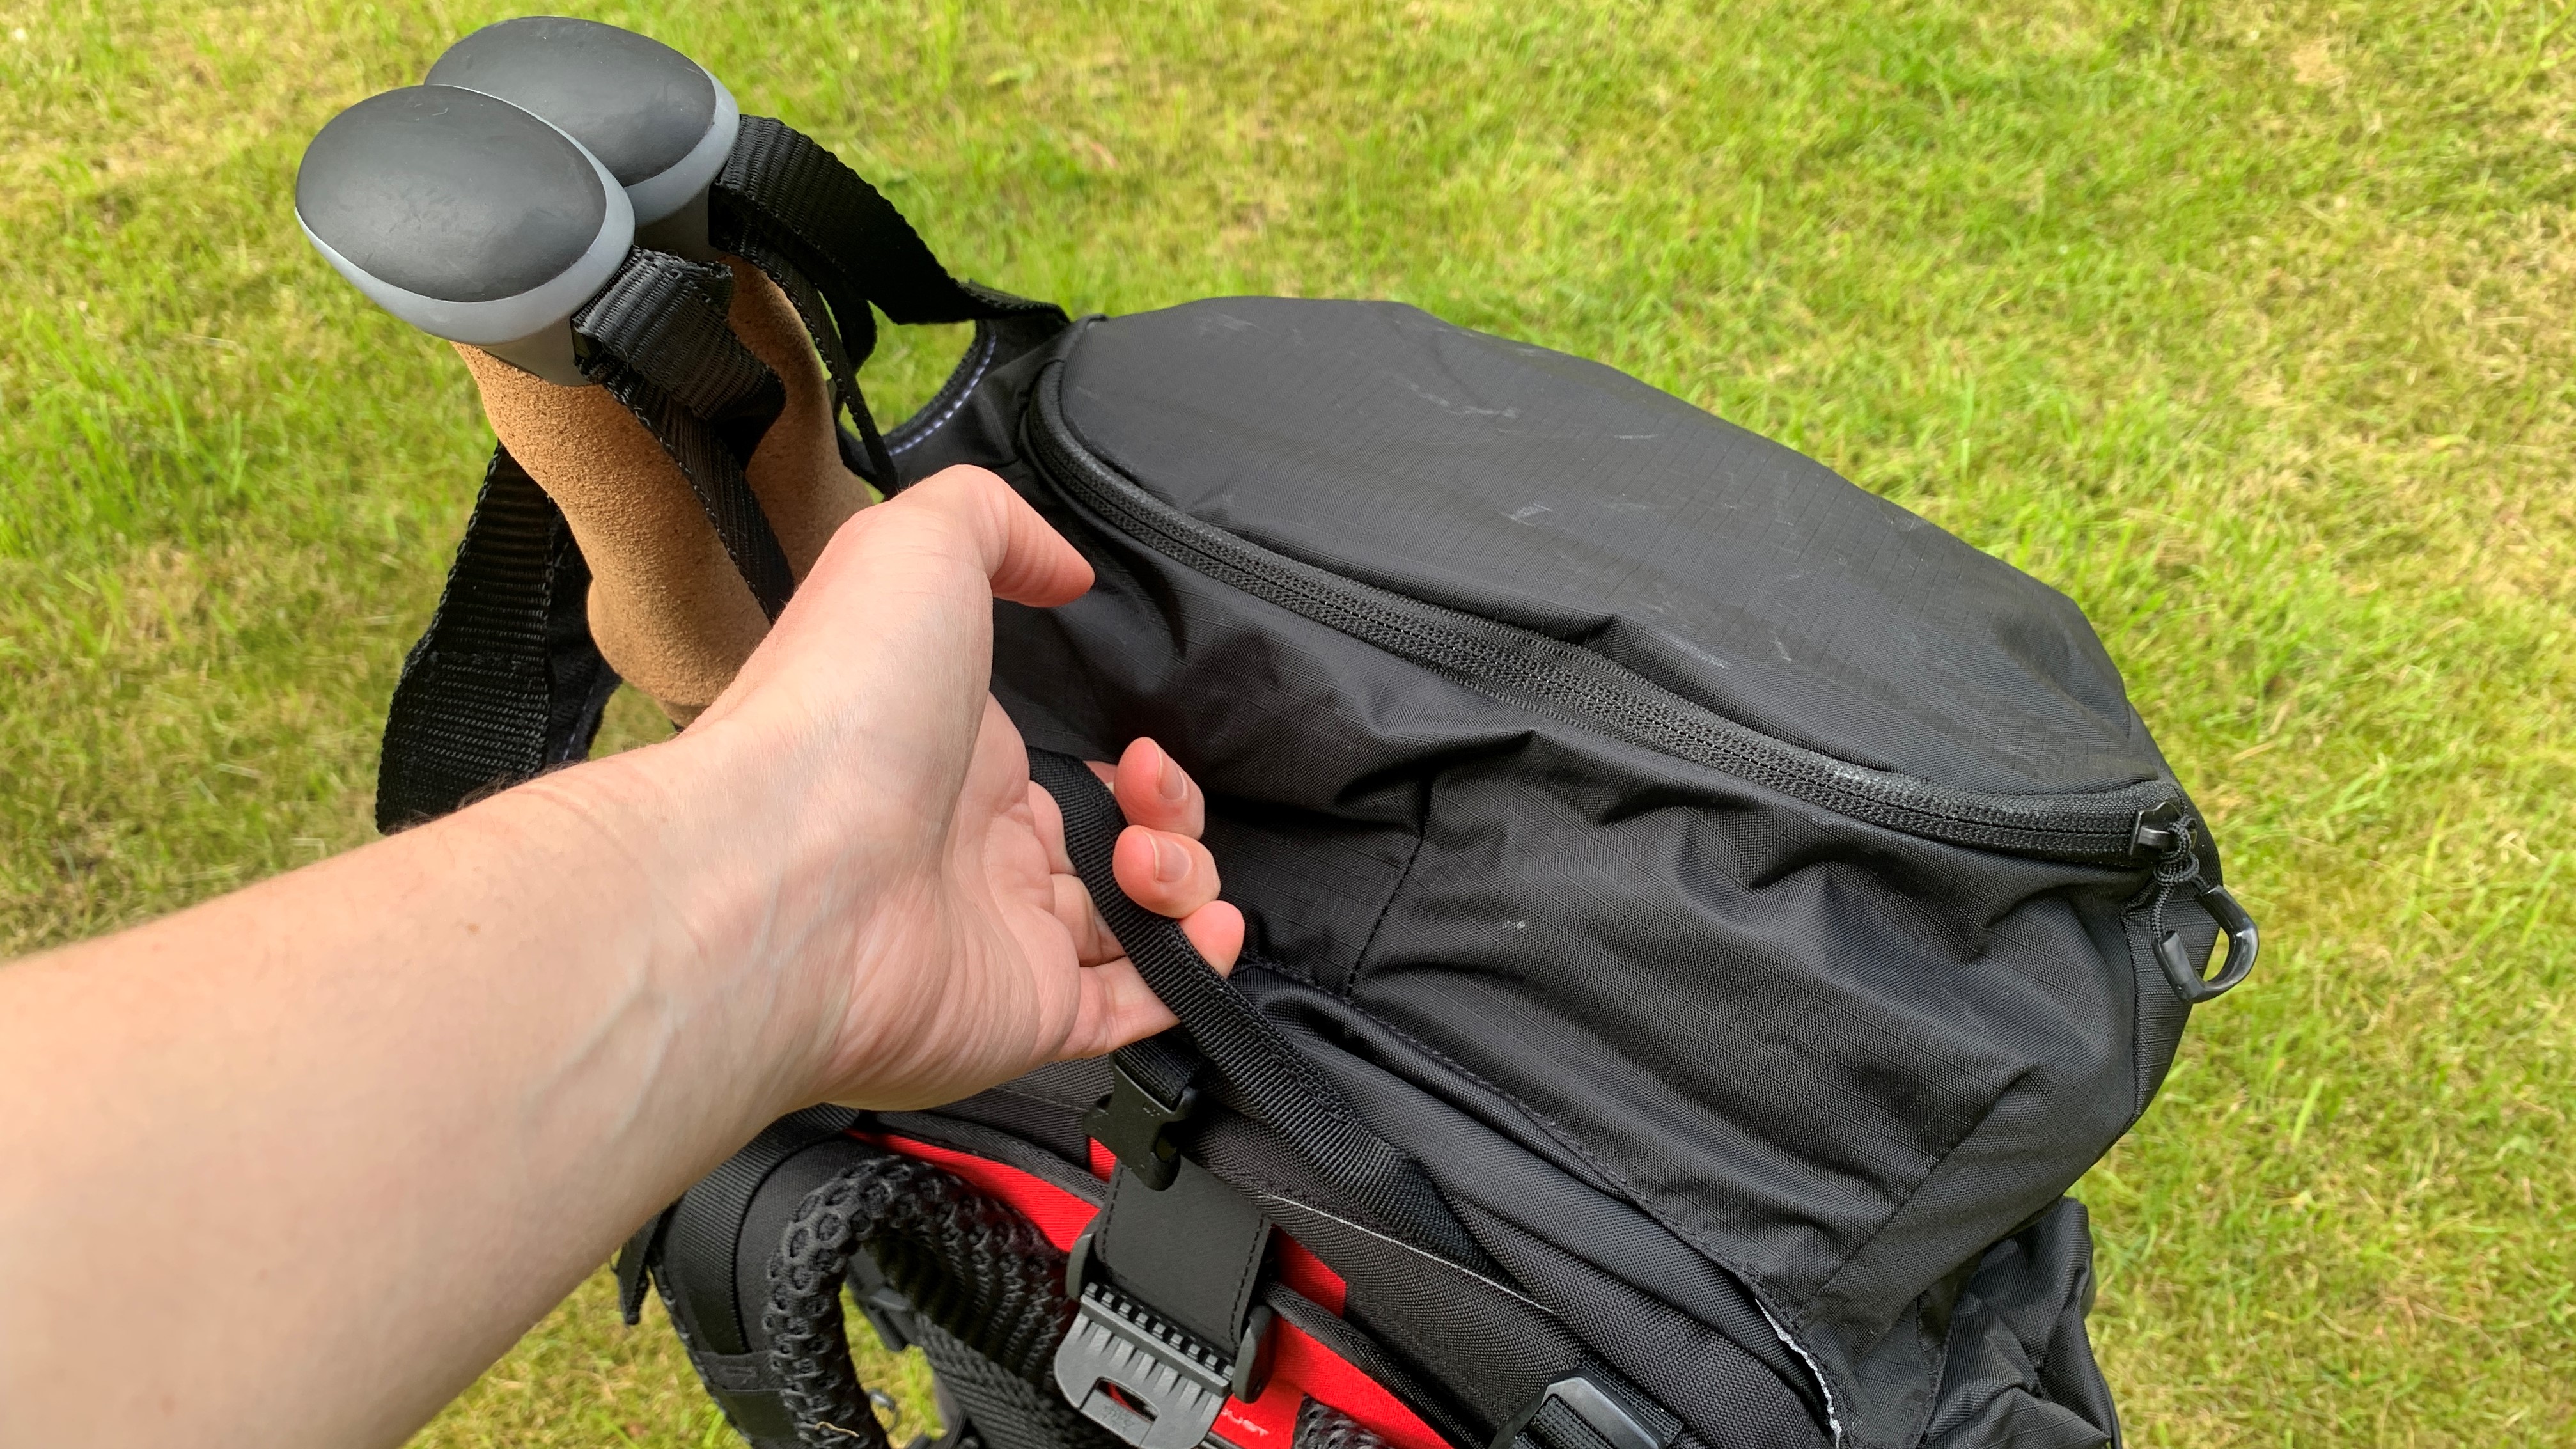
At the very top of your hiking backpack will be a sturdy loop. This isn’t for attaching gear to; rather it’s for lifting your pack. When you’re ready to set off, you can use this loop to hoist your backpack without hurting yourself. You can also use it to hang your backpack from a hook or tree branch, though this is better done when your backpack is empty or light in weight to avoid long term disintegration.
Compression straps
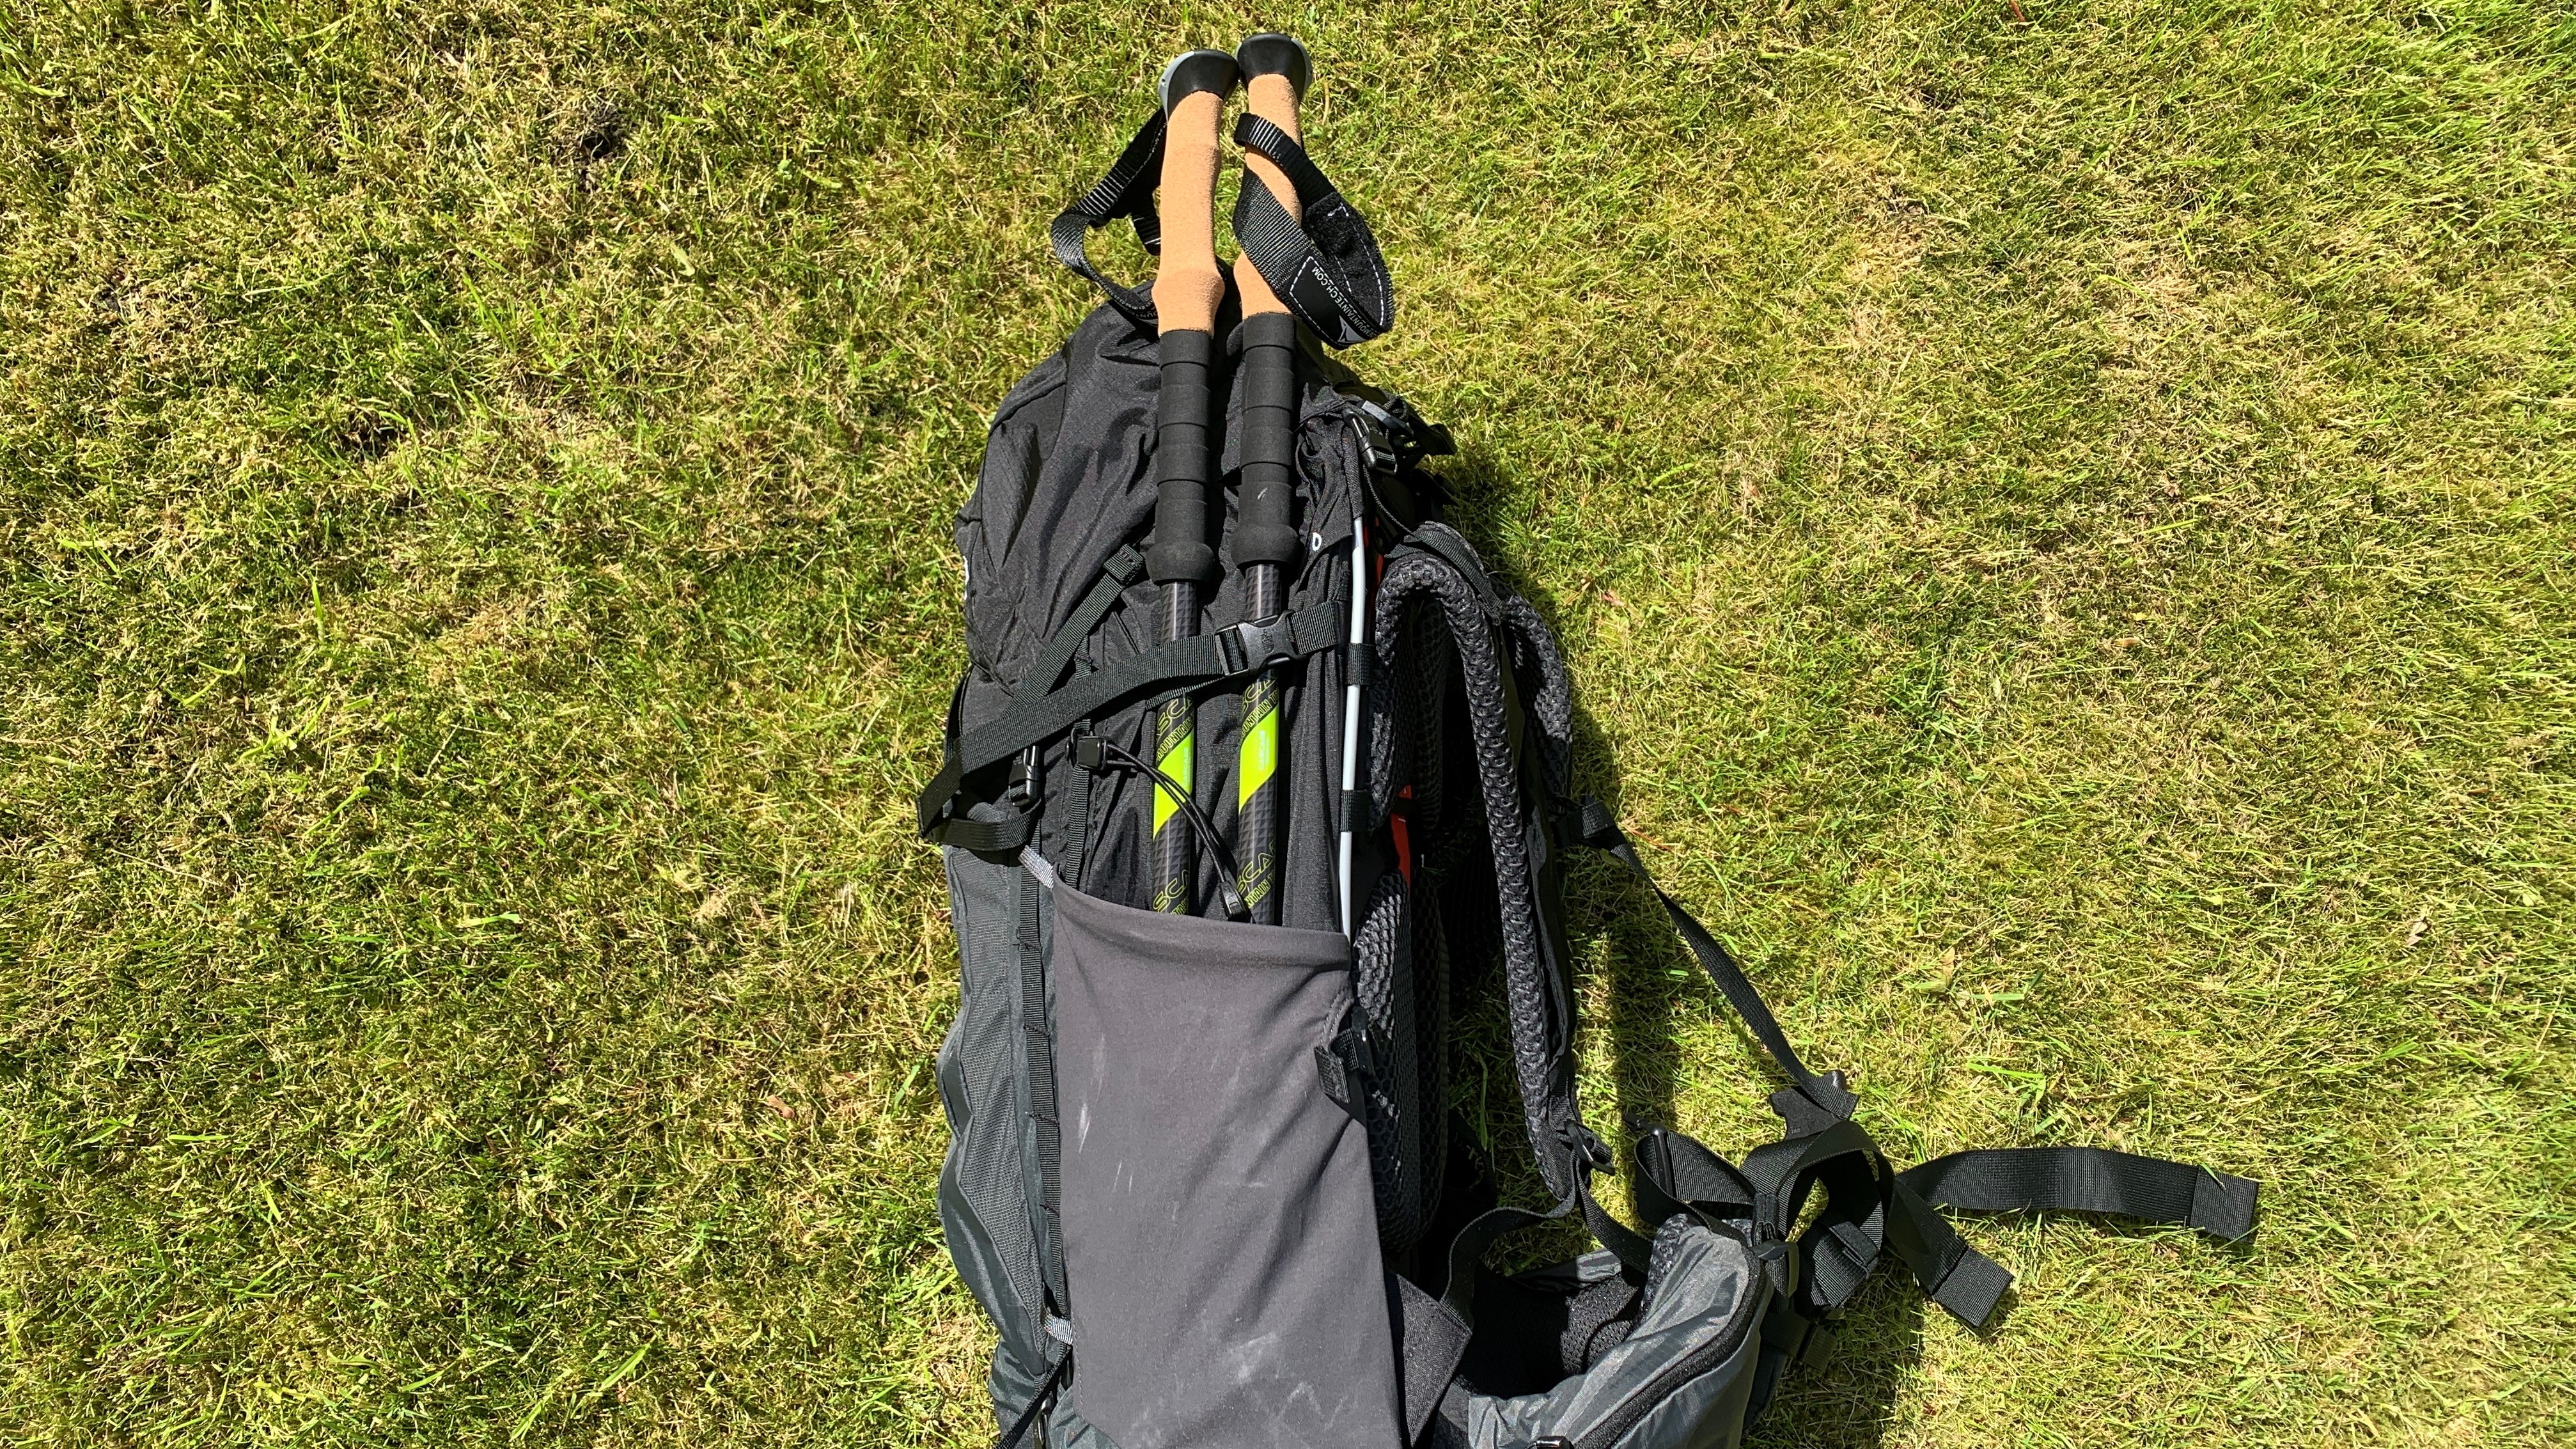
On either side of your backpack will be two (or four, or six) straps with buckles. These are compression straps and they serve two purposes. First, you can loosen them as you pack your backpack to get more gear inside it. Then, once you’re zipped up, tighten them to compress your load, making it easier to carry and holding it closer to your body.
In addition, you can use them to carry gear. I’ve demonstrated using them to hold trekking poles, in conjunction with the side pockets, which is a popular use since they’ll stay put if you stop to get something out of your backpack. If you’re using the side pockets for something else, like tent poles or water bottles, you can use these straps to lash all kinds of stuff to the outside of your backpack, like wet camping towels and waterproof jackets. Just remember that if you stop to rummage around in your backpack, you’ll need to re-secure them.
Daisy chain
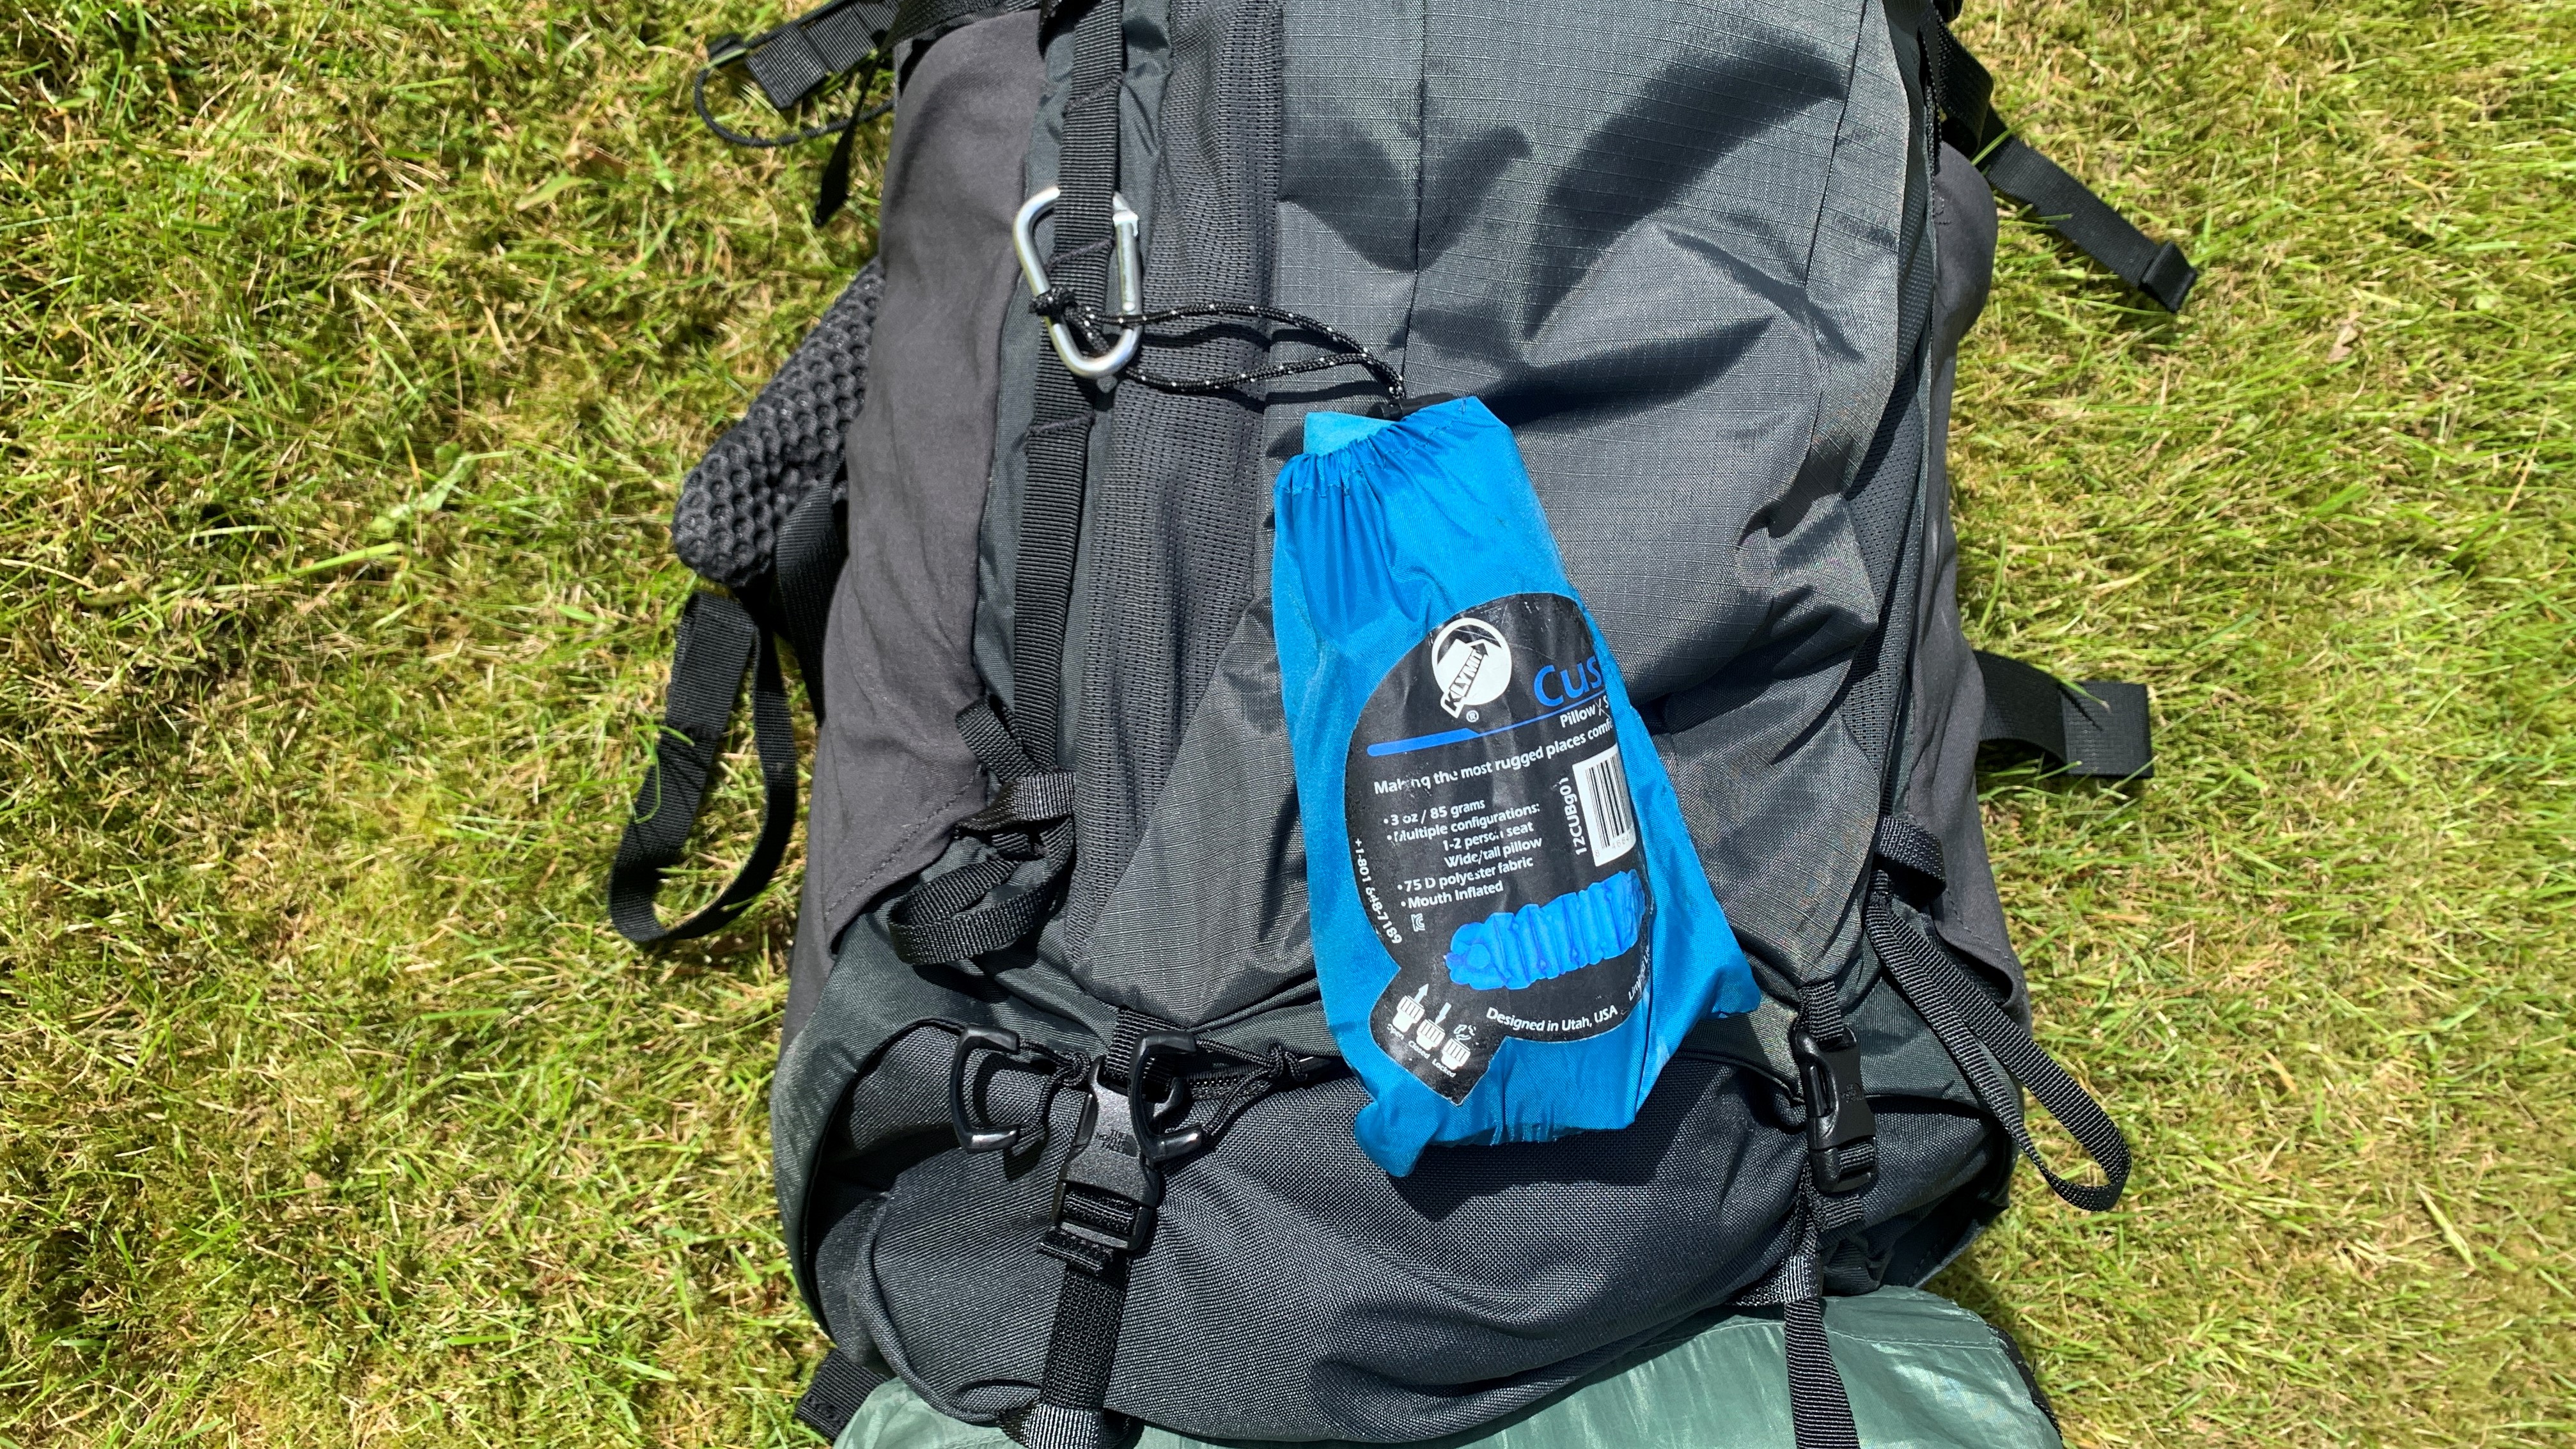
Most backpacks, and even some daypacks, come with a daisy chain sewn onto the main panel or front pocket. These are really handy for when you want to clip any gear onto the outside of your backpack using a carabiner. You can see that I’ve secured my inflatable camping pillow onto mine above – pretty much anything that comes with a stuff sack is fair game here. This method can be a little annoying if you attach something heavy, like a full water bottle which swings to and fro while you walk, so another technique is to use a bungee cord and wrap it through several loops on the daisy chain to hold gear closer to your pack, and I recommend that for heavier items.
Rear loading straps
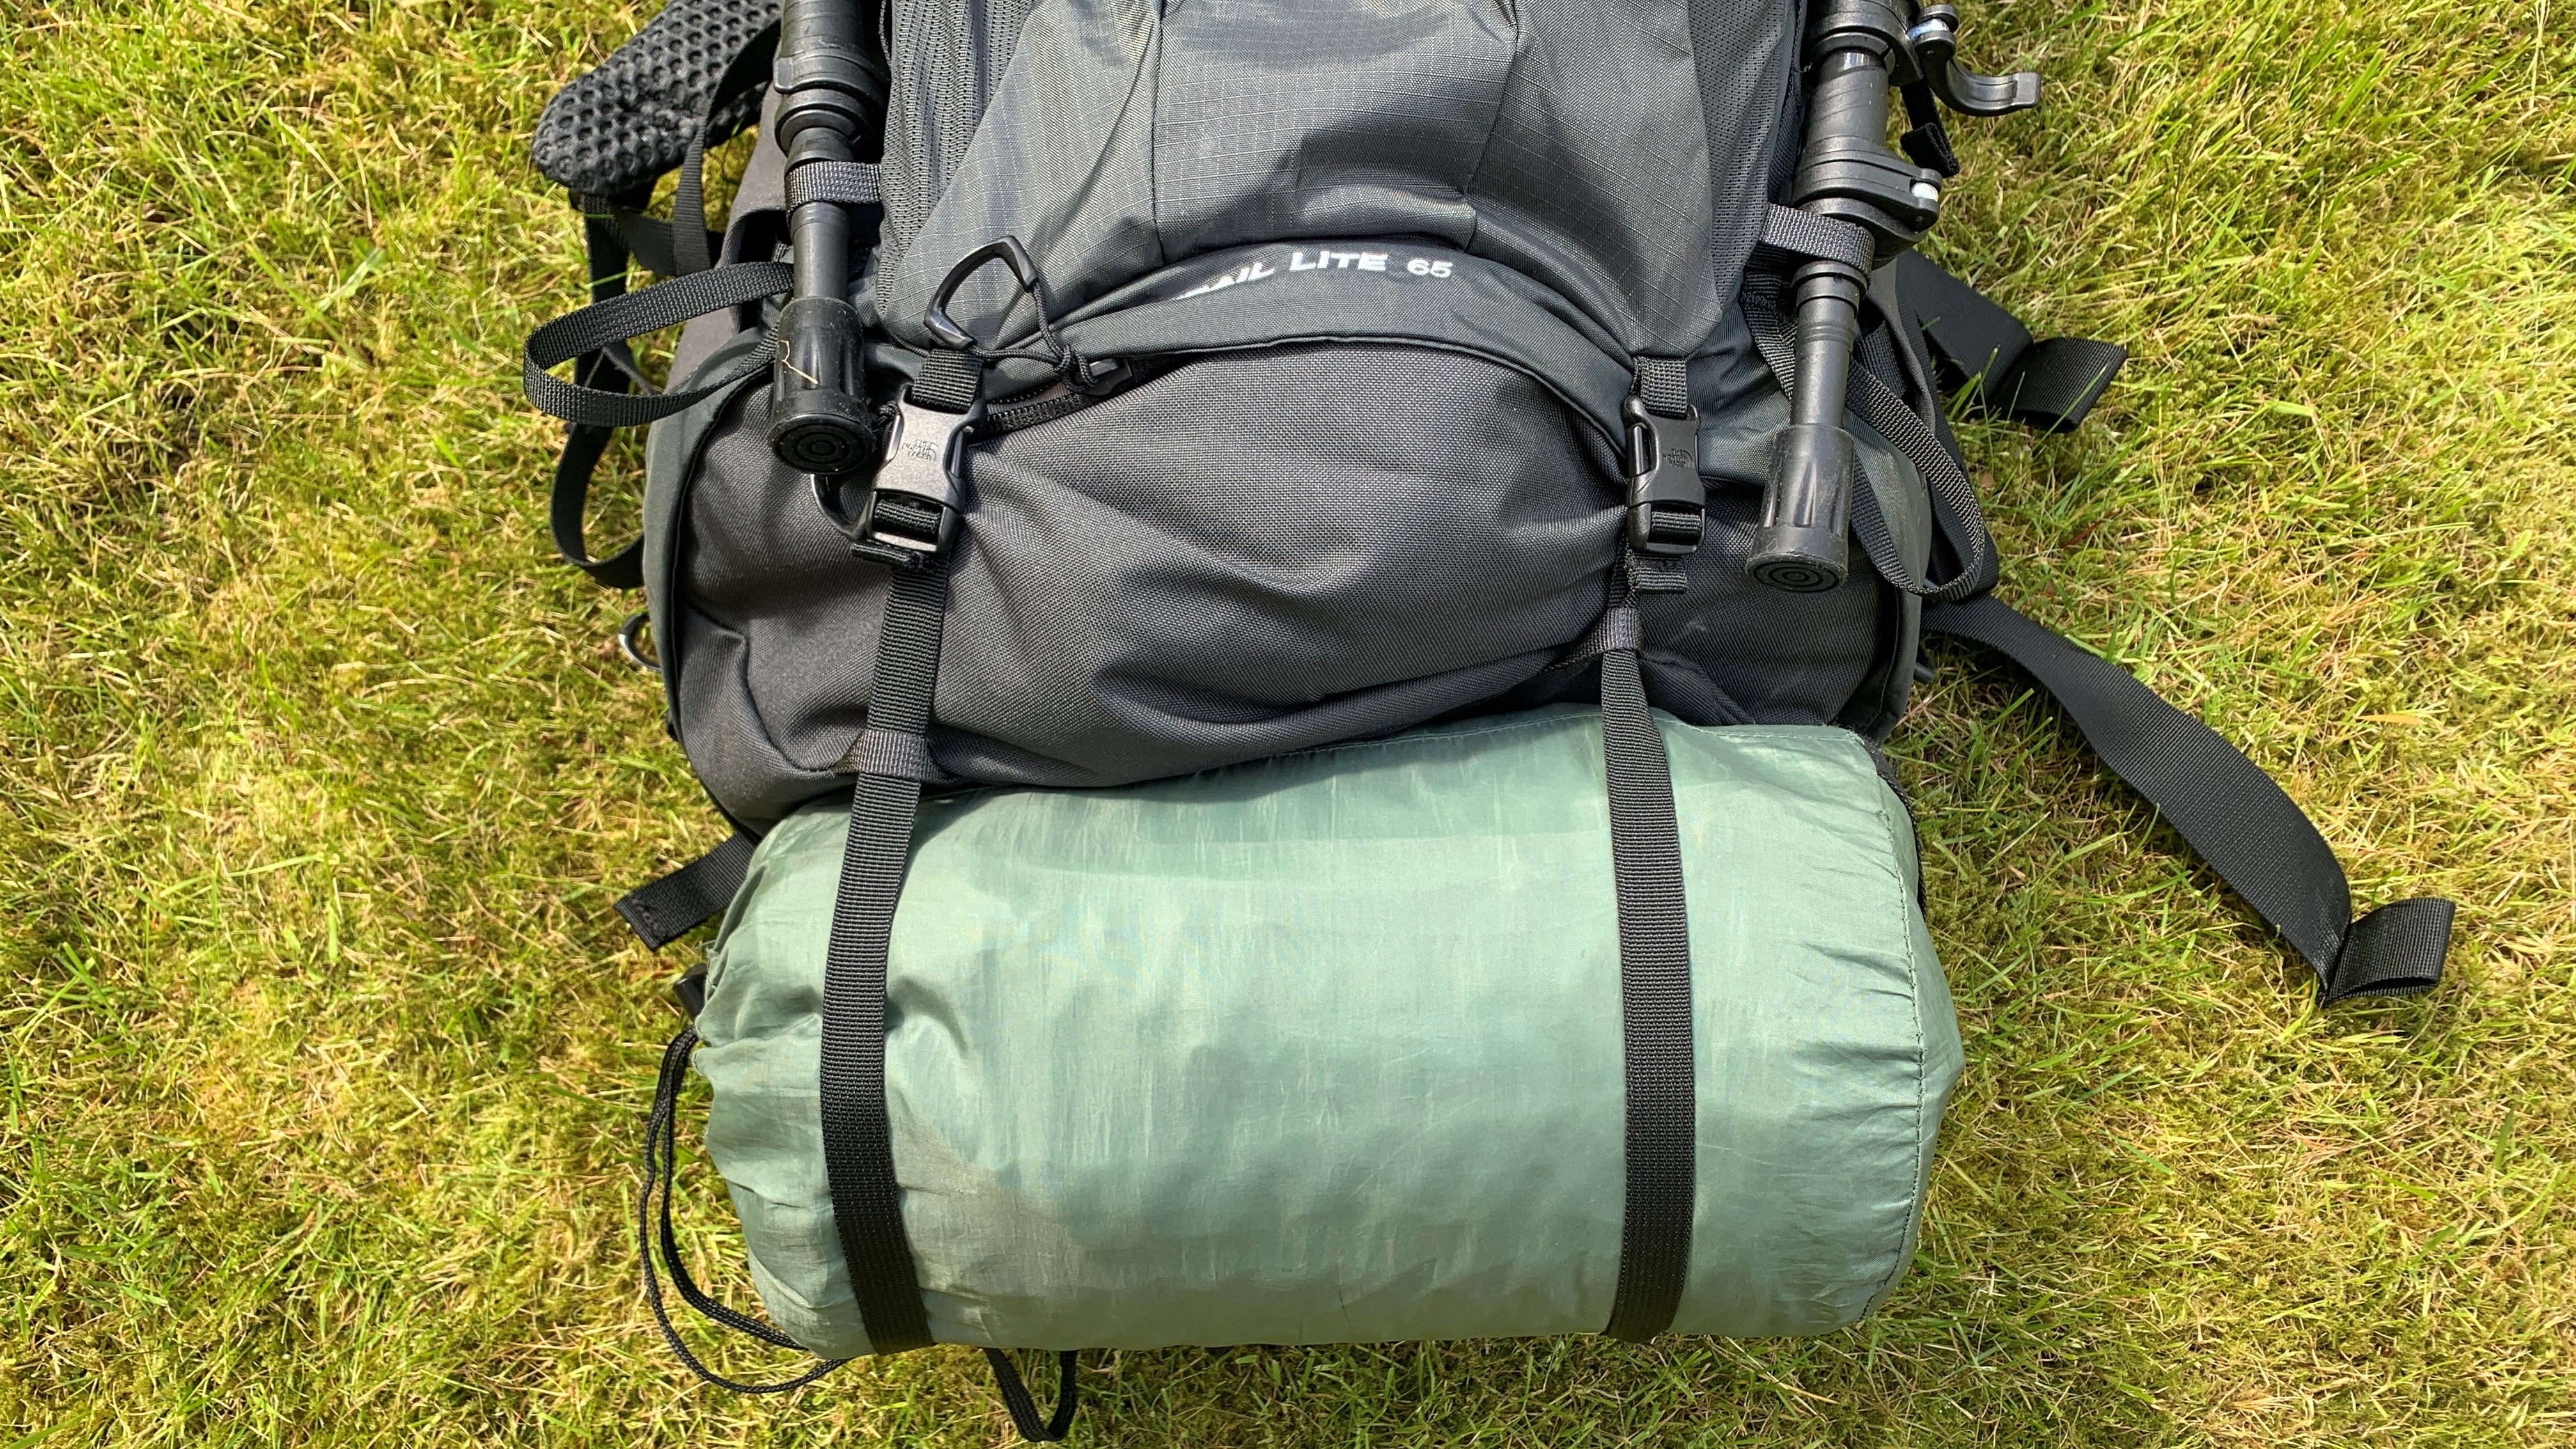
At the bottom of most backpacks are two loops that should come with buckles to tighten them. When not in use, these can be tightened all the way so they don’t snag on things, but you can use them to attach gear like a sleeping pad (shown) or sleeping bag to the outside of your backpack, leaving you more room in the main compartment. These loops work better with more old school foam sleeping pads, which are longer, so do be careful if you’re using a more modern pad that’s properly secured (I advise using backup carabiners).
These are great for when you are going on a longer trek like a thru-hike, where you want the extra room in your main compartment for food, or if you’re travelling with a smaller pack. That said, gear on the outside of your backpack can get wet if it rains, so if it’s not something you want to get wet, wrap it well in a trash bag or waterproof cover.
Ice axe loop
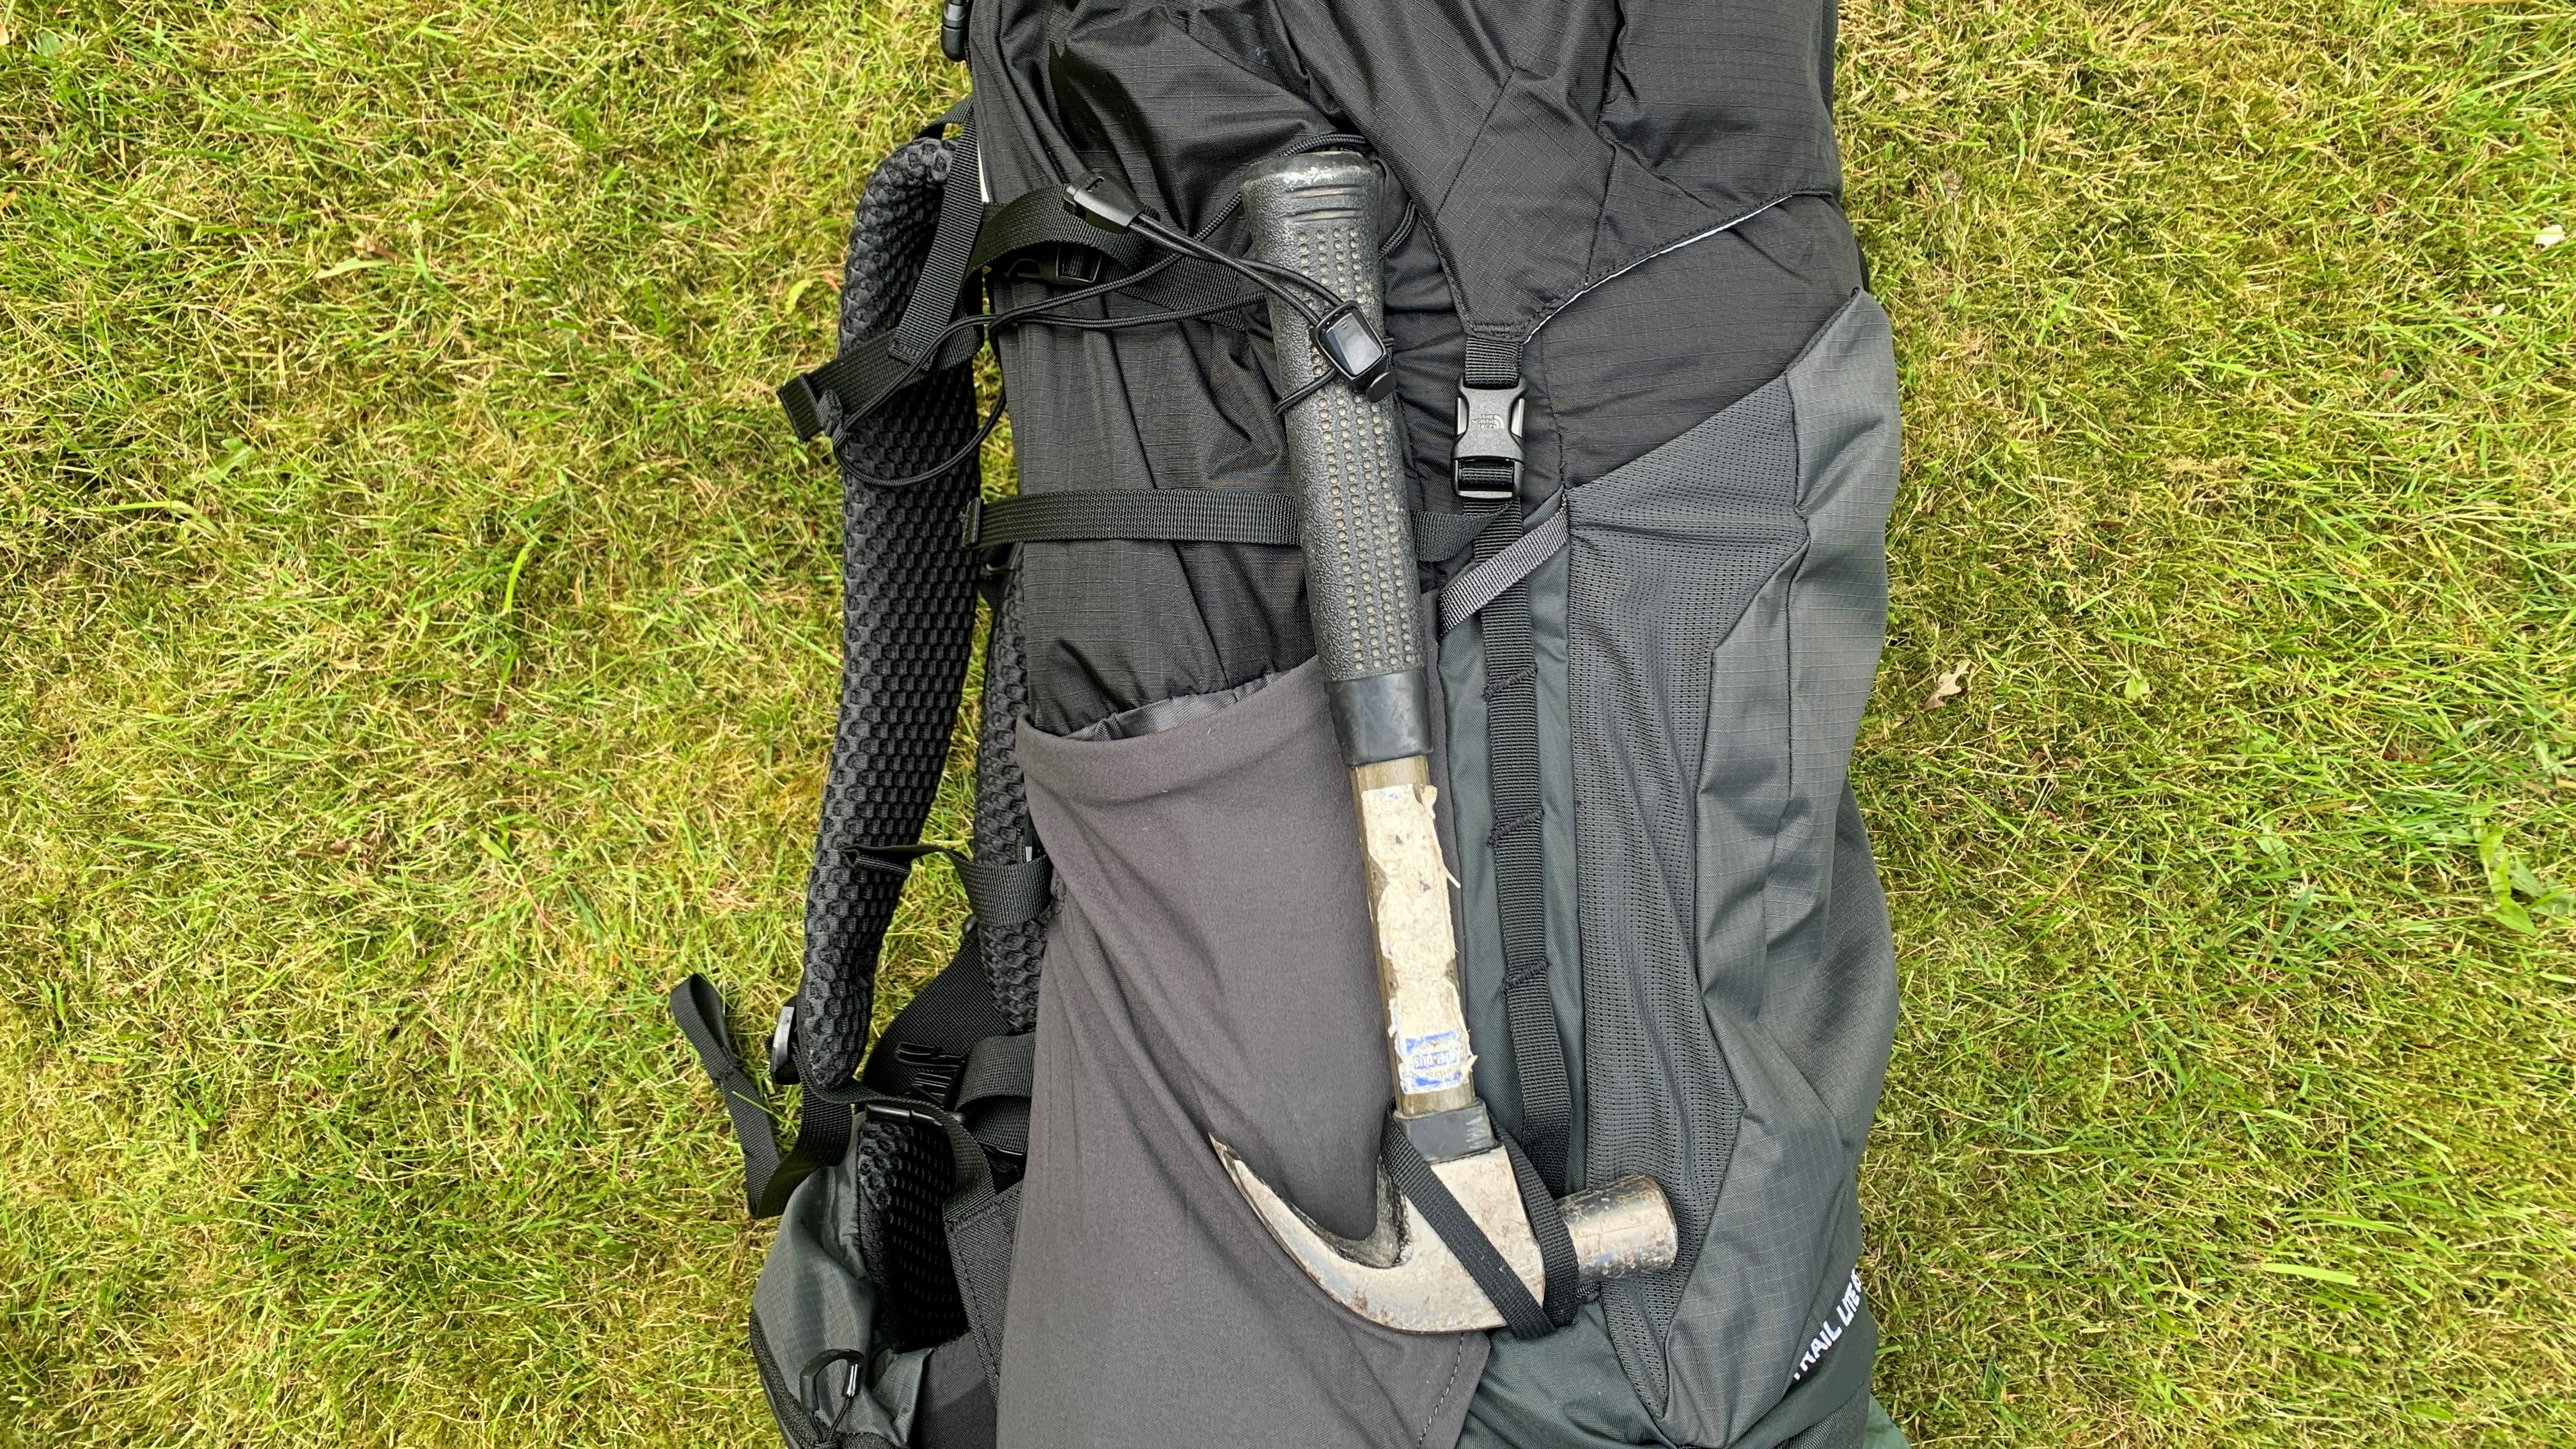
In addition to the rear loading straps, there are often two smaller loops without buckles at the bottom of your backpack, more towards the front. These can be used to safely attach an ice axe to your backpack if you’re hiking in winter or glacier hiking. I’ve demonstrated how they work using a hammer, but you get the idea – basically you insert the handle of your ice axe through the loop so it hangs down by it’s head, then grab the bottom of the handle, pull it up and attach it to the main compartment using whatever strap or loop is available. My North Face pack has really handy little adjustable straps just next to the compression straps on the main compartment for this. Even if you're not planning on hiking up a snow covered slope, hopefully it’s obvious that you can also use these loops to hold a camping axe or hatchet for chopping firewood in the same way.
Further, these can be used as an alternate method of securing your trekking poles to your pack, as pictured below, that leave your side pockets free for other items and mean you can loosen and tighten your compression straps without having to keep re-securing your gear.
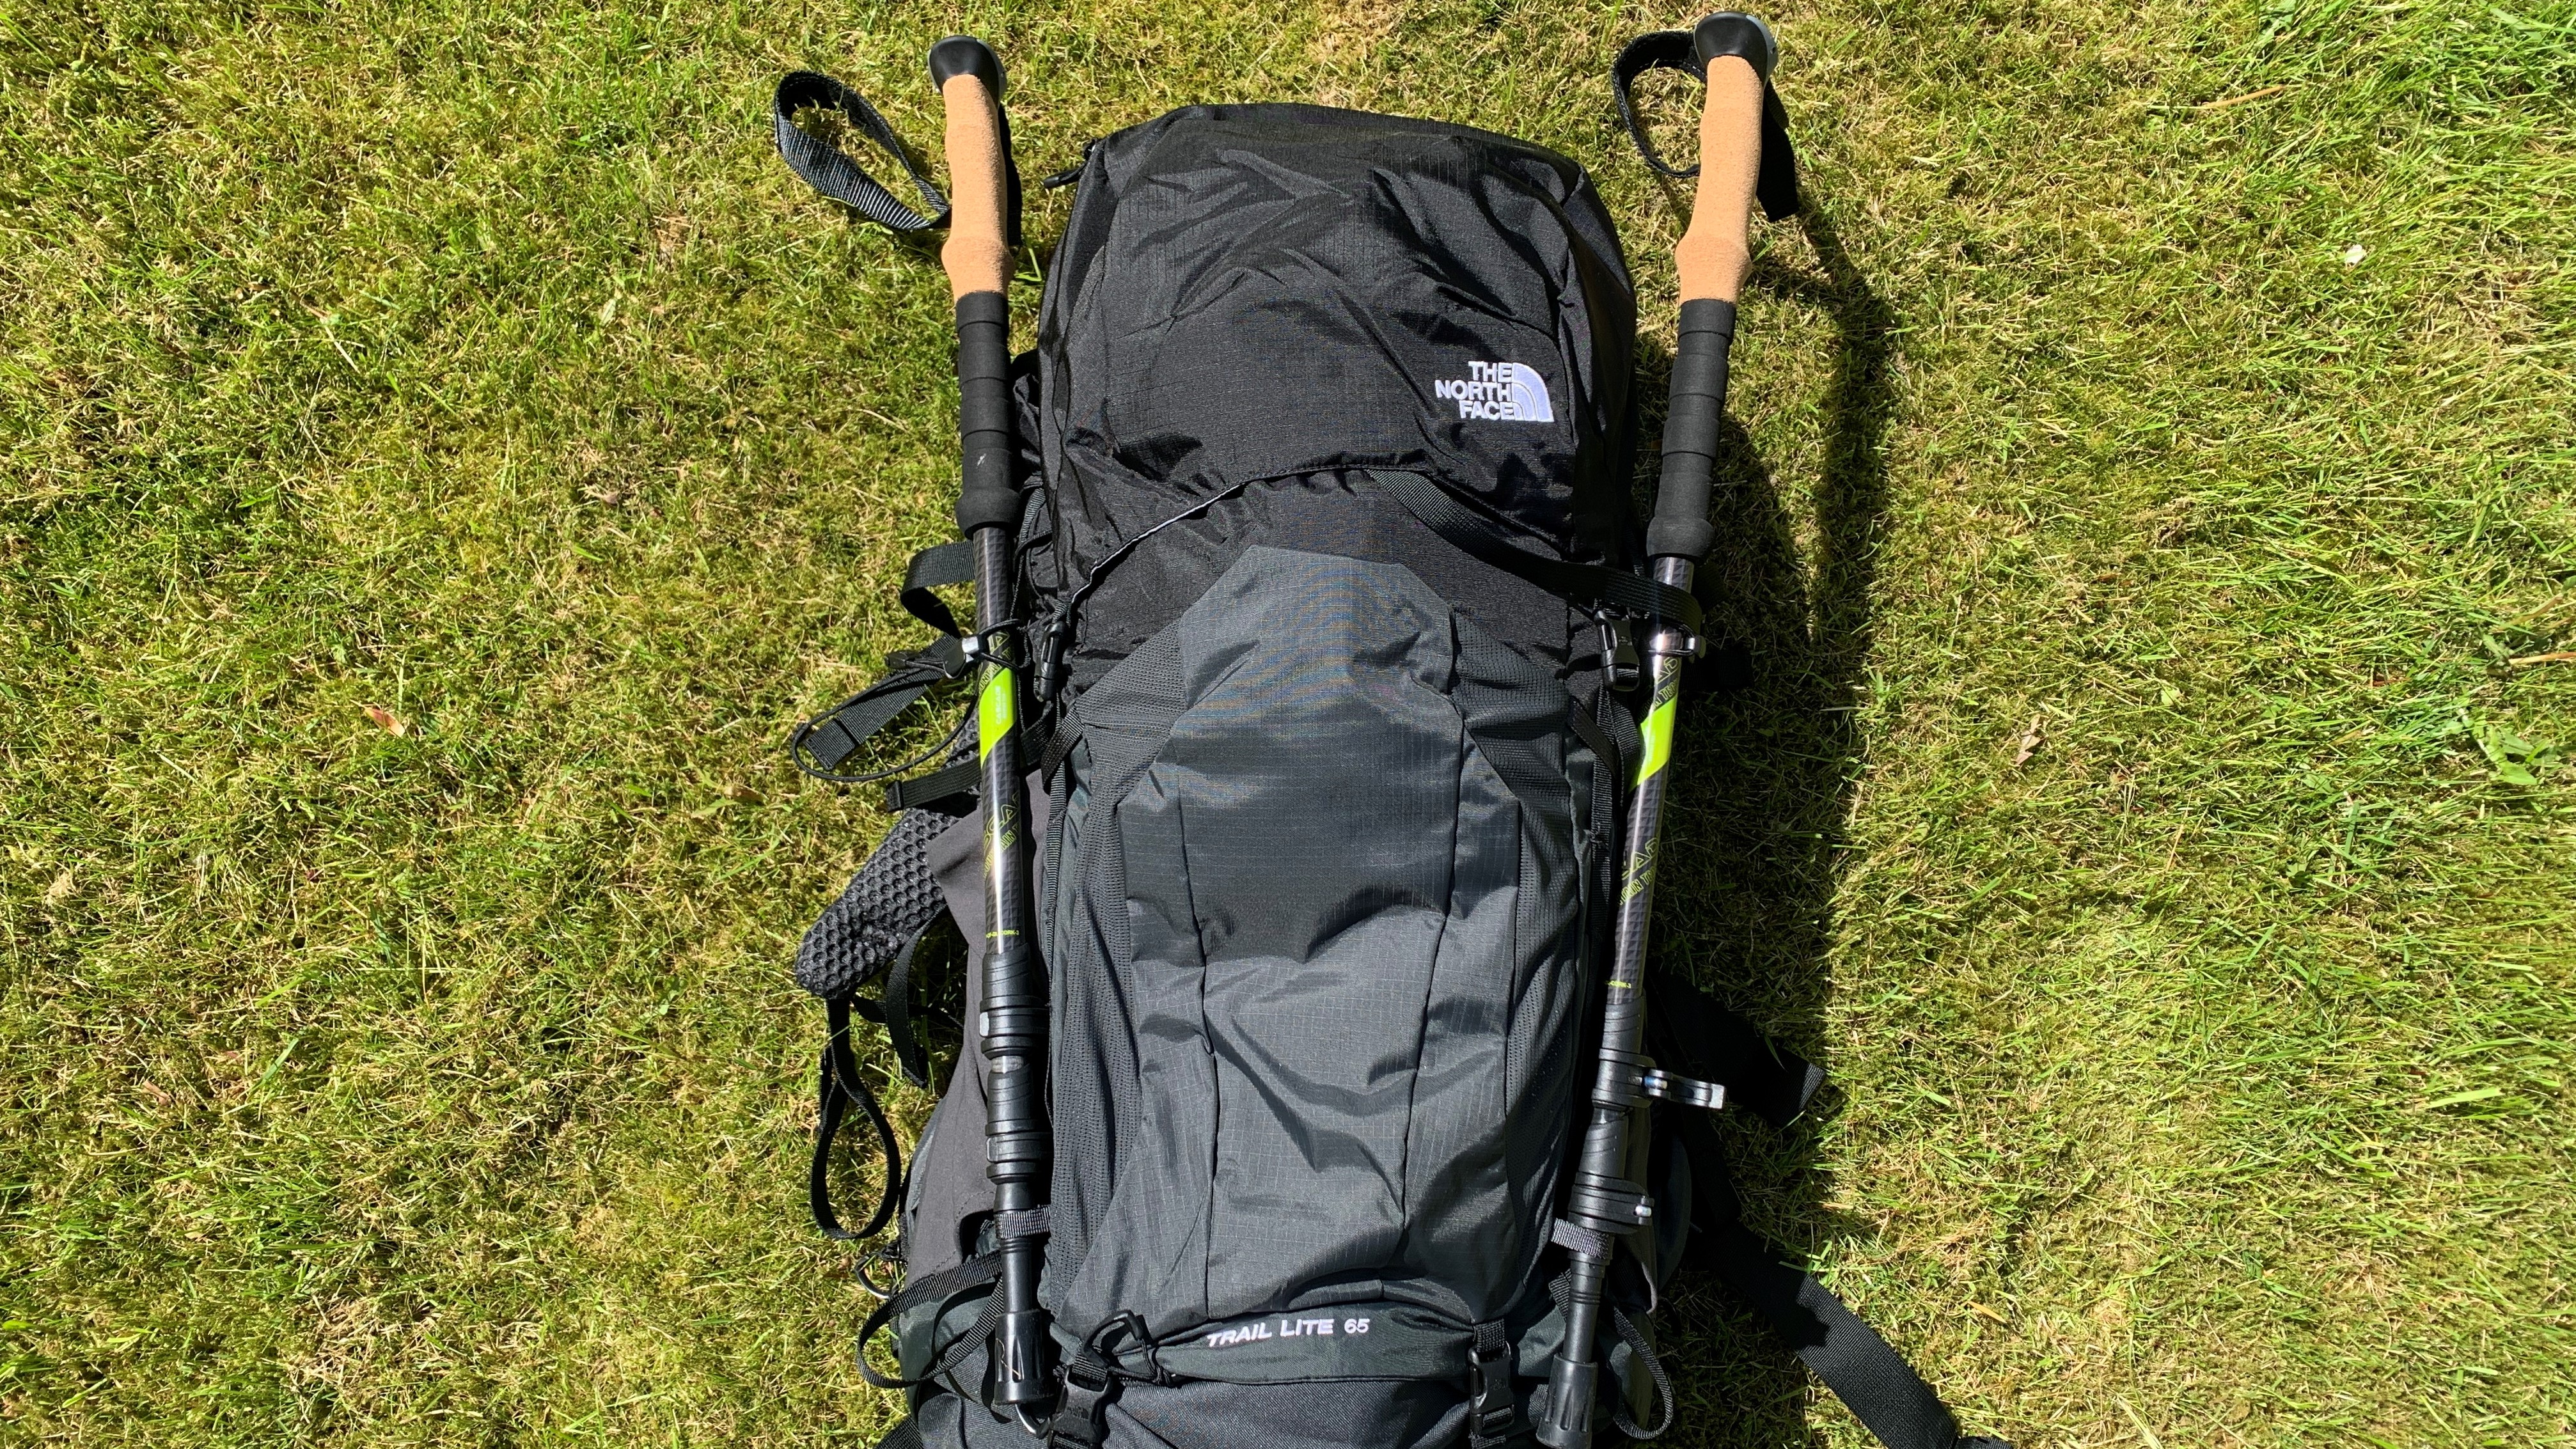
And that’s about it for common gear loops you’ll find on a hiking backpack today. If yours has other loops I haven’t covered (many have trekking pole loops on the hip belt, for example) and you can’t figure them out, have a look on the company website or even drop the maker of your bag a message to find out what they’re for. Your backpack might be harnessing all kinds of inactivated potential that would allow you to carry more gear on your next backpacking trip.


