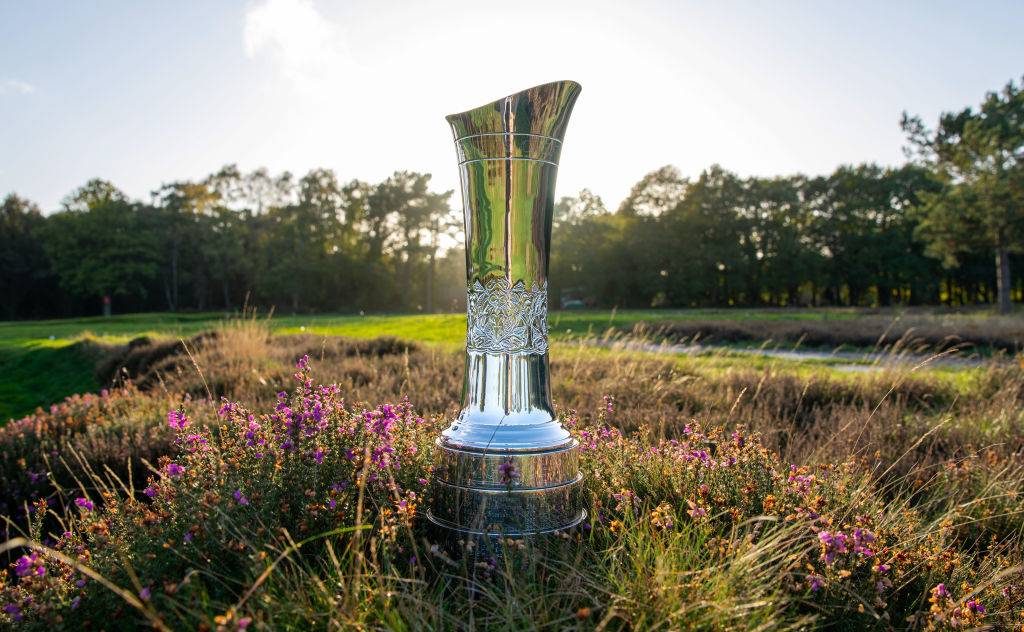
Walton Heath is one of Surrey’s most iconic venues. Located just outside London, the 36-hole venue has played host to many prestigious tournaments including the 1981 Ryder Cup and 2018 British Masters. This August, Walton Heath is the venue for the AIG Women’s Open, welcoming the best female golfers from across the world.
Designed by Herbert Fowler over stunning open heathland, Walton Heath is a formidable test of golf. The firm, fast, running fairways play almost Links like in summer conditions. The heather, which should be in full bloom come August, is always ready to penalise an errant tee shot, while the vast putting surfaces are fast and subtly undulating.
As excitement for the tournament continues to build, Golf Monthly Top 50 coach and Club Professional at Walton Heath, Joanne Taylor provides an insight into the course and the holes which will be pivotal during this year’s Championship.
1, PAR 4, 405 YARDS
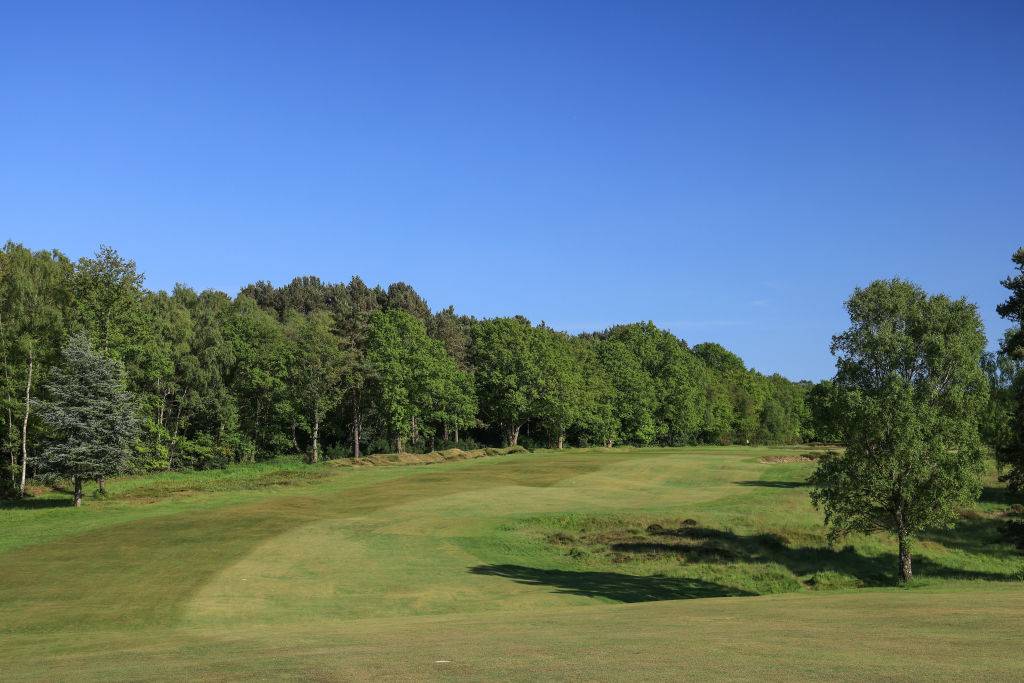
The Championship course is a composite of the Old and New, with 16 holes of the Old course and 2 holes of the New course making up the 18. The opening hole is the 2nd as the members play it, a dogleg right requiring a tee shot hit to the left half of the fairway. The green sits uphill, plays longer than the yardage but is a generous target.
2, PAR 4, 430 YARDS
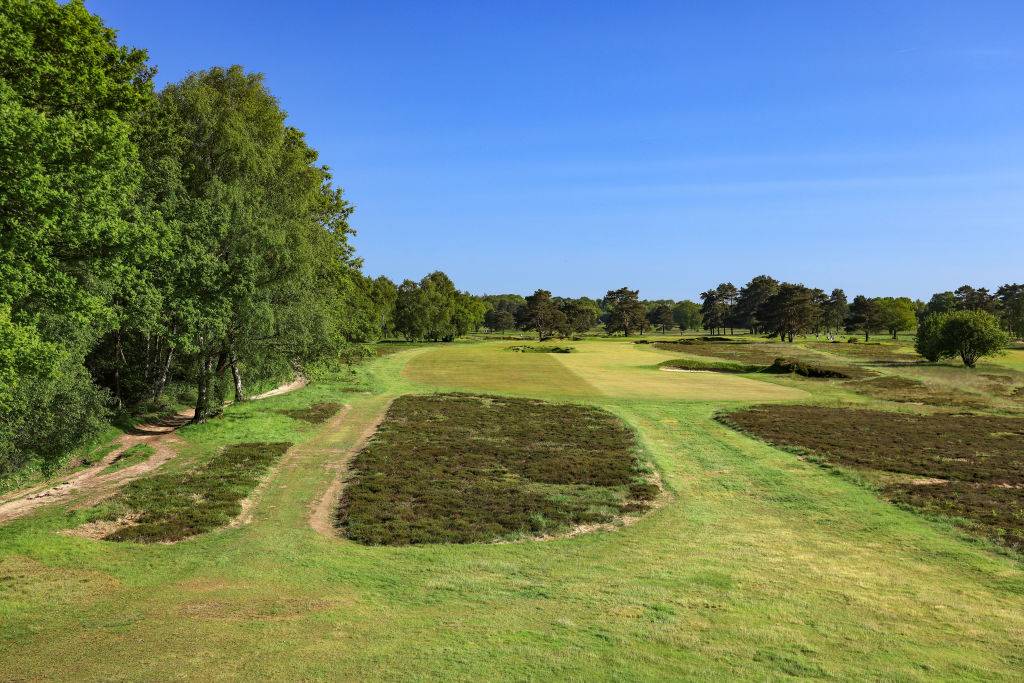
The second hole is one of my favourite driving holes. The fairway is well bunkered making club selection from the tee key. Anything too conservative leaves a lengthy second shot, while an aggressive tee shot has a lone bunker in the centre of the fairway to contend with. The approach to the green is narrow, with a mound left and bunker right.
3, PAR 4, 391 YARDS

The third hole is a downhill sweeping dogleg left to an undulating green. The green is by far the slopiest on the golf course with several tiers in the green, making for some interesting pin positions. The line from the tee is the storm shelter which sits to the right of the green.
4, PAR 4, 427 YARDS
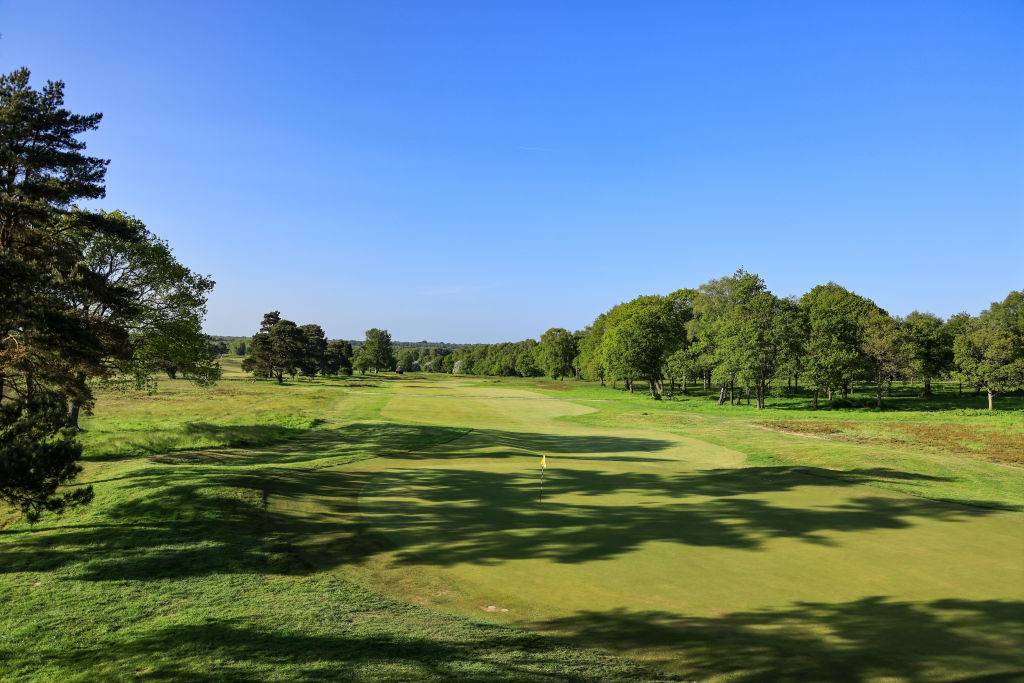
This is a tight driving hole with bunkers left and heather right. The fairway narrows level with the second fairway bunker making accuracy off the tee essential. The green is guarded by a single bunker short left, but two mounds make the entrance to the green tricky for anything landing short of the putting surface.
5, PAR 3, 174 YARDS
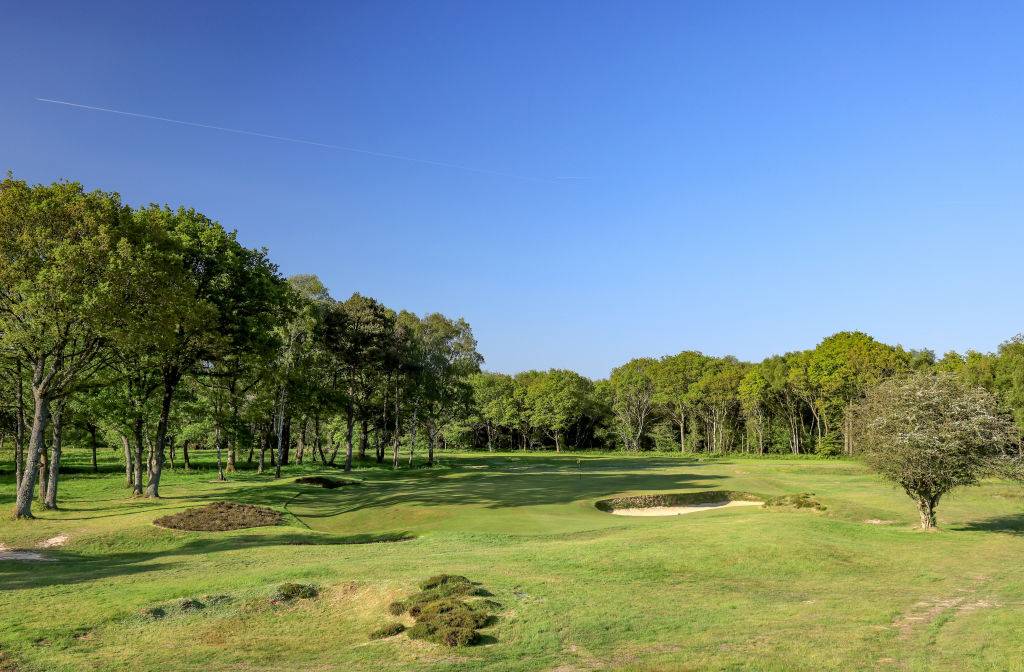
The 5th hole is the first par 3 of the Championship layout. The bunker short right of the green makes the line from the tee awkward, rolling off the green left can often catch players out. A well struck shot is required to the centre of the green.
6, PAR 5, 494 YARDS
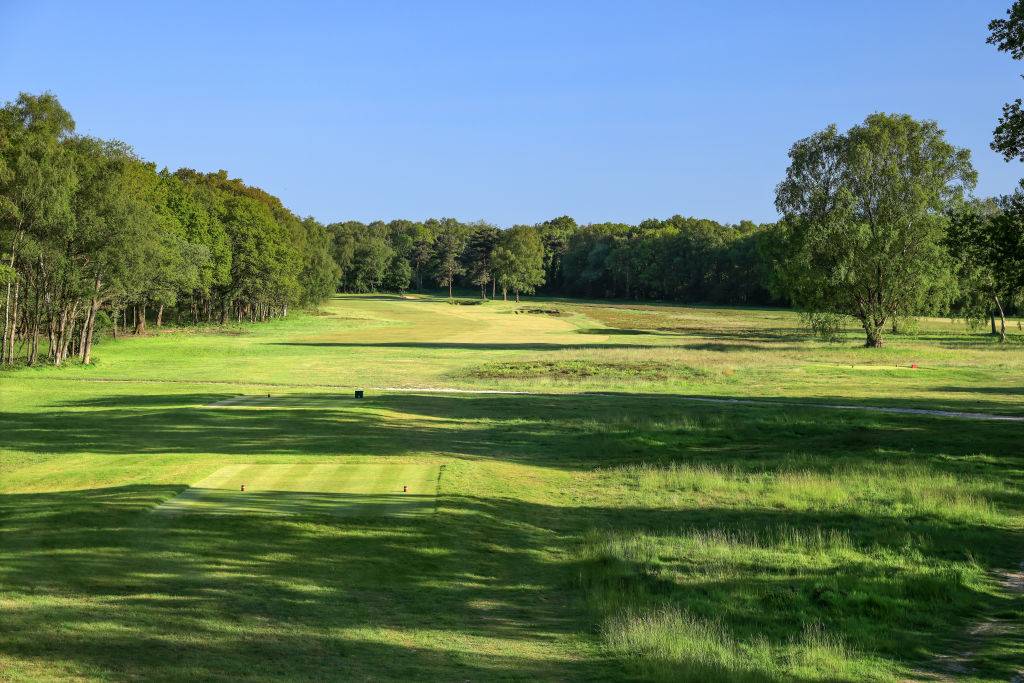
The 6th is a generous driving hole, although like most holes over the layout there is heather and long rough ready to penalise anything too far offline. The green sits slightly raised and falls away at the back. The hole is the furthest point out on the golf course and presents a good birdie opportunity.
7, PAR 4, 390 YARDS
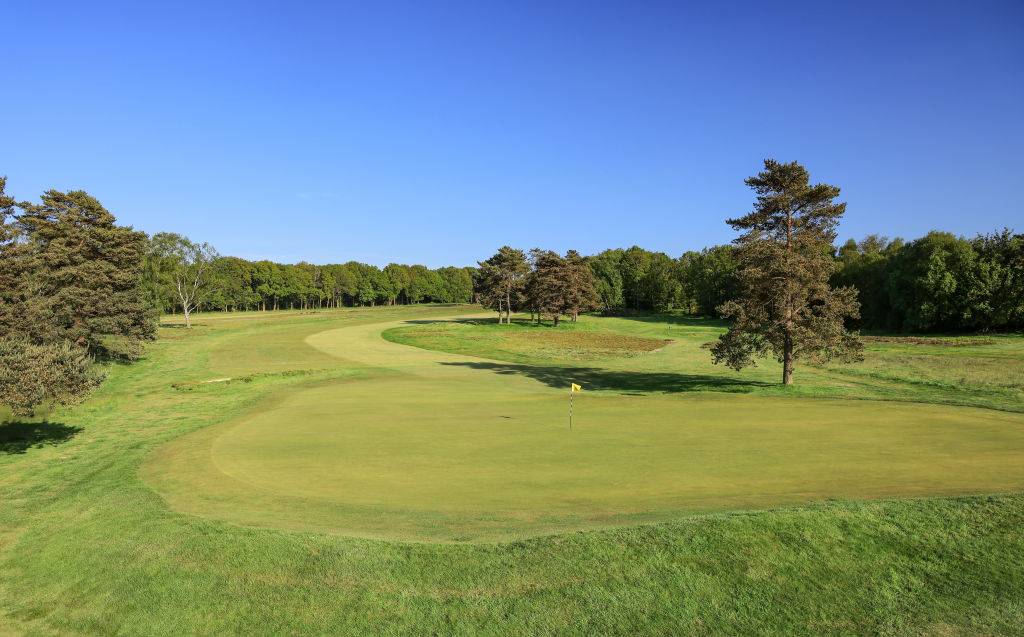
A short dog leg left, club selection from the tee is key. Playing to a preferred yardage gives a good chance of birdie, but players need to be careful not to be too greedy off the tee. Cutting too much off the corner can lead to trouble, while long rough penalises anything running through the fairway on the right. For a back left pin, its essential to be on the right half of the fairway to get the ball close.
8, PAR 4, 399 YARDS
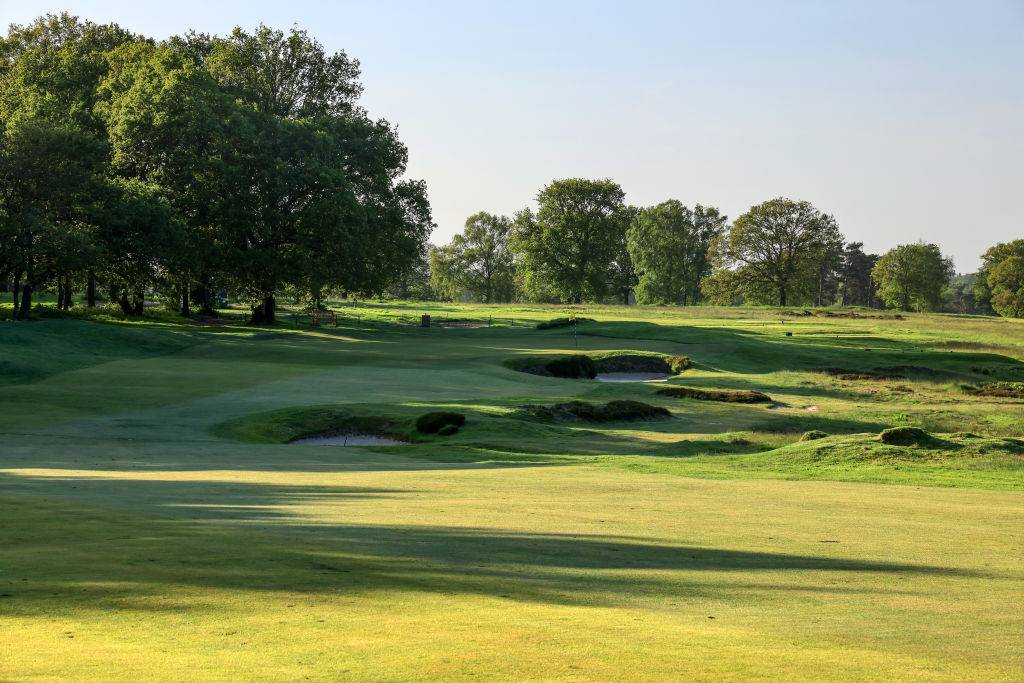
A downhill sweeping dogleg right requires a tee shot left of centre to open up the green, allowing an approach into the length of the green. Anything right off the tee here makes par tricky, with heather and thick rough running down the right side of the hole. The greenside bunker short right of the green makes any approach shot from the right difficult to judge.
9, PAR 3, 189 YARDS
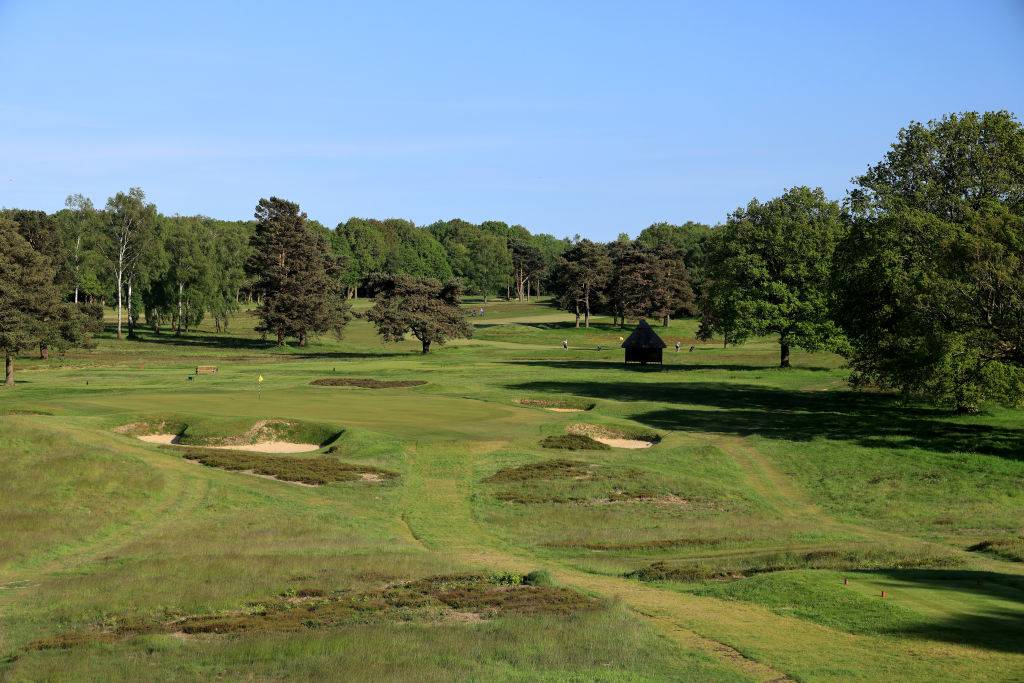
My favourite par 3 on the Championship layout, the 9th hole is a tricky and well bunkered par 3. A shot hit to the centre of the green is key and allows a good look at birdie to any pin position. The elevated tee makes the tee shot inviting, the grandstand behind the 9th will be a fantastic viewing position with several greens and tees close by.
10, PAR 4, 343 YARDS
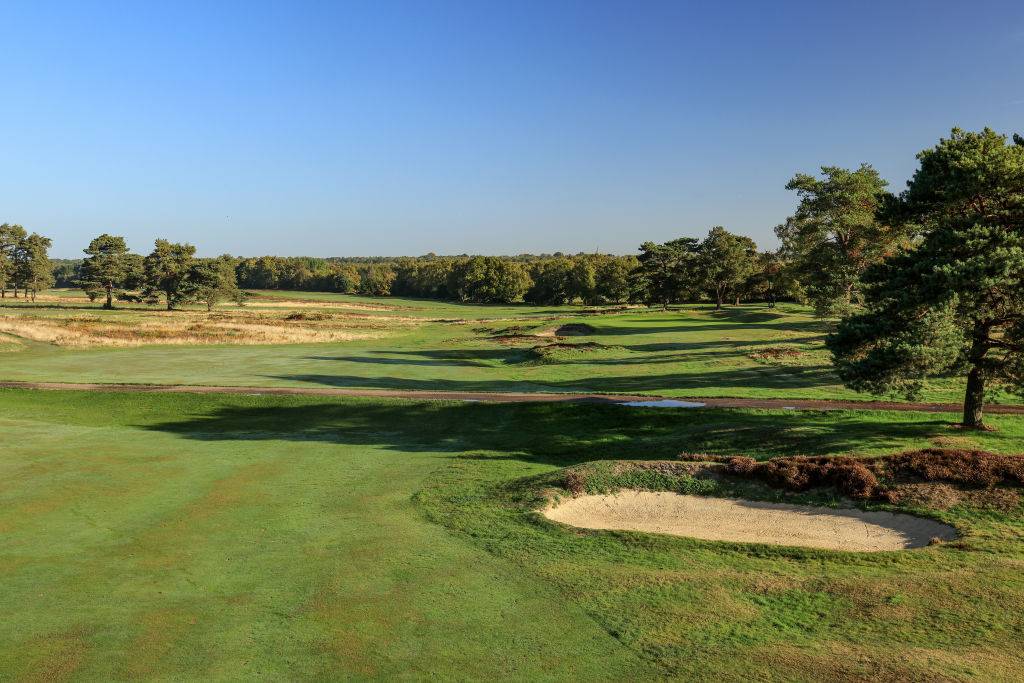
This is a real risk and reward hole. If the tee is forward, players may be tempted to go for the green. From the tee, taking the direct line opens up the green, with the tee shot almost playing straight down the length of the green. The conservative play is to hit an iron or hybrid into the heart of the fairway, leaving a wedge to the green. From the fairway, the approach is hit across the green, which is a narrow target with bunkers front and back. Anything miscued with a wedge can find trouble.
11, PAR 5, 514 YARDS
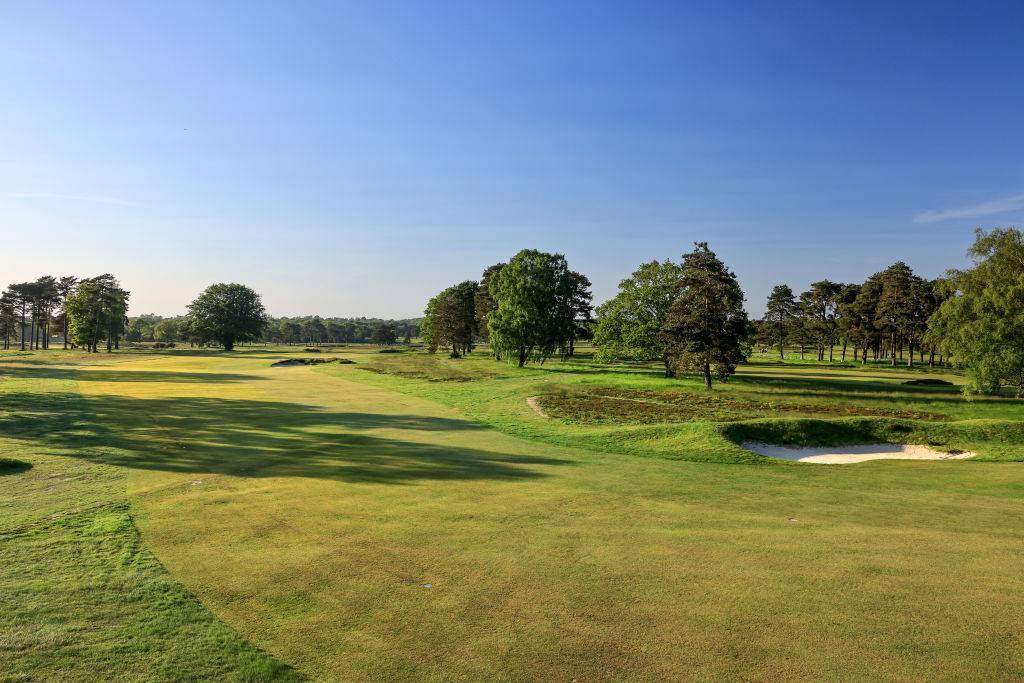
The tee shot on 11 plays uphill and again position is key. The hole is a sharp dogleg right, anything too far left from the tee can run out of fairway, leaving a much longer second shot. Anything too far right can block out the second shot. Even with a well-positioned drive, the second shot is long into a well-protected green. Bunkers guard the green on both sides, creating a narrow entrance for anything landing short. Playing to a preferred yardage may provide the best chance of birdie.
12, PAR 4, 421 YARDS
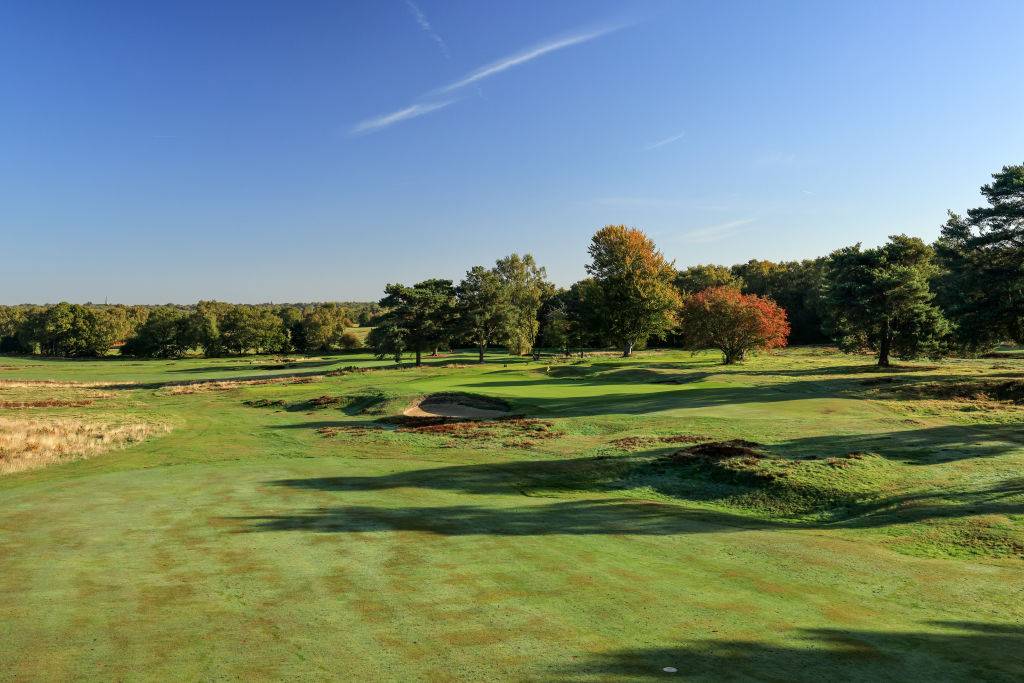
One of two holes from the New Course making up the Championship layout, the 12th is a straight par 4 with a generous fairway. Like most holes on the heath, heather lines the fairway on both sides placing a premium on accurate driving. A bunker lies just short of the green, waiting to catch anything slightly mis struck.
13, PAR 4, 439 YARDS
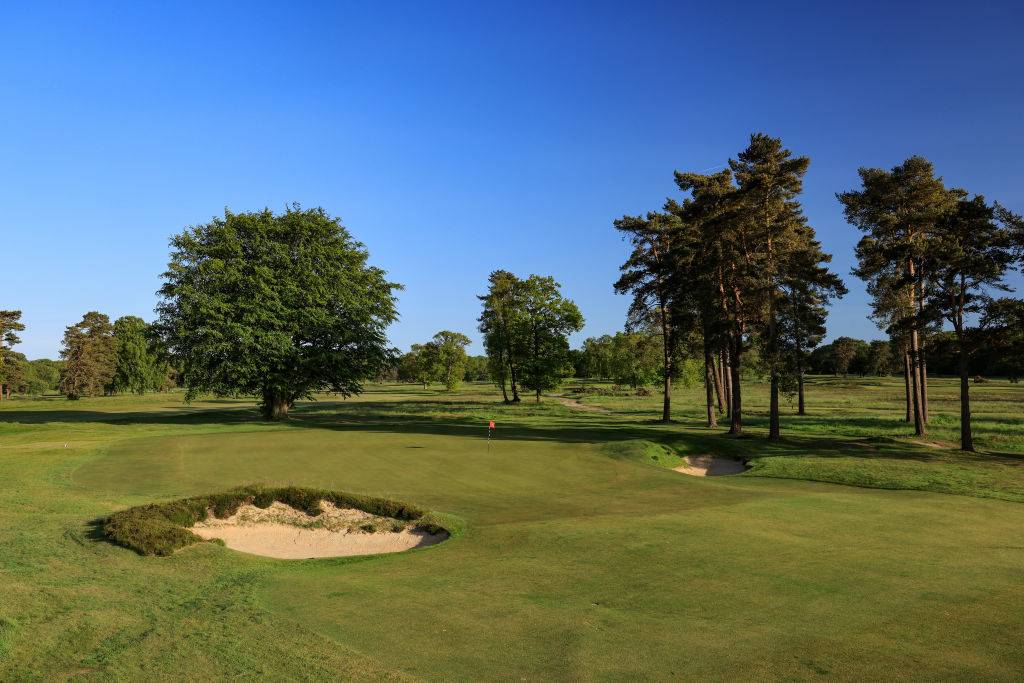
The tee shot on 13 is slightly blind, with mounds impeding the view of the fairway. Hitting the left half is key, a fairway bunker on the right side of the fairway sits just as the hole turns slightly to the right. The heather that frames the right side of the fairway protrudes out behind the fairway bunker, catching anything just carrying it. A shot from the left half of the fairway opens up the green, giving players the best chance of hitting the centre of the green.
14, PAR 4, 414 YARDS
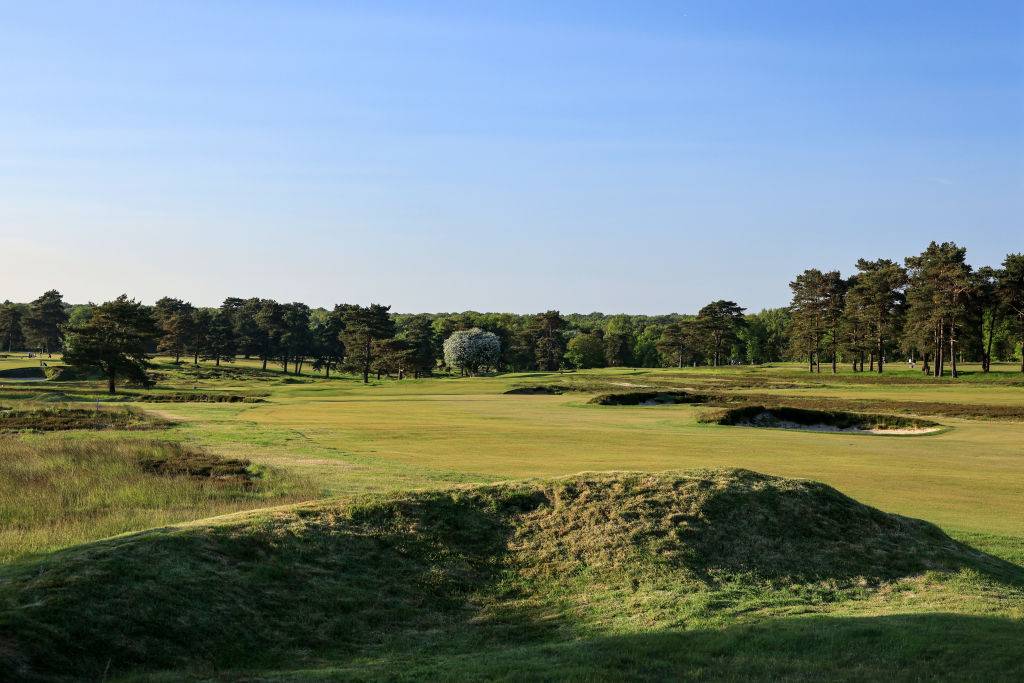
A beautiful driving hole, when the heather is in bloom the 14th is one of the signature holes at Walton Heath. The fairway is well bunkered, with heather not only lining both sides of the fairway, but also crowning the fairway bunkers. The left half of the fairway is far more generous than it looks from the tee and is the ideal position, opening up the green for the second shot. The green itself is vast with a 2 to 3 club difference from front to back.
15, PAR 4, 408 YARDS

A straight par 4 with heather left and bunkers right, again placing a premium on accurate driving. A well struck second shot to the centre of the green will give a good look at birdie to any pin position. Another stunning hole, with one of our signature thatched storm shelters sitting beyond the green.
16, PAR 5, 510 YARDS
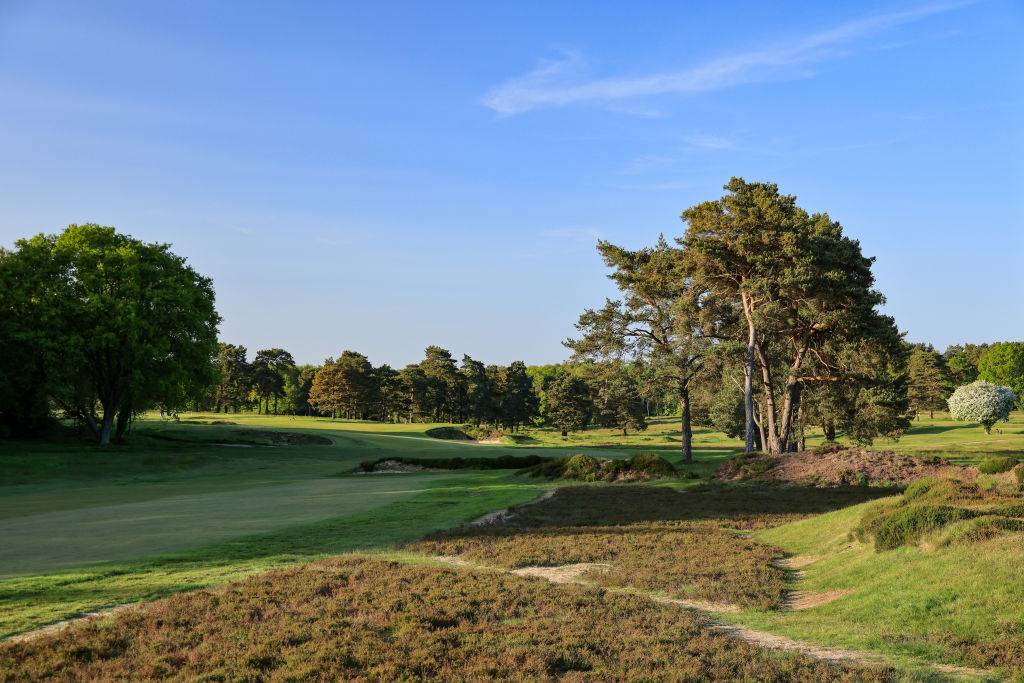
This vast elevated green is defended by an enormous bunker front right. From the tee, the fairway is generous but rough and heather will once again catch anything offline. A good miss into this green is long and left, but the shape of the hole makes getting to the green in two difficult. Playing to a preferred yardage gives the best chance of birdie.
17, PAR 3, 160 YARDS
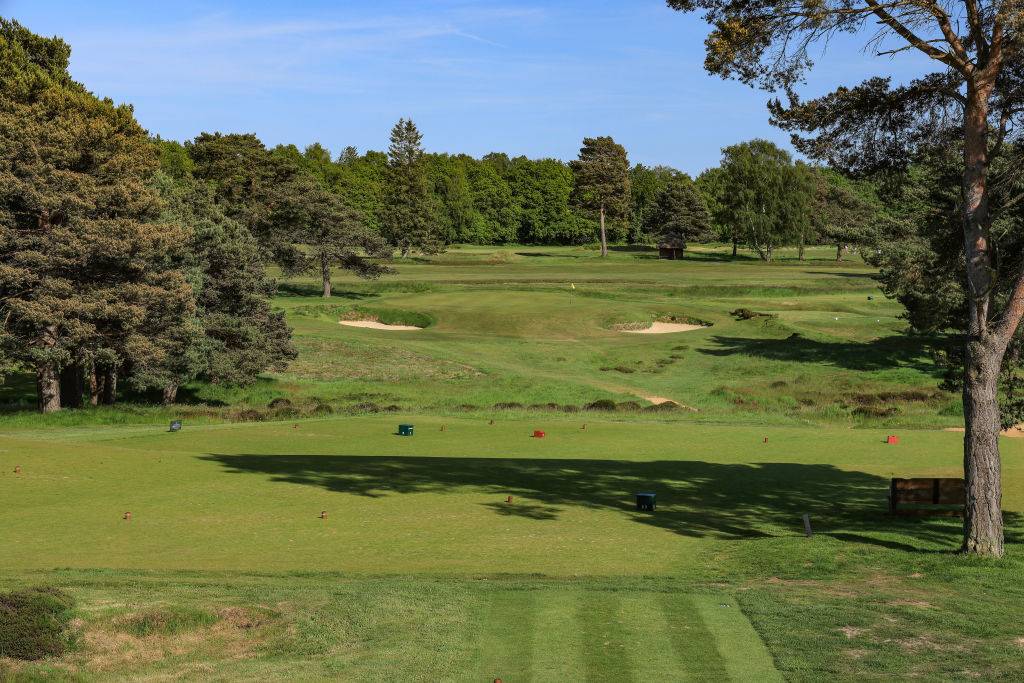
The pin position can make this final par 3 tricky. The green is elevated and deceptively long front to back. As with all the par 3’s over the championship course, hitting the centre of the green will be key. Bunkers sit either side of the green and anything short can run back down the slope, leaving an awkward blind pitch.
18, PAR 4, 404 YARDS
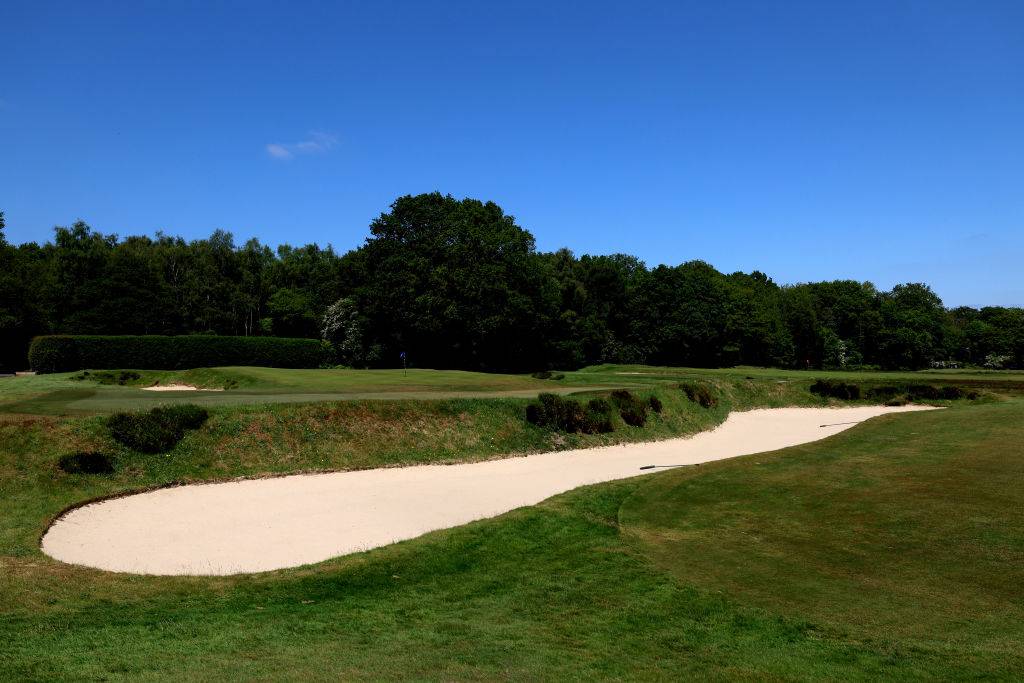
The final hole is another difficult driving hole. Two bunkers sit alongside the fairway to the left, with the fairway narrowing as it passes both. The righthand side of the fairway is again lined with heather, potentially tricky for a nervy swing late on Sunday! The green slopes back to front and is a narrow target with bunkers either side and out of bounds immediately behind. A closing par is a great score on this final hole.


.jpg?w=600)

