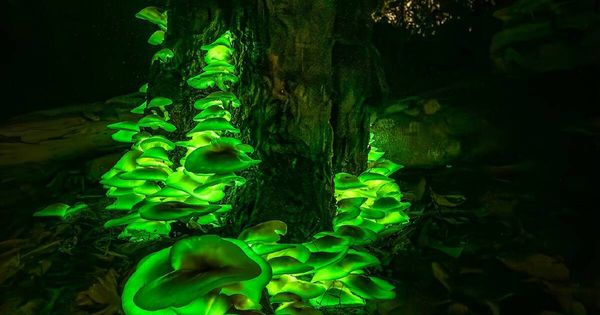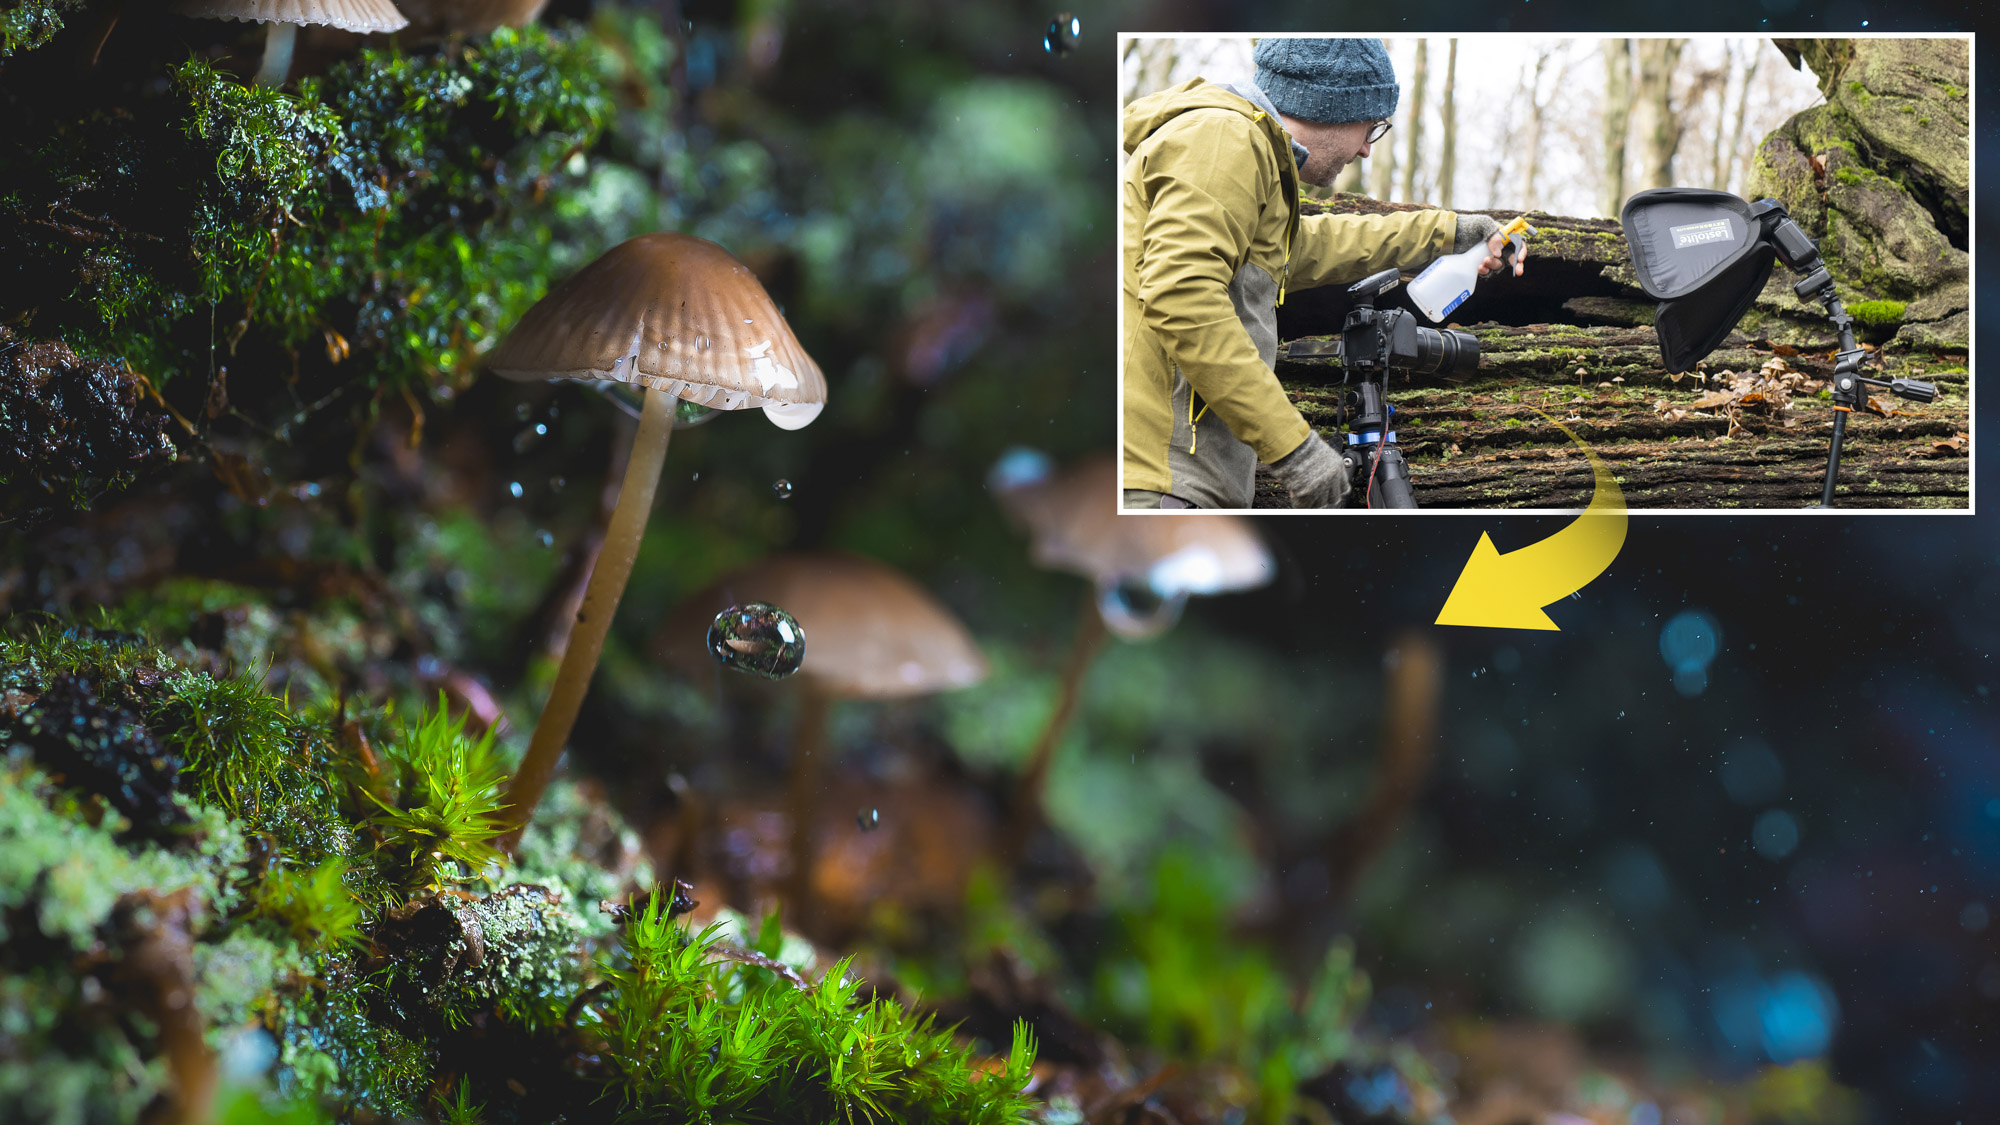
Watch video (above): Magic mushrooms
From antibiotics to alcoholic drinks, organic decay to delicious food, fungi play an important role in all manner of things. They range from microscopic structures to the largest living organism on the planet. Underground, the ‘wood-wide web’ of fine tendrils creates a network that allows plants and trees to communicate. Above ground, the fruiting bodies form as mushrooms and other stunning structures, offering great opportunities for macro photography.
Fungi – and mushrooms in particular – tend to prefer dark conditions like dense woodlands, crevices in rotten wood and shady areas. When photographing in these murky spots, a burst of flash can provide a welcome lift to the scene. But it’s not just about increasing the light levels, a flash also gives you the opportunity to enhance the mood.
By firing the flash off-camera, either from the side, above, behind or even below, we can highlight the fine fungi features, draw attention to colours and textures or show the delicate gills on the underside. Whenever we add our own light into a scene like this, the ambient daylight becomes almost like a secondary light source. We can decide whether the daylight plays a major or minor role in the exposure, either by balancing our flash with it for a subtle lift, or by overpowering it for a spotlight effect.
But before you head out in search of fantastic fungi, it’s worth saying that you shouldn’t touch anything you don’t know, don’t inhale spores and wash your hands after. As for eating foraged mushrooms, please heed the words of Terry Pratchett: ‘All fungi are edible. Some fungi are only edible once.’
1. Bring a beanbag
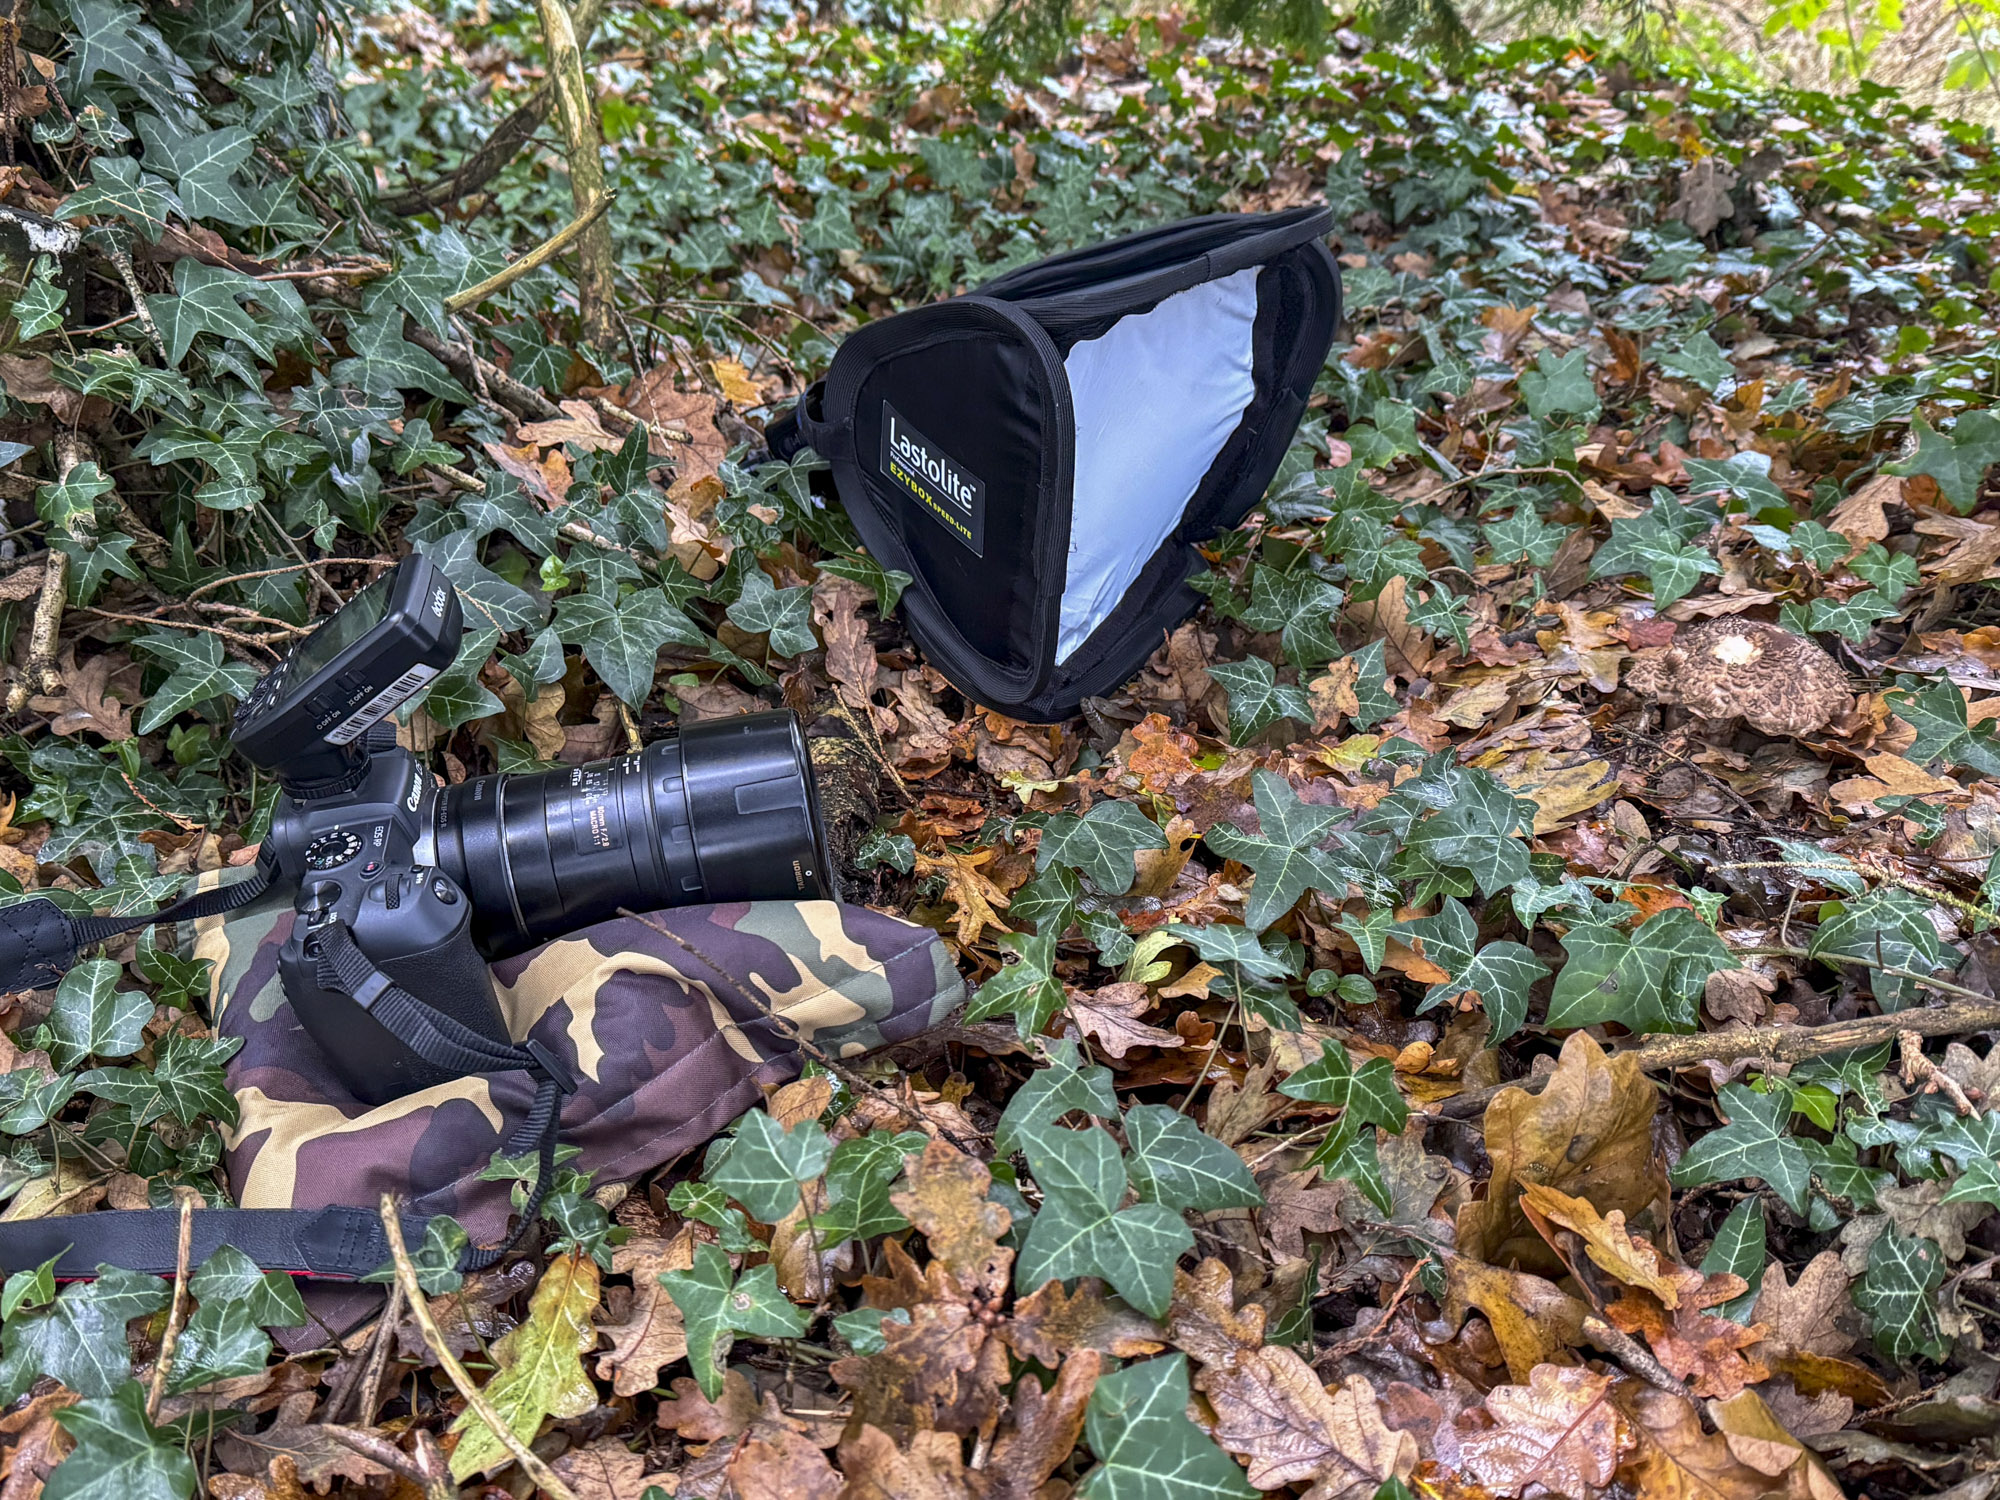
You’ll be shooting low to the ground to capture fungi. A small beanbag like this comes in very handy to prop up your camera and keep it off the forest floor. A flip-out screen is also hugely useful for shooting at low angles, and waterproof trousers are ideal for kneeling down on damp ground.
2. Control the flash power
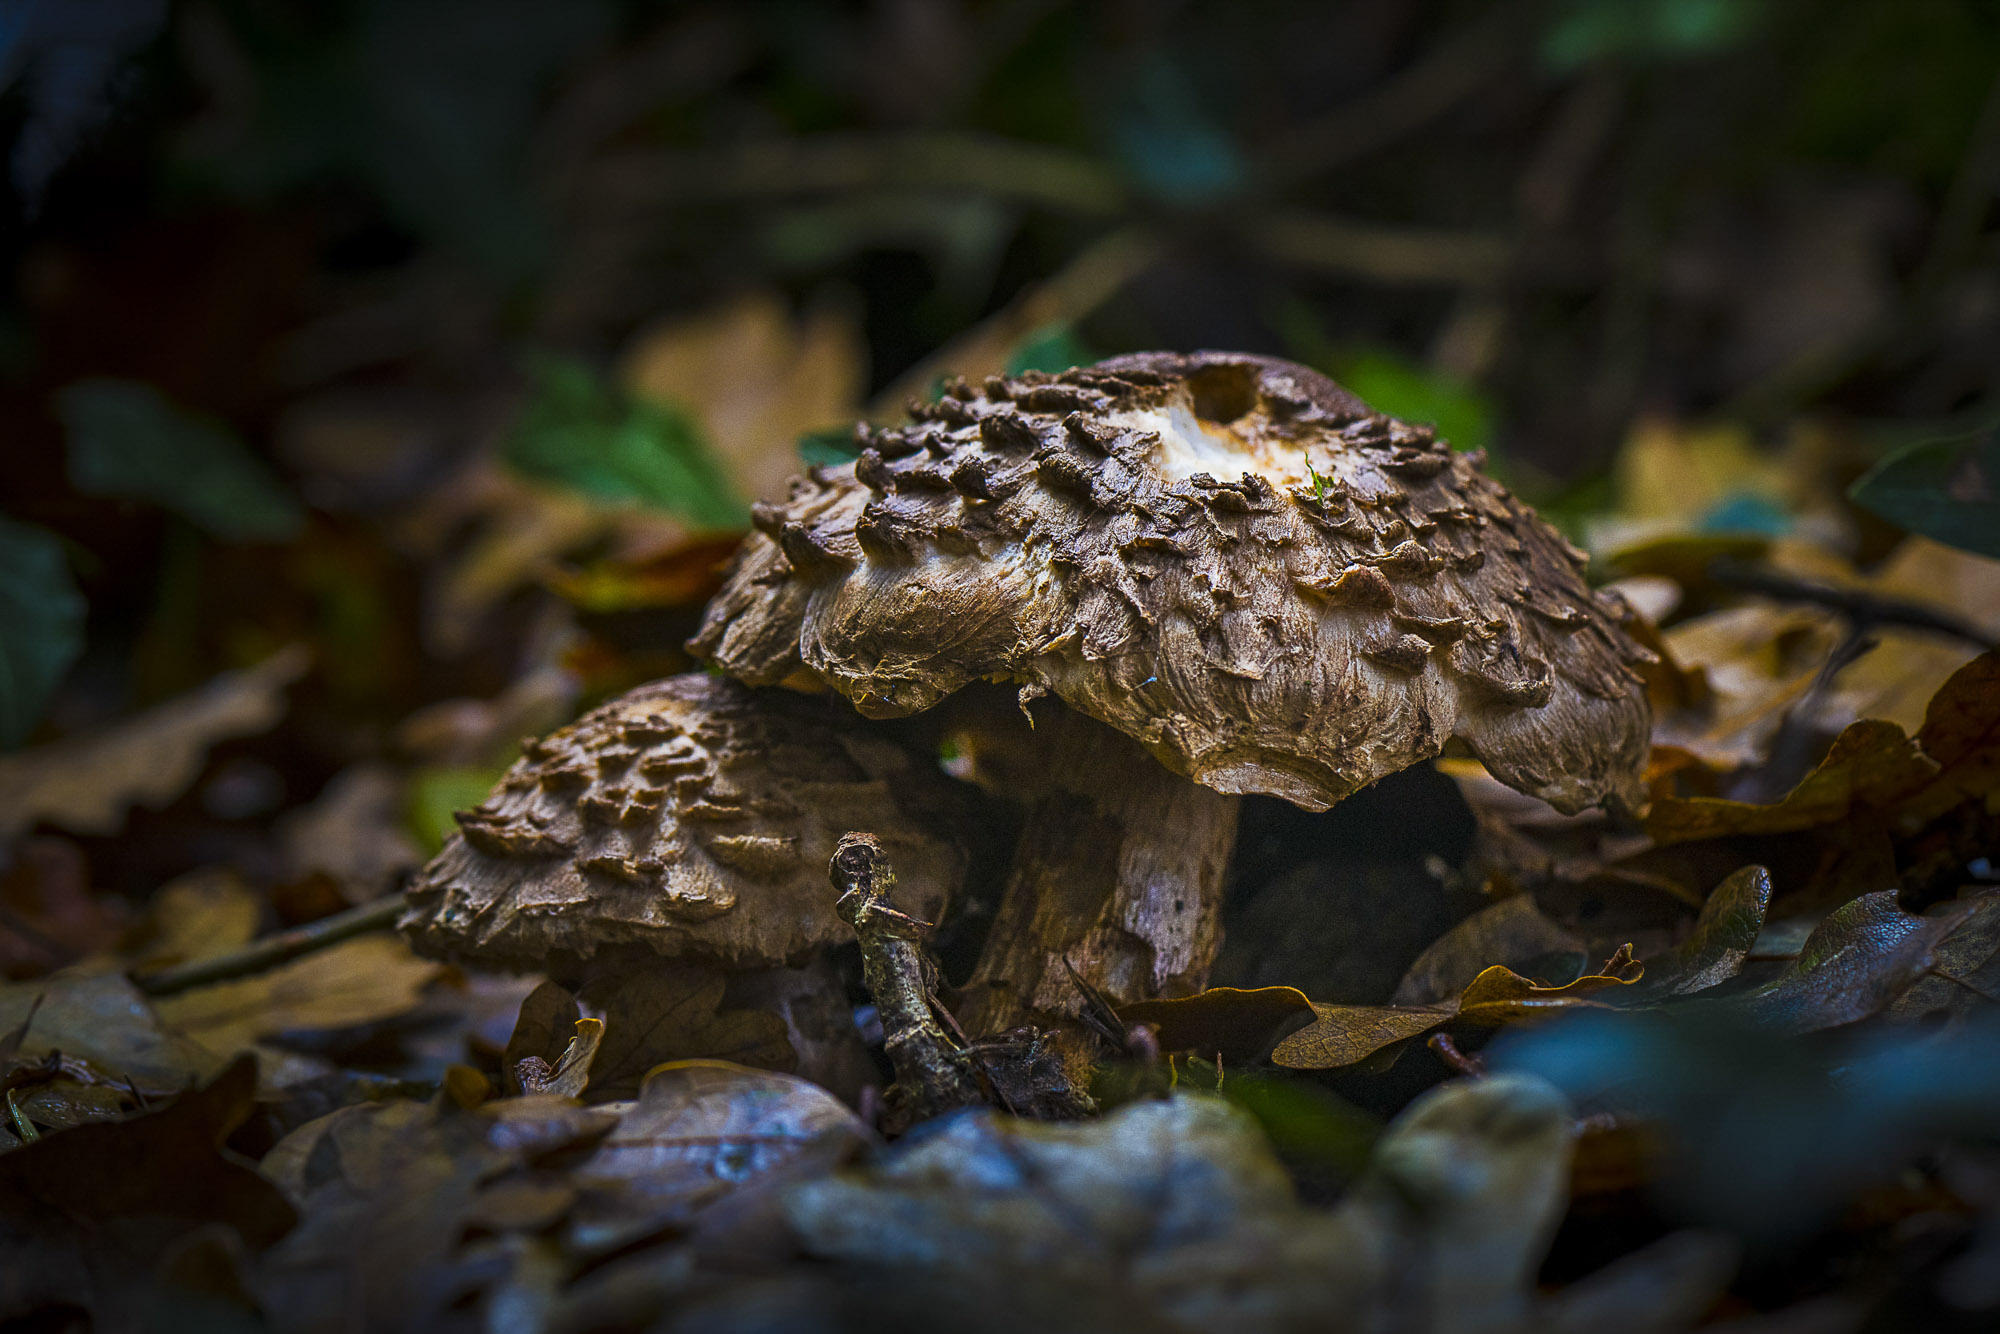
Setting the right flash power can take a little trial and error. Begin by working out a manual exposure without the flash. Set an aperture of f/8 at ISO100 and then adjust the shutter speed until things look dark. Next turn on the flash and use it to lift the subject. Here the flash is at 1/16 manual power.
3. Compose with space behind
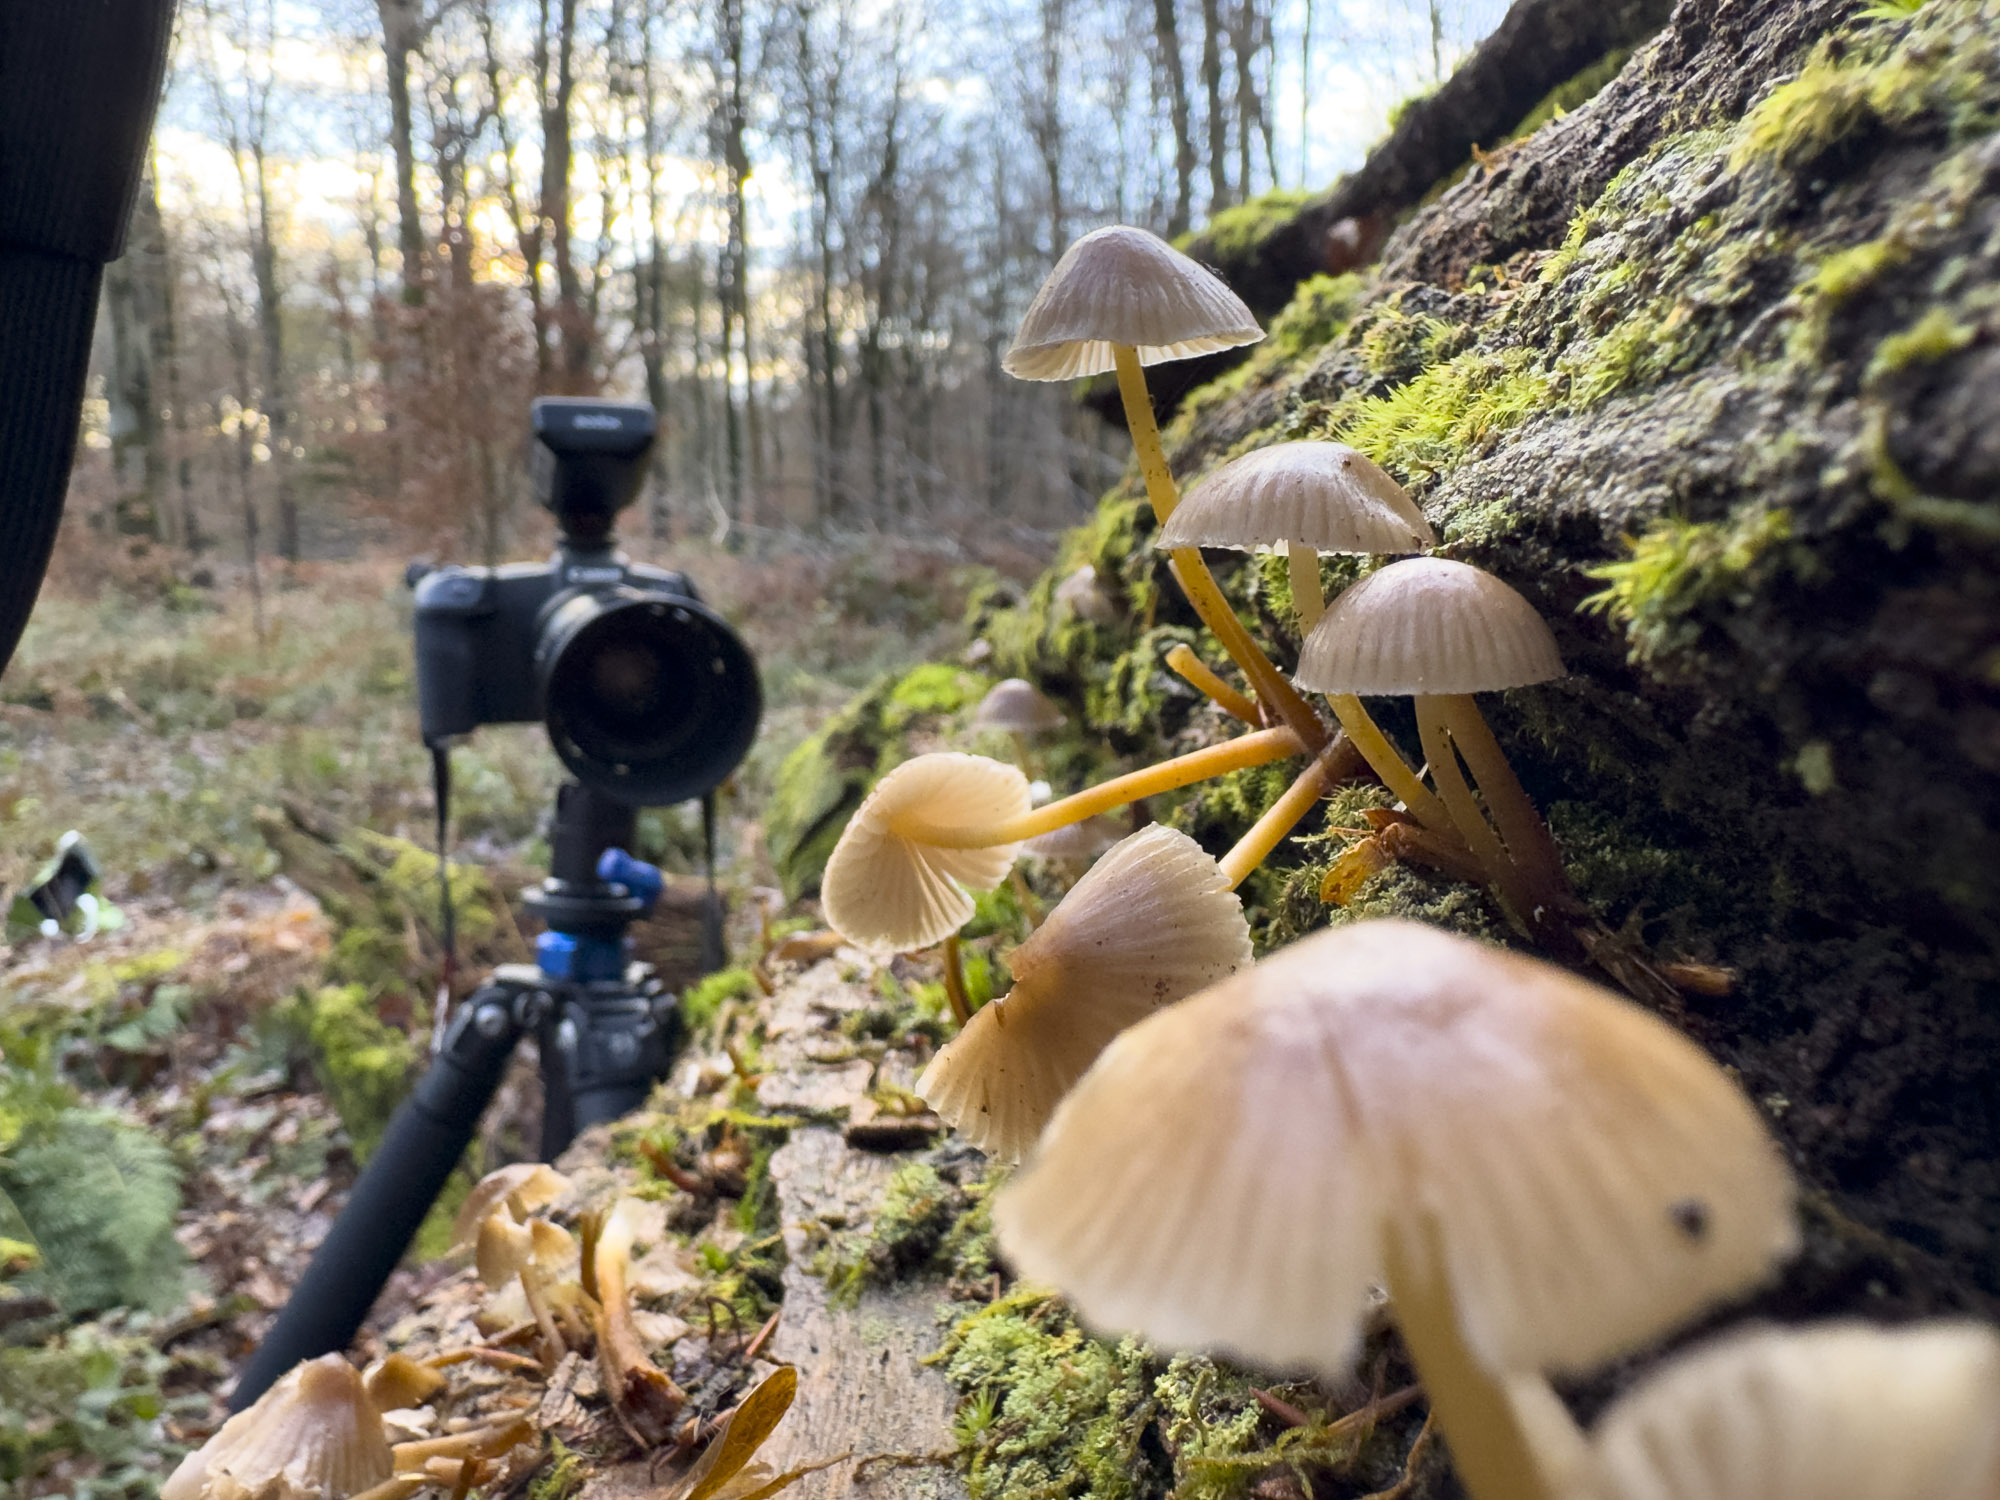
If you want to create a sense of depth, and blur out the background, find an angle with empty space beyond the subject. Shooting down the length of the fallen tree gives us space beyond the mushrooms. If we shot them straight on, it would be difficult to get the flash to the side and darken the backdrop.
4. Control ambient exposure
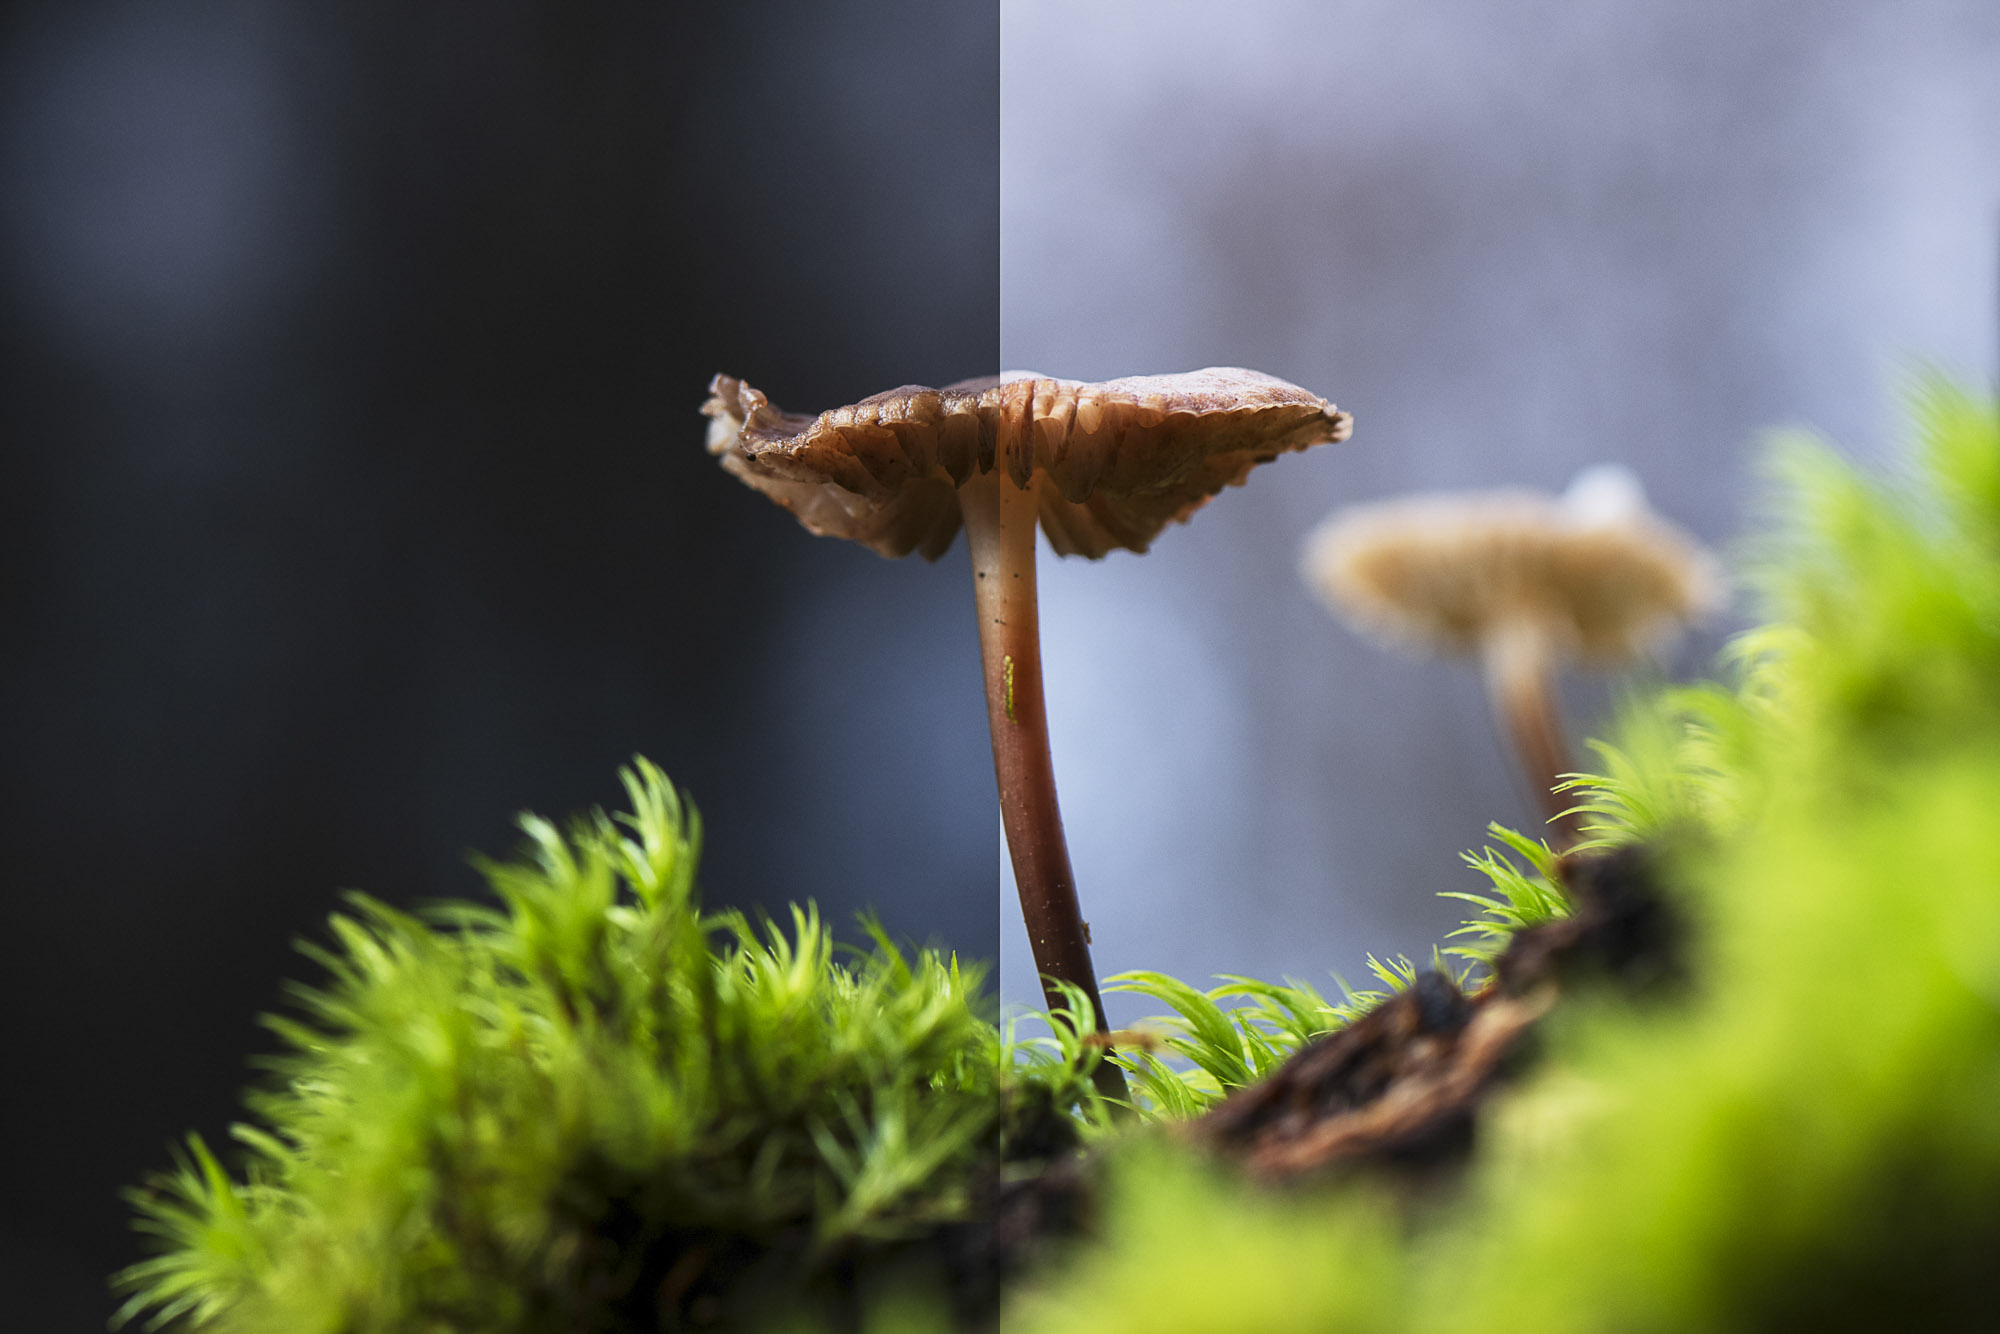
Your shutter speed has no influence on the flash, only on the ambient light. Here the left photo was shot at 1/40 sec, the right at 1/20 sec. Notice the subject stays similarly lit by the flash, but the ambient light in behind changes. So if you want a brighter or darker backdrop when using flash, tweak your shutter speed.
5. Dress the scene
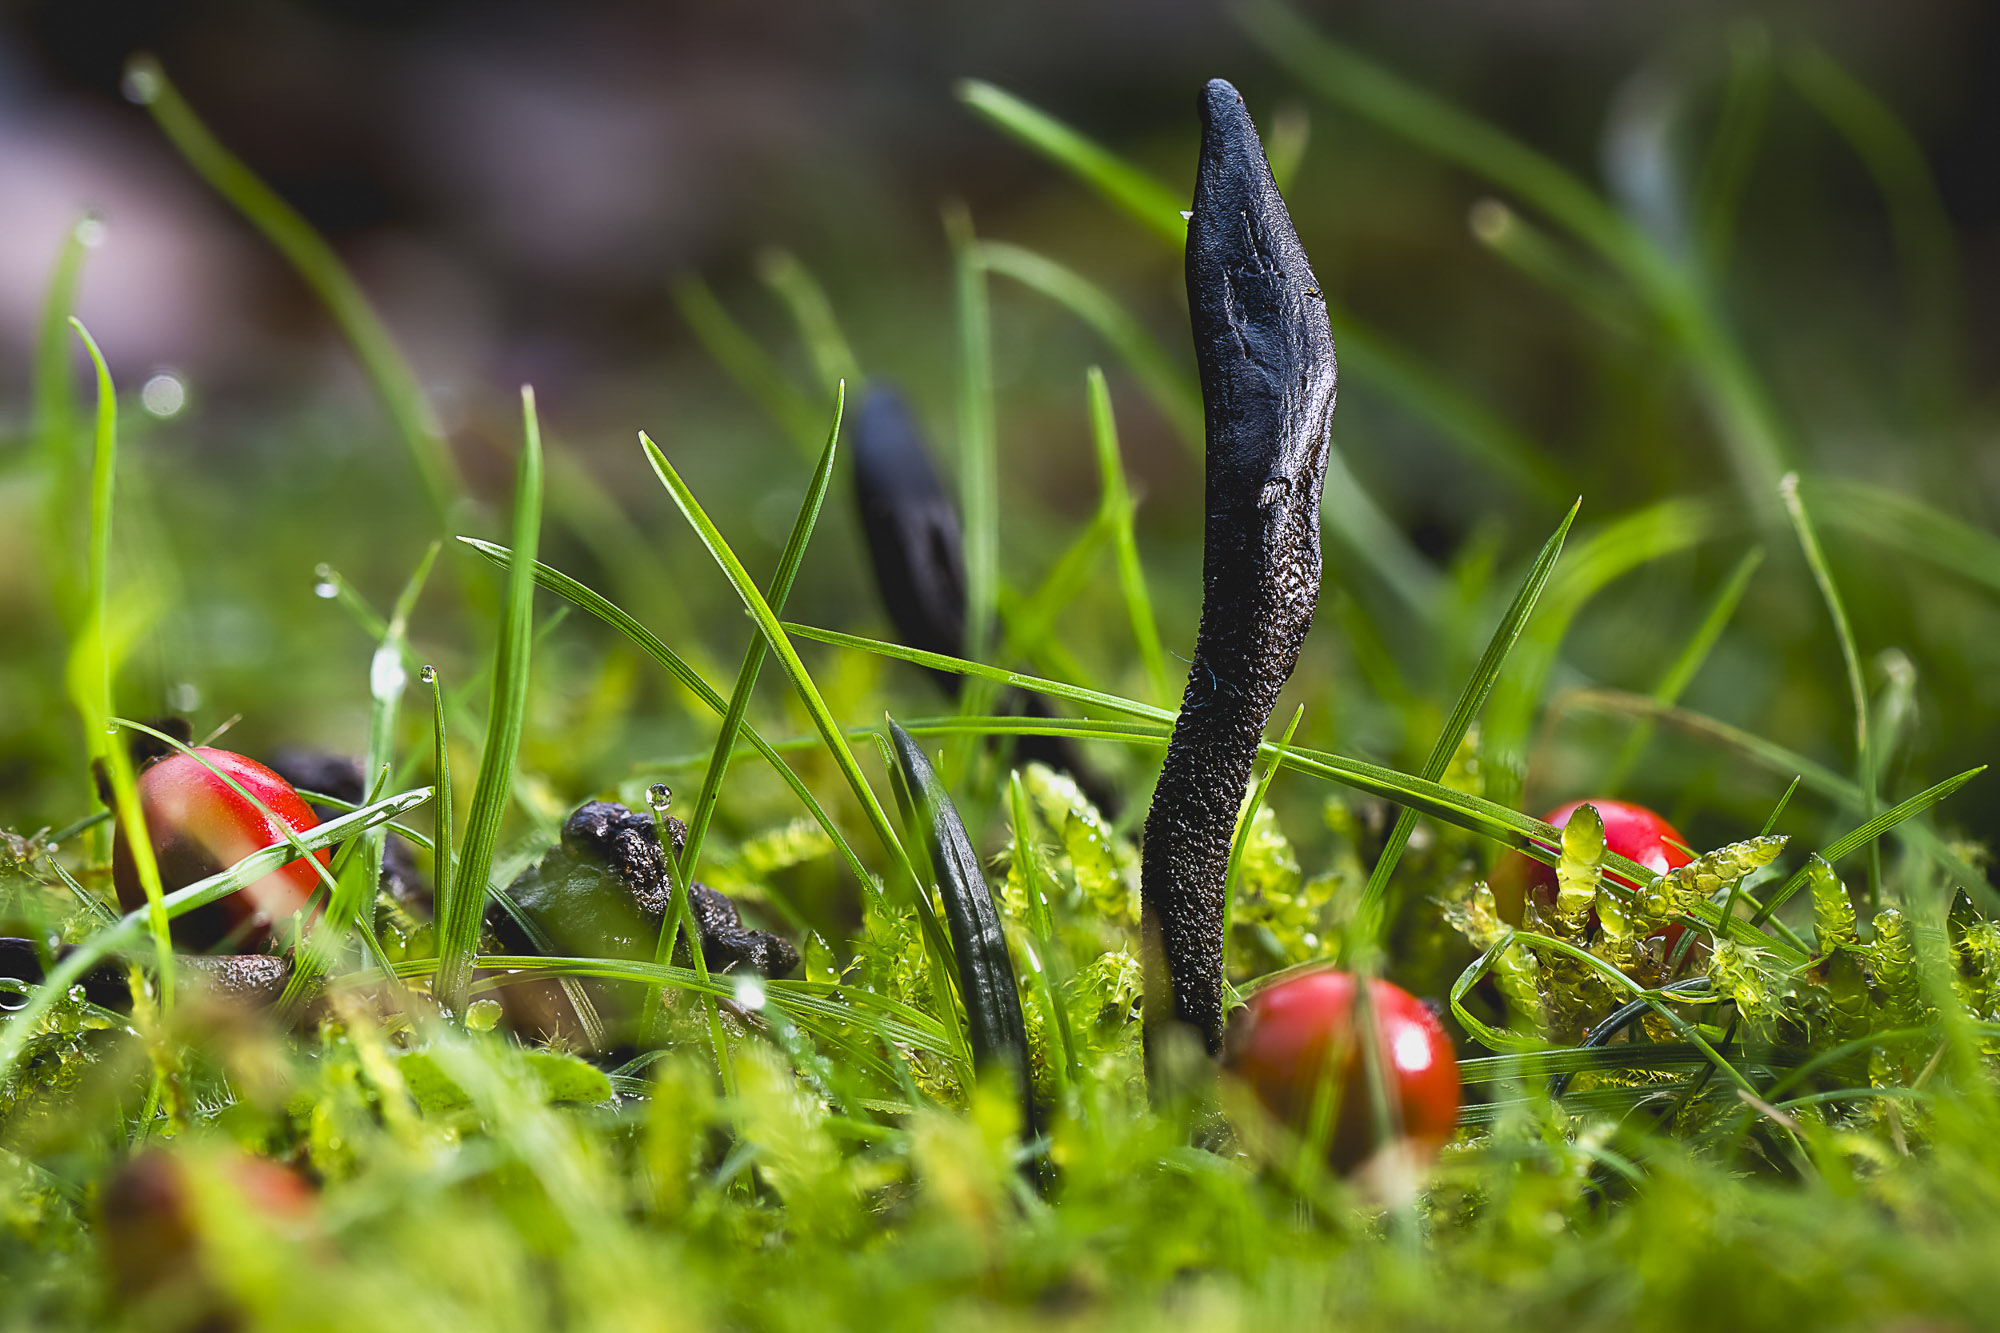
When shooting close-ups, the tiniest distractions really stand out, so take the time to tidy any messy details, like stray strands of grass or flecks of mud. You might also want to ‘dress’ the scene. Here the red berries were scattered around the black Earth’s Tongue.
6. Finding fungi
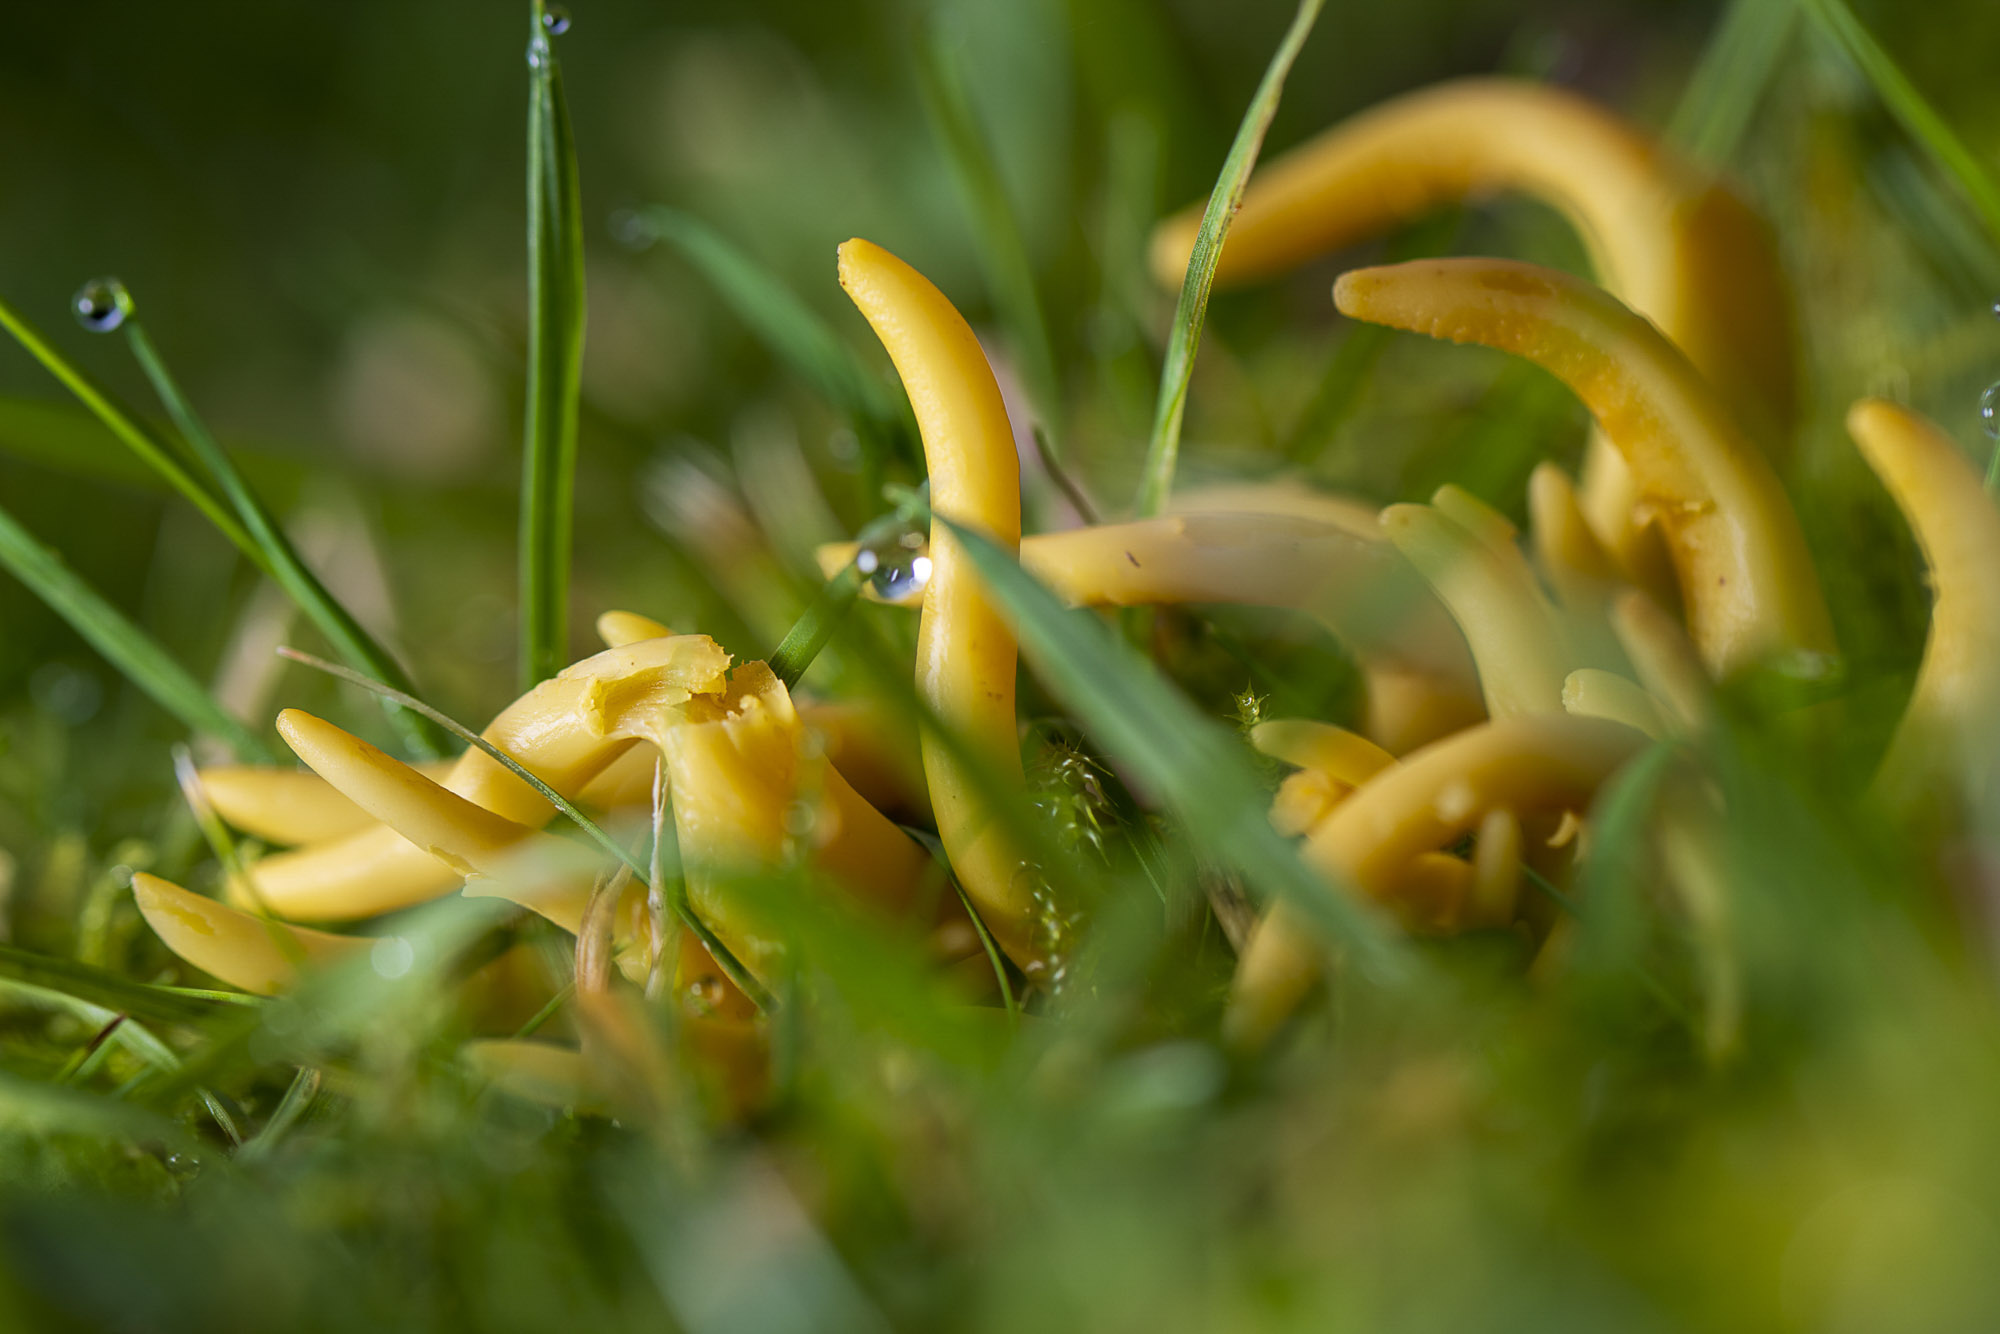
Fungi grows year round in all kinds of conditions. Most prefer dark, damp conditions, although some like open spaces like fields. Check decaying wood and inspect the forest floor. This yellow spindle coral fungi can be found in mossy lawns.
7. Shoot for a stack
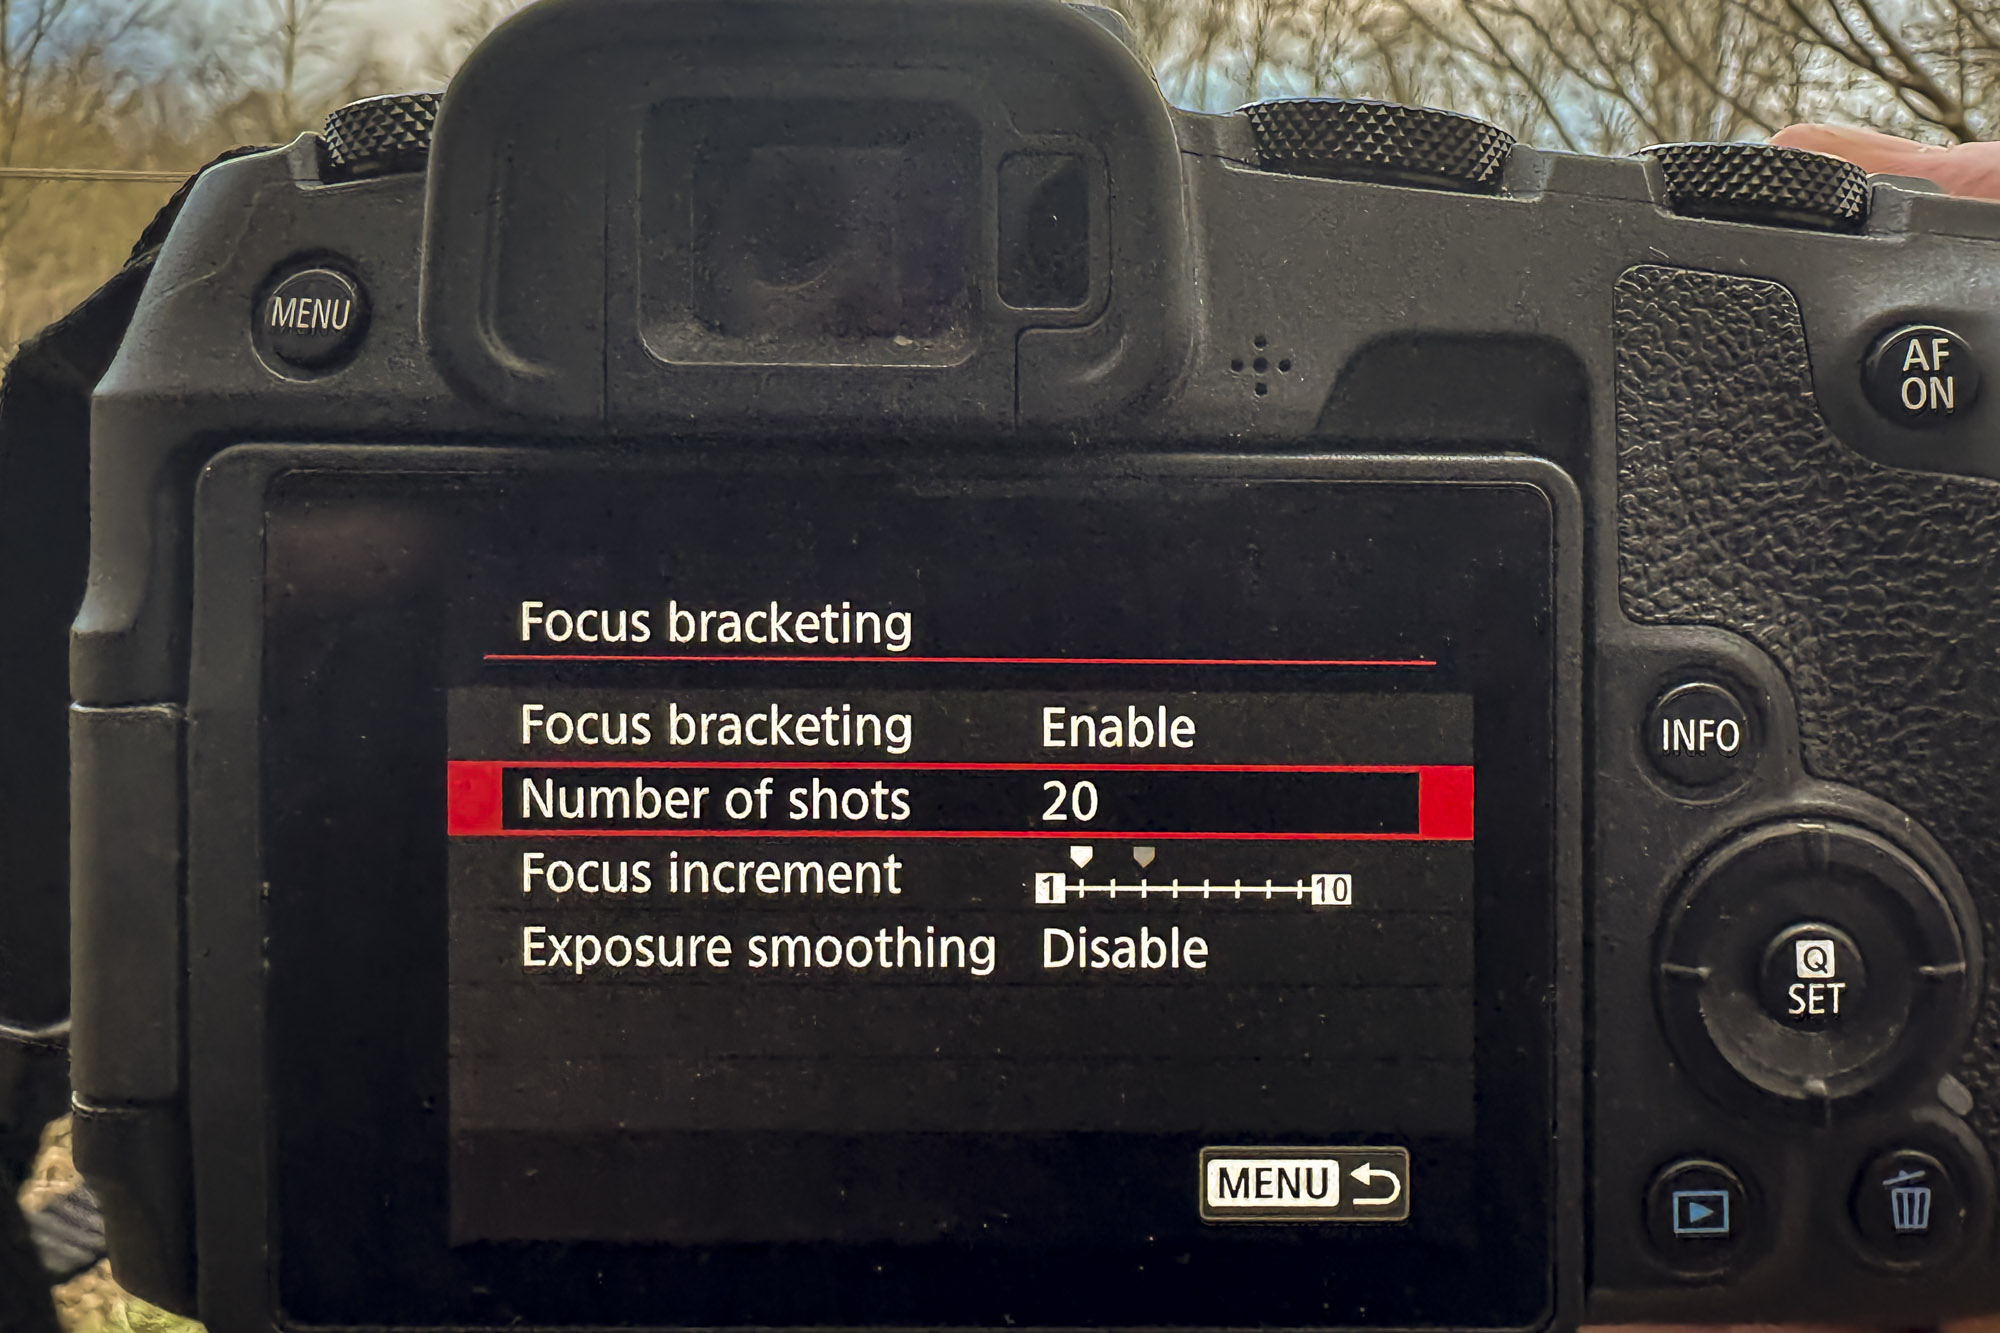
For sharp macro subjects, try a focus stack. Focus on the closest point and take a shot, then shift the focus point back and take another. Continue until you’ve captured sharpness across the subject. Newer cameras have a Focus Bracketing mode that can shoot the stack for you.
8. Align the layers
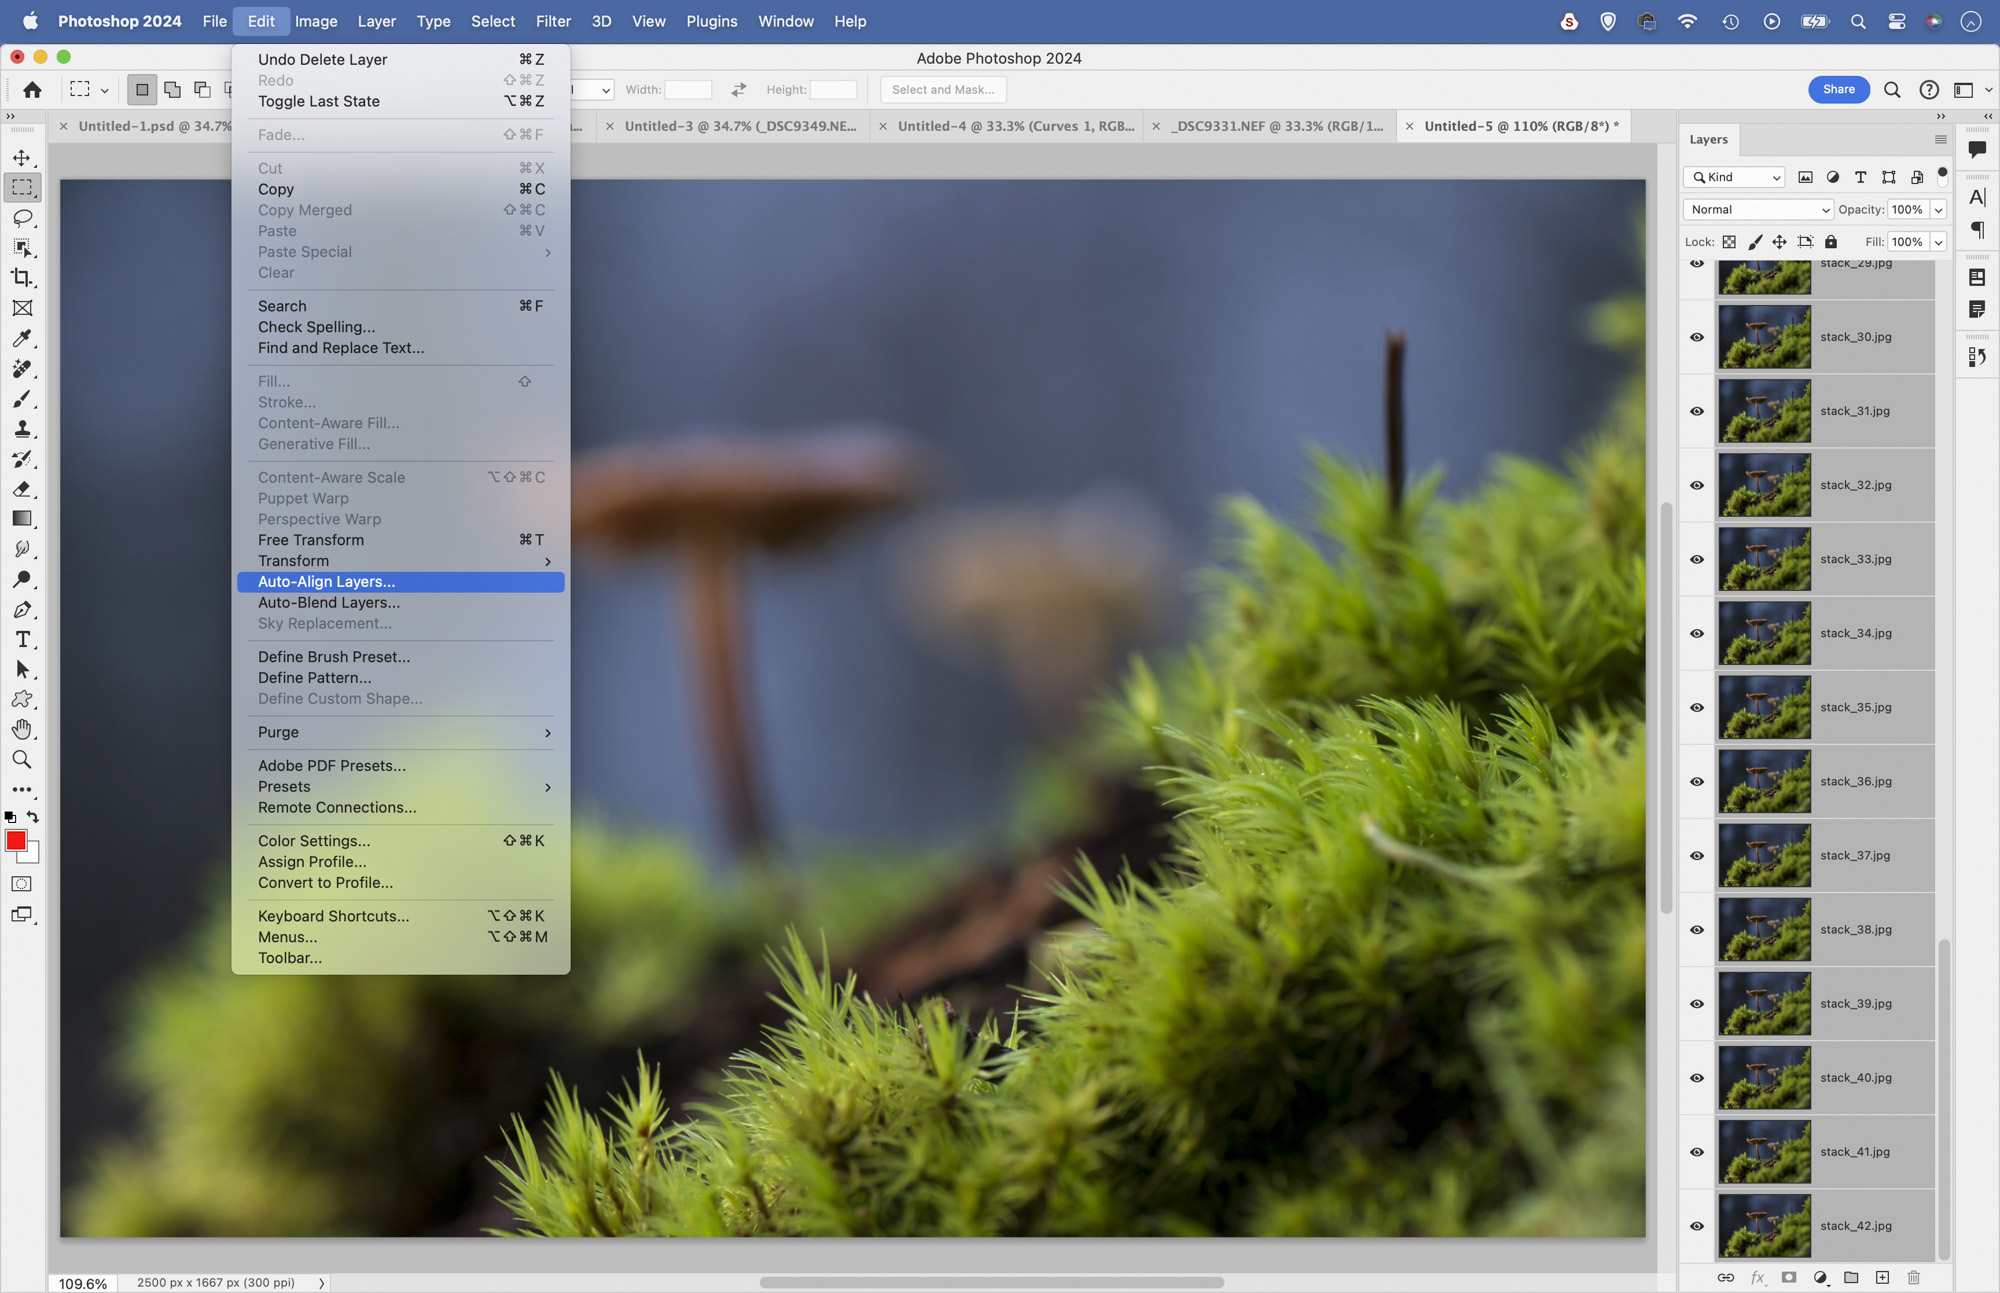
You can use Photoshop to combine the sharp parts into a single image. Go to File > Scripts > Load Files into Stack and load in your set of images. Go to the Layers Panel, highlight the top layer and hold Shift and click on the bottom layer to select them all. Go to Edit > Auto-Align Layers.
9. Blend the sharp bits
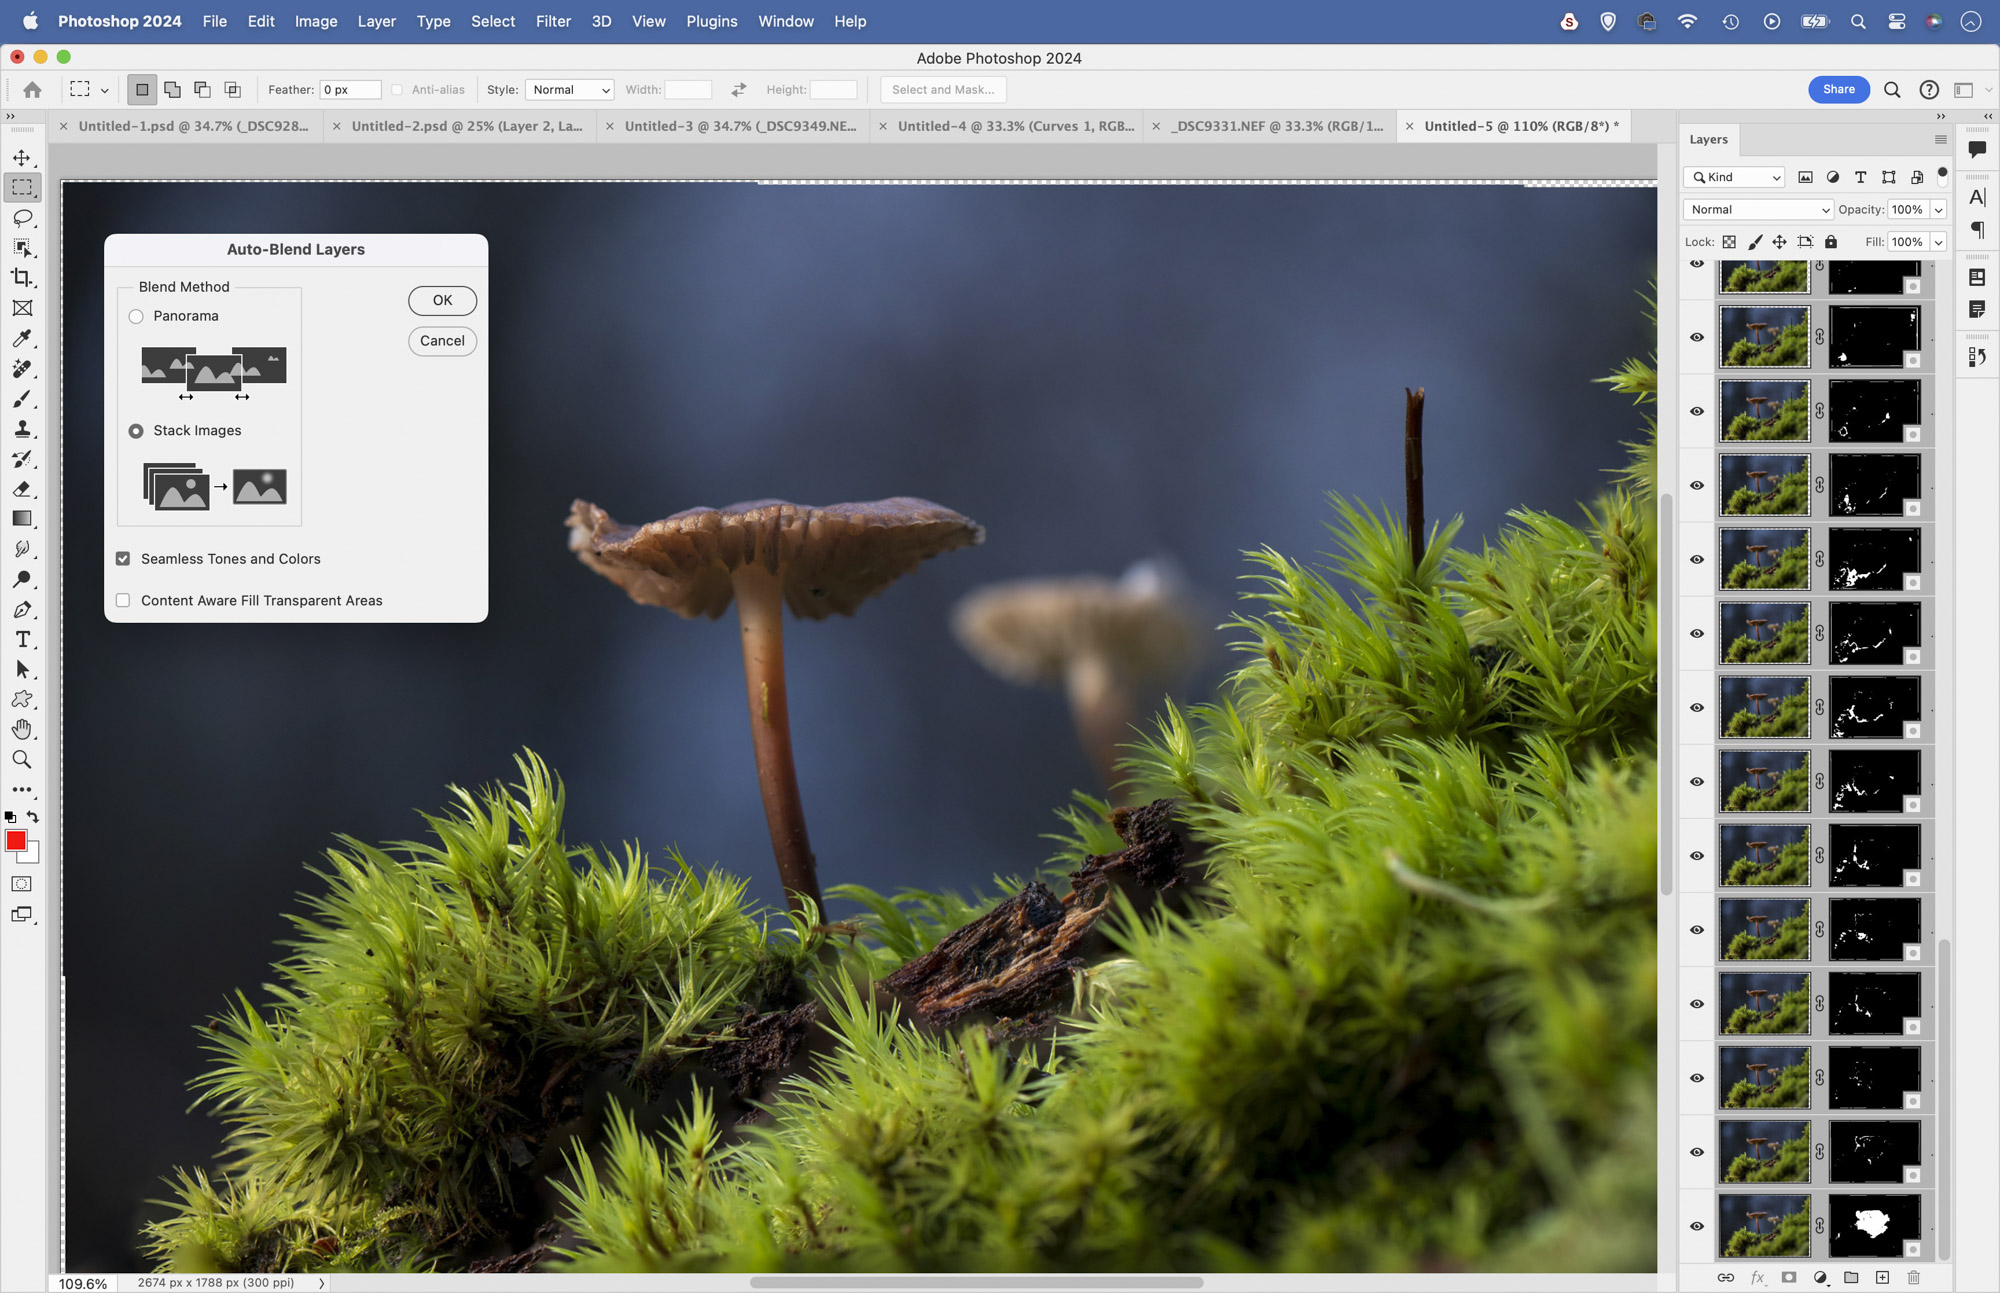
In the Auto-Align settings choose Auto and hit OK. Ensure the layers are highlighted then go to Edit > Auto-Blend Layers. Set ‘Stack Images; and hit OK. Grab the Crop tool and crop messy edges. Make tonal changes, then sharpen the image to finish with Filter > Sharpen > Unsharp Mask.
10. Puff piece photography
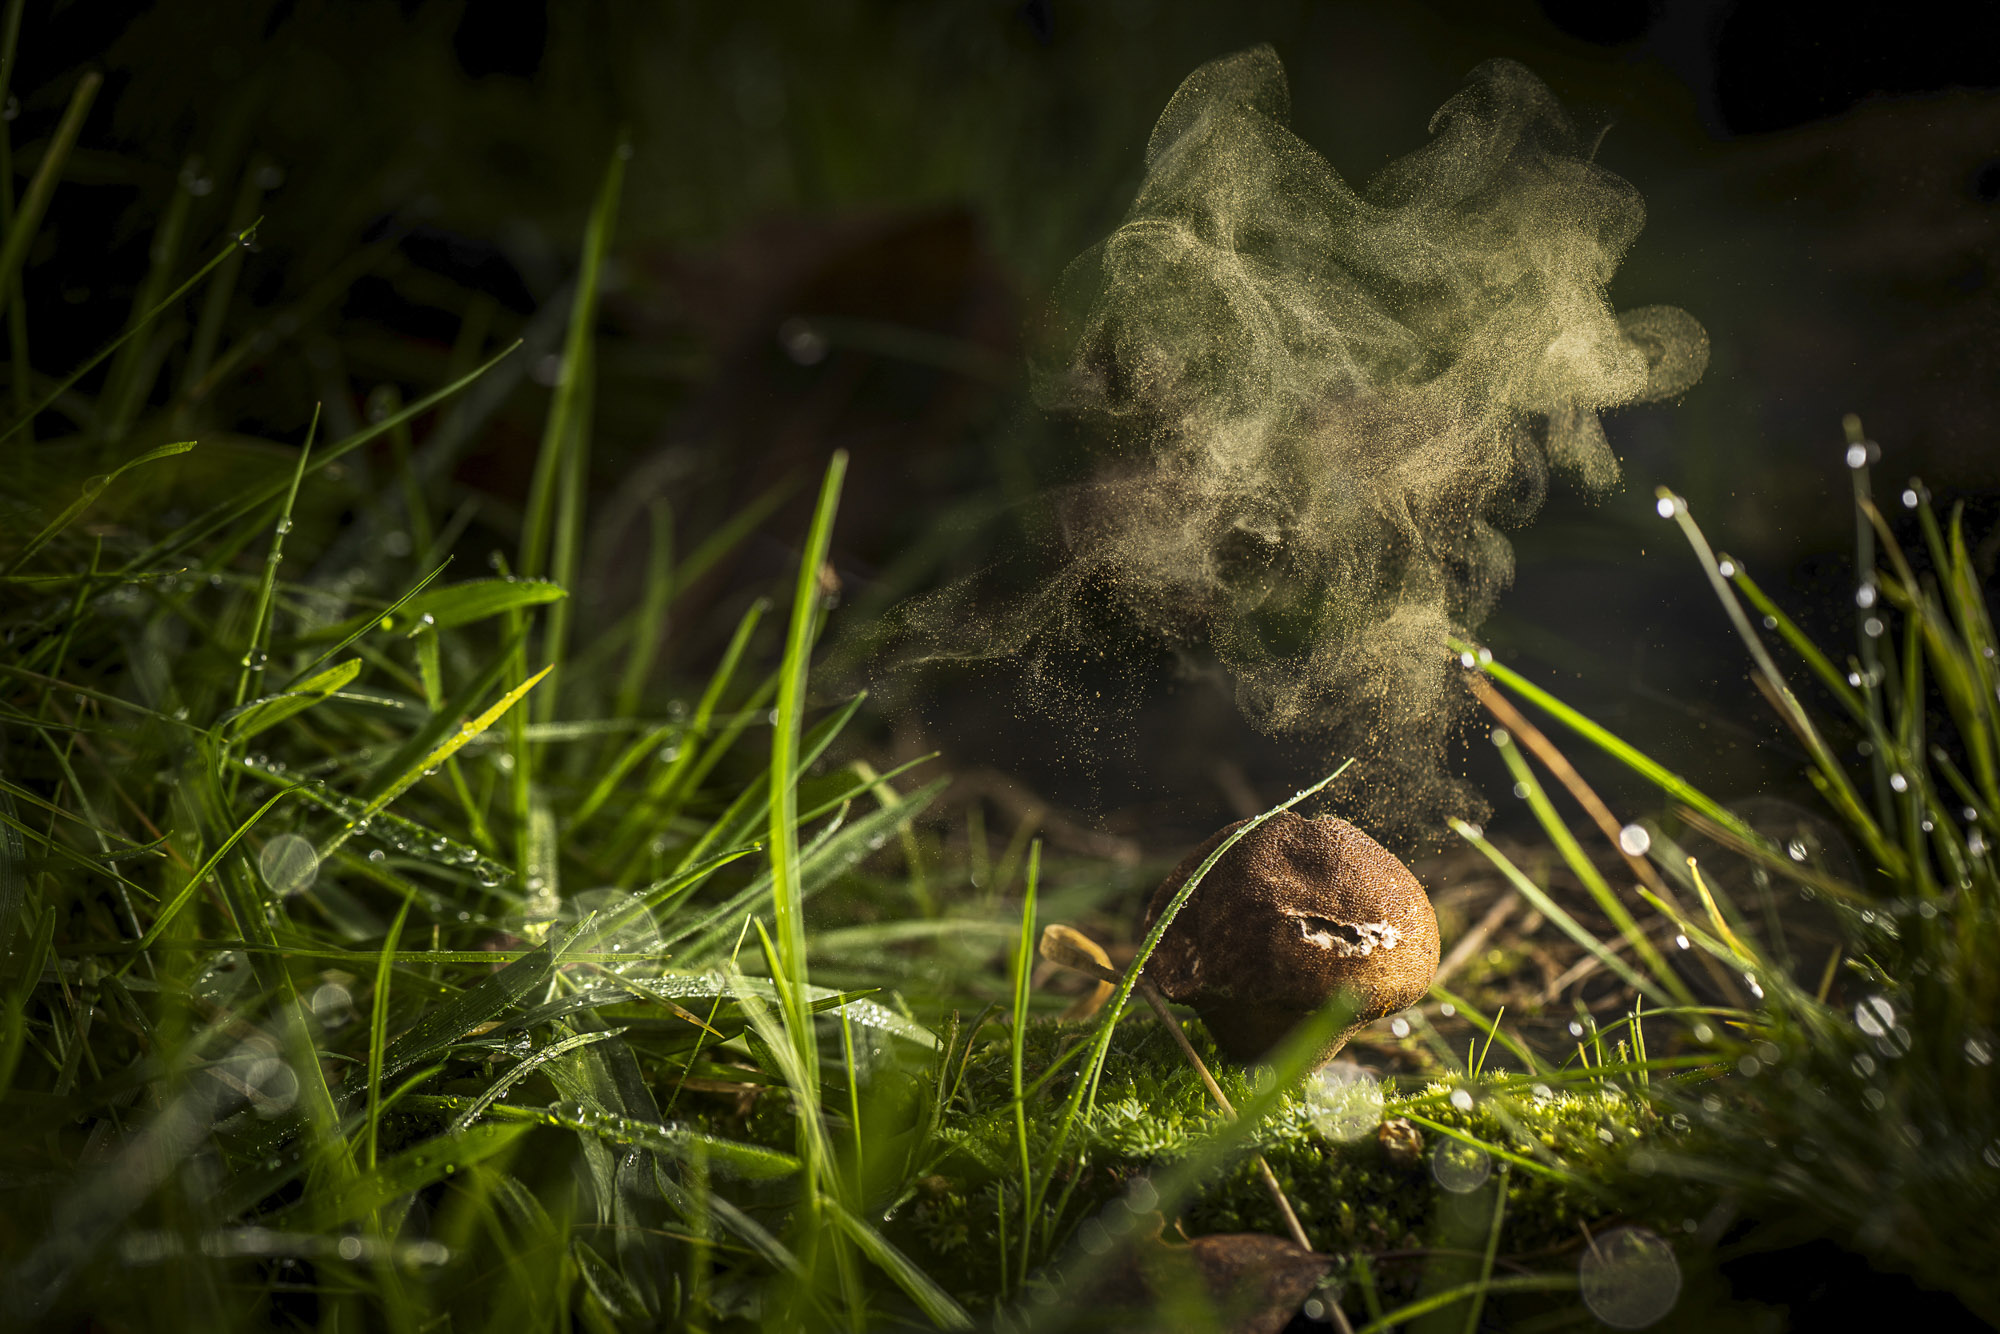
A flash light is a brilliant tool for nature close-ups because it lets you showcase the features you want. Here, for instance, by picking the subject out with the flash we can create a spotlight effect and allow the backdrop to become moody and dark. To do so, we set a manual exposure that underexposes the natural light (1/100 sec, aperture f/8, ISO100), then used our flash light to lift the foreground.
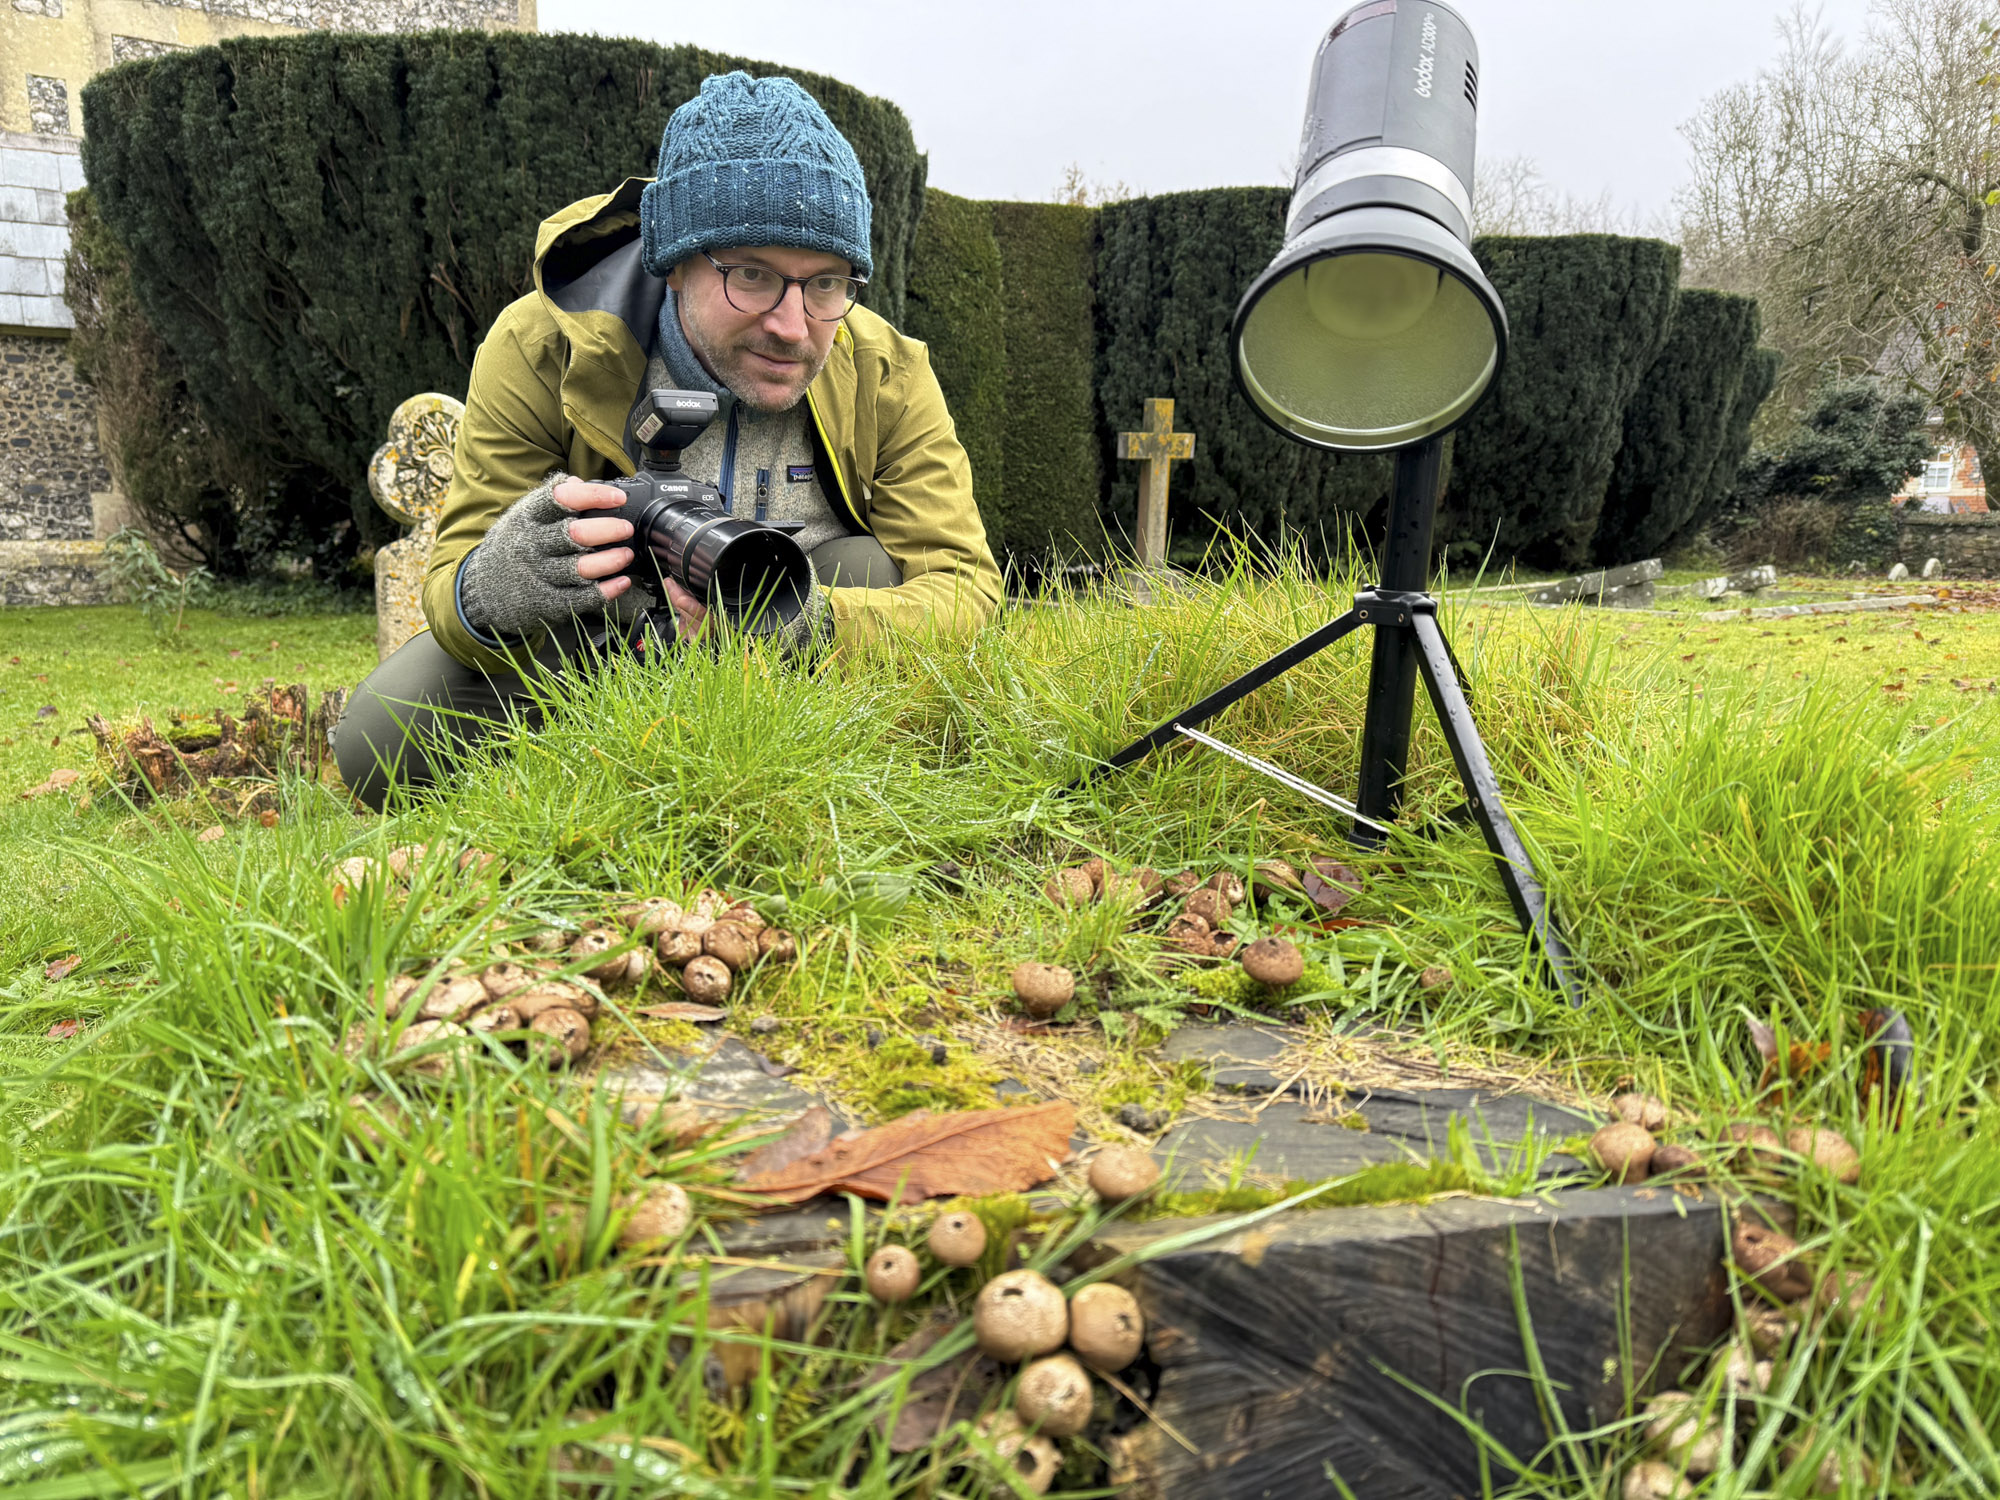
This is the ideal set-up to show the puff of spores emitting from this little Stump Puffball. The puff wouldn’t stand out without the flash to darken the background and light the spores. These spores are released by raindrops falling on the mushroom.
If you're serious about scenery, take a look at the best cameras for landscape photography along with the best lenses for landscapes.


