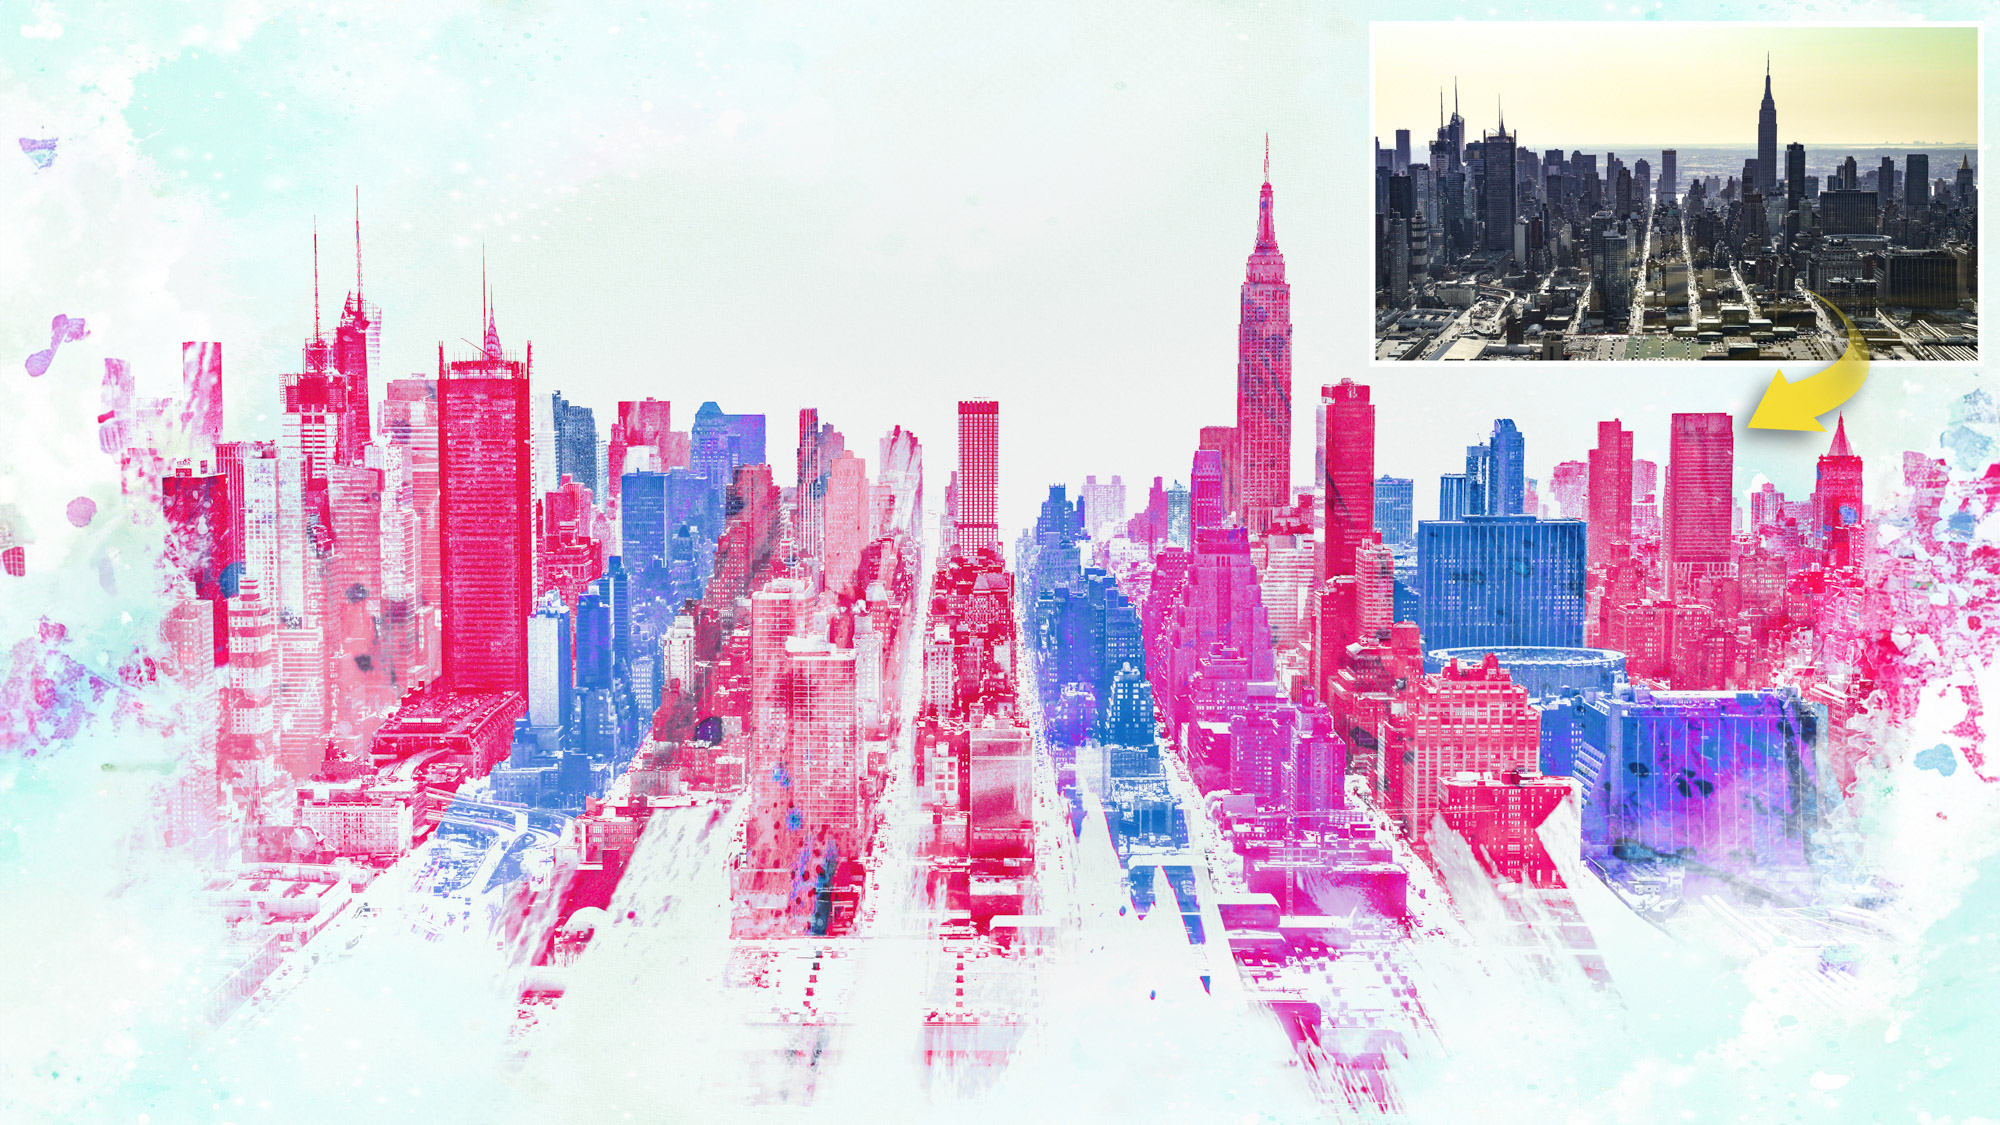
Watch video (above): Manhattan makeover
With their angular lines and bold shapes, architectural photos and cityscapes are the perfect subject for a creative makeover in Affinity Photo 2. In this project we’ll explain how to transform the iconic New York skyline into a bold array of painterly splashes and drips. This involves a cunning combination of selection skills and layer blending.
We begin by preparing our photo of the city, converting it to black and white and boosting contrast so that we have a bold foundation to work with. Once done, we use the Pen tool to isolate each vertical street so that we can apply different colors to each. This helps to tailor the painterly effect to the image, as the streaks of paint we add will match up with the shapes we create for each street.
You can find lots of free photos of paint streaks online, but there’s something to be said for making your own. Here we painted a few colorful streaks of watercolor paint on a piece of white paper. We kept the streaks in loose, vertical lines and then photographed the paper at a low angle. This way, the streaks of paint could match up with the straight lines of New York streets in our photograph.
From here, we can finesse the effect with simple layer skills, adjusting colours and positioning pieces in the puzzle until it all fits together perfectly.
1. Blow out the sky
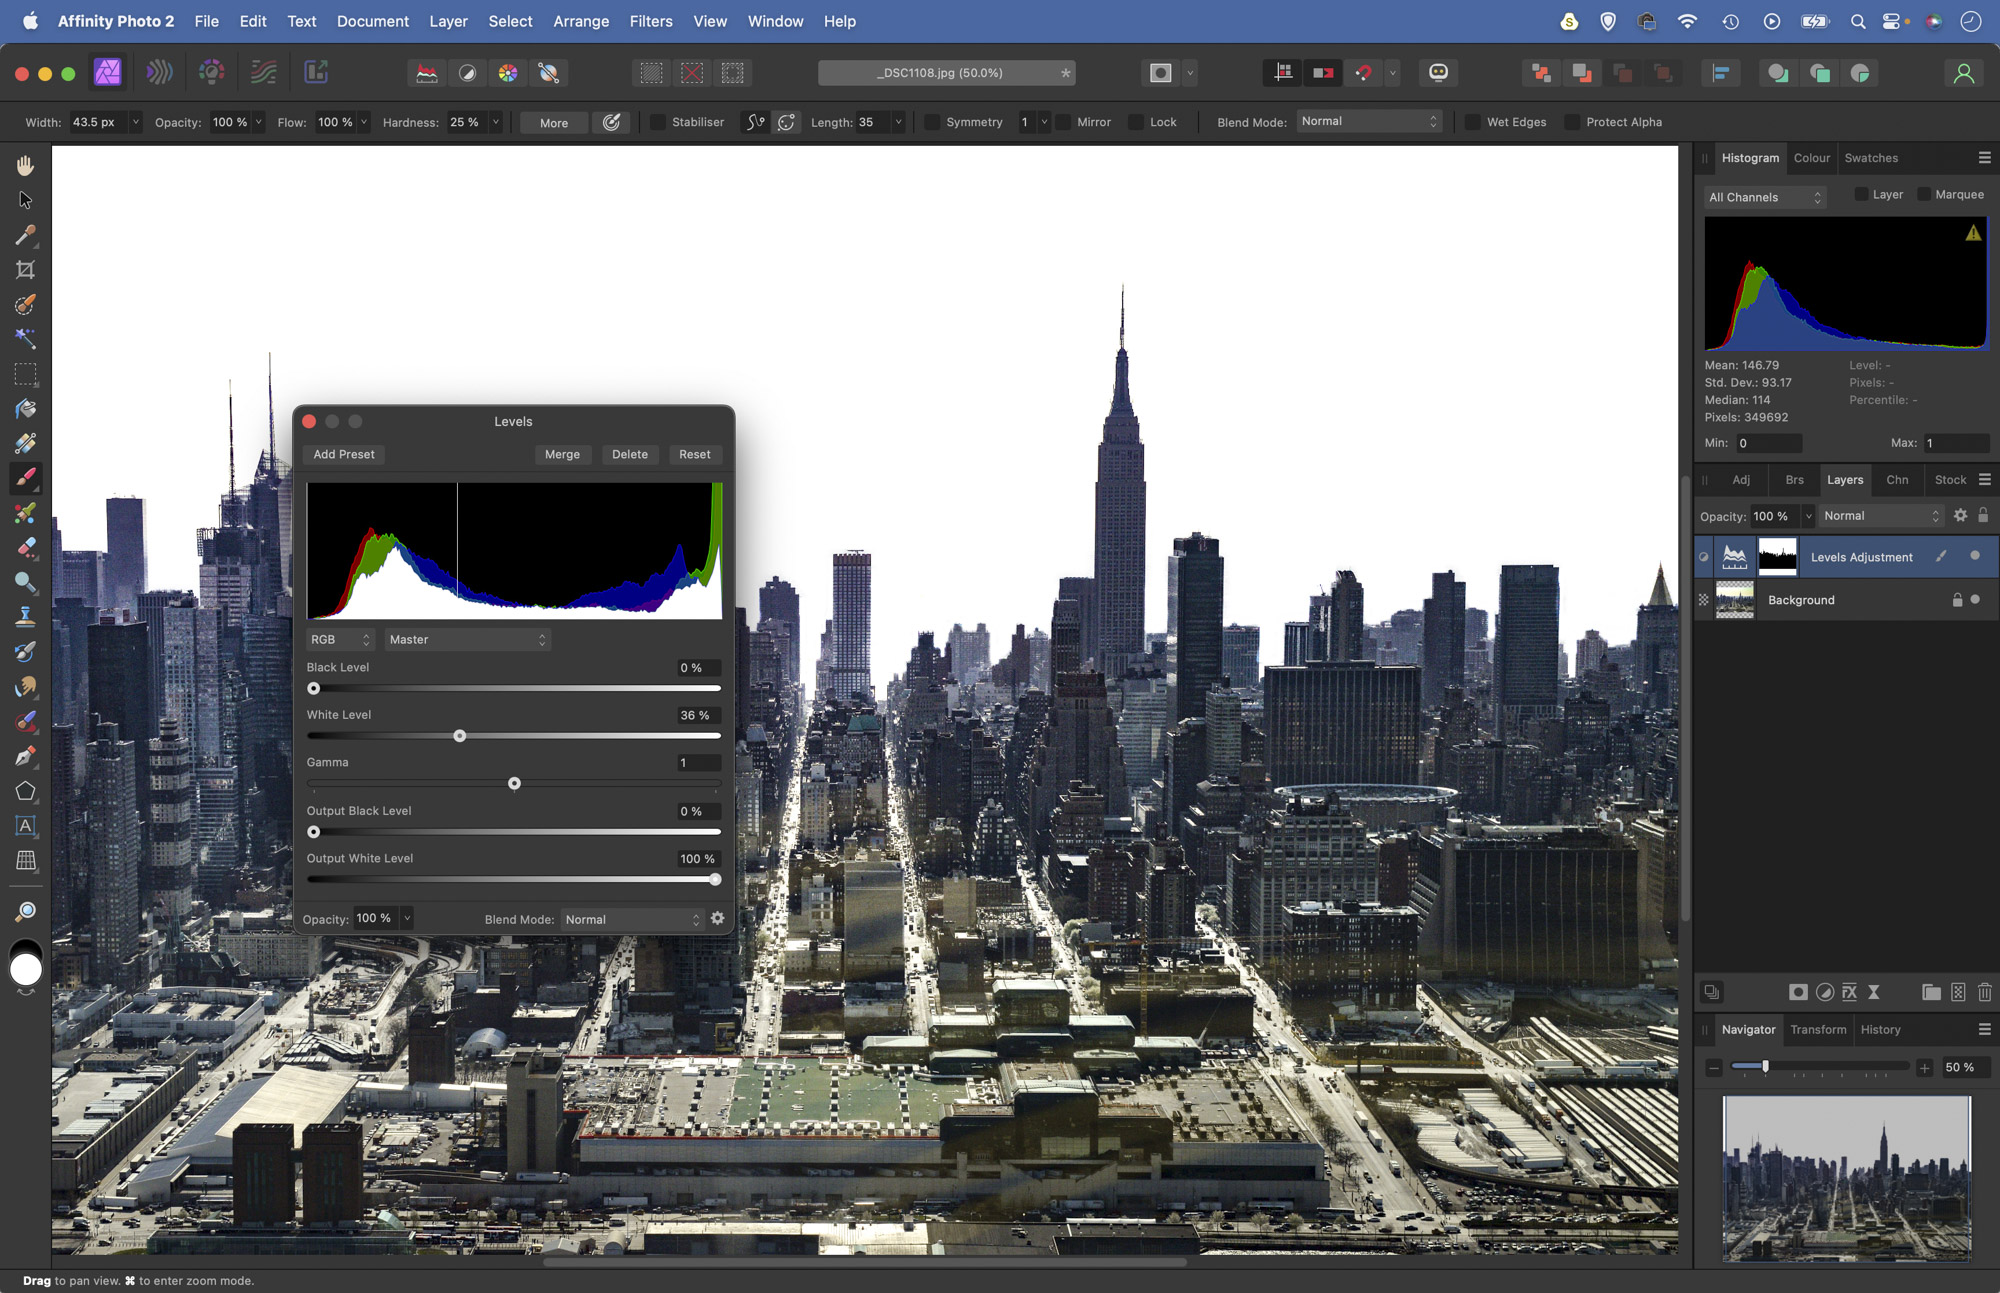
Open the ny_before.jpg start image (download here) then grab the Selection brush. Check ‘Snap to Edges’ in the options then paint over the sky and background details. Click Refine and increase the Border to improve the selection edge. Hit OK then click the Adjustment icon and choose Levels. Drag in the White Level to blow it out.
2. Trace around a street
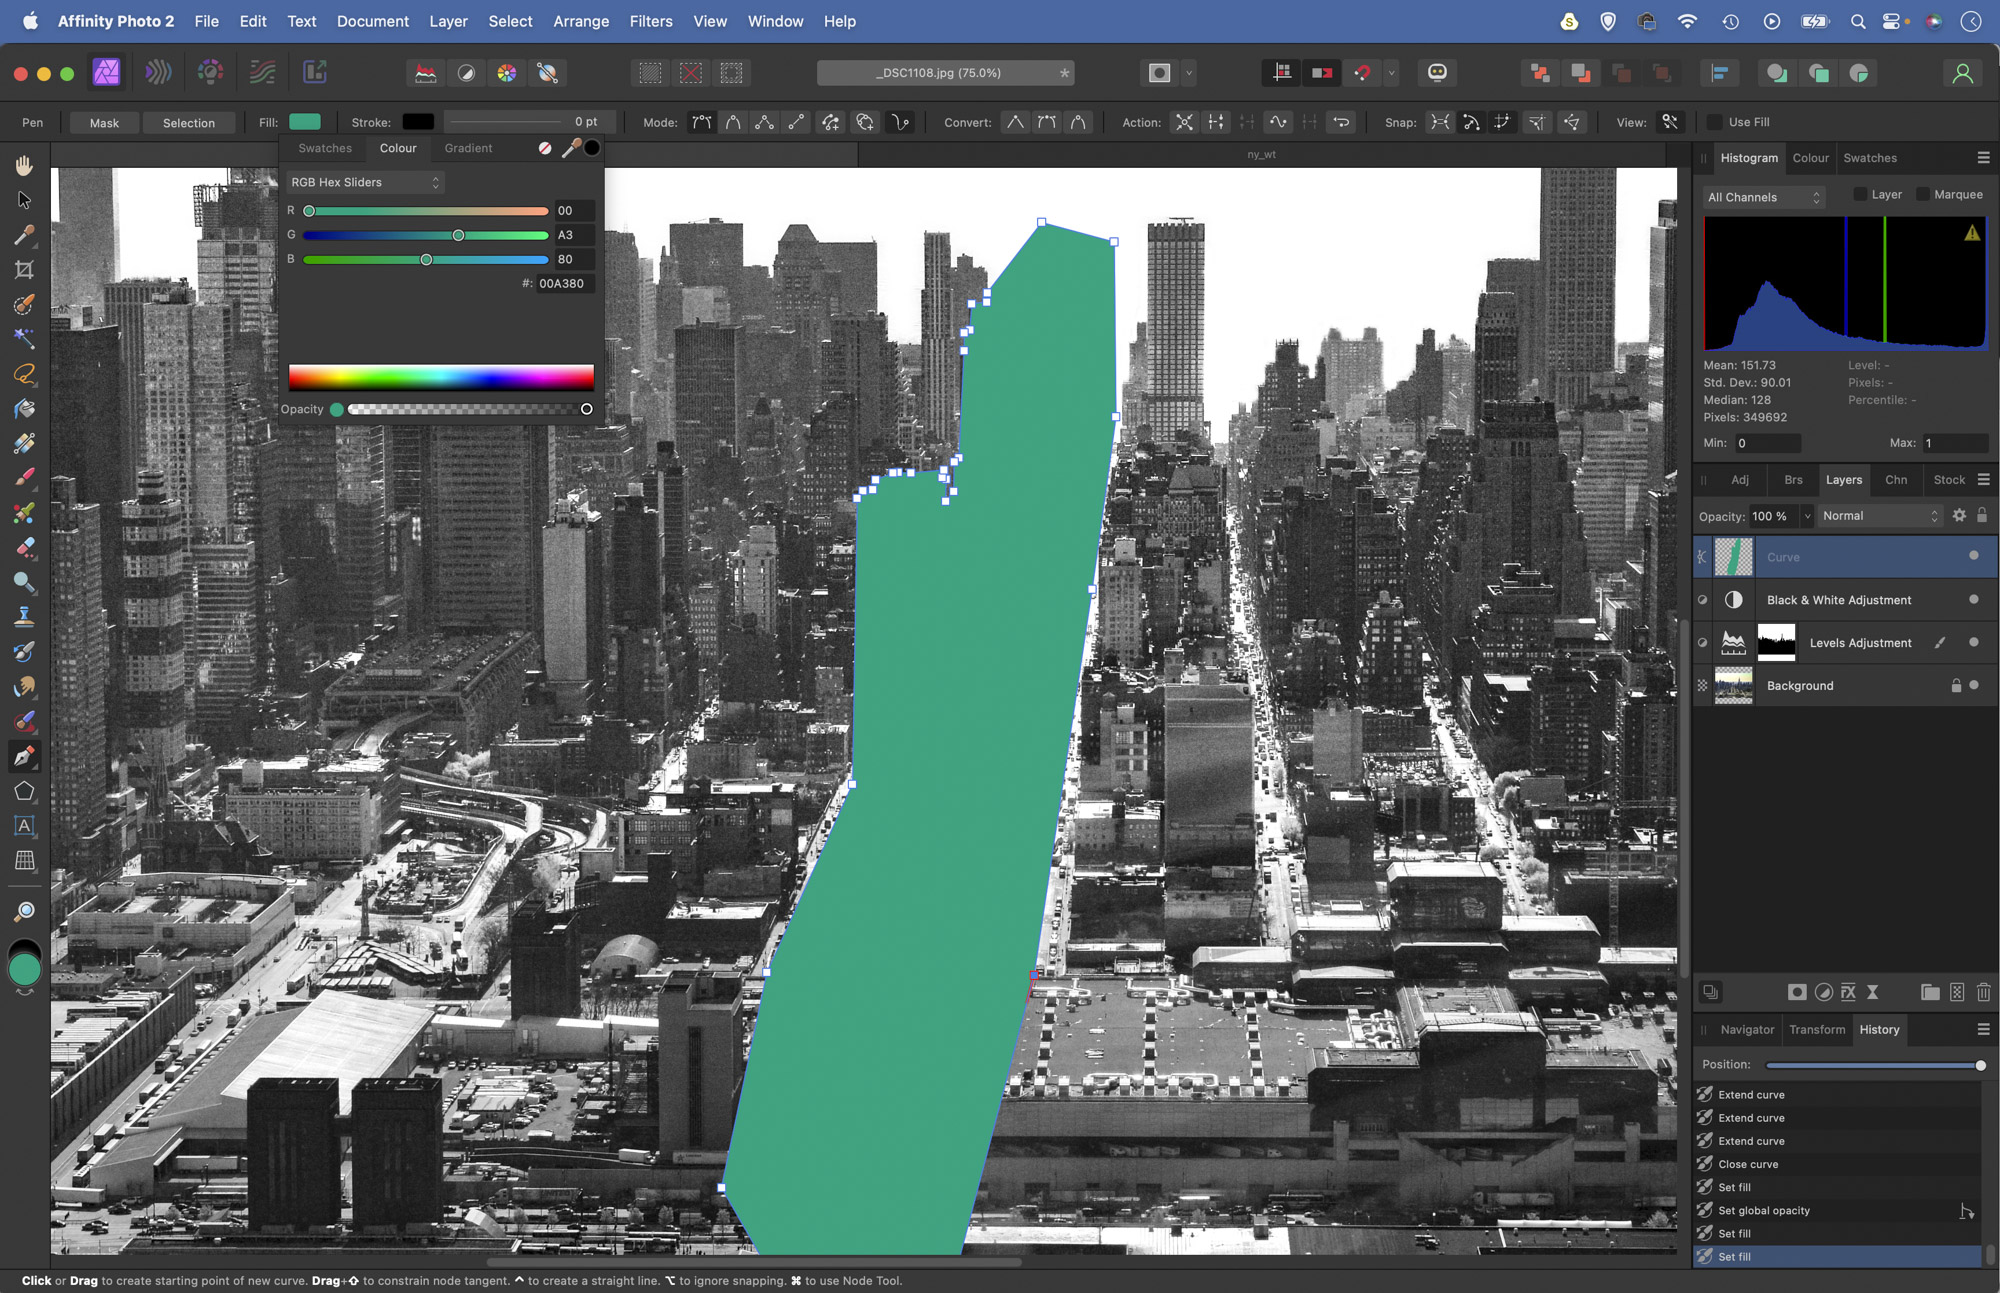
Add a Black and White Adjustment. Next zoom in close and grab the Pen tool. Click to add anchor points and make a path that follows the shape of one of the streets, including the tops of the buildings. Click back on the starting point to complete the path. Click the Fill option and give it a random colour.
3. Make shapes for streets
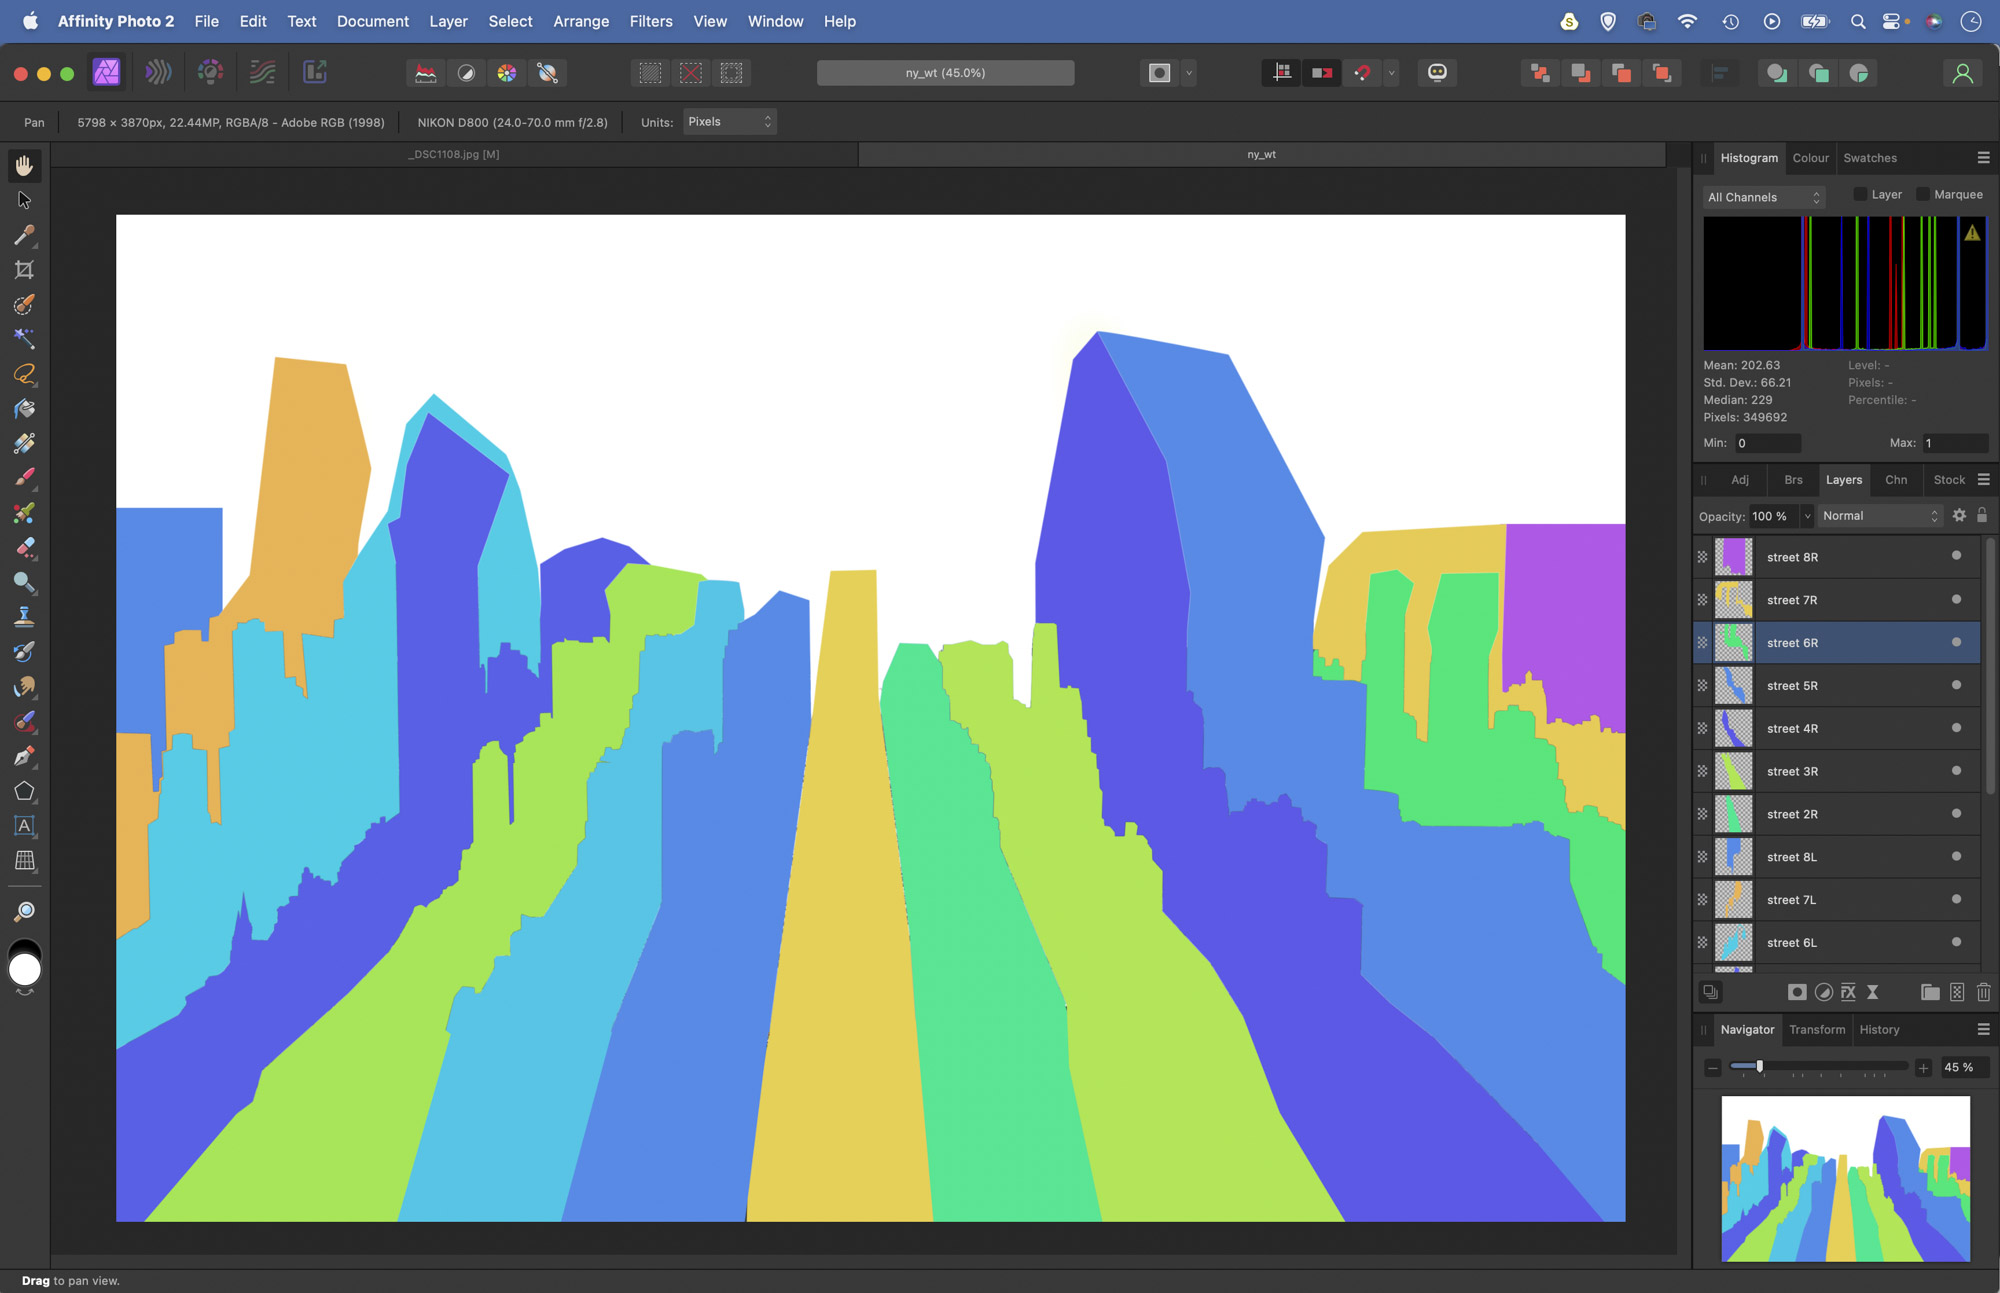
Right-click the layer and choose ‘Rasterize’. Next trace around the next street with the Pen tool and complete it loosely within the other street shape. Fill and Rasterize again, then Cmd/Ctrl+click on the street shape below to load a selection and hit Delete so that the edges match up. Repeat for the rest of the streets.
4. Blend the paints
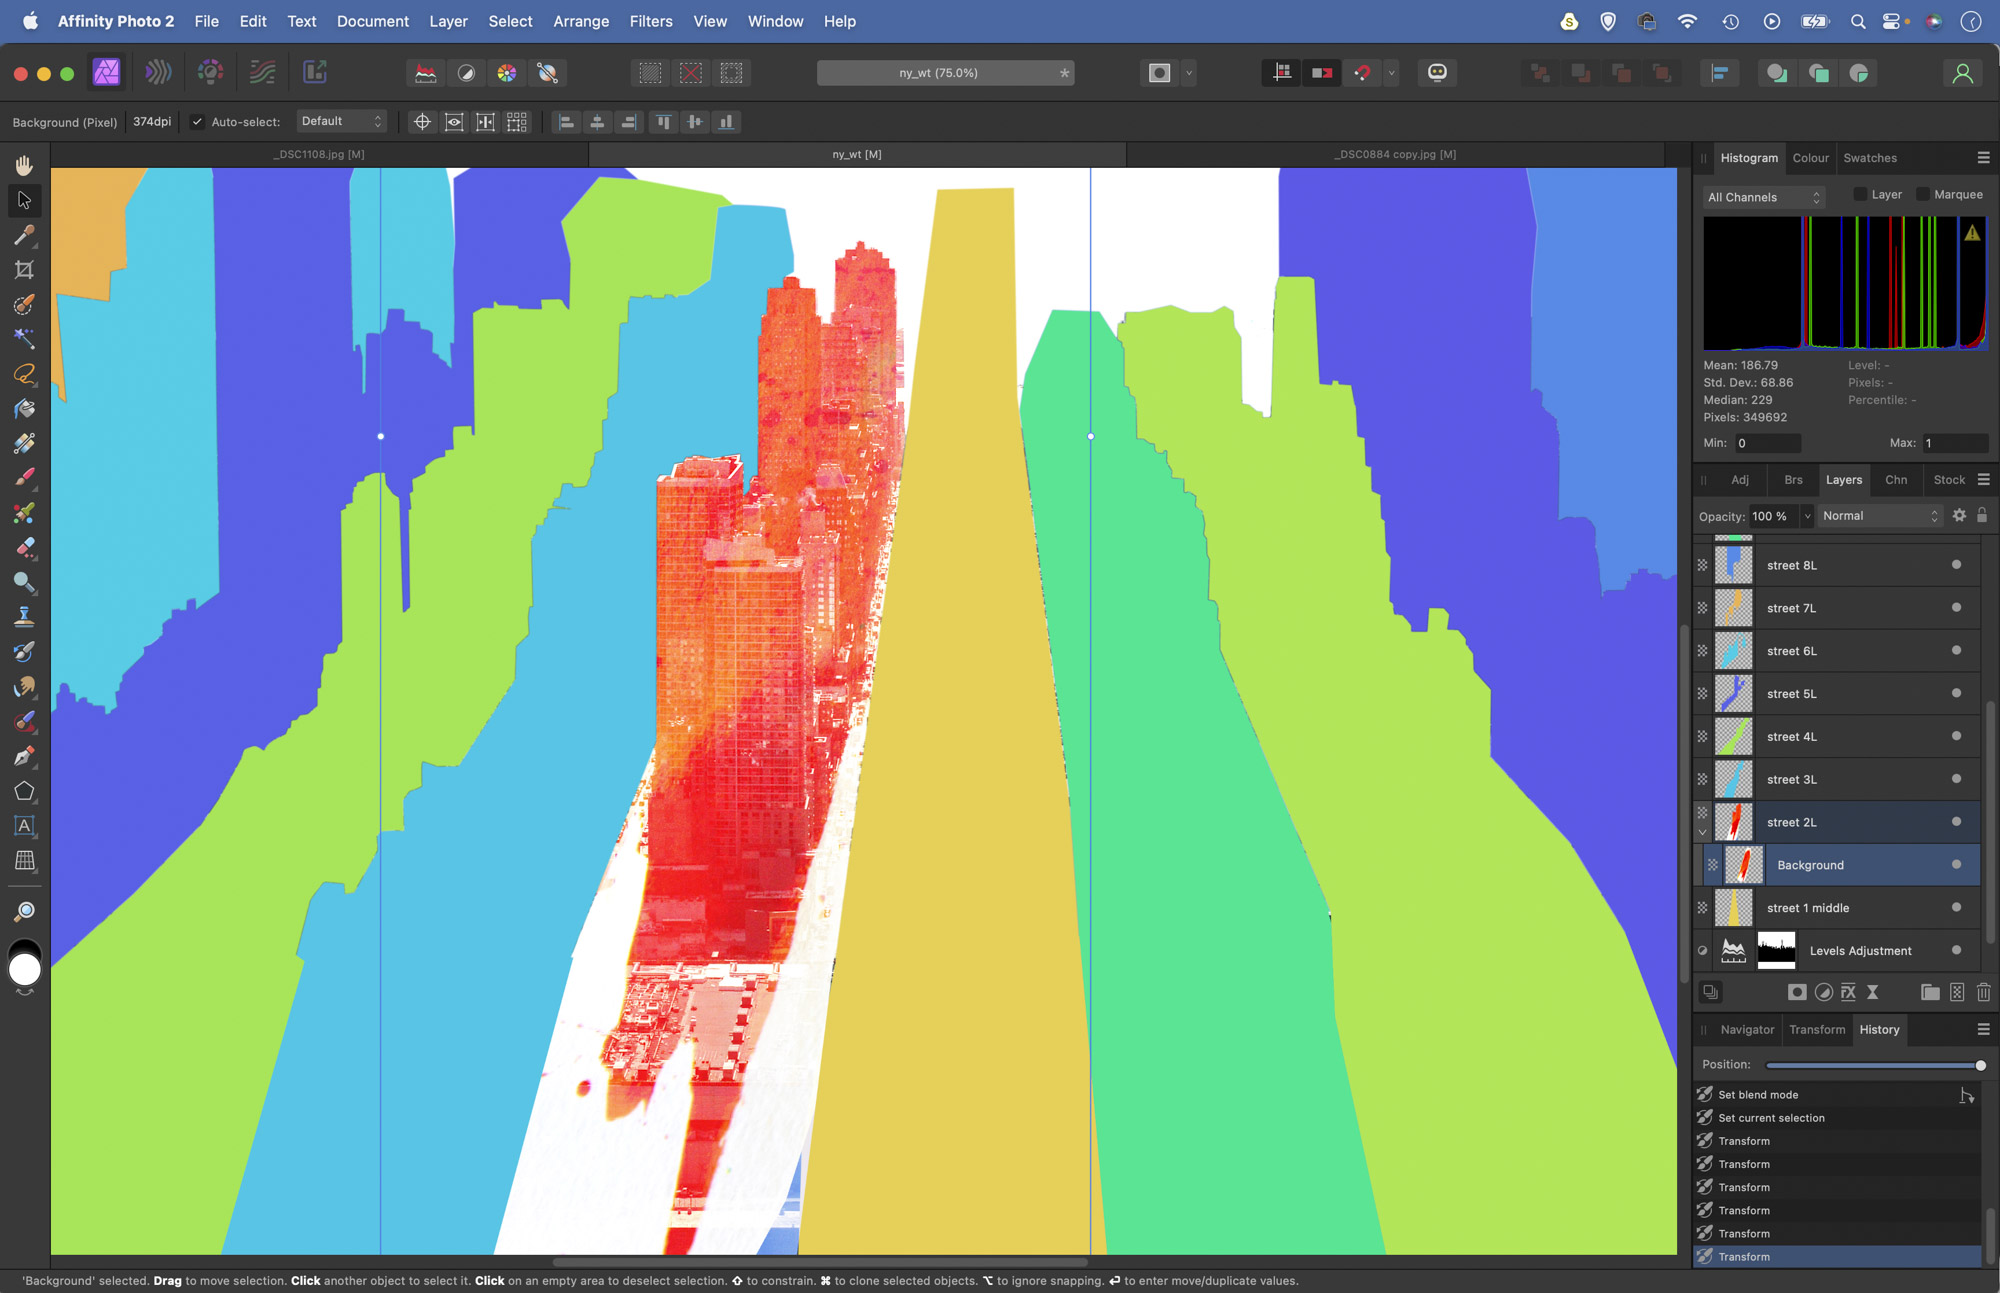
Open the paint image supplied. Grab the Lasso tool and make a rough selection around one of the streaks. Copy (Cmd/Ctrl+C) and Paste (Cmd/Ctrl+V) it into the main image, then drag the layer onto the layer name of one of the shapes. Set the blend mode of the shape layer to Screen.
5. Fill the scene
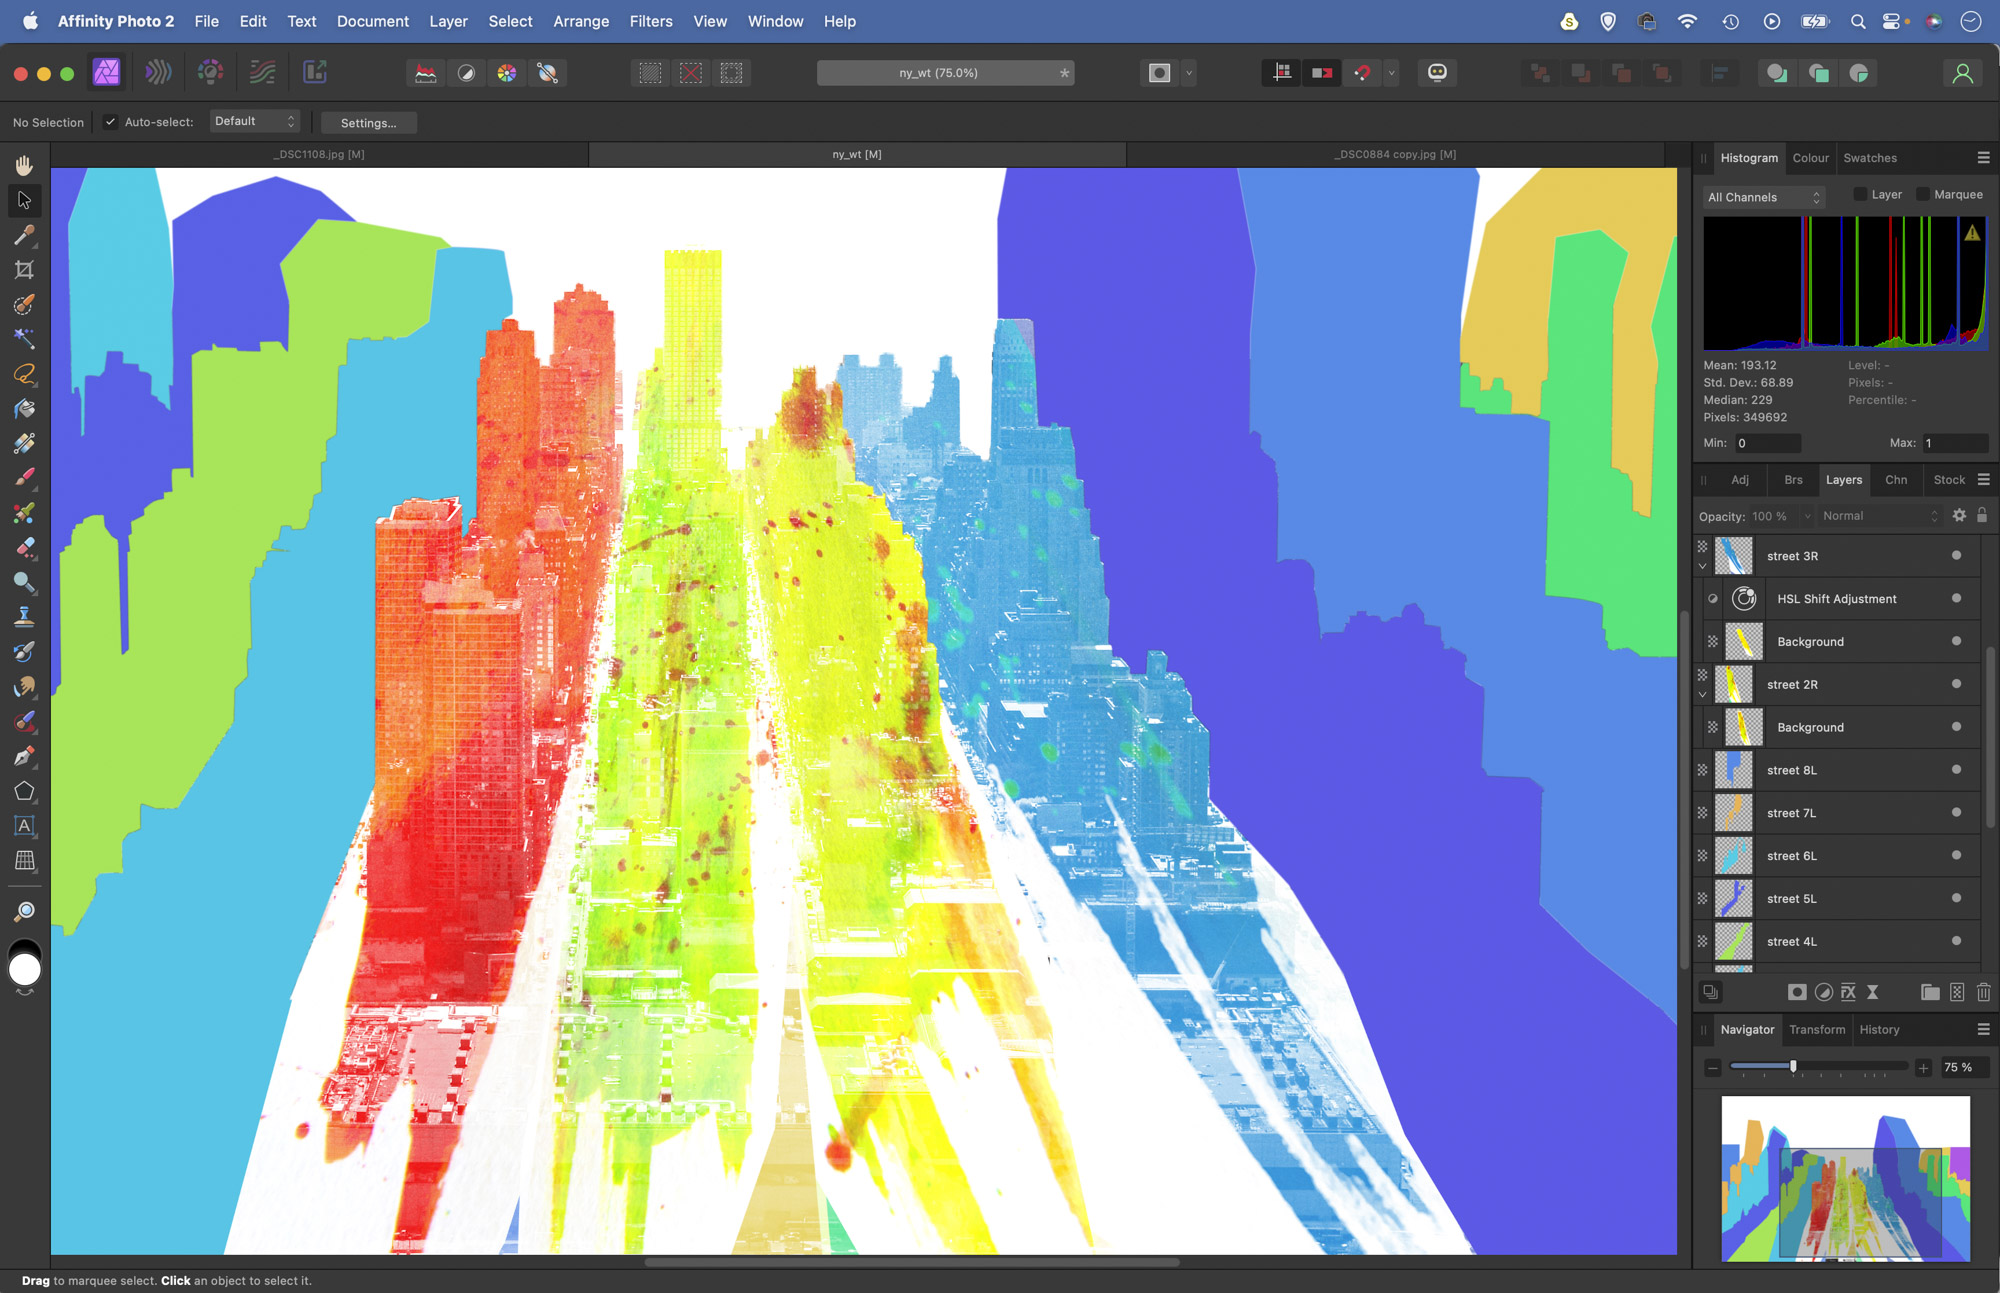
Click the arrow in the layer thumbnail to expand the layer, grab the Move tool and position the paint streak to fit neatly over the street. Hit Cmd/Ctrl+U and adjust the colours if you like. Repeat the process by copying in another paint streak and placing it over the next street. Carry on until all the streets are filled in.
6. Perfect the colours
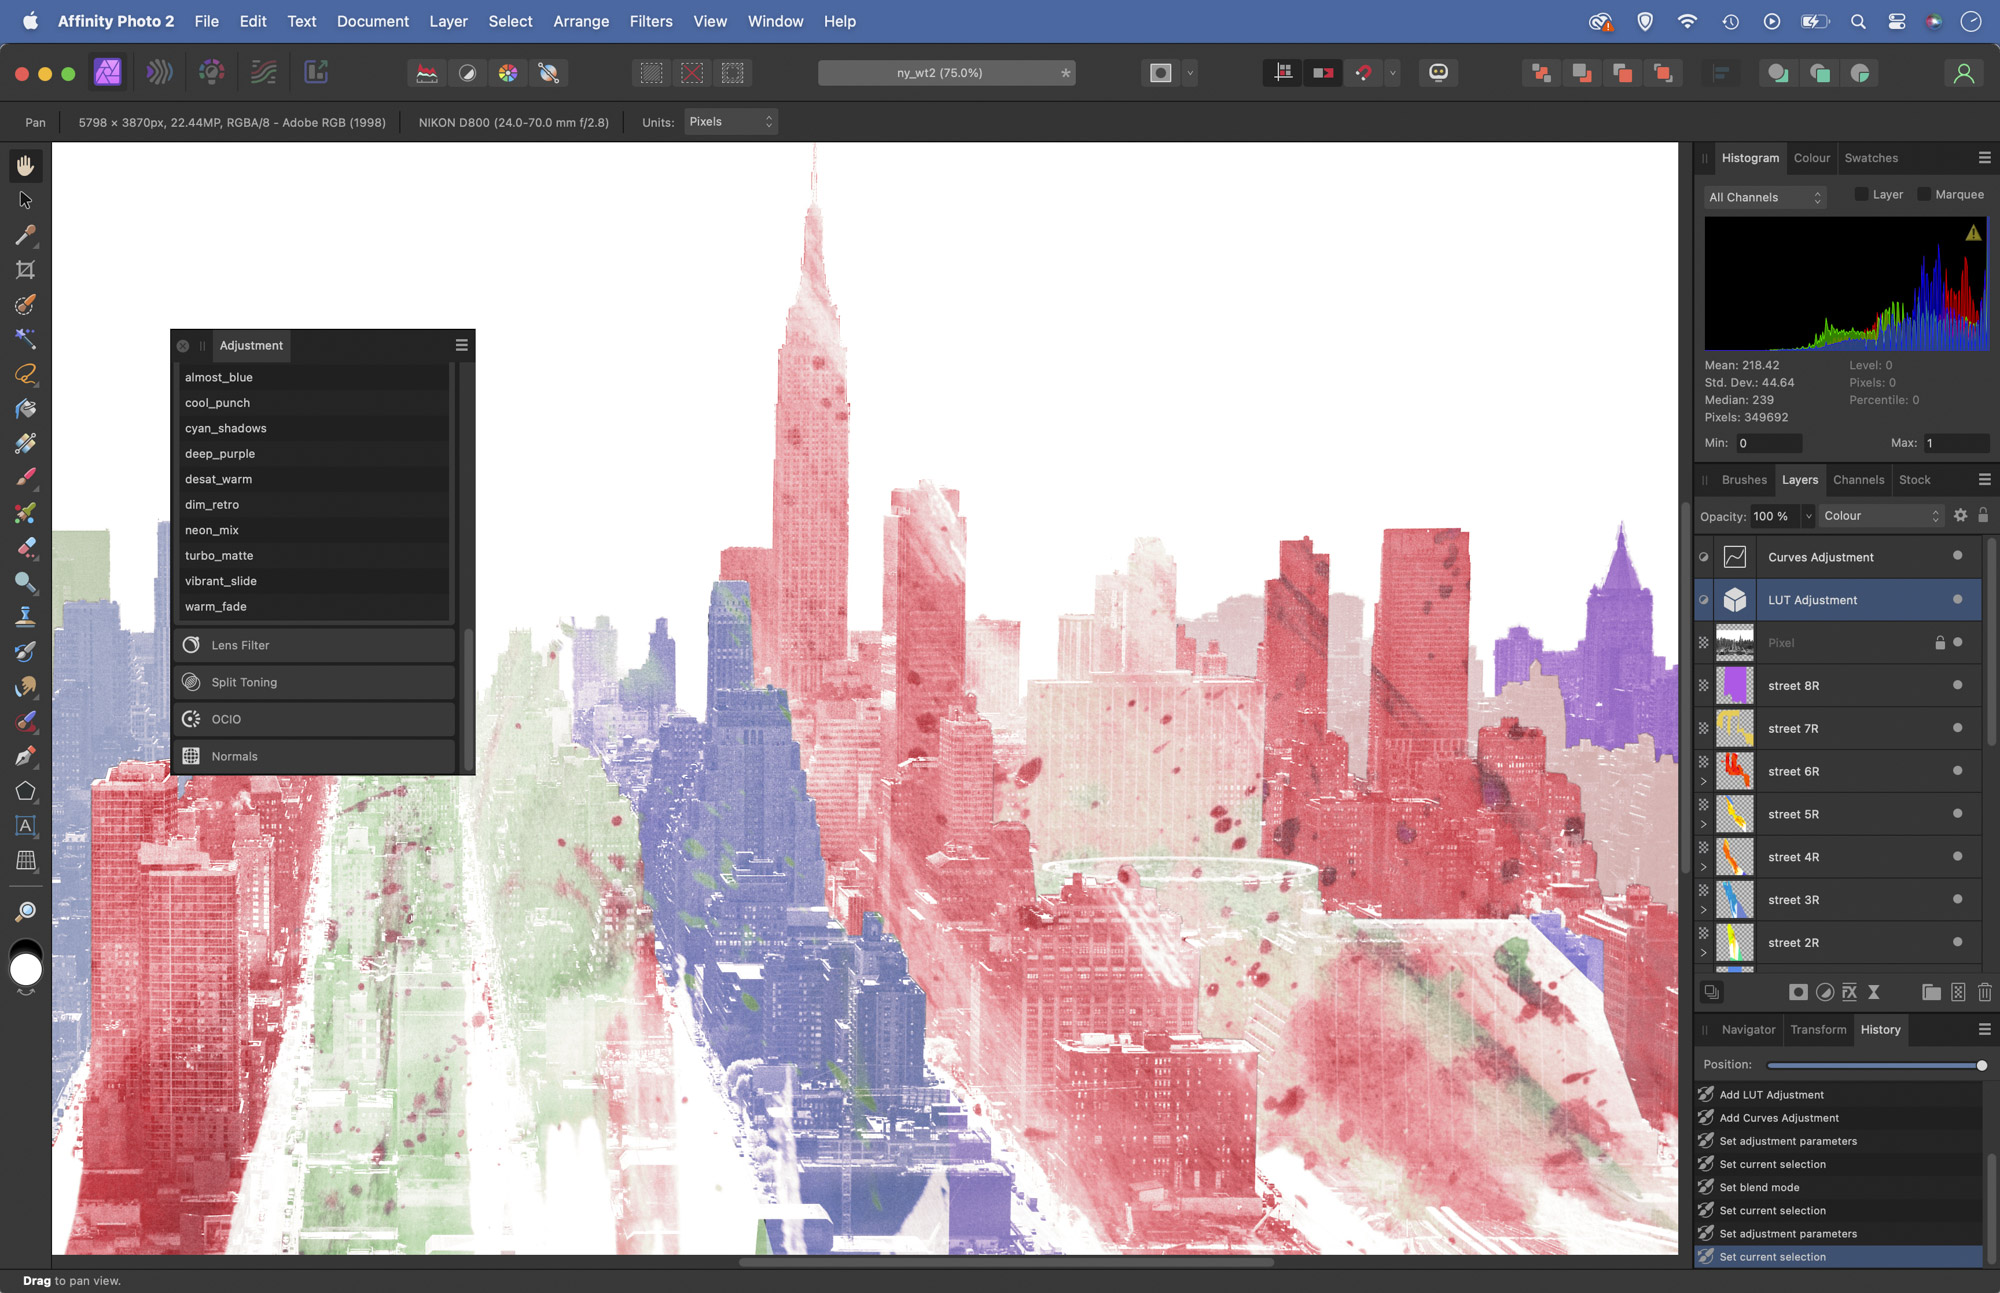
After hiding all the layers except the bottom three, then hit Cmd/Ctrl+Shift+Alt+E to merge a copy. Drag this new layer to the top of the stack, then set the Blend Mode to Screen. Fine-tune the colours and try blending textures with layer blend modes (see box) to finish off your project.
• See more of our Affinity Photo tutorials
If you enjoyed this tutorial but want a bit more power from your laptop, why not look at the best photo-editing laptops? If you're really keen to improve your skills further then online photography courses could be the way to go.

