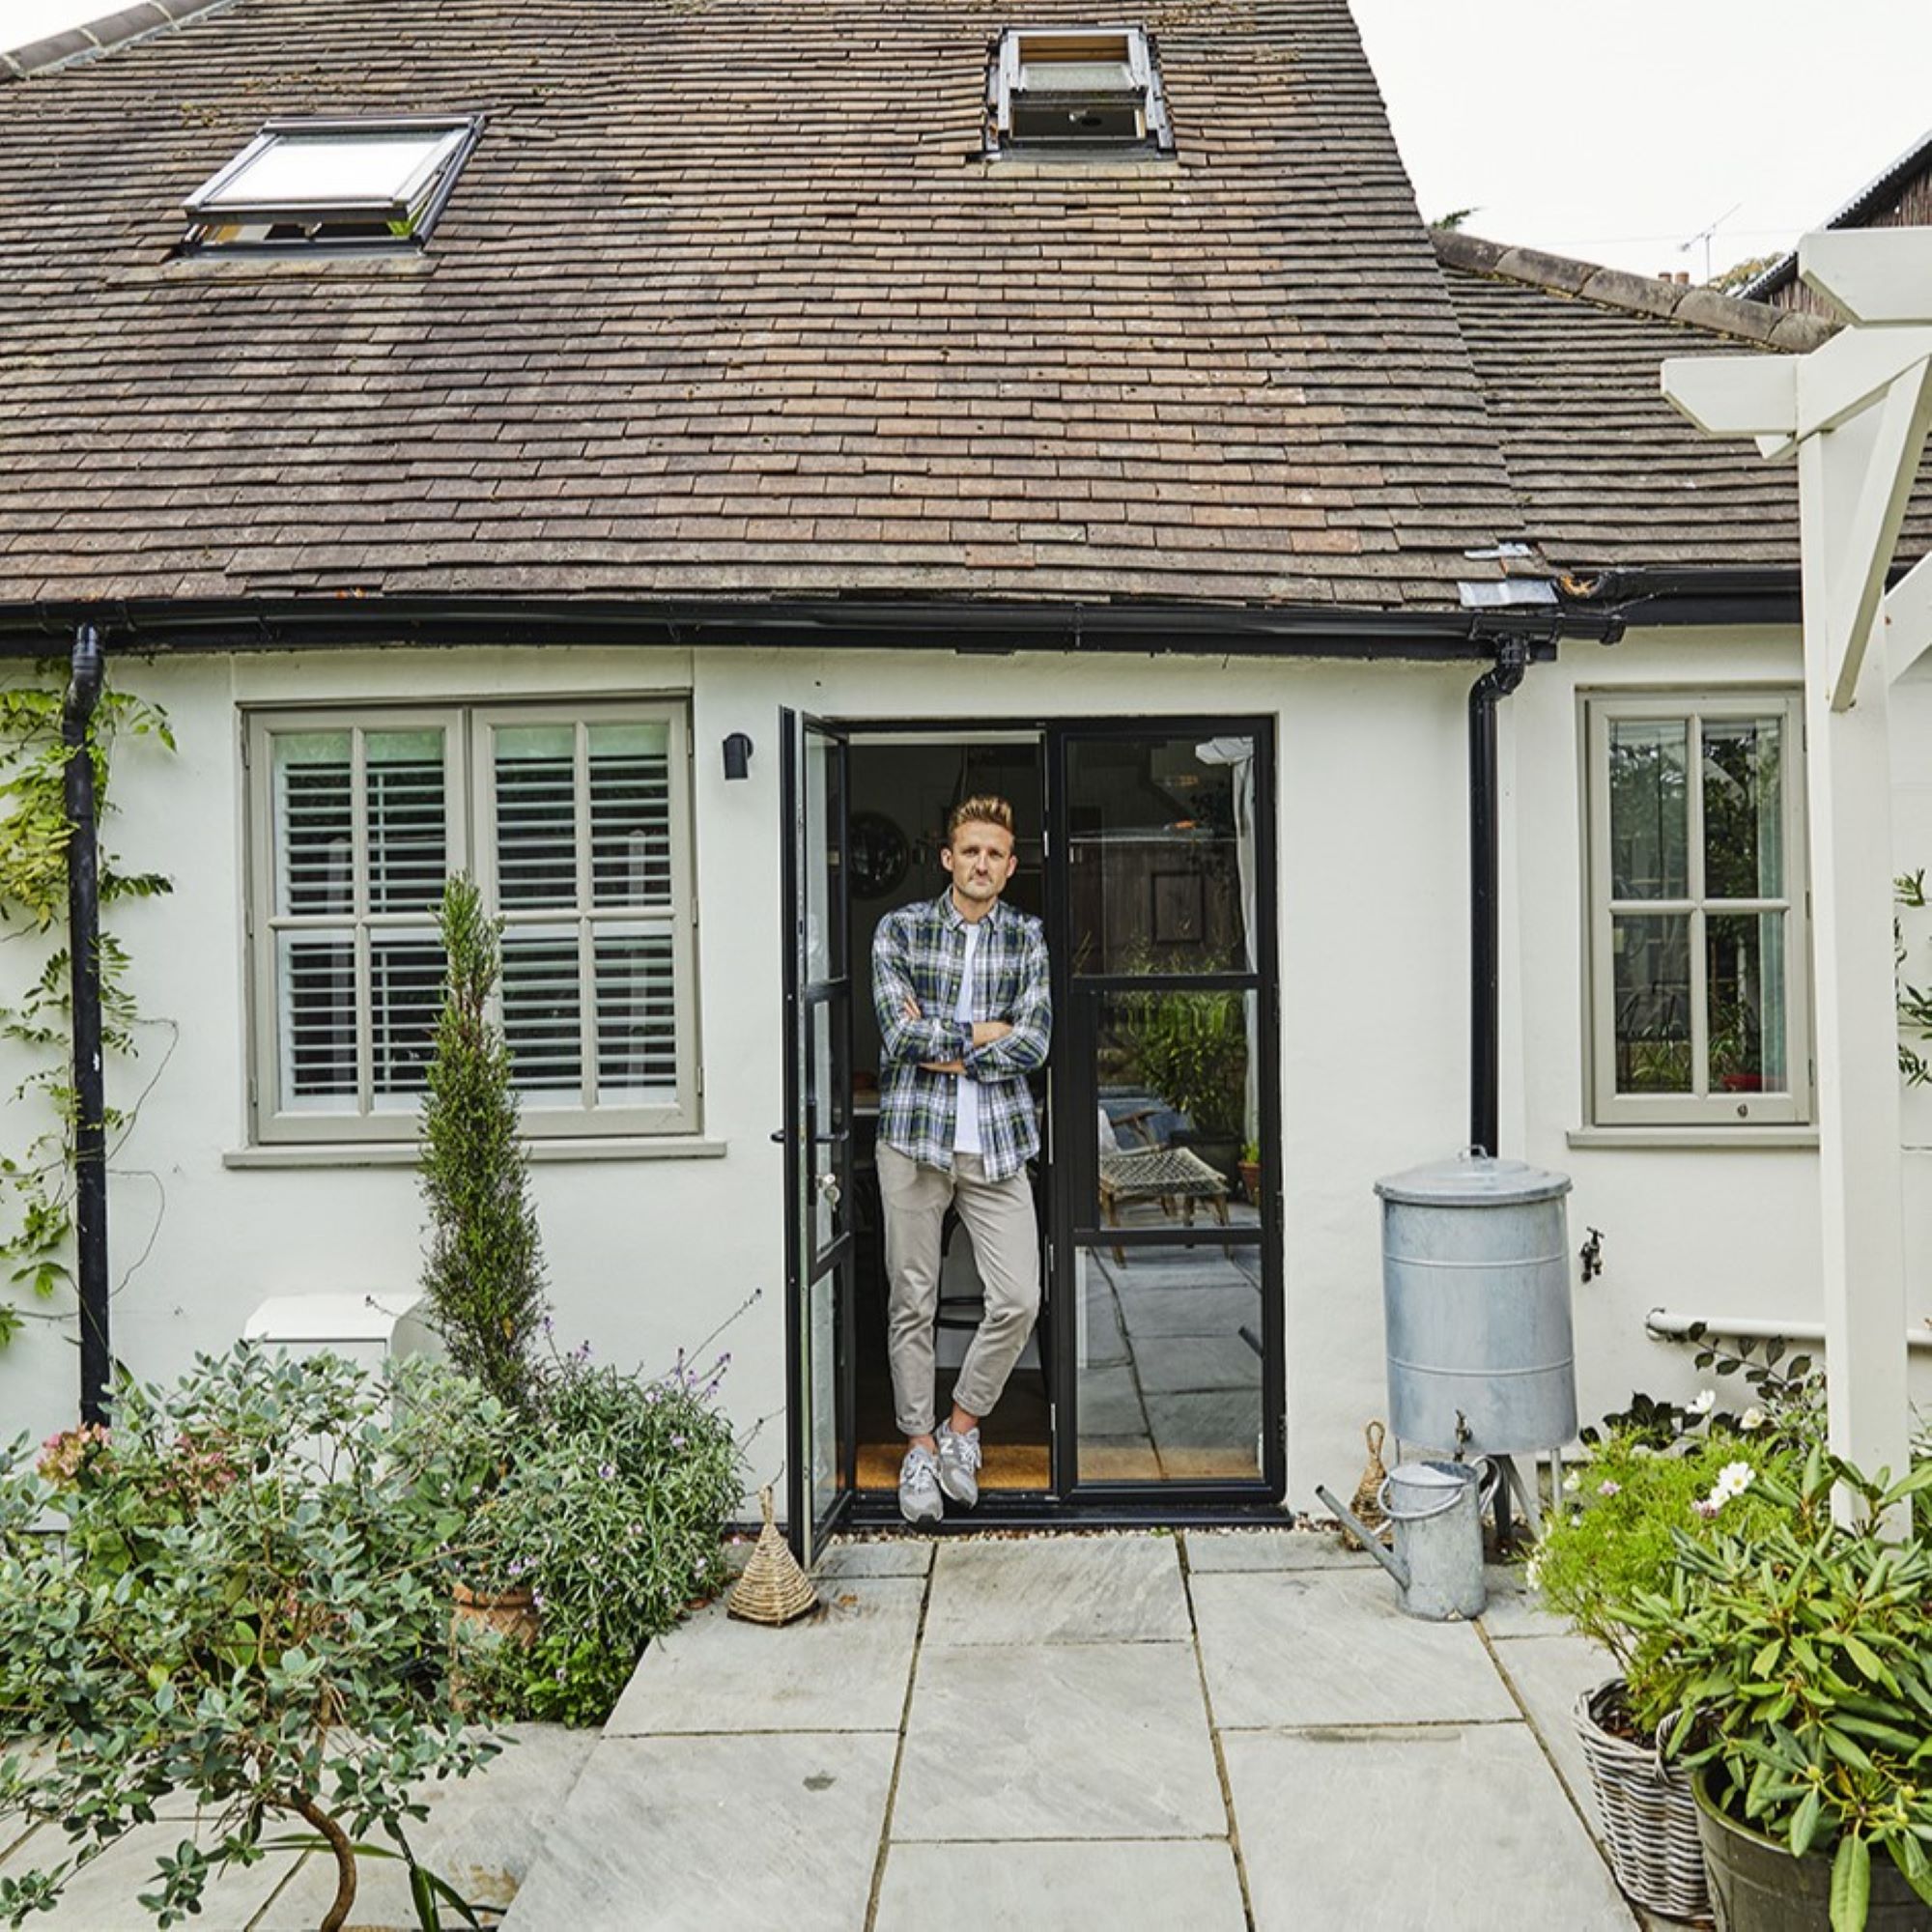
Ryan James, a PR manager, and his partner Craig live in a two-bed 1920s detached cottage in Surrey, along with their cat, Macy Grey, and dog, Darcy. The couple moved here almost three years ago from a Victorian two-bedroom property in Woking.
‘We’d renovated that quickly and made a bit of profit on it, and we wanted something a little different to do it all again,’ Ryan says.
They didn't let the size of their sweet little cottage stop them from dreaming big. We were keen to take a look around and find out more about the renovation process, and how Ryan and Craig had managed to get the most out of the space.
Approaching the renovation
‘The cottage had been rented out and was all perfectly liveable but it needed some character and clever ideas,' Ryan explains. 'There was a lot of dark mahogany and the ceilings had been lowered, so it felt very small and enclosed.’
Ryan and Craig are both fairly good at DIY, so they were able to do a lot of the work themselves. 'We had lots of ideas – we’ve pretty much changed everything in the cottage, from the flooring to the doors. When we needed help we called in the troops, like our dads, who are very handy.'
'The elements that we interact with daily are really important to us, especially in a small space. They might not make much of a visual impact but we replaced the plastic light switches with toggle ones, changed the standard white doors to oak doors with nice latches and added cast iron radiators.’
The biggest difference
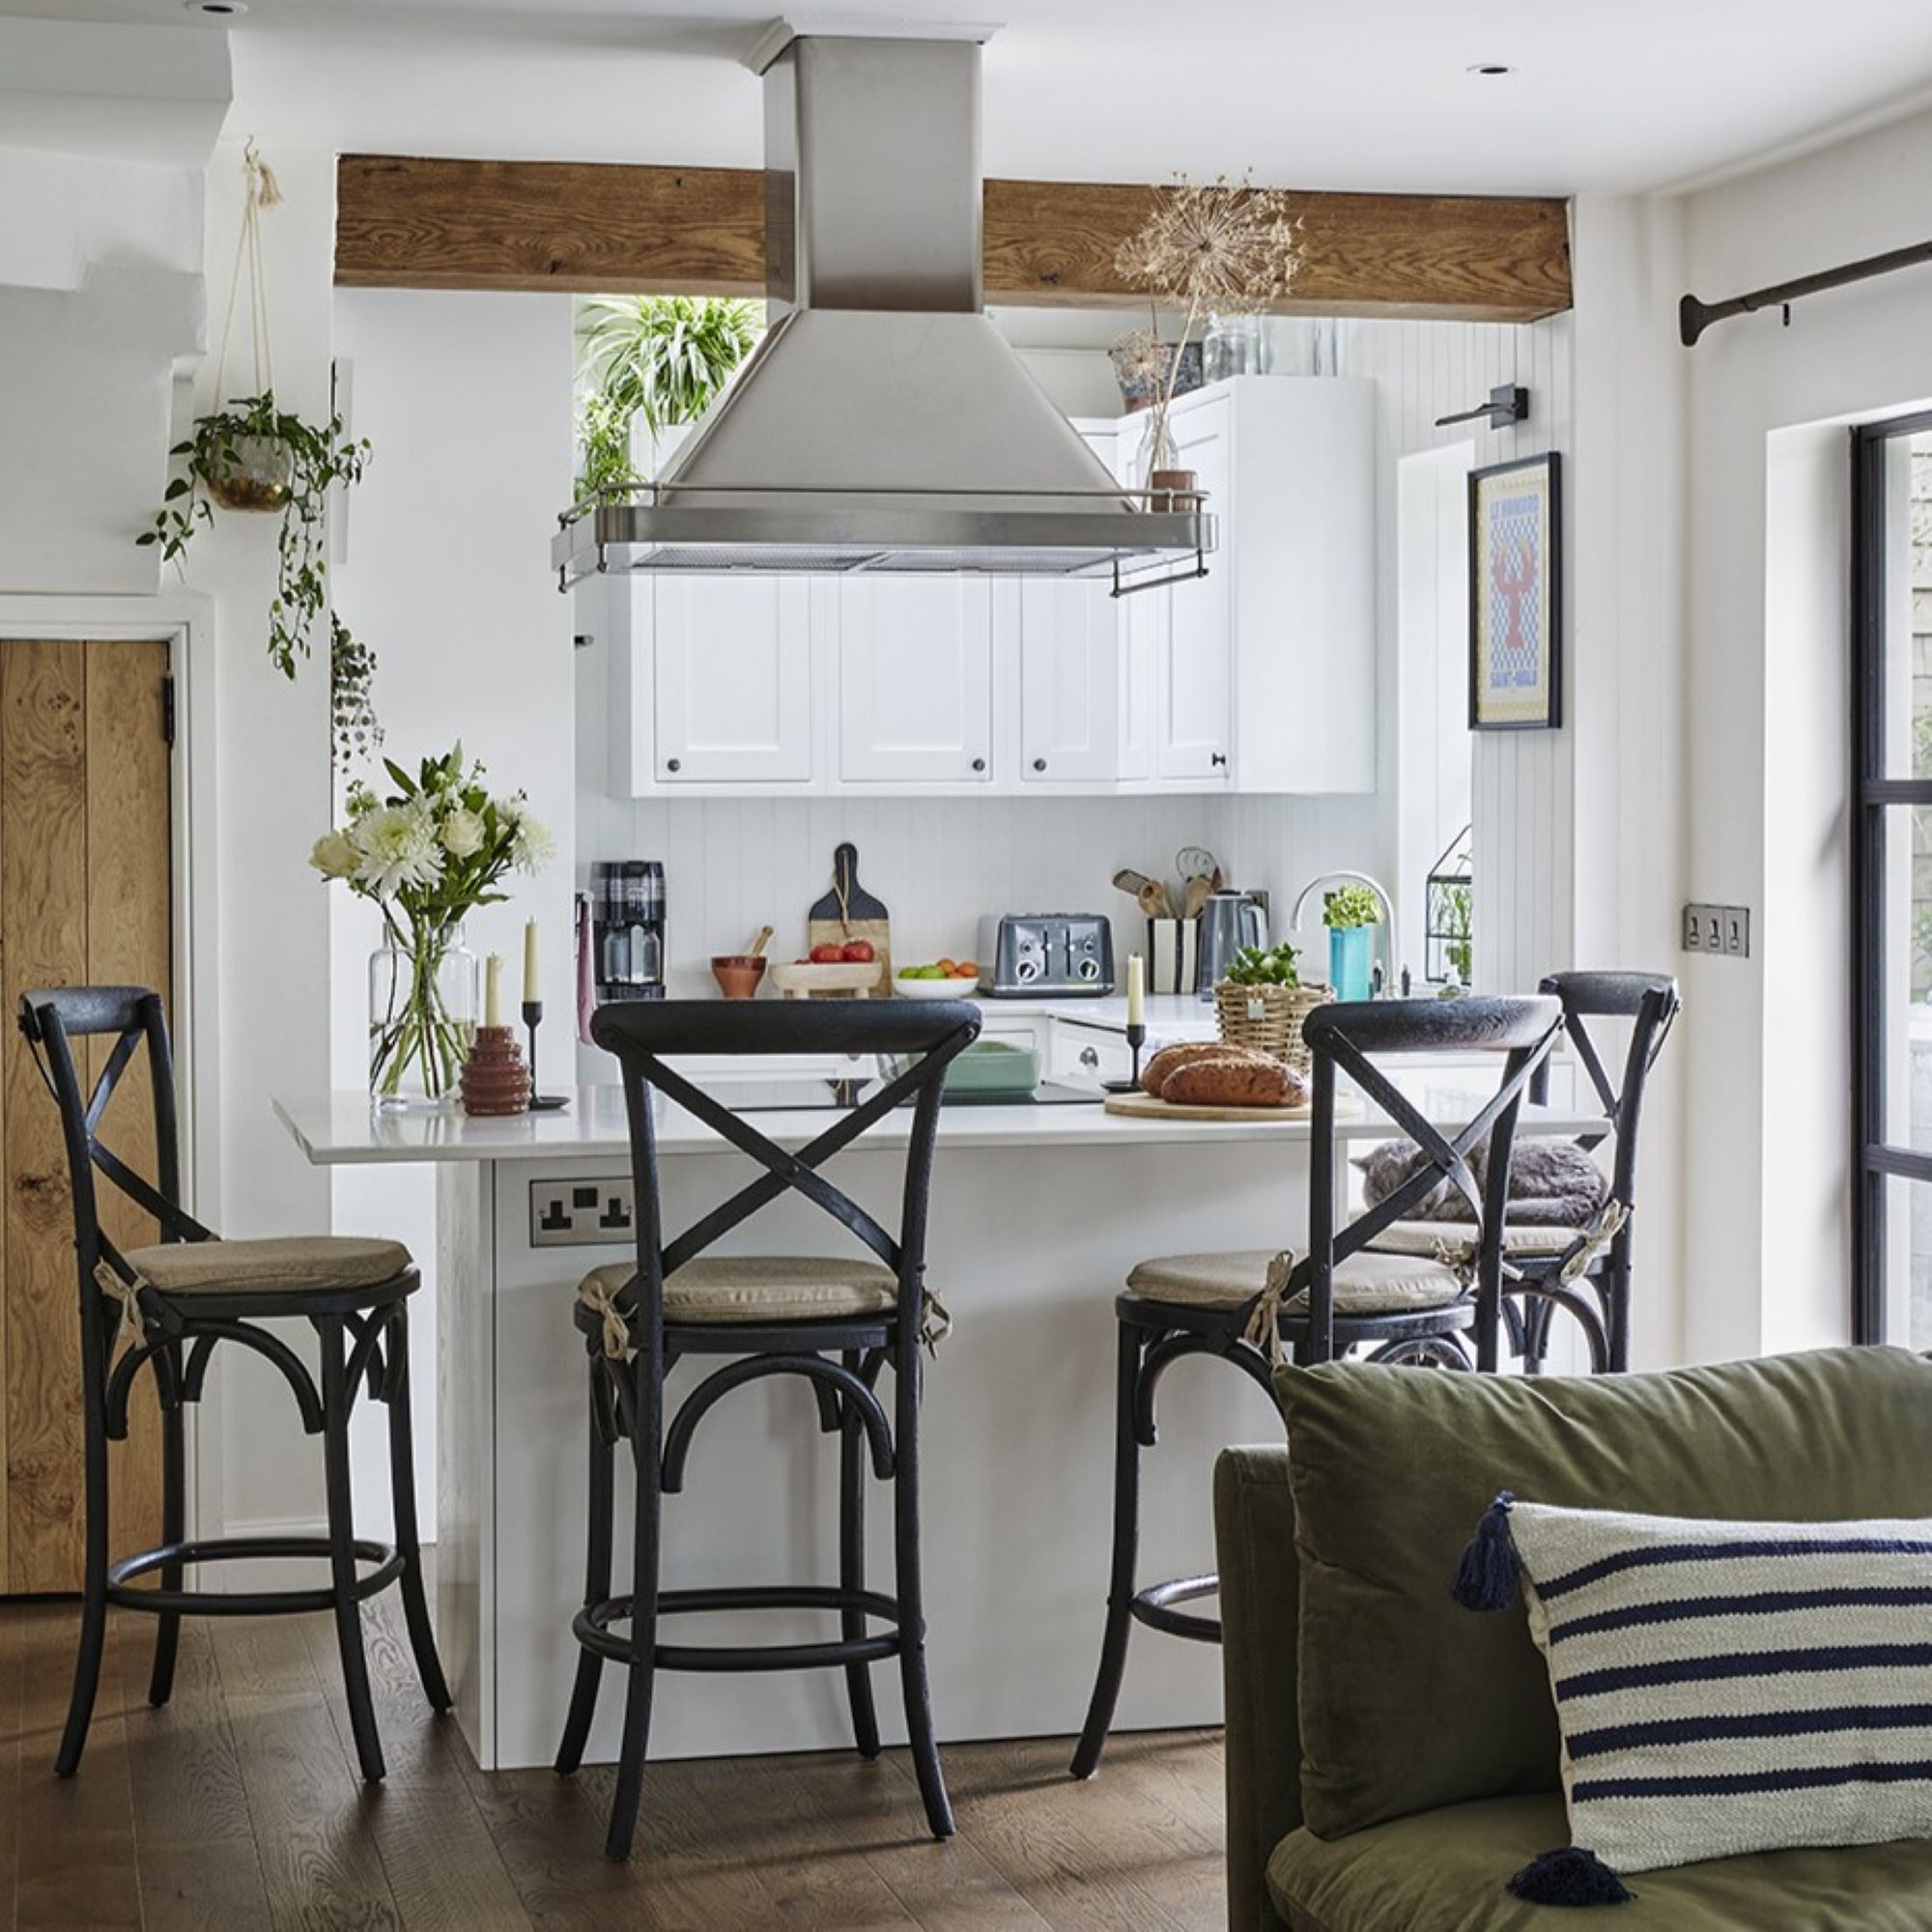
‘The biggest job we did was taking down the ceiling in the kitchen, which had been lowered by 30cm around a built-in extractor fan,' Ryan says. 'We could see the outline where the steels had been plastered in and we knew that if we raised all that up, we had an opportunity to add both height and character to the space.'
They found someone to make the large wooden beams to cover the steels, which makes all the difference to the overall cottage look. 'I’m already excited for Christmas as I can imagine lots of garlands hanging from them!’
Deciding on the interior style
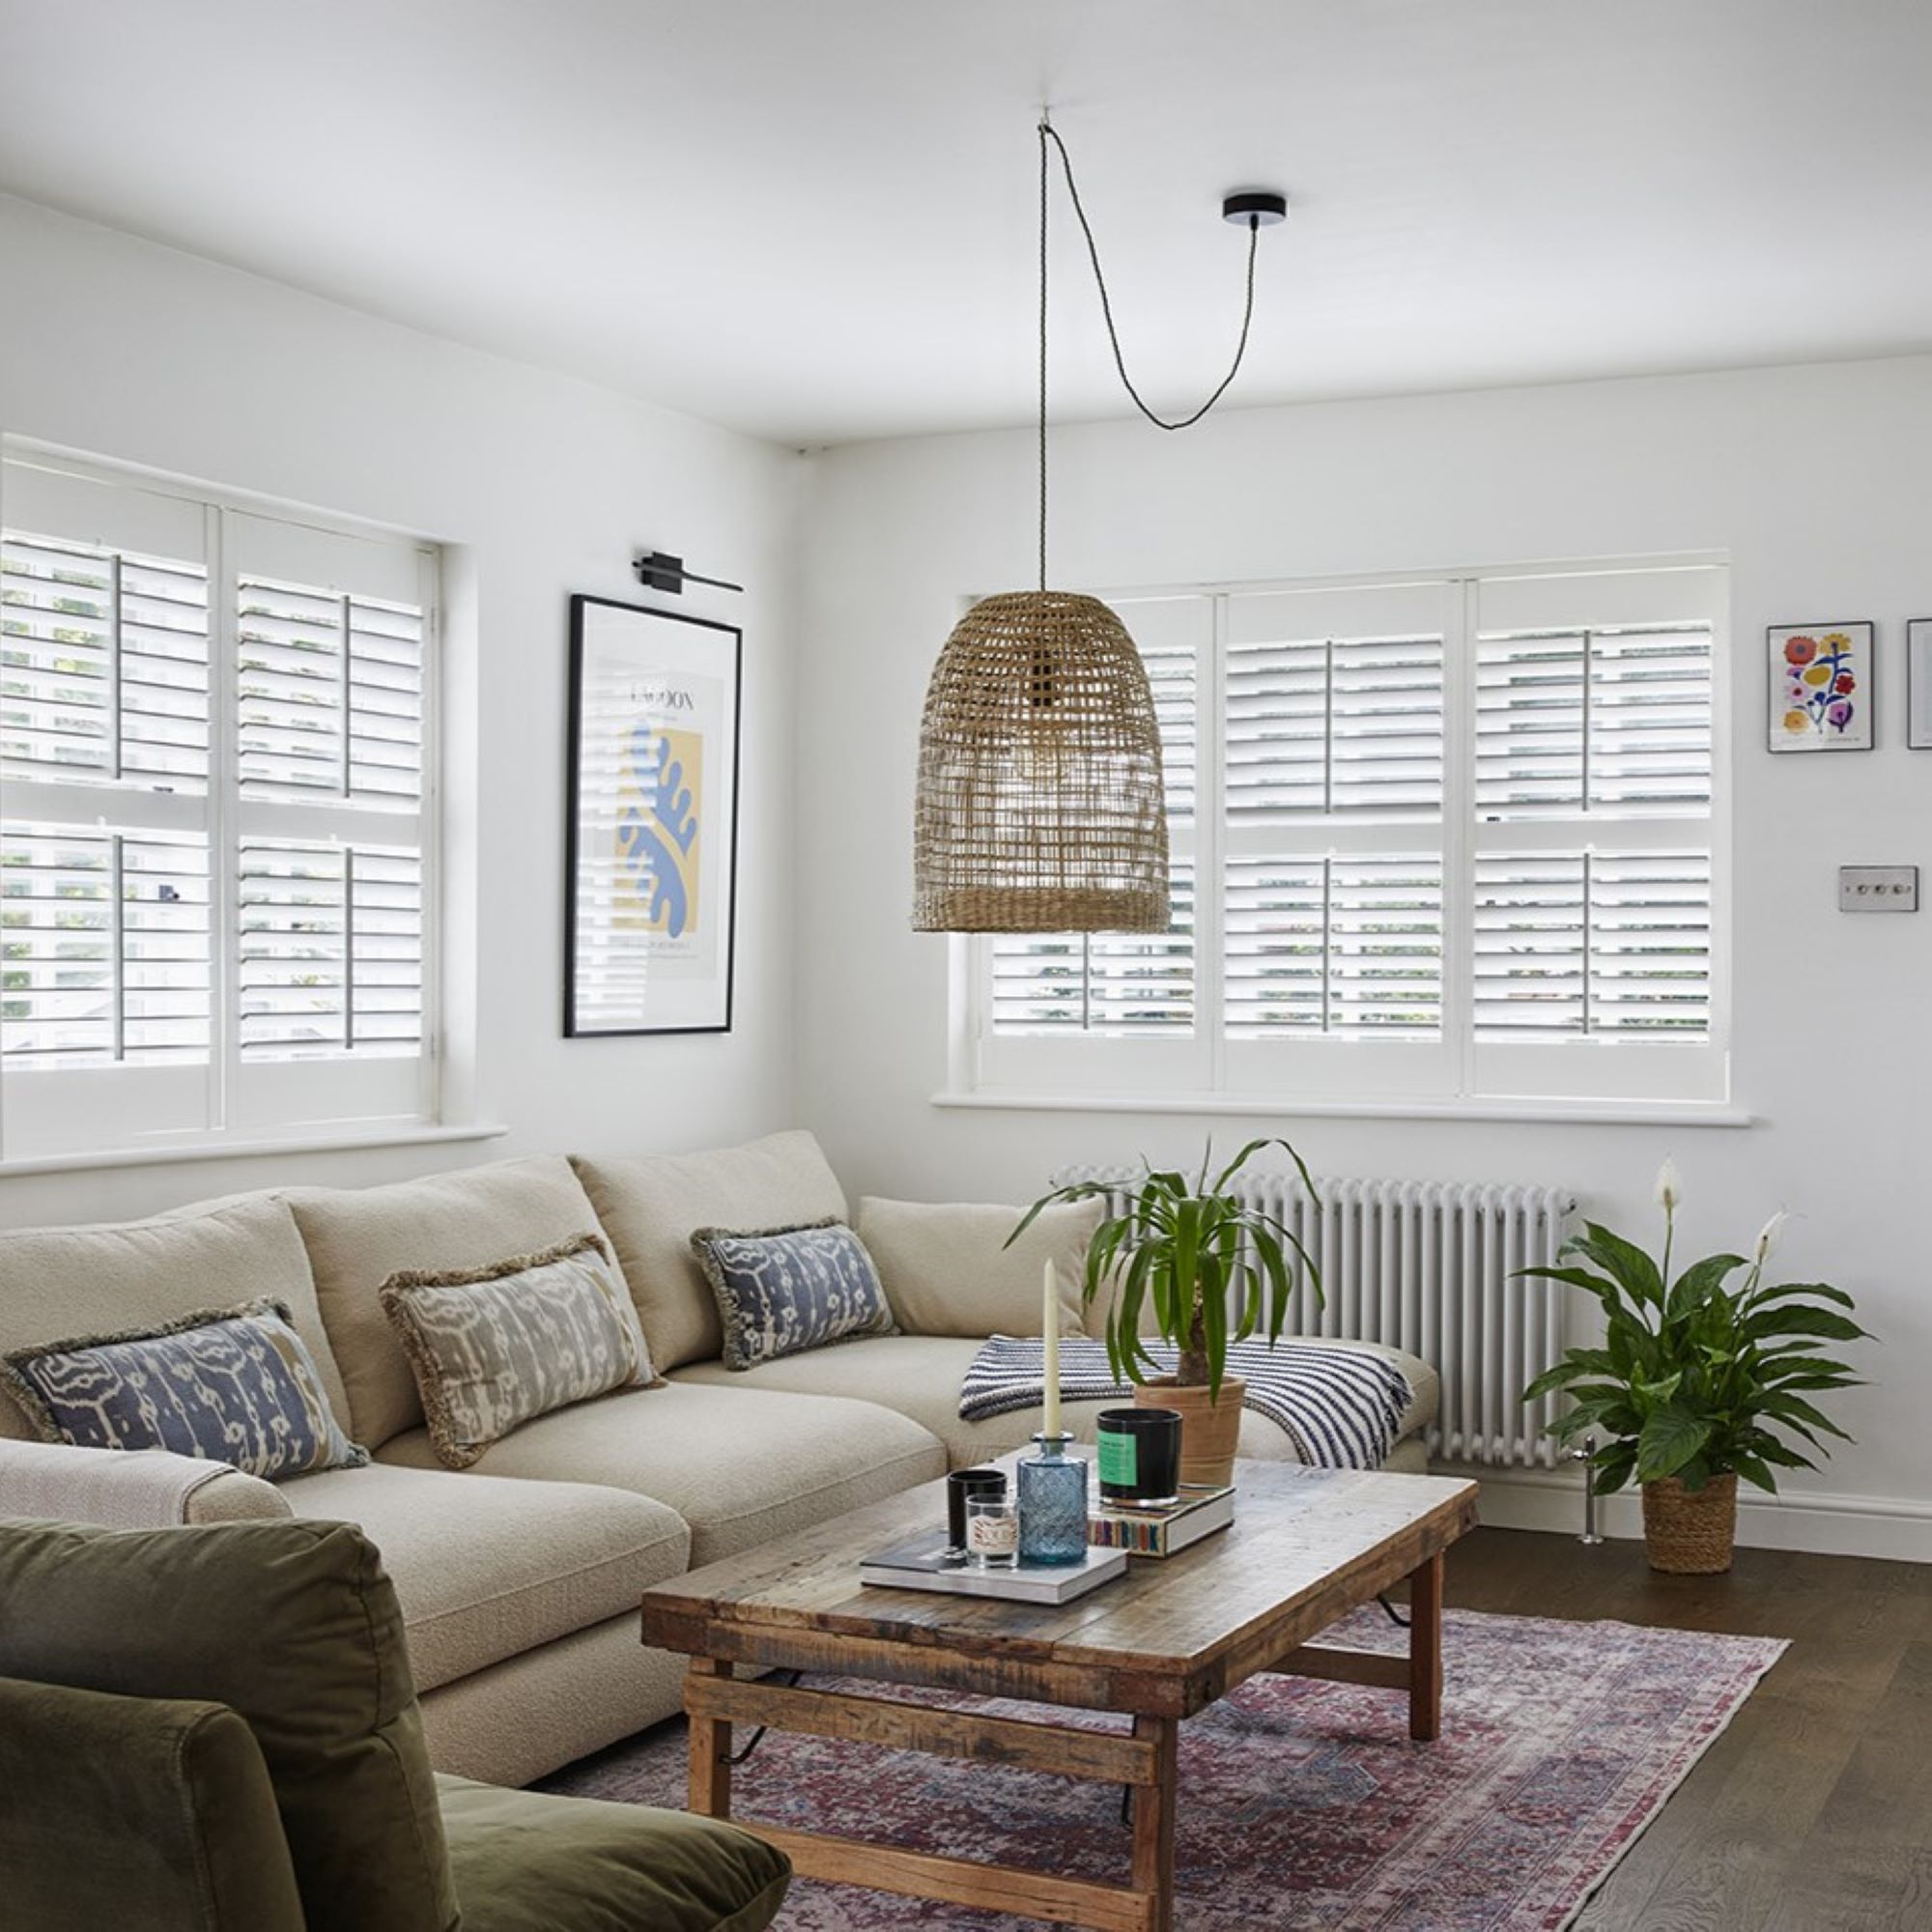
The couple wanted the cottage to have a relaxed and coastal, New England-like vibe so they added window shutters, chalky white colours and lots of texture with wood, rattan and natural carpets.
'It’s really popular to use light colours everywhere in a small space but I think the contrast of the dark floor here makes the space look bigger, rather than it all becoming too tonal.’
Kitchen
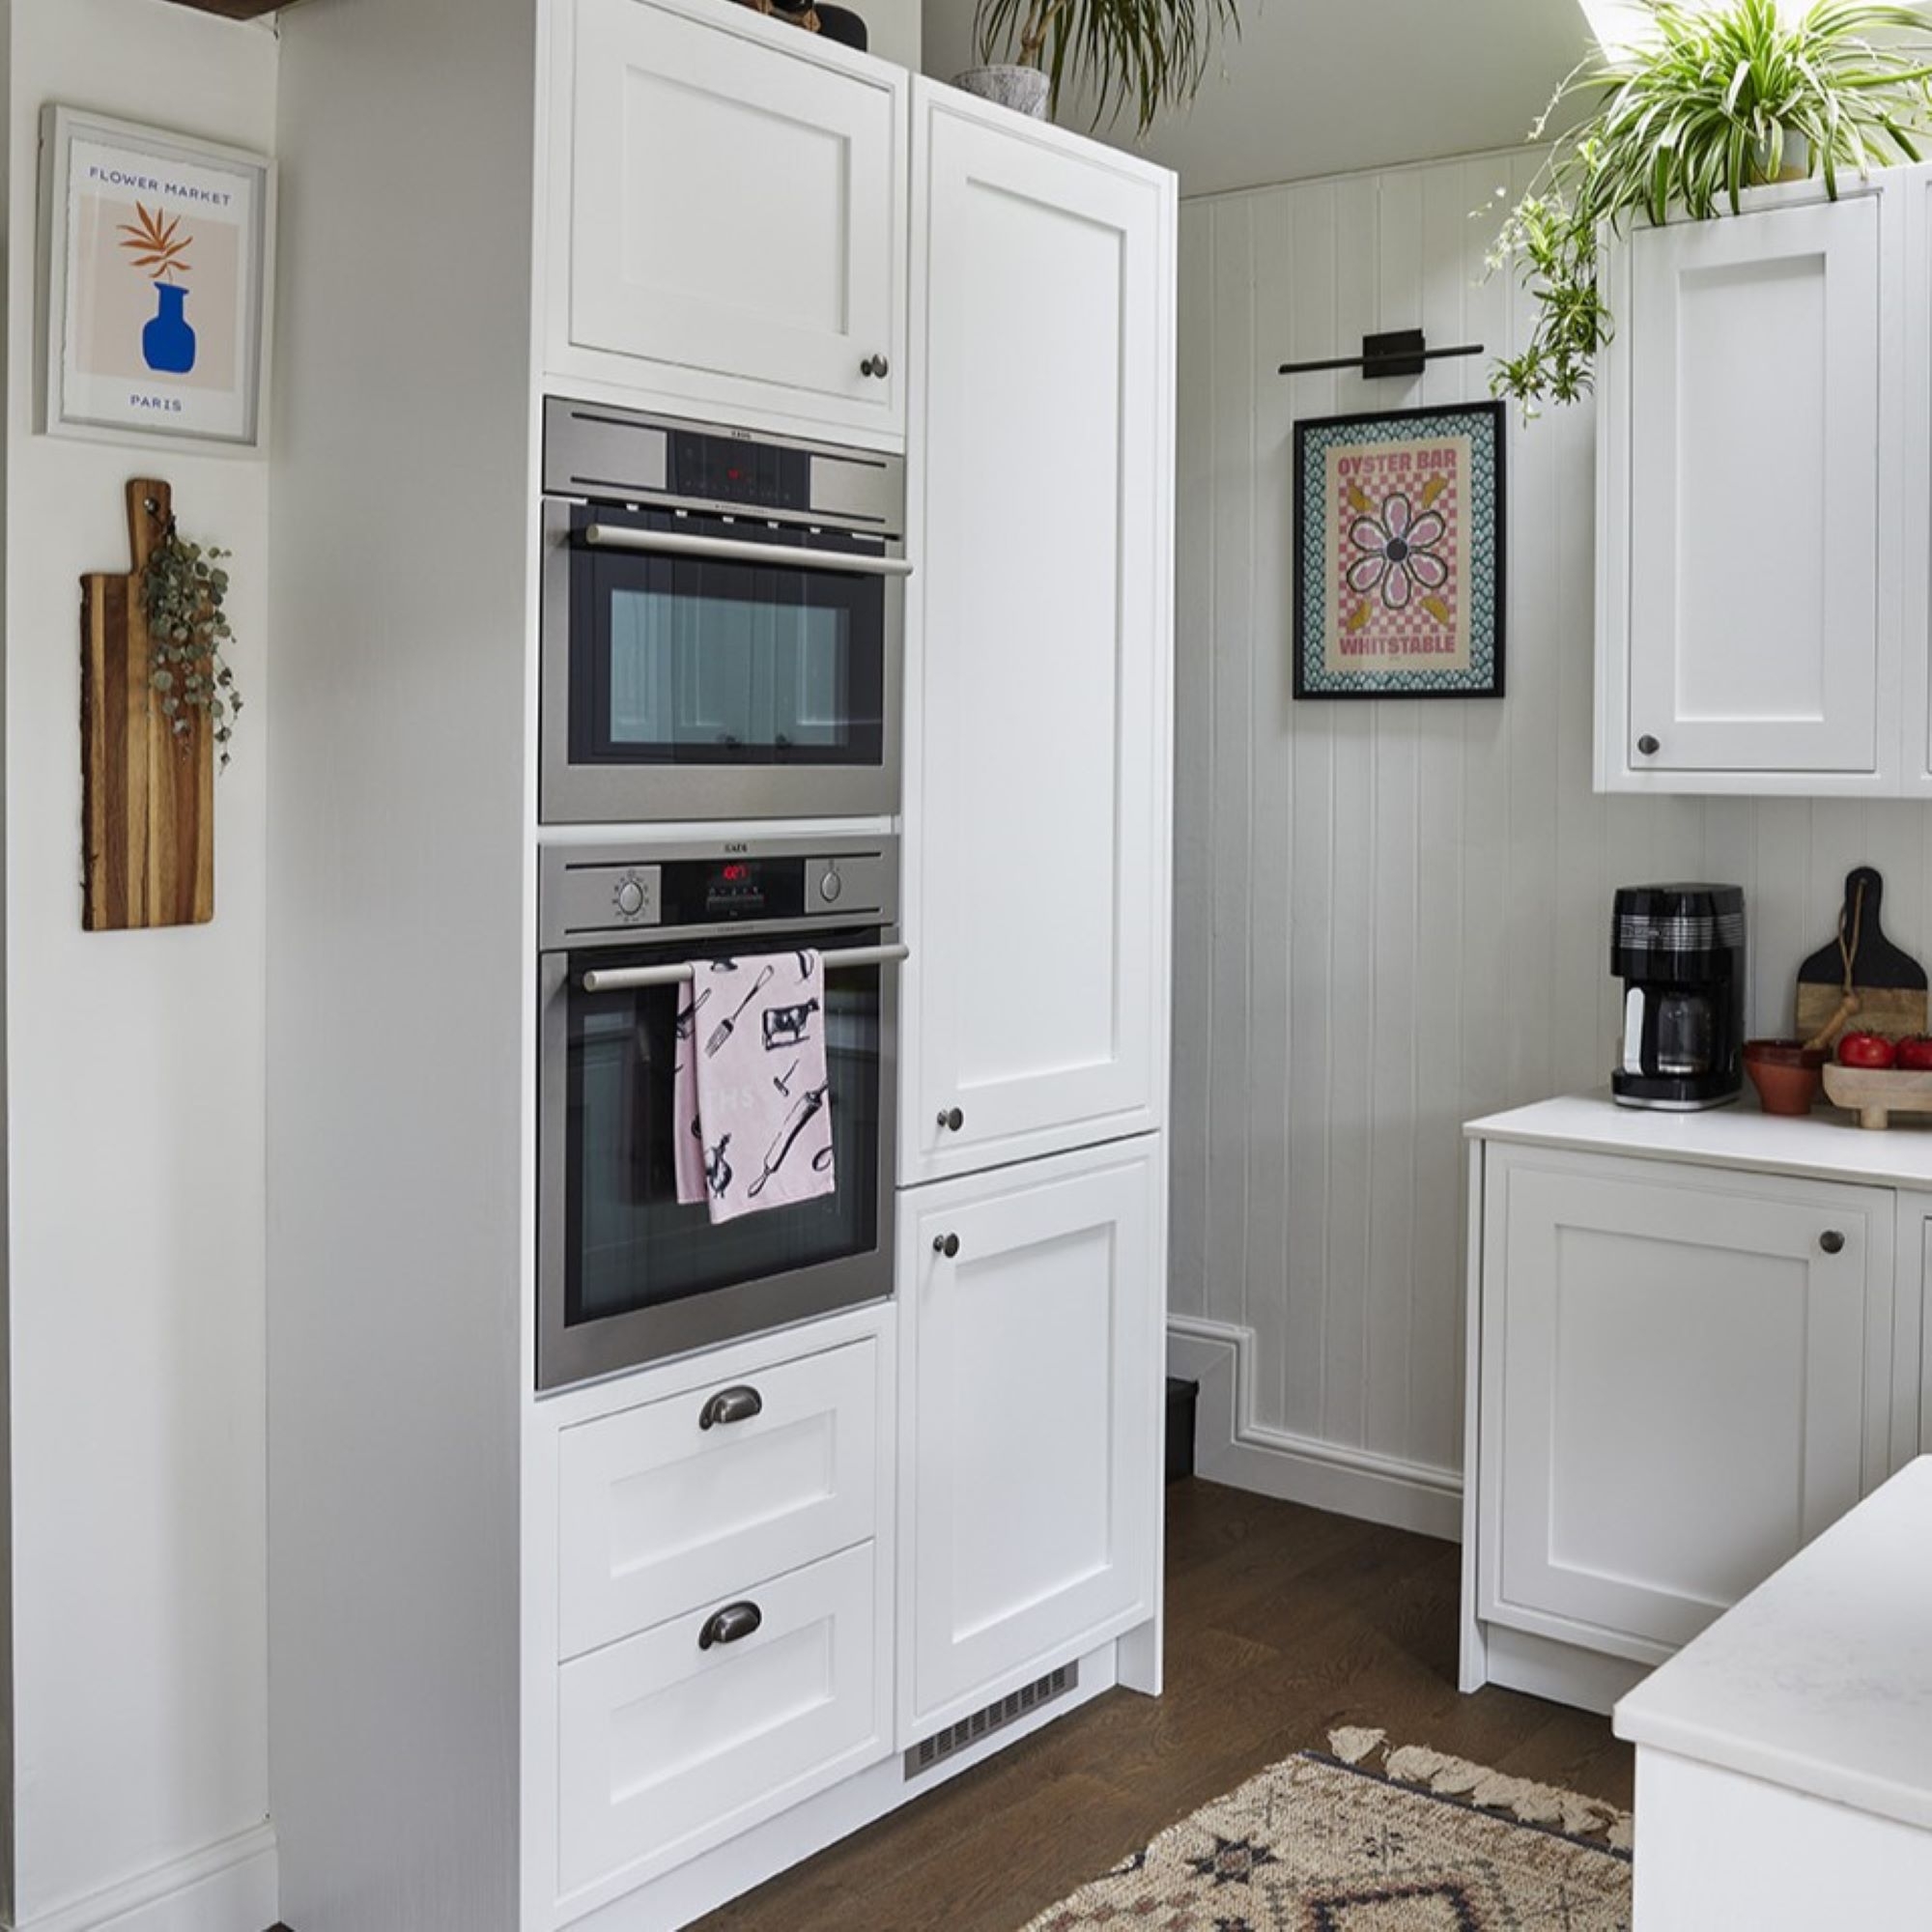
‘The extractor fan was a bargain I found on Facebook Marketplace – it was brand new. It helps to create a zone in the open-plan spa and has in-built lights, which means we don’t need pendants over the island.’
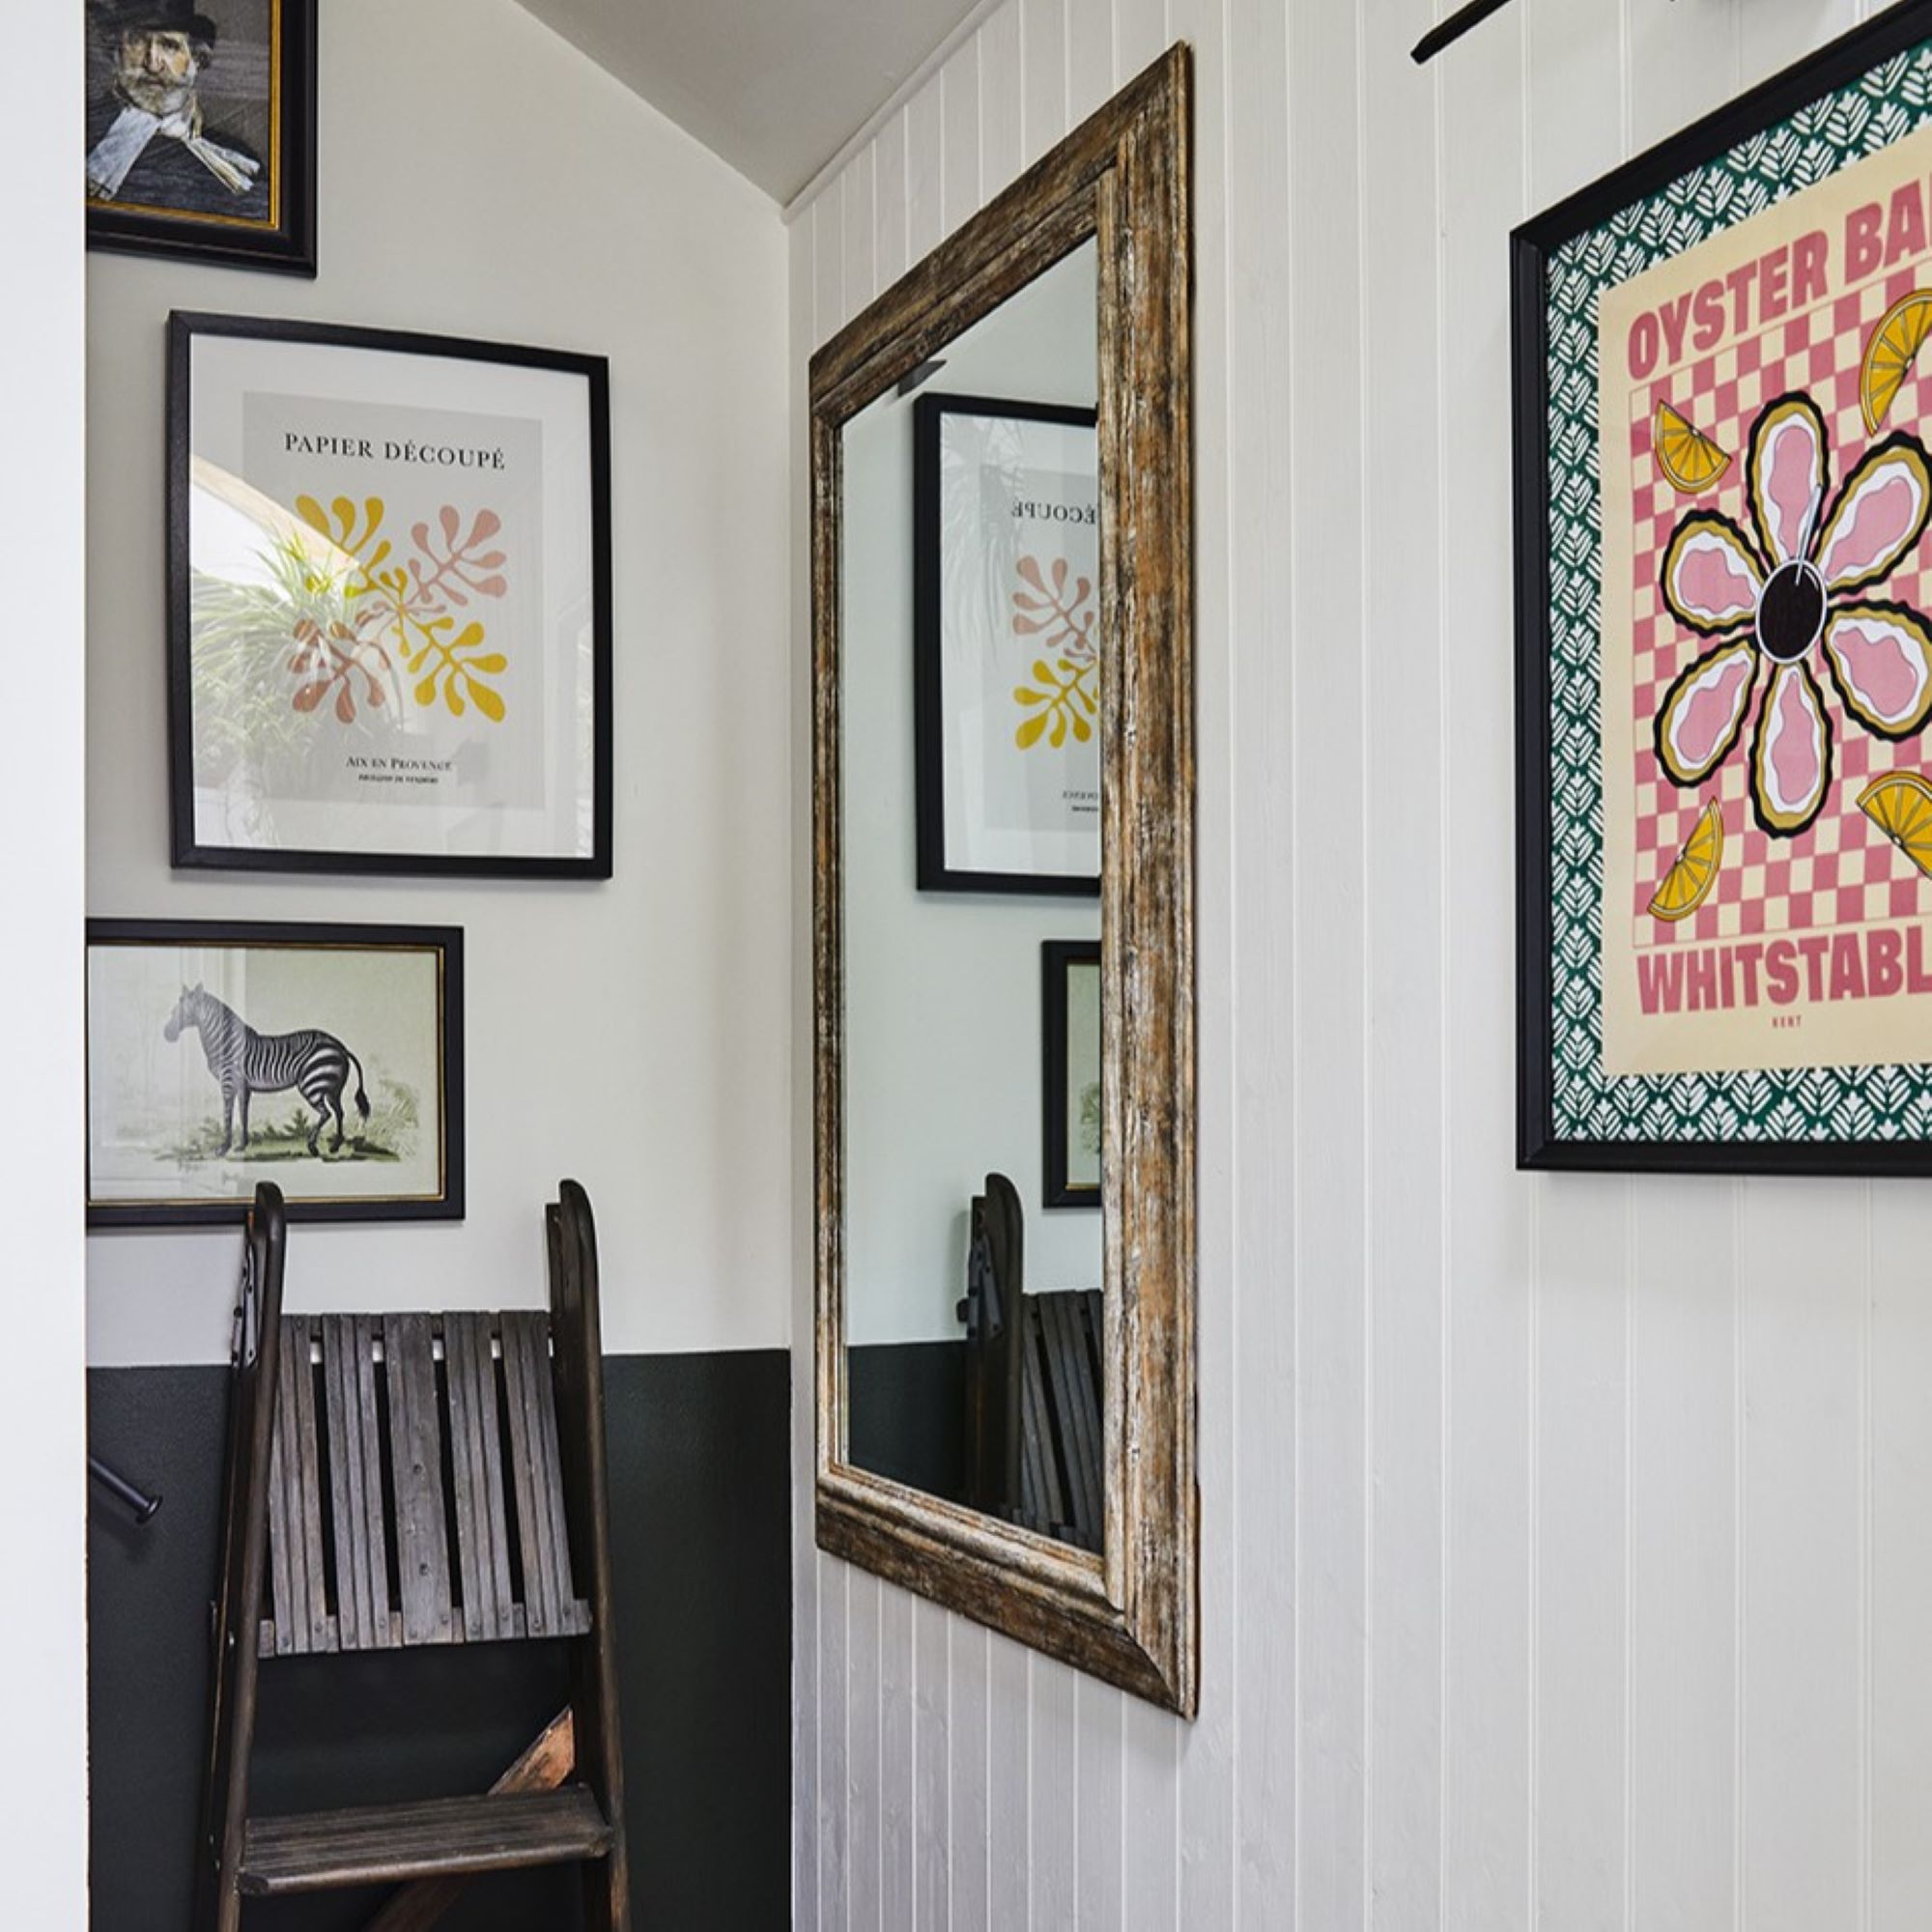
The couple managed to gain kitchen storage space by choosing extra-tall wall units and used the extra head height in the vaulted area for the integrated fridge and ovens. They designed the space using DIY Kitchens’ online configurator. Mounted artwork with patterned wrapping paper on the wall gives a neat graphic result.
Living area
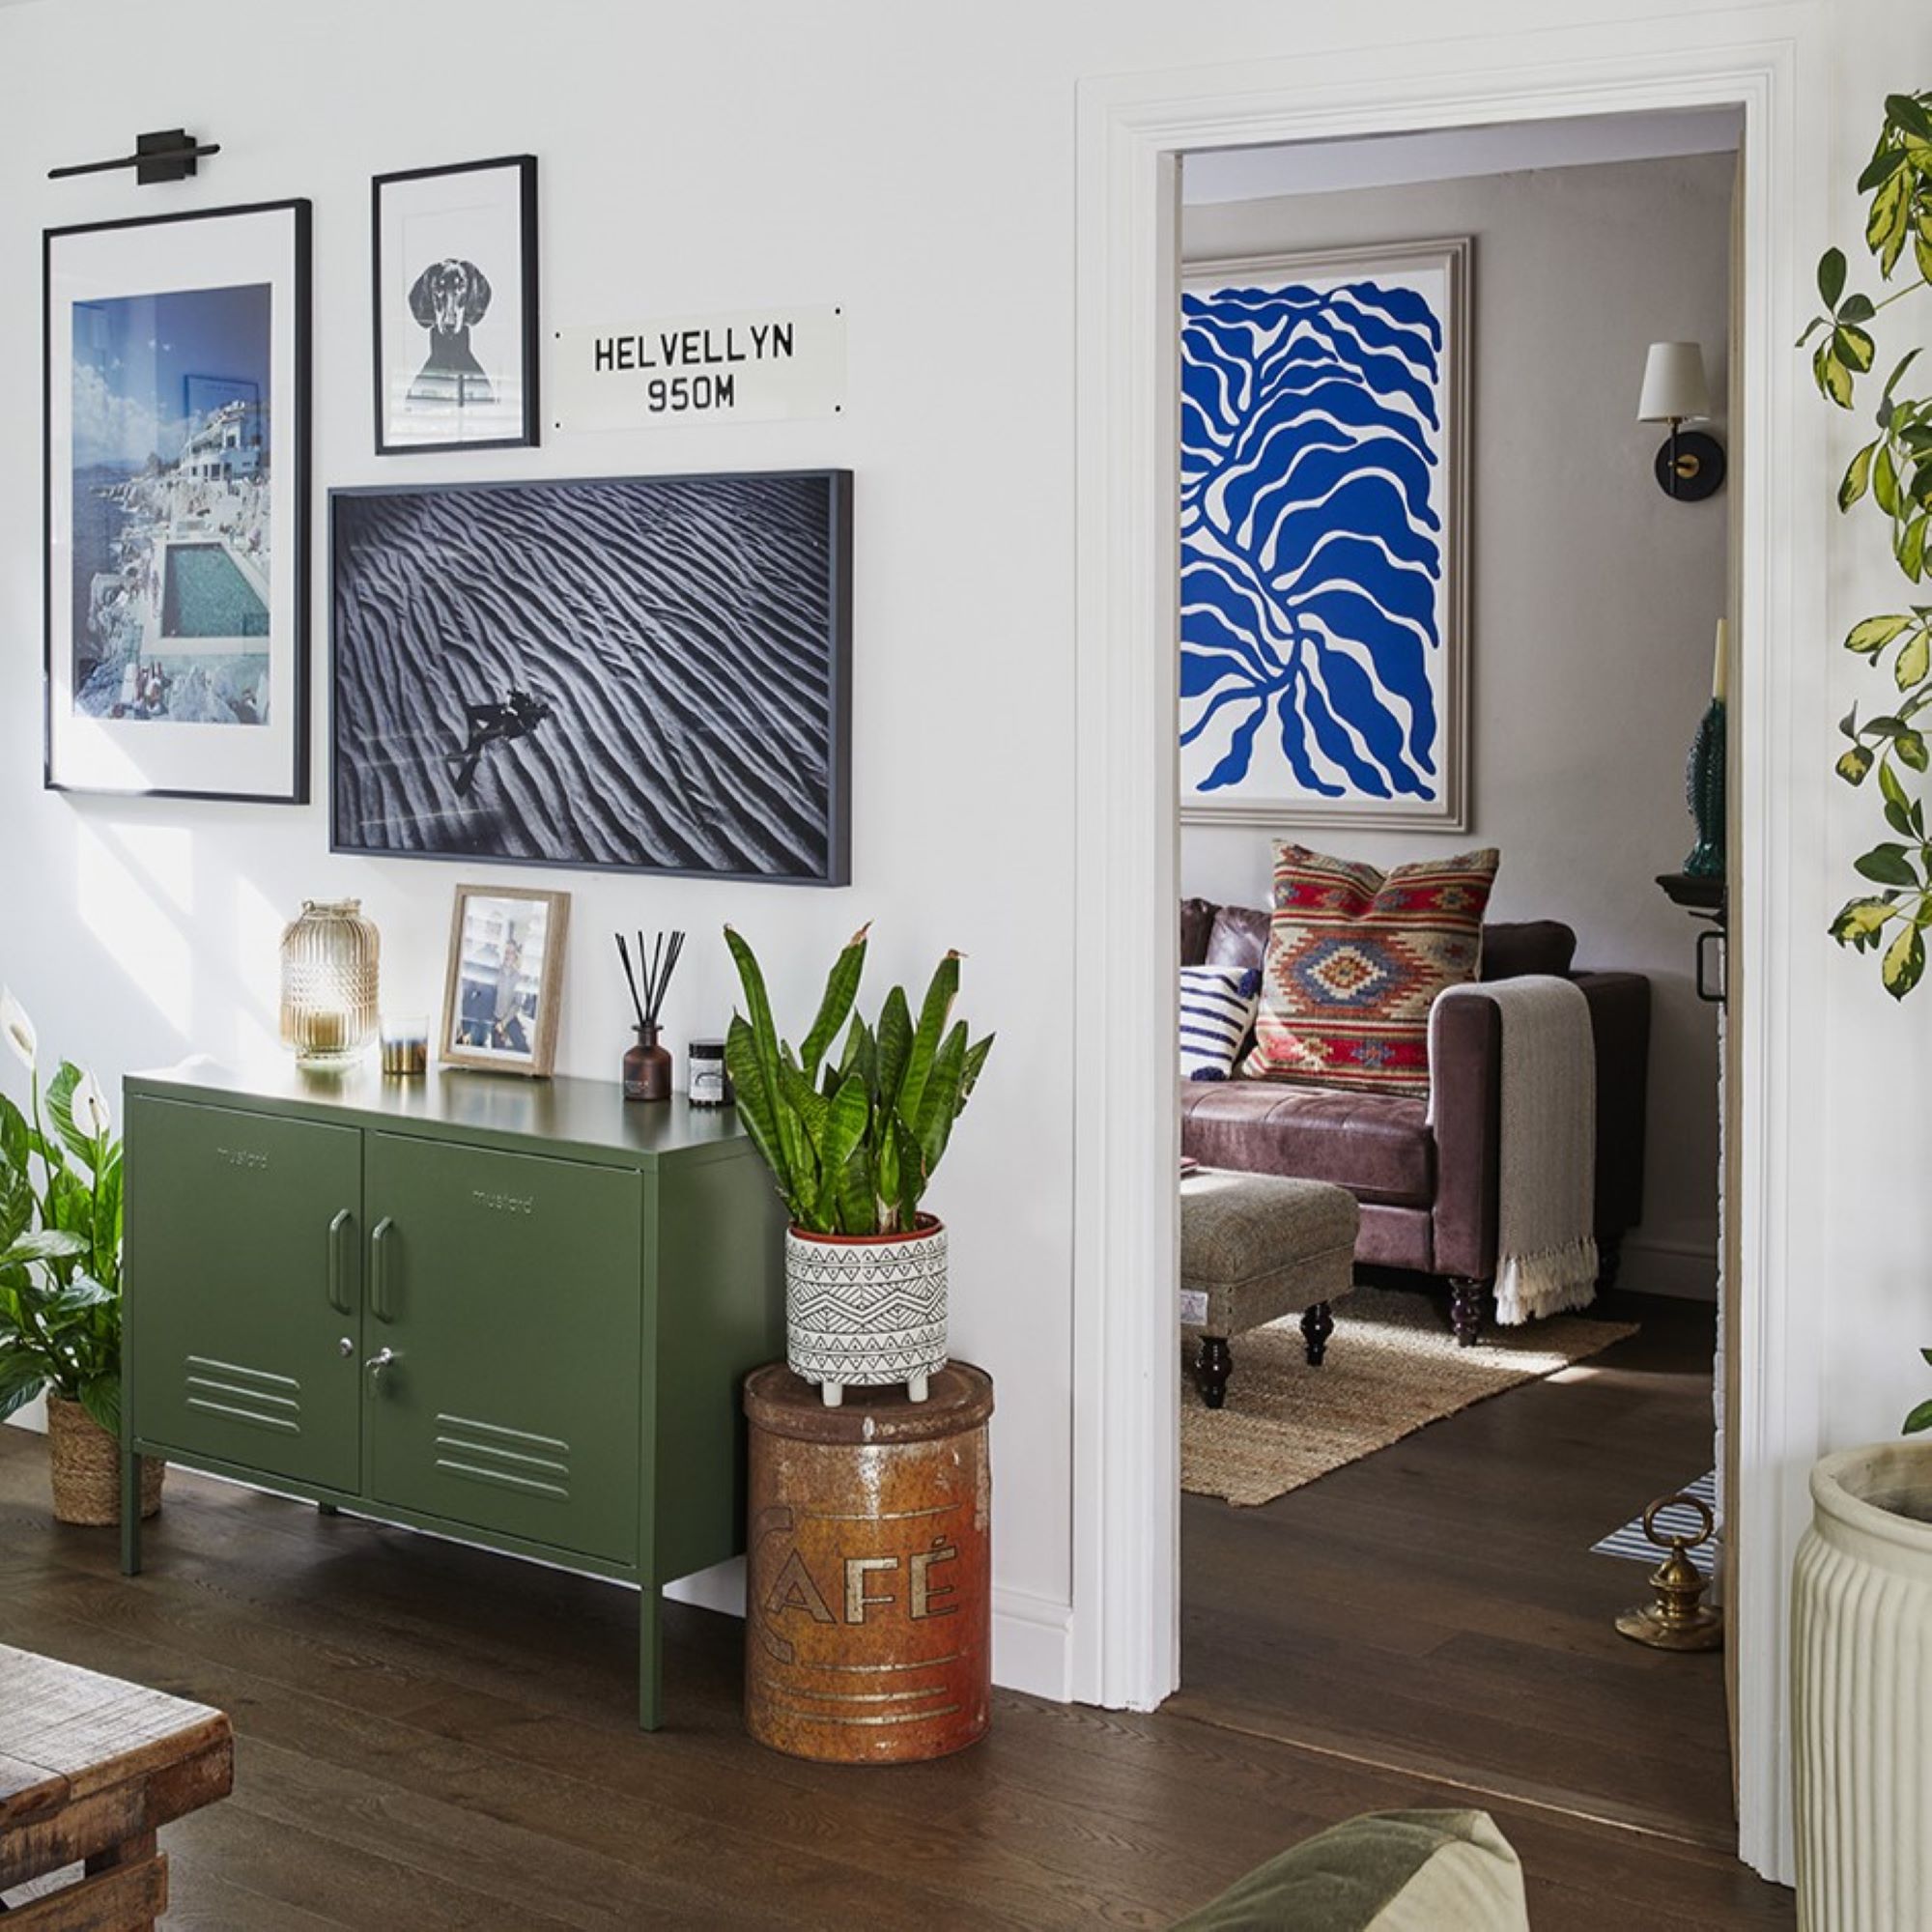
‘There are lots of hardworking pieces in our small space,' Ryan says. 'The locker cabinet holds loads of stuff and the picture frame TV looks like part of our gallery wall. Hanging the pendant centrally over the coffee table helps to segment that part of the room.’
The hard wood floors are softened with runners and rugs throughout the space.
Snug office
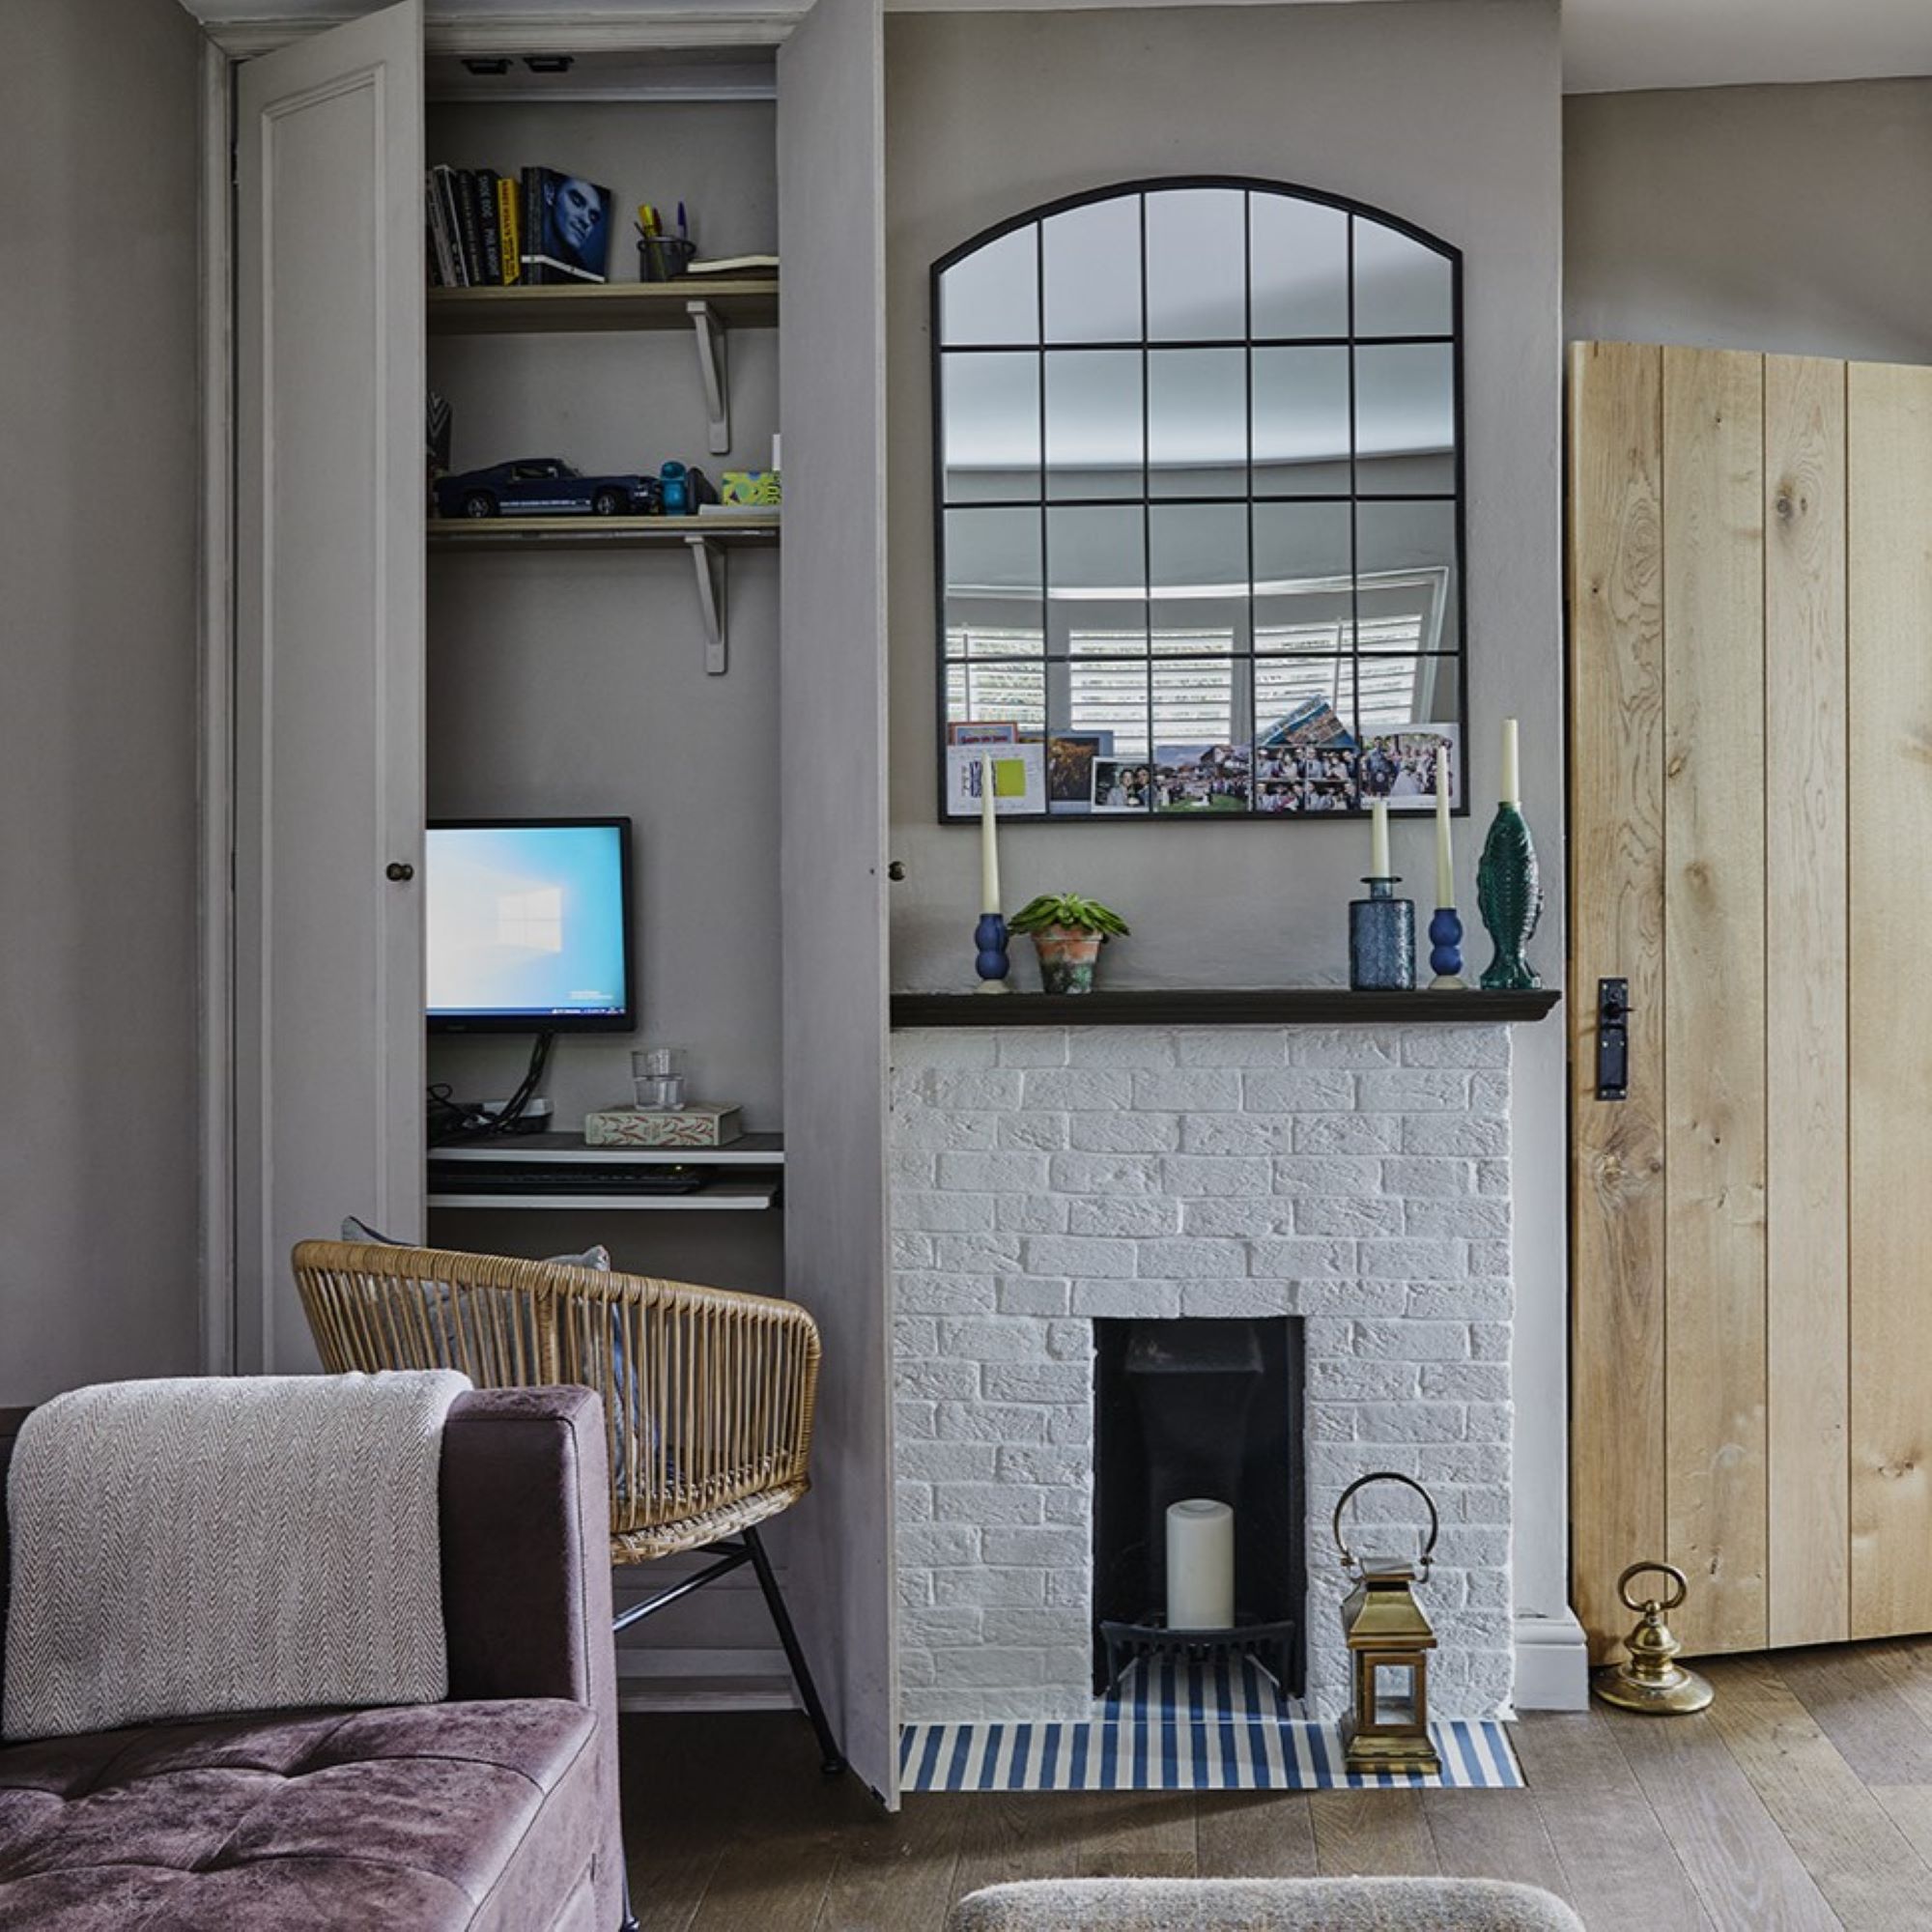
‘The snug is painted in a slightly darker shade to the rest of the space – it’s cosier for watching films in the evening. The alcove has a slide-out shelf that creates a desk and a door to close it all away at the end of a work day.’
Master bedroom
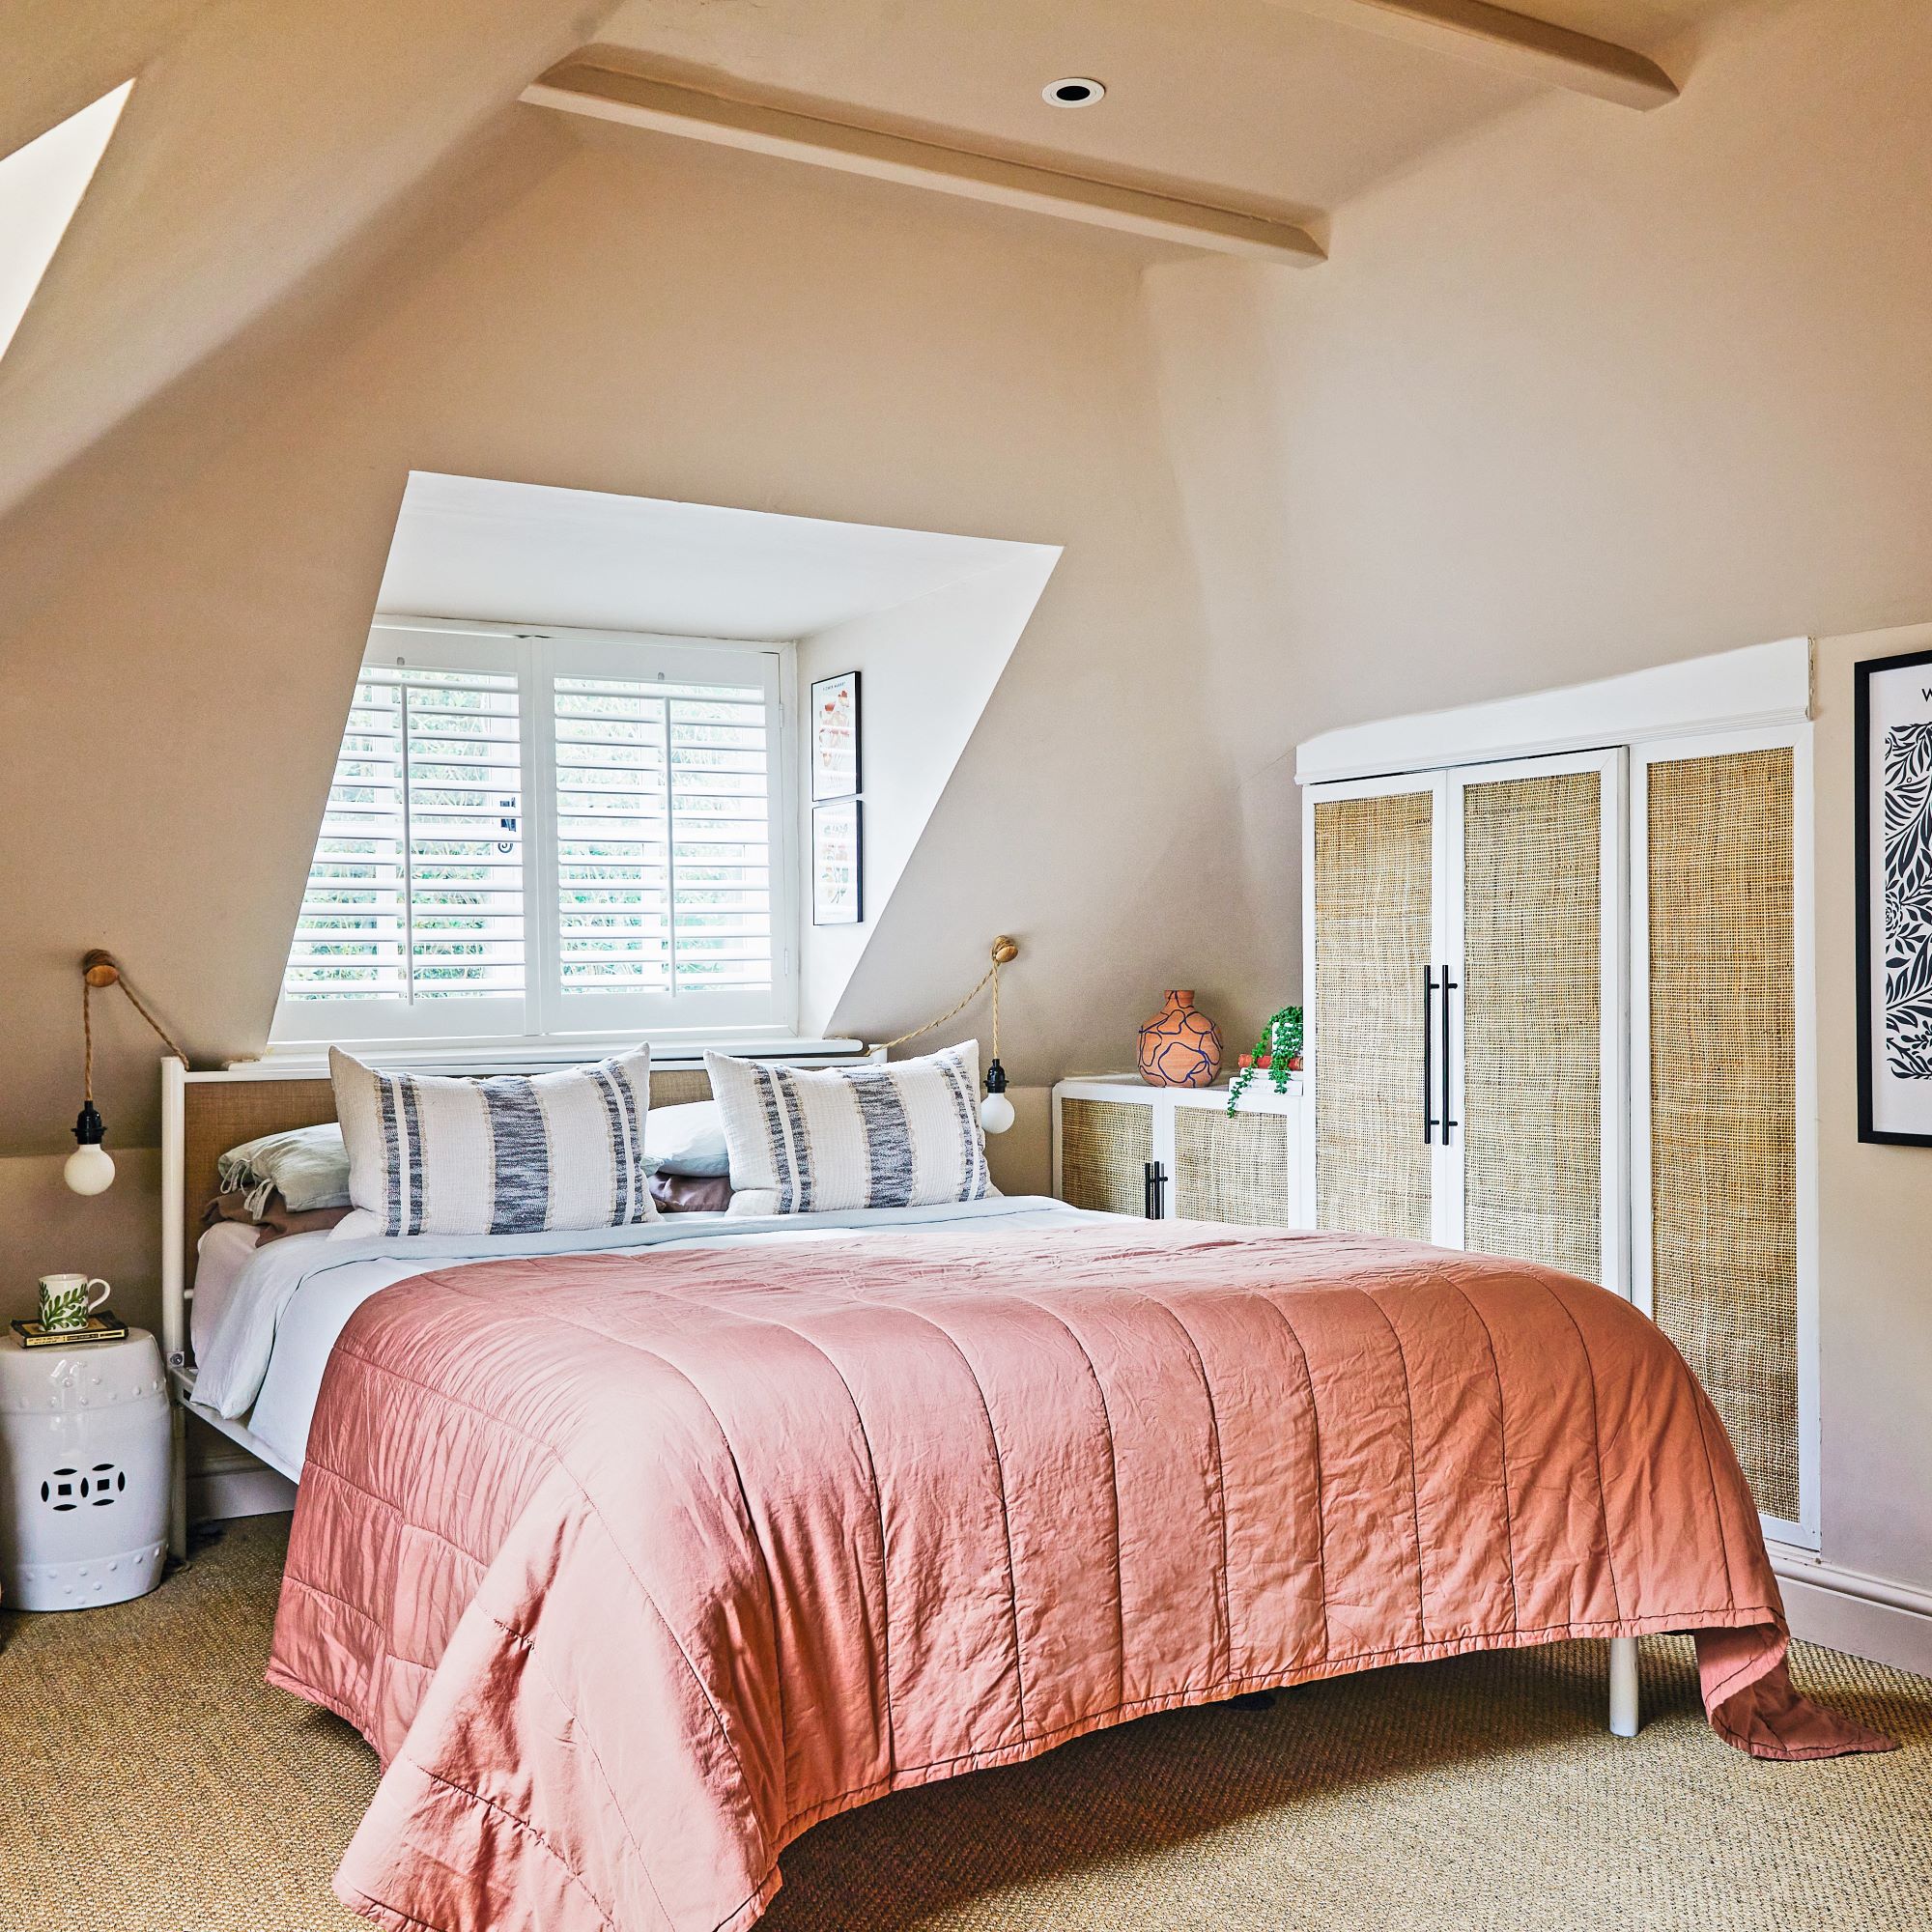
‘With its warm pinky plaster hue and rich textures, this room feels really cocoon-like,' Ryan tells us. 'The hanging bulbs are a great idea with the sloped ceiling and don’t take up any space on a bedside table.’
To save on bedroom storage ideas, the couple cleverly turned the area at the top of the stairs into a dressing room with storage under all the eaves.
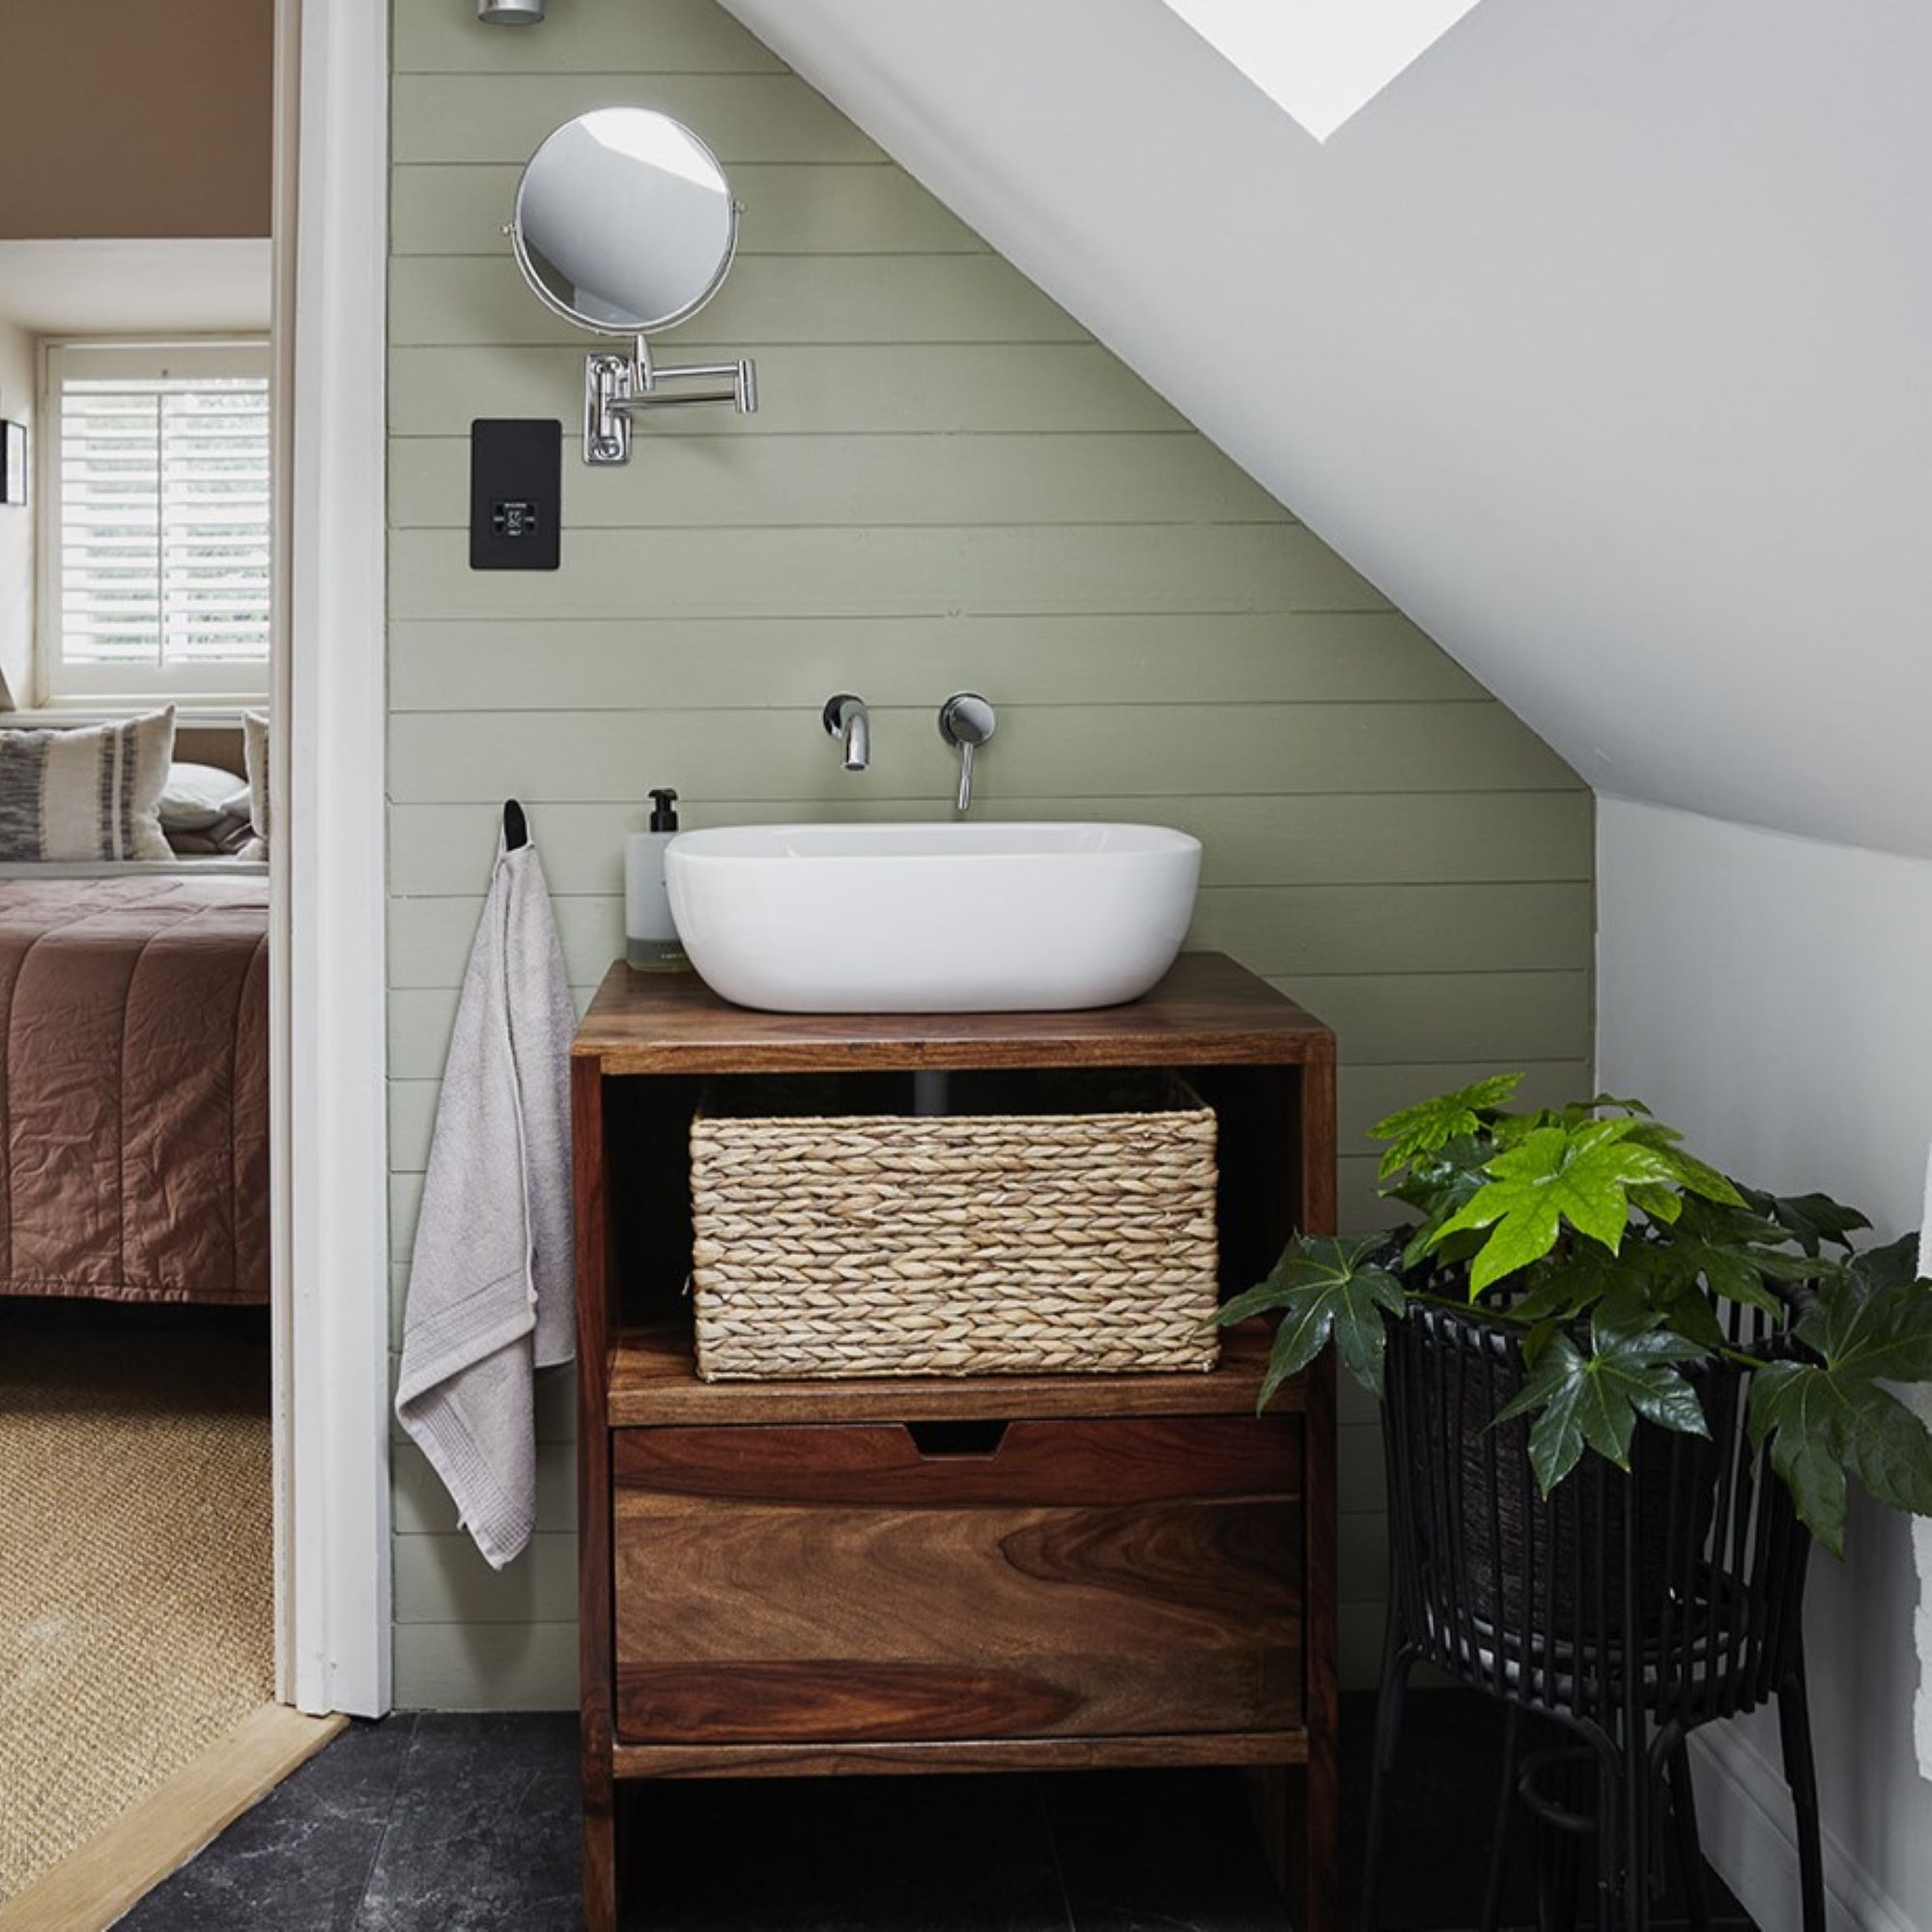
Bathroom
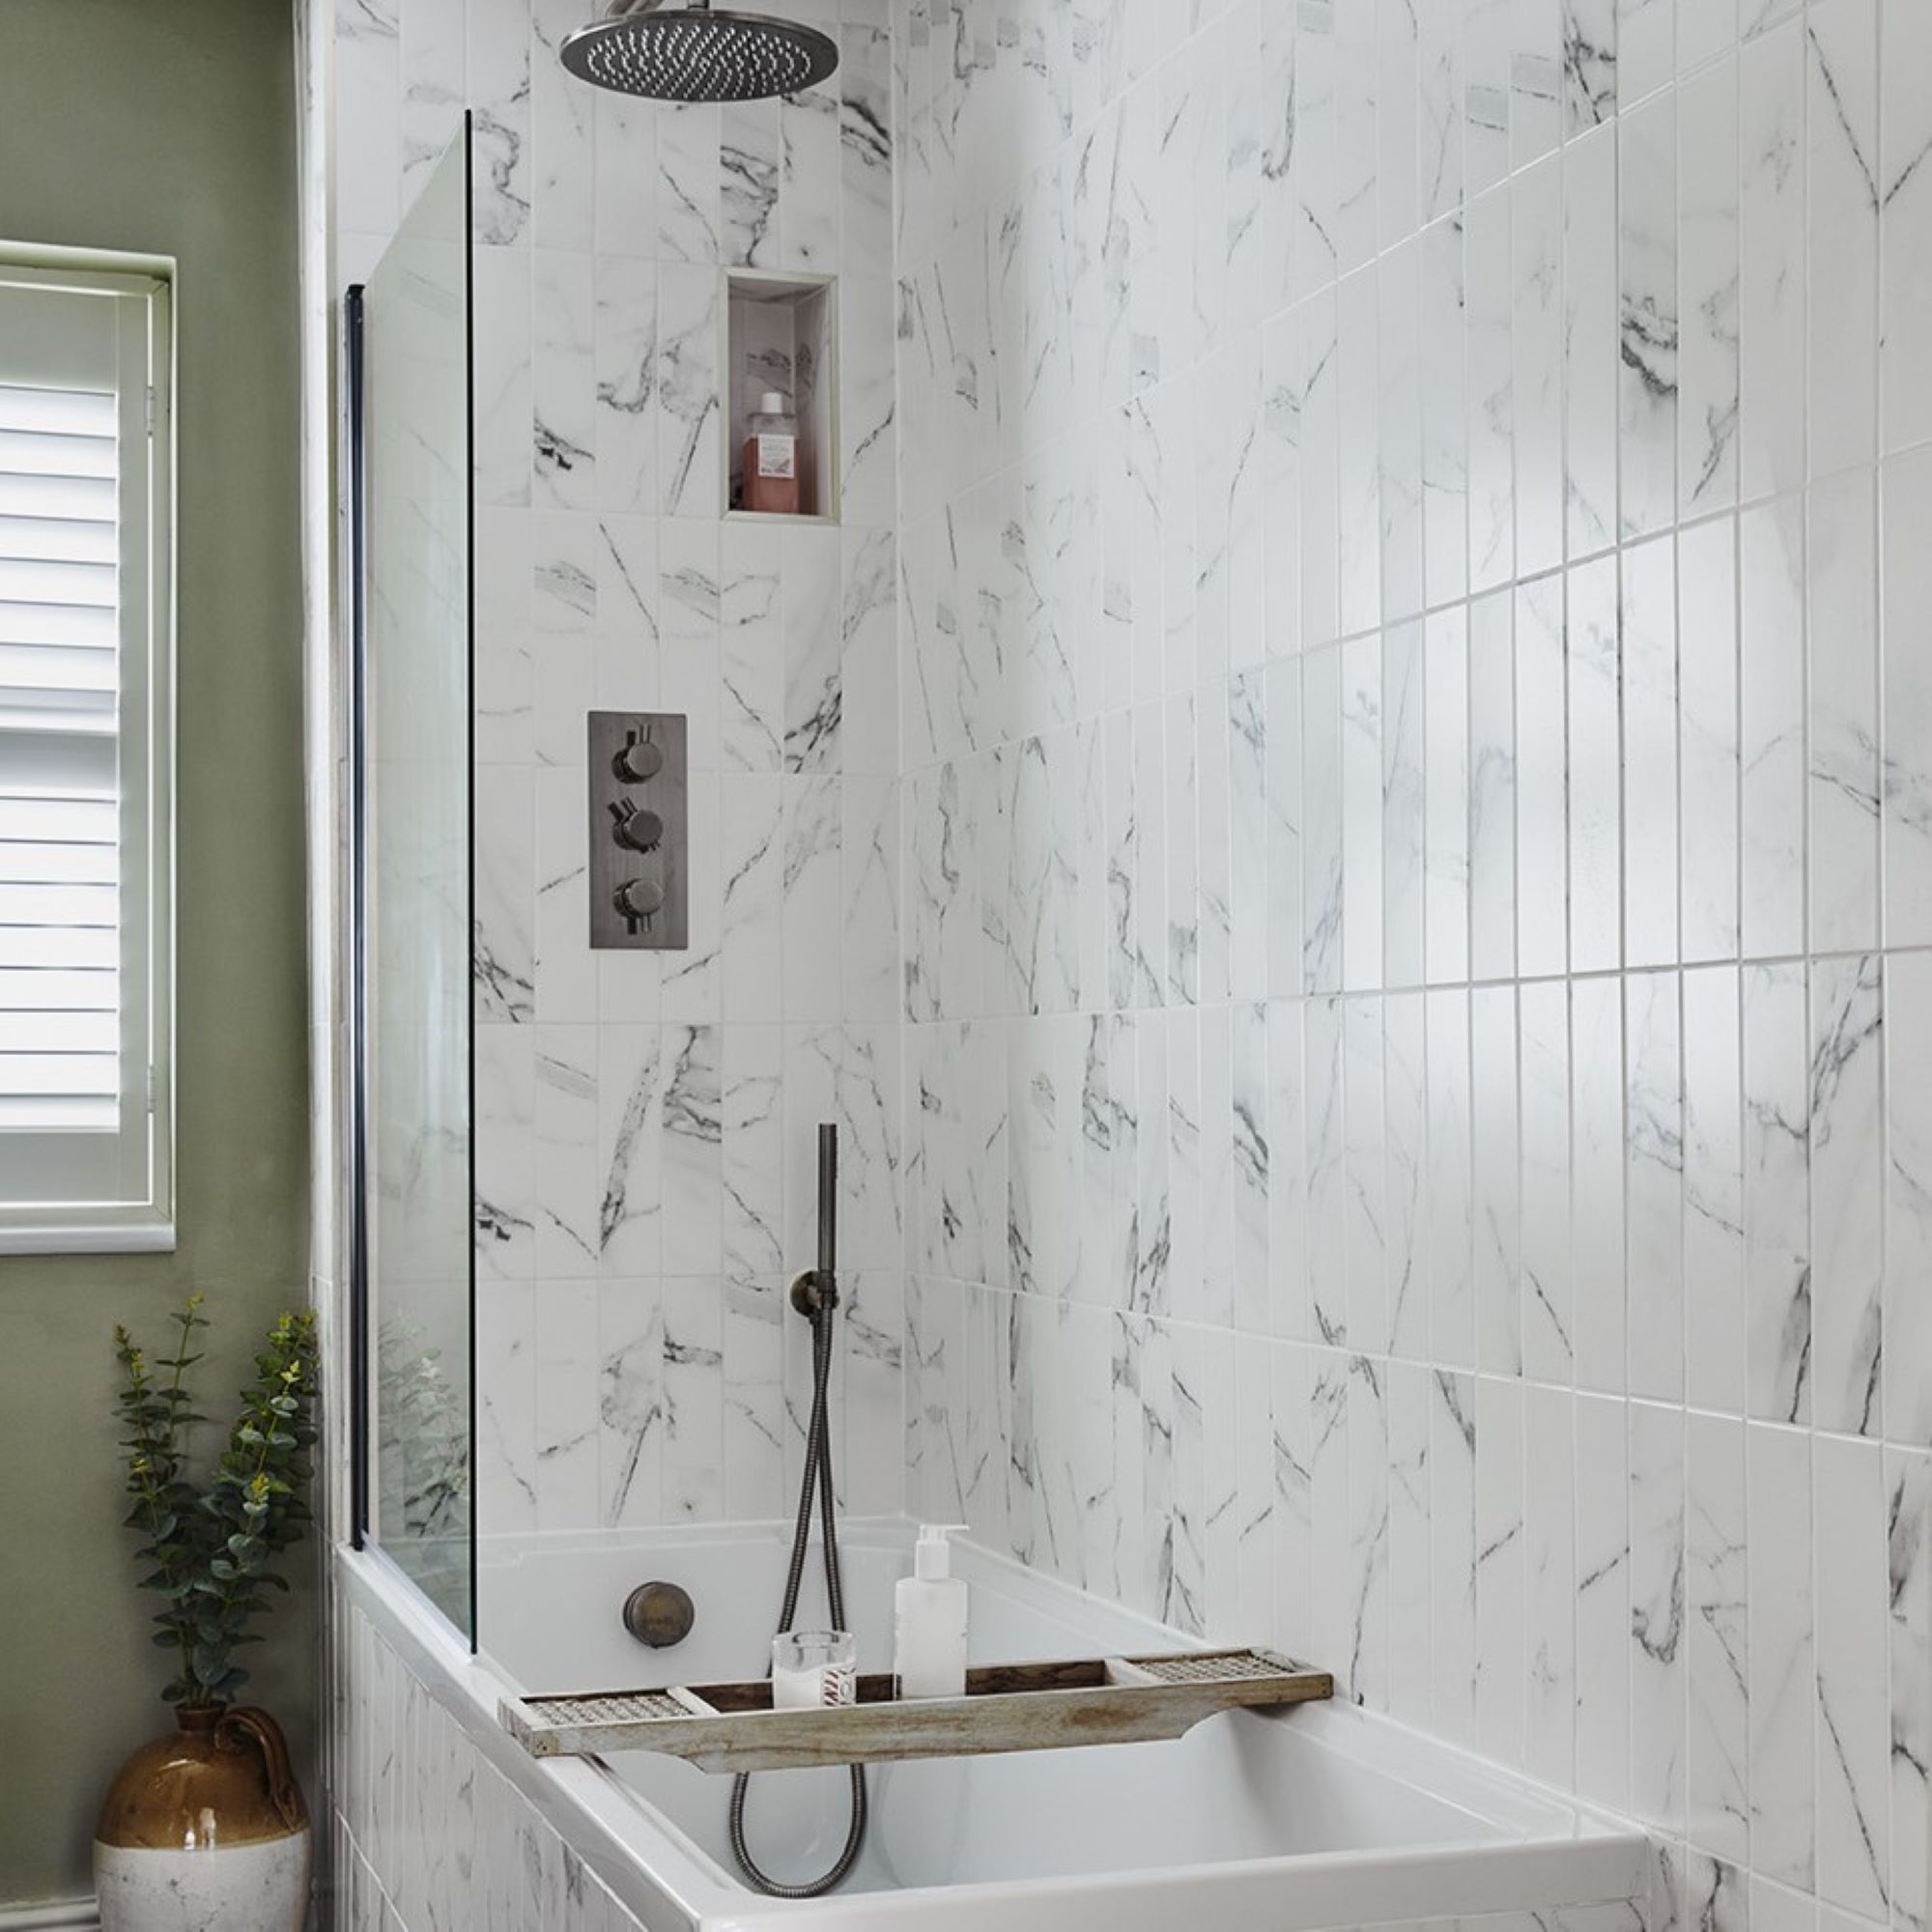
The bathroom had originally been a dark space with a huge freestanding bath. Ryan and Craig added a window for light and the shower bath for a better small bathroom layout.
Laid vertically, the shower tiles feel modern and uniform. You can set tiles in this way to increase the sense of height in a small space.
‘We hid the basin plumbing and wiring for the light behind wall cladding to streamline the space,’ Ryan adds.
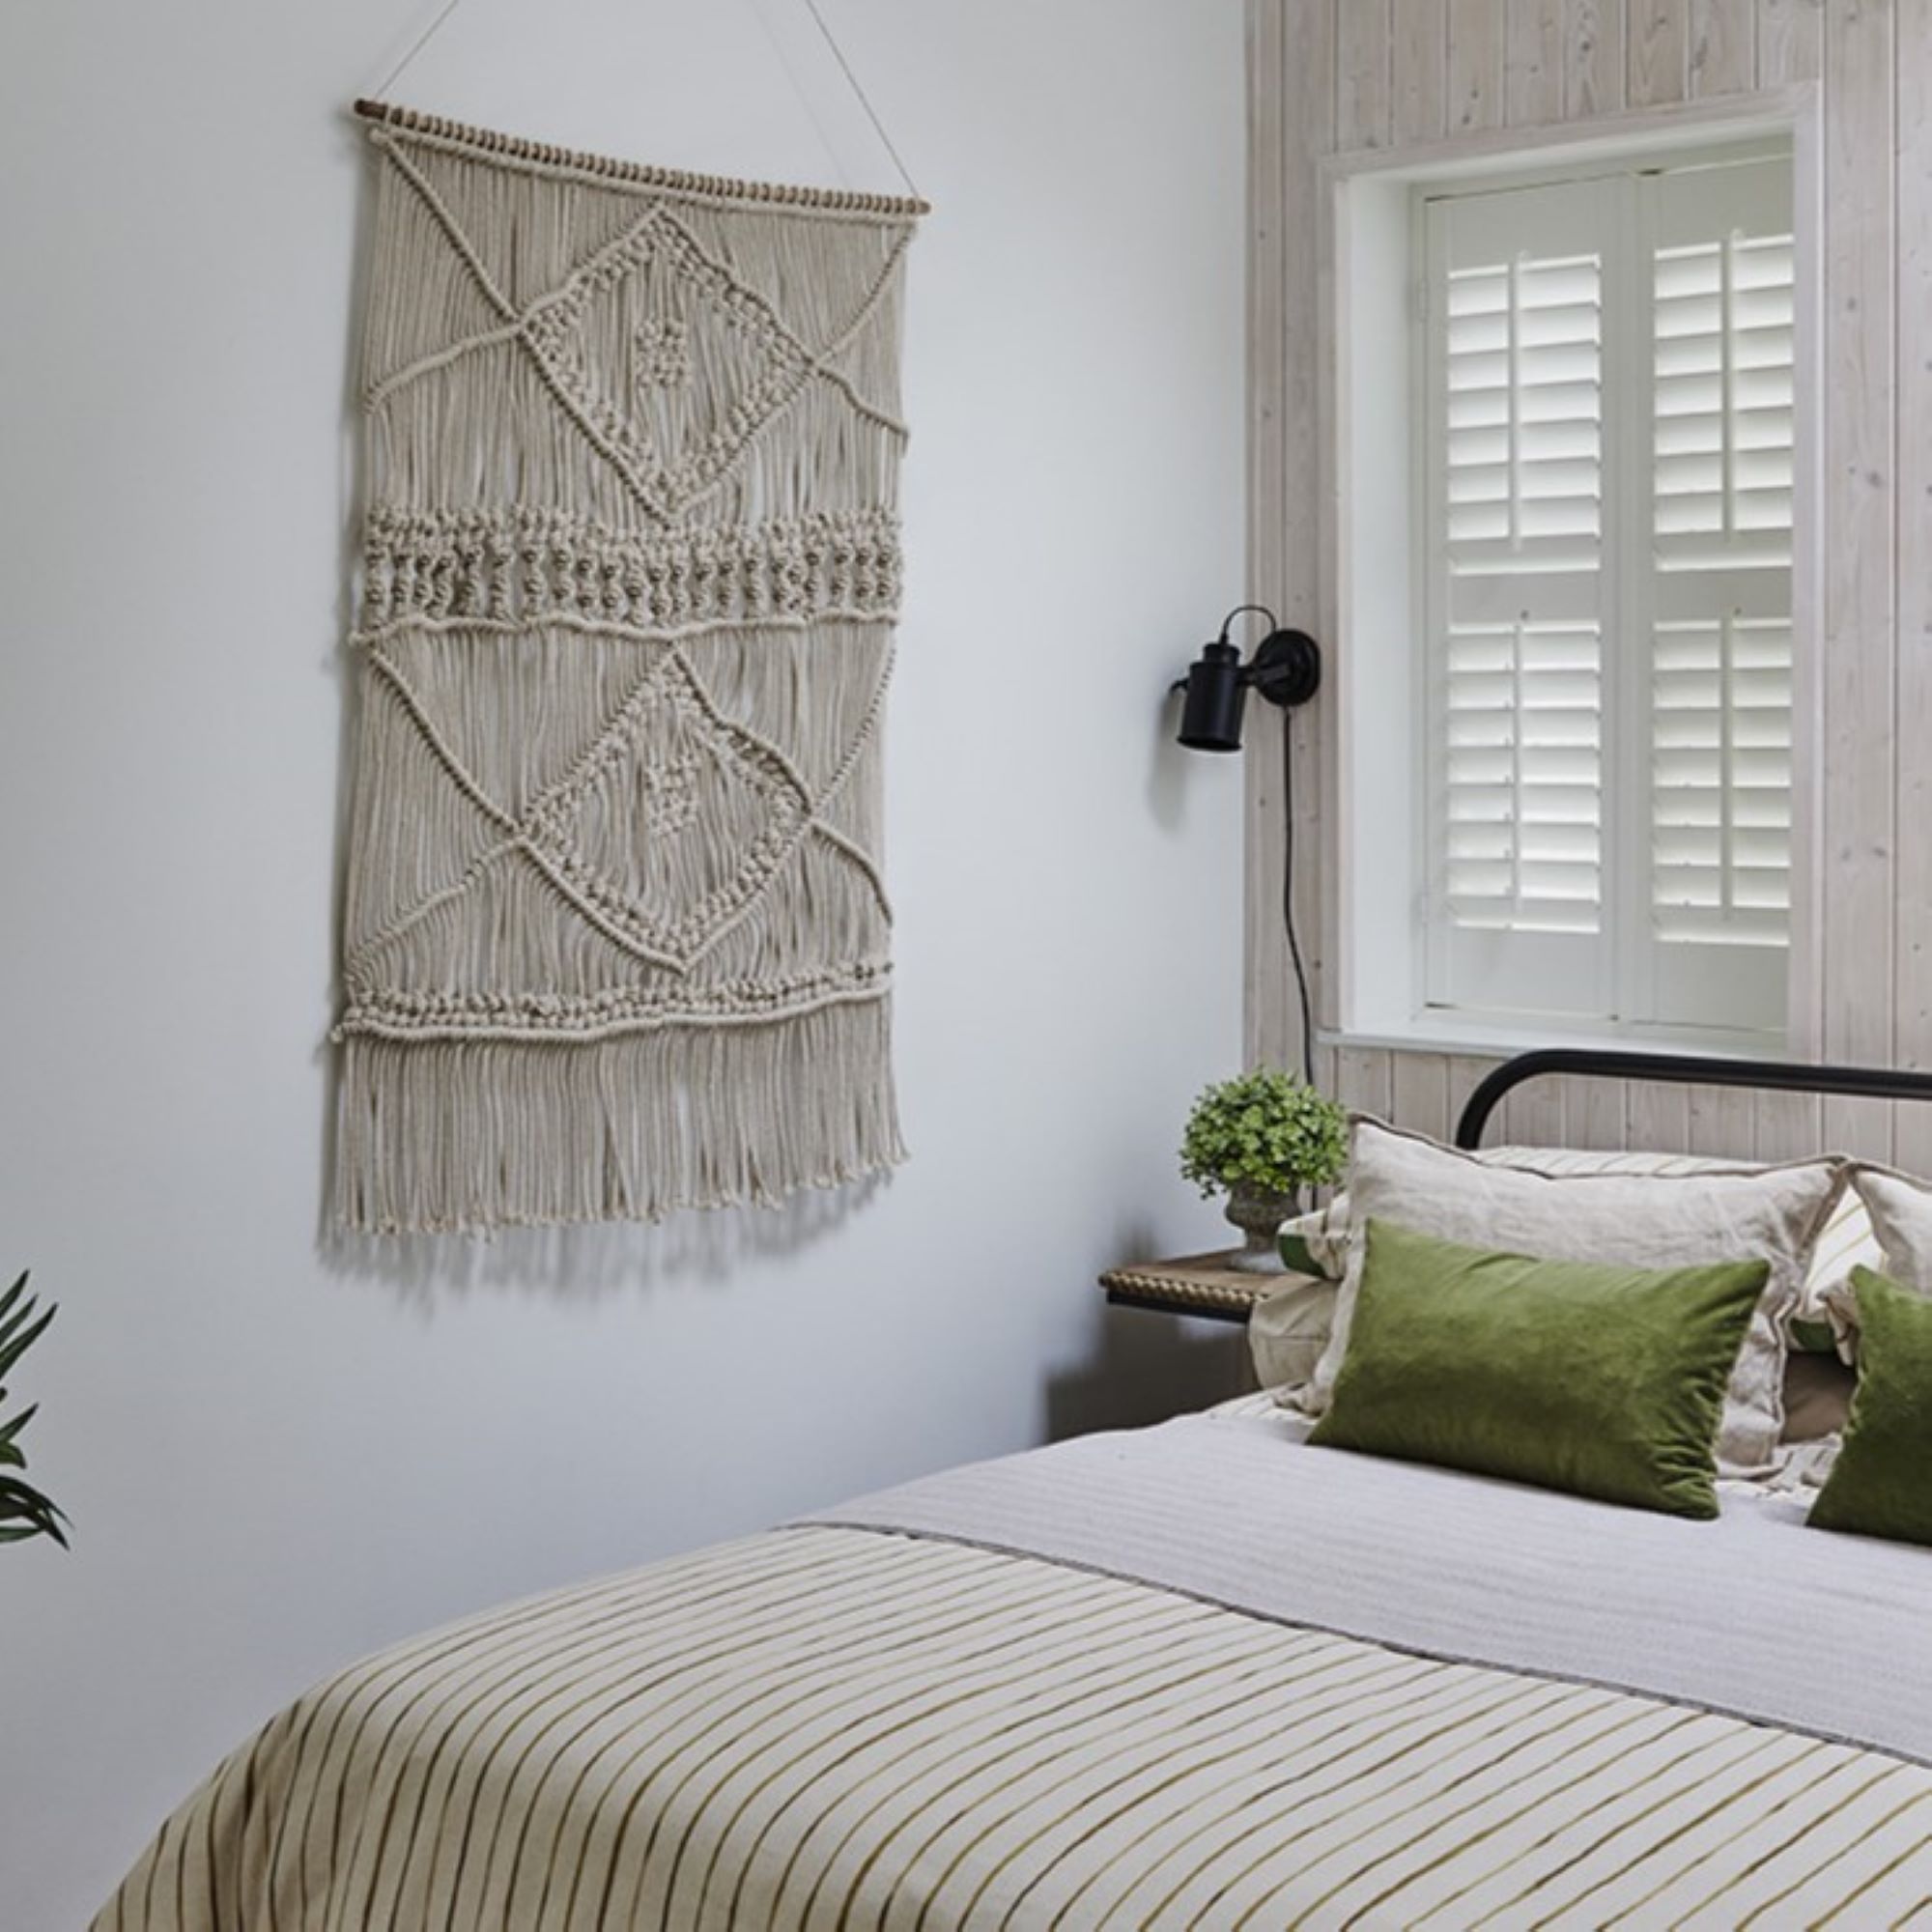
Guest bedroom
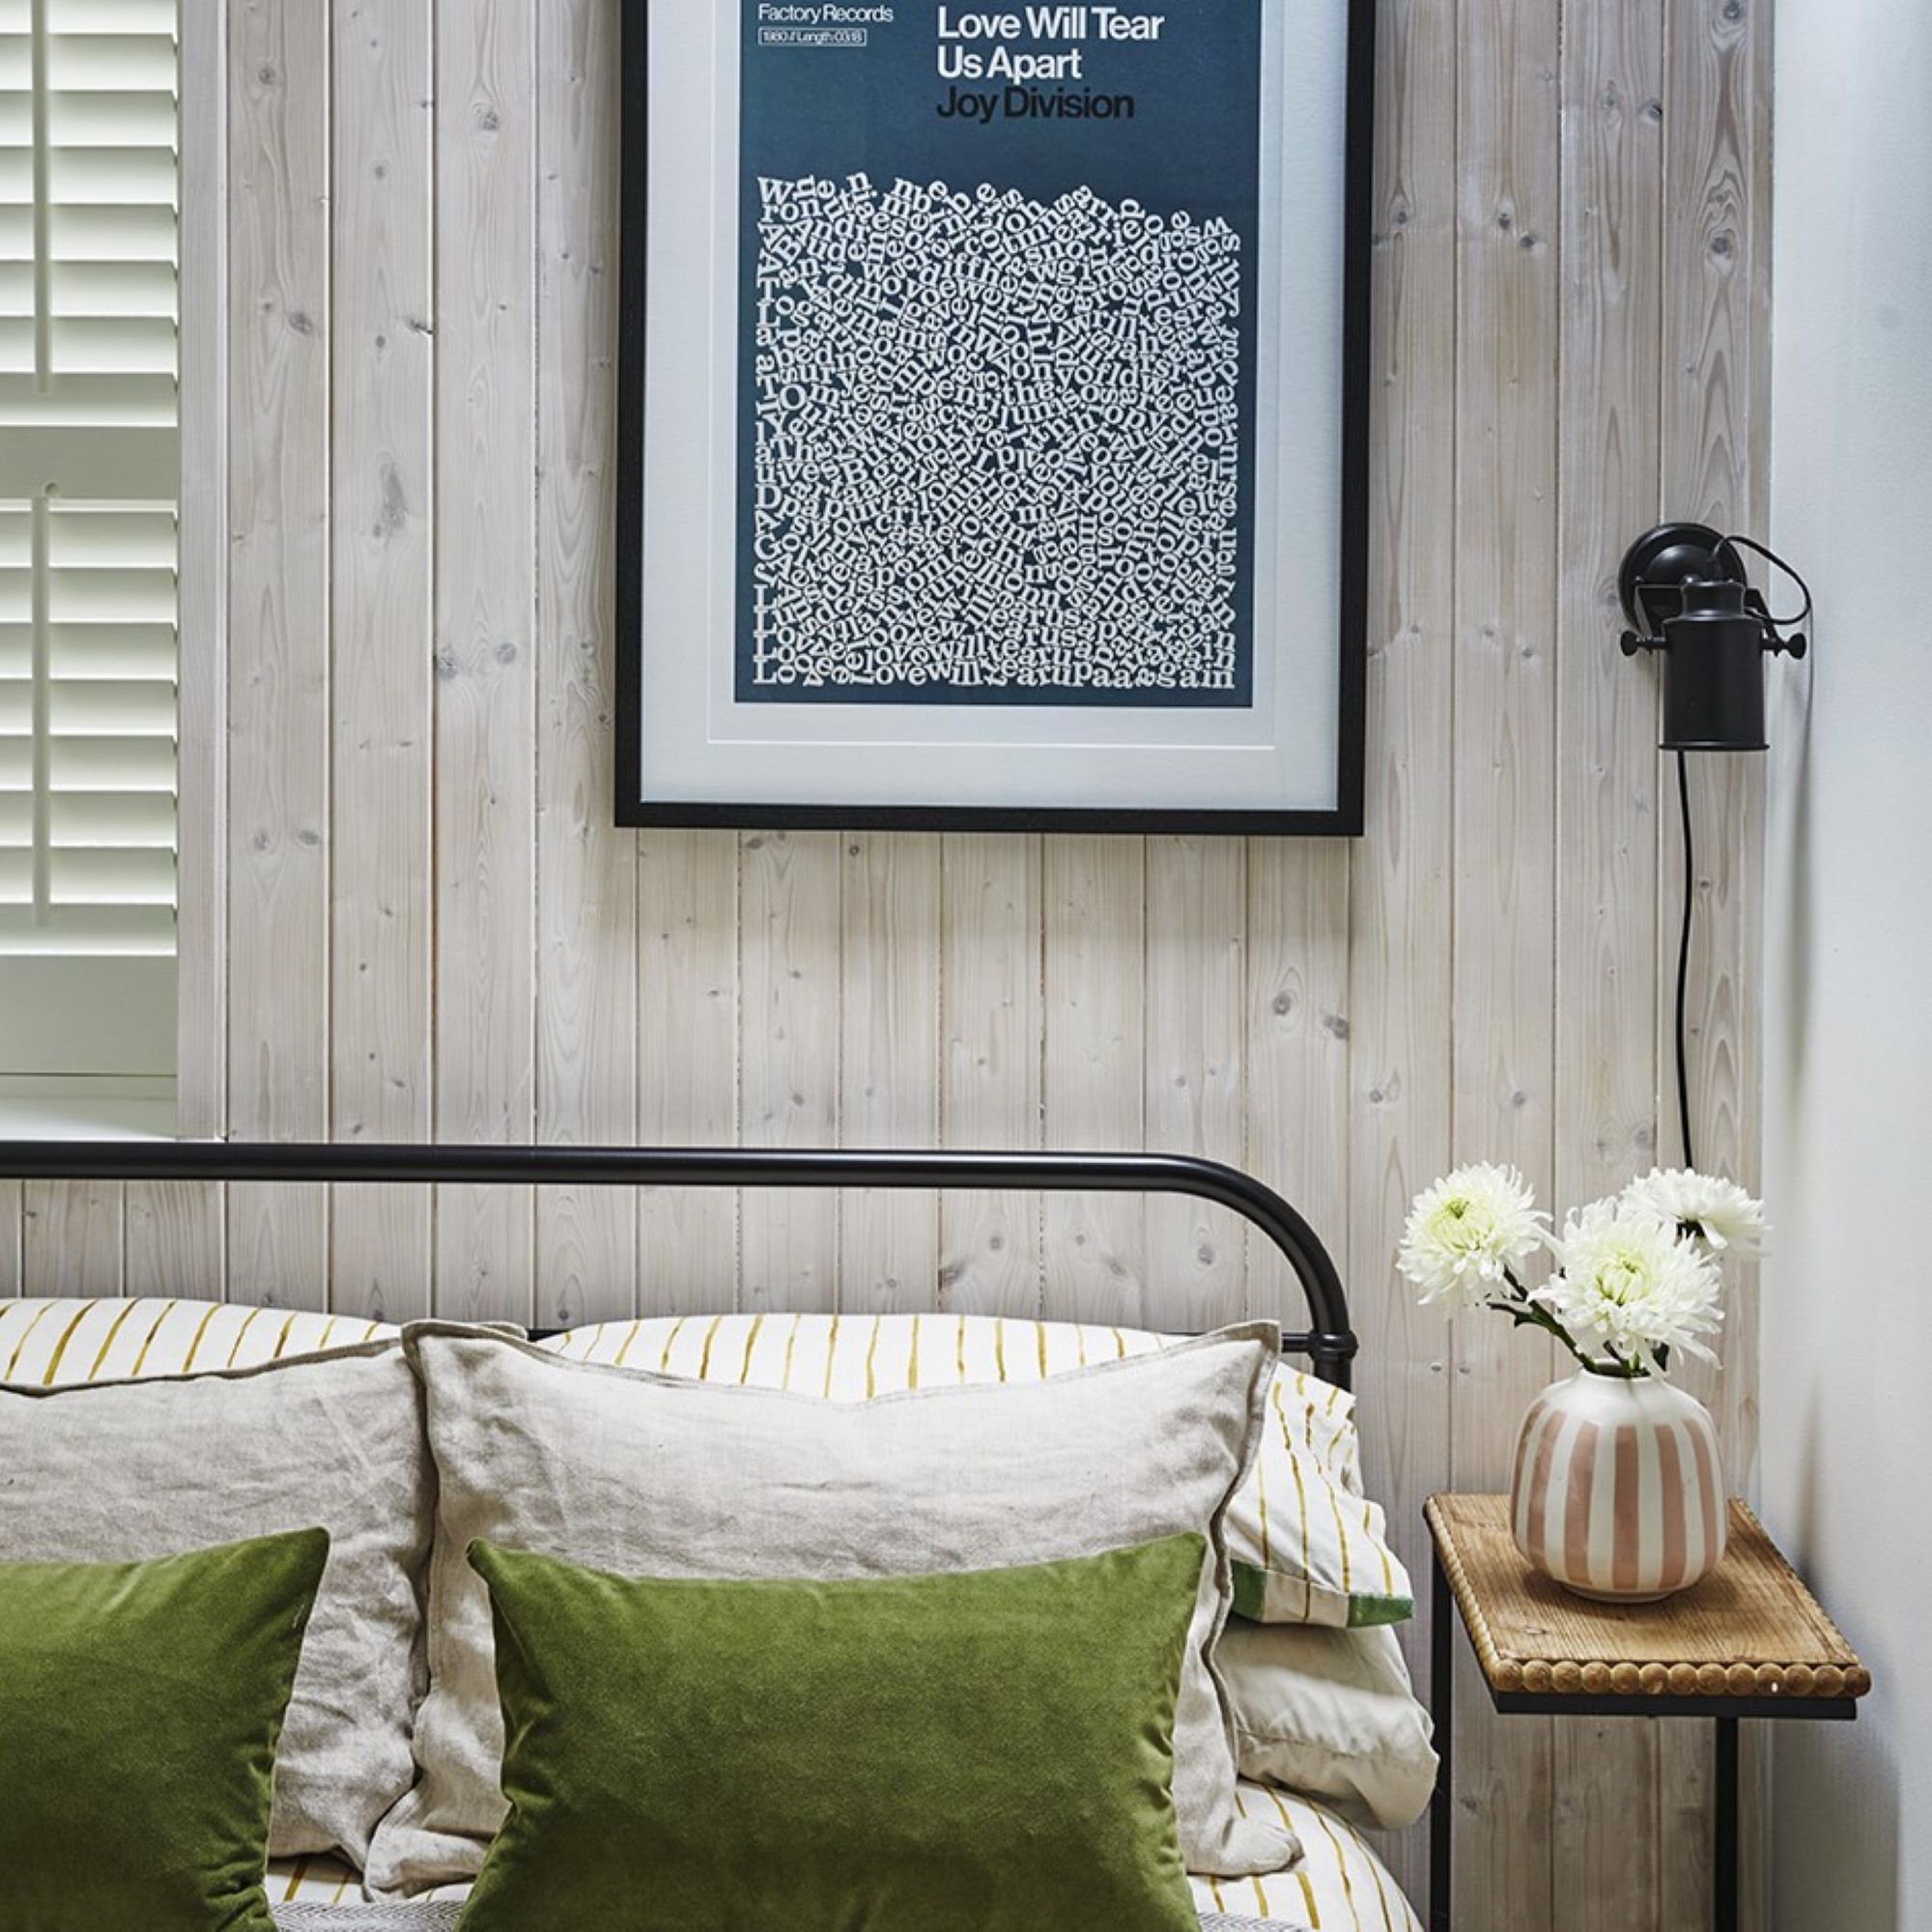
‘The cladding behind the bed brings a textured element and warms up the space,' Ryan says. 'While the black metal bed frame and exposed cables give an industrial, modern feel.’
Garden
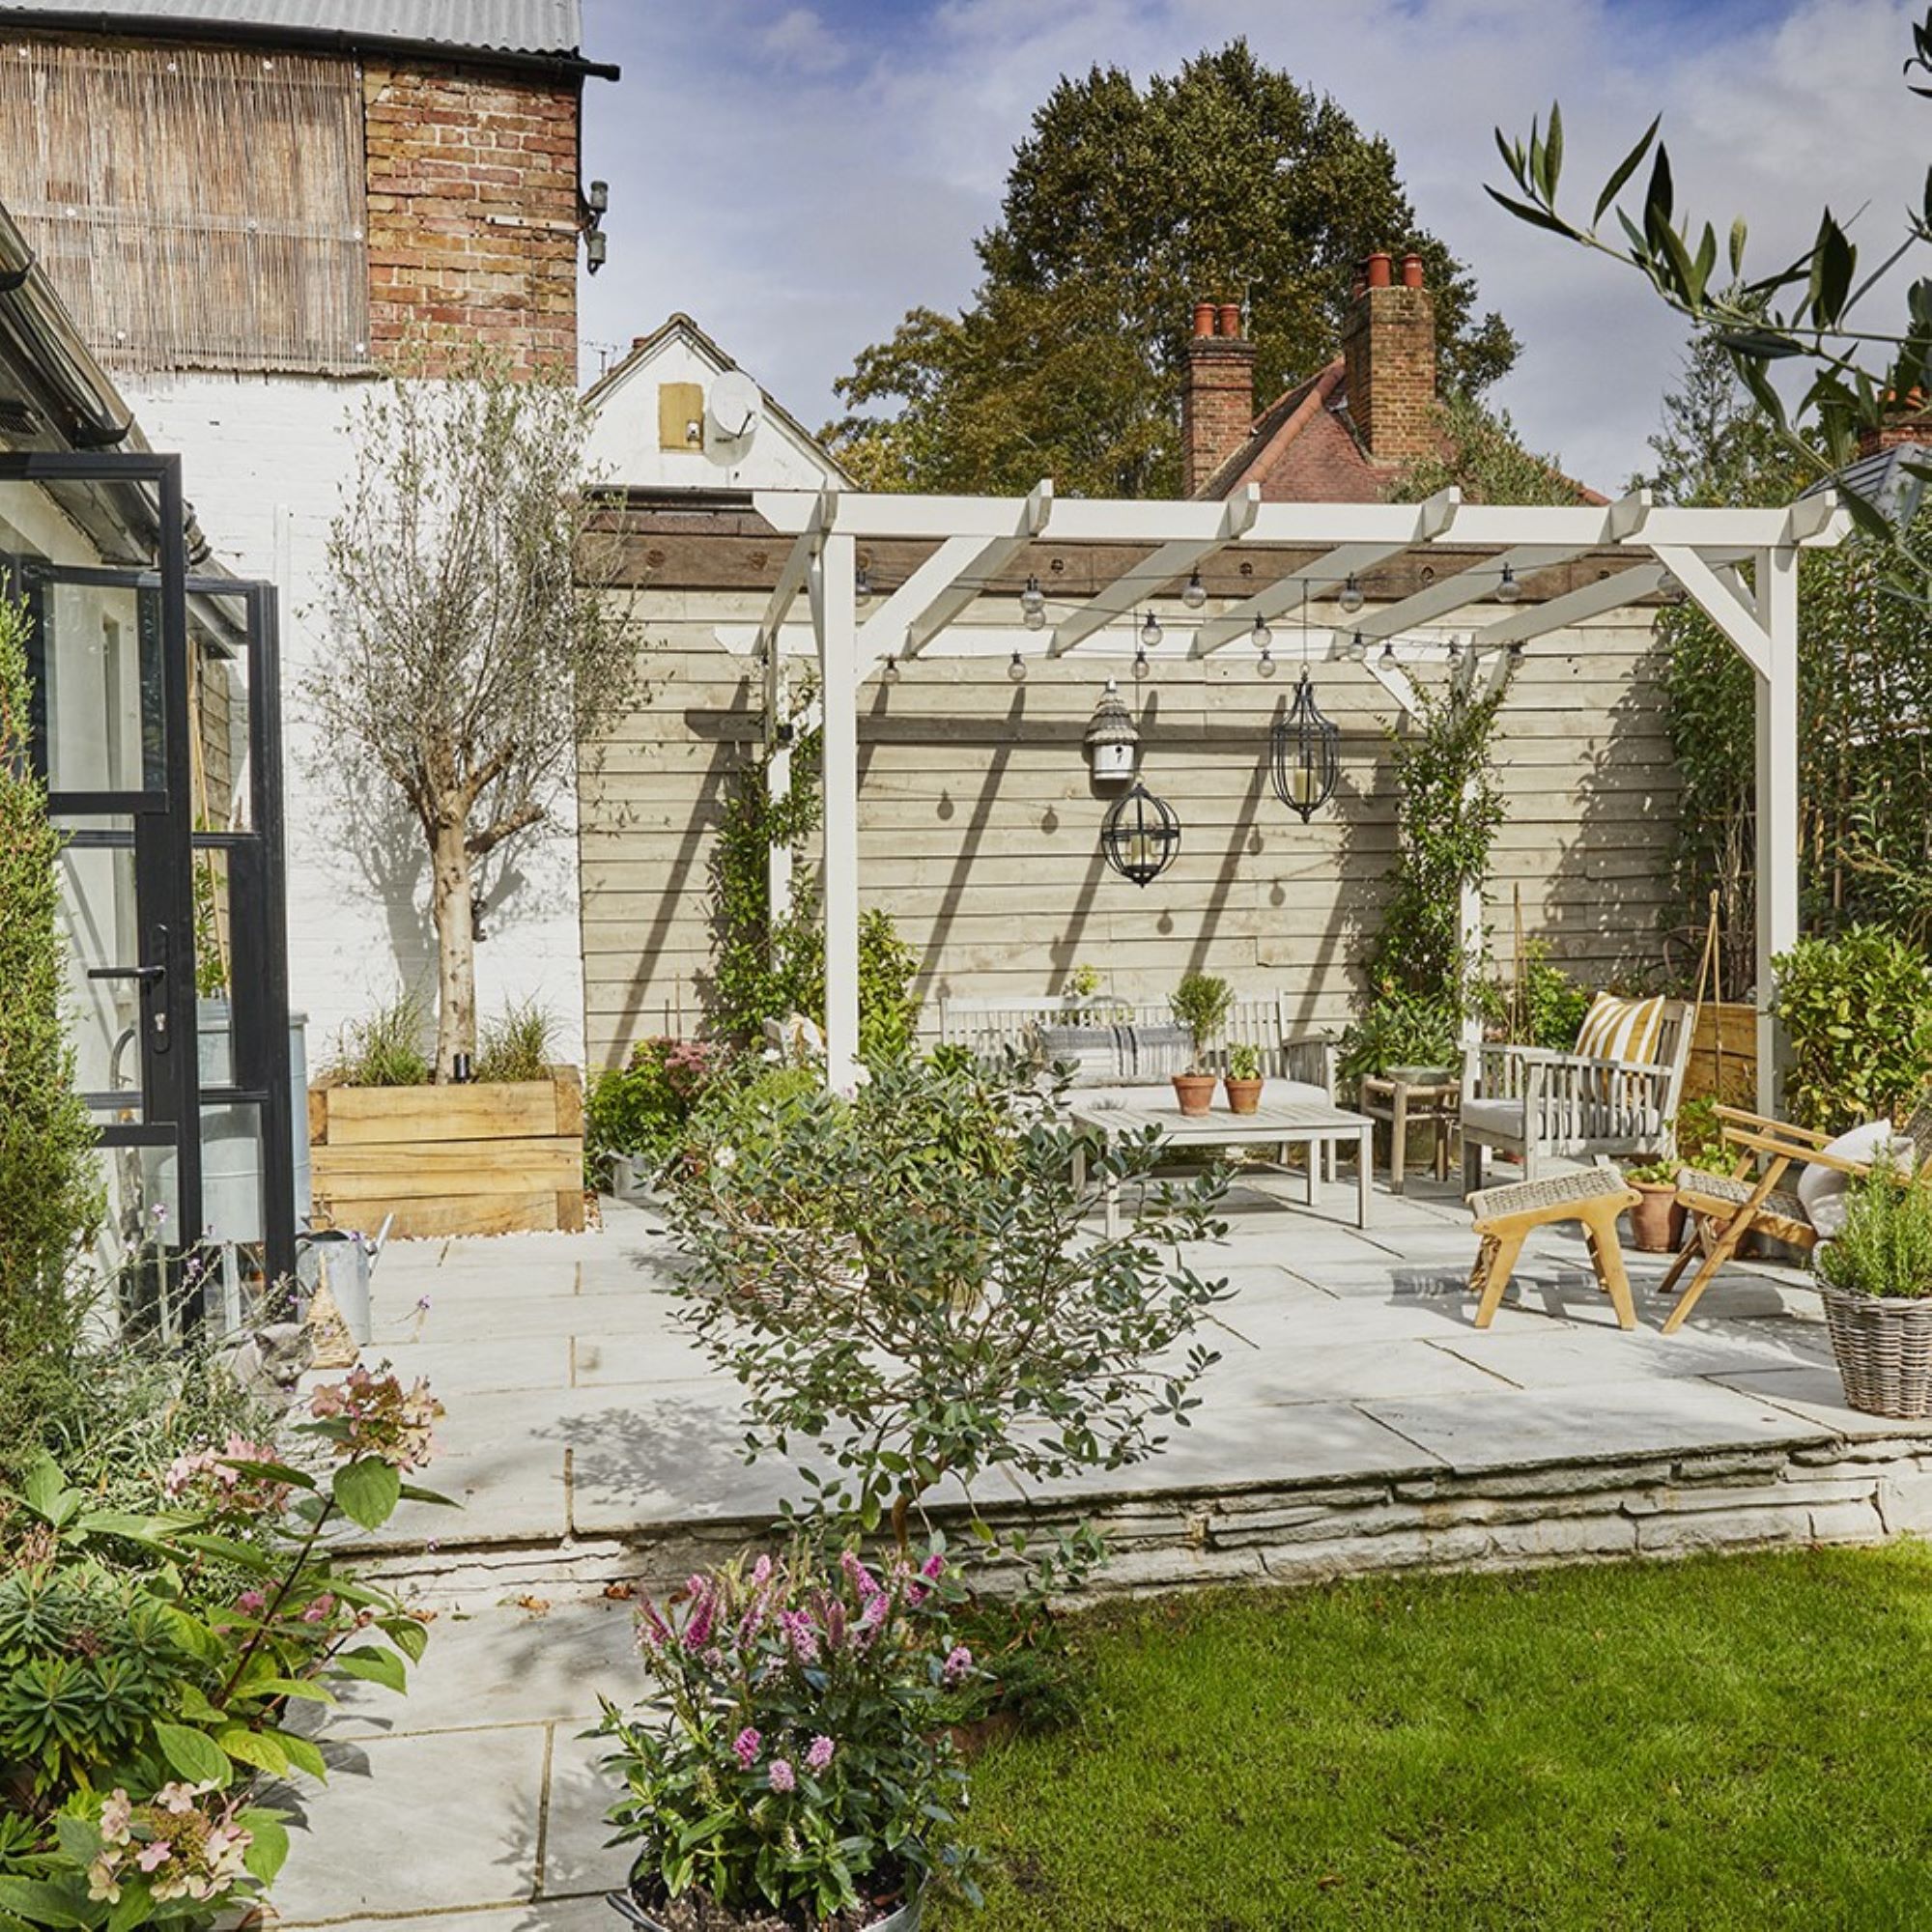
‘When we moved in, the garden had crazy paving, a breeze block wall and pea shingle everywhere, so we cladded the wall, paved the patio and added a lawn to soften everything,' Ryan explains. 'The pergola makes it very ambient in the evenings with the pendants and festoon lights.’
Focus on: DIY Shutters
Ryan and Craig installed shutters to add a note of New England-inspired décor. Here’s how to fit them yourself:
- First, assemble the frame by laying out the pieces on the floor on a piece of cardboard or cloth; they will be marked to indicate which side they are. Tap them together with a small hammer.
- Take the frame to the window and position it where you took your original measurements. Check all sides with a spirit level. If needed, pack the frame with shims or cardboard wedges to hold it in place – this will ensure the shutters align perfectly.
- Start by fixing a few screws at a time, rechecking that the frame is level after each one is fastened. Don’t fully tighten the screws yet. Once aligned, drop in the hinge pins to connect the hinges and repeat this process for any remaining panels.
- Once the panels are hung, check that you are happy with how they open and close and ensure they don’t clash with the frame. You can adjust the hinges on the frame if necessary. Insert the hinge locking screws then tighten everything up.
- Add any cover strips for a seamless finish and run some decorator’s caulk around the edge to disguise any small gaps.
What's next?
‘Our small cottage works perfectly for the two of us and it’s so nice that we’ve come to the end of all our renovating and can now enjoy the space.' Ryan tells us. 'But we have been toying with the idea of freeing up some money from the house and finding a flat by the seaside that we can do up...’