The peony flowering season is one of the most anticipated times of the gardening year. Although the flowers are short-lived, the plants themselves live for decades, producing their massive and eye-catching blooms year after year.
The easiest way for home gardeners to propagate their peonies and expand their collections is by division. While it is possible to propagate from seed, peonies do not produce true to seed, meaning the resulting plant won’t be exactly the same as the parent. Growing from seed is also a much slower process than division, which yields flowering peonies in one or two years.
Division is not only useful for propagation either. Dividing after a few years of growth can help you adjust the position of your peony, or move the same type to another part of your garden. It’s also great for replicating varieties that are pricey or difficult to find. It's best done in the fall after cutting back peonies, or in late summer after flowering, no matter your peony type.

Step-by-step guide to propagating peonies
Peony division isn’t as simple as pulling soft roots apart and replanting the sections. Peony roots are incredibly tough and need to be cut with sharp tools to split them.
Before you start, gather pruning shears or a large knife to cut through the tough crown. When peonies are particularly large, I like to have a rubber mallet nearby for a helping hand when roots are too thick to cut on my own. Alternatively, you can use a specialized pruning saw. Also grab a spade to lift the plant out of the ground.
Clean and sharpen your pruning shears and disinfect any other tools you plan to use before cutting any roots too. Although cleaning is extra work, this step is vital when dividing plants to avoid spreading harmful bacteria or fungi to open and vulnerable roots.
1. Lift the plant
Dividing peony roots begins with cutting all the stems down to the ground. The green growth will need to be cut back anyway, and doing it sooner rather than later makes it easier to lift the roots out of the soil.
When cutting the stems back, I like to leave a couple of inches above the ground to help remove the plant from the soil. But as soon as you’ve pulled the roots out completely, you can trim these back to around an inch high too.
Using your spade, dig into the soil around the outside of the root system and lift from the bottom. Don’t worry if you catch a few stray roots – as long as the bulk of the roots are intact you should have no problems. Once the soil is loose, simply pull from the bottom to lift out the entire plant.
2. Make the roots visible
Before you can identify the eyes and figure out where to make your cuts, the roots need to be completely visible.
You may be able to remove the soil around the roots by hand or by dusting them with a brush. However, the easiest way to clean the roots completely is to wash them under running water. This will help remove any stubborn dirt stuck between the dense roots, providing a clean surface for cutting.
3. Identify eyes
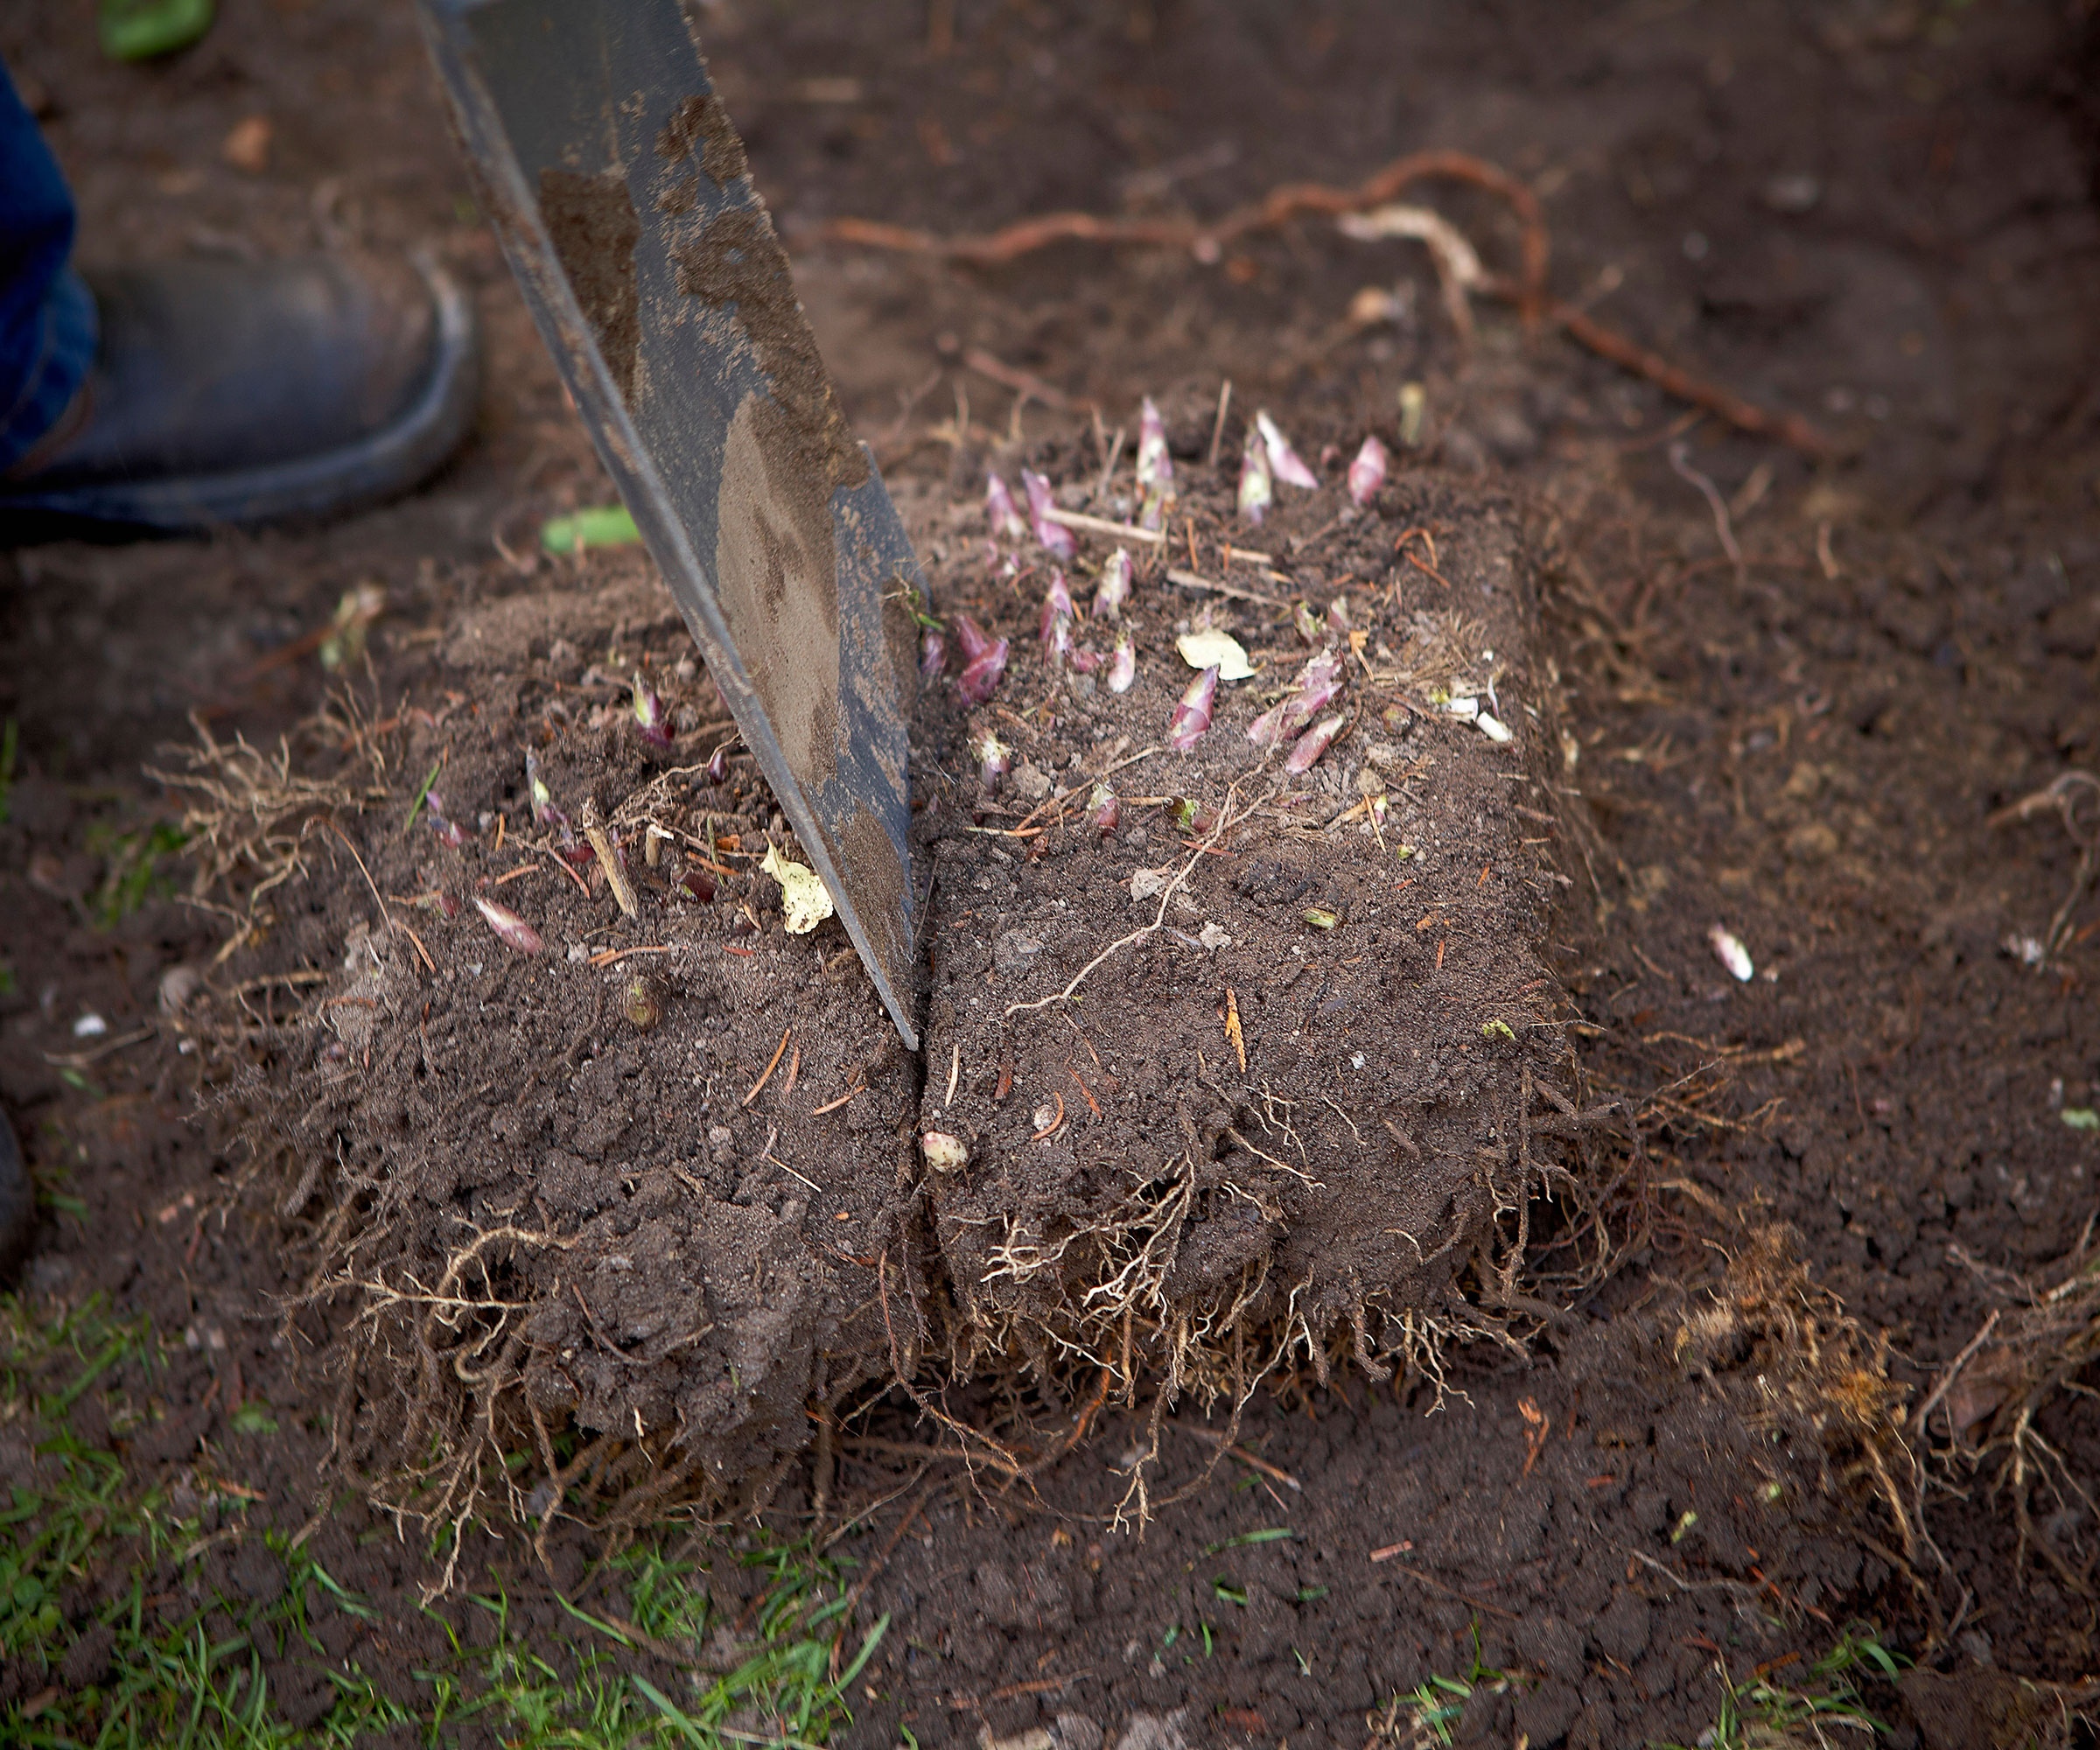
New peony stems emerge from eyes – the small pink growths around the crown. Each section you remove should have a minimum of three healthy eyes to grow successfully. To be on the safe side, I prefer to include six to seven produce strong plants that have a higher chance of flowering sooner.
You can split your peony into two divisions with a few eyes on each side. But if the plant has several healthy eyes, remove multiple sections at once. As long as each section has enough roots to grow its own and enough eyes to sprout, it should grow happily.
4. Cut into sections
The next step is the most stressful (especially if you’ve never divided peonies before), but also the most exciting: grab your sharp knife and cut the roots into the sections you’ve identified. Make as clean a cut as possible – in other words, avoid any hacking – to help the roots heal quicker and prevent lasting damage.
Cutting in two requires some serious force, but smaller divisions on the outer edges are slightly easier to remove. You can trim wayward roots if they get in the way, keeping the bulk of the healthy roots intact.

5. Replant the sections
Replant each of your sections in a sunny spot, spacing them around three feet apart (depending on your specific variety).
When planting peonies, don’t bury the roots too deeply as you'll encounter problems with your peony not blooming. Around two inches below the soil surface is recommended. Water plants well and keep the soil lightly moist to settle the roots in their new spots.
Fertilizing peonies in spring and fall for the first few years is also advised to encourage stronger growth.
It's best to divide your peonies every few years to produce more and more plants to enjoy. As one of the best cutting garden flowers, growing lots of peonies is a wonderful way to fill your home with fresh blooms too. If you've run out of space in your flower beds for any extra plants, you can always share them with friends and neighbors too.


