The most illuminating part of the Raspberry Pi maker community is the ingenuity and creativity of the makers. One in particular has been busy lately creating a slew of Pi projects and his most recent creation definitely shines above the rest. Maker and developer Arnov Sharma has built a custom studio light using our favorite microcontroller—the Raspberry Pi Pico.
This studio light offers a great deal of customization through a series of LEDs laid out in a custom matrix. The lights can be tweaked to change its temperature, from a warm light or cool glow and everything in between. There are also WS2811 RGB LEDs for those times when you need to add a splash of color to a scent. According to Sharma, this was a practical project he created out of necessity to help improve photos and videos taken of his other projects.
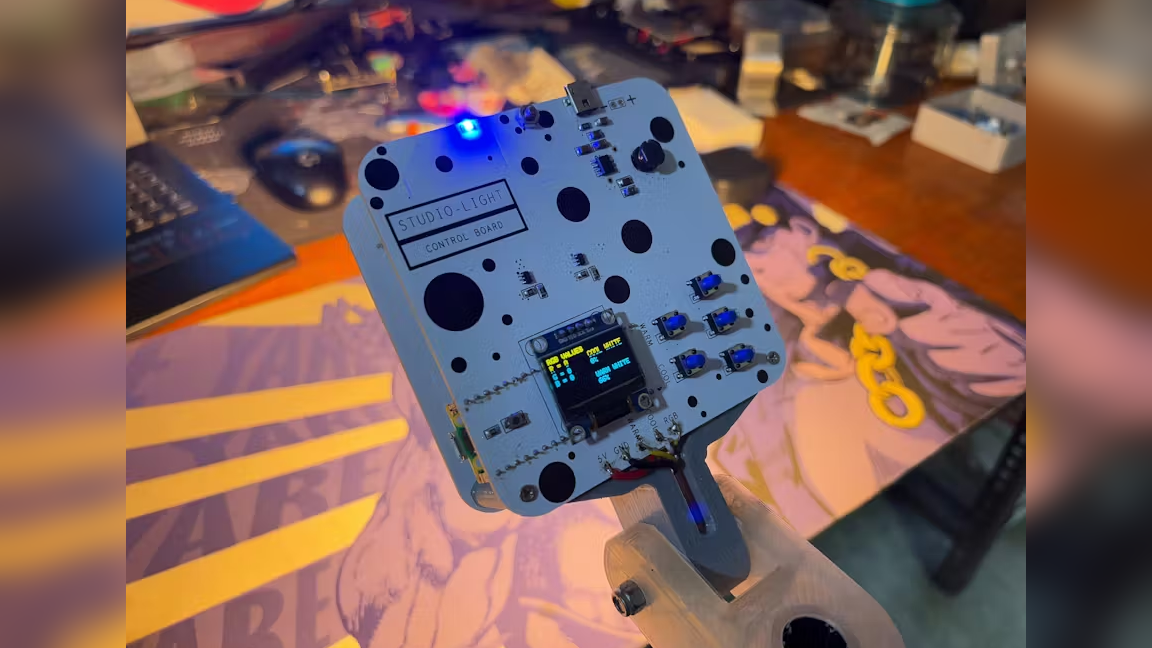
The LEDs are easy to control using the GPIO on the Raspberry Pi Pico via a MOSFET. The settings can be adjusted using a series of push buttons that are mounted to a custom PCB. The hardware is assembled together using a 3D printed mounting component that Sharma designed using Fusion 360 just for this project.
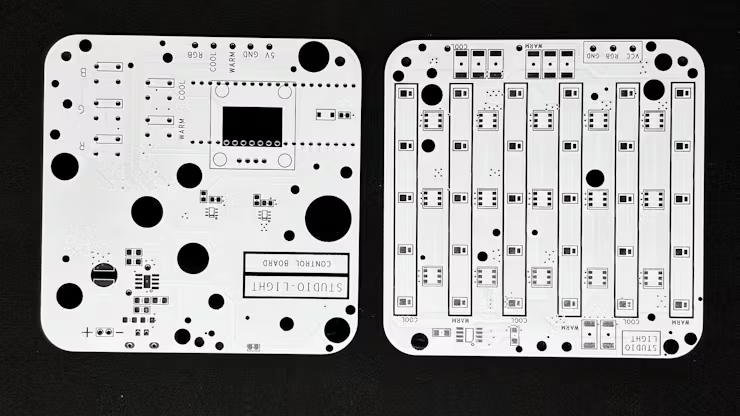
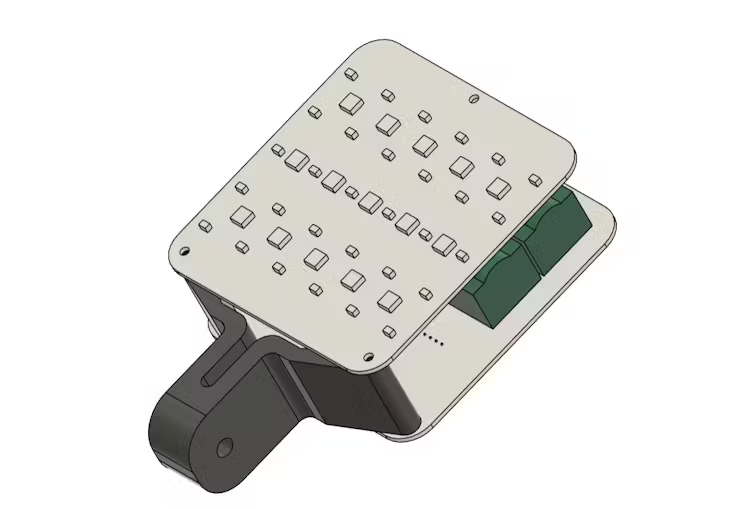
In the official project page, Sharma confirms that the main board powering the studio light is a Raspberry Pi Pico 2 but you could likely get away with using a regular Pico in its place if that's all you have on hand. It's connected to a SSD1306 OLED display via I2C which provides live feedback of the current light settings. The custom PCBs connect to not only the Pico and screen but also the LEDs, buttons and a couple of 18650 batteries via a IP3506 5V 2A charge / discharge controller making the unit portable.
Like many of his other Pi projects, this one was made open source so the code is available for anyone to check out. Sharma goes into plenty of detail explaining how it works, as well. The buttons adjust the strength of the warm and cool LEDs in 25% increments. This makes it possible to tweak the lights with extreme precision to get the best lighting possible for your shots.
If you want to get a closer look at this Raspberry Pi project, check out the project page over at Hackster for more details and build guide showing how it all goes together.