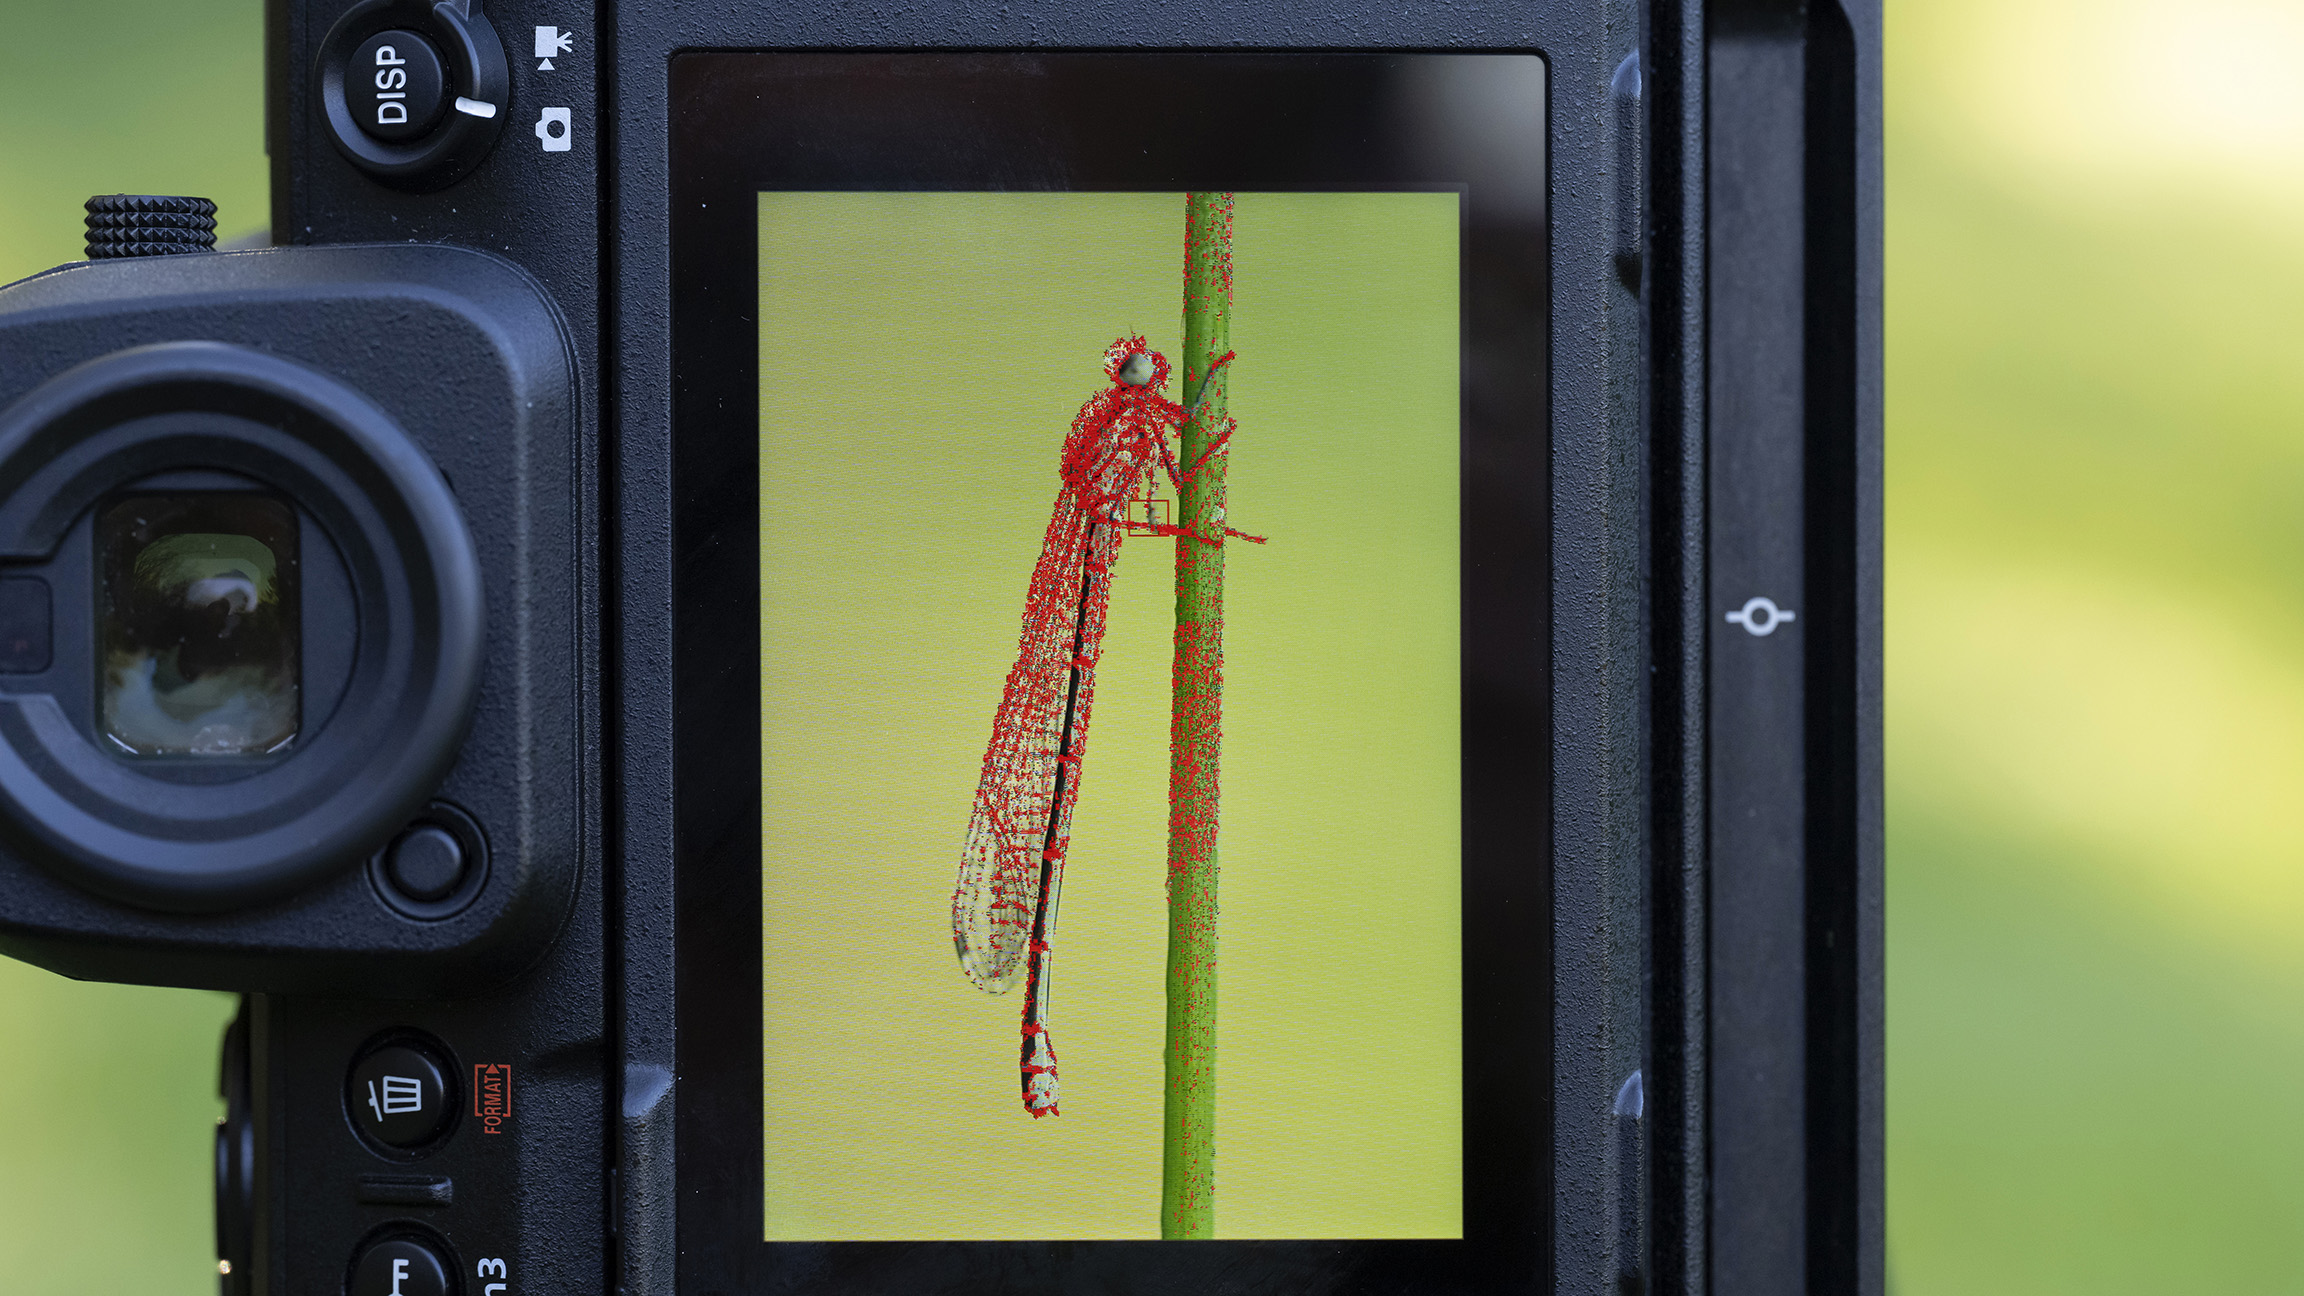
To capture sharp, detailed close-up images, you need to focus with pinpoint accuracy and carefully consider the depth of field. While there will be occasions when you want to use a shallow zone of focus to capture more arty results, in most situations, you will want to maximize – or even artificially extend – depth of field, to ensure your subject is acceptably sharp throughout. However, the depth of field appears to grow progressively shallower as magnification is increased – if you are working anywhere close to 1:1 (life-size), you will notice that even at smaller f/stops, the zone of focus is limited. There is no leeway for sloppy technique or poor focusing.
Some kind of firm support will help you focus precisely, but not all macro subjects will allow you to set up a tripod close by and so you will often have to work handheld. You might assume that autofocus is your best bet, but AF can struggle to lock on to macro subjects and sometimes switching to manual focusing is the better option. Our tips will help you overcome the challenges of working at higher magnifications and successfully control your focus.
Top tips
1. Support yourself
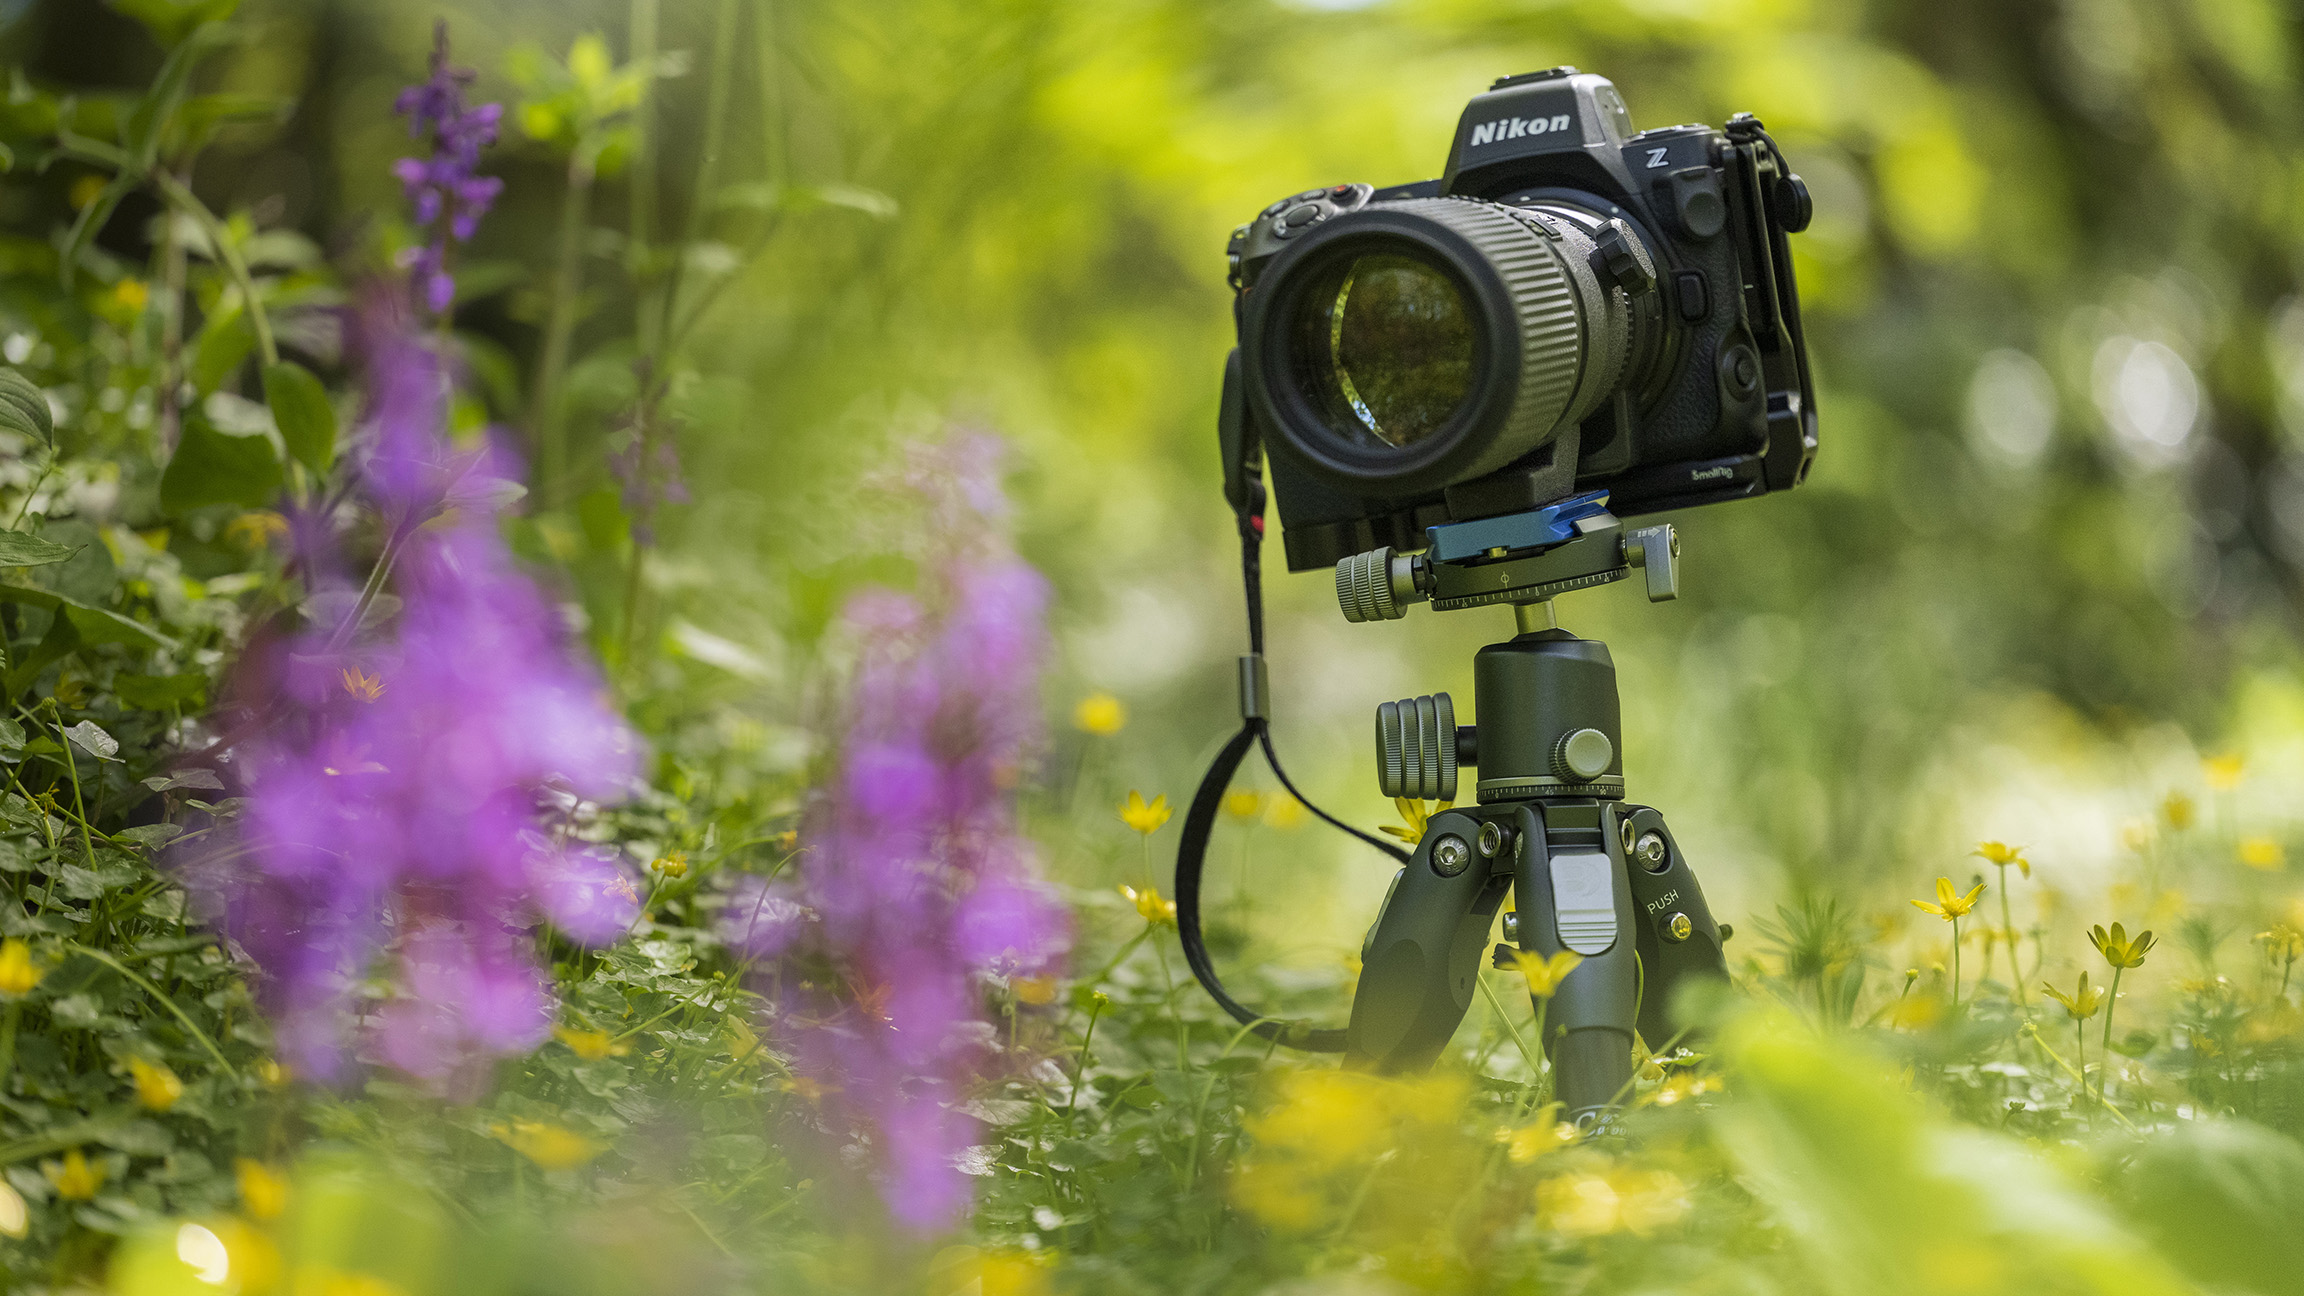
This might seem like obvious advice, but use support when practical. A tripod is best but for low-level work, consider using a beanbag. With your camera fixed in position, you can refine focus and framing. Use your camera’s monitor to focus, using the magnify or zoom button to enlarge your point of focus for optimum precision. Macro photographers should consider using a geared tripod head as this allows you to make micro-adjustments to the composition without unlocking and locking levers and knobs.
2. Switch to manual focus
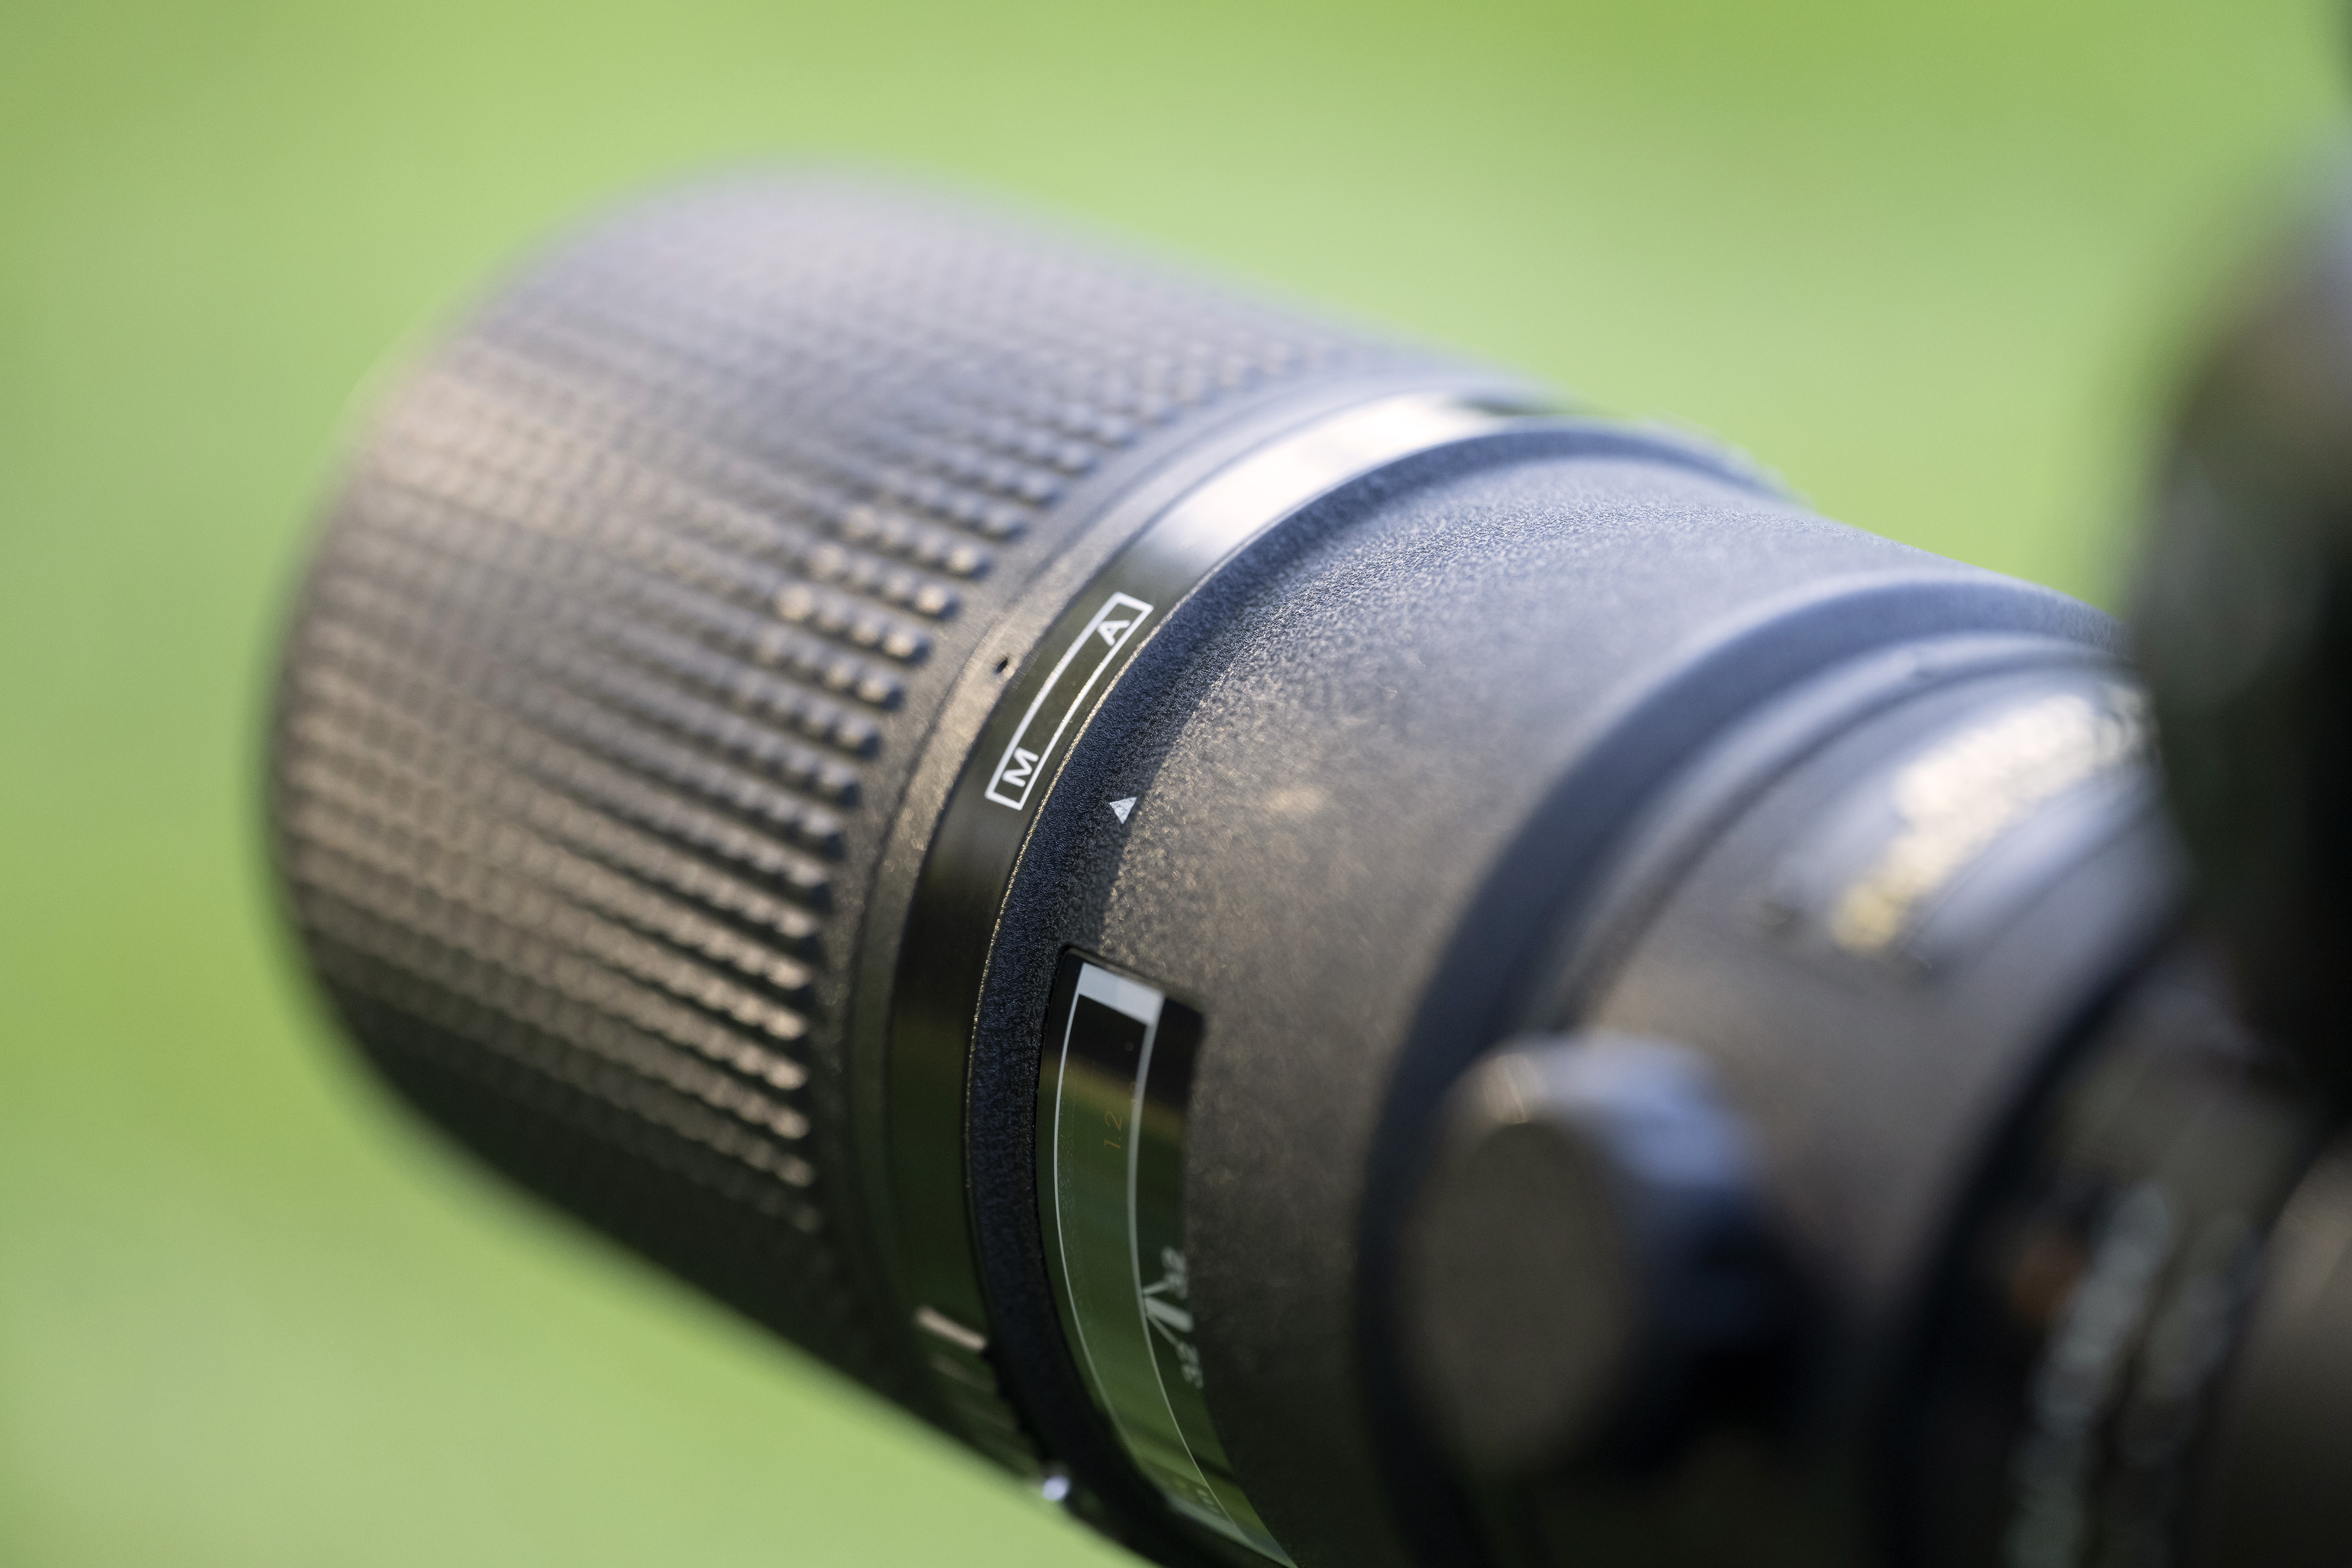
When shooting handheld, autofocus is typically the best option. But AF has a habit of struggling when shooting at higher magnifications, partly due to the reduced light and a reduction in contrast. Using the lens’s limiter switch, which is designed to limit the distance range the lens can focus to prevent AF from ‘hunting’, may help. However, many closeup photographers favour the precision of manual focus – particularly when using a tripod.
3. Peak-a-boo

If your camera offers focus peaking, switch it on. Manual focus combined with focus peaking can produce sharp, consistent results. Peaking works on the principle that areas of sharpness also have the highest peak contrast. Once activated, your camera overlays a white or coloured highlight along the edges and texture of all sharp areas via LiveView (or through a mirrorless camera’s EVF) to help you place and control focus.
4. Get stacked!
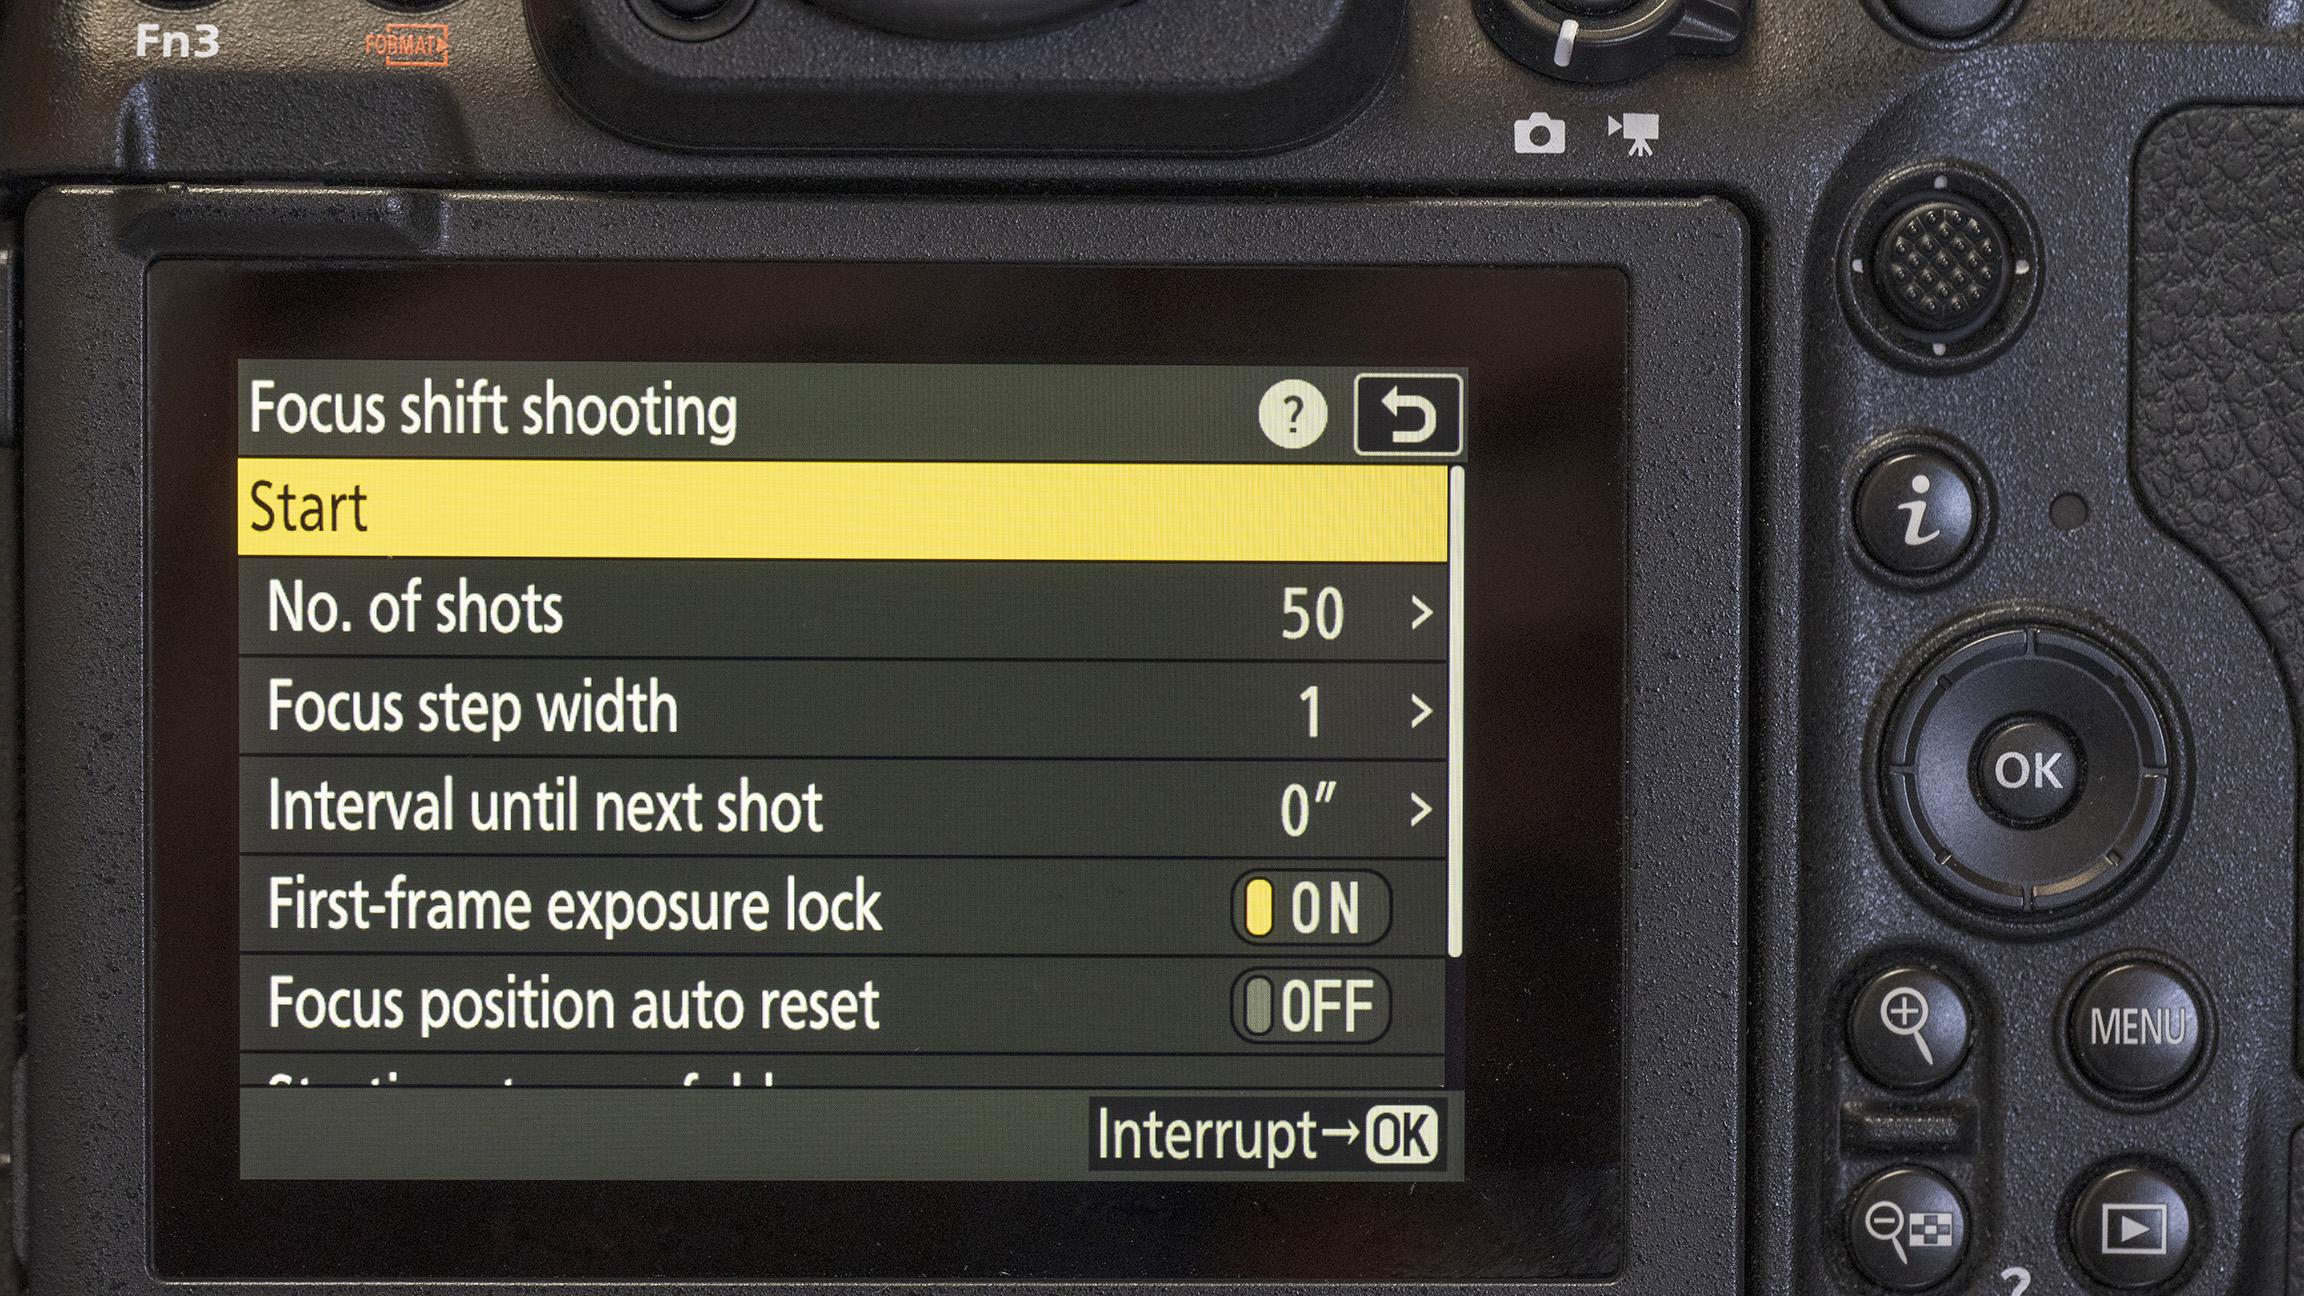
Stacking (or focus bracketing) is a popular and useful technique when you can’t generate enough depth-of-field through aperture choice. This is when the photographer takes a series of images – each focused at a different point on the subject – and combines them to extend the depth of field artificially. Many cameras now automate the process, varying the focal depth by a set amount over a series of frames. The camera creates the sequence for the photographer to merge in Photoshop or dedicated stacking software, such as Helicon or Zerene. Some cameras will even create the stack in-camera. Ideally, use a tripod when stacking; each frame will align more easily. However, it is possible to shoot handheld stacks using a fast, continuous burst.
5. Plane sailing

Camera placement affects how much of the subject is in or out of focus. This is because there is only one geometrical plane of complete sharpness and, in most situations, you will want to place as much of your subject as possible within this plane. Shooting at a 90-degree angle to your subject will maximize the depth of field available to you at any given f/stop. For example, when photographing a butterfly with its wings outstretched, hold your camera parallel to avoid parts of your subject drifting rapidly out of focus.





.jpg?w=600)

