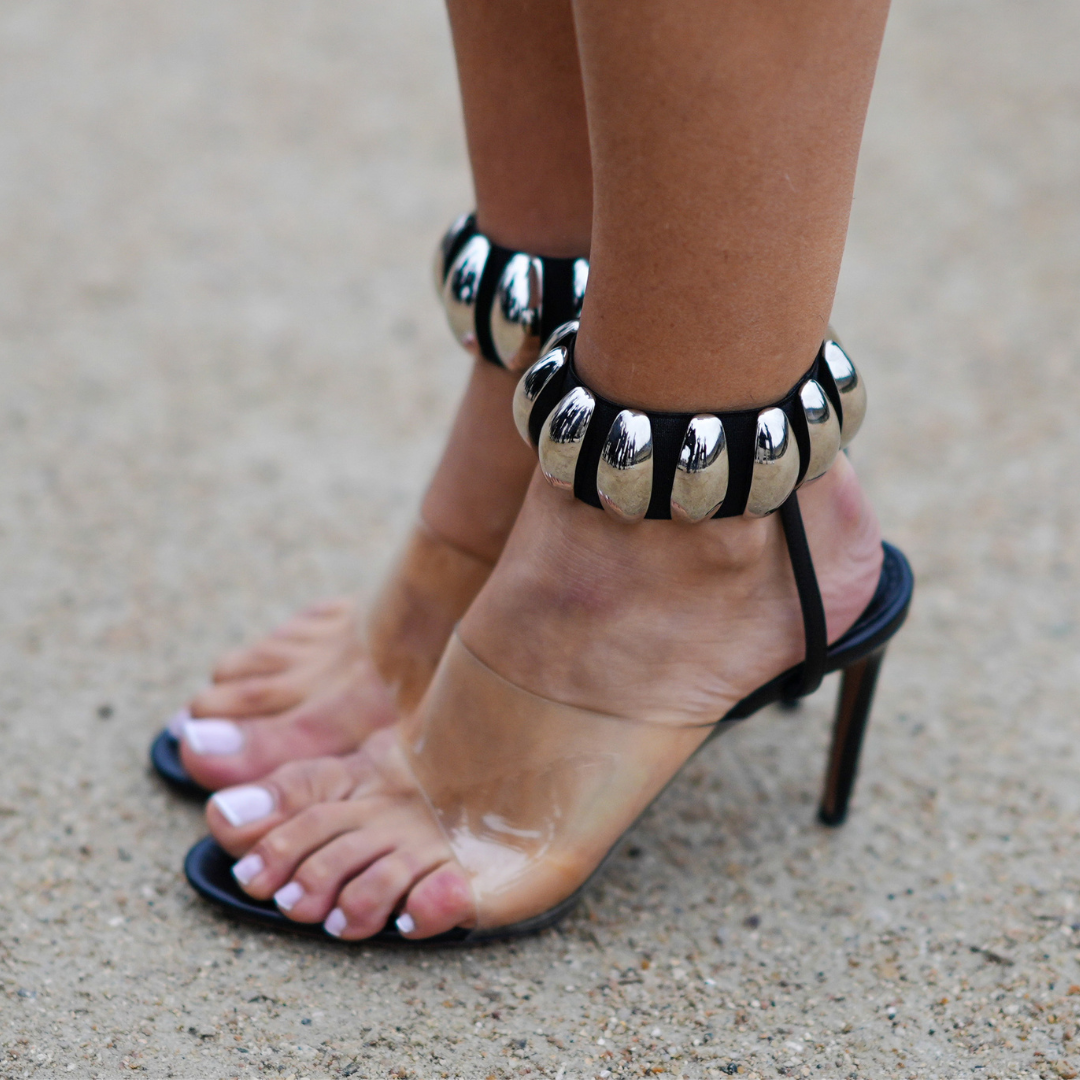
I'll be honest: I'm just not much of a pedicure person. As a huge nail art and simple manicure girlie, I focus my attention on beautiful-looking hands rather than feet—especially considering the weather in this country. Come autumn, the truth is we're just not getting our feet out nearly as much. That being said, even I can admit that it's still nice to have your toes preened for the times they are on show—especially with this season's sheer shoe trend being so big.
For this reason, I'm all for the autumn pedicure. I either go one of two ways on the rare occasion I book in for a pedi: a vibrant orange-toned re, or a neutral hue, like white. Regarding the latter, I was pretty bowled over by a subtle-yet-ultra-sophisticated design I saw lately on Milly Mason's page. Mason is assistant to queen of understated nails Harriet Westmoreland, as well as a nail artist herself.
She showed off this gorgeous Fombré look that had been created for Rochelle Humes, and I instantly fell in love. Fombré is a trend Westmoreland and Mason have been loving lately (and which was coined by the former), both for the finger and toe nails. It combines two beloved trends that celebrate neutral, natural-looking hues: French pedicures and ombré nails.
While this is a look that can work for either, the Fombré pedi is perhaps most appealing as we move away from summer brights on our toes and into something a little more low-key. And it's starting to pop up more and more on social media feeds after the manicure iteration had its moment earlier this year.
Still need convincing this is the look of the moment? Check out the following inspiration and scroll to find out how to recreate the look yourself.
Fombré pedicure inspo
Another gorgeous look created by Milly Mason, this ombré is so subtle and understated.
With a little more white and a little less pink, this is a chic take on the trend.
This design has a little extra added edge with a fine-line French tip.
Shop your at-home Fombré kit
Unless you are proficient with nail art, I'd recommend letting the experts tend to your toes with this one. It works brilliantly for the fingers with BIAB shades (they're are so many gorgeous nudes and pinks), and gel for the feet—but you can always give it a go with polish instead, as this means if it goes wrong from home, it's easy to wipe clean.
For the look, it's best to stick with sheer polishes in nude, pink and lilac hues. To create the ombré effect, you'll need some wedge sponges, while the French tip (if incorporated) will need to be applied with a small brush. As mentioned, this is really best done via a salon with gel, as there are several steps to layer (the tip, then the blending of the neutral shades on top).
If you want to give it a go, start with your tip then apply your ombré when it is fully dry. Follow a tutorial on YouTube or social media for this; of which there are plenty. Applying the tip first means it will be sheered out when the overall colours are applied on top. From polishes to tools, here's what you'll need:


