The Monster Hunter Wilds mod scene is bustlin'. There are more mods out there than there are doshaguma pelts in my inventory waiting to get crafted into fancy pants. And it's a good thing, too, because even with the best PC settings for Monster Hunter Wilds, this is a game with some performance and graphical... shall we say, challenges.
The Wilds mod scene is already rising to the occassion, working hard on utilities to smooth out performance issues and deal with other practical annoyances. And then there are all the other sorts of mods: the convenient tweaks (like disabling the kill cam that takes away your camera control each time you slay a monster), the custom character outfits, and the weird changes you didn't know you wanted, like making your palico giant.
Here are the must-have Monster Hunter Wilds mods so far.
How to install Monster Hunter Wilds mods
The majority of Monster Hunter Wilds mods are going to require a tool called REFramework to function. Your first step in modding the game is installing this utility, which has actually been around since 2019; it was first created to modify Capcom's Resident Evil 2 Remake, and has since been updated to support other games built on the RE Engine.
Install REFramework
- Download the latest version of REFramework from Nexusmods or Github (where it's named MHWILDS.zip)
To install REFramework, extract the "dinput8.dll" file from the .zip to your Wilds install folder (\steamapps\common\MonsterHunterWilds).
Now launch Monster Hunter Wilds. This should automatically create a 'reframework' folder in your Wilds install directory where you'll be able to place other mods that rely on REFramework to function.
Note: REFramework's support for Wilds is work-in-progress, and you may run into some issues with it installed, including crashes or a black screen at startup. It's also likely going to need updates every time Capcom patches Monster Hunter Wilds. After a new game update, you may need to delete the "shader.cache" file in your install folder if you run into issues launching the game.
If you keep getting crashes or can't launch the game, simply delete the dinput8.dll file to disable REFramework.
Monster Hunter Wilds performance mods
Just by installing REFramework above, you should already be seeing some frametime consistency improvements, but there's another tool to further customize how Wilds runs on your PC.
Special K
Special K is an enhancement utility that supports a wide range of PC games, dating back to work modder Kaldaien did on Nier Automata. While Special K can't magically make Monster Hunter Wilds run like butter on your system (Capcom certainly has some optimization work ahead), it does help deal with a couple issues. Specifically, improves Capcom's implementations of Nvidia Reflex and frame gen to improve frame pacing. If you're using either of those features, give Special K a shot.
Under the Nvidia Latency Management setting, Special K's creator recommends ticking "Override Game's Reflex Mode" and Reflex Mode to Off if using Frame Generation with unlimited FPS, and "Low Latency" if you're locking the framerate.
You can also use Special K to tweak HDR settings, set a framerate limiter that often performs better than the ones in-game, and more. Check out the wiki for guides on how to use it.
Monster Hunter Wilds gameplay and quality of life mods
MHWilds Overlay
Prerequesites:
- REFramework
- CatLib v1.9 or newer
- REFramework-D2D v1.3.0 or newer
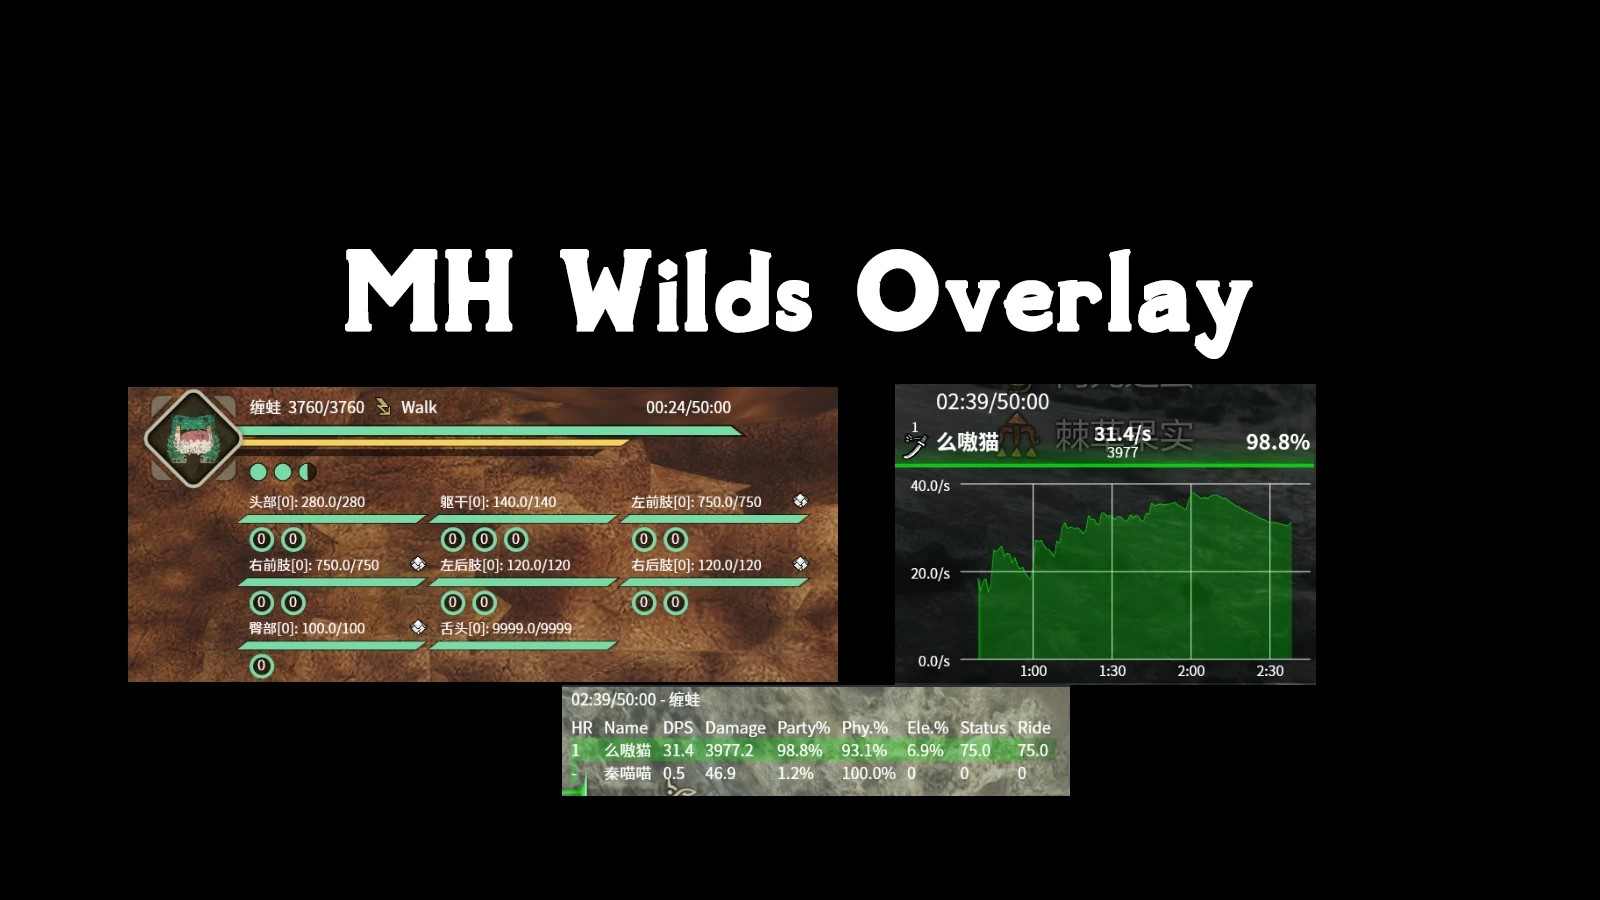
To install this overlay, which gives you a bunch of data on a monster's health, part breakage, and your party's DPS, you'll need to install a couple prerequestite mods in addition to REFramework.
Download, extract and place the CatLib files into the "reframework > autorun" folder. Then download, extract and place reframework-d2d.lua into the same "autorun" folder and place reframework-d2d.dll into the "reframework > plugins" folder.
Finally, install the MHWilds Overlay mod by extracting its files into the "autorun" folder. To enable and configure it, launch Wilds and press Insert to open the REFreamwork menu; scroll down to "Script Generated UI" and you should see MHWilds Overlay ready to be configured. Check out the mod page for a breakdown of everything tweakable.
There are Monster Hunter players who will adamantly tell you that the monsters do not need health bars, because there are plenty of indicators to tell you when the beast's near death. Sure, that's true. But modding is rarely about what you need, and always about optimizing a game to your particular wants. After I'd put something like 100 hours into Monster Hunter: World, I decided to install an overlay mod that helped me gauge how much damage I was doing compared to my co-op buddies and track how close monster parts were to breaking so we could ensure we got the best drops we could from each fight. It made me a better insect glaive user and also helped us prioritize where to attack: a better time all around!
So I'm fully in favor of players installing a stat mod like this one if they want it. It's certainly going to come in handy as Capcom rolls out tougher event quests in the future.
Monster Weakness Icon Indicator for WILDS (Hi-Res)
Prerequesites:
- REFramework
To install, just extract this mod's files into your game's base directory (\steamapps\common\MonsterHunterWilds).
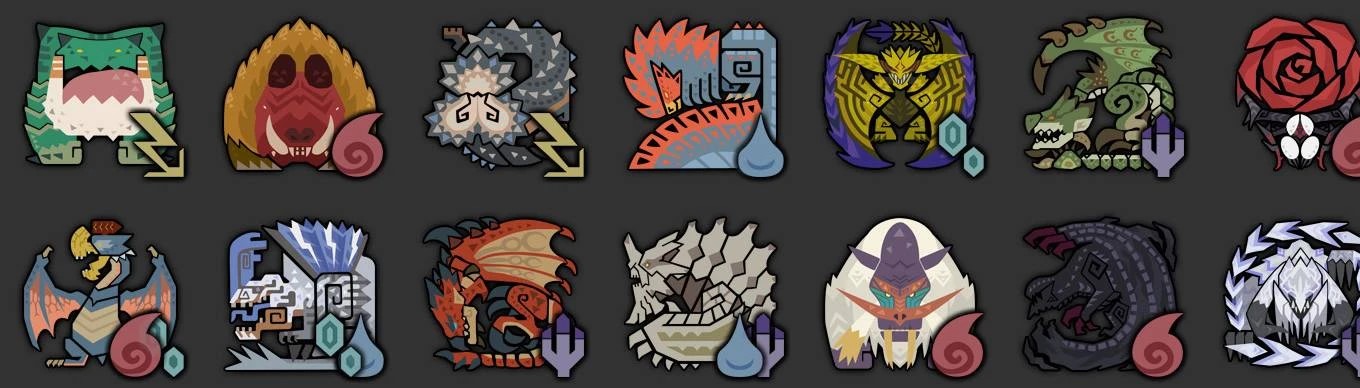
This is a dead simple mod that makes some information in the game just a bit more convenient at a glance. It adds an elemental icon to each monster icon in the UI, so you don't have to go digging into the monster manual to remind yourself what creature's weak to what. Particularly handy if you plan to stay out in the field hunting monsters one after another.
Just keep in mind some monsters have more than one elemental weakness. This is just highlighting the most effective element!
Monster Hunter Wilds aesthetic mods
Unlimited Character and Palico Edits
Prerequesites:
- REFramework
To install, extract the "UnlimitedCharacterEdits.lua" file into the "reframework > autorun" folder.
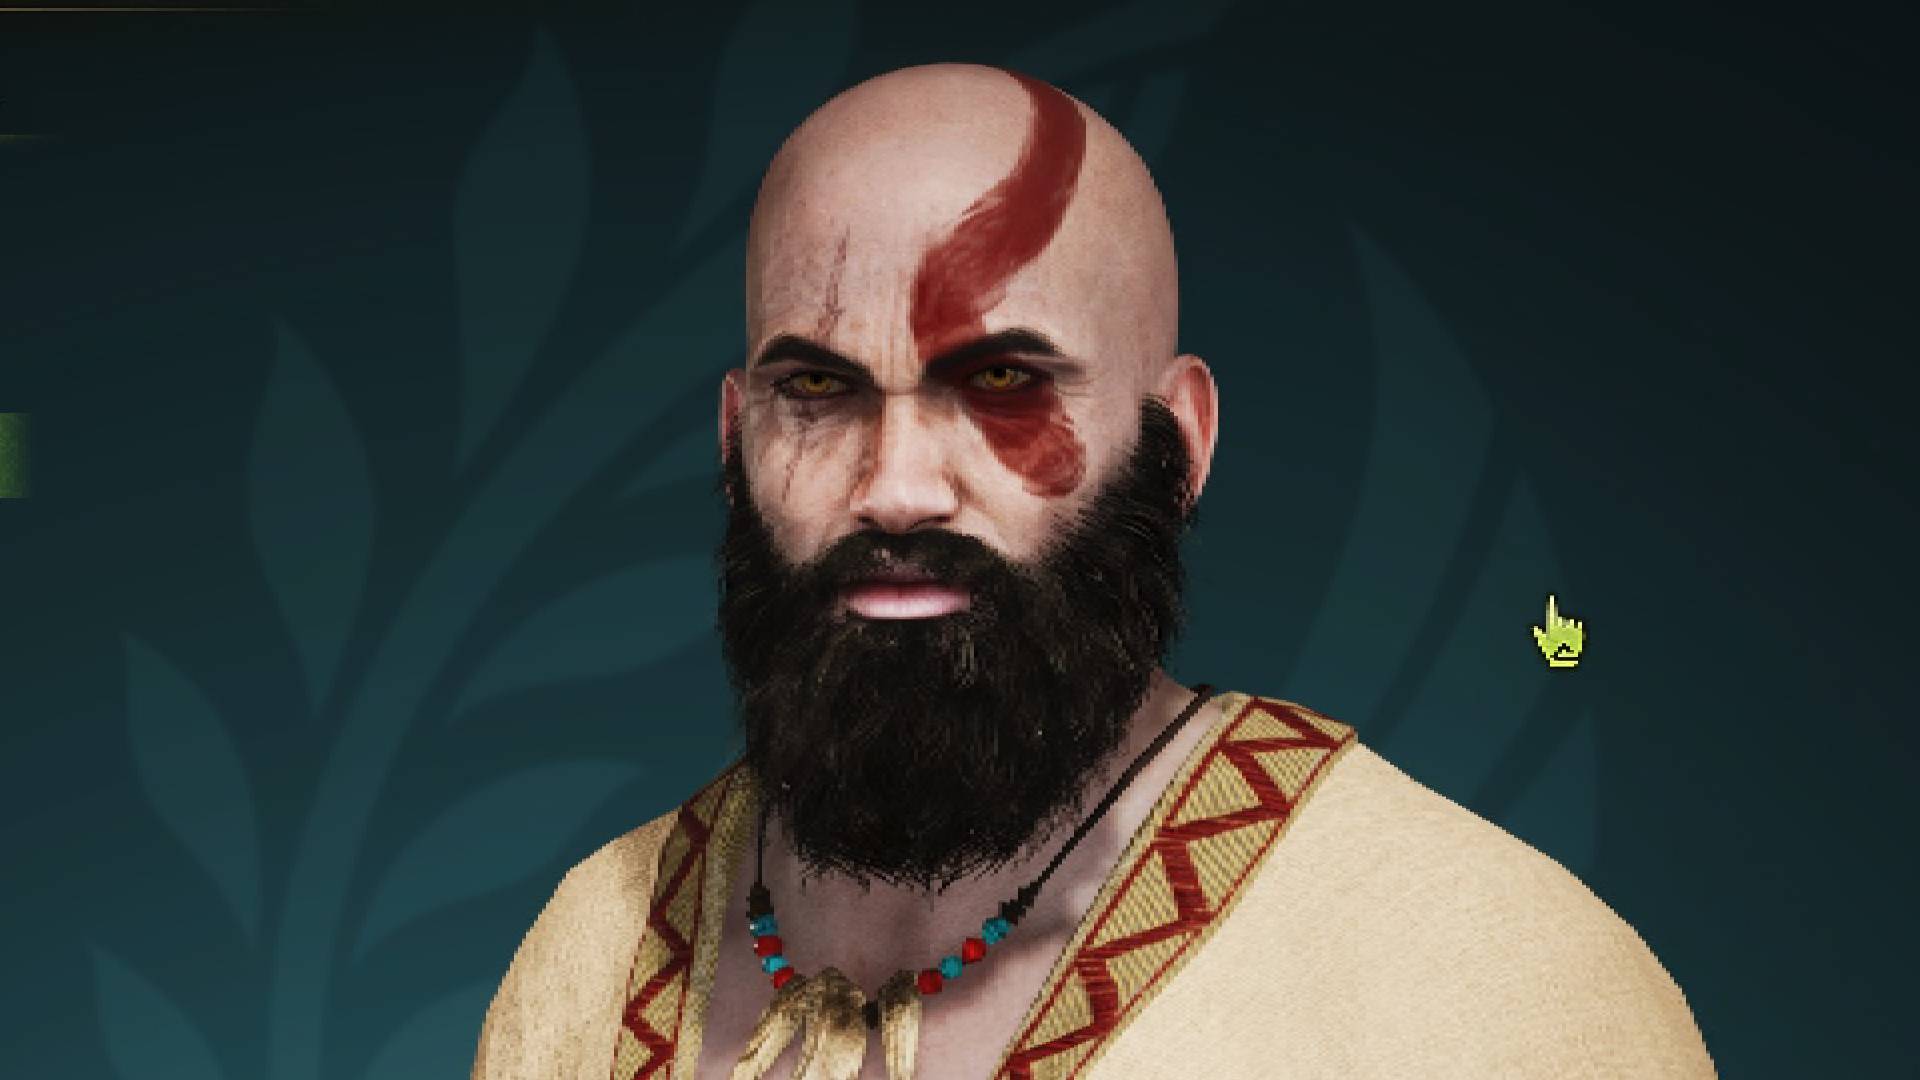
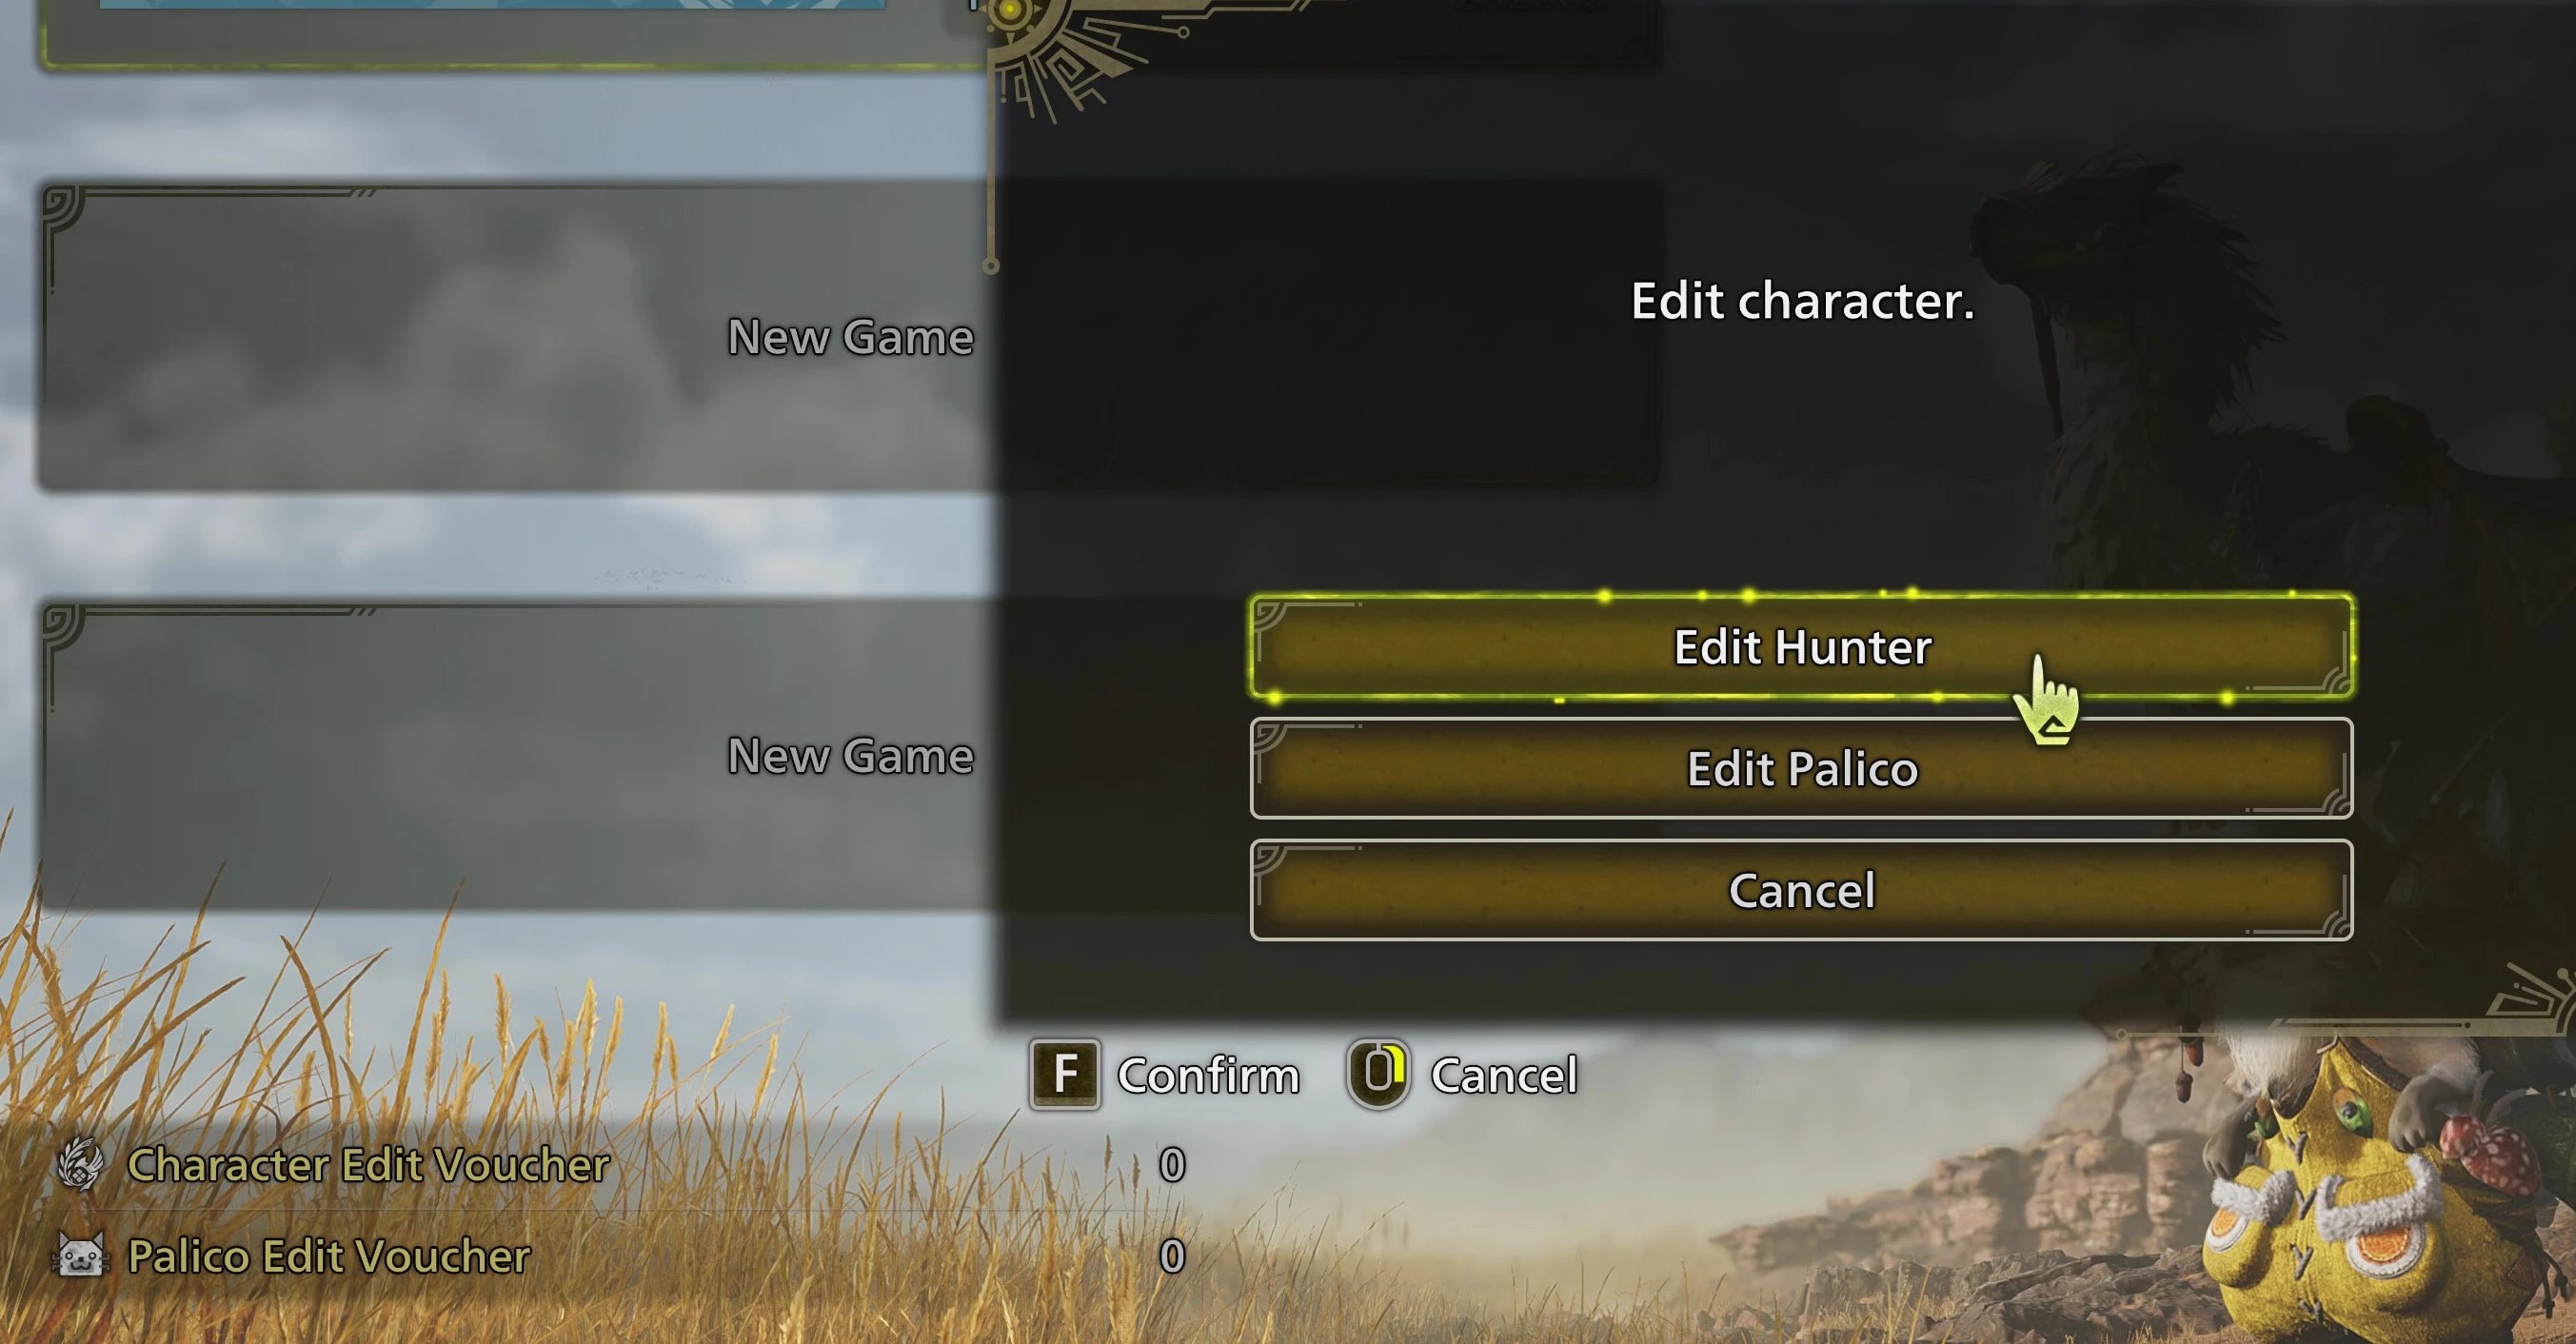
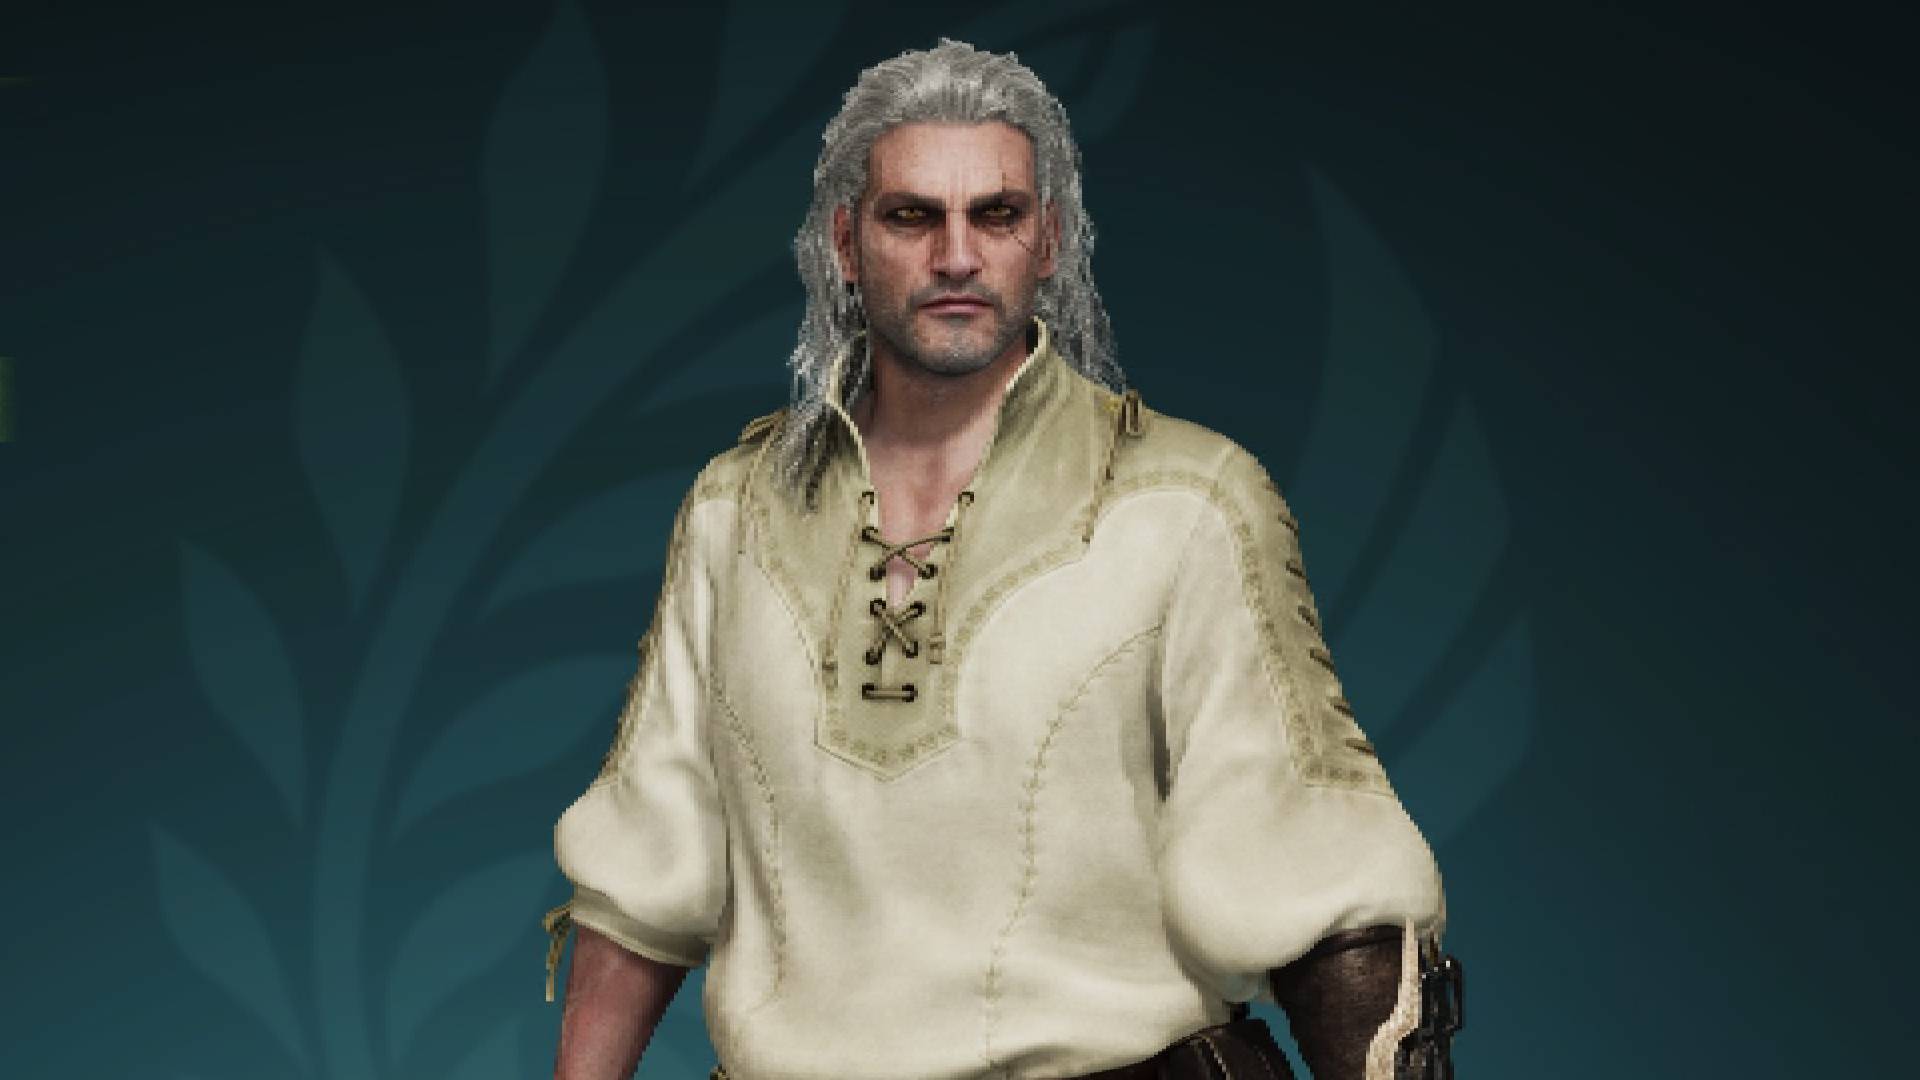
As with past Monster Hunters, Capcom charges $7 for character edit vouchers that let you rework your hunter's or palico's face. Modders have quickly circumvented that. Once installed, from the main menu you can load the character edit screen and tinker away. Even if this screen lists zero vouchers, the edit option should still appear. (X on a controller or the G key on your keyboard).
You can confirm the mod is enabled by opening the REFramework menu with Insert and expanding the "ScriptRunner" entry.
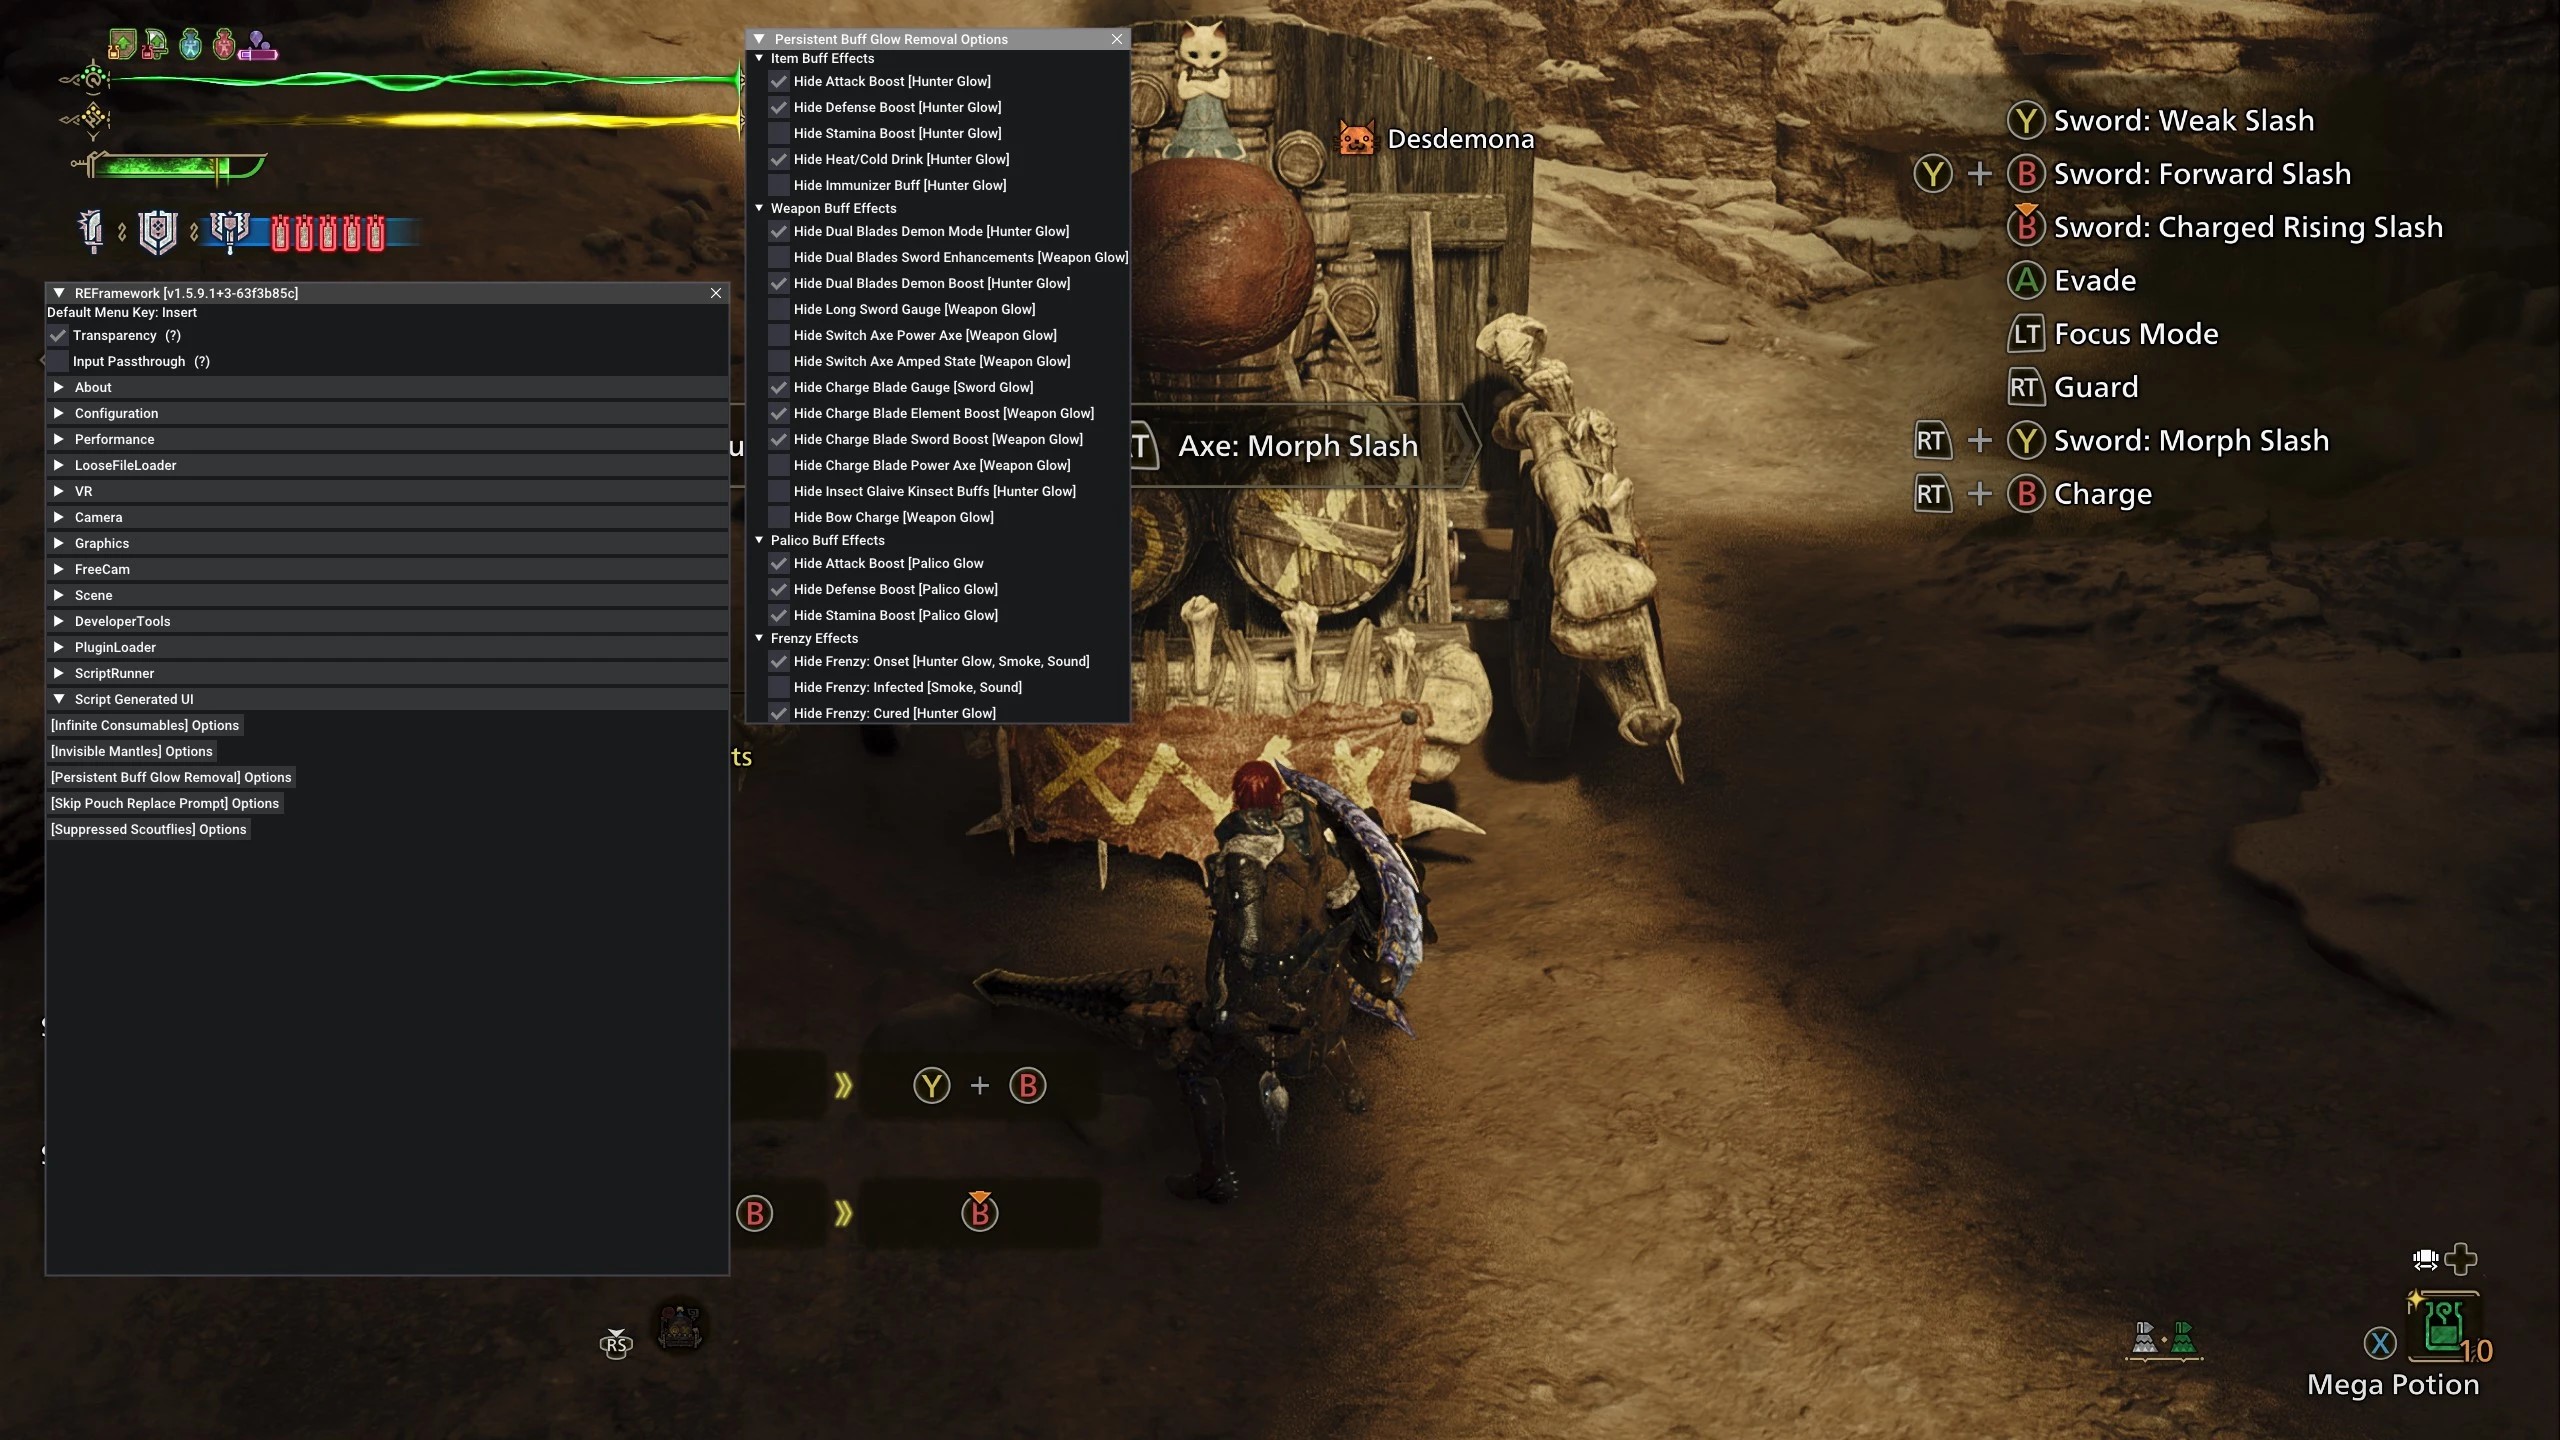
Persistent Buff Glow Removal
Prerequesites:
- REFramework
To install, extract the mod files to the "reframework > autorun" folder. To configure it, launch Wilds and press Insert to open the REFreamwork menu and scroll down to "Script Generated UI" where you can toggle a range of options.
If the glowy buffs from your decorations are ruining all your screenshots or you're just sick of running around with your hunter pulsing like they have some kind of RGB rave outfit on, this is the mod for you.
Custom Hunters
Okay, this isn't really modding per se, but check out our selection of the best Monster Hunter Wilds character codes to import other folks' incredible hunter creations into your own game.
More Monster Hunter Wilds on PC Gamer

- Monster Hunter Wilds artian weapons
- Monster Hunter Wilds secret armor
- Monster Hunter Wilds layered armor
- Monster Hunter Wilds roadmap

- Monster Hunter Wilds: Sandstar
- Monster Hunter Wilds Gillopod
- Monster Hunter Wilds: Gravid Bowfin
- Monster Hunter Wilds: Tracktail lizard
- Monster Hunter Wilds: Rime beetle
- Monster Hunter Wilds Dapperwing
- Monster Hunter Wilds Goldenfish
- Monster Hunter Wilds: Grand Escunite
- Monster Hunter Wilds: Fucium ore
- Monster Hunter Wilds: Gracium