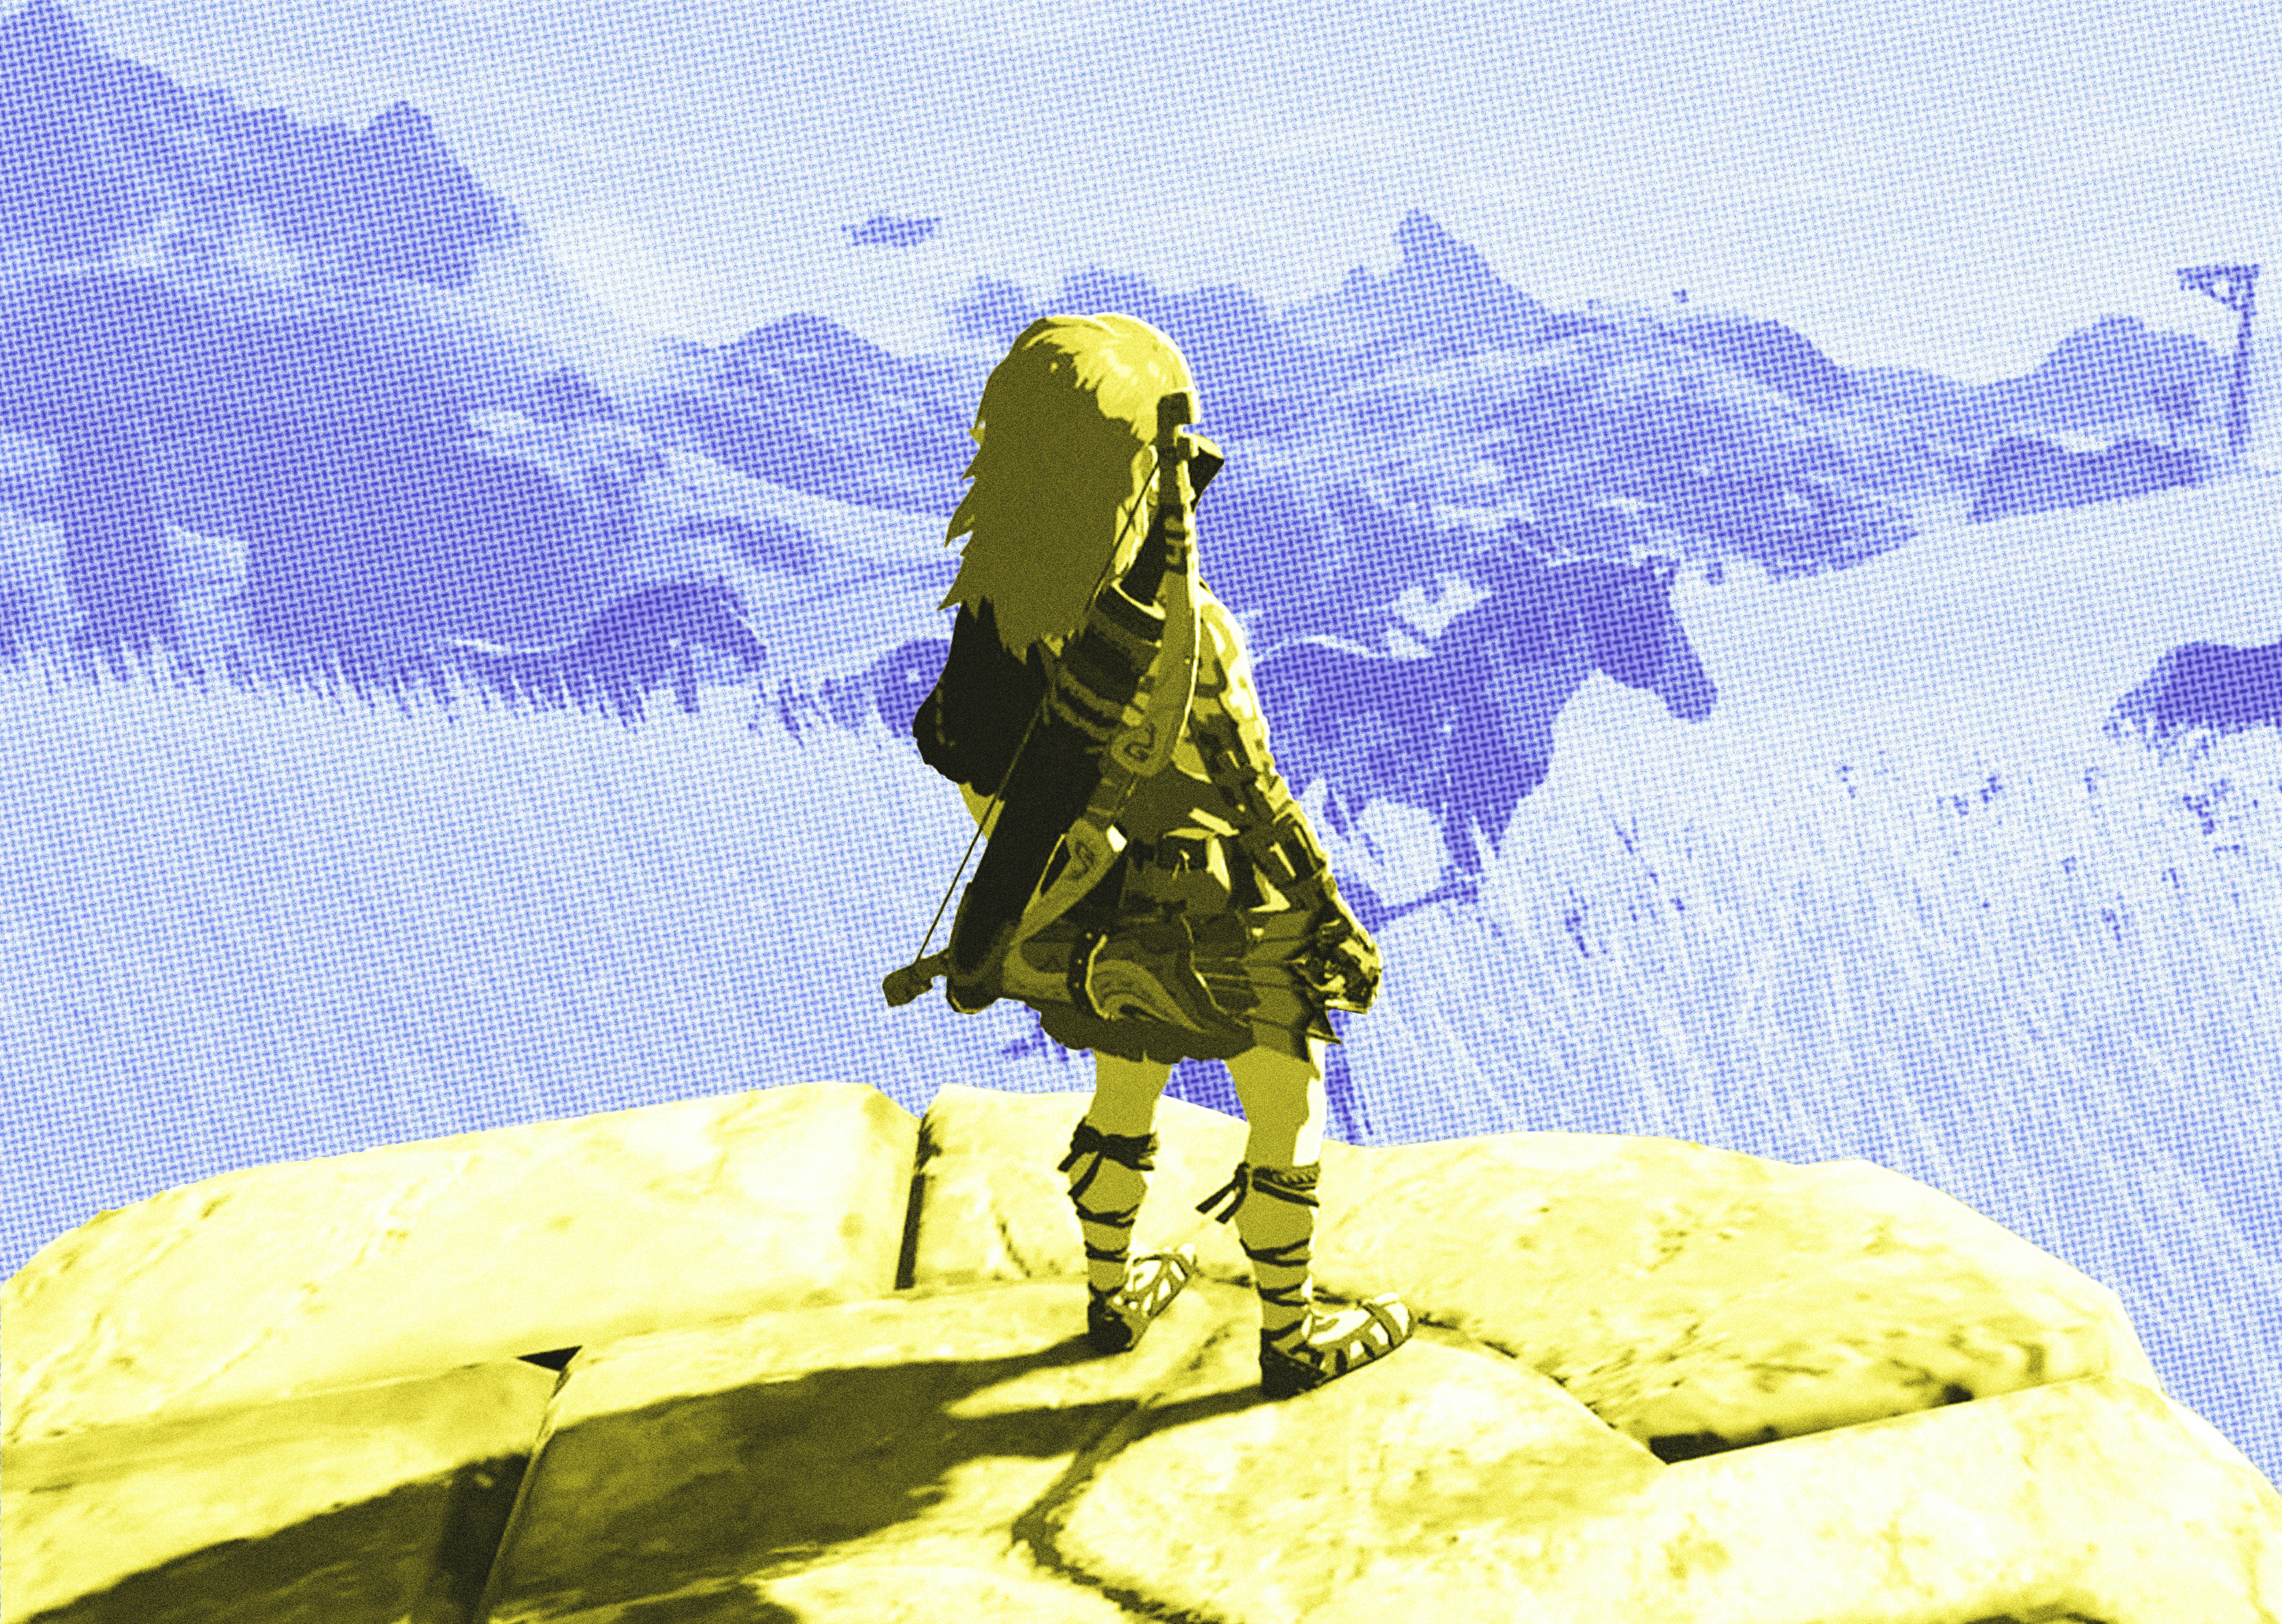
One of the standout moments of every game in the Zelda series is obtaining the Master Sword, the legendary weapon that lets Link overcome whatever he might be up against. Without fail, it’s an iconic moment, and Tears of the Kingdom is no different. But you’ll need to put in quite a bit of work to get it this time.
The Master Sword plays an important role in the overall narrative of Tears of the Kingdom, and the game’s biggest twist is tied directly to it. The lengthy quest to get the sword involves tracking down 12 different hieroglyphs, each of which contains a different “Tear” that unlocks a memory cutscene.
We’ll walk you through every step of the process, but be aware we’ll have to touch on some major spoilers to help explain things. Still, we’ll try and be as vague as possible.
All TotK Hieroglyph and Tear Locations
There are 12 different Tears hieroglyphs to find in Tears of the Kingdom. While you can find them in any order you want, there’s technically a “correct” order in terms of how the story plays out.
Once you collect every Tear, you’ll get a final flashback that reveals the location of the Master Sword, but we’ll get to that after detailing all 12 locations.
Tear #1 - Where Am I?
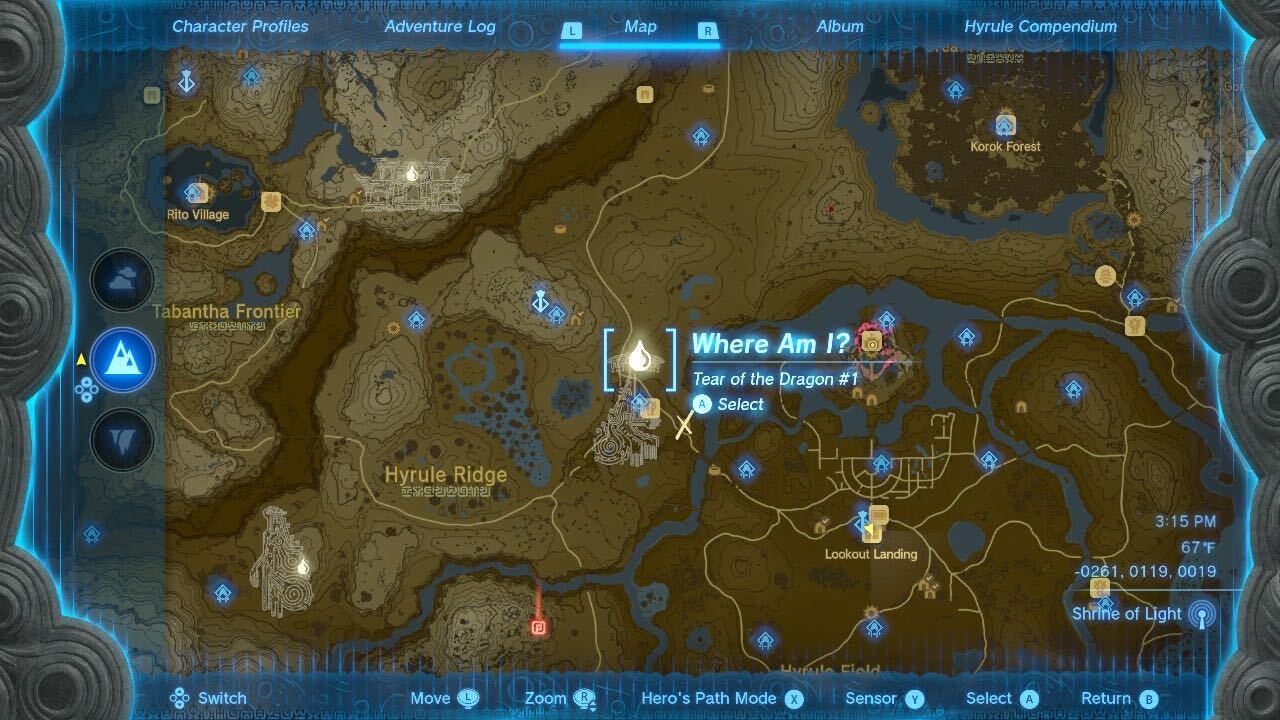
The first tear is just to the northwest of Lookout Landing, and you’ll visit it as part of the main story, so there’s no way to miss it. The Tear itself can be found at the top of the hieroglyphs head.
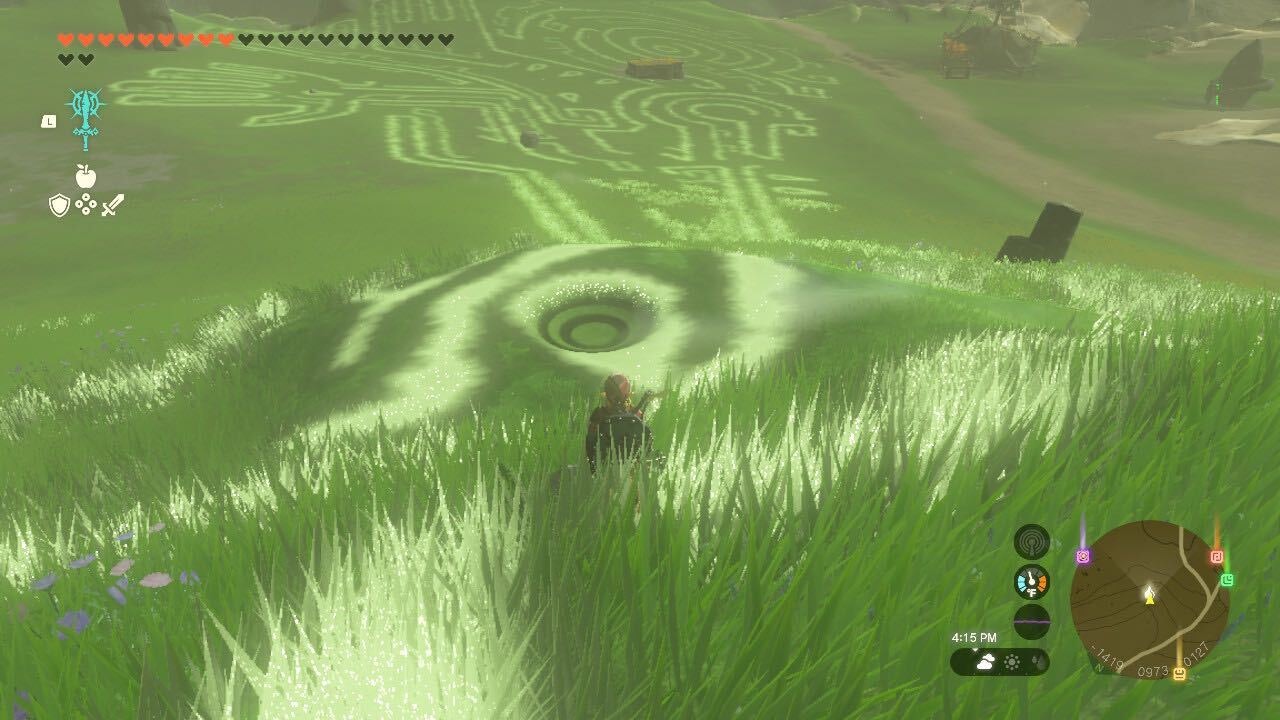
Tear #2 - An Unfamiliar World
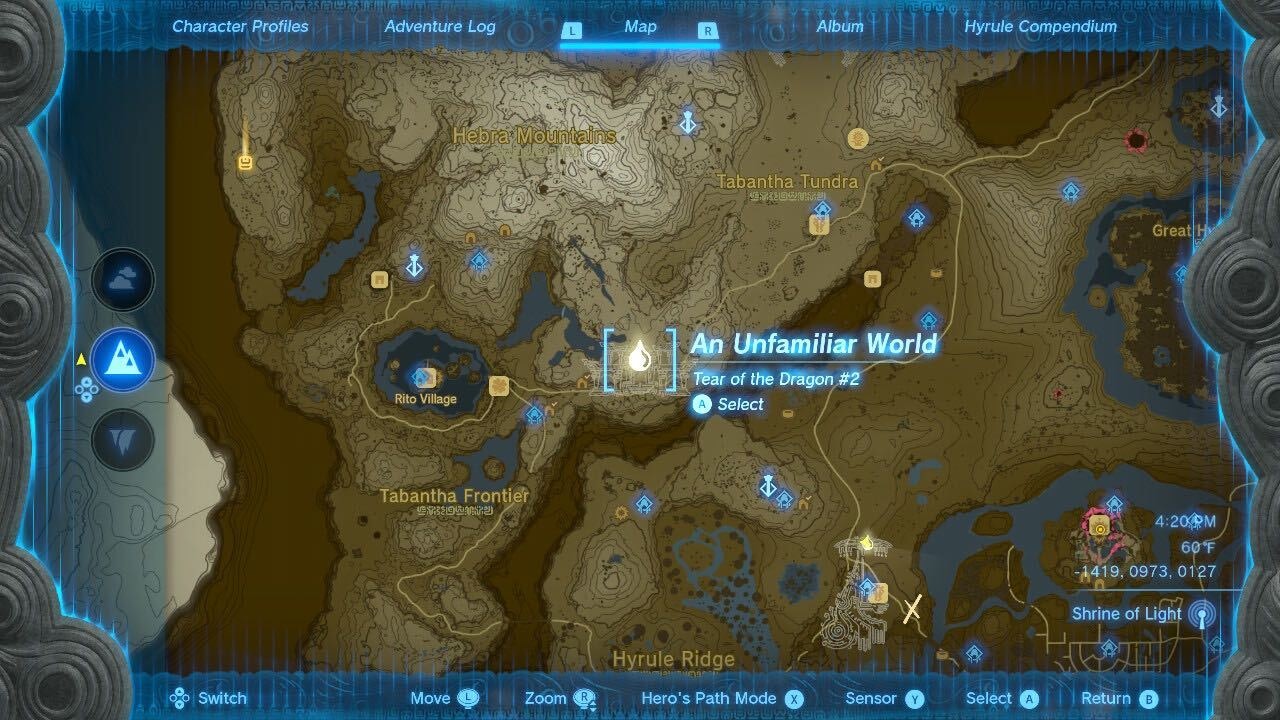
The second Tear is in the northwest part of Hyrule, and you’ll likely run into it on your way to Rito Village. The Hieroglyph is painted on the wall of a canyon, so as you’re gliding down look for the little filled-in piece in the middle of the picture.
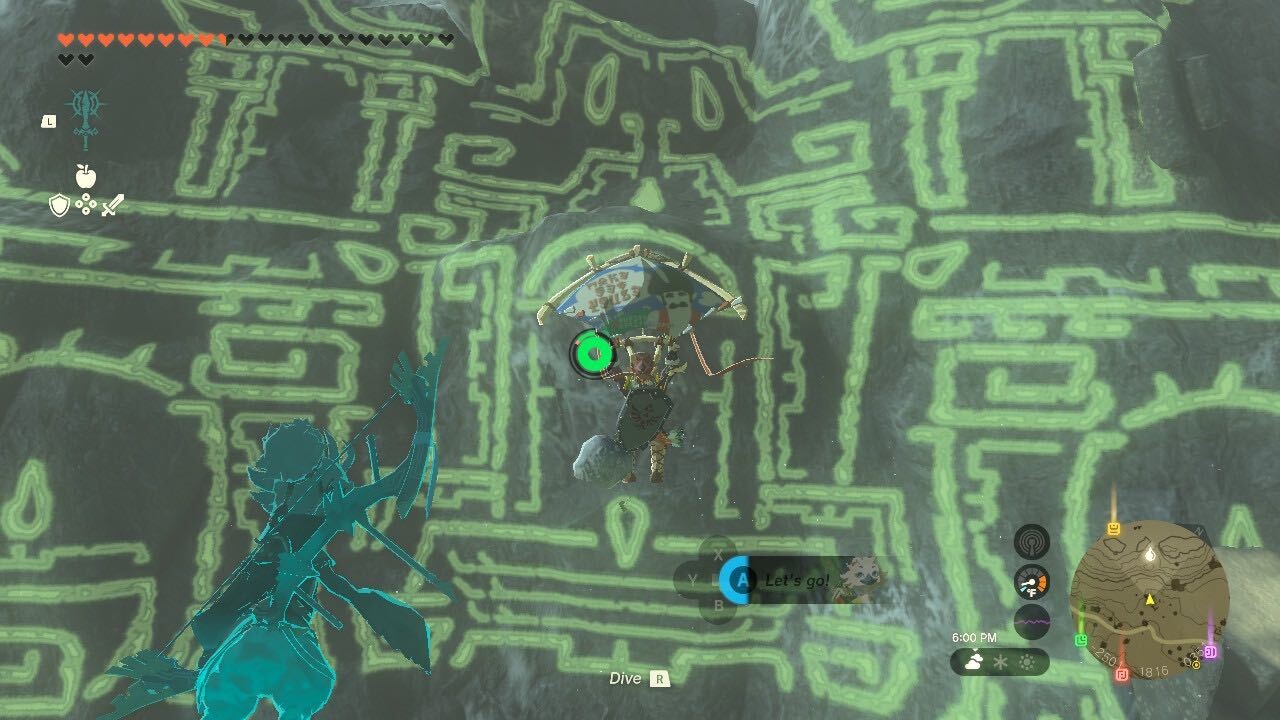
Tear #3 - Mineru’s Counsel
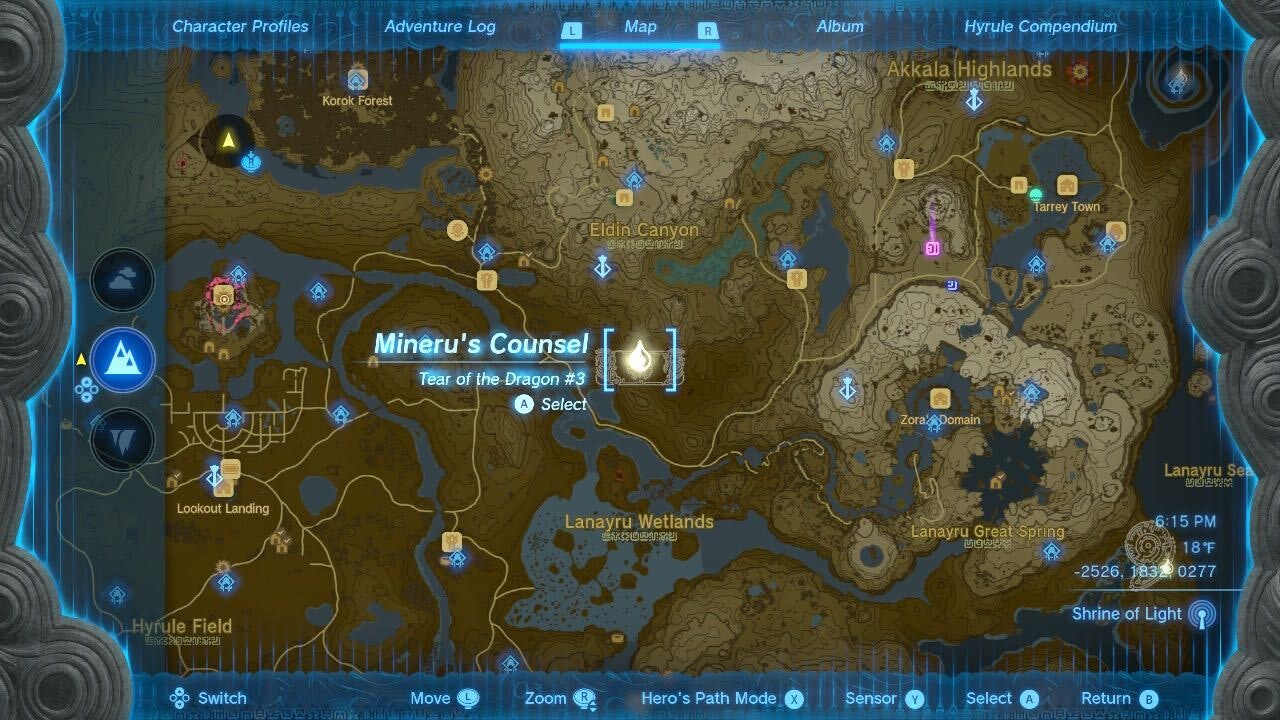
This hieroglyph is in the shape of the Purah Pad, and it’s straight to the east from the very first Tear. You’ll want to look in the very center of the pad to get the Tear.
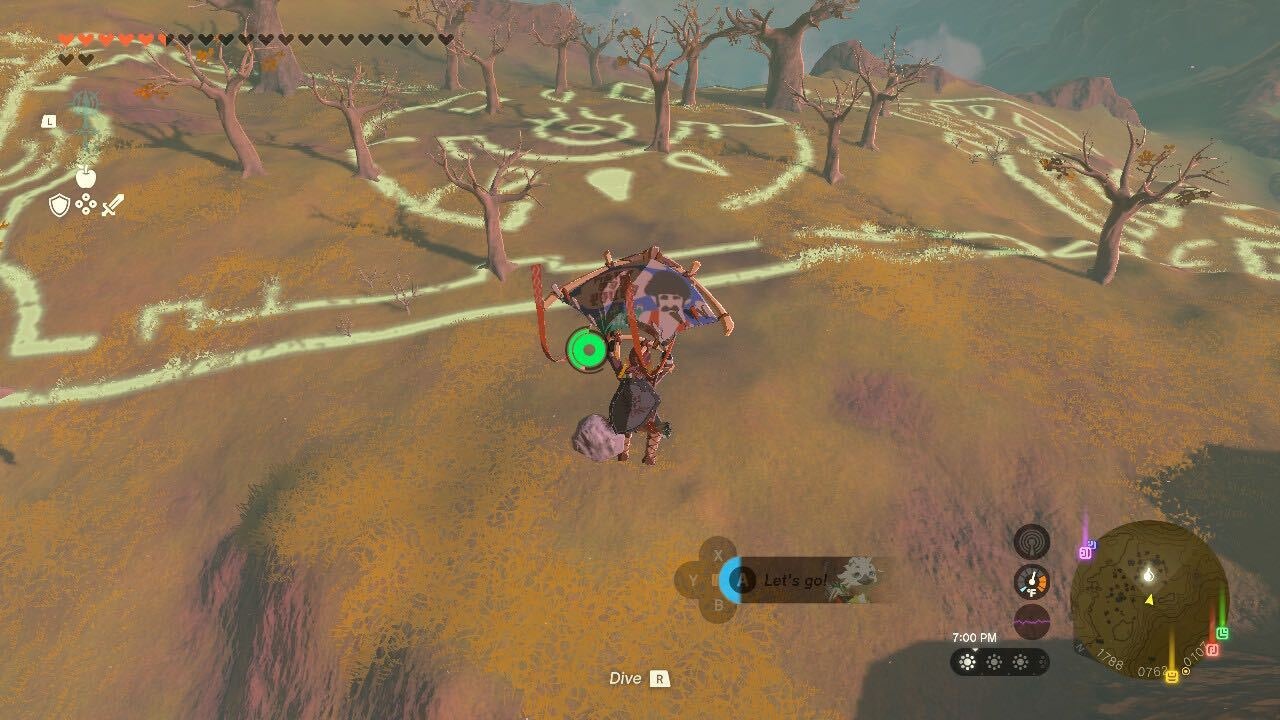
Tear #4 - The Gerudo Assault
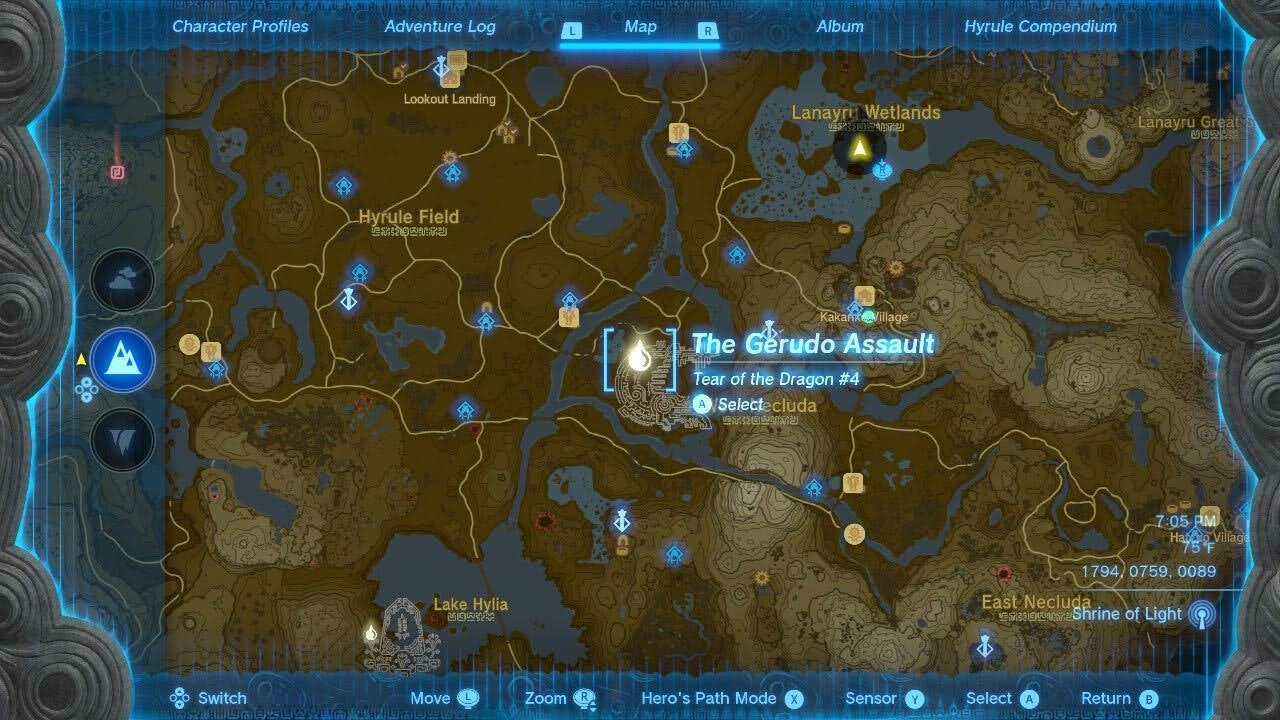
This one is to the southeast of Lookout Landing, in the West Necluda area. The Tear is near the top of the hieroglyph’s tail but this one can be a bit tricky as it’s actually hidden in a wooded area, meaning you won’t see if from the sky.
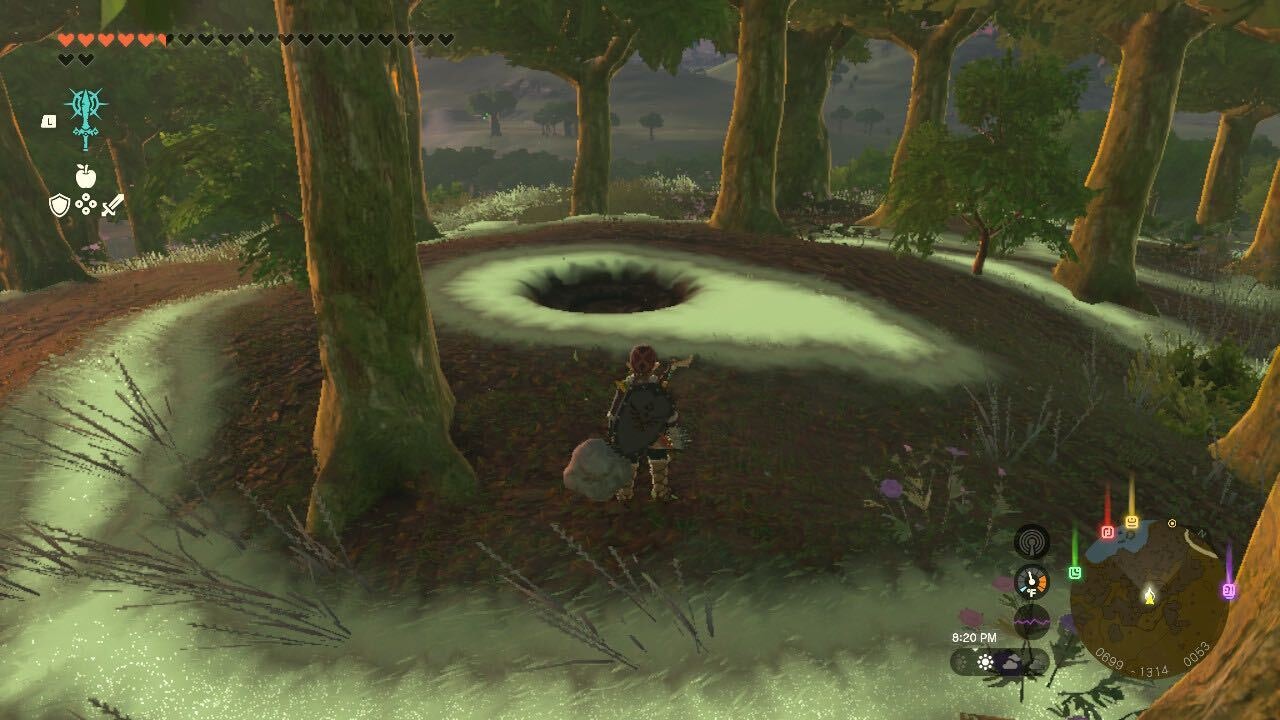
Tear #5 - A Show of Fealty
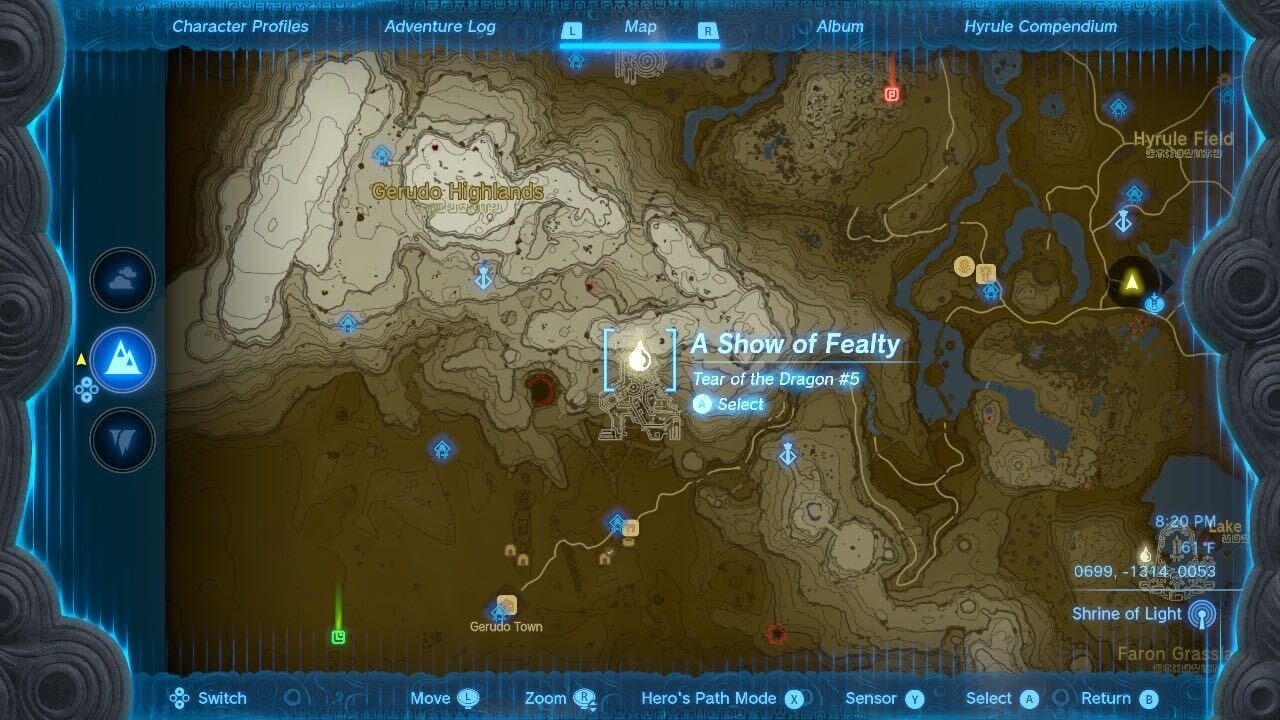
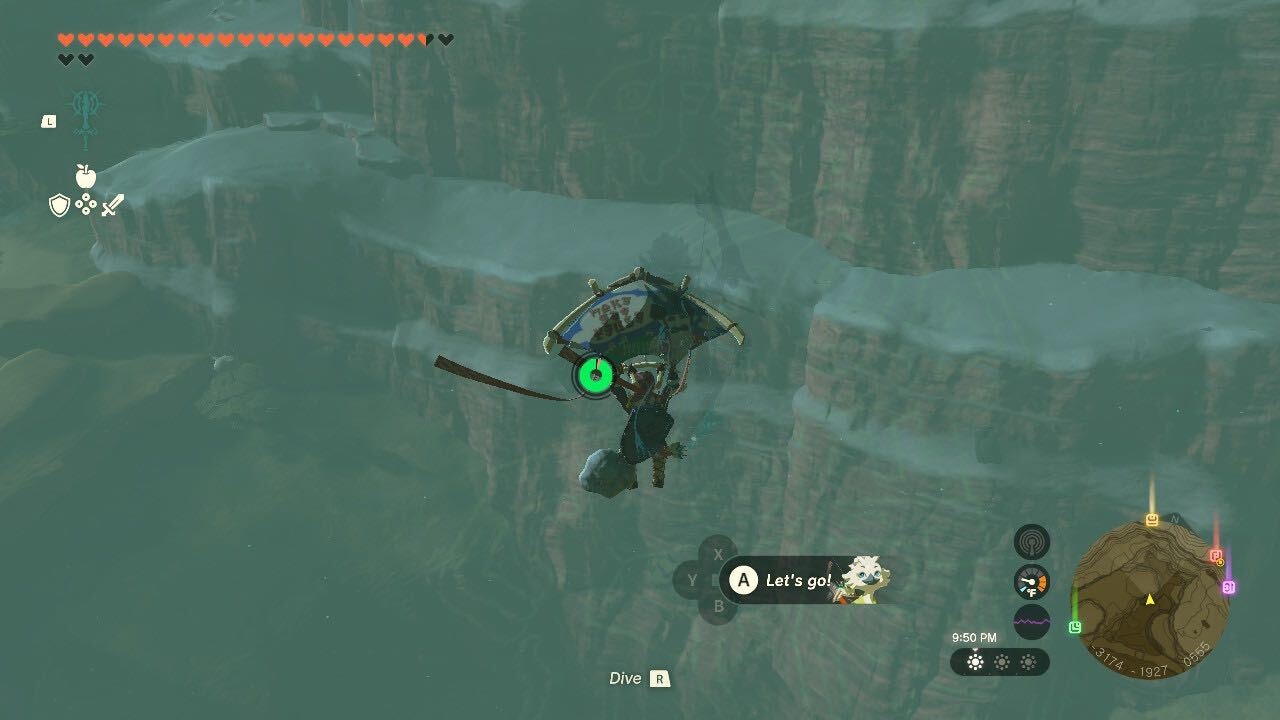
This Tear lies just outside the entrance to Gerudo Canyon. Unless you do that part of the story first, it’ll likely be one of the last you find. It can be a bit tricky to discover, as the hieroglyph is built into a snowy canyon wall, and the Tear itself is a little buried by snow. Look for the ridge we’re flying toward in the image below.
Tear #6 - Zelda and Sonia
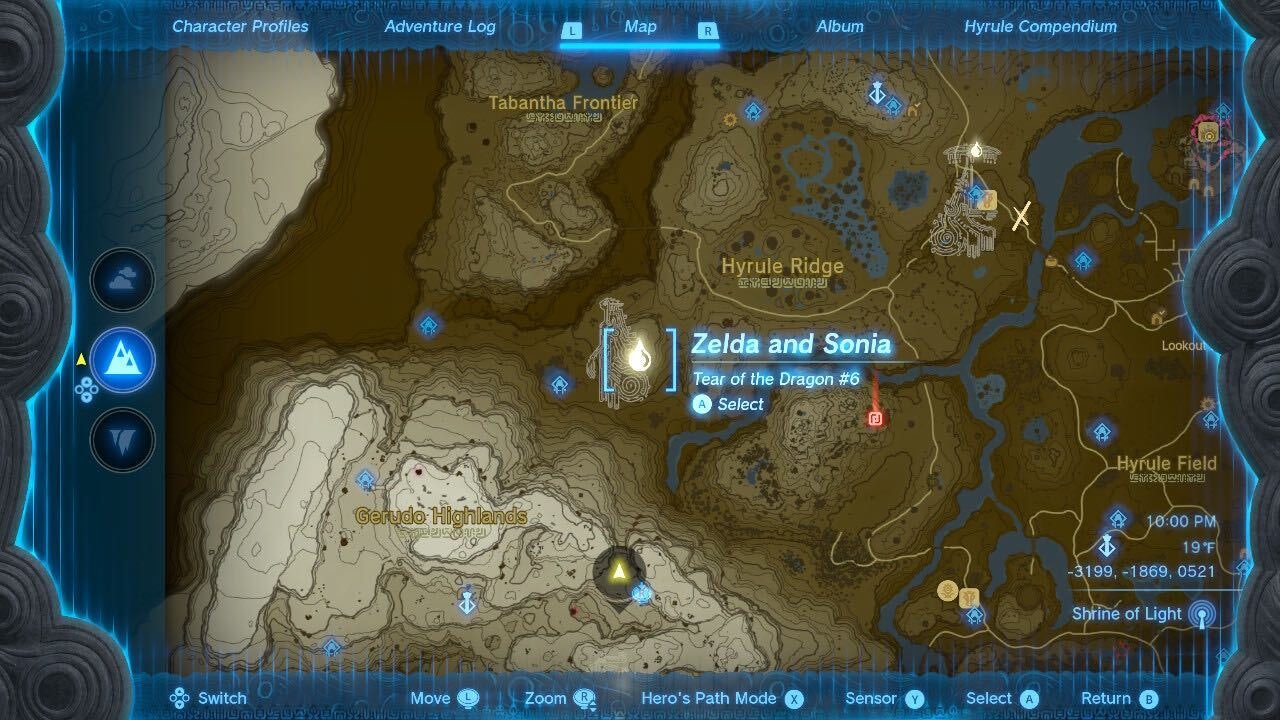
We’re at the halfway point, with this Tear being all the way on the west side of the map. It’s most easily accessed by unlocking the Gerudo Highlands tower and then gliding down into the valley where the hieroglyph lies. Look for the Tear on the right side of the image.
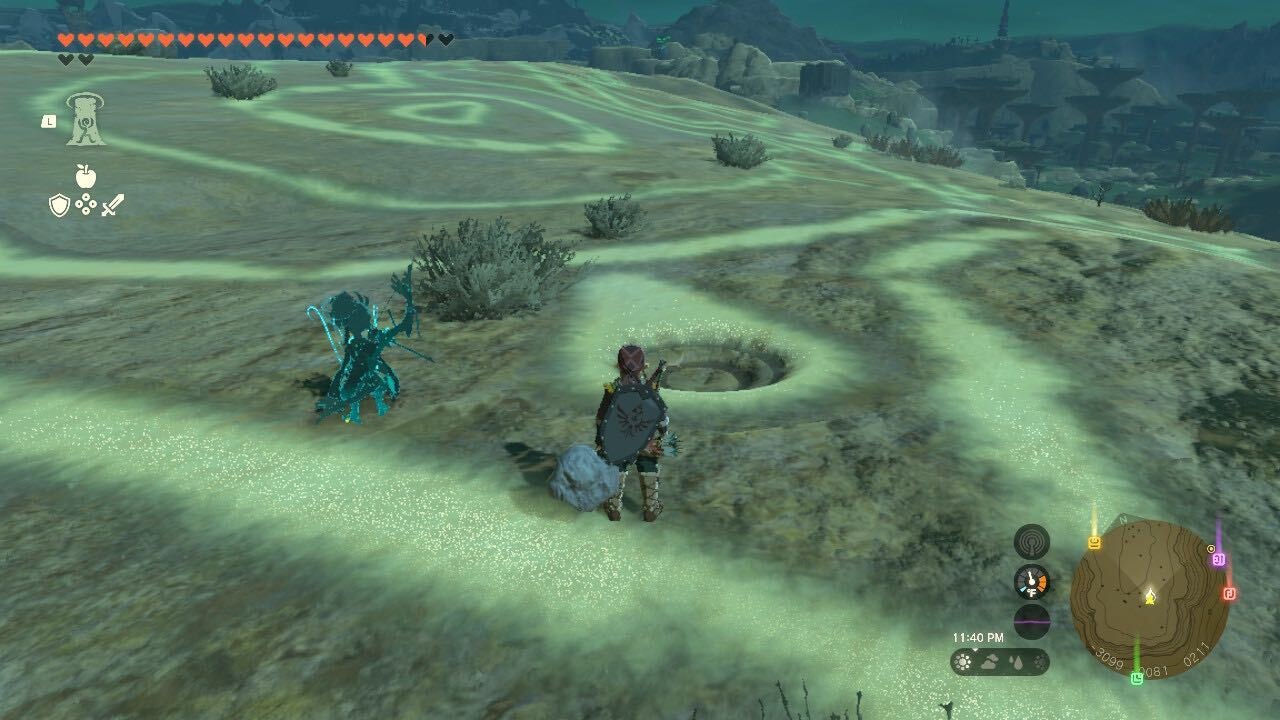
Tear #7 - Sonia Is Caught By Treachery
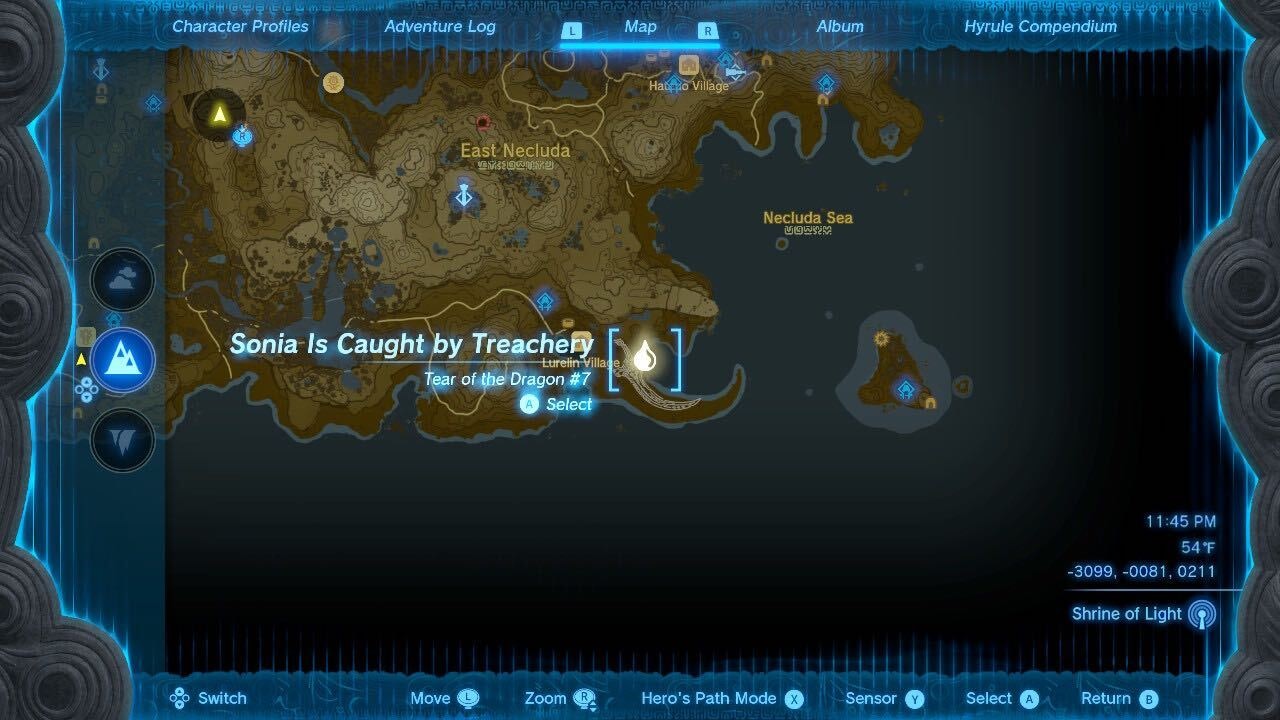
The seventh Tear is all the way on the southeastern tip of the map, right next to Lurellan Village. The village has been infested by monsters and there’s a lengthy side quest to free it, so you might need to do some fighting. Look on the left side of the sword hilt for this one.
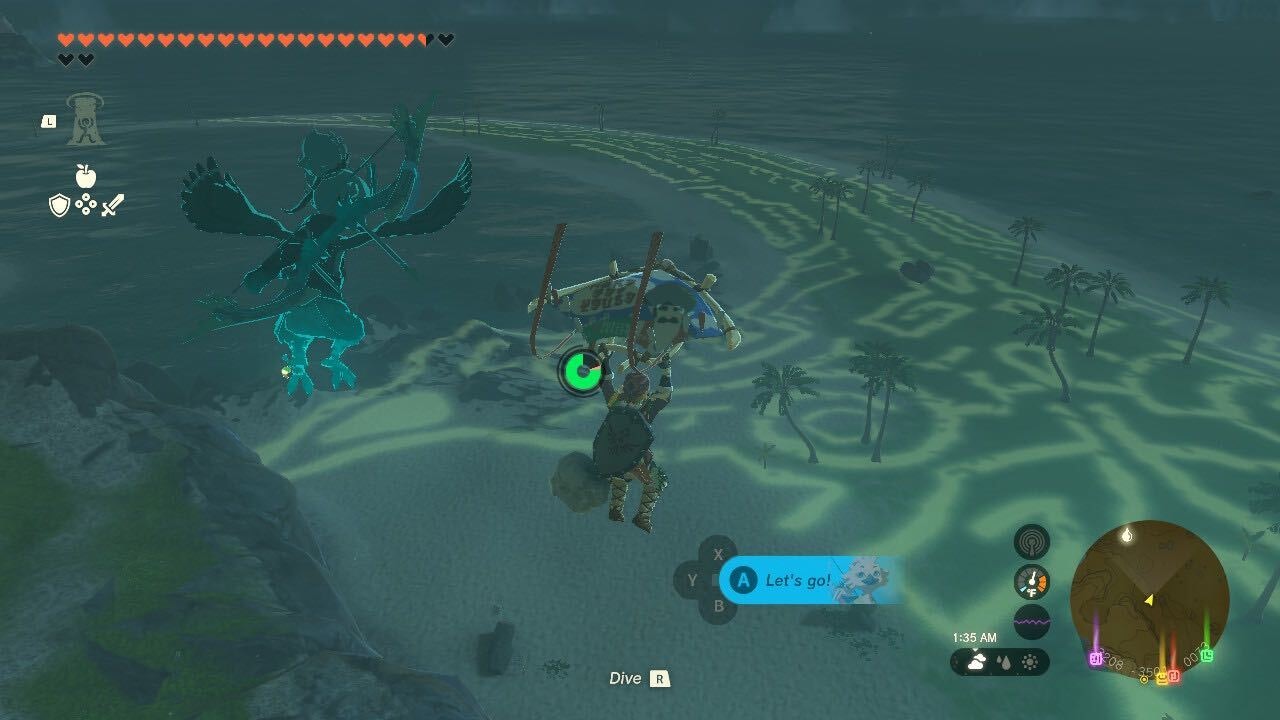
Tear # 8 - Birth of the Demon King
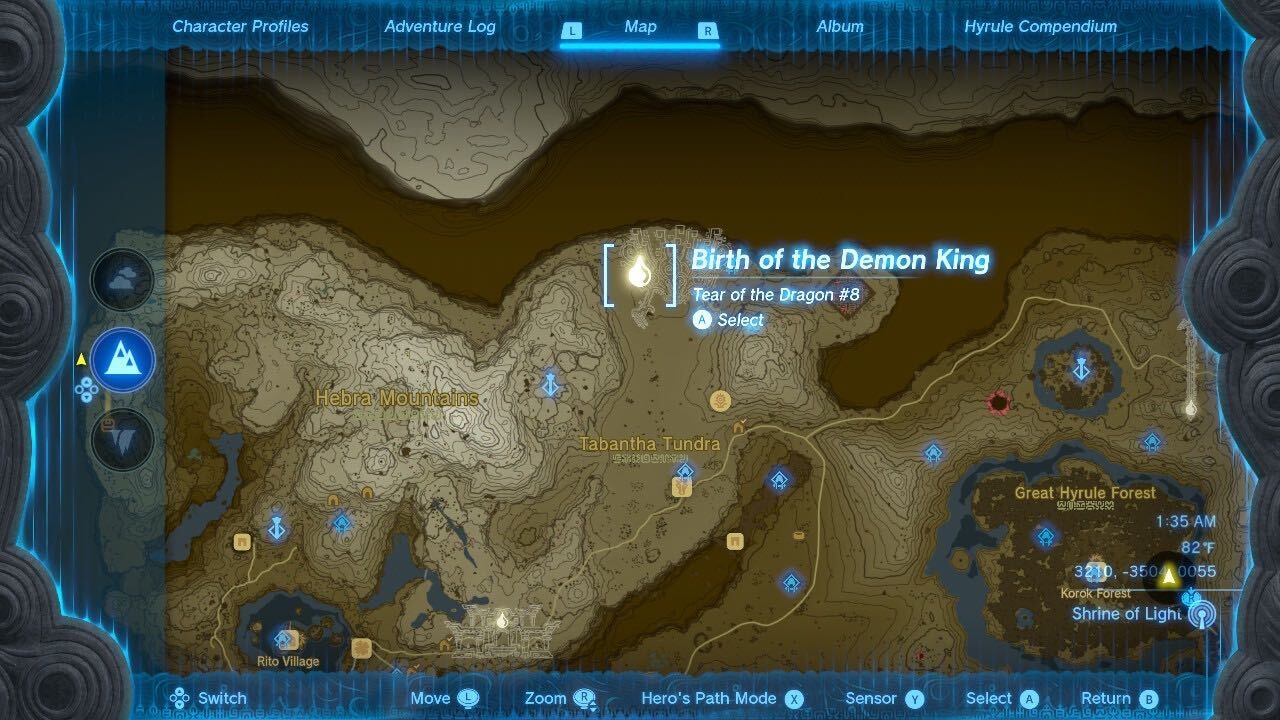
Look at the northwest side of the map for this one. The hieroglyph is massive, so it should be easy to spot. The Tear is in the middle of a big snowy mountain.
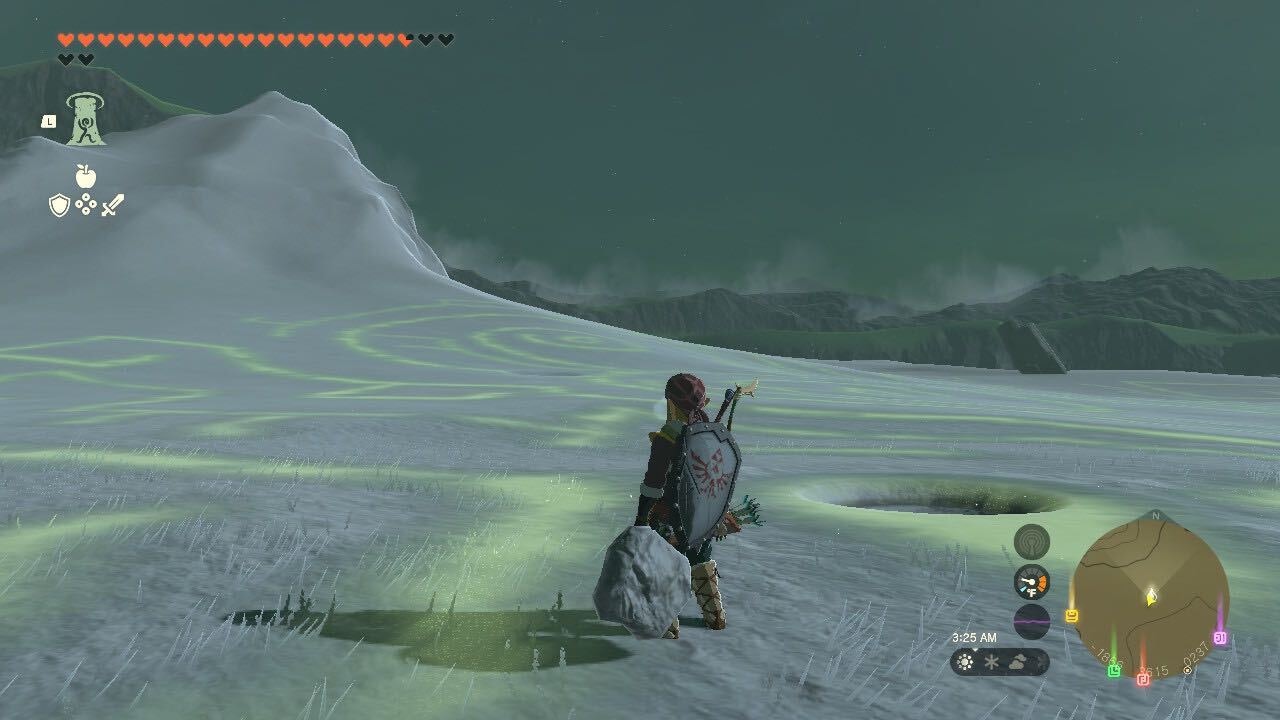
Tear #9 - The Sages’ Vow
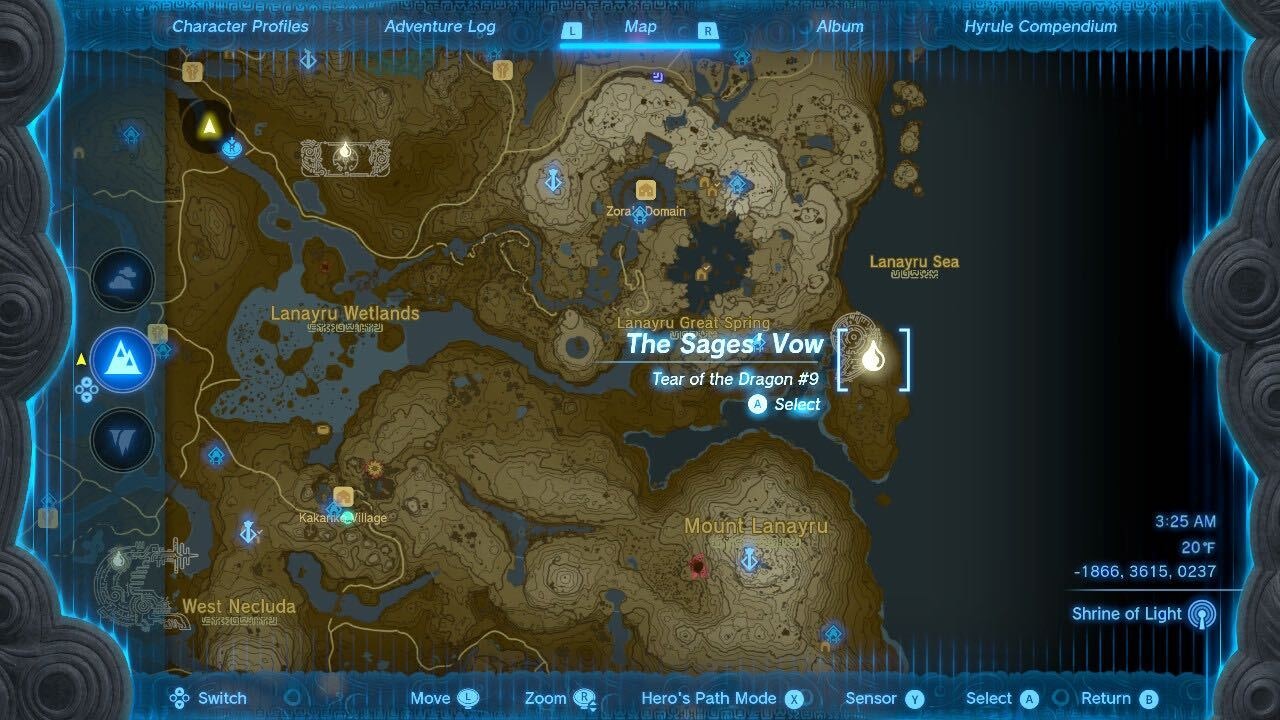
The ninth Tear is all the way on the east side of the map, near the coast on the Talus Plateau. Look on the east side of the hieroglyph.
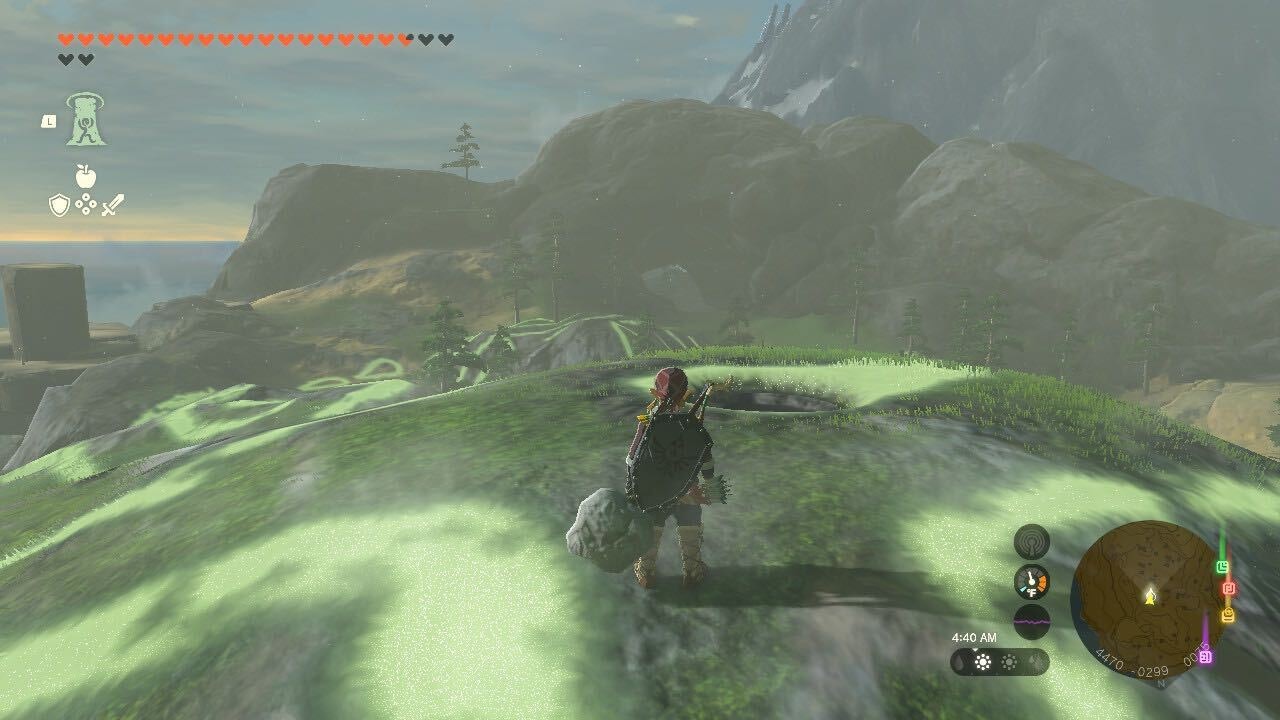
Tear #10 - A King’s Duty
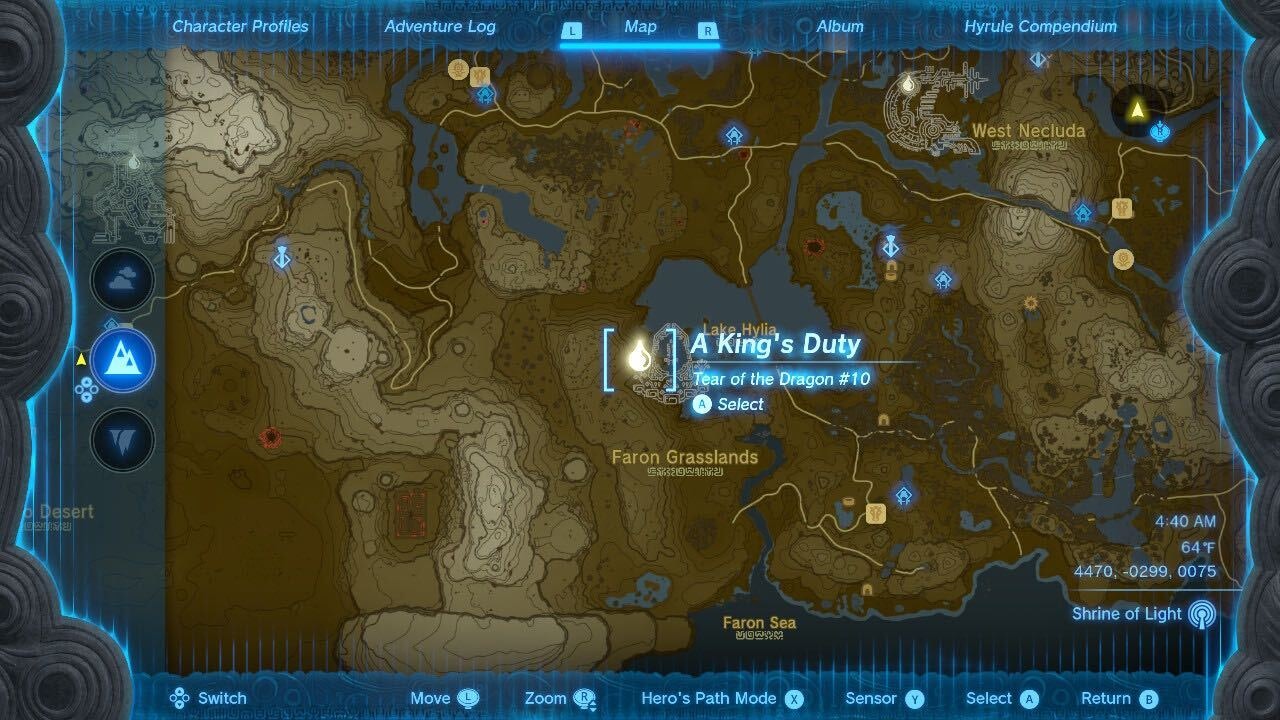
This Tear is straight to the south of Lookout Landing, on the West banks of Lake Hylia. It’s easiest to reach if you fly up the Popla Foothills tower and glide down. This will easily let you see exactly where the Tear is on the hieroglyph.
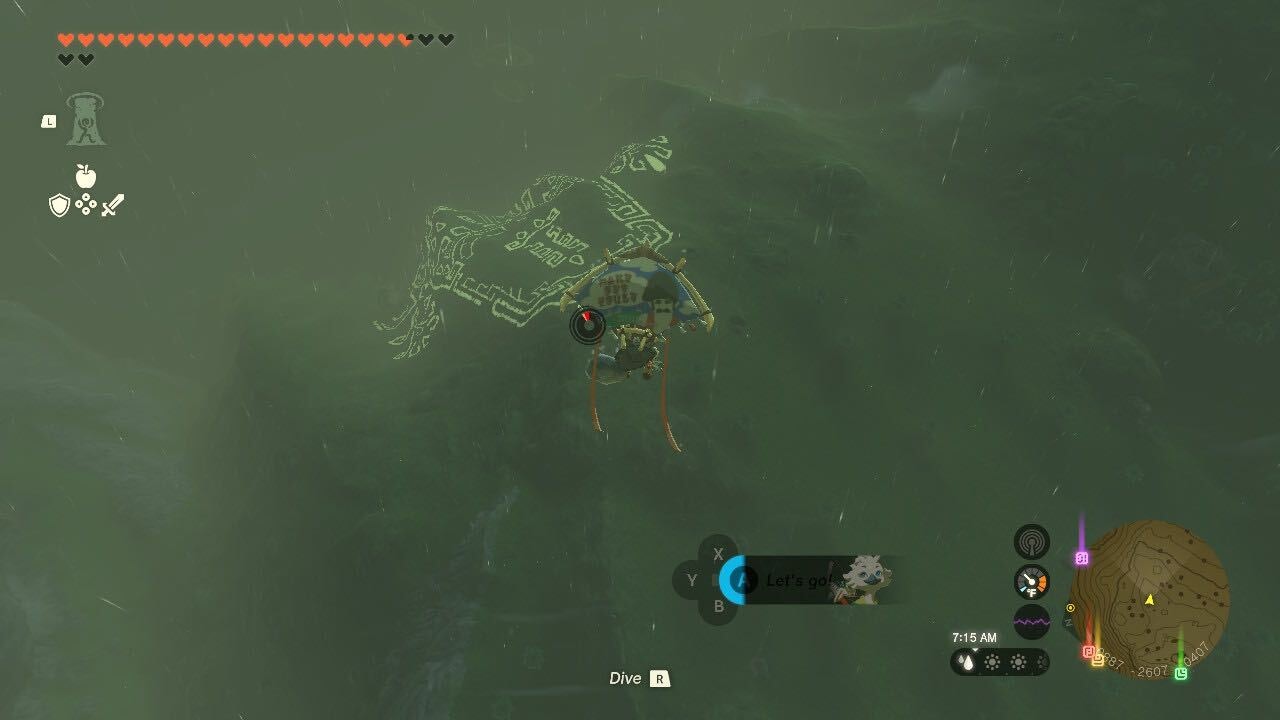
Tear #11 - A Master Sword in Time
The last hieroglyph can be found on the northeast part of the map, right near the Thyphlo Ruins. Luckily, this one is easy to spot as it’s shaped like a massive Master Sword. The Tear is on the very tip of the blade, which lies on top of a cliff.
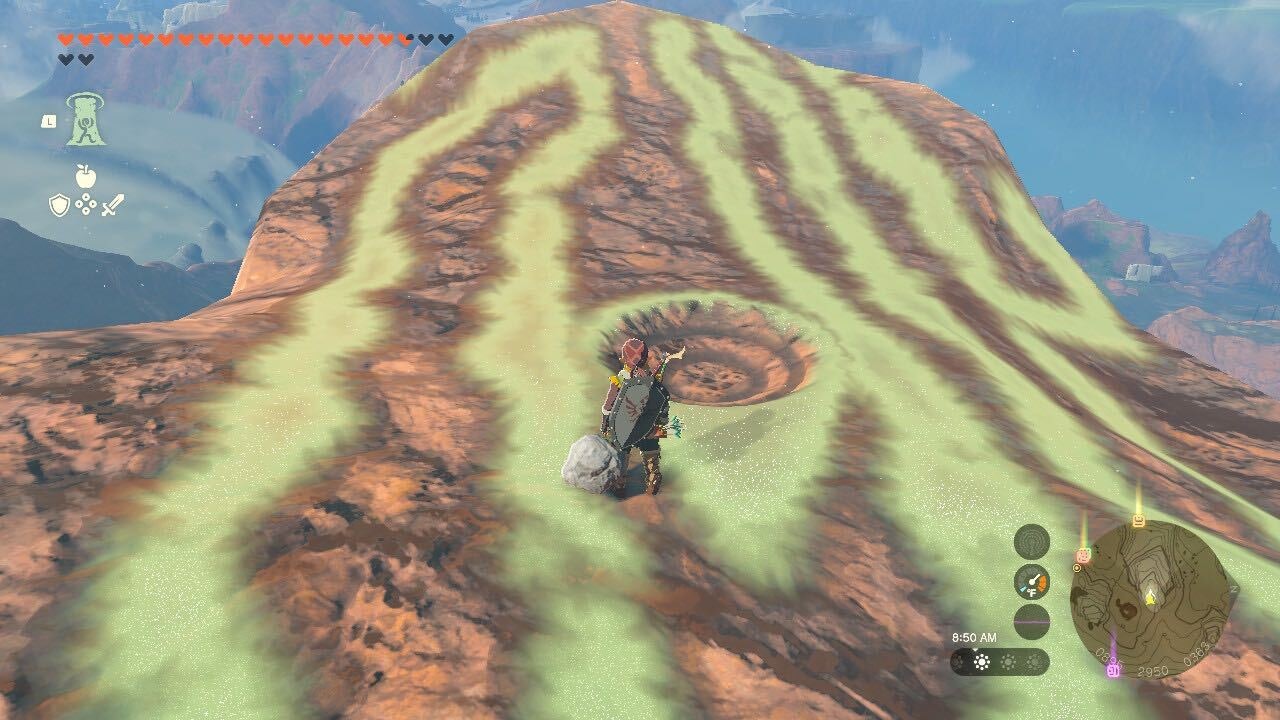
Tear #12 - Tears of the Dragon
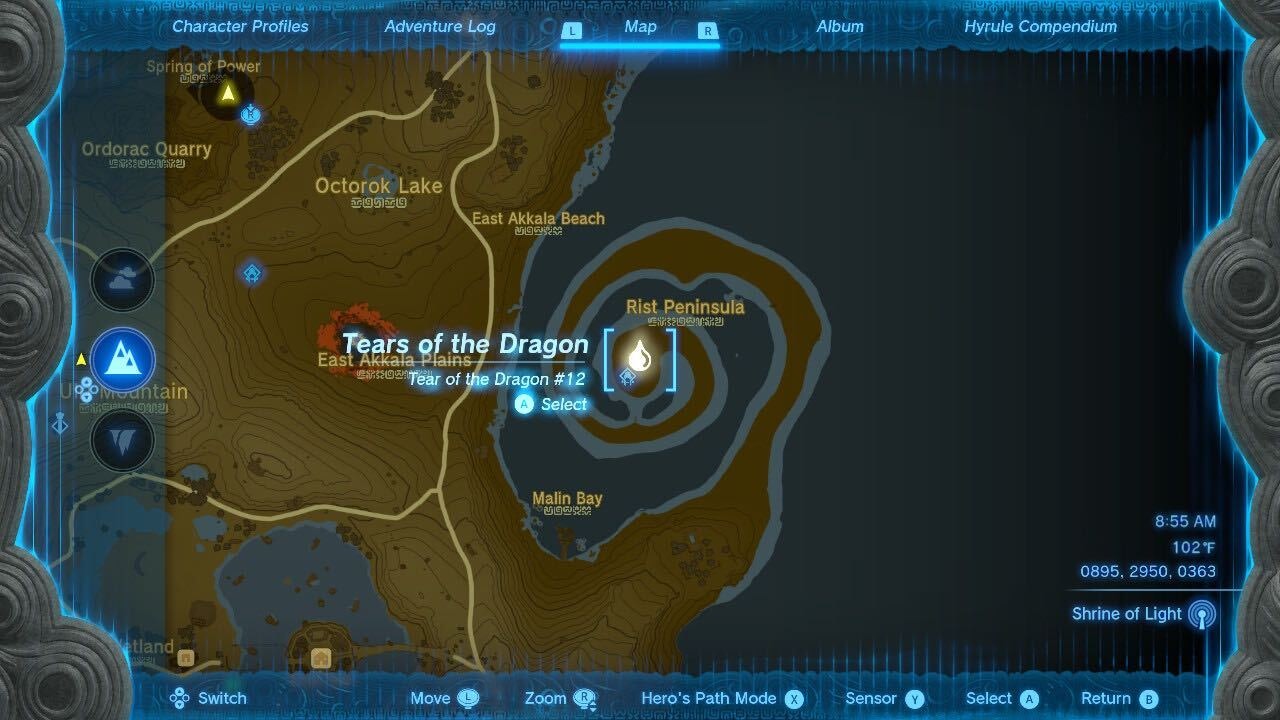
The final Tear will immediately be marked on your map as soon as you collect all the others, and it’s in the middle of the spiral beach on the east side of Hyrule. Gemimik Shrine is actually on that same beach if you already completed it, and to find the Tear simply look in the pool surrounded by blue flowers.
How to Get The Master Sword
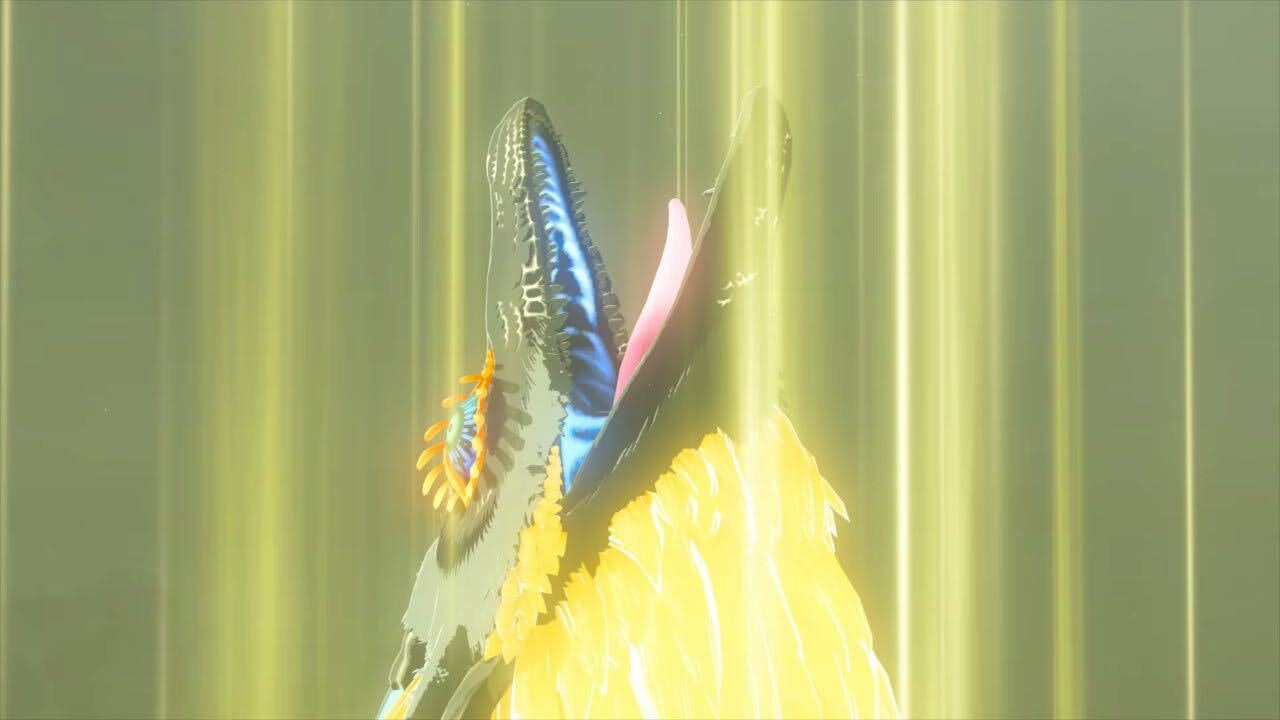
Before we get into the actual act of getting the Master Sword, is hugely important to note that you’ll need at least two full bars of Stamina. Link has to pull the Master Sword out of the Dragon it’s stuck in, and if you don’t have enough Stamina you simply can’t do it. With that in mind, you might need to go grind a few Shrines if you don’t currently have enough.
Once you’ve watched the final scene, you’ll know the Master Sword is now embedded in the head of a pearly white dragon. If you want to retrieve it, you’ll need to get on top of that dragon, so fast travel to the closest Skyview Tower, which is the Ulri Mountain Tower.
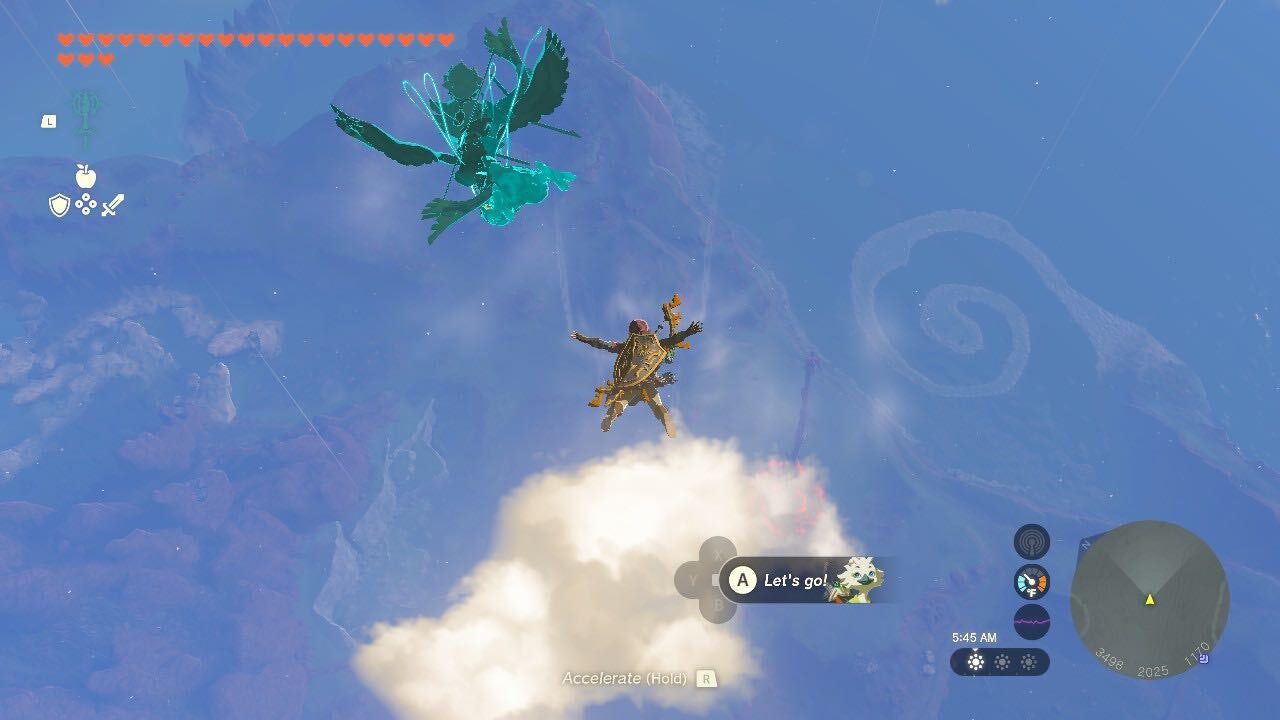
Launch up the tower, then instantly veer off to your right toward the twelfth Tear and the floating dragon. You’ll need to use your paraglider combined with Tulin’s Sage ability to get in close, but if you have the two full bars of Stamina, as we noted earlier, you should have no trouble getting in close.
You’ll want to land as close to the dragon’s head as possible, as walking up its body can be tricky and easily make you fall off. Once you’ve reached the head simply press A to interact with the Master Sword, and be ready to hold the button down for the Stamina check. Now, sit back and enjoy the events.
