The Legend of Zelda: Tears of the Kingdom is a sequel to Breath of the Wild in every sense of the word, using the same basic setup and structure. This means you’ll have a lengthy tutorial area to play through in order to access the wider world of Hyrule.
This is to teach you the basic mechanics and ideas of the game, but it can still be a bit confusing to make your way through. We’ll help walk you through the first steps in Tears of the Kingdom, so you can get your journey started properly.
Link’s Awakening
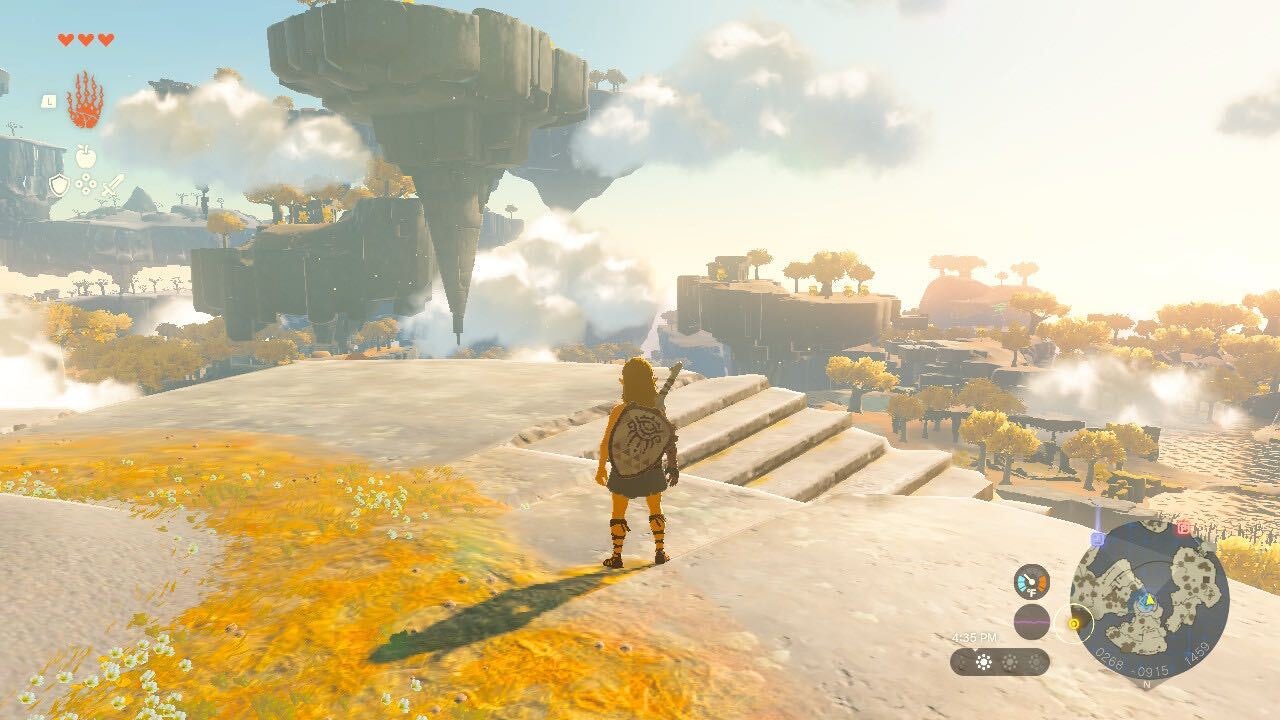
After the events under Hyrule Castle, Link will wake up on a mysterious island in the sky, with a strange arm grafted onto his body. The first part of the tutorial area is entirely linear so follow the path until you dive down on the Great Sky Island, then head to the right and talk to the Construct who will give you the Purah Pad, enabling your map.
Just keep following the objectives to the Temple of Time, but make sure to collect some food items, like apples hanging from trees, along the way. Everything is linear until you get to the Temple of Time and meet Rauru, at which point you’ll need to visit a few shrines.
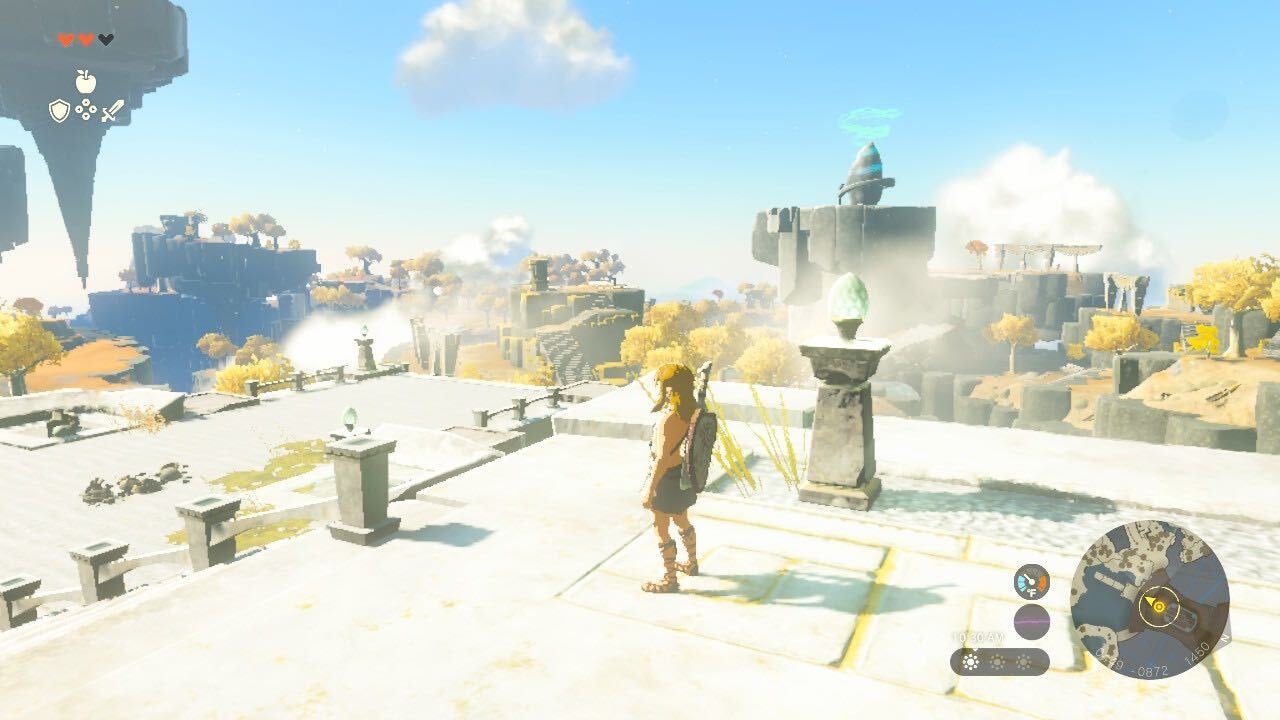
Reaching the First Shrine
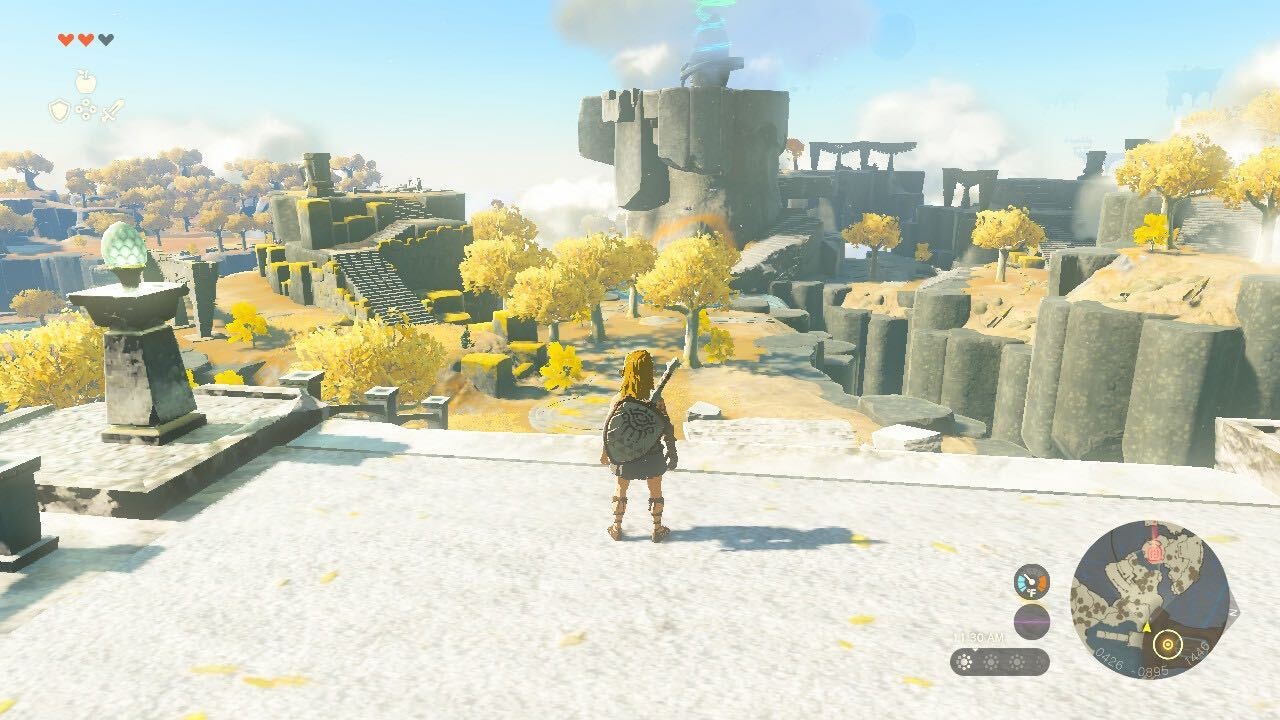
Head to the right from the Temple of Time and down the slope. This shrine is easy to reach, just head straight and you’ll see the stairs wrapping around the pillar, with the Shrine on the top. You’ll have to do a bit of climbing at a couple of points, but just keep going up.
Ukouh Shrine Solution
This first shrine grants you the Ultrahand ability, which can be used to move and manipulate objects, as well as stick them together. This is the ability that you’ll use the most throughout the game. Head forward and grab the stone slate, then place it across the gap as a bridge. For the next gap you’ll need to stick the two stone slabs together, so grab one, line it up with the end of the other, and press A. Then move it over the gap.
For the last part, you need to make a tram that’ll slide down the rail. Grab the wooden board and put it on the ground, then grab one of the metal hooks and place it perpendicularly on the board and stick it. Grab the whole thing and place it on the rail, then quickly jump on before it slides down. That’s the first Shrine completed.
Reaching the Second Shrine
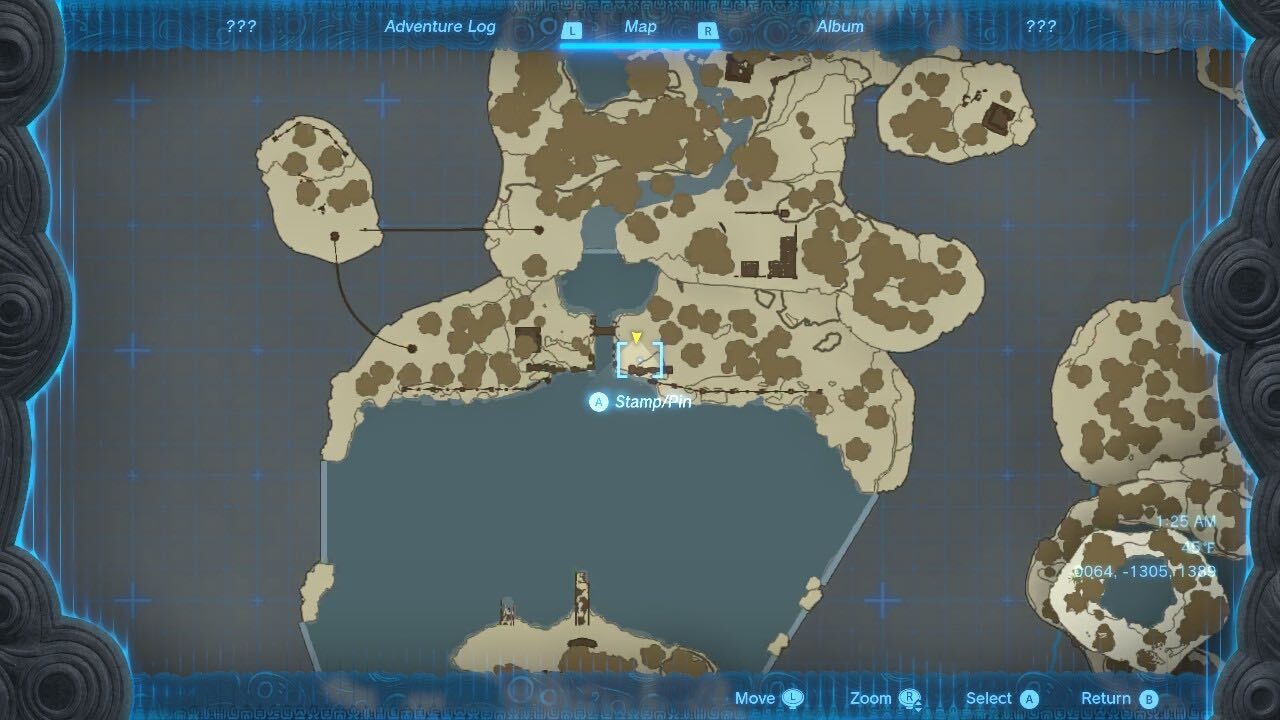
You now have two choices for where to head next, but it’s highly recommended you head to the Shrine on the right side of the island and not the one on top of the snowy mountain, as it’s the hardest to reach.
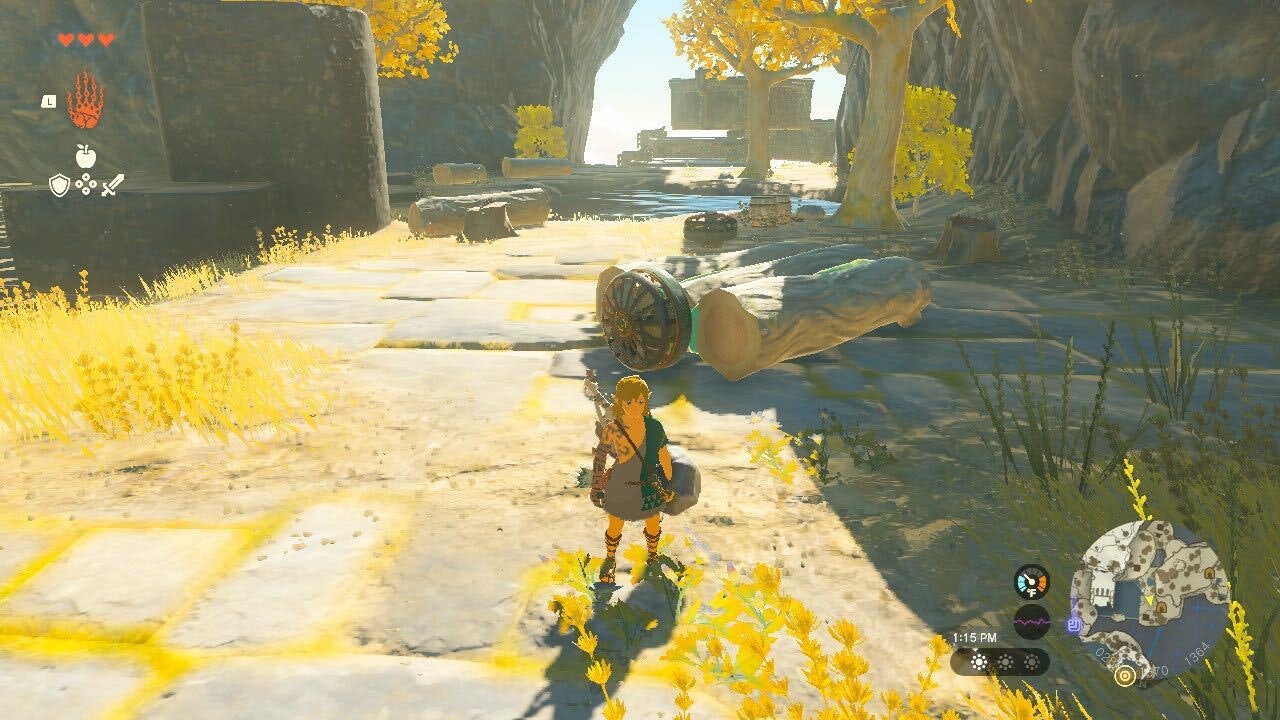
From where you exited Ukouh, turn right and jump down. You’ll see some wooden boards to make a bridge to the next island. Keep going forward until you hit a broken bridge by a construct cutting trees down. There’s an axe embedded in a stump that you can use to cut down trees for logs, turning them into a bridge across.

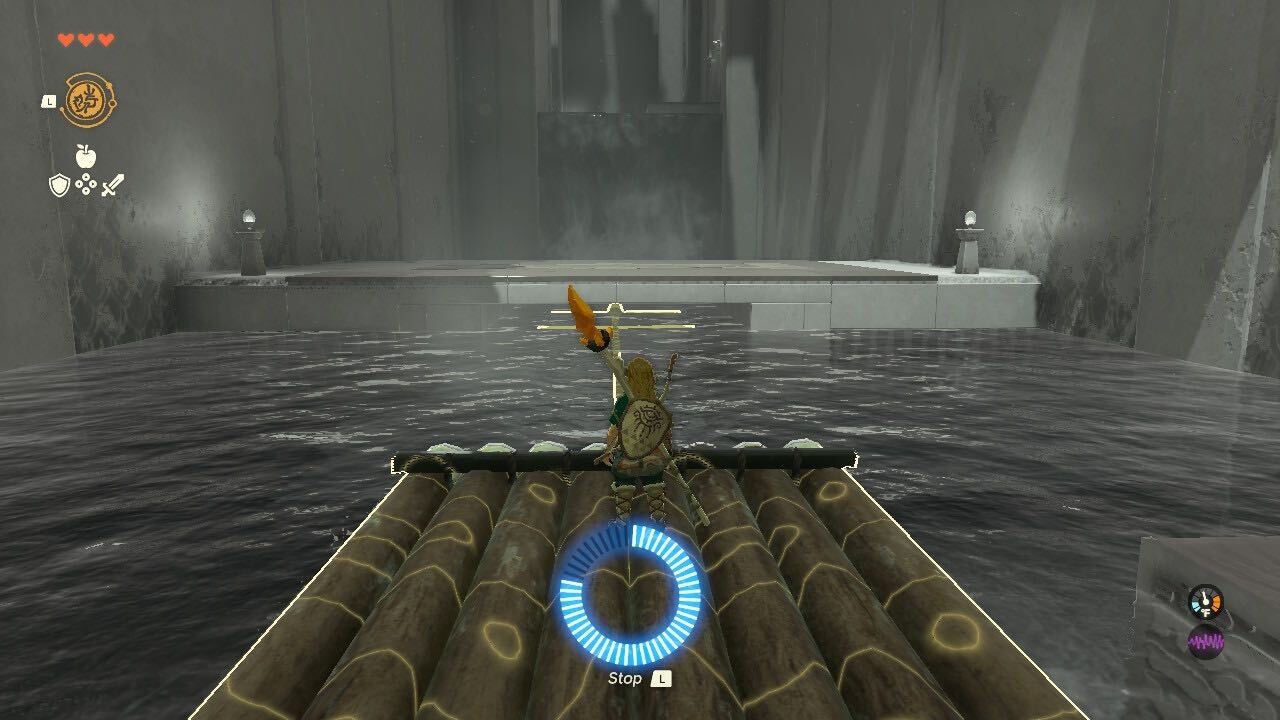
Across the bridge, you’ll start seeing massive floating platforms, which you can actually move and position using Ultrahand. Through swimming or climbing head toward the Shrine until you hit the edge of a massive lake. Near the middle of the lake, you’ll find some logs and a sail, which you can use to construct a raft.
Make sure to flip the sail so it’s sitting perpendicularly on top when you attach it. Place the raft on the lake, quickly jump on top, and let the wind take you across the Shrine entrance.
In-Isa Shrine Solution

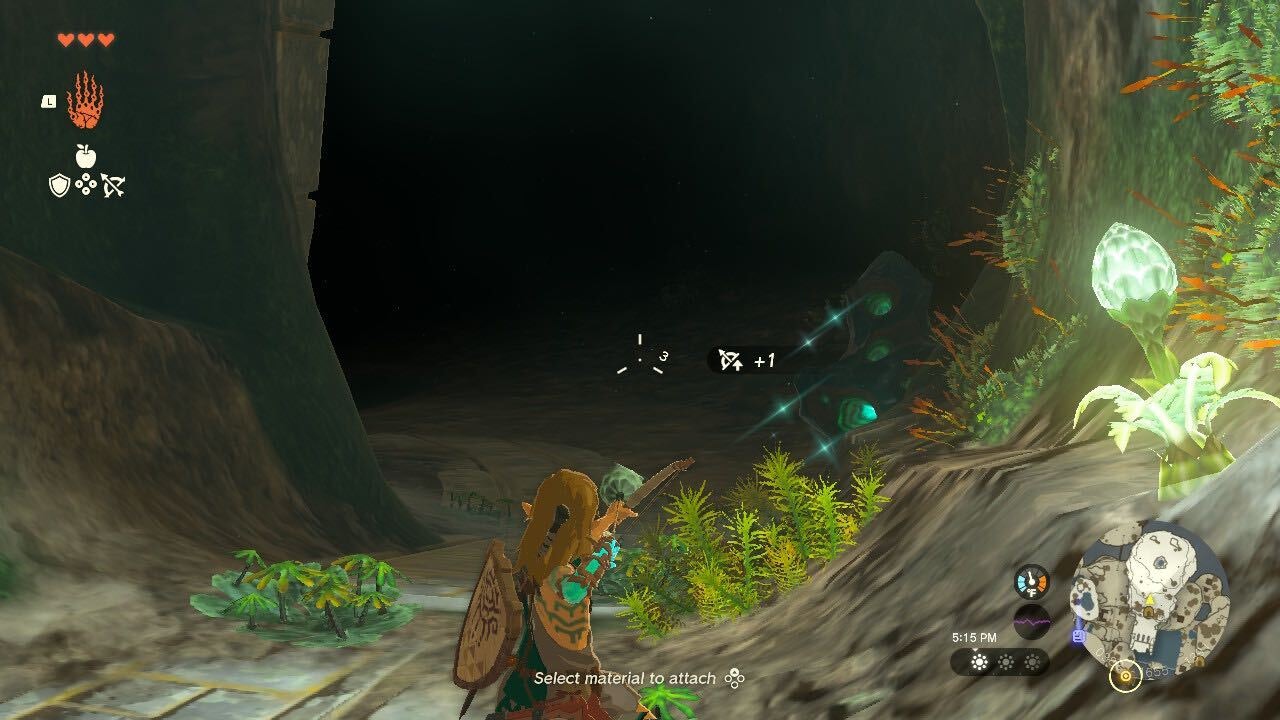
This Shrine is even more straightforward than the first, with the new ability being Fuse. This lets you attach almost any item to your weapon or shield for increased attack and a variety of effects. Head into the room and use Fuse to attach a boulder to any weapon, by using L+Y.
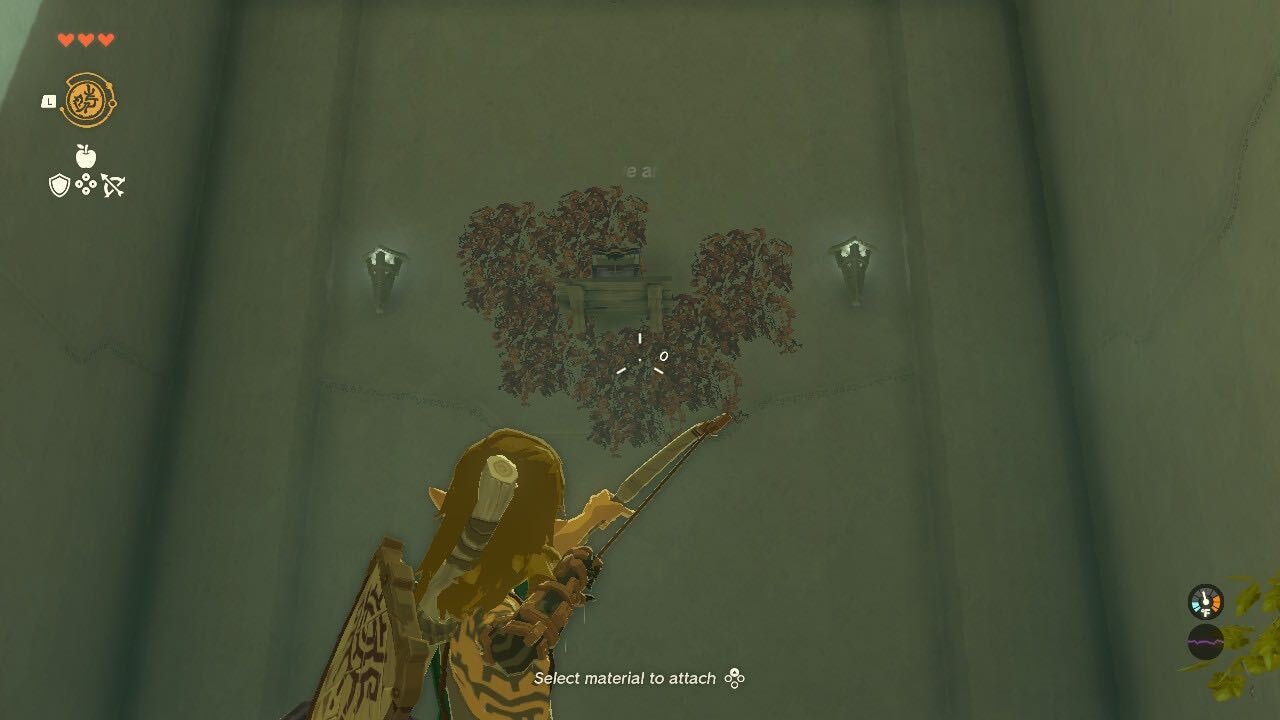
In the next room head right and grab the bow and arrows, plus all the Fire Fruit. When you draw your bow you can press up on the D-Pad to attach a material.
Attach a Fire Fruit then aim at the leaves on the wall. Hitting them with a fire arrow will burn the leaves and the platform, sending the chest down. Open it for a small key to open the locked door. Before you go through break the stone pillar with your rock weapon for another chest.
In the final room, after climbing the ladder, immediately draw a fire arrow and send it into the leaves on the ground. This will burn the Construct, but you might have to finish it off with a whack or two. Now just break through the rocks to finish the Shinre.
Reaching the Third Shrine
After exiting the Shrine, a Construct will give you the Energy Cell and direct you to a cave to learn how it works. Head through the cave, picking up the Archaic Tunic in the chest near the exit, then talk to the Constructs to learn how Zonai Devices work. Create a raft and use it to get across the small lake.
Head up the stairs and you’ll eventually reach a minecart that works on the same idea. Strap a fan to the back of the minecart and you can use it to propel the cart forward. As you make your way through the mine you’ll need to pick up Brightbloom Seeds and fire them off attached to arrows. When the seeds hit the ground, they’ll light up and illuminate the area.
At the end of the mine, there are a few more constructs to talk to, which will teach you about Zonaite and Zonai Device capsules, which are items in your inventory that hold devices. Strap another fan on a minecart and ride it out of the mine.
At the top, head right to find a Zonai Device dispenser, where can exchange Zonai Cores for device capsules. Now turn around and move into the cave straight ahead, where you’ll find a cooking pot and a Construct.
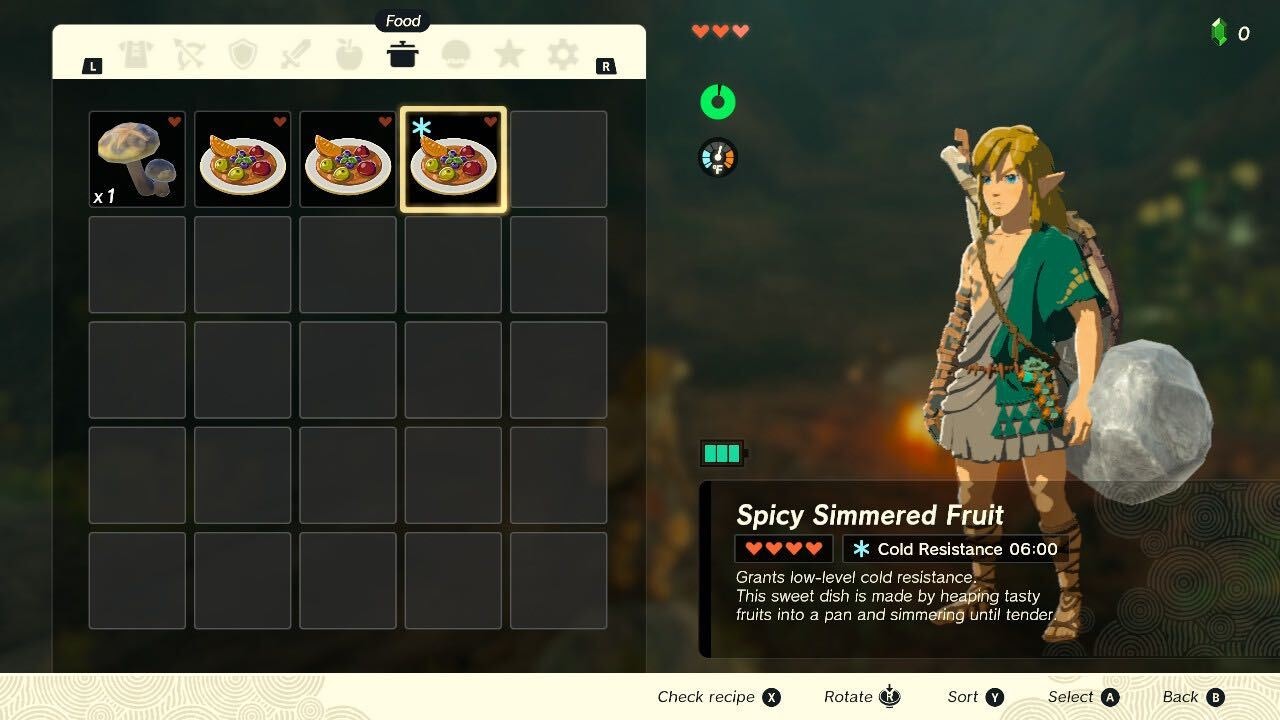
You need to prepare a few food dishes that give you cold protection, which can be done by combining Apples and Spicy Peppers (found by the cave entrance). Make at least three.
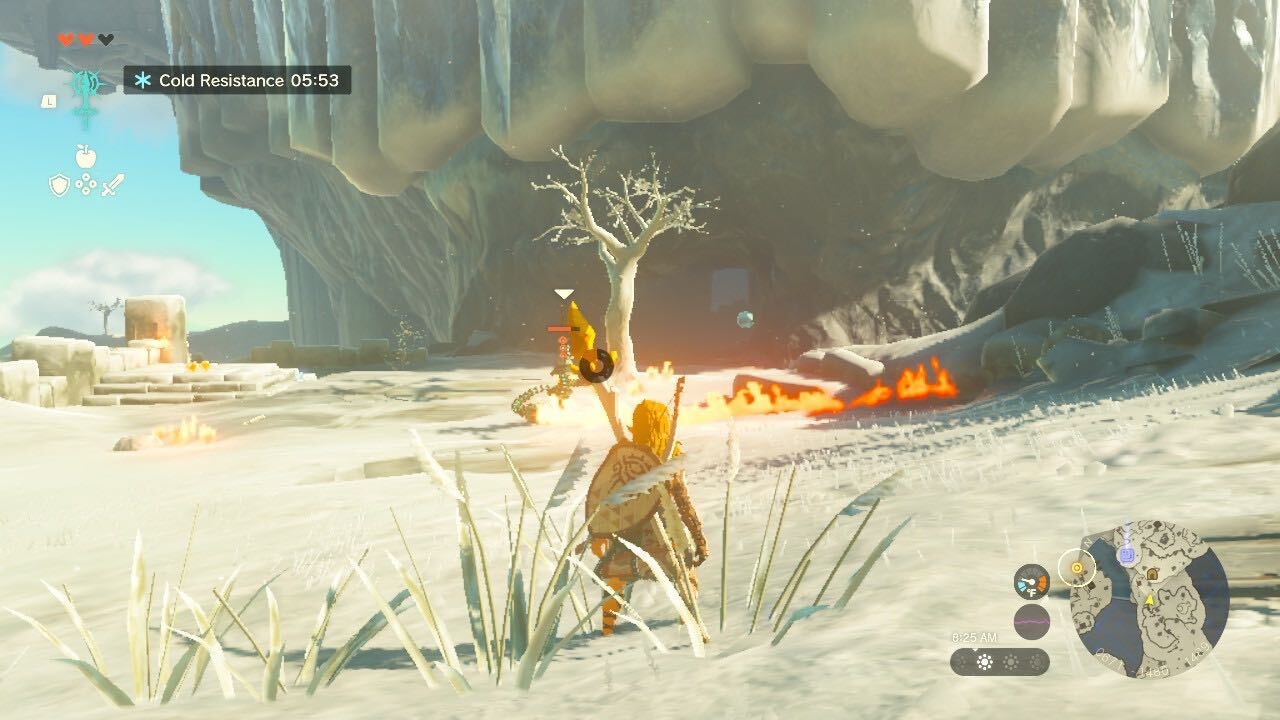
After cooking follow the path through the cave, climbing up to the exit and out into the snowy mountain. Use some of your spicy food now. Follow the path straight toward the Shrine, but watch out for White Chu’s, as they’ll explode and freeze you if attacked by melee weapons.
Keep heading forward until you reach another cave, called Bottomless Cave. This is where you’ll meet Like Likes for the first time. You can simply run by these enemies, or use Bomb Arrows to attack them, then hit the core to open them up to melee attacks.
At the top, head out of the cave to the left and keep following the path down until you reach a river with a waterfall. Look just to the right side of the waterfall and you’ll see a patch of stone that you can climb up amidst all the ice, which you can’t climb.
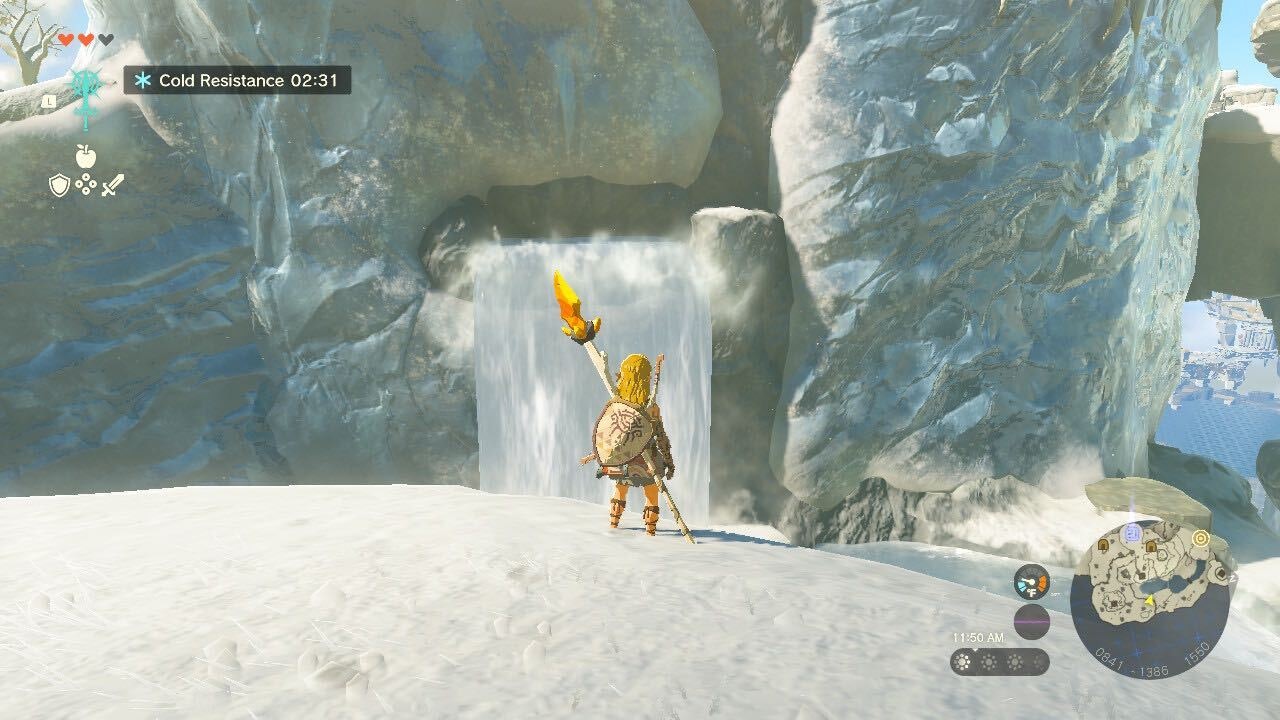
Jump down and go behind the waterfall to reach the stone patch, but DO NOT jump into the water or Link will freeze. Climb to the halfway point, recover your stamina, and then keep going to the top. Now the shrine will be straight ahead.
Gutanbac Shrine Solution
Your new ability is Ascend, which can send Link upward through nearly any solid material. Needless to say, you’ll be using this one a lot. Simply head forward under the overlook, and press the L button to see a marker appear on the ceiling. Green means you can move through the material, while red means you can’t.
In the second room, you’ll see two pillars. Head under the second and use Ascend to come out the top. Defeat the Construct at the top, then hit the ropes holding the bridge in place to break them. Head under the bridge and use Ascend.
The final stretch has a platform moving back and forth, so you’ll need to time Ascend to hit the platform, and then time it again on the pillar above.
Temple of Time and Nachoyah Shrine
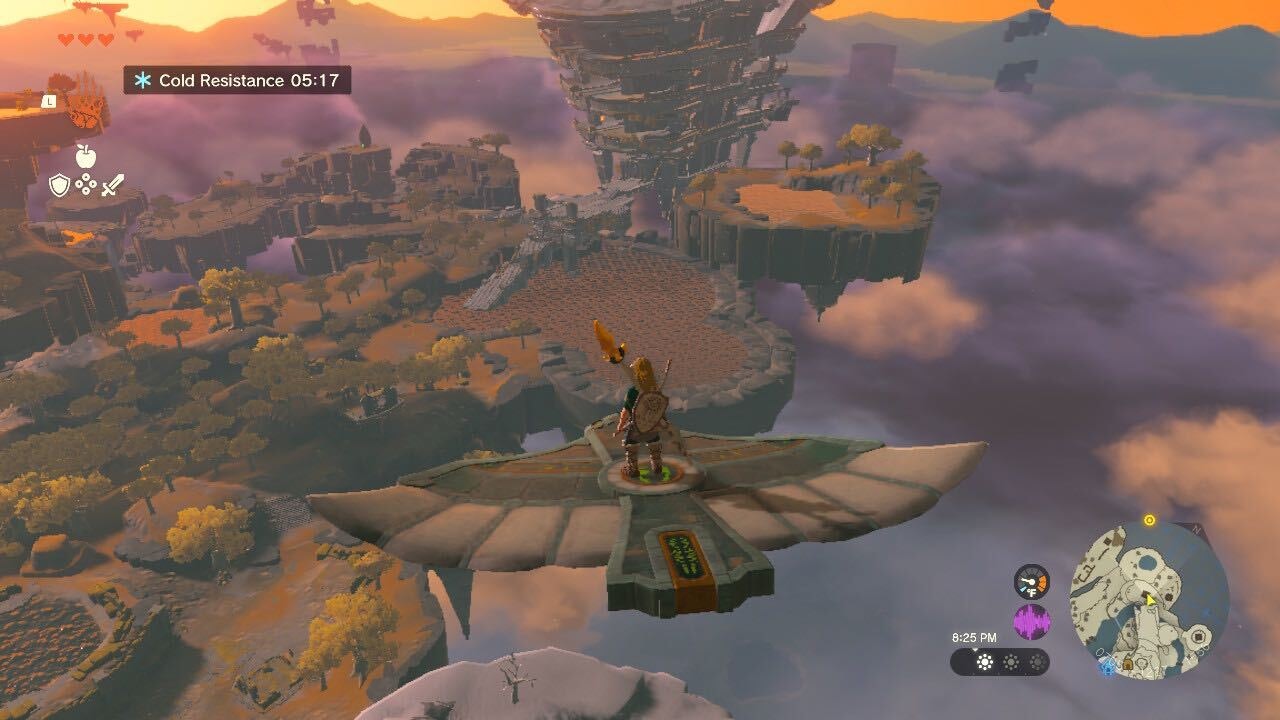
After exiting the shrine head to the tree stump on the left and use Ascend to go up. Make sure to open the chest here as it contains cold-protective greaves. Head down the slope and grab one of the gliders, set it on the track, and hop on. This takes you straight to the Temple of Time. Head into the temple and after a cutscene you’ll get your final ability, Recall.
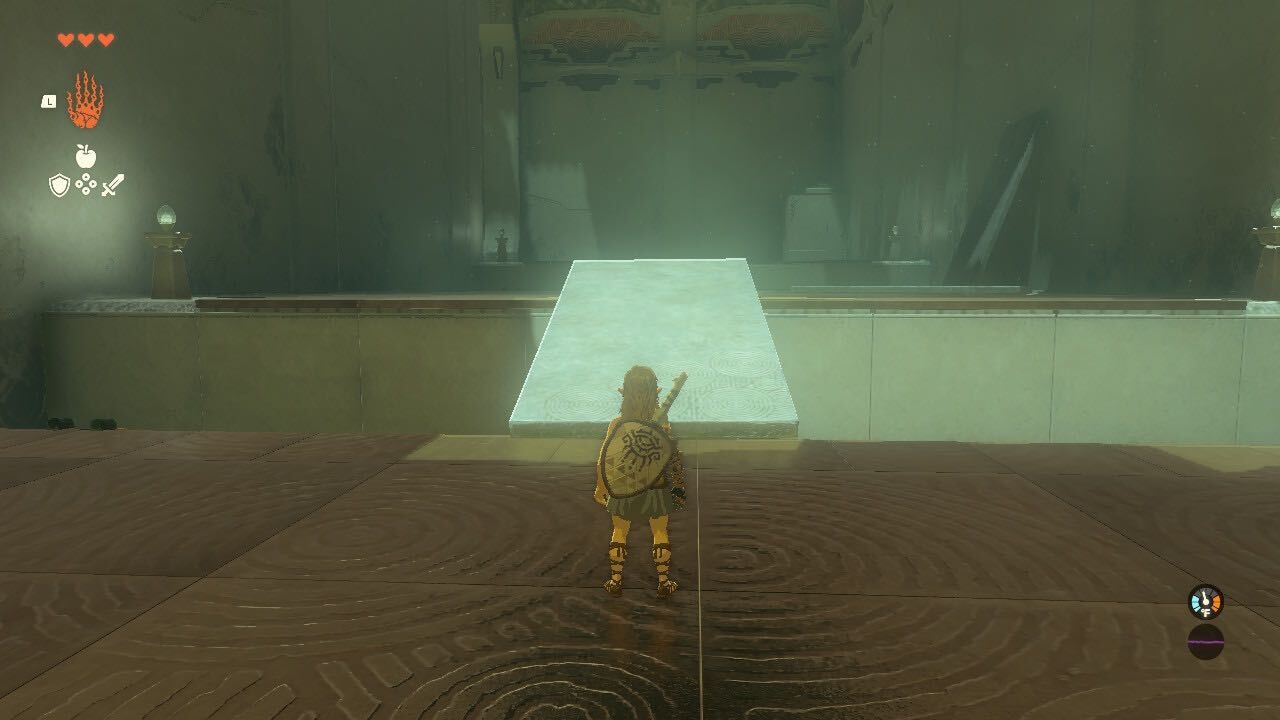
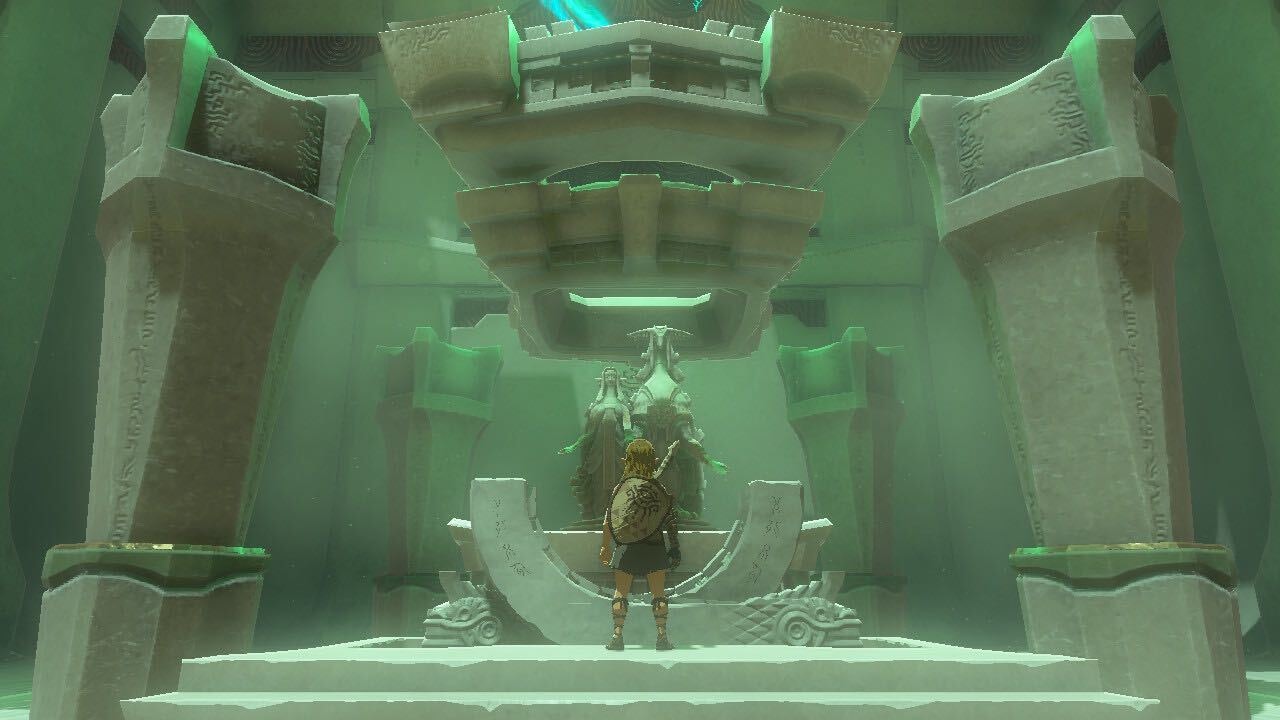
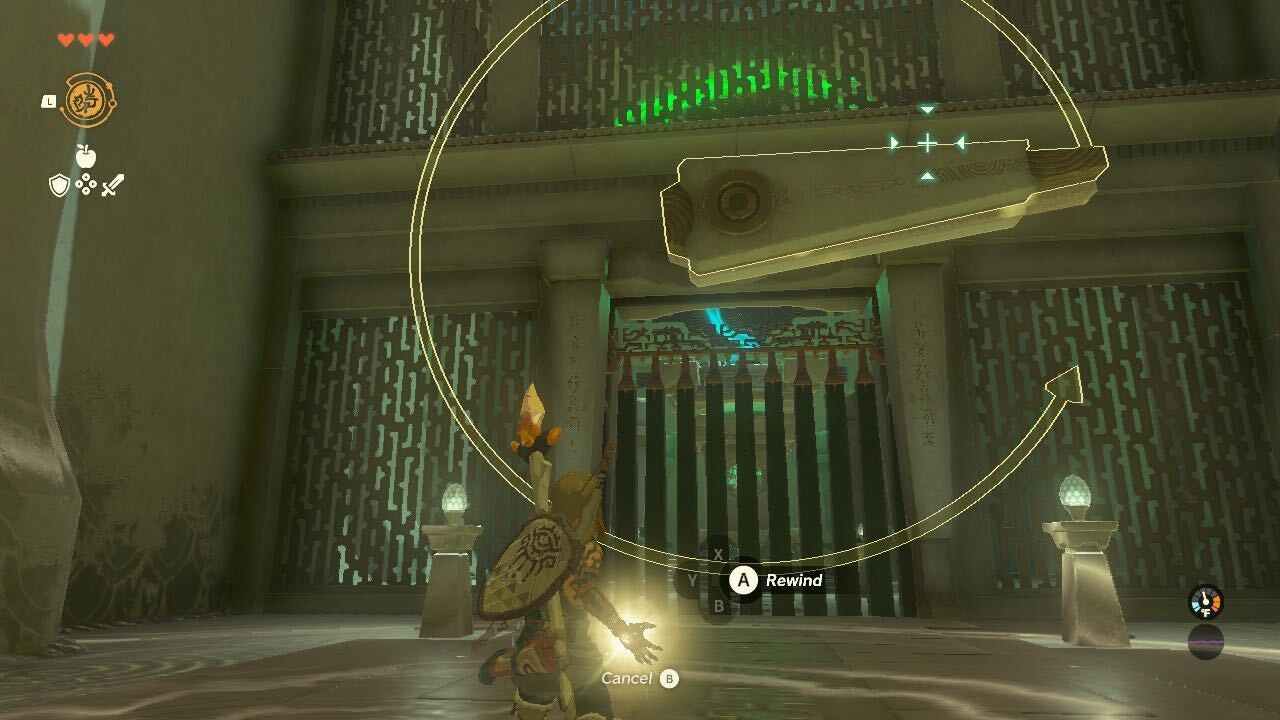
Recall essentially lets you “rewind” a specific item in the environment, so use it on the rotating platforms to get to the back. Here you’ll find a door you can’t open, as you don’t have enough hearts. Rauru will mark one final Shrine on the map, so fast-travel to the Room of Awakening. In the starting room, you can reach a new area by using Ascend and Recall on the rotating platforms to the left.
The final Shrine is entirely based around the Recall ability, as you’d expect. Head forward and wait for one of the rafts to get close, then jump on and instantly use Recall to send it back, getting you to the other side. The next puzzle is the exact same thing, you’ll just need to ride the raft up the waterfall.
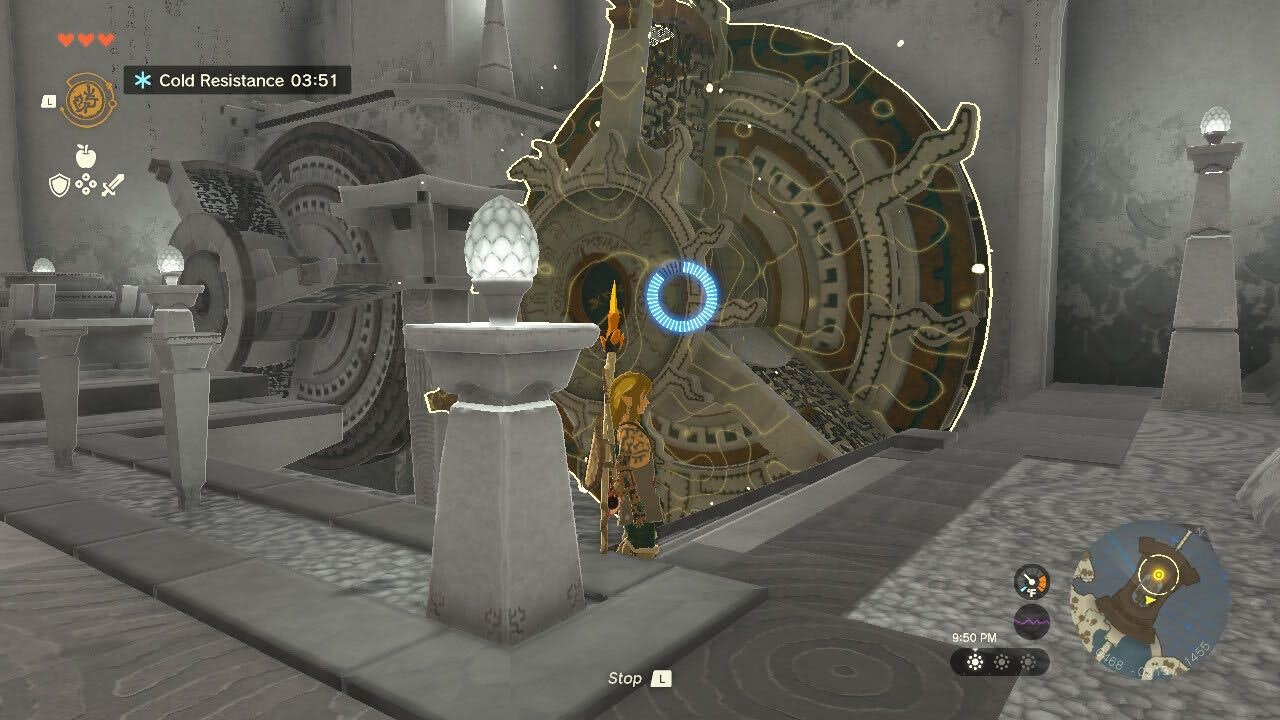
The last puzzle is a little more complicated, with two spinning clock hands. Essentially you need to use Recall on one of the hands the second they overlap, so they stay together and keep the door open.
Now all you need to do is head back to the Temple of Time, open the door, and you’ll find yourself back in Hyrule in just a few minutes.