Walk down the driving range at any tour event and you will see different variations of the golf grip, postures, alignments and ball positions, all of which we are constantly told are the fundamentals of the golf swing.
Well, what if I told you they weren’t? For me, the number-one fundamental for the iron game is that your low point has to be after the ball. That’s a fact if you want to be a good, consistent iron player.
In this article, Golf Monthly Top 50 Coach John Howells offers a series of expert tips and useful advice on how to take your iron play to the next level...
Identify The Low Point
First you need to identify your low point. Set two alignment sticks up either side of the ball - these will serve as a reference point that will allow you to clearly see where your low point is.
Next, hit some balls. Ideally, you want to see the divot starting level with the ball and the two sticks, then going on to the target side.
Make A Centred Turn
Note, in the image below, how I’ve made a nice, centred backswing turn with my shoulders turning 90˚ and my hips about 45˚. Most importantly, I haven’t moved laterally.
When you move the hips and your head laterally, you’re going to encourage your low point to be behind the ball. Do that and your strike will be off.

This is something you can work on by giving yourself a little hug. Make a cross with your arms by putting them over your chest, then take your set-up position and try to make a backswing.
Focus on keeping your hips and head very centred as you make that backswing turn. In the final part of the drill, once you’ve made that centred backswing, stretch your arms away from your chest and see if you can form a grip.
Get Some Instant Feedback
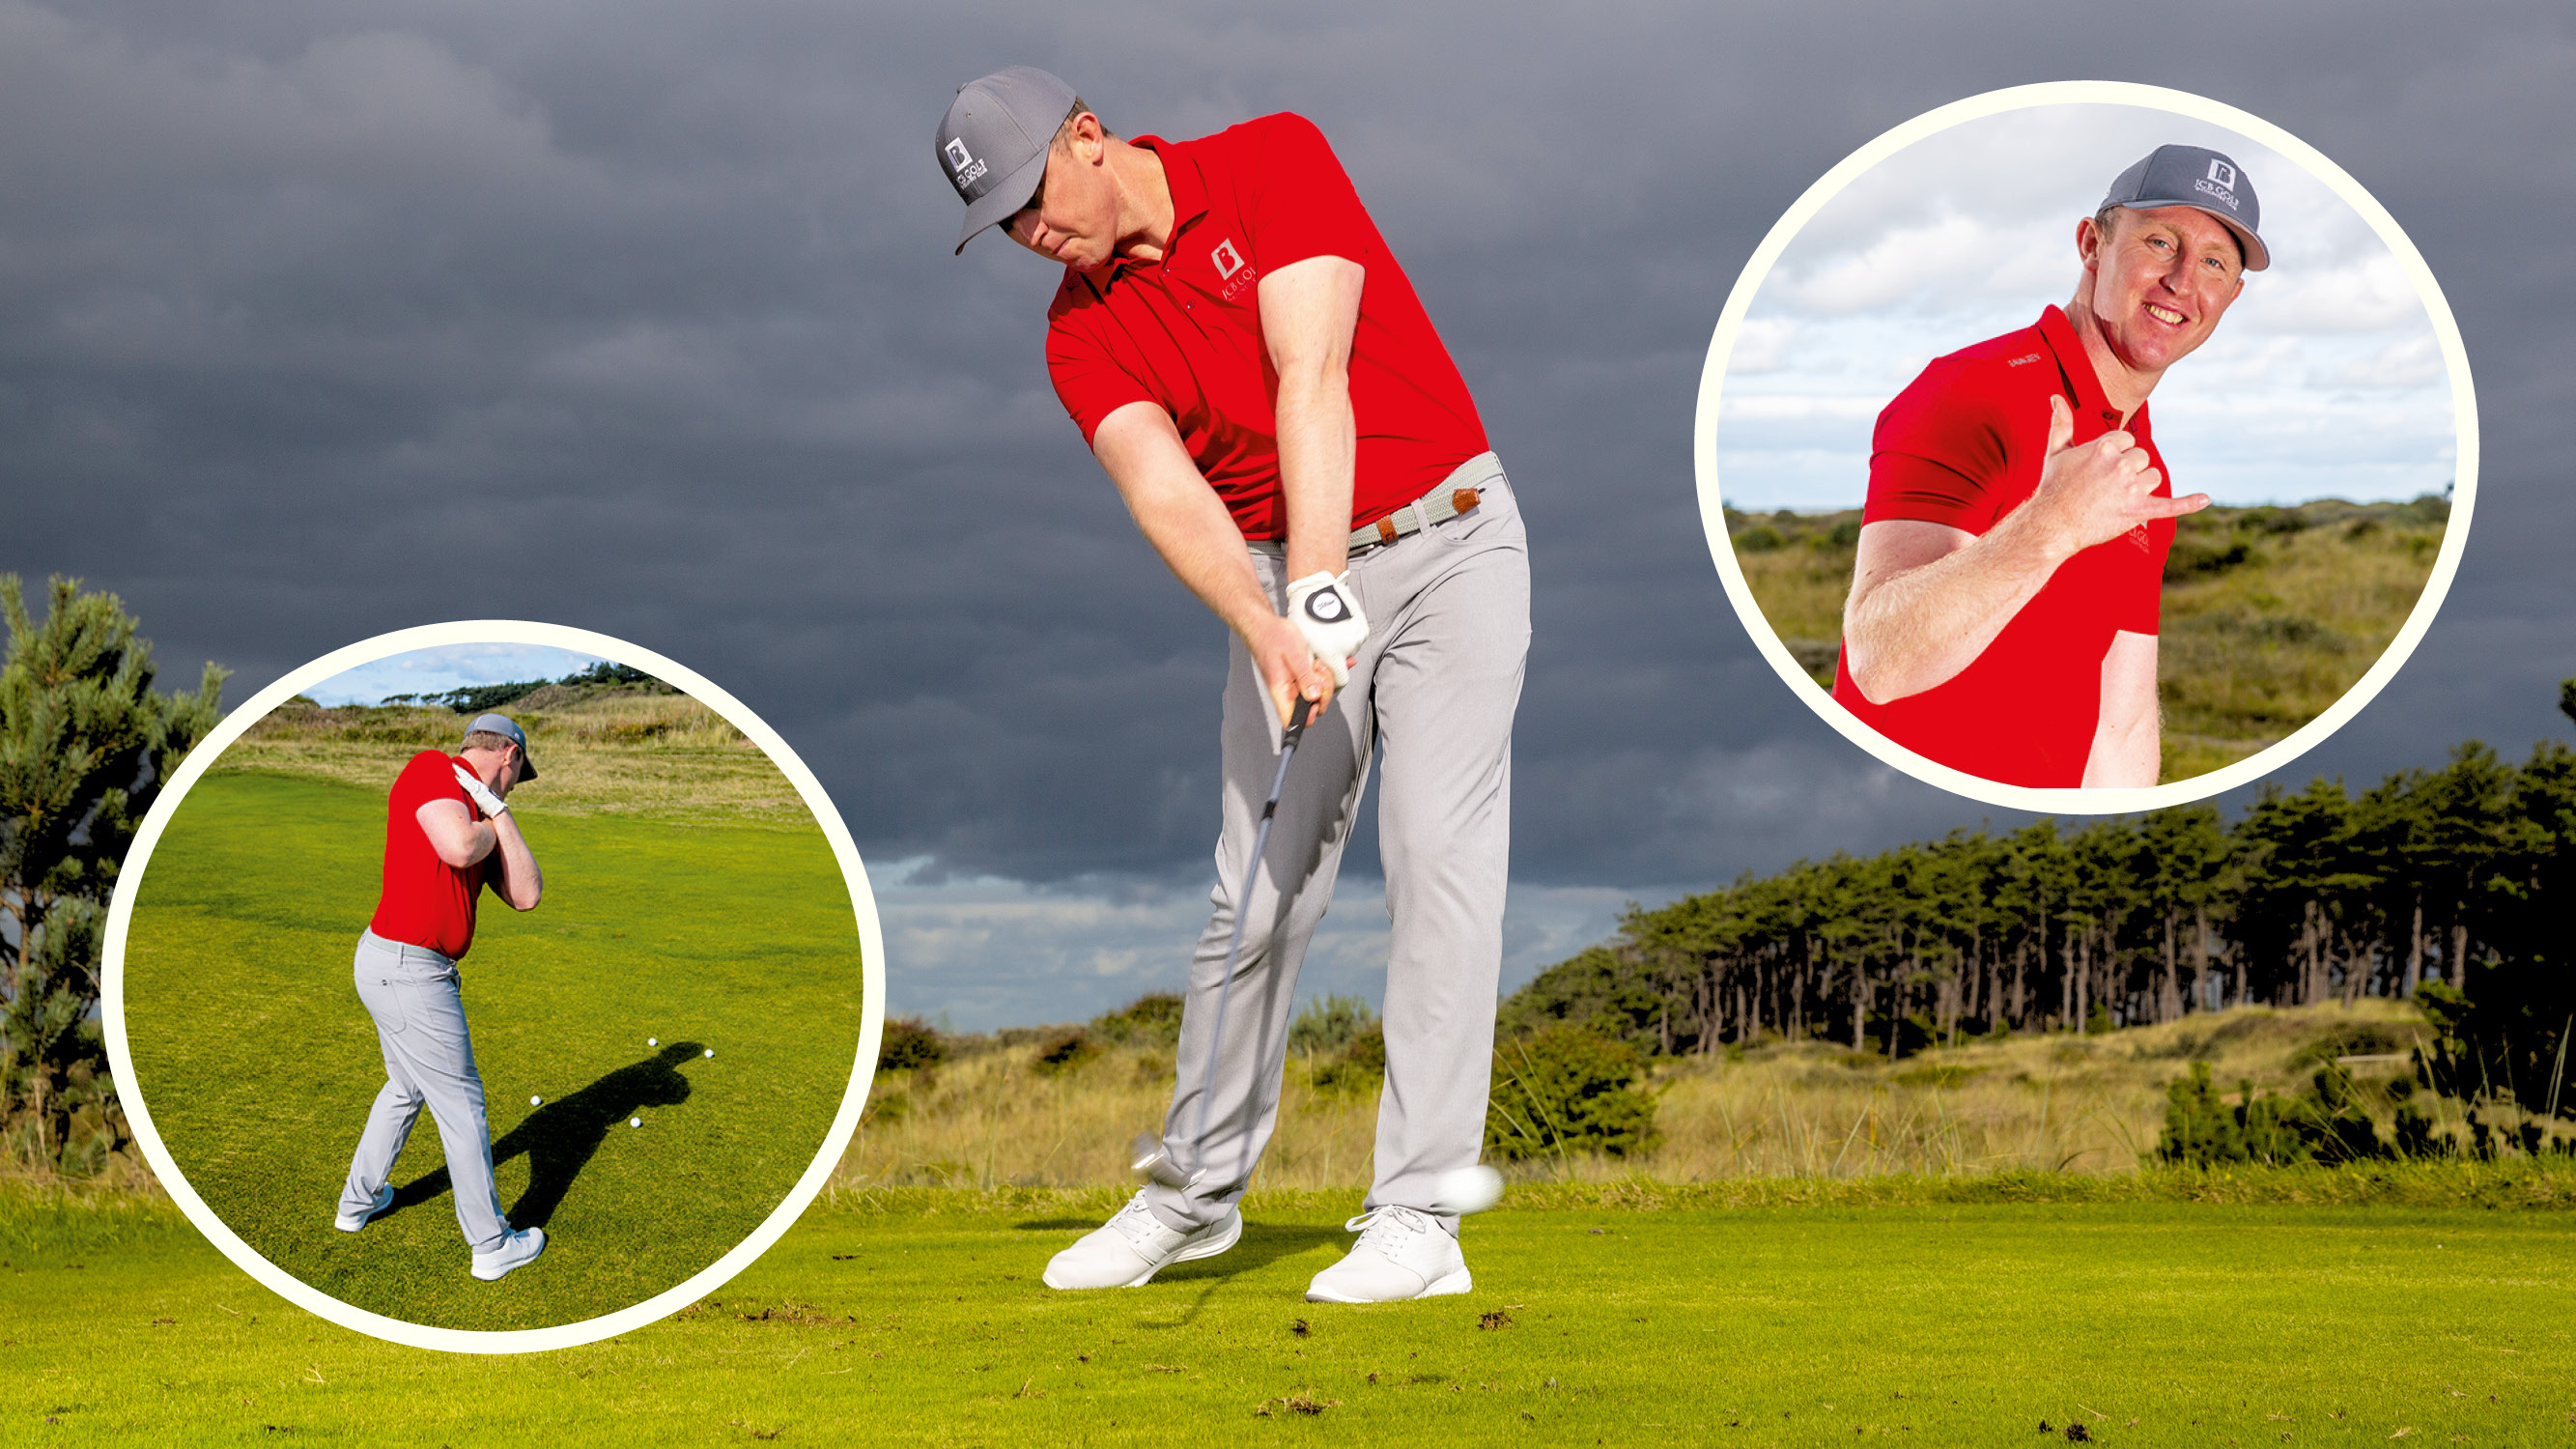
If the suns out, why not try the shadow drill? It requires you to make that same cross with your arms over your chest as I outlined above. Place two balls either side of both your hip shadow and head shadow. Practise making a backswing turn and trying to keep your head and hips within those golf ball frames.

You could also achieve this by using a physical object as a guide. The long, black device (in the image below) gives feedback on head sway; the alignment stick by my trail hip acts as a blocker for hip sway. The goal is to not touch either stick on your backswing.

Match Your Arm Swing To Your Body Turn
I often see players make huge backswings in which they take their arms back a long way but don’t really turn their body enough to match up with that. This generally leads to ‘throwing’ the club and scooping in the downswing, with the clubhead getting thrown past the hands. From here, you’ll get a lot of poor strikes.

The idea of the ‘surfer drill’ (yes, that is me making a surfer dude sign with my thumb and pinky finger of my right hand below!) is to encourage you to make sure your arm swing in the backswing matches up with your body turn. Your thumb needs to touch your sternum, while the pinky should touch your lead arm.
You don’t want to feel as though that gap changes as you make your backswing, as you don’t want to pin your left arm across your chest. This drill is a good way of encouraging your arm swing to be quite short and your body turn quite big – a great recipe if you want to strike your irons well.

Piece It All Together
Now you’ve made a really good backswing, how are you going to translate that into a really good strike and then a really good follow-through? Once you have achieved this position, you can really attack the downswing with full knowledge and full confidence that my low point is going to be after the ball.

The ‘Tommy drill’ can really help to round the swing off as it encourages the arms to be extended and long in the follow-through. Note how the clubhead and the shaft of the club are extended and long – very much how Tommy Fleetwood hits a lot of his golf shots.


