In portrait and fashion photography, understanding lighting is key to creating impactful images. I didn’t have the benefit of formal training in lighting or studio setups; instead I learned by studying behind-the-scenes (BTS) photos, observing how photographers I admire lit their subjects, and replicating those setups to develop my own style.
I was reminded of this self-taught approach while writing about the 2025 Pirelli Calendar shot by Ethan James Green. The BTS images from that project brought back memories of my early learning of lighting through observation and practice, and I believe there’s so much to gain from studying photographs such as these.
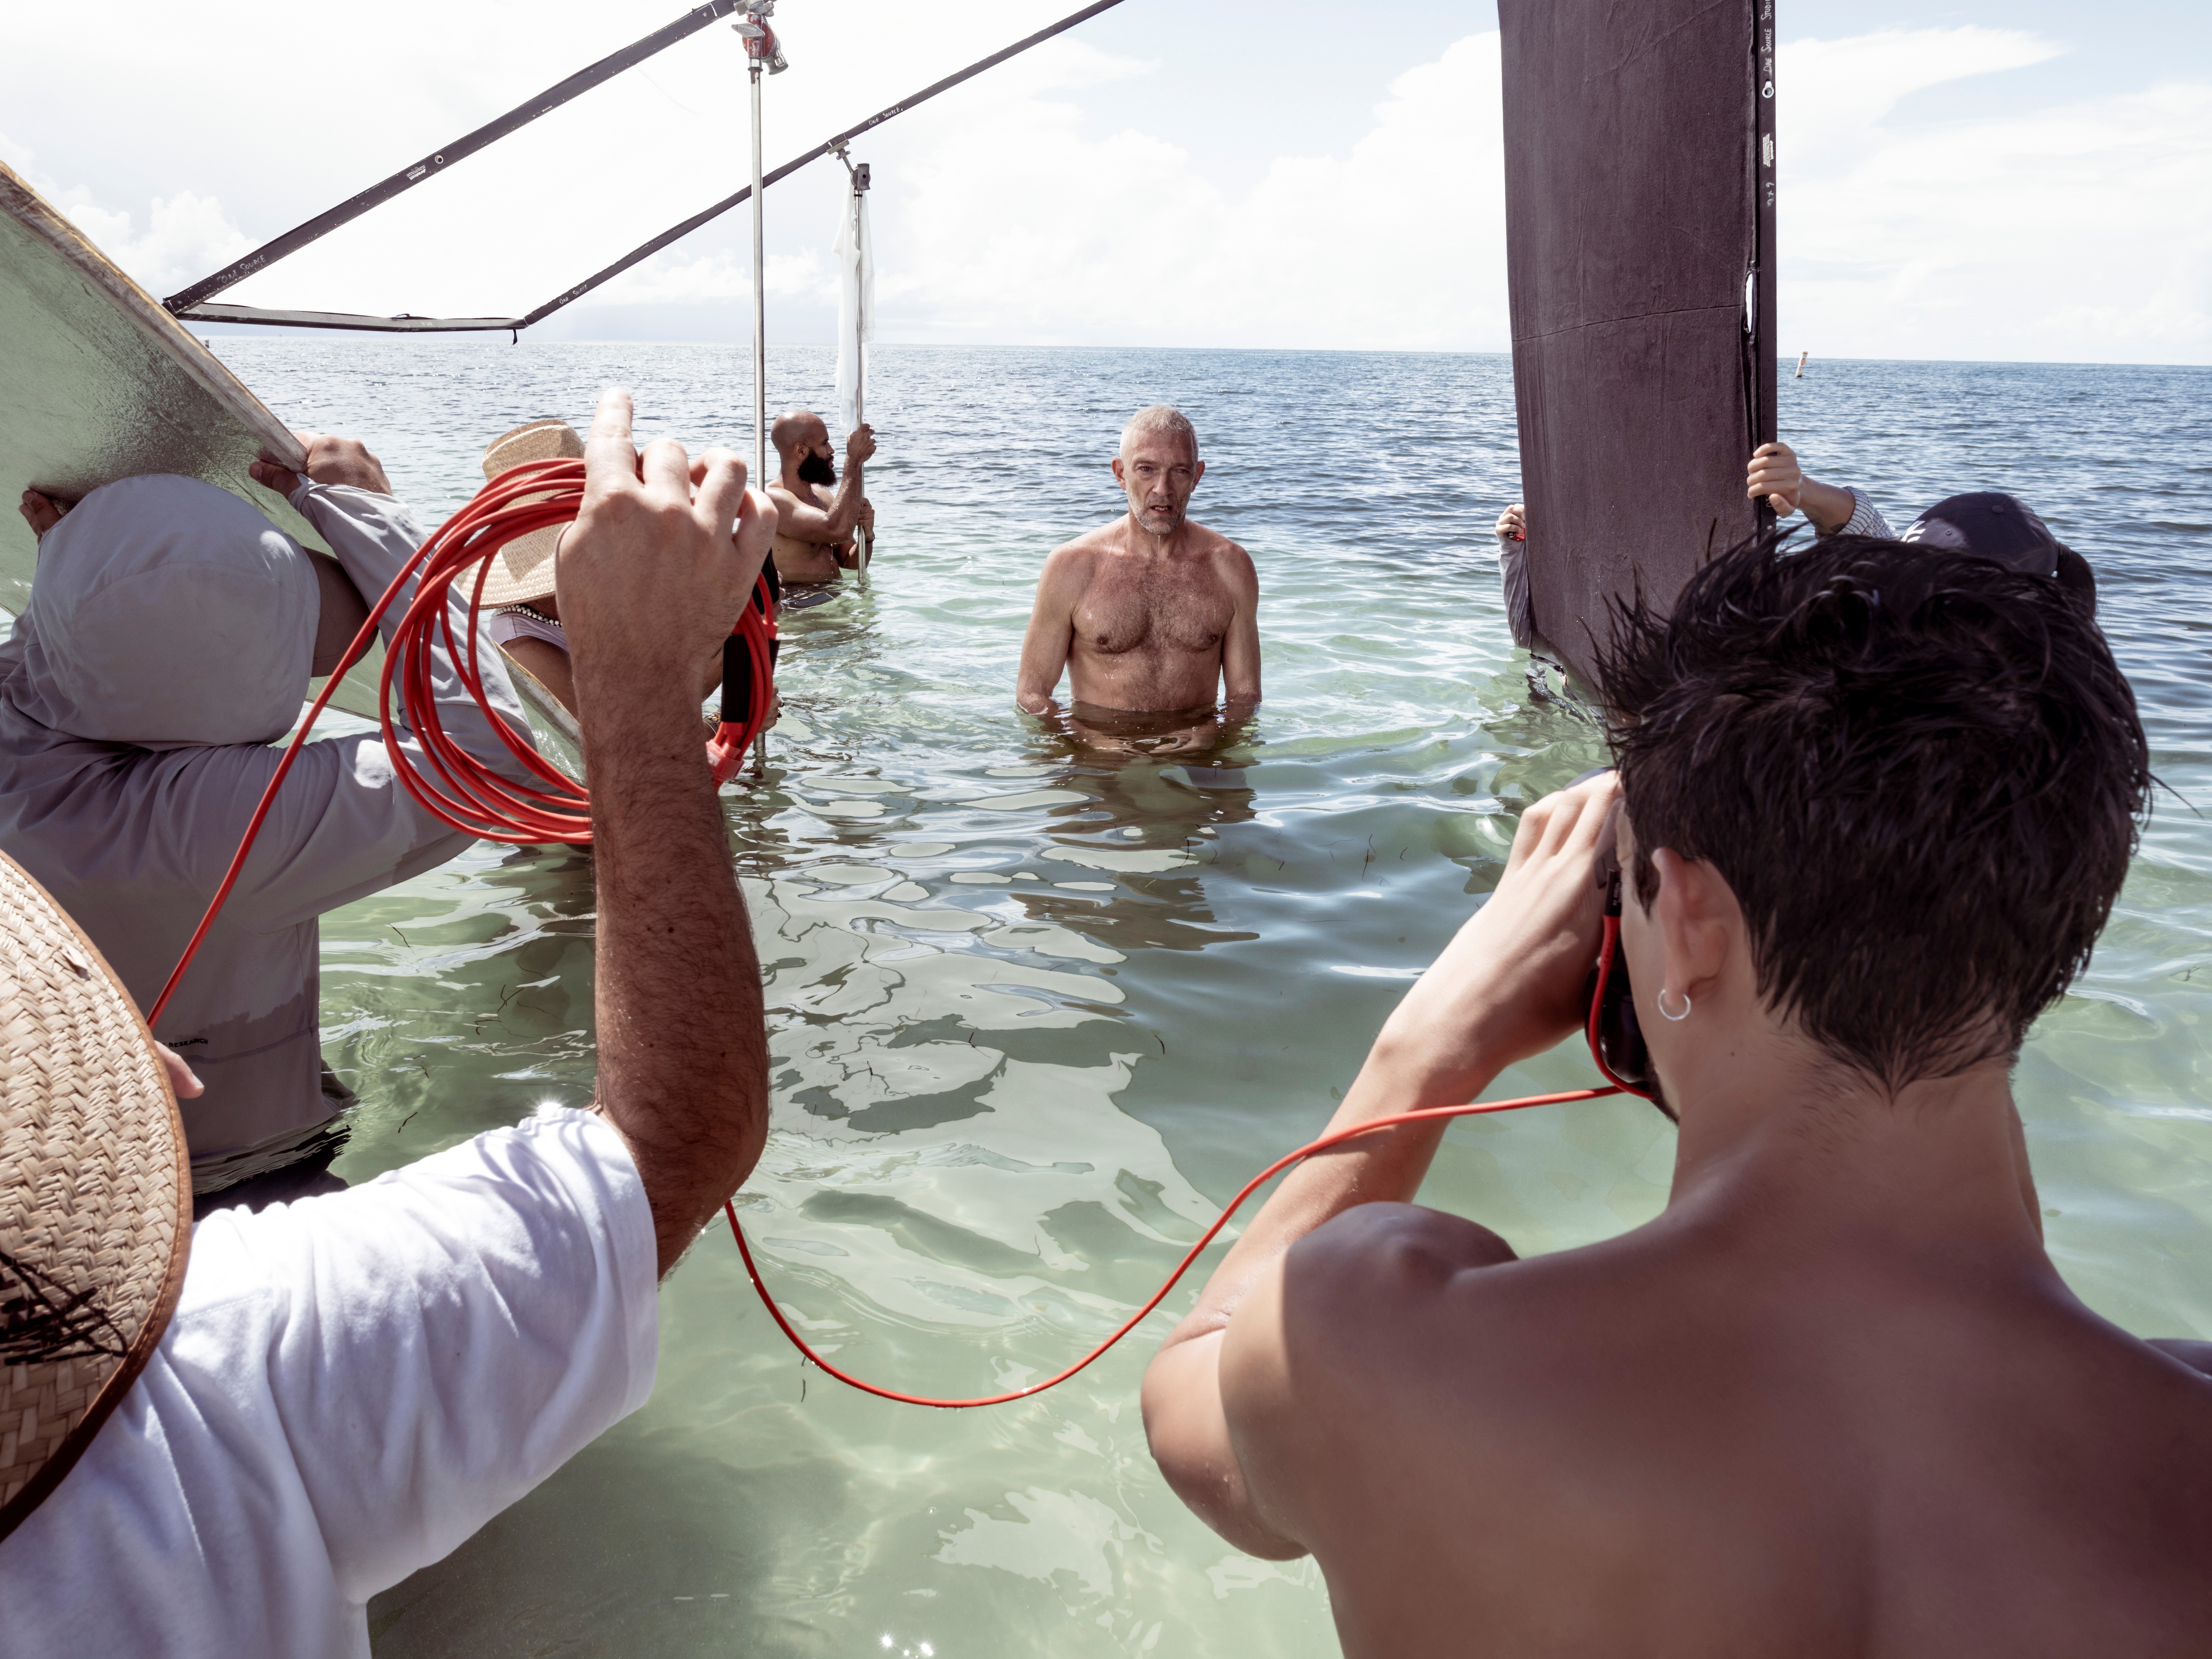
With no 'traditional' education in lighting, I studied BTS images from photographers like Dan Winters, Peter Lindbergh, Joey L and Annie Leibovitz as a form of photography lighting mentorship.
These images showed how they used light to shape mood, highlight texture, and enhance the subject’s features. These BTS photos became my classroom, and by studying the setups that I admired, I slowly started to understand how light could be creatively used in my own work.
This experience was invaluable because the images not only revealed the final product, but also the decisions behind it. I could see how lighting was used to enhance certain qualities in the subject, evoke specific moods, and how each choice of modifier affected the image.
Whether it was Lindbergh’s soft, flattering light or Joey L’s on-location studio lighting, these setups taught me how light could transform a portrait or fashion shot. The behind-the-scenes photos gave me insight into everything from light placement and negative fill to shaping light with modifiers and scrims, enabling me to experiment and learn at my own pace.
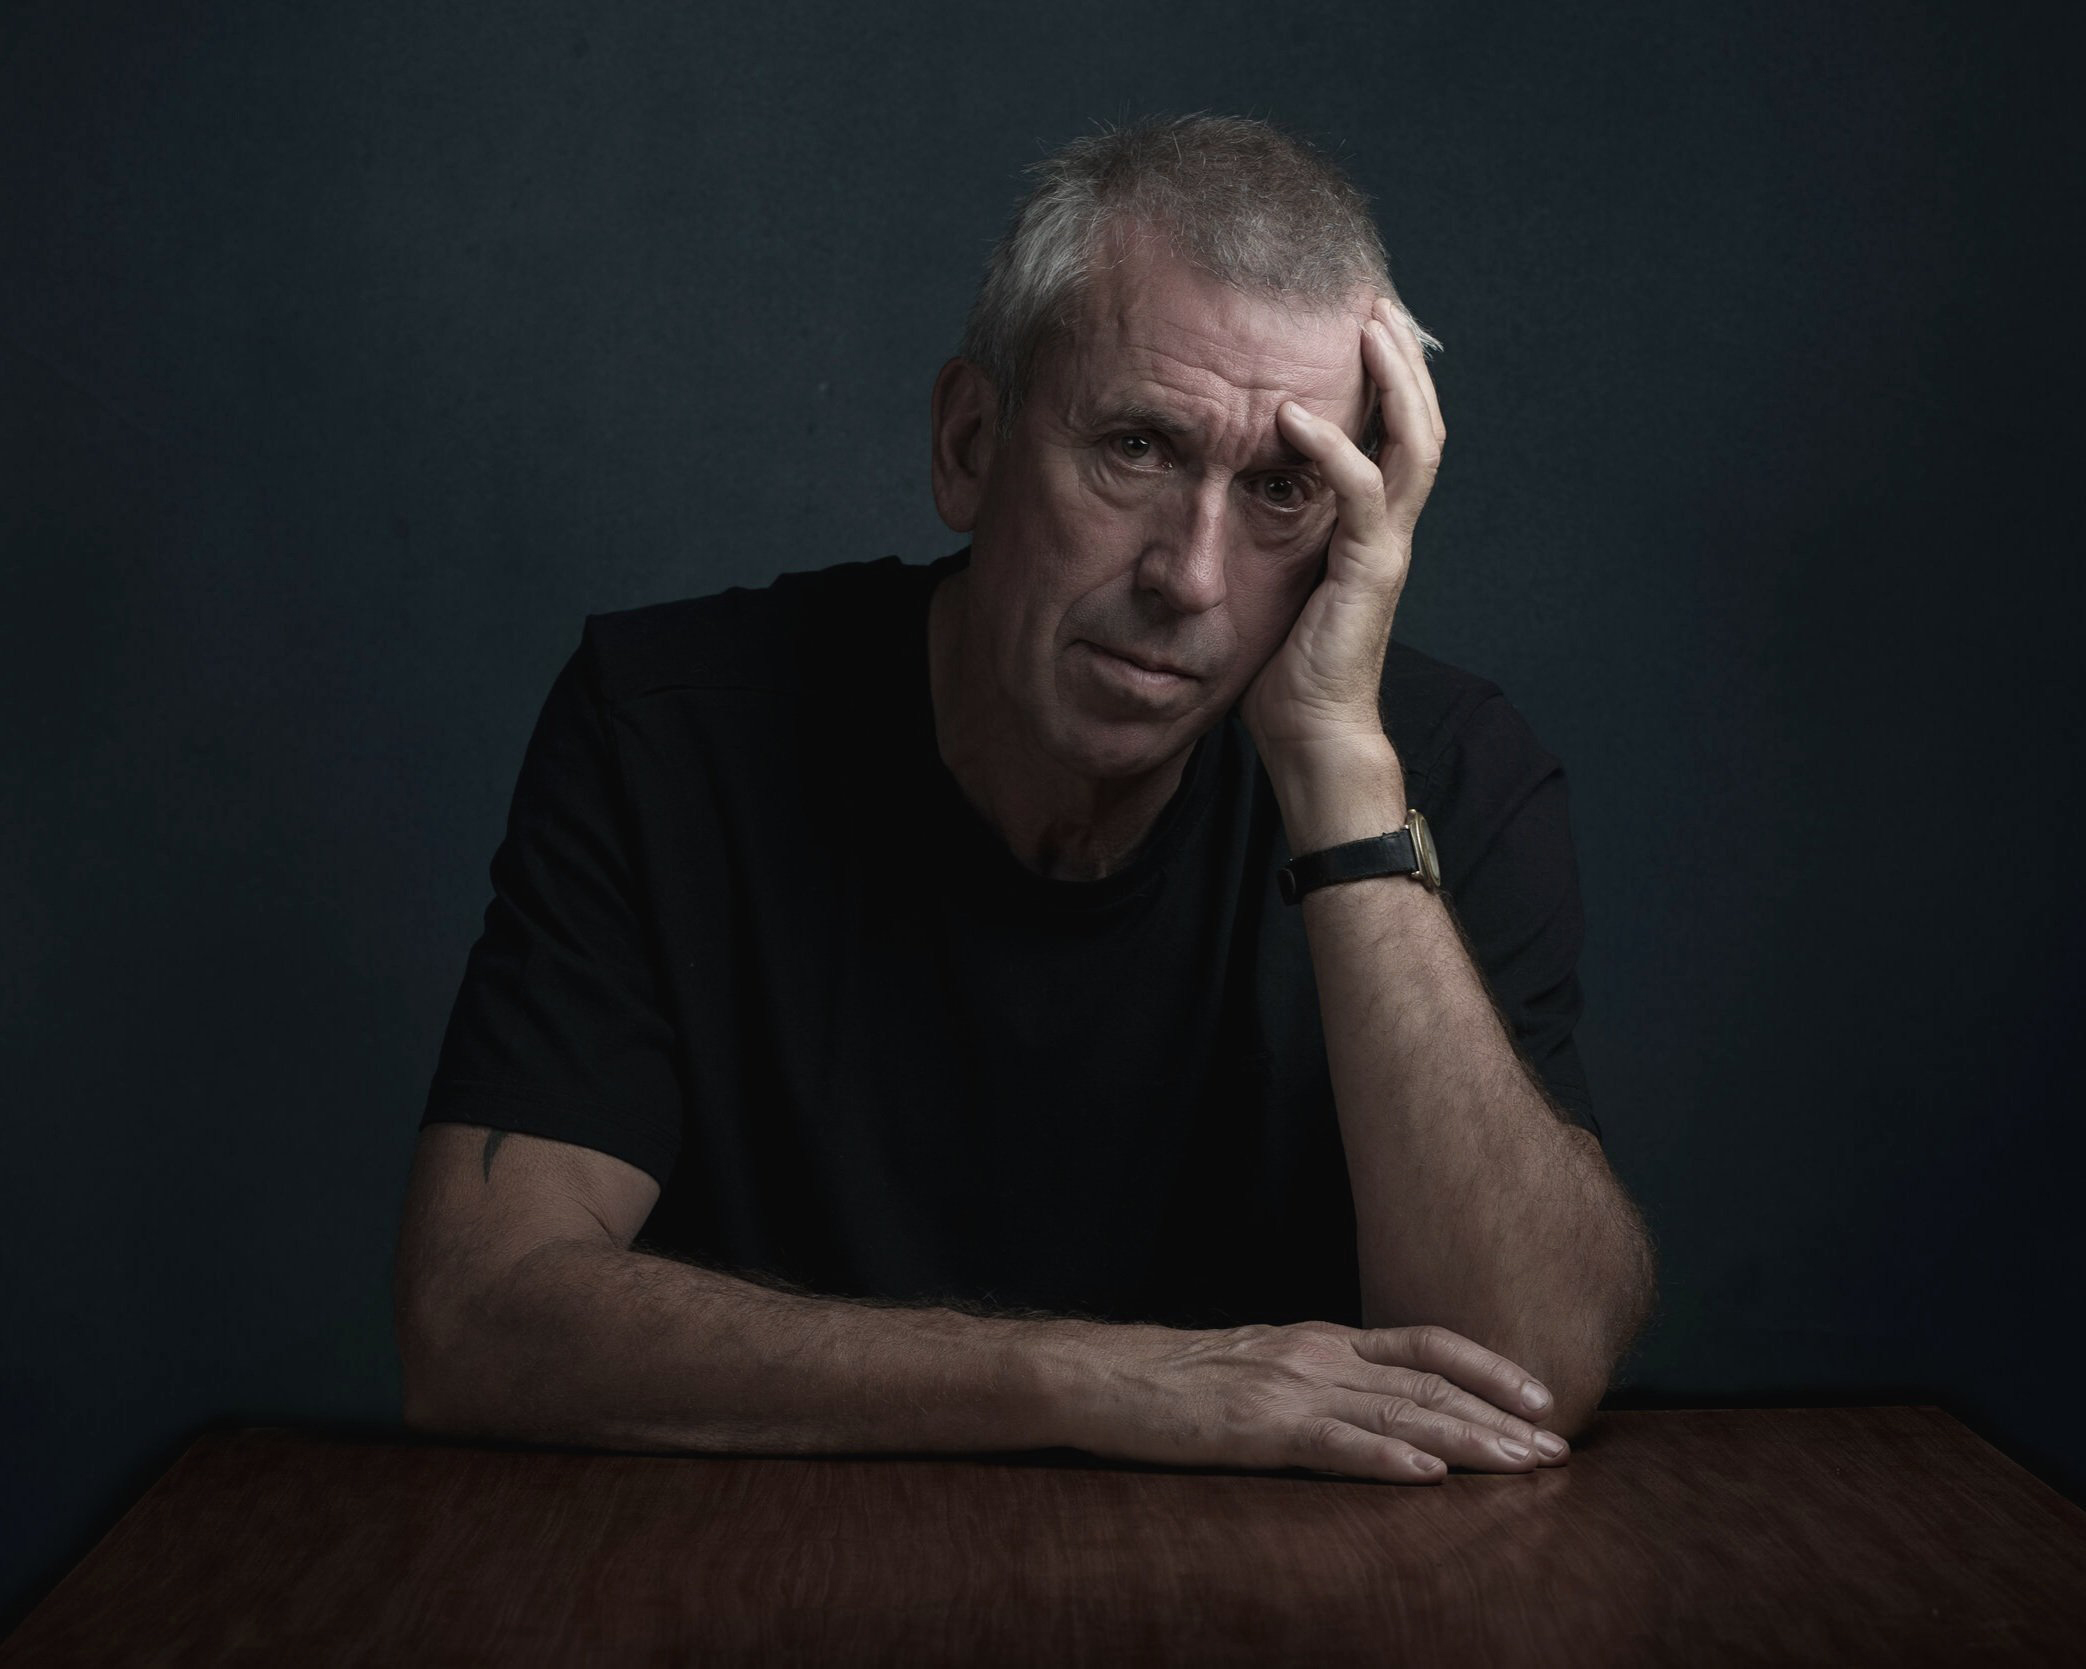
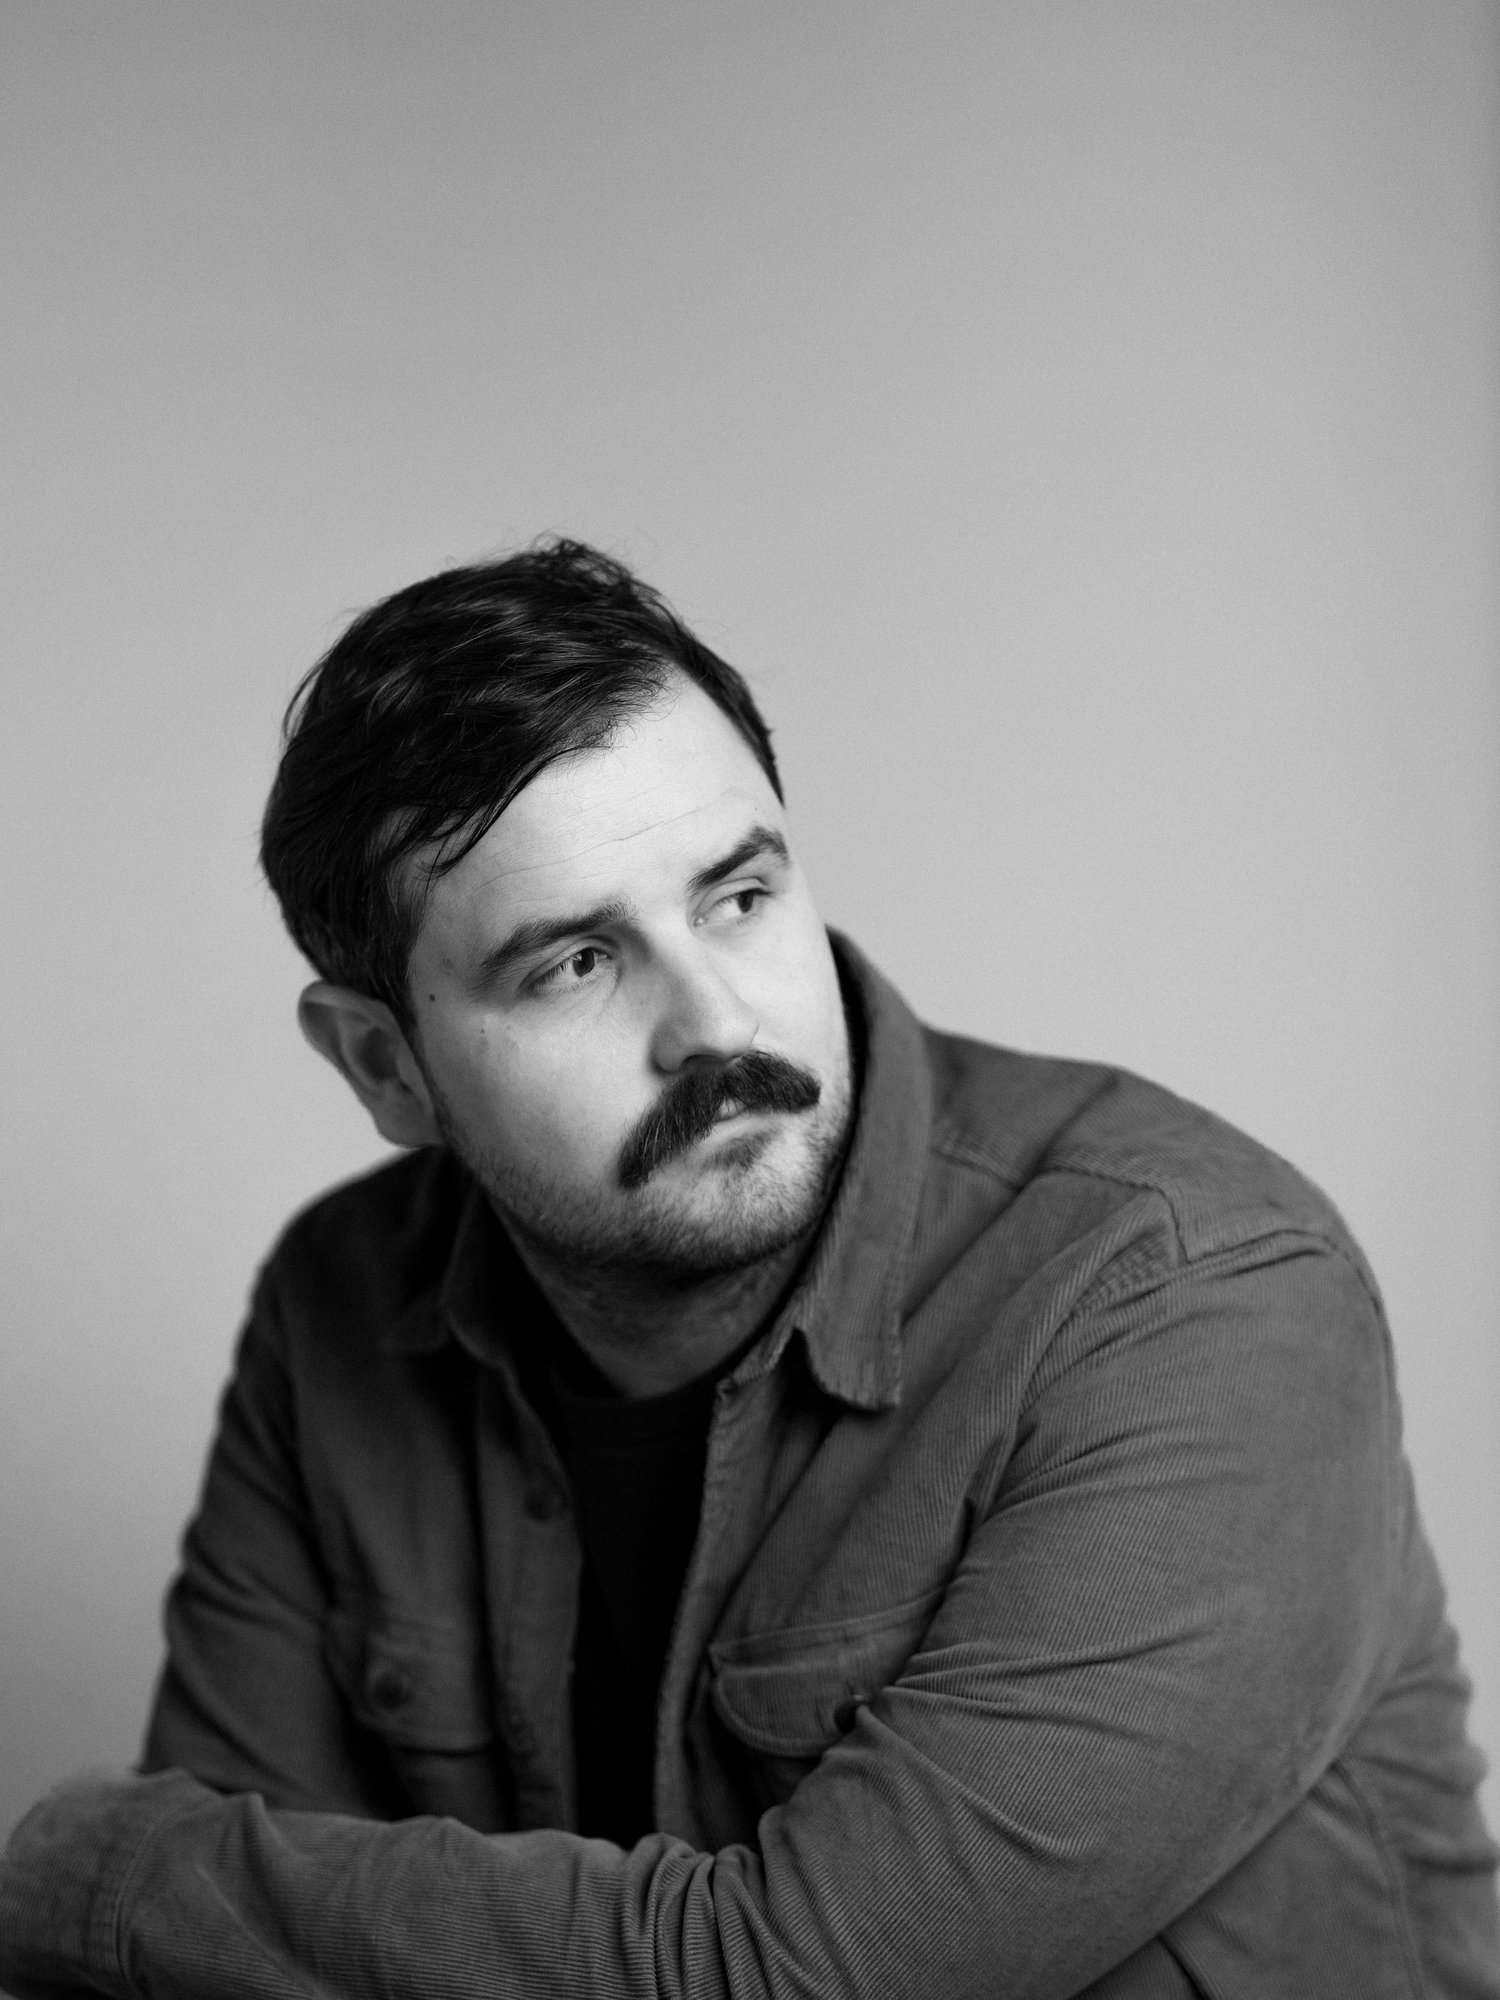
The next, and most important, step after studying these setups was putting them into practice. I didn’t just scrutinize, I tried to replicate what I saw. I experimented with light placement, modifiers, light ratios and the intensity of the lights, learning firsthand how different elements impacted the final image.
Every time I replicated a setup, I tweaked it – testing how small changes could drastically alter the mood or appearance of the shot. It was through this trial-and-error process that I began to understand the subtleties of light, and I refined my technique and started to develop a personal style.
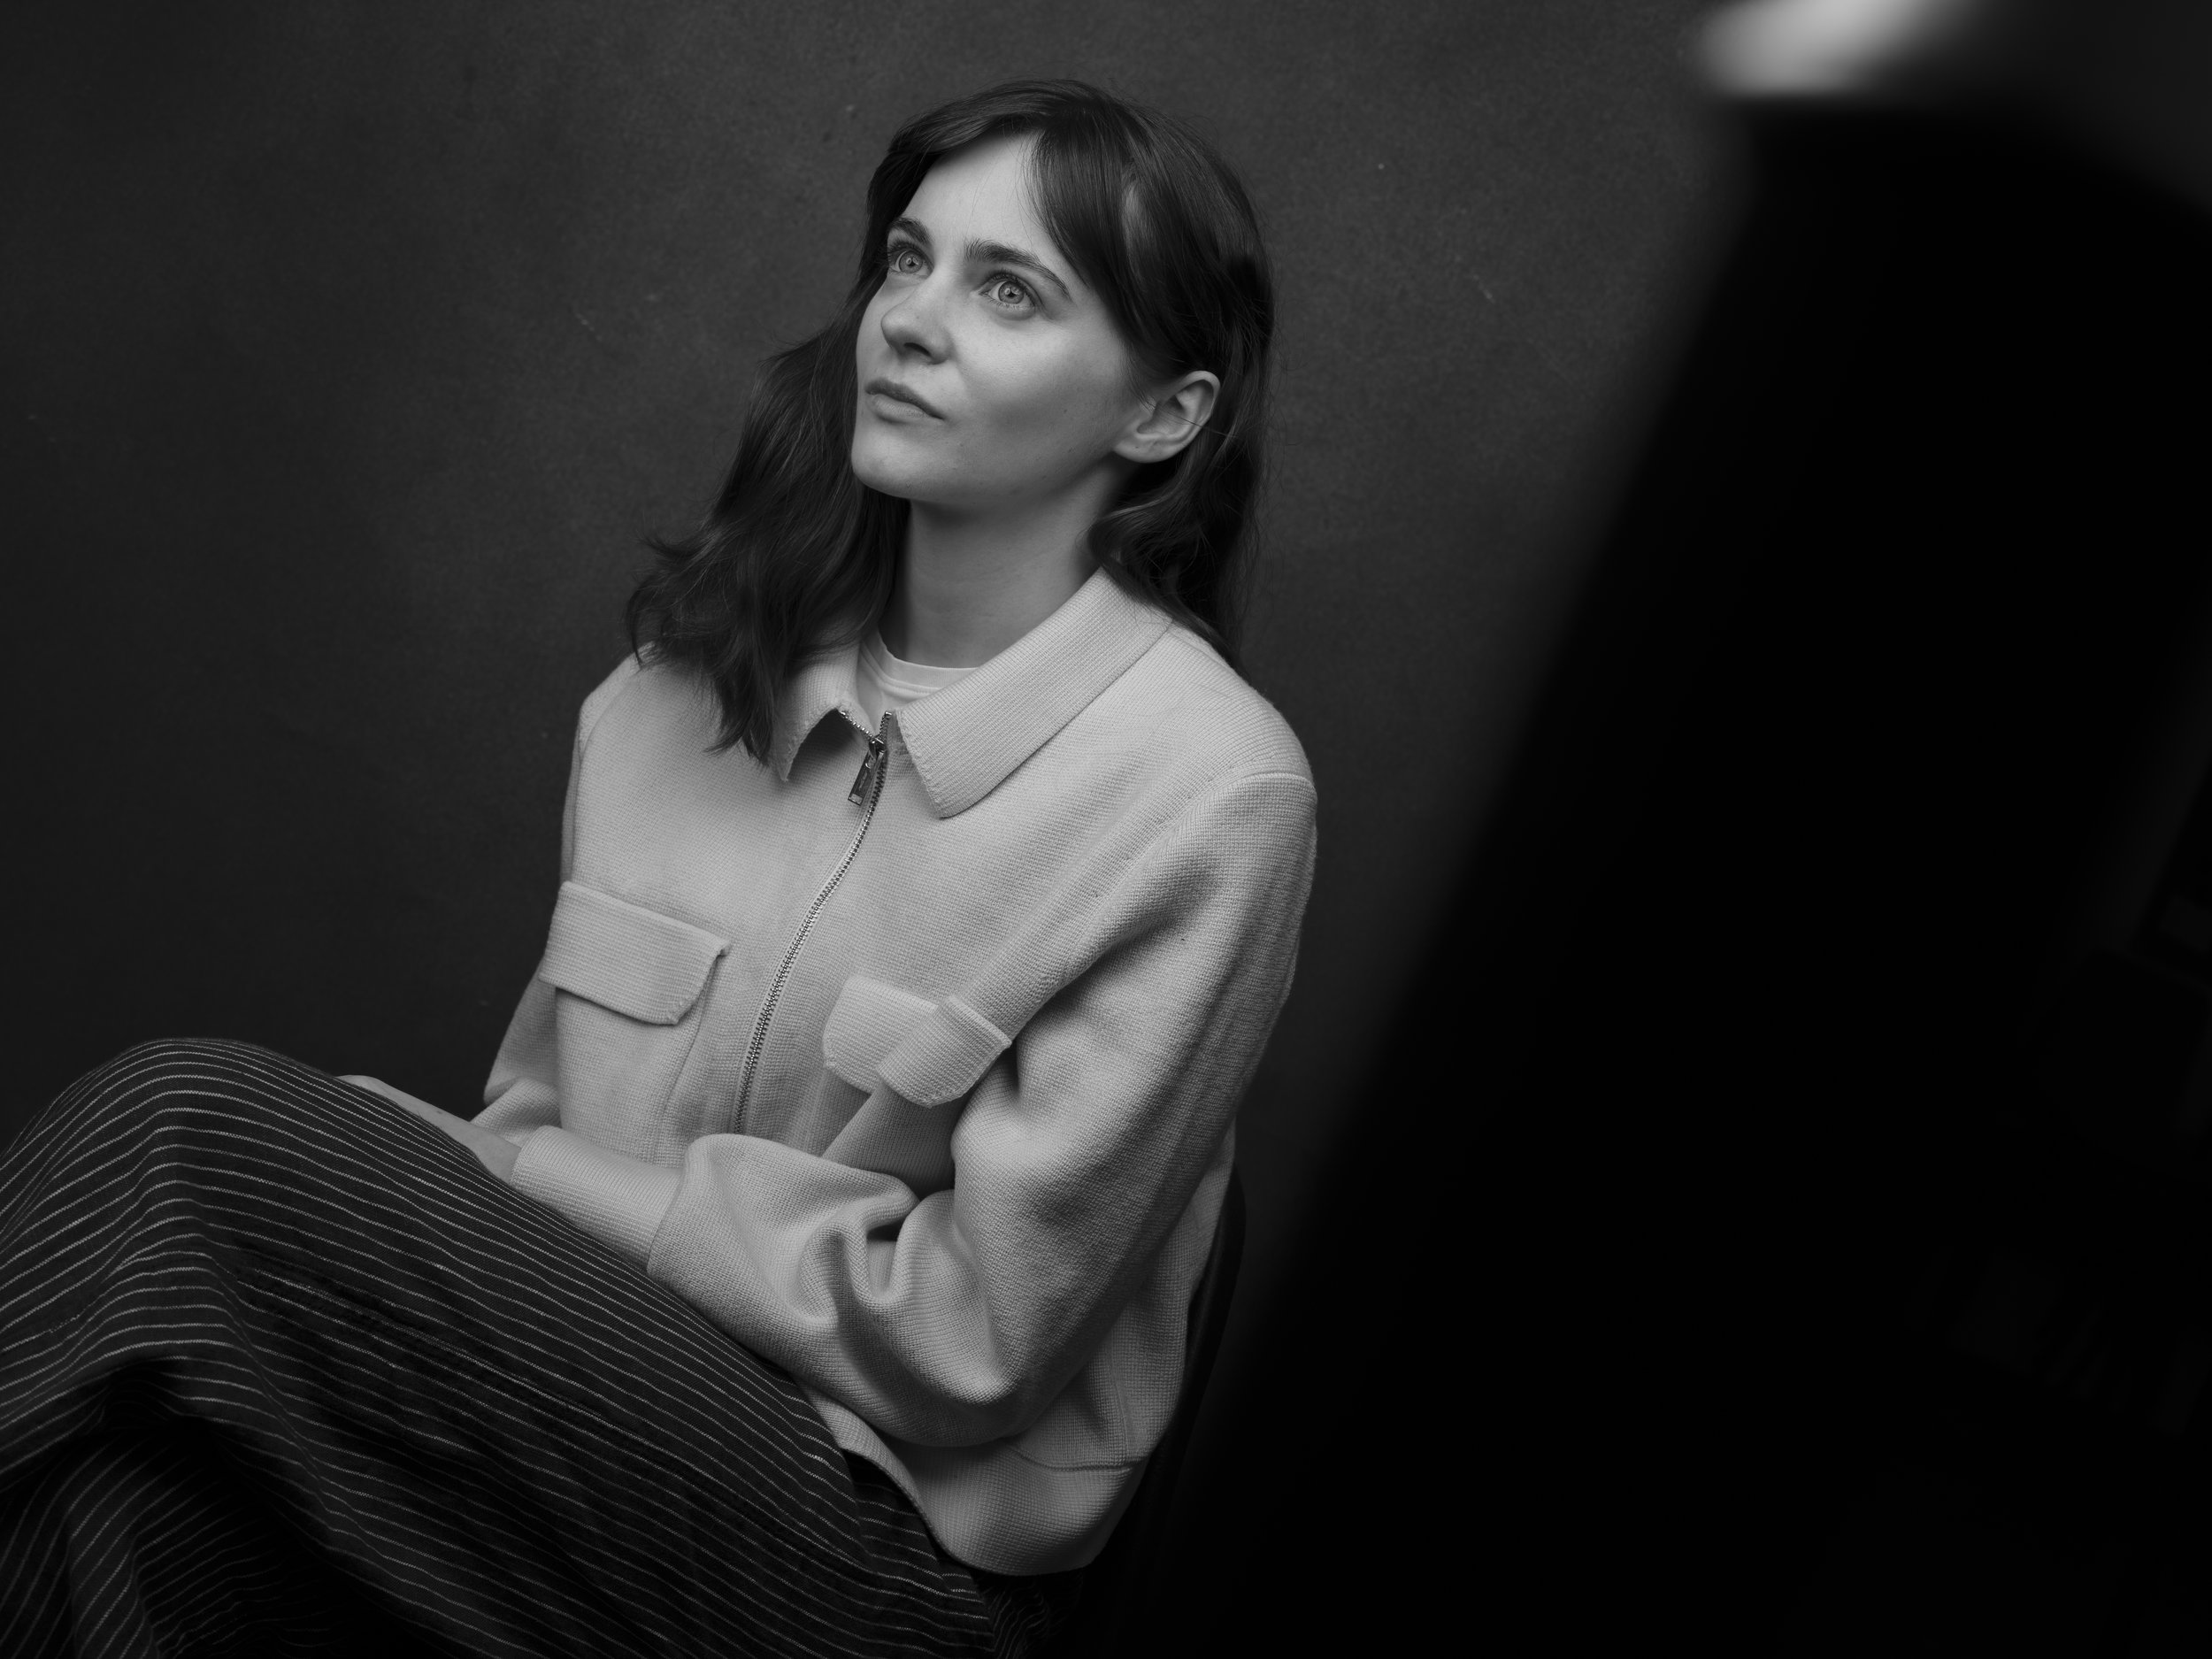
It also taught me that lighting plays a crucial role in the narrative of an image. Each image included in this article conveys a different mood, influenced by the lighting choices made.
Learning lighting through BTS images, combined with learning how to read a photograph (an entirely separate conversation, but just as valuable), laid the foundation for my professional career. This self-taught approach helped me develop the technical skills and creative intuition that have enabled me to shoot professionally for almost a decade.
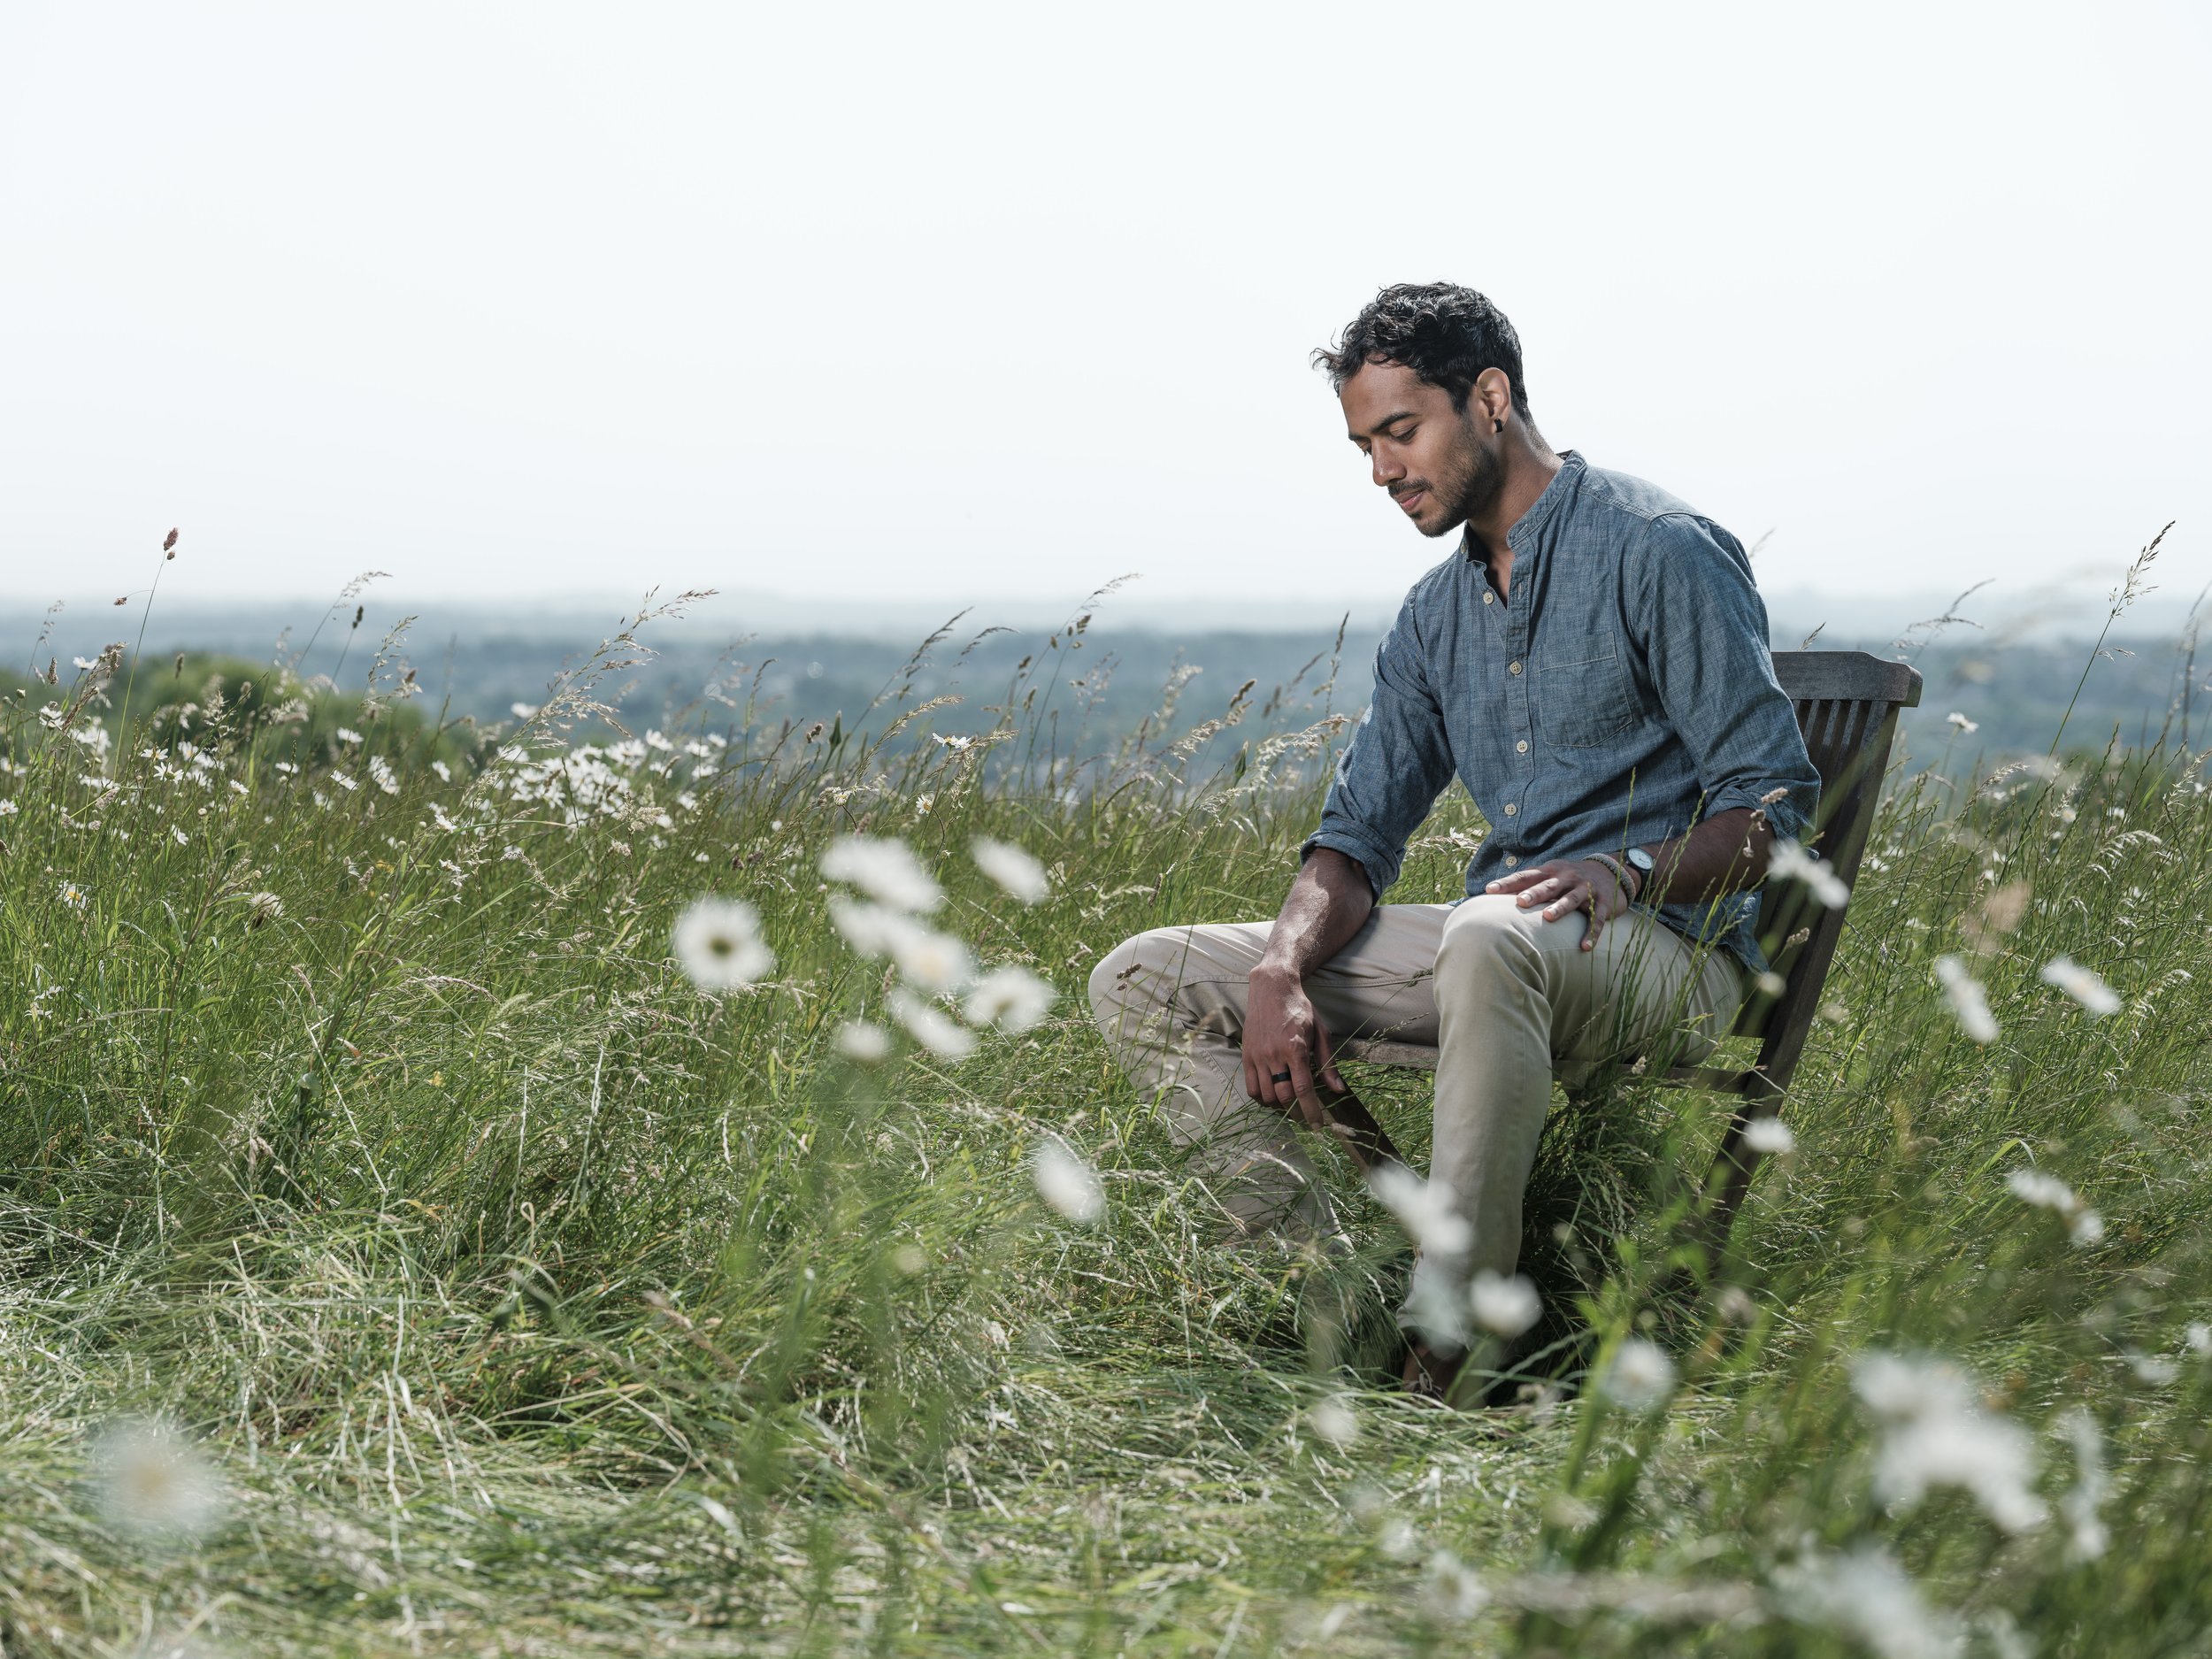
Whether you're just starting out in portrait or fashion photography, or looking to refine your skills, behind-the-scenes images are an invaluable resource. They not only show you how light behaves but also explain why certain choices are made, providing you the tools to experiment and develop your own technique.
The journey from observation to practice takes time, but the results are worth the effort. So, check out some of your favorite photographers and see if they have any BTS shots you can learn from!
You might also like…
Check out our guides to the best photography lighting kits and the best lighting for video. You might also be interested in the best cameras for portraits, along with the best lenses for portraits.


