Watch video: How to shoot effective interior photographs
Whether you want to capture your home, make images for a holiday rental site, help out with a house sale or simply create lovely architectural photos, interior photography is a great skill to learn. It can also be an enjoyable challenge for your camera and lighting skills.
There are three key skills in interior photography. First there’s the composition. This isn’t just about picking the best camera angle or fiddling with a tilt-shift lens, it’s also about creating a clean, simple frame that shows the interior at its best. It might mean shifting the furniture, placing items in certain spots, or posing objects to create the most attractive whole.
Next is the lighting. If the ambient light is good enough, then you’ve got lucky. More often than not, the ambient light will be too dull to balance with window light, or it won’t show the place at its best. To get around this, we can supplement the ambient light with our own, by using flashguns or other lighting sources. But we don’t necessarily need lots of expensive lighting kit.
The beauty of it is, once our camera is locked off on a tripod, we have the luxury to take our time and light each area of the interior separately, popping our flash in different spots until we’ve captured lovely lighting across the whole scene.
This brings us to the third key skill: image editing. After shooting a series of frames while moving our light source around, we can bring everything together in Photoshop with simple compositing skills.
1. Find the main point of interest
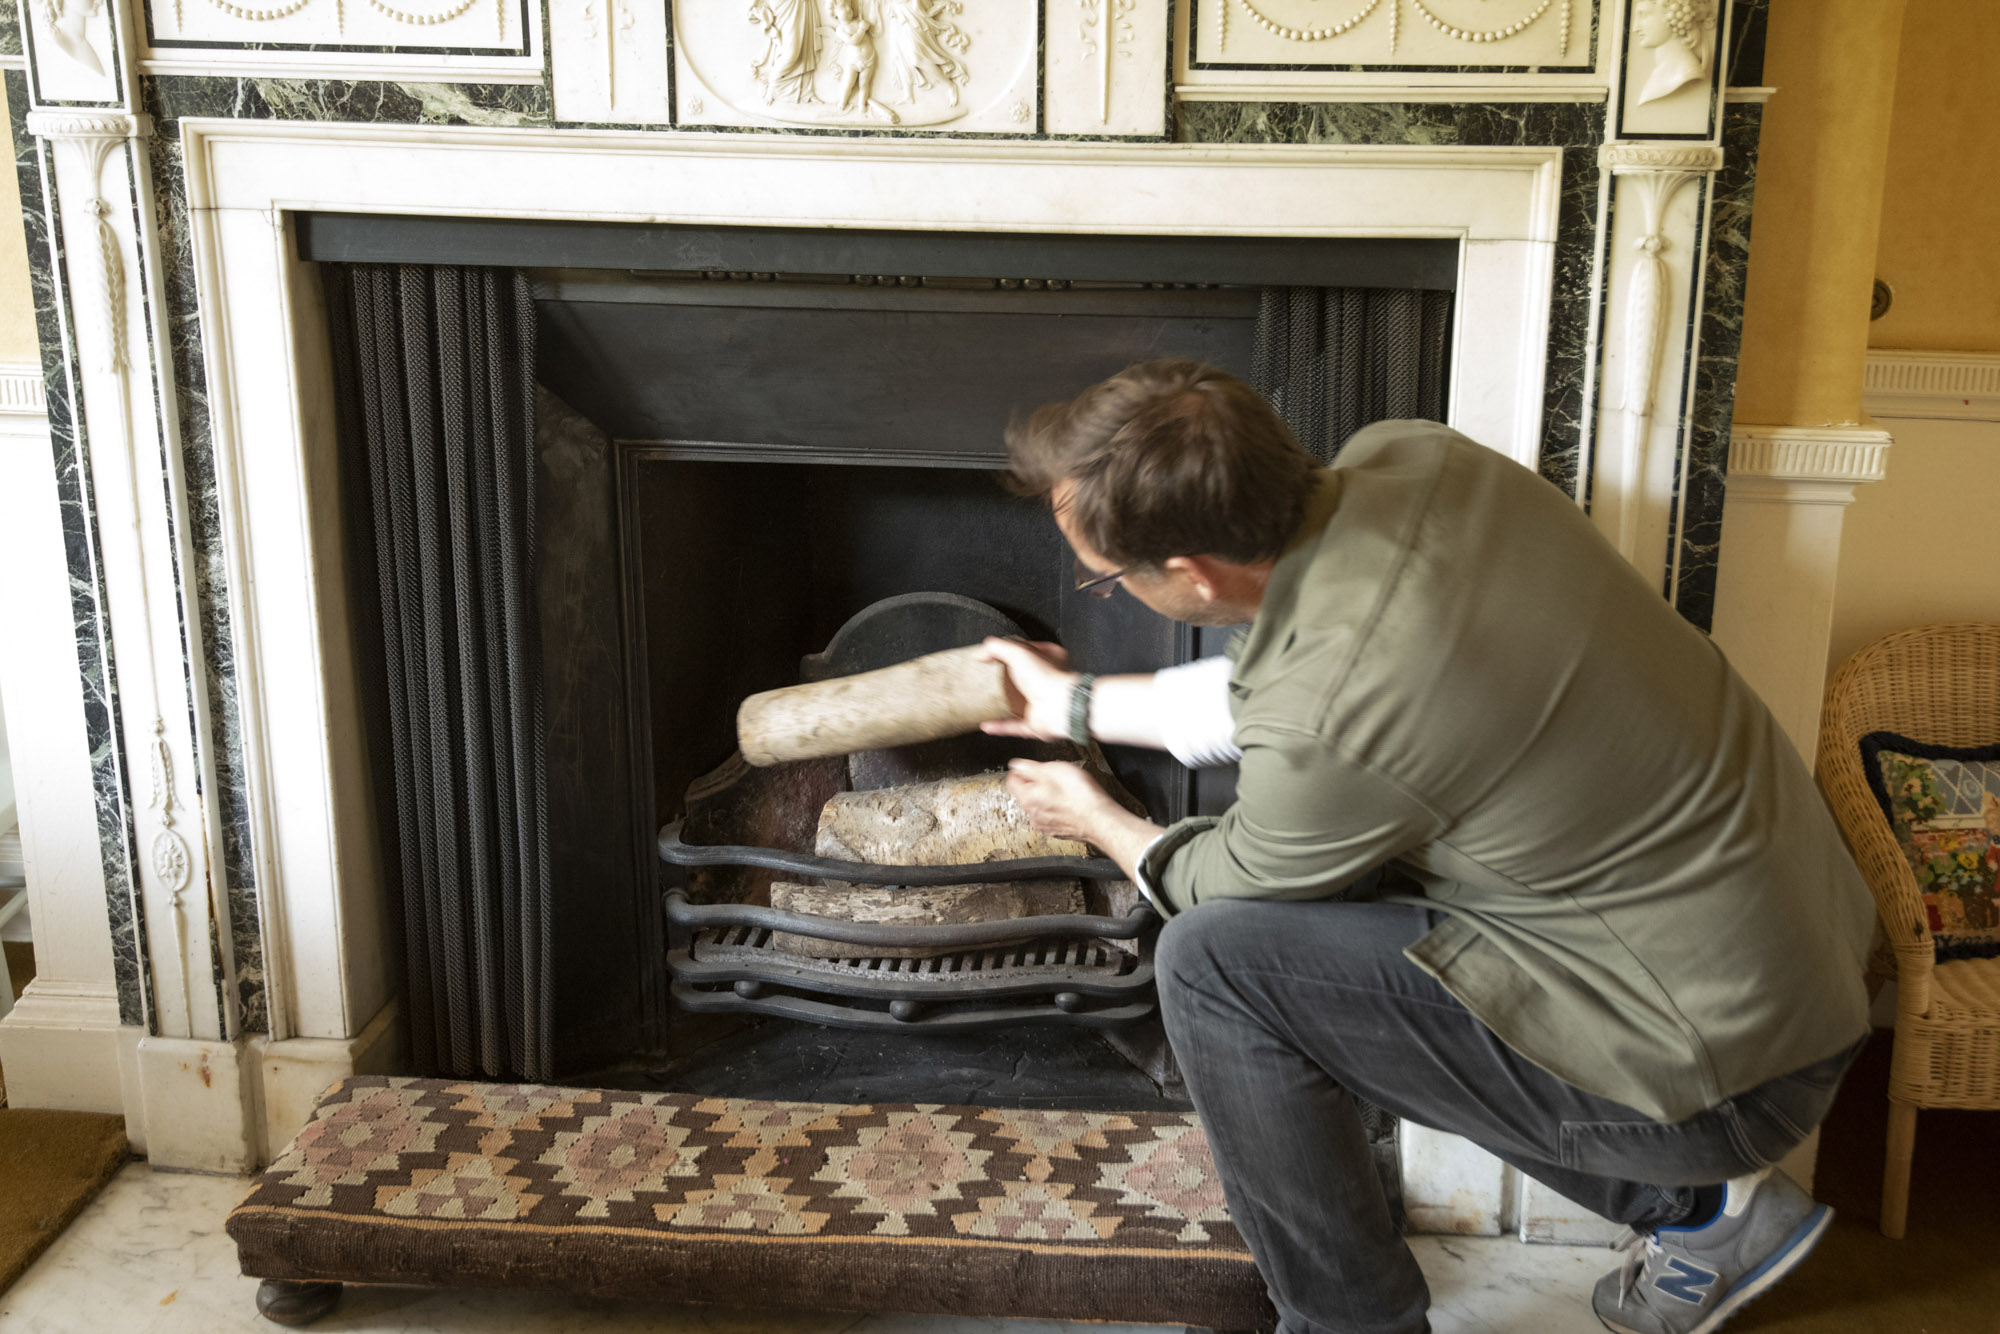
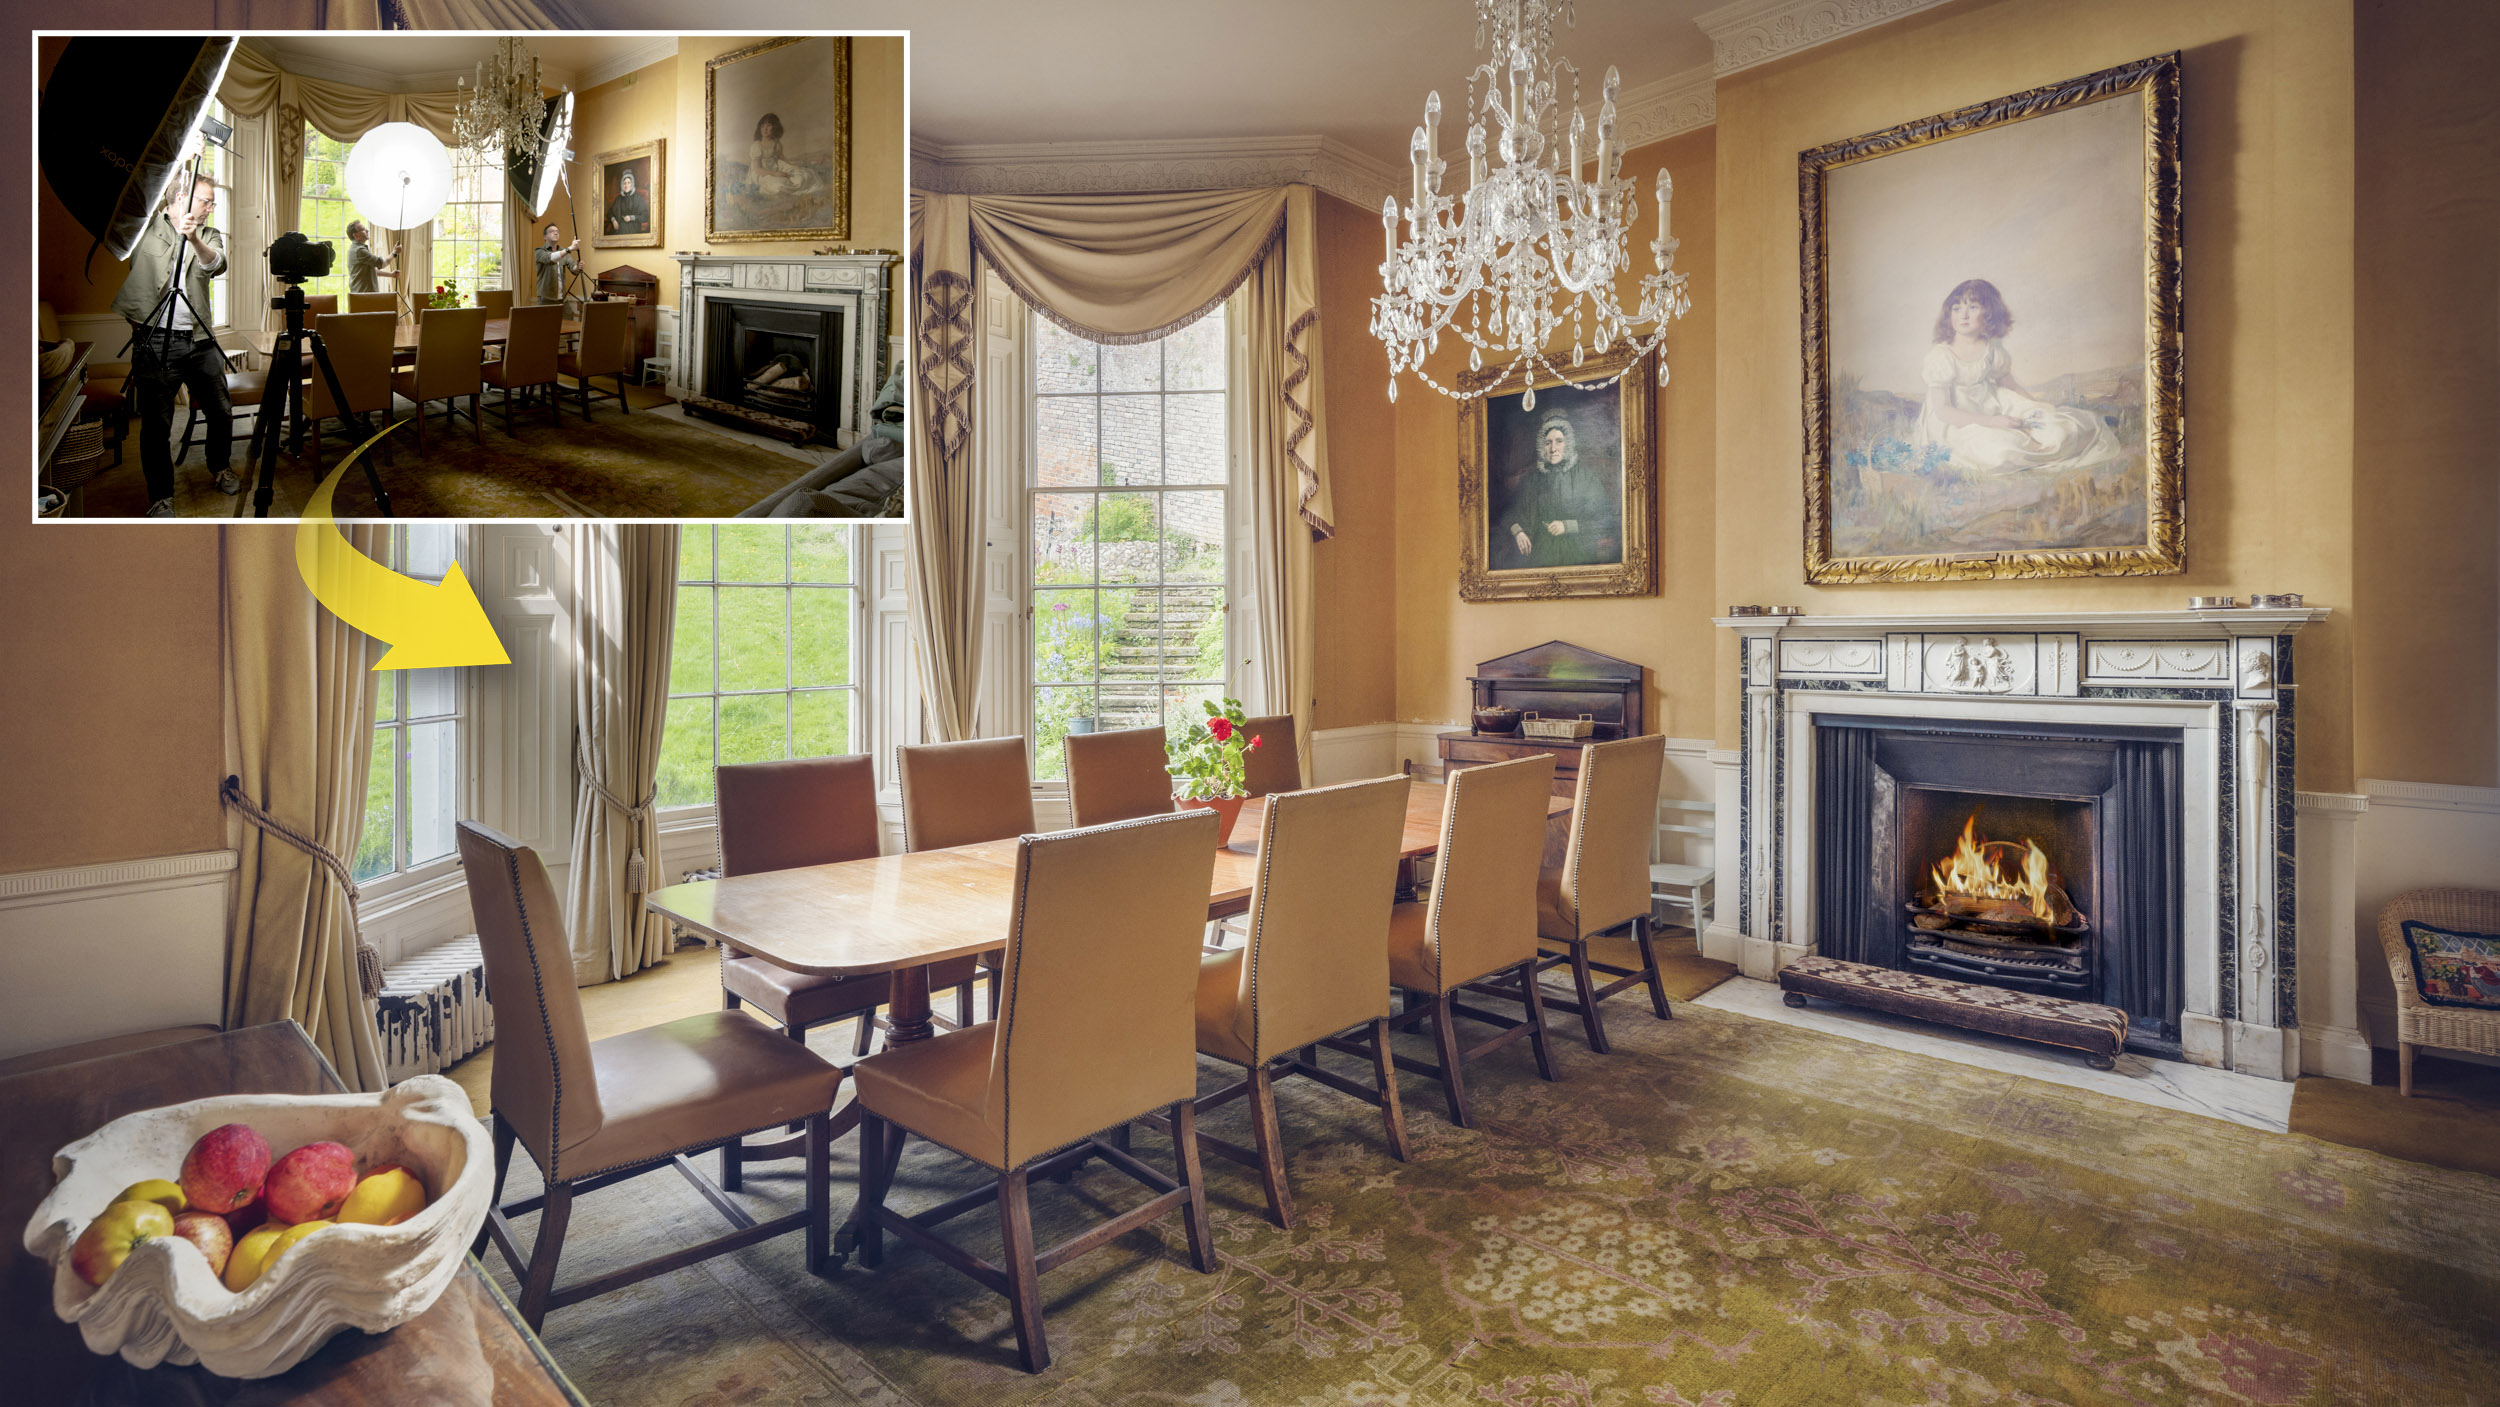
It can be tricky to determine what to include and leave out. Take a moment to identify the key points of interest. It might be a sweeping staircase or an ornate piece of furniture. Here it’s the fireplace with the painting above. To make it more inviting, we put logs in the fireplace and added flames in Photoshop.
2. Don't go too wide
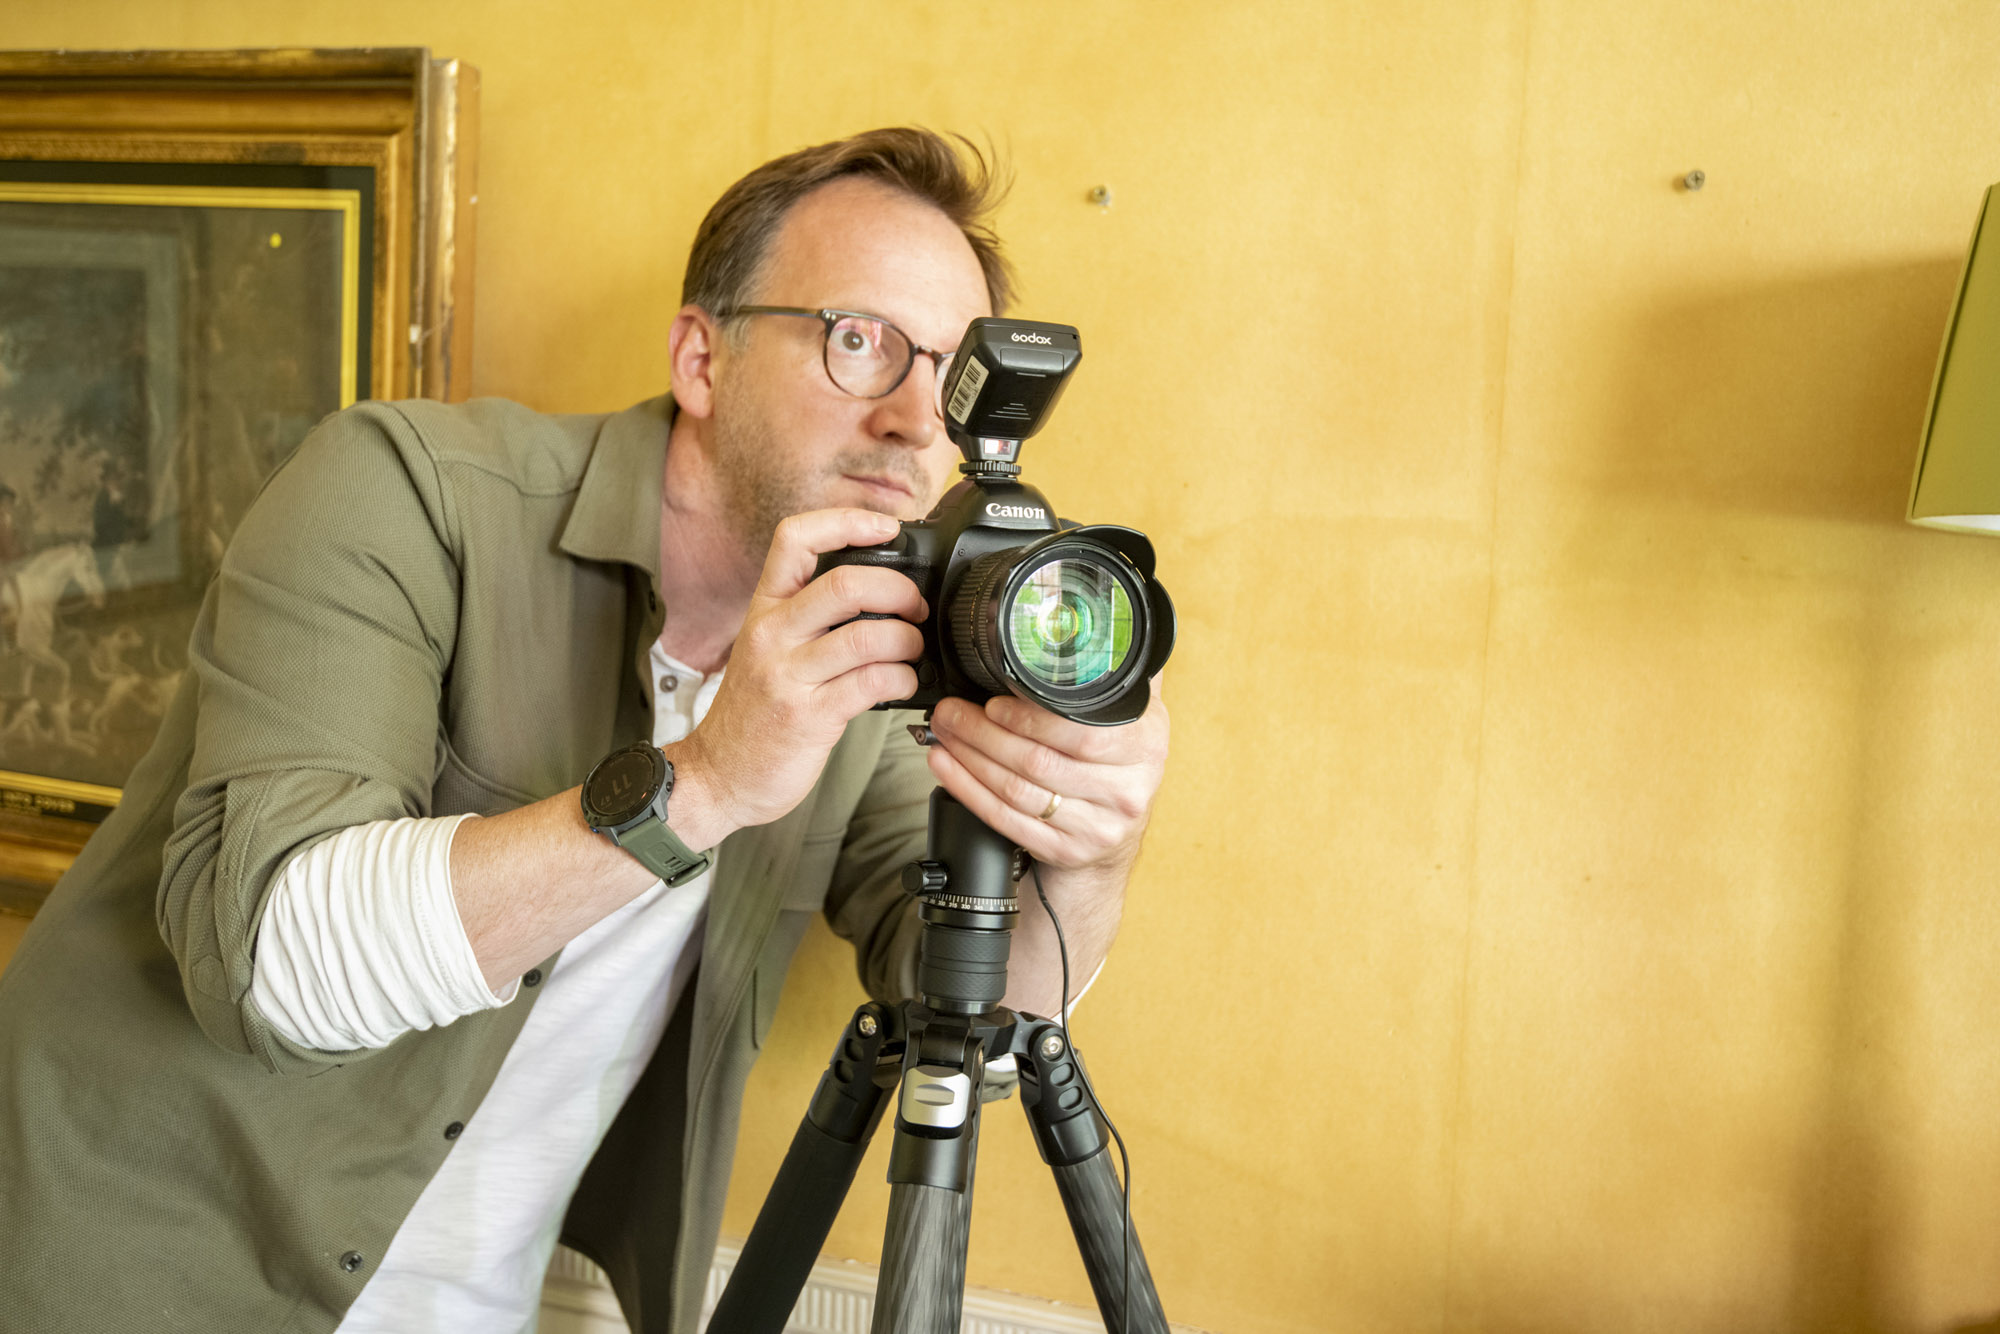
There’s a temptation to use your widest focal length and try to fit everything in, but it can lead to distortion. You’re often better off zooming slightly and picking out key features of the room. You don’t need to show everything. It is fine to crop into objects – a corner of a bed, or the edge of a table, is often all you need.
3. Take test shots
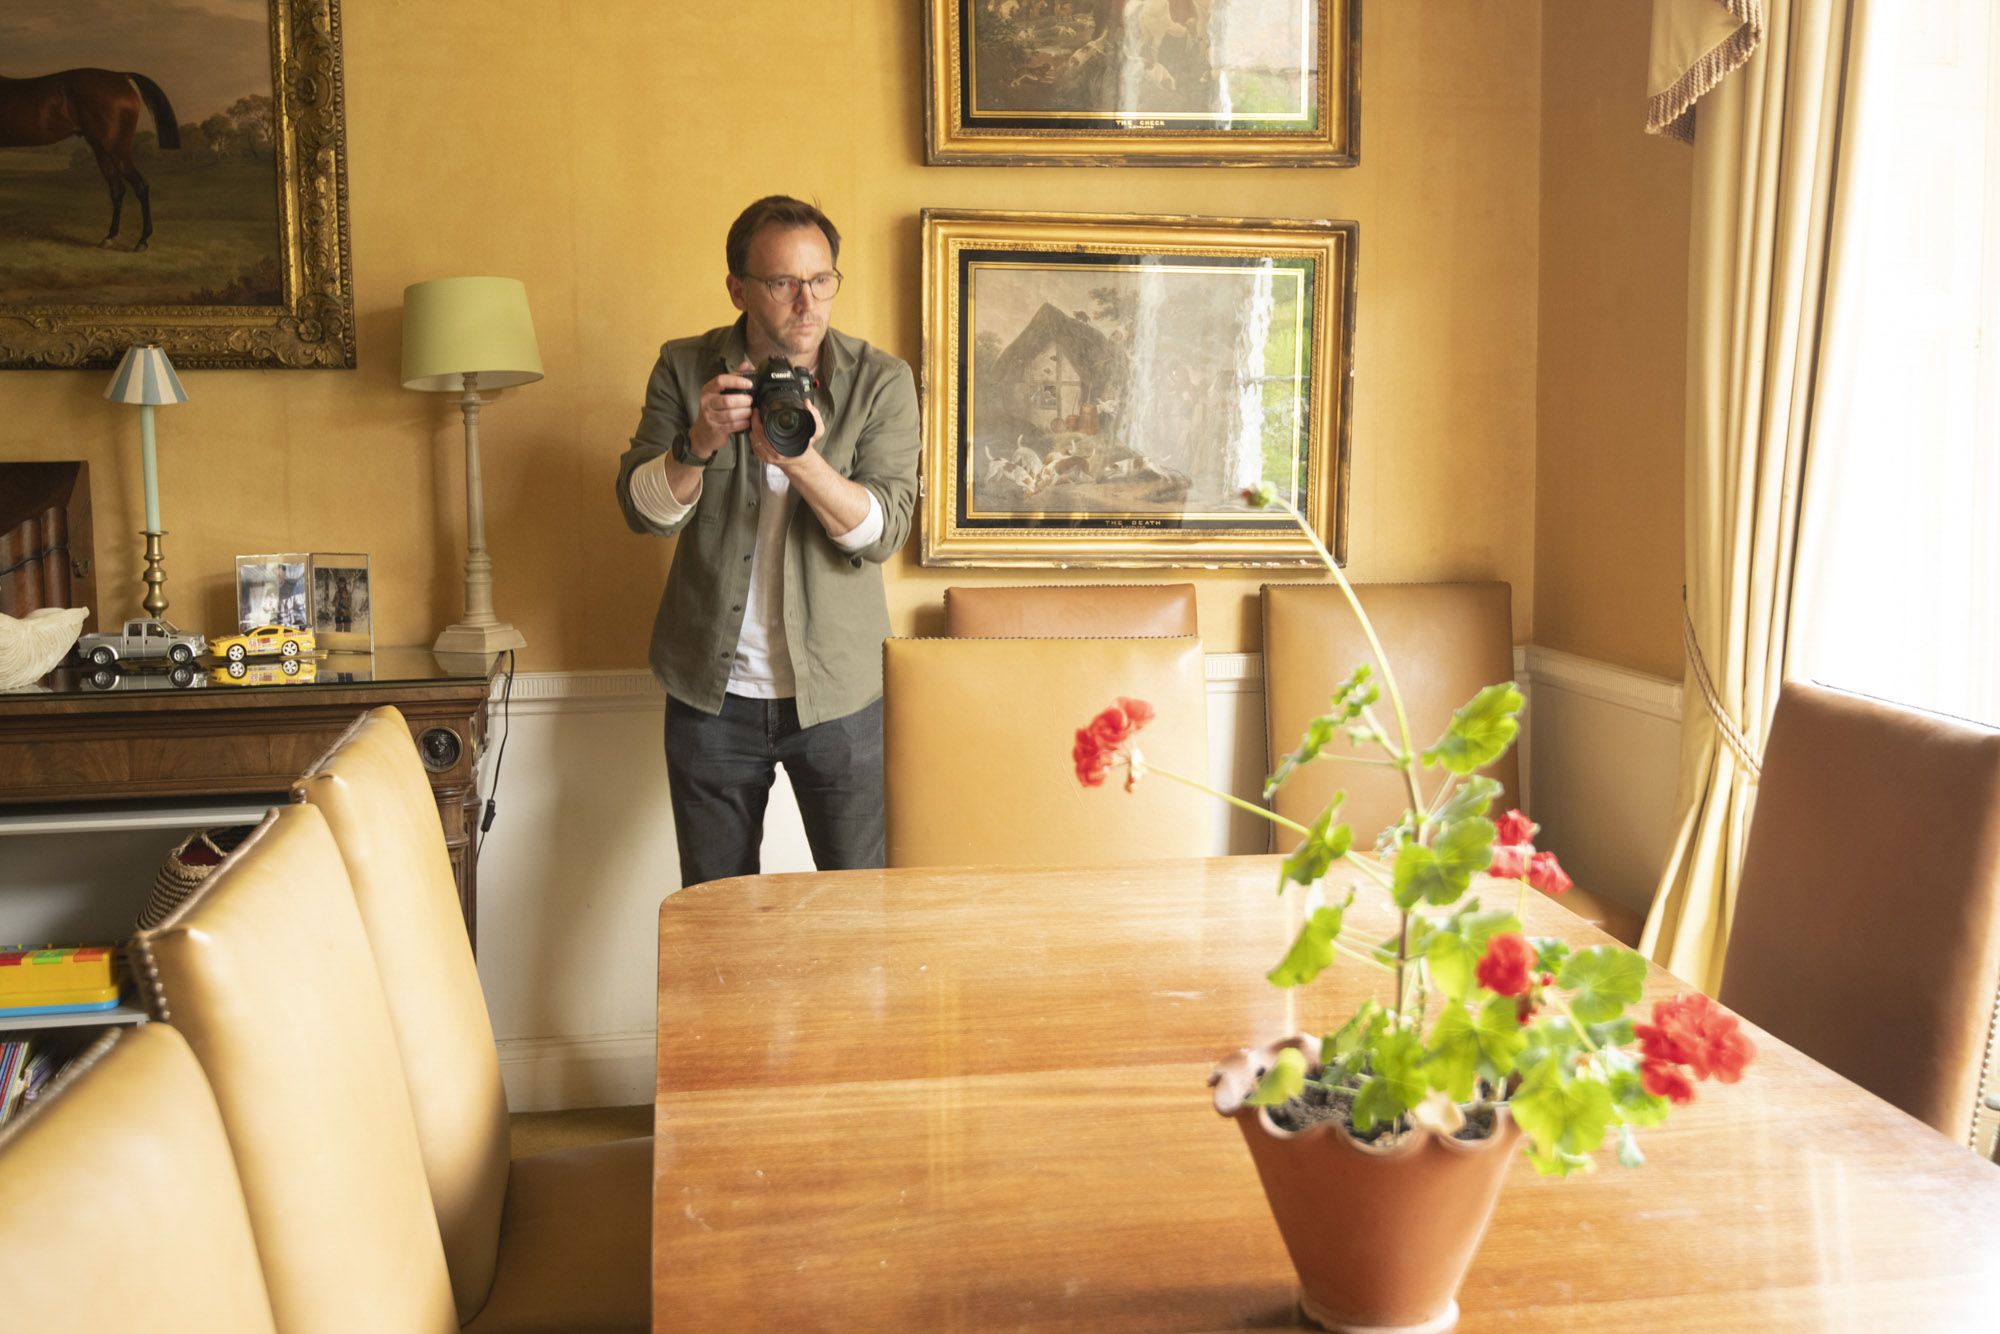
Before you set up on a tripod, take a few moments to explore the space, and shoot test shots with your camera set to manual with auto ISO. This might reveal a pleasing composition or an unseen detail. Review the shots (on a large screen if possible) then get the tripod out and finalize your composition.
4. Look for foreground interest
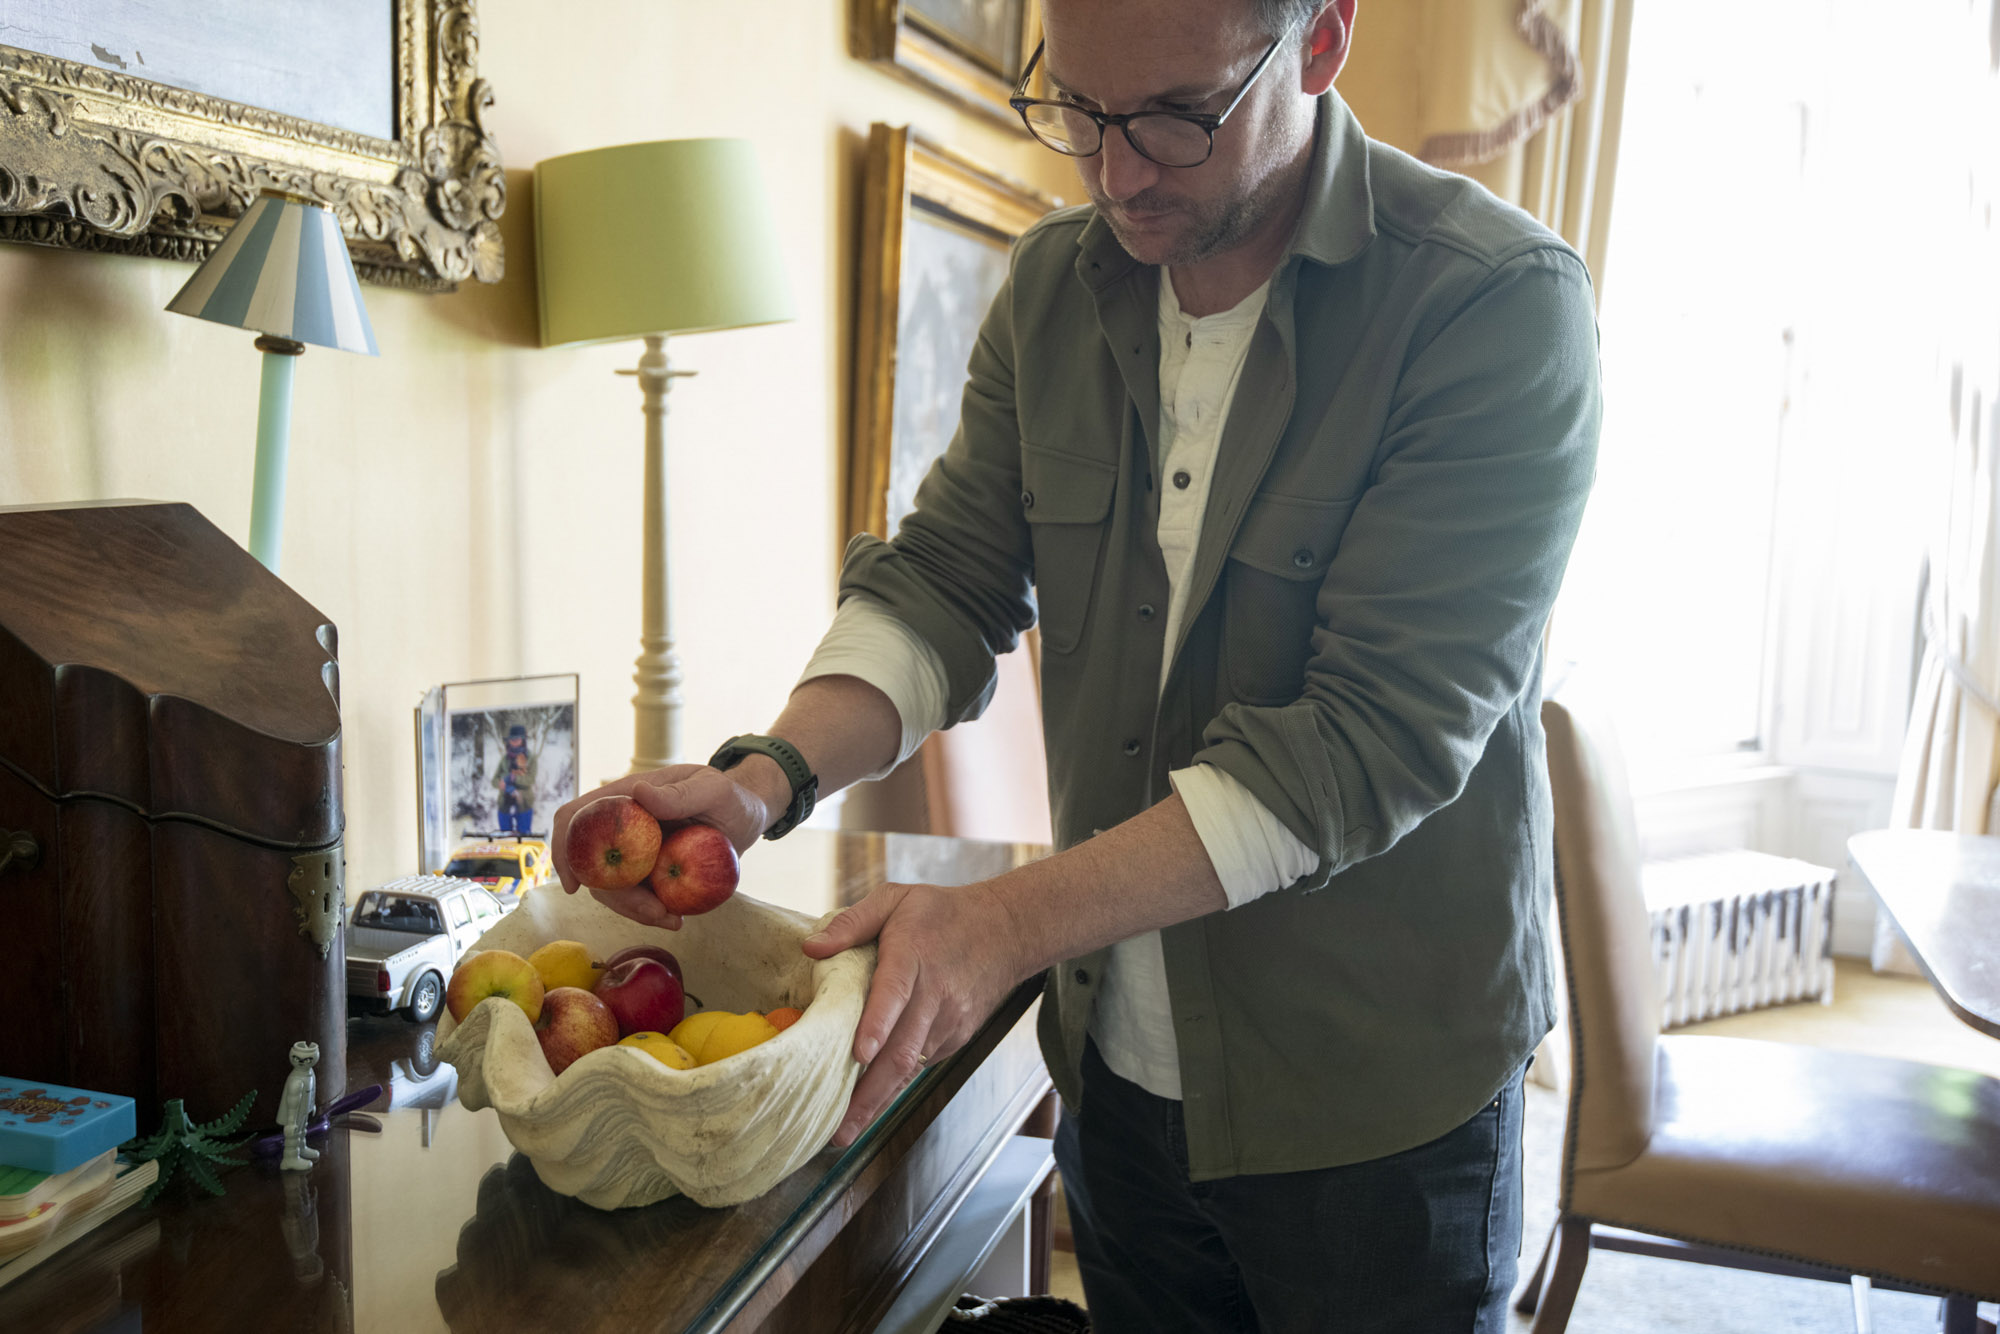
Some foreground interest can help to lead the eye into the scene. Here the bowl of fruit offers a splash of color, and also serves to cut out reflections from the window in the dresser top. The composition here is a simple one-point perspective, with the bowl and table leading the eye to the fireplace and painting.
05. Add your own sunlight
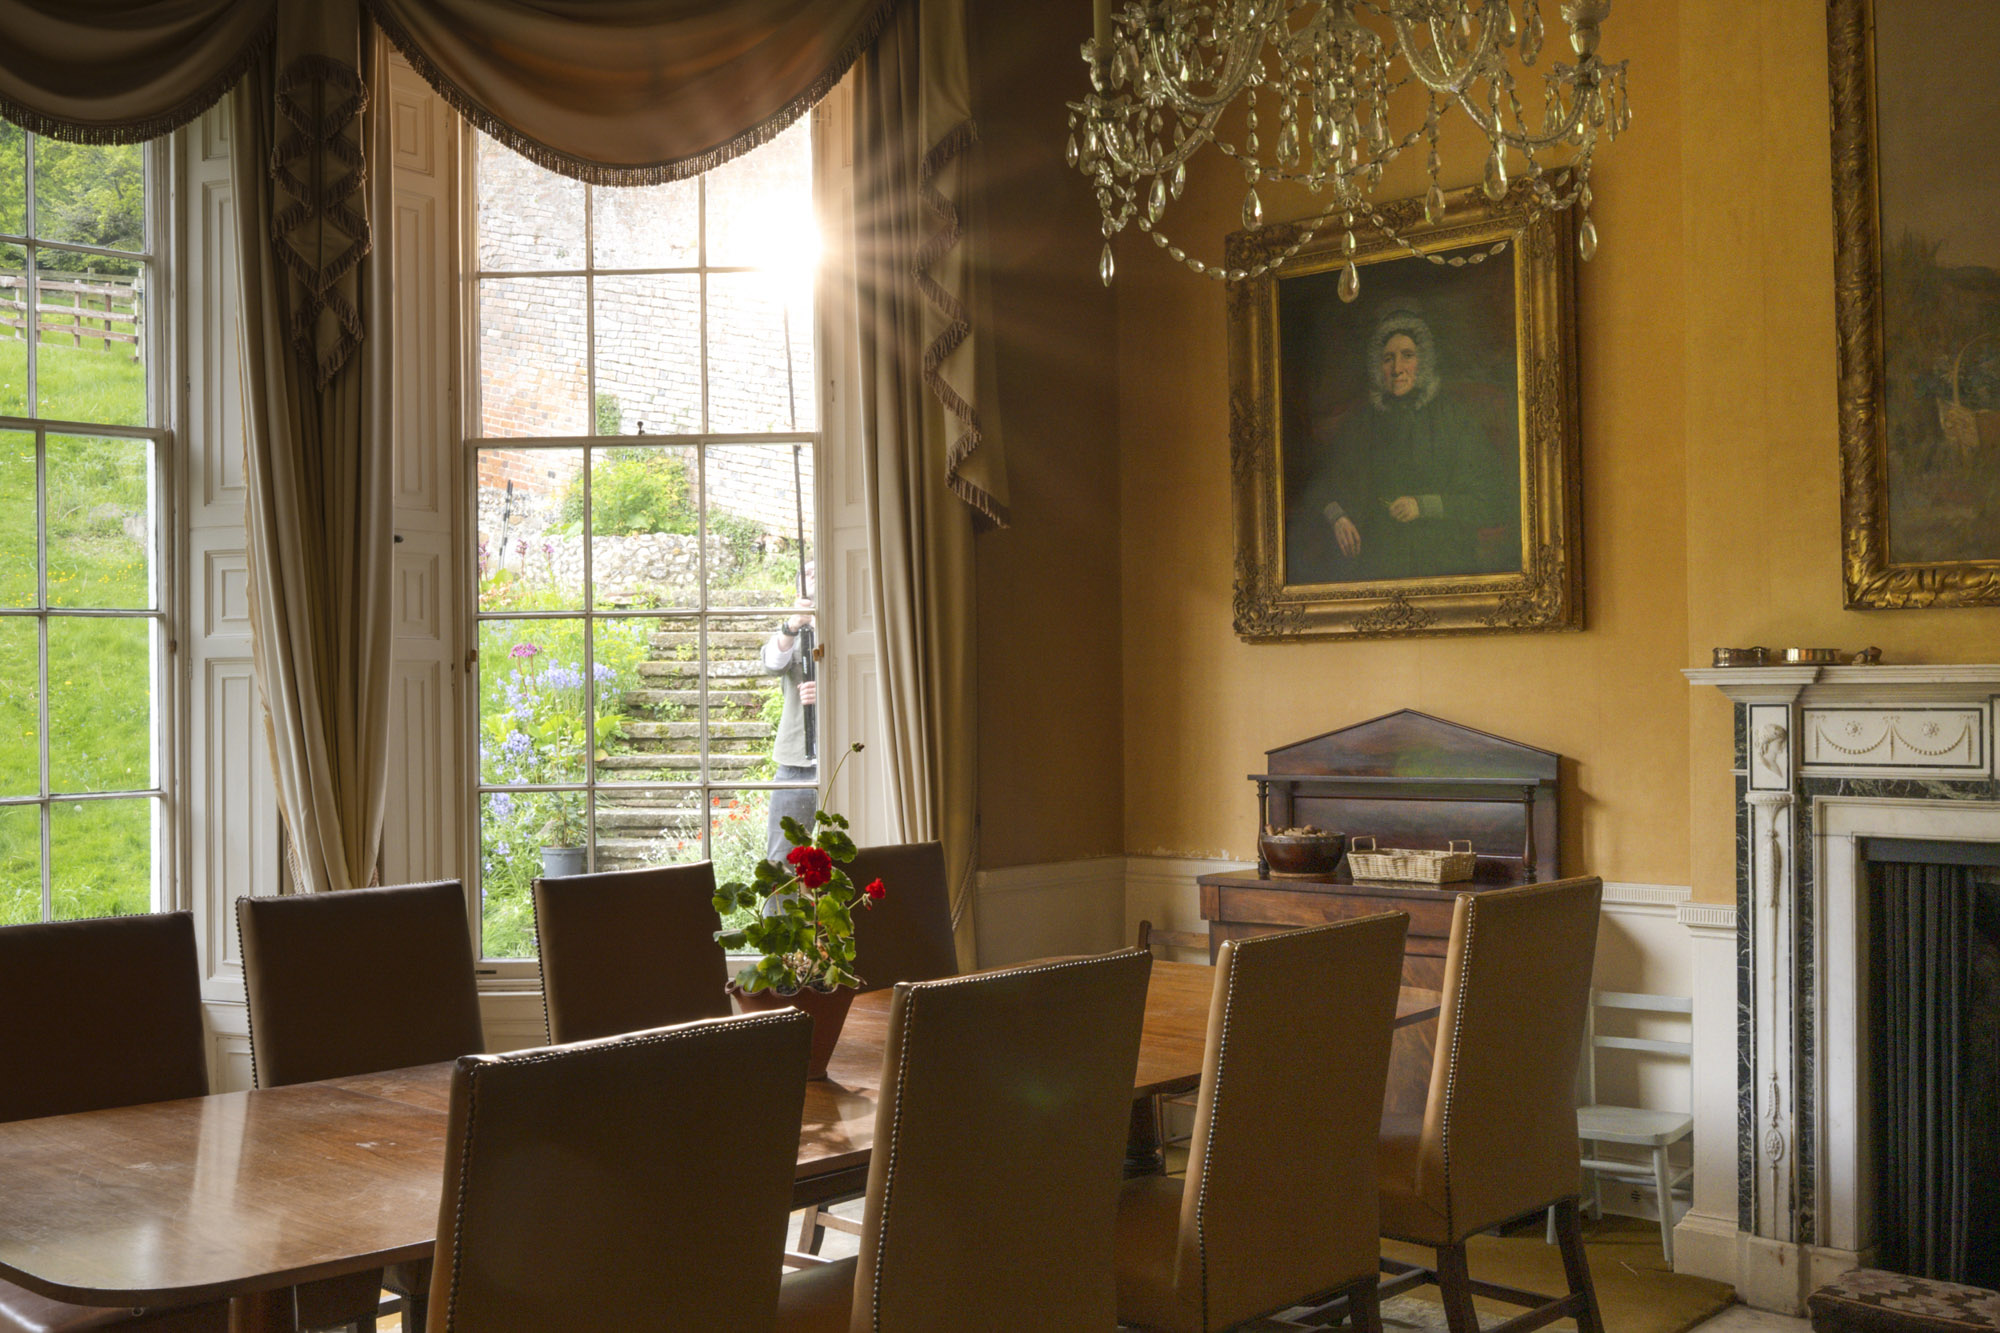
Sunlight streaking in through a window can give scenes a welcome boost in atmosphere, as well as create an inviting warm glow. If the sun isn’t present on the day, you can fake it by fitting your speedlight with a warm CTO (color temperature orange) gel, then firing it from outside the window.
06. Bracket the ambient light
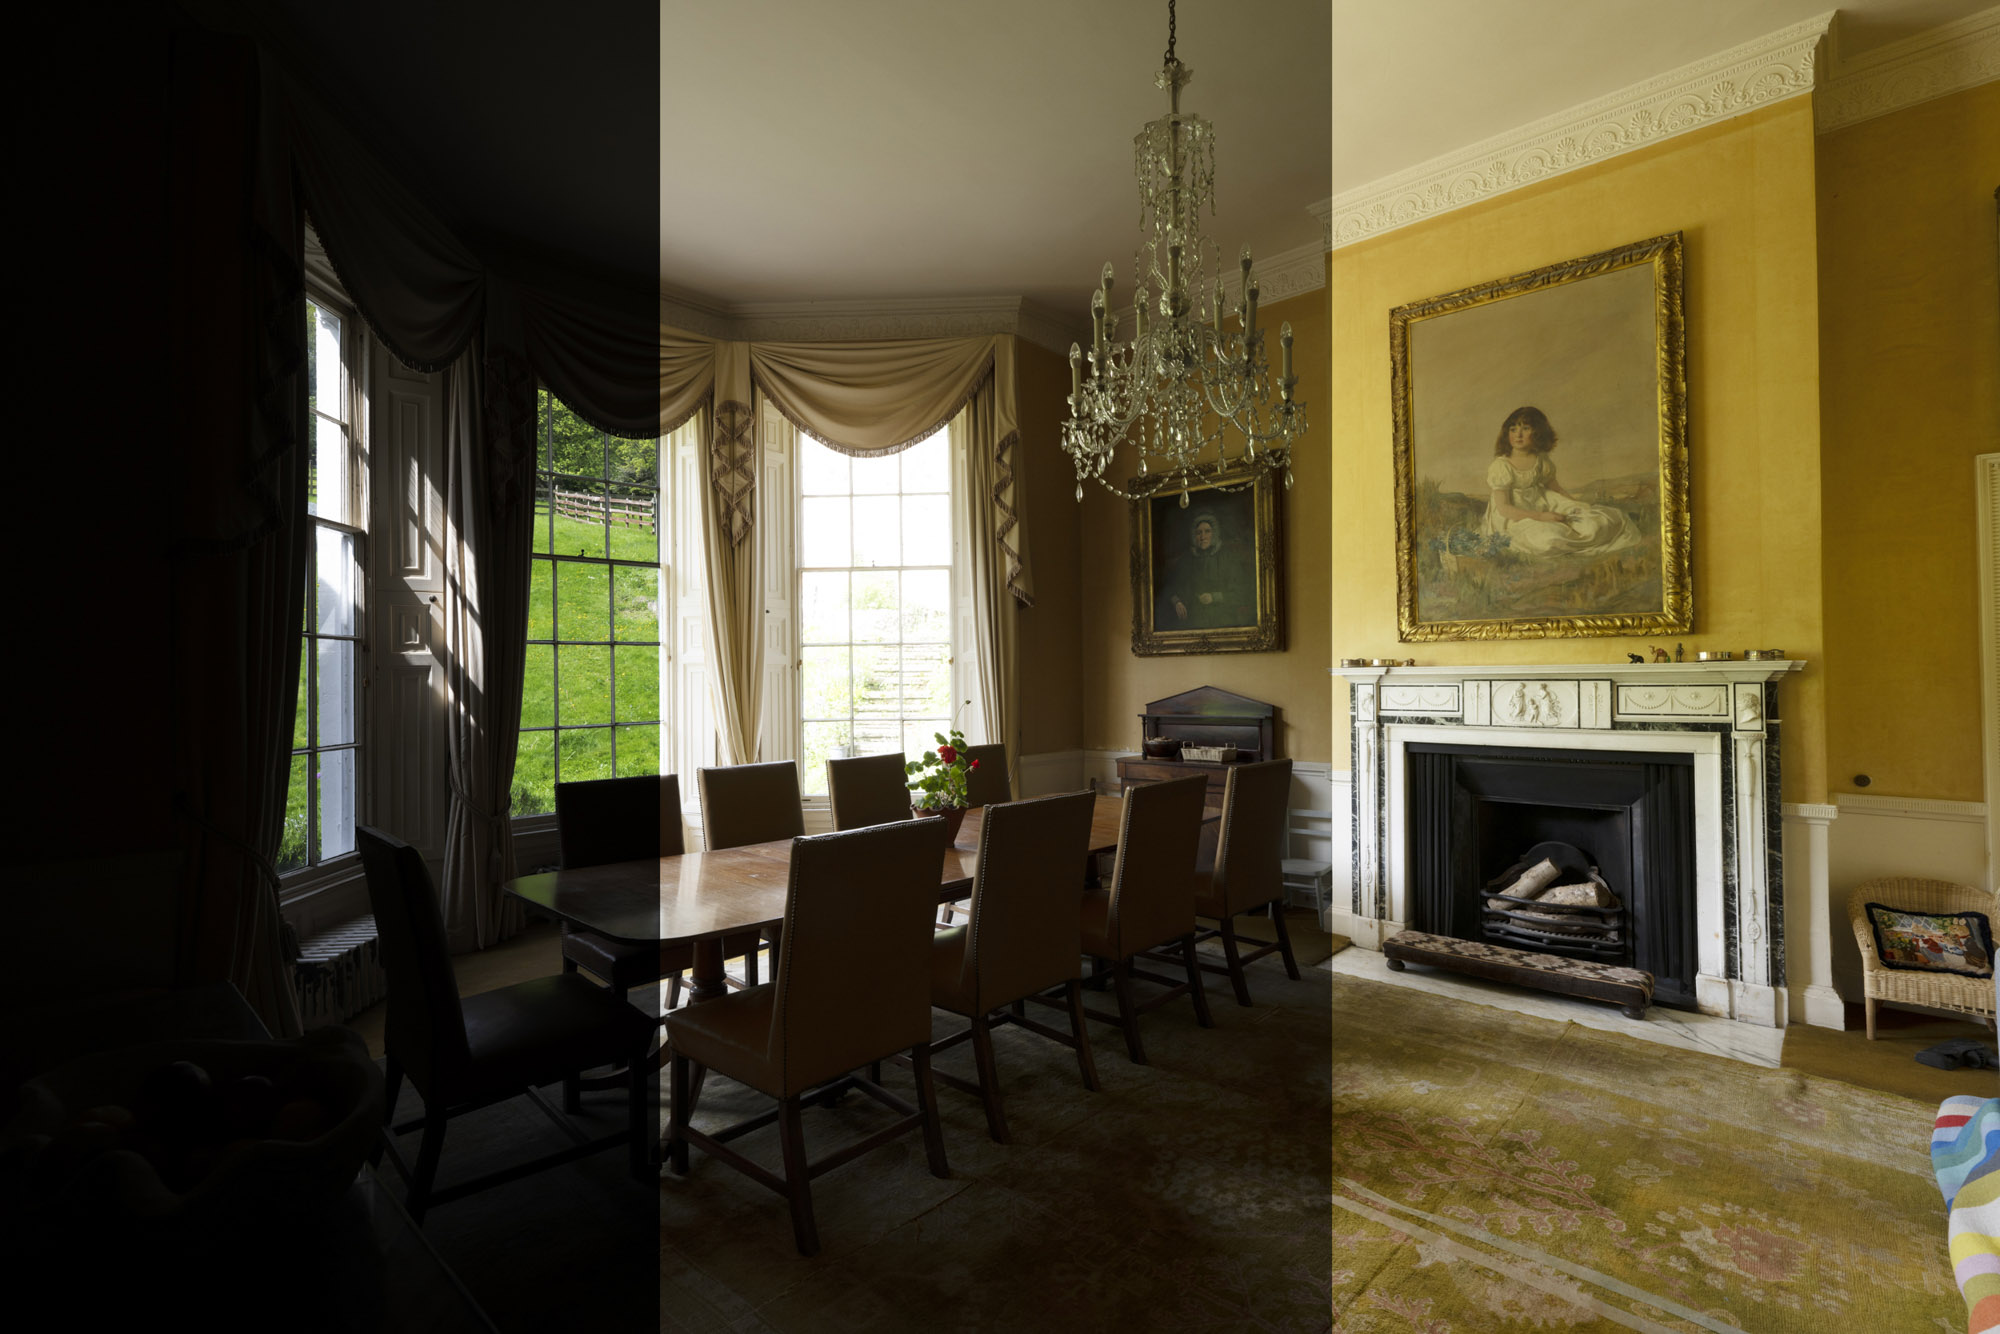
As well as shooting plenty of frames with your flash in different positions around the scene, it’s a good idea to shoot a bracketed set using the ambient light. A set of three or five bracketed shots at one-stop increments should be enough. Pick the best base exposure, or combine these later for an HDR image if you need to.
07. Open as layers
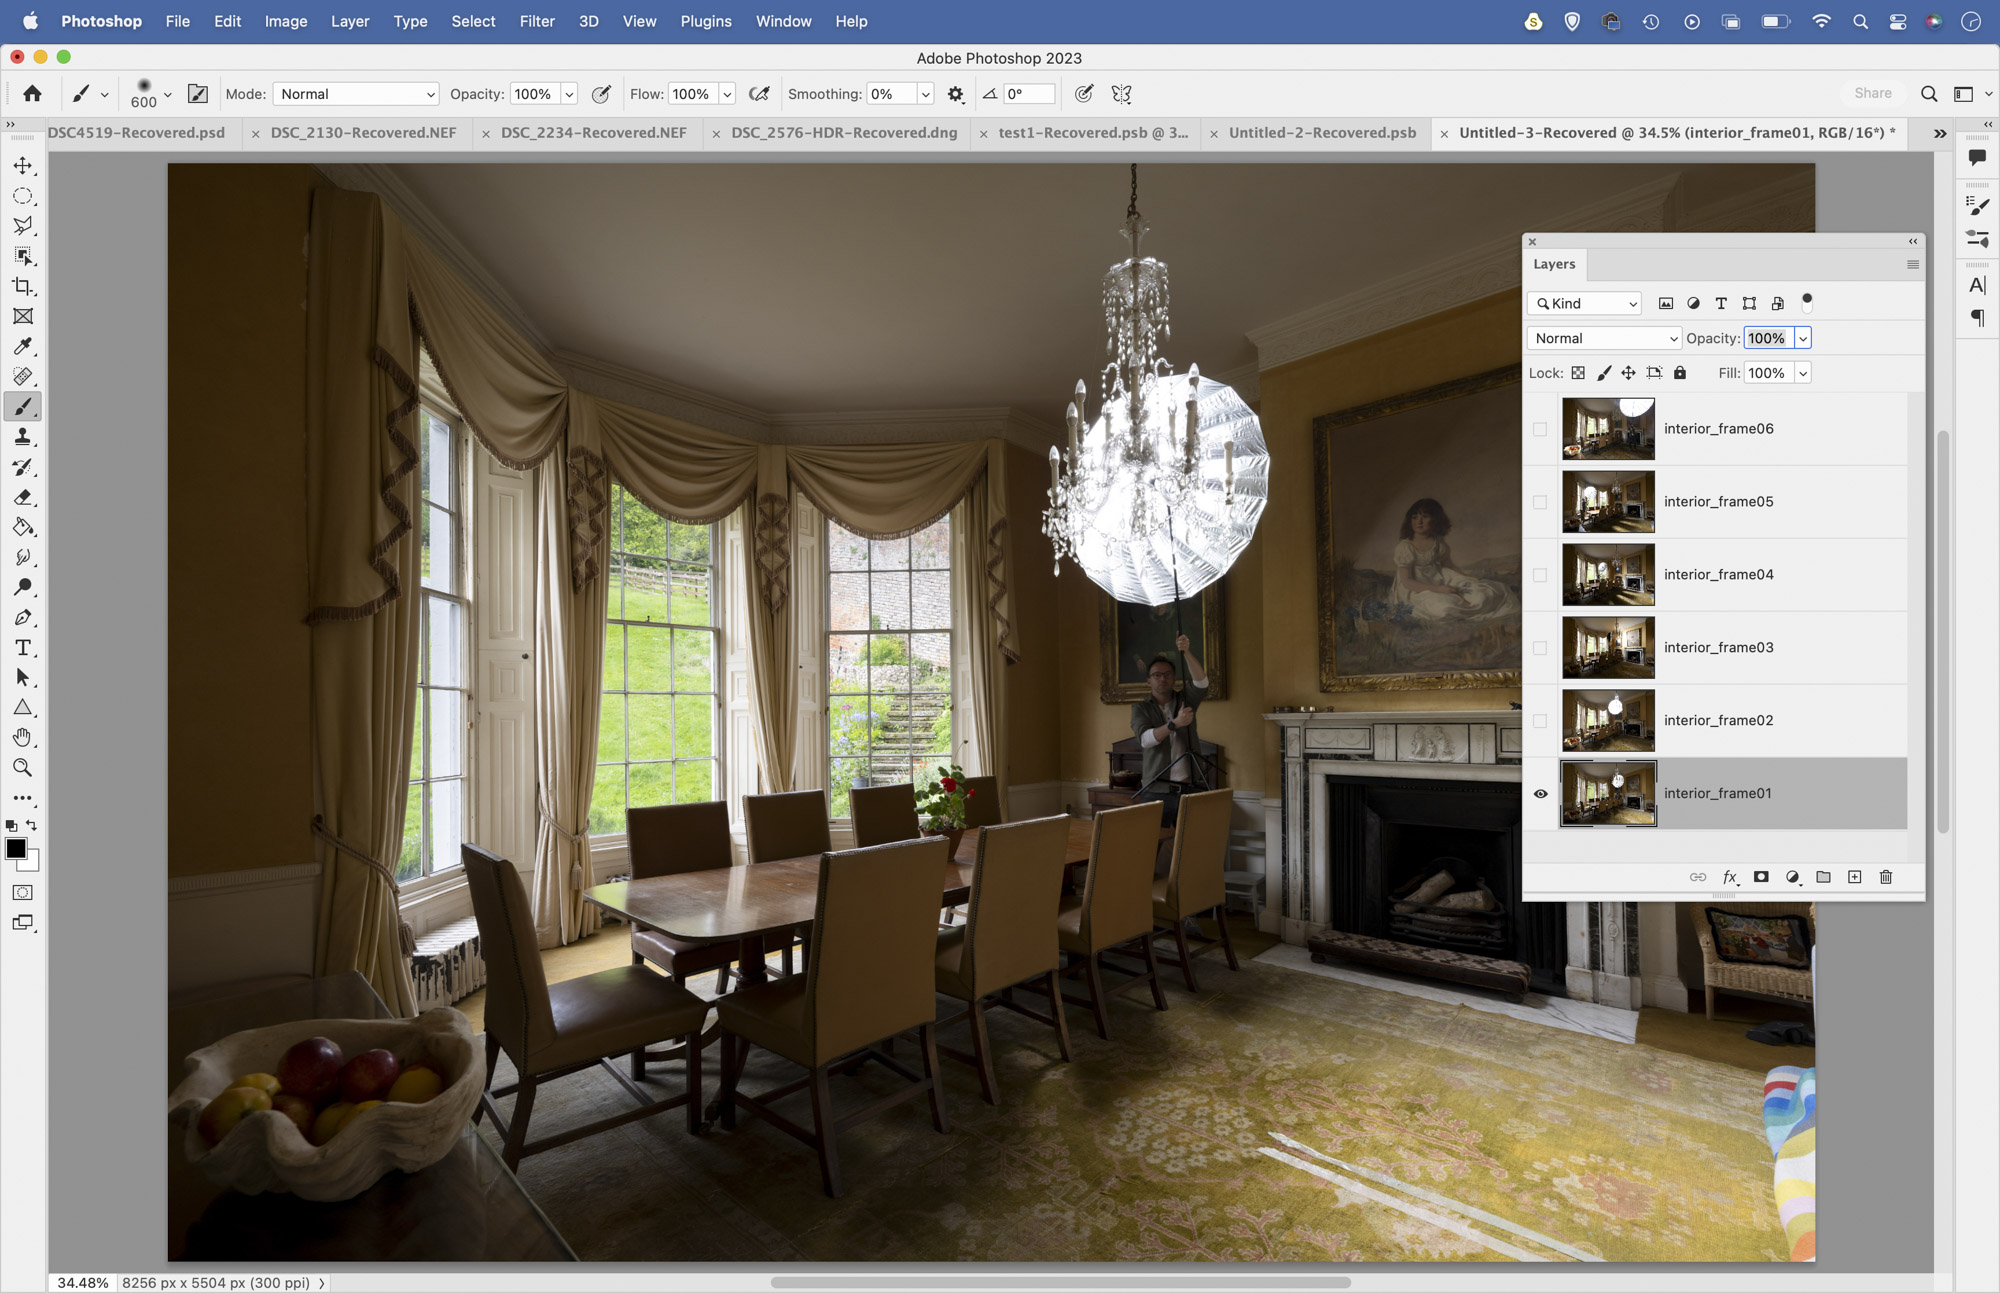
First go through your images and select those that you’d like to use, then make any initial changes in Camera Raw. Once done, highlight the images in Adobe Bridge and go to Tools > Photoshop > Load Files into Photoshop Layers. Once open, go to the Layers Panel and click the eye icons to hide all but the bottom layer.
08. Blend with masks
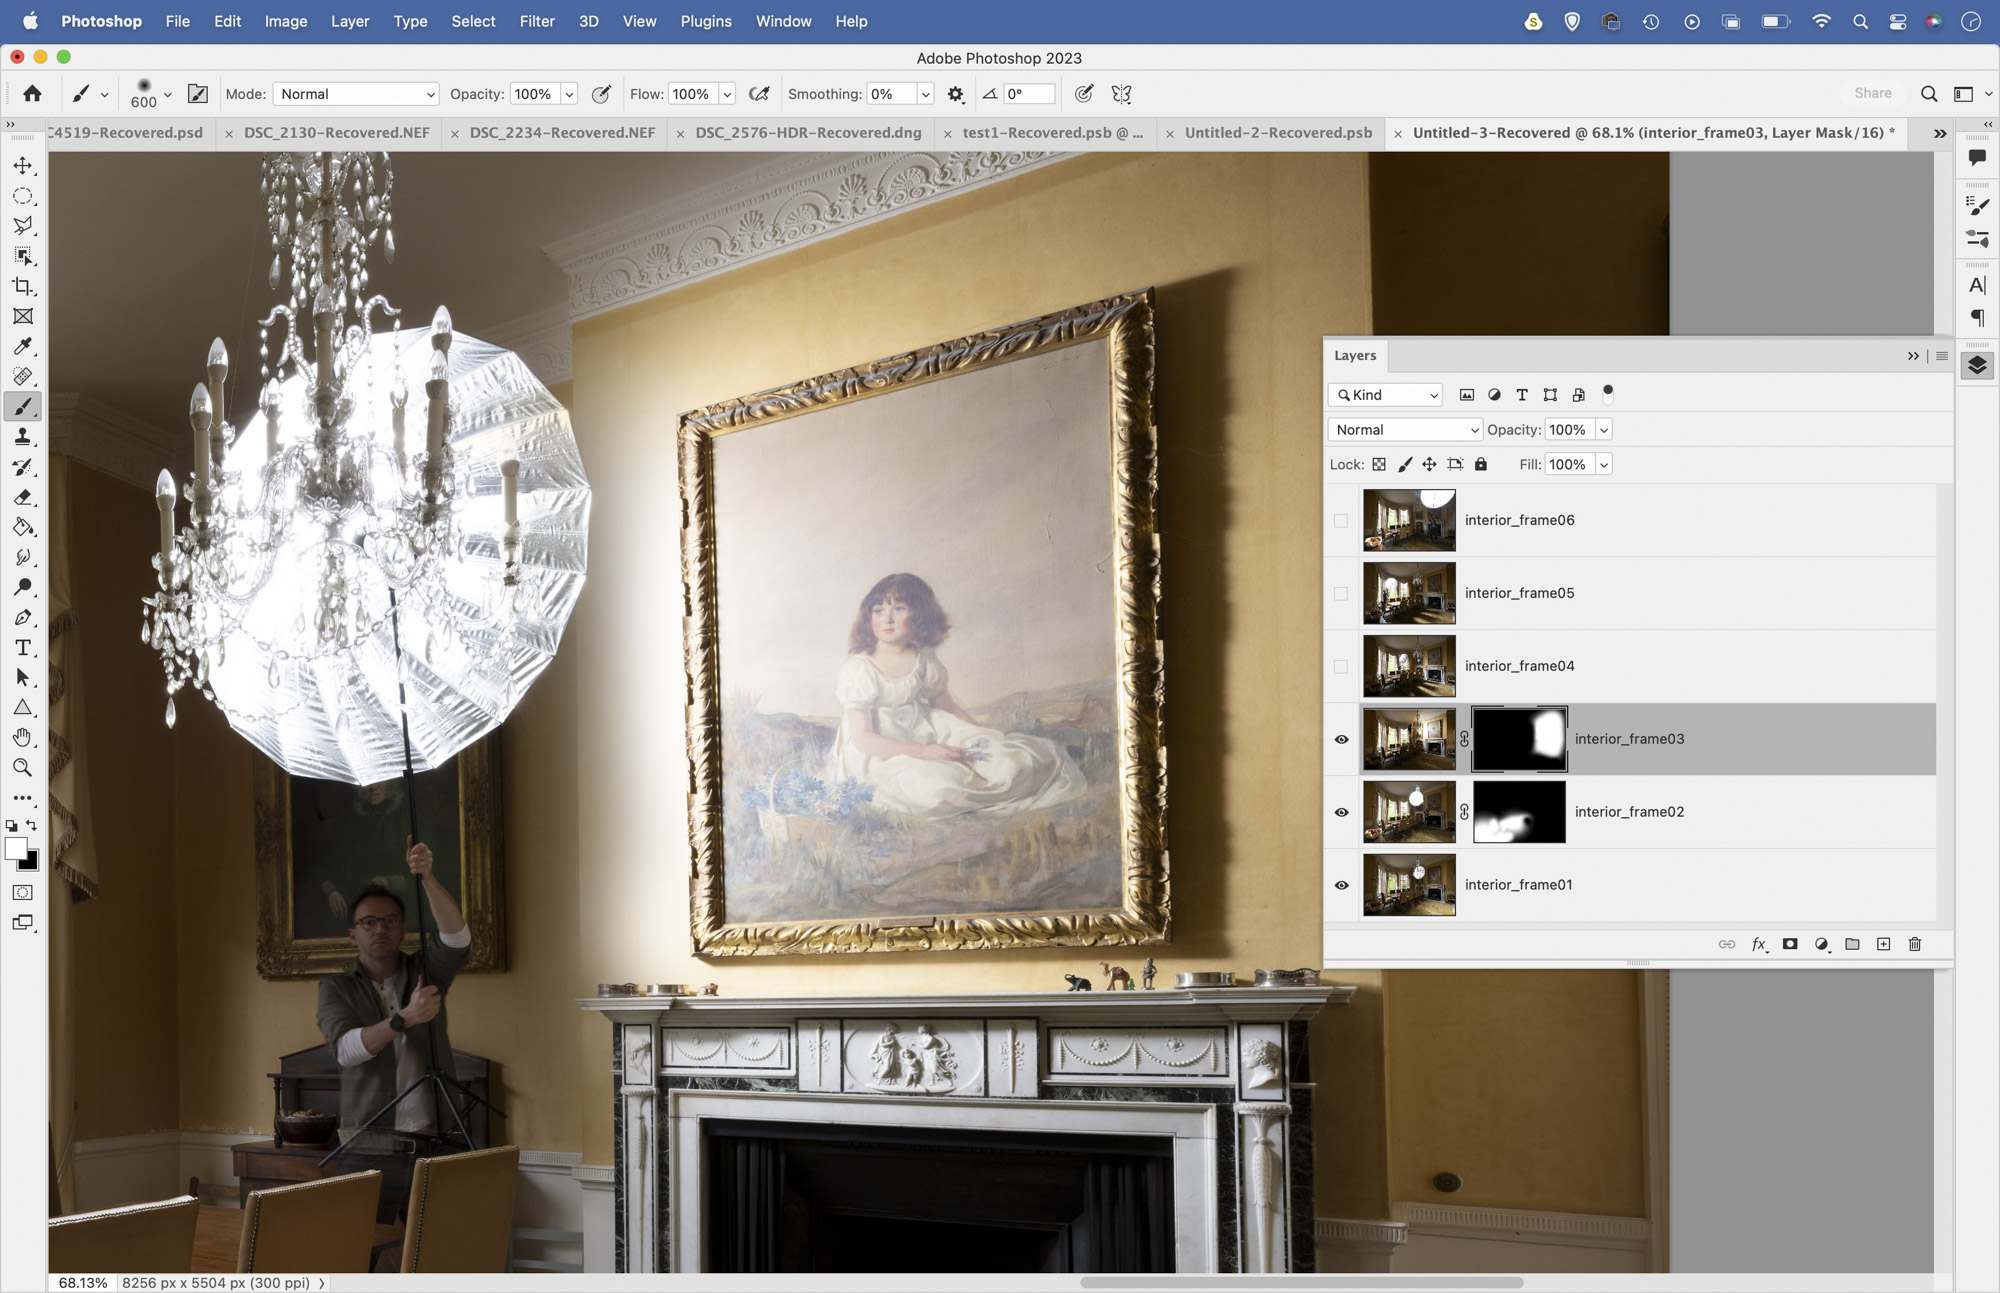
Reveal the layer above and assess which parts you want to use, then hold Alt and click the Add Layer Mask icon to add a full mask to the layer. Grab the Brush tool, set color to white, then paint to reveal the parts you want. Next do the same to the layer above, then keep at it until you’ve blended the best lighting from each layer.
09. Correct the verticals
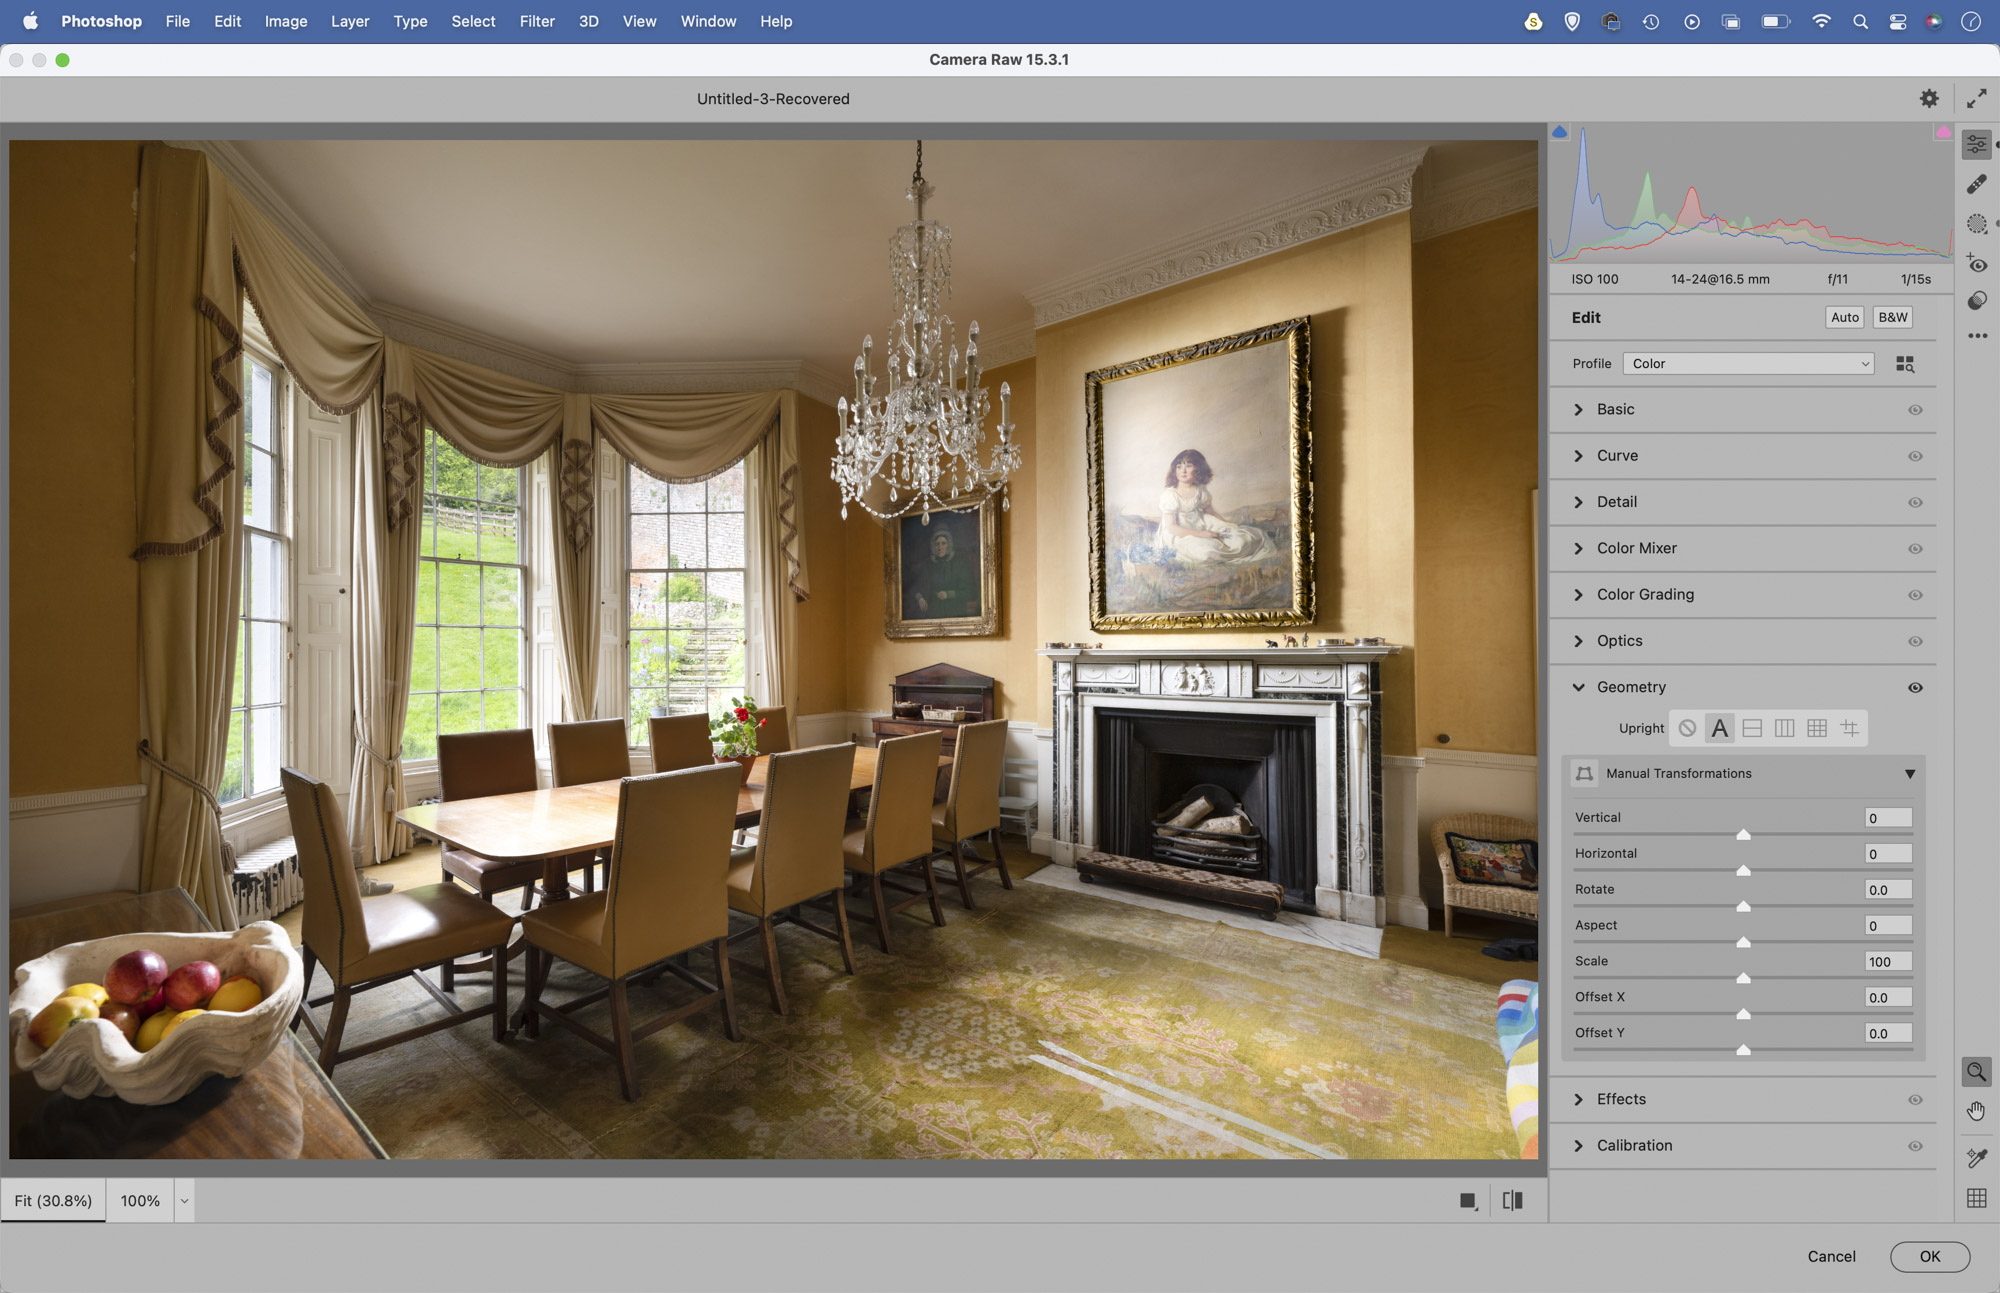
Highlight the top layer then hit Cmd/Ctrl + Shift + Alt + E to merge a copy. Go to Filter > Camera Raw Filter, then go to the Geometry panel and click the Auto button to fix the verticals (or use the Guided tool and plot your own lines). Make changes you like to the tones and colors, and create masks to enhance different areas.
10. Add a fake fire in Photoshop
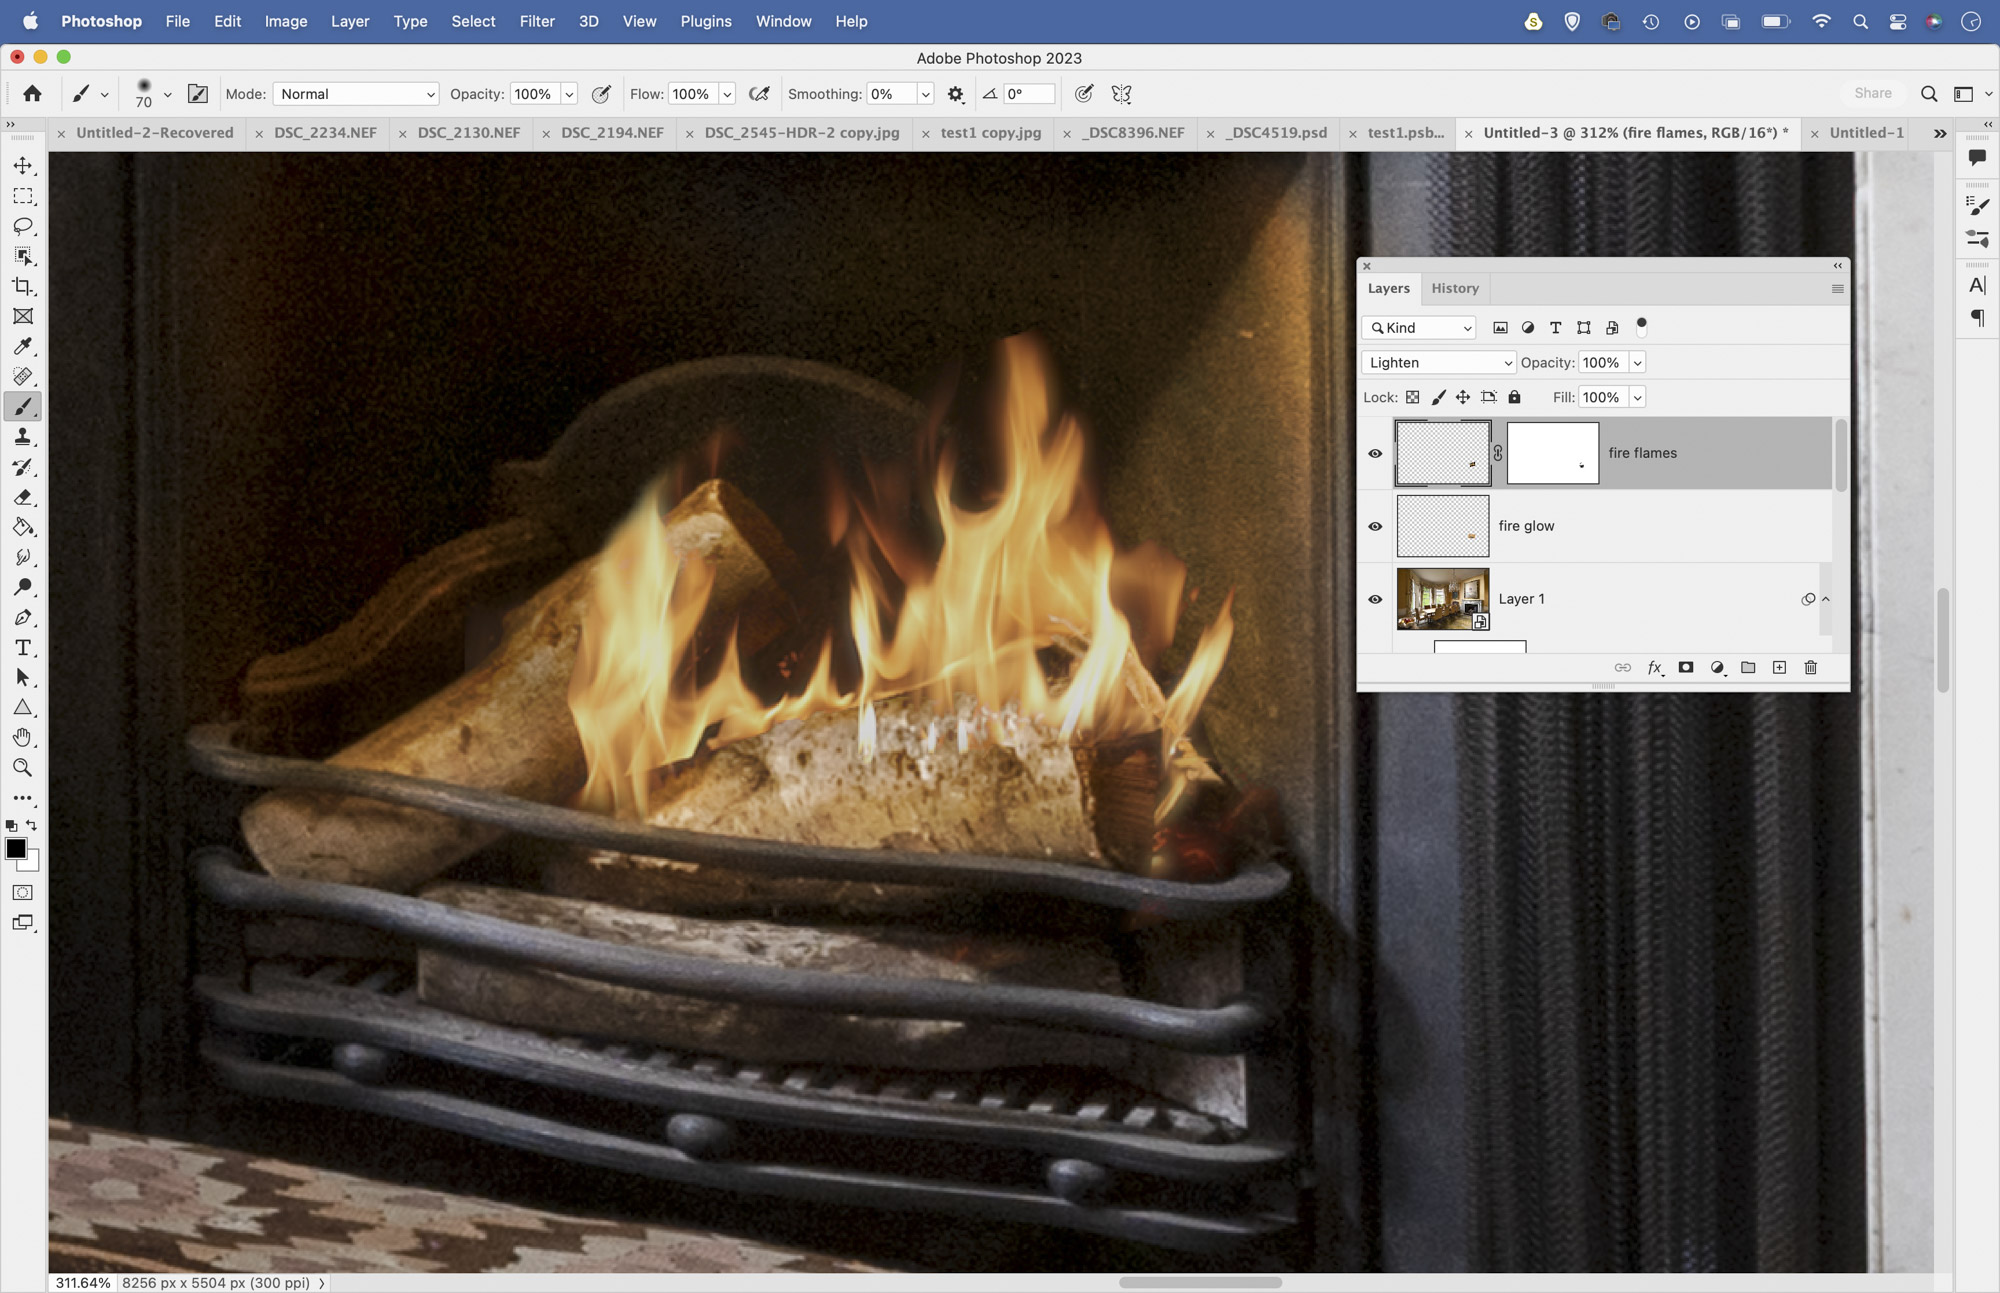
The star of our interior scene here is the ornate fireplace, but during the shoot we weren’t able to light a fire. Thankfully, we can add a few flames later on in Photoshop with relative ease. First find a suitable photo of flames (we found a free image on Pixabay.com – search for image number 1241199) then copy and paste it into your image.
Go to the Layers Panel and change the Blend Mode of the layer to Lighten, then hit Cmd/Ctrl + T to transform it and resize and position it in the fireplace. Next add a layer mask and paint black to hide any parts of the layer you don’t want to include. Finally, make a new layer, drag it below the flames layer and set the Blend Mode to Overlay. Grab the Brush tool, Alt-click to sample an orange color from the flames, then paint to add a warm glow to the logs and surrounding fireplace.
Here are some more interior photography tips. You might want to check out the best wide-angle lenses and, if flash isn't your thing, take a look at the best LED light panels.


