Whether you’re finally holding your new Steam Deck or just living vicariously through other people’s experiences, welcome back to my adventure using Valve’s handheld computer as my main PC for 30 days! Before we get our feet wet, though, it makes sense to get prepared for any mishaps just in case things go sideways. And since Valve recently released the Steam Deck recovery image, that’s a perfect place to start.
I’ll walk you through how to easily flash the Steam Deck Recovery Image to a USB thumbstick, and show you how to boot from it with your Deck.
You may never need it, especially since Valve has a handy “Factory Reset” button in the main Deck UI under “System.” But if you plan to tinker with dual-booting Windows or installing other Linux distributions, this Recovery Image USB will be an invaluable tool.
The nice thing about this is that Valve gives you a few options in addition to blasting everything away and starting fresh. I’ll cover that in more detail towards the bottom of this guide.
What’s This Steam Deck Desktop Mode Challenge?
The quick recap: I’ll use my Steam Deck as my main PC for work and gaming for 30 days, documenting my experience along the way and writing guides to help existing and future SteamOS users.
Whether it’s editing gameplay video I’ve captured, writing articles like this, chatting on Discord, obsessively browsing /r/SteamDeck, managing my Plex Media Server, or just enjoying Netflix, I’ll do it on the Deck.
And I’ll do it without using the command line, or resorting to any “power user” tweaks, because I want to reflect the experience the average user will have.
Flash The Steam Deck Recovery Image To A USB Stick

I wanted to keep this guide as simple as possible, so I’ve chosen a multiplatform tool: Balena Etcher. This app is free and ridiculously simple to use. Aside from a few aesthetic differences, the instructions below will apply across Windows, macOS and Linux.
Since this is a series about using our Steam Deck as our main PC, let’s go ahead and use our Steam Deck! You’re free to use any desktop OS; just make sure you have an 8GB USB or larger flash drive.
For my Steam Deck gang, you’ll want to grab a USB adapter or USB-C Hub like we talked about in the Day 1 article. If you missed that, here’s a link! (The bottom line is: make sure you can connect your USB stick to your Deck.)
Ready to go? Let’s go!
Initial Steps: Power On, Download The Files
- Power on your Deck and wait until it boots to the main Big Picture / Gaming Mode.
- Press and hold the Power button until a menu appears in the center of the screen. Select “Switch To Desktop.”
- If this is your first time here, welcome to Desktop Mode! Launch the Firefox browser by clicking its orange icon on the bottom panel. An alternate method is to click the Steam Deck logo at the bottom left of your screen to open the Application Launcher, then type “Firefox.”
- Download the Steam Deck Recovery Image here. Agree to the terms and click the Green download button.
- Now, browse over to https://etcher.io and click that green Download button (the site should auto-detect your OS and download a zip file).
- Open your file manager (the blue folder icon in your bottom panel) and browse to Downloads.
- Right click the “balena-etcher-electron.zip” file and choose “Extract —> Extract Archive Here.” This will unzip into an AppImage file, a self-contained executable to run the program. (You can move this anywhere in your home folder and it will still run.)
Flash The Steam Deck Recovery Image
OK, we have our recovery image and the software to flash that to a USB stick. In just a few moments, you’ll be able to boot your Steam Deck with that. Just in case you need to wipe out everything and get back to a clean slate as it shipped from the factory.
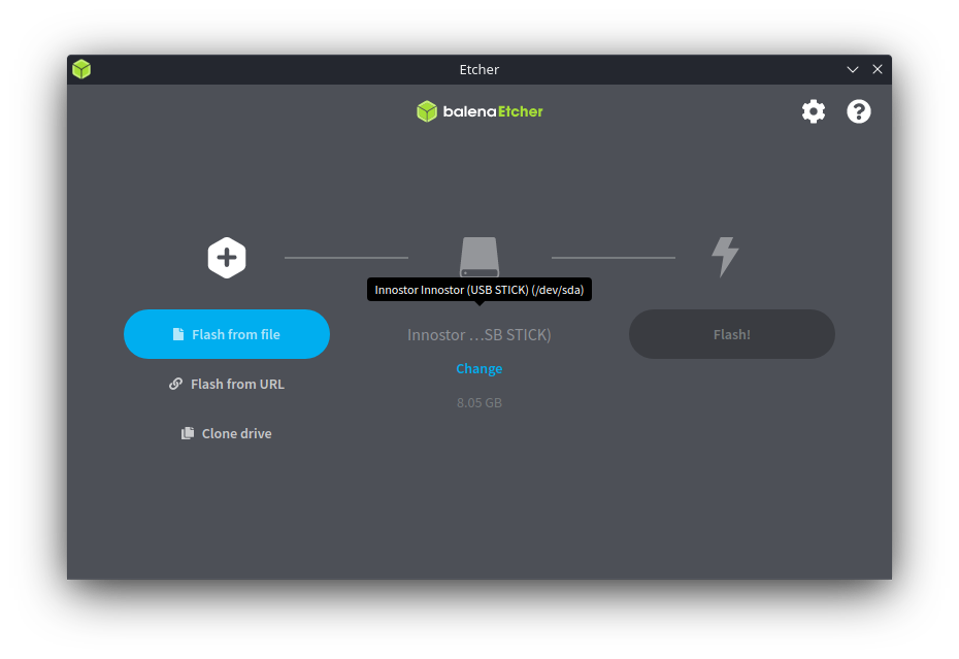
First, open the Balena Etcher AppImage file in your Downloads folder. Here’s what the software looks like:

Then you’ll choose which file you want to flash. Click the “Flash from file” button and browse to your Downloads folder (or wherever you downloaded the recovery image). It ends in “.img.bz2.” It will look similar to the highlighted file below:

If you only have one USB stick inserted into your Steam Deck hub, Etcher should auto-select it for you. But if not, click the blue “Change” button in the middle, and browse to your USB stick. That window will look like this:

Finally, just click the blue Flash button, and wait up to 15 minutes for it to complete. You’ll get a notification when it’s finished. Pretty easy, right? Congrats, you can tuck away your USB stick somewhere safe and walk away now. The rest of the guide will be here for you if you never need it.
Booting Into The Recovery Image
If for some reason you’re unable to launch SteamOS normally, or you just want to hit the big reset button and start fresh, Valve has made this very straightforward. Here are the steps for getting into the Steam Deck’s Boot Manager and loading your recovery image.
With your Deck powered off, hold the “Volume -” (Volume Down) button and tap the Power button. Once you hear the chime, release the “Volume -” button. Within a couple seconds, you’ll land on the Boot Manager.

Use the D-pad or your connected keyboard/mouse to arrow down to “EFI USB Device” and select it. This boots into the recovery image. Be patient, as it can take a couple minutes to load, and the screen will just be black.

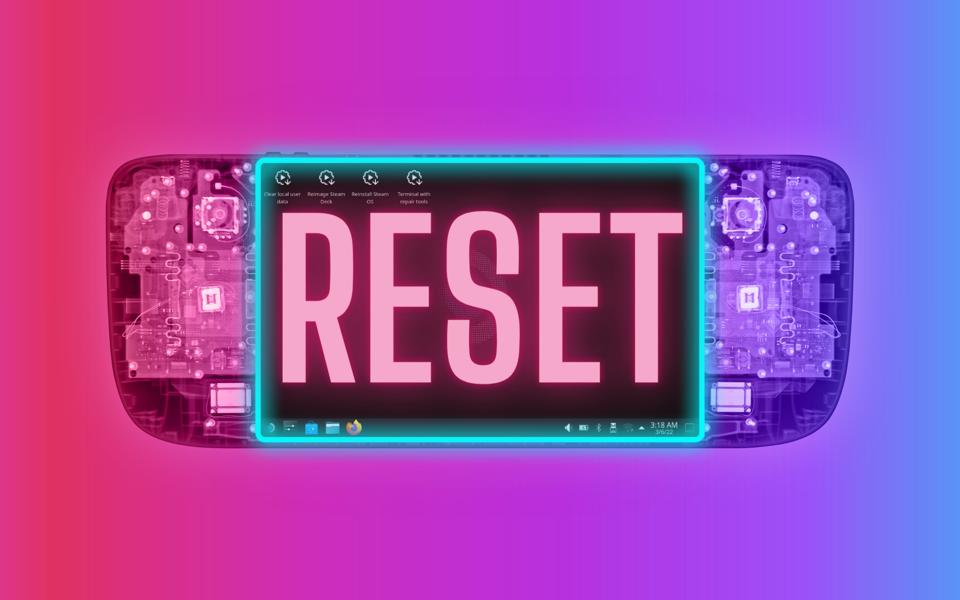
Looks familiar, right? This is essentially a “live” version of the SteamOS desktop. If needed, you could connect up peripherals via Bluetooth, link up to your WiFi network, and get some work done. But let’s just focus on the 3 main options here.
- Re-image Steam Deck: This is a full factory reset. All your files, games and settings will be deleted, replaced with stock SteamOS as shipped from the factory.
- Reinstall Steam OS: This will reinstall SteamOS on the Steam Deck, while attempting to preserve your games and personal content. I don’t love how Valve uses the word “attempting,” though! Back up your important data to be safe.
- Clear local user data: This reformats the “home” partitions on your Steam Deck (the writable section of the drive with your personal data). It removes all downloaded games and personal data, but does not reinstall SteamOS.
In my opinion, the cleanest and most foolproof method is the one to re-image your Steam Deck, especially if you find yourself in a situation where you can’t boot into SteamOS at all. But your mileage may vary! It’s smart to have backups of all your data, and you can count on a guide for that as well.
Ultimately, let’s hope you never even need this guide. But it felt like a logical first step before we dive in and start seriously start using this system as our main PC.
This Series Is For You. Here’s How To Contribute.
This will be an evolving series, and I’ll do my best to tackle as many of your suggestions as possible. If you have ideas I should test out, software or gaming scenarios you’re curious about, or any other questions you crave answers to, please reach out to me directly on Twitter (my DMs are open).
To stay updated on new articles in this series, click the blue “Follow” button at the top of this article.


