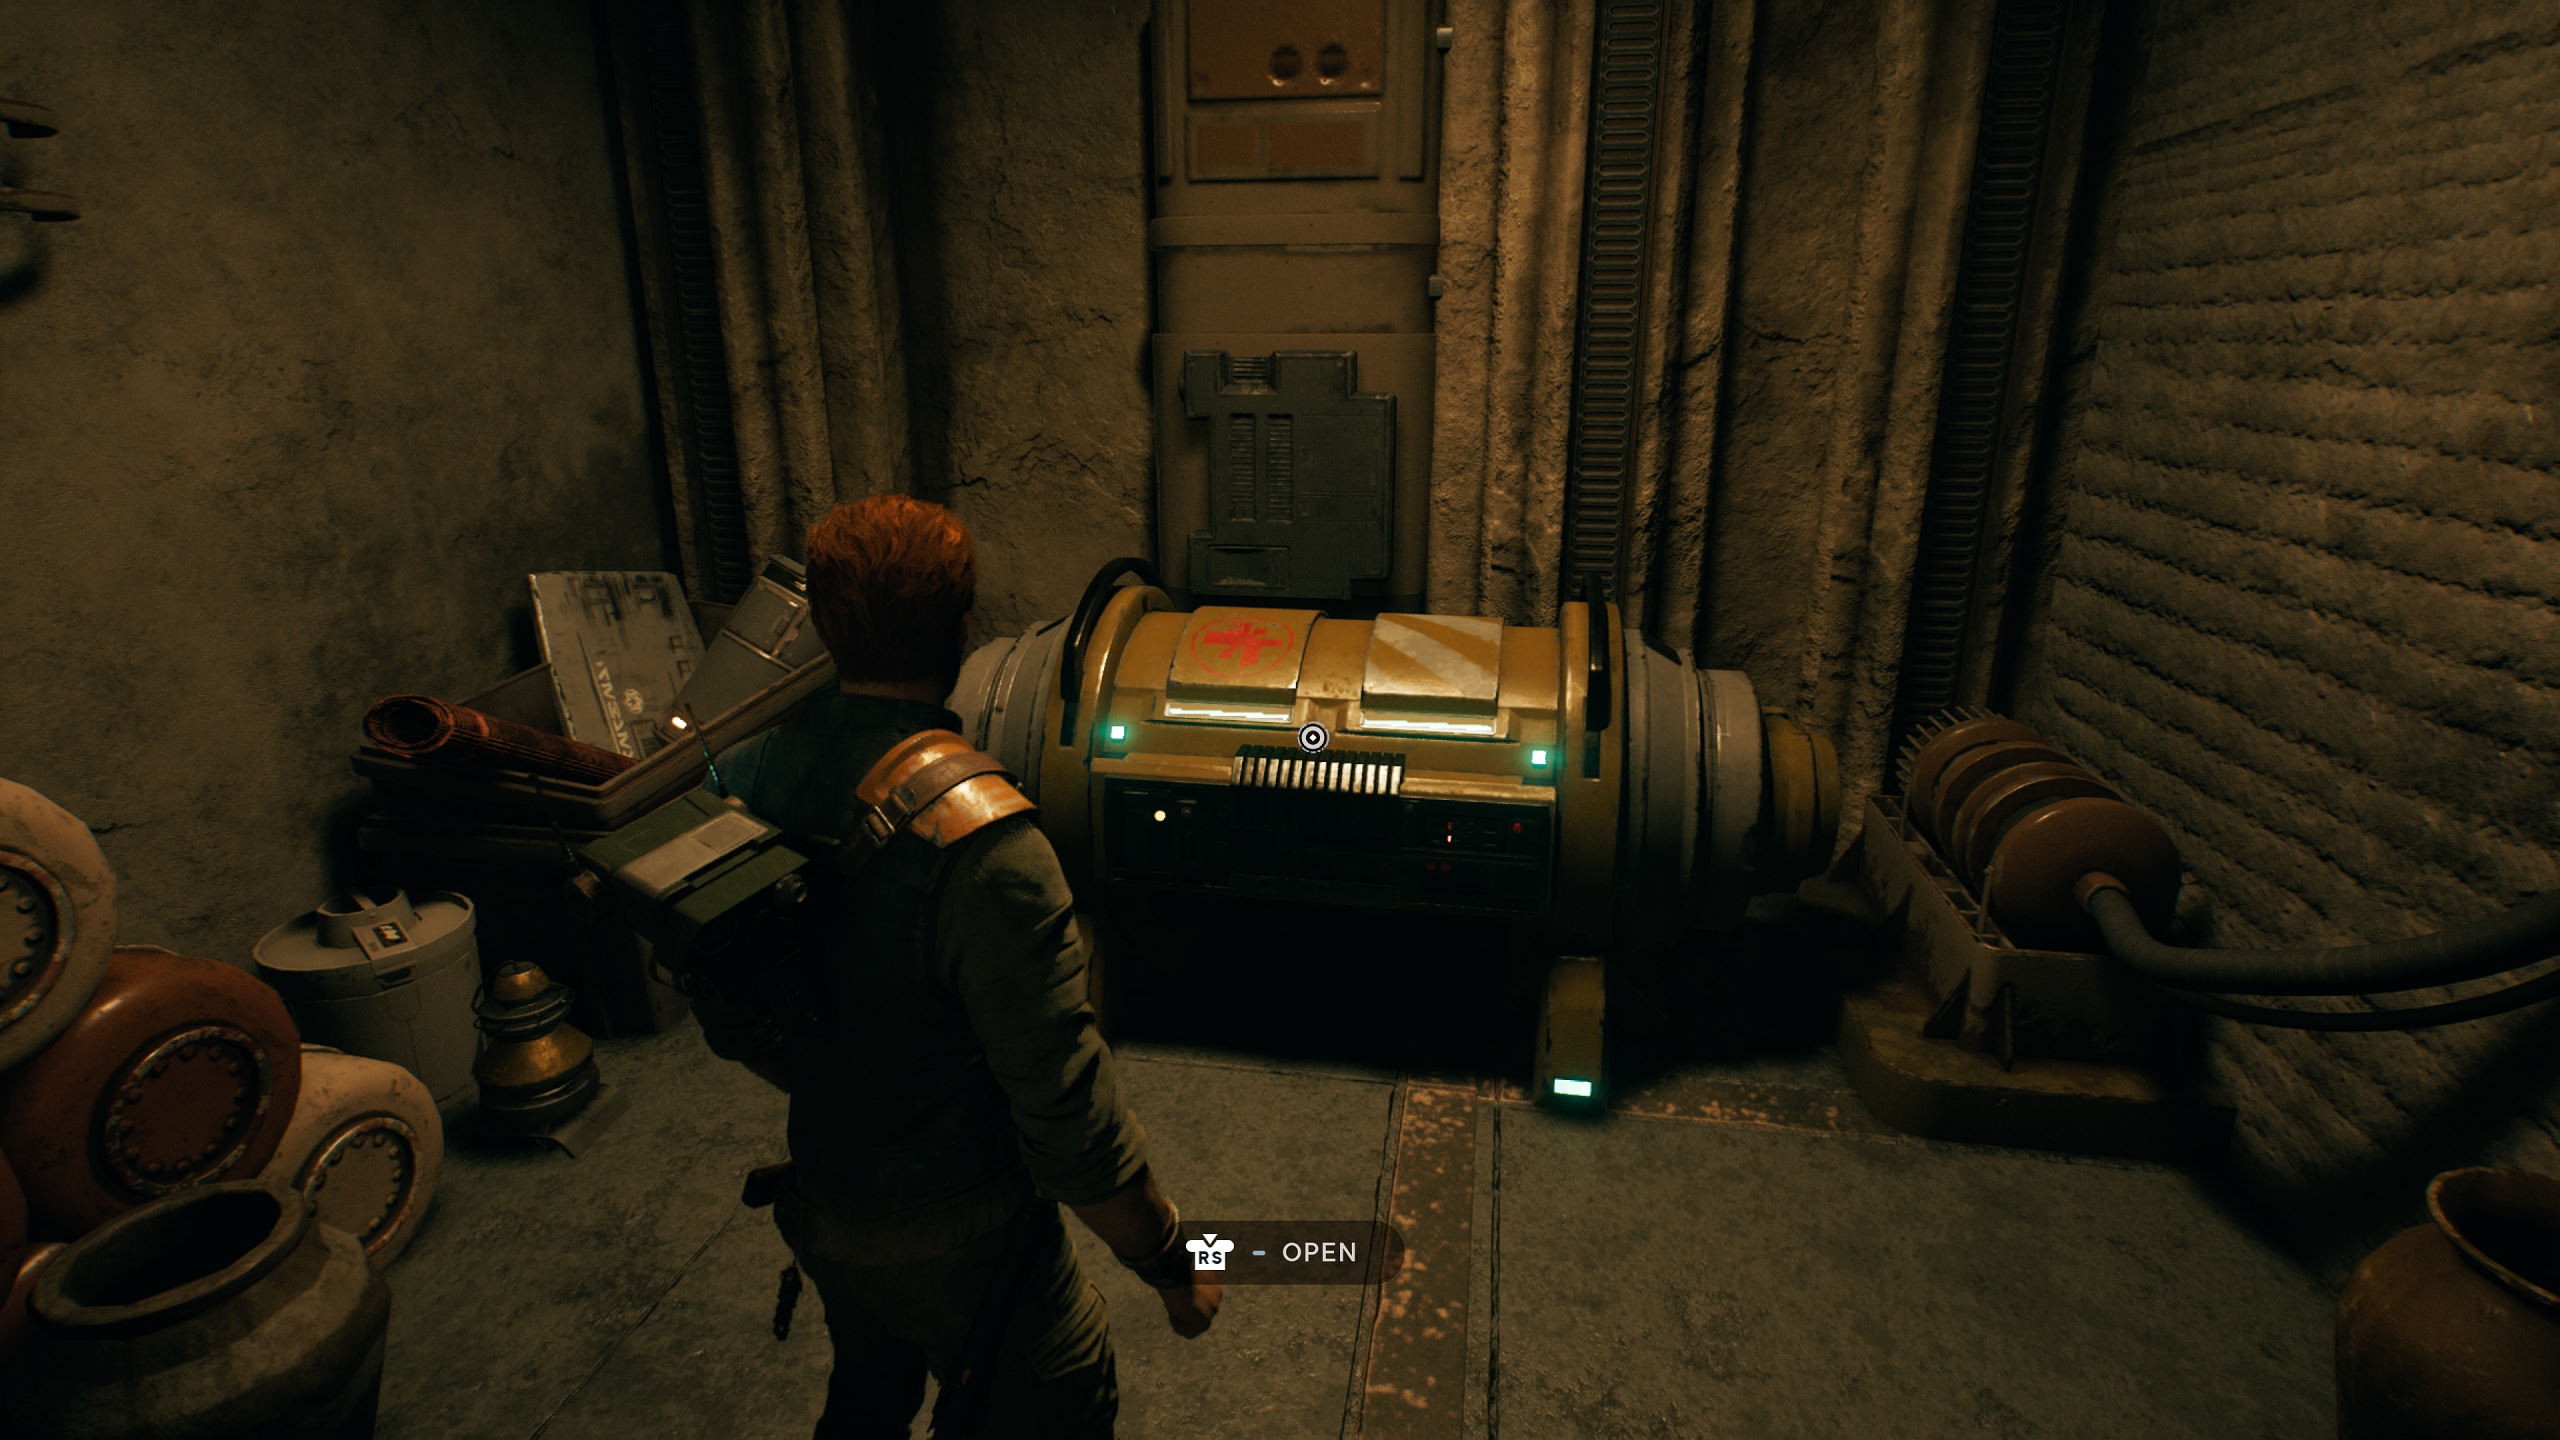
Want to get an edge over your enemies, with or without a lightsaber?
Star Wars Jedi: Survivor is action adventure game, and while there's many different moves and abilities that can be used to deal heavy damage to enemies, some of those enemies are more than happy to wallop you in return. This can mean dying in only a couple of hits, especially if you're playing on higher difficulties like Jedi Grandmaster. That's where Stims come in.
Stims can be used to heal Cal up, and while you start with a couple of Stims, you'll have to find more hidden throughout the galaxy. They're a pretty rare treasure, but because you always gain your Stims back whenever you rest at a meditation point, this means even finding just one Stim can be the difference between getting through a difficult battle and failure.
Now, because sections of Star Wars Jedi: Survivor require different abilities to access, we've put these Stims in roughly the order you'll encounter them instead of sorting them by planet. You won't be completing going through one planet before starting the next, but instead, travelling back and forth from time to time. If we find any more that we previously missed, we'll be sure to update this list.
Stim #1 - Coruscant: Undercity Meats
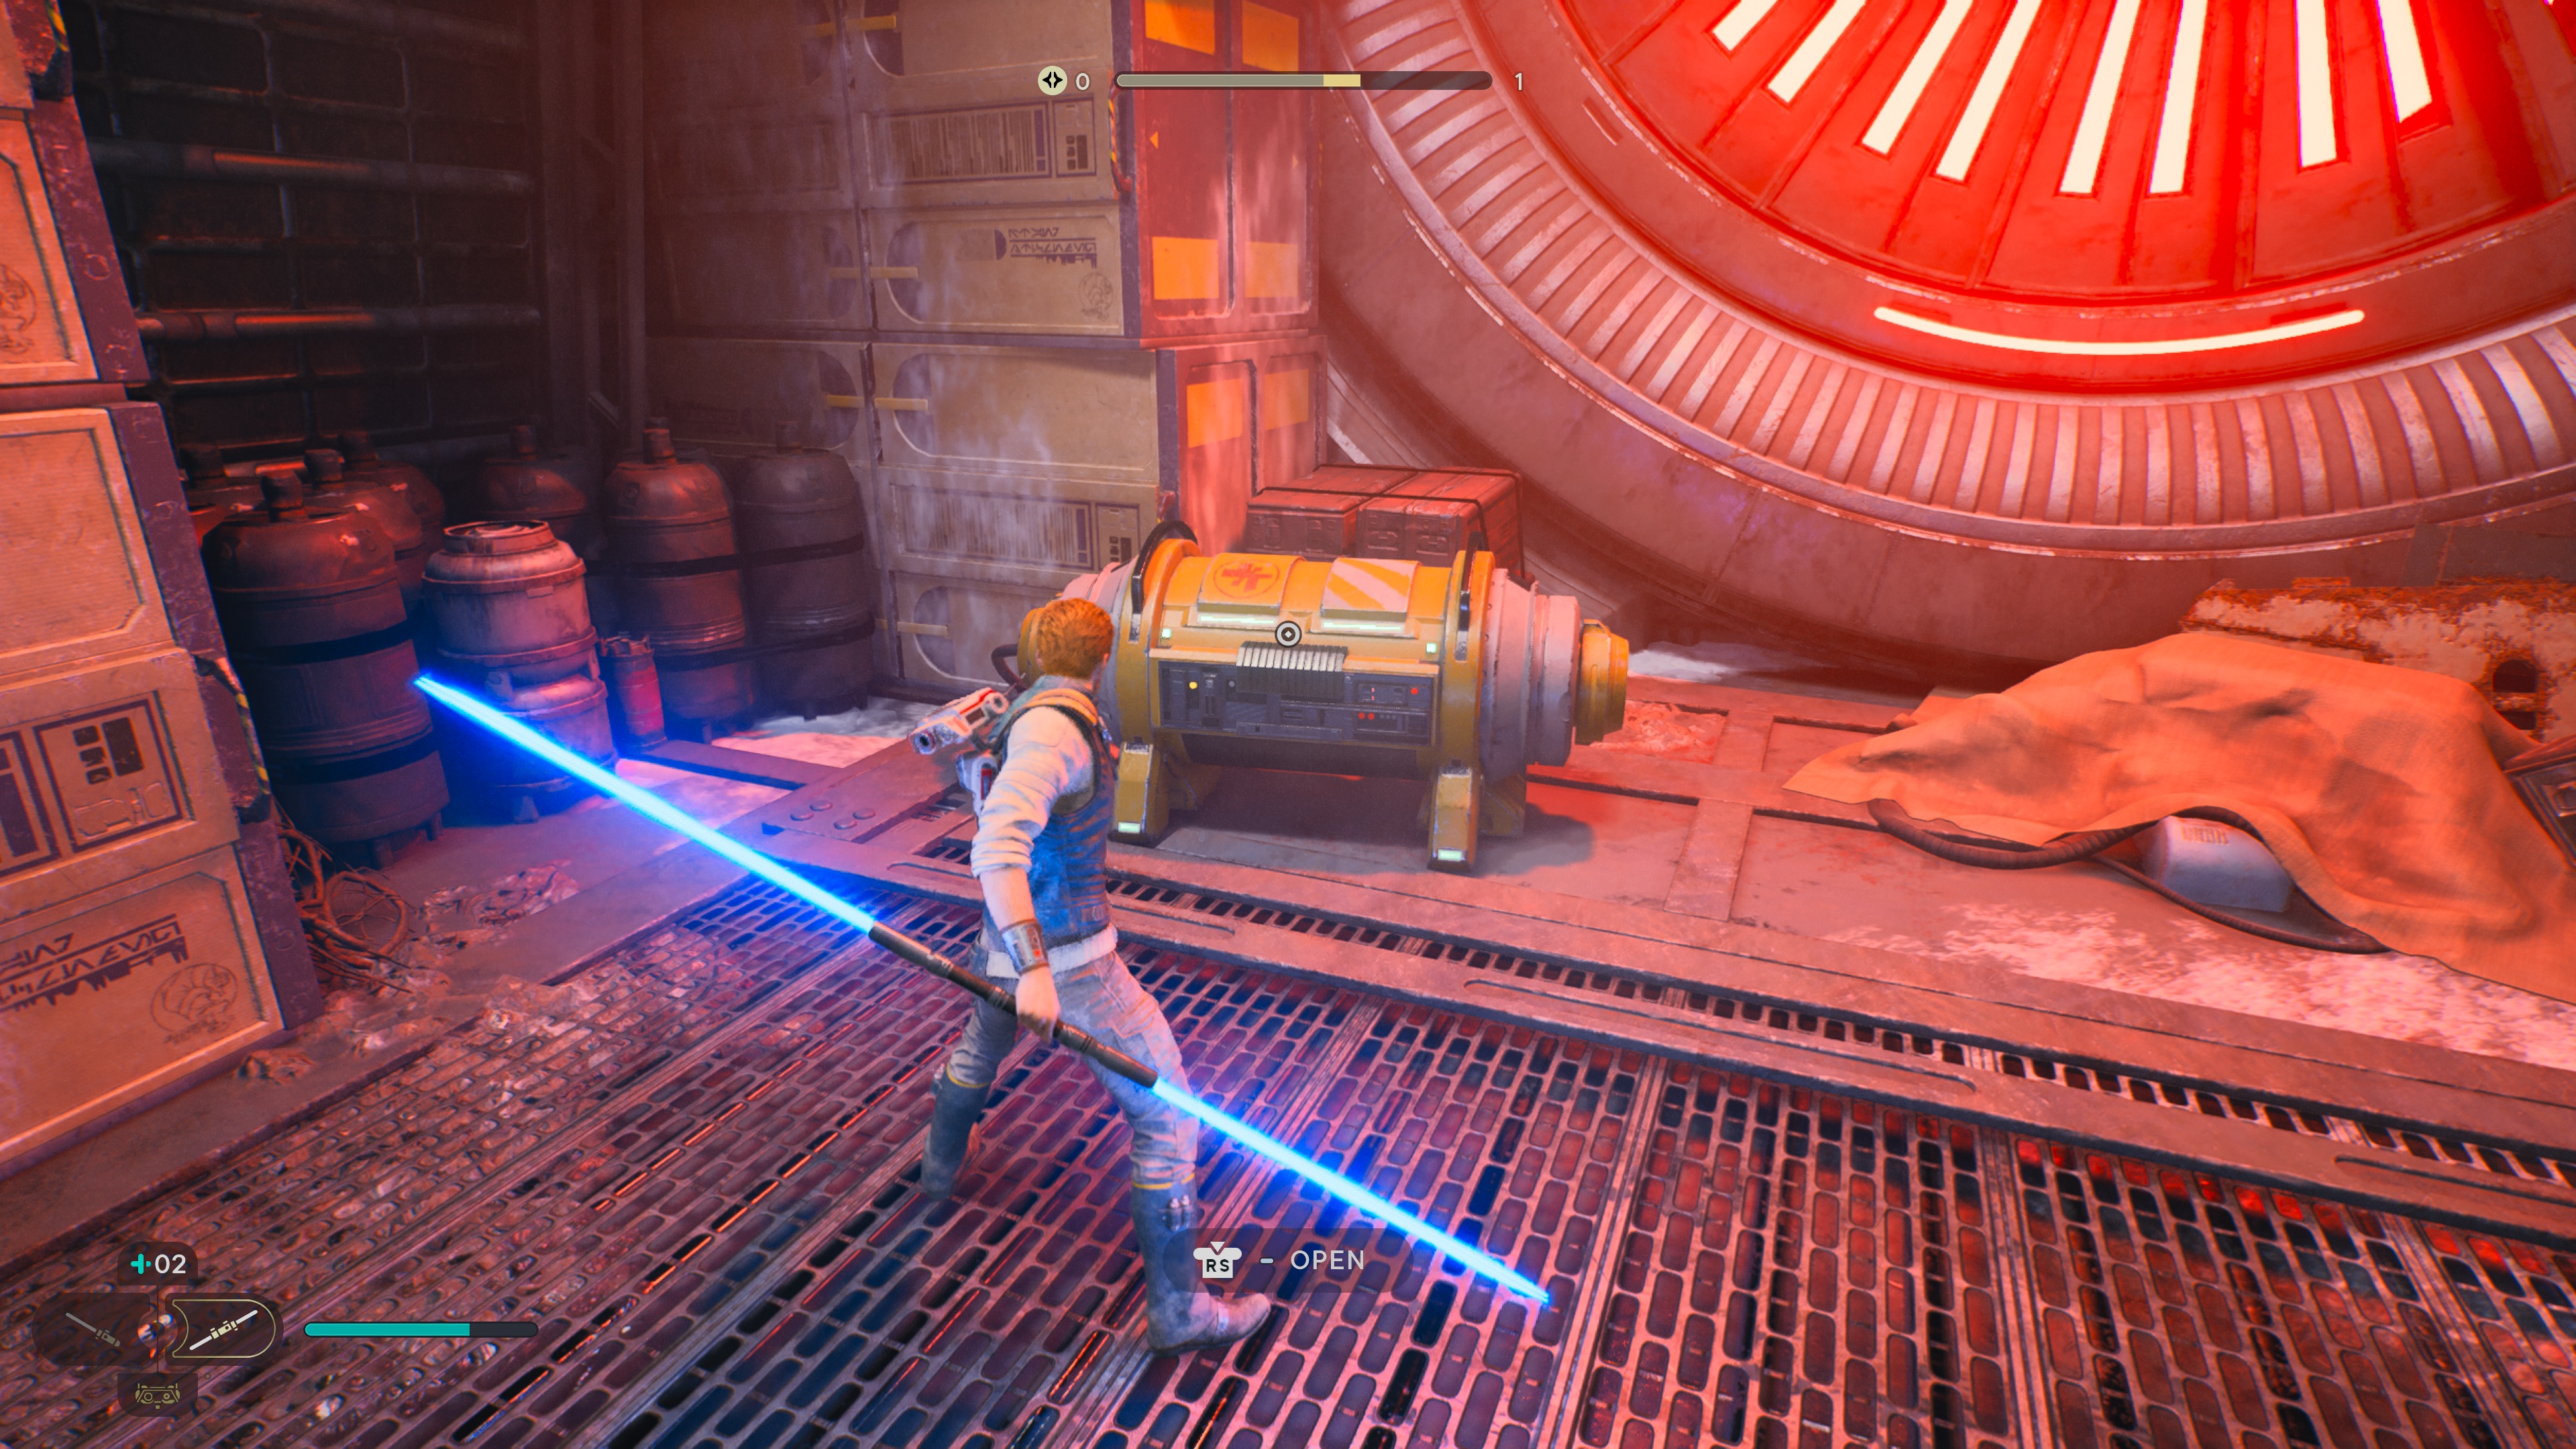
This is the first Stim you should be able to find in your journey. Located on Coruscant, it can be found after getting to the first meditation point after Cal slides down into the meat processing facilities of the lower levels. Just head up the wall jump area next to the meditation point and destroy the droid guarding the Stim. Be careful though: If you miss it, it's going to be a long time before you unlock the ability to return to Coruscant and grab it.
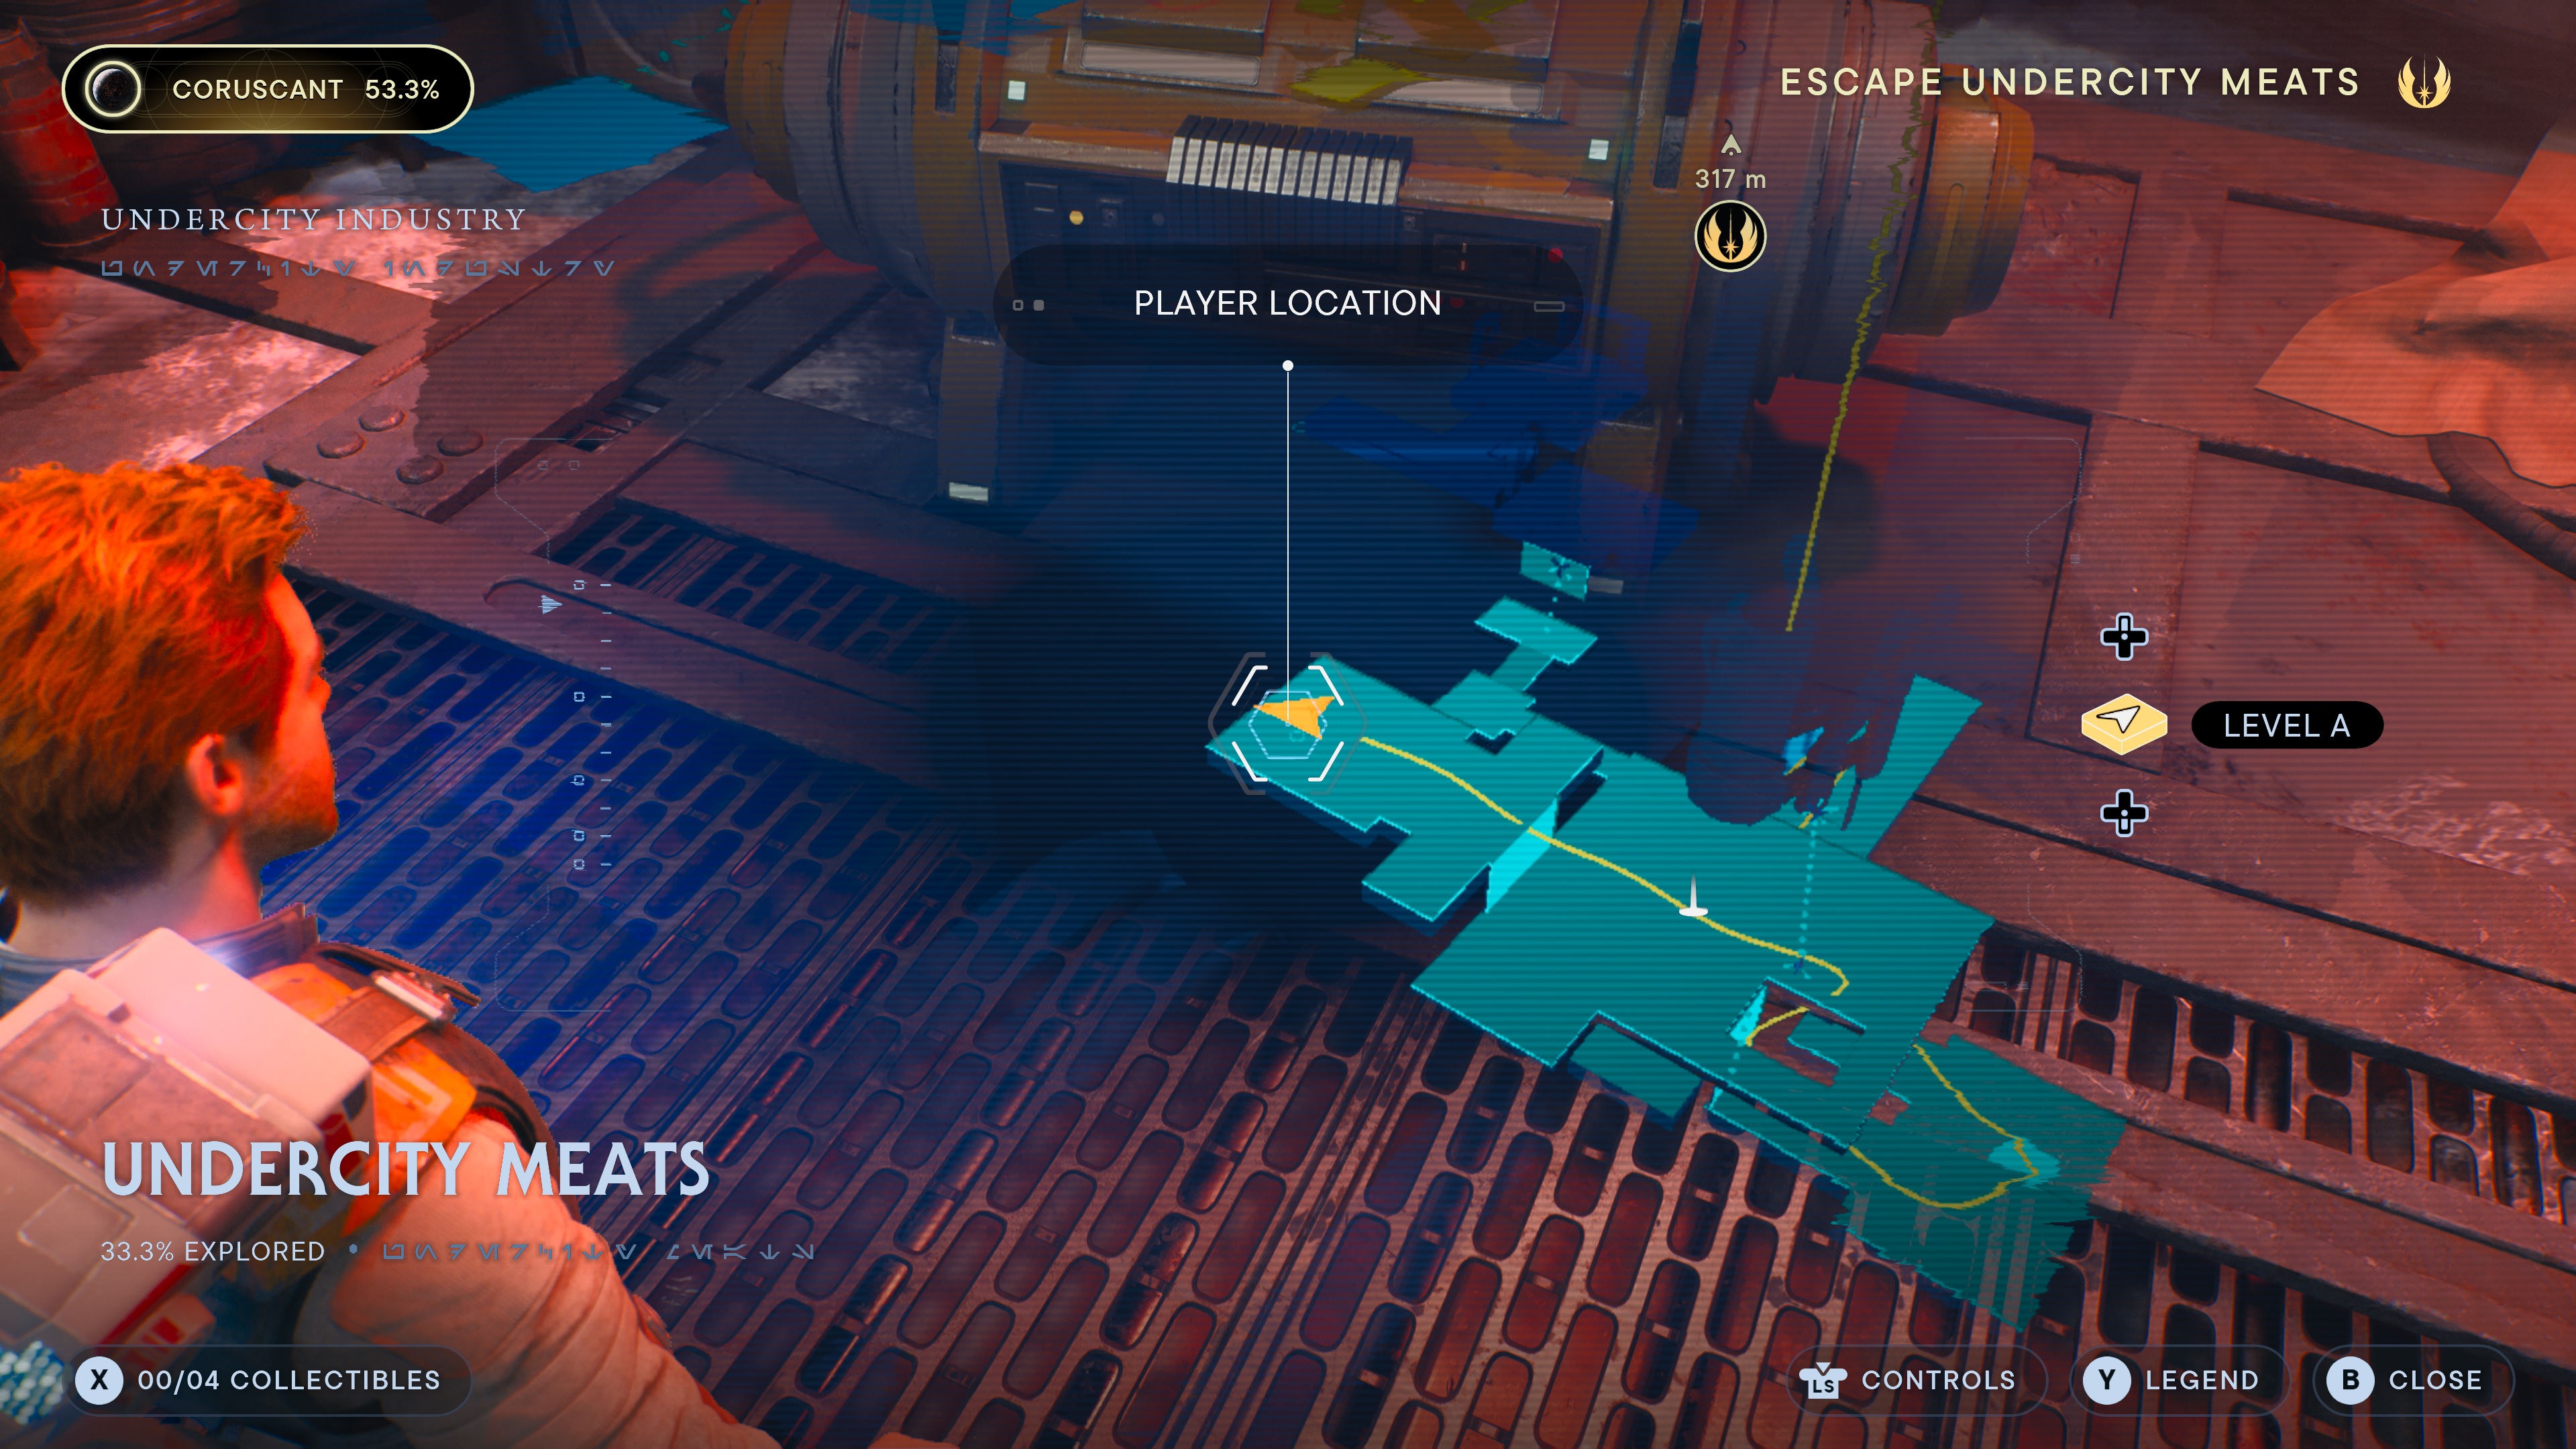
Stim #2 - Koboh: Basalt Forest
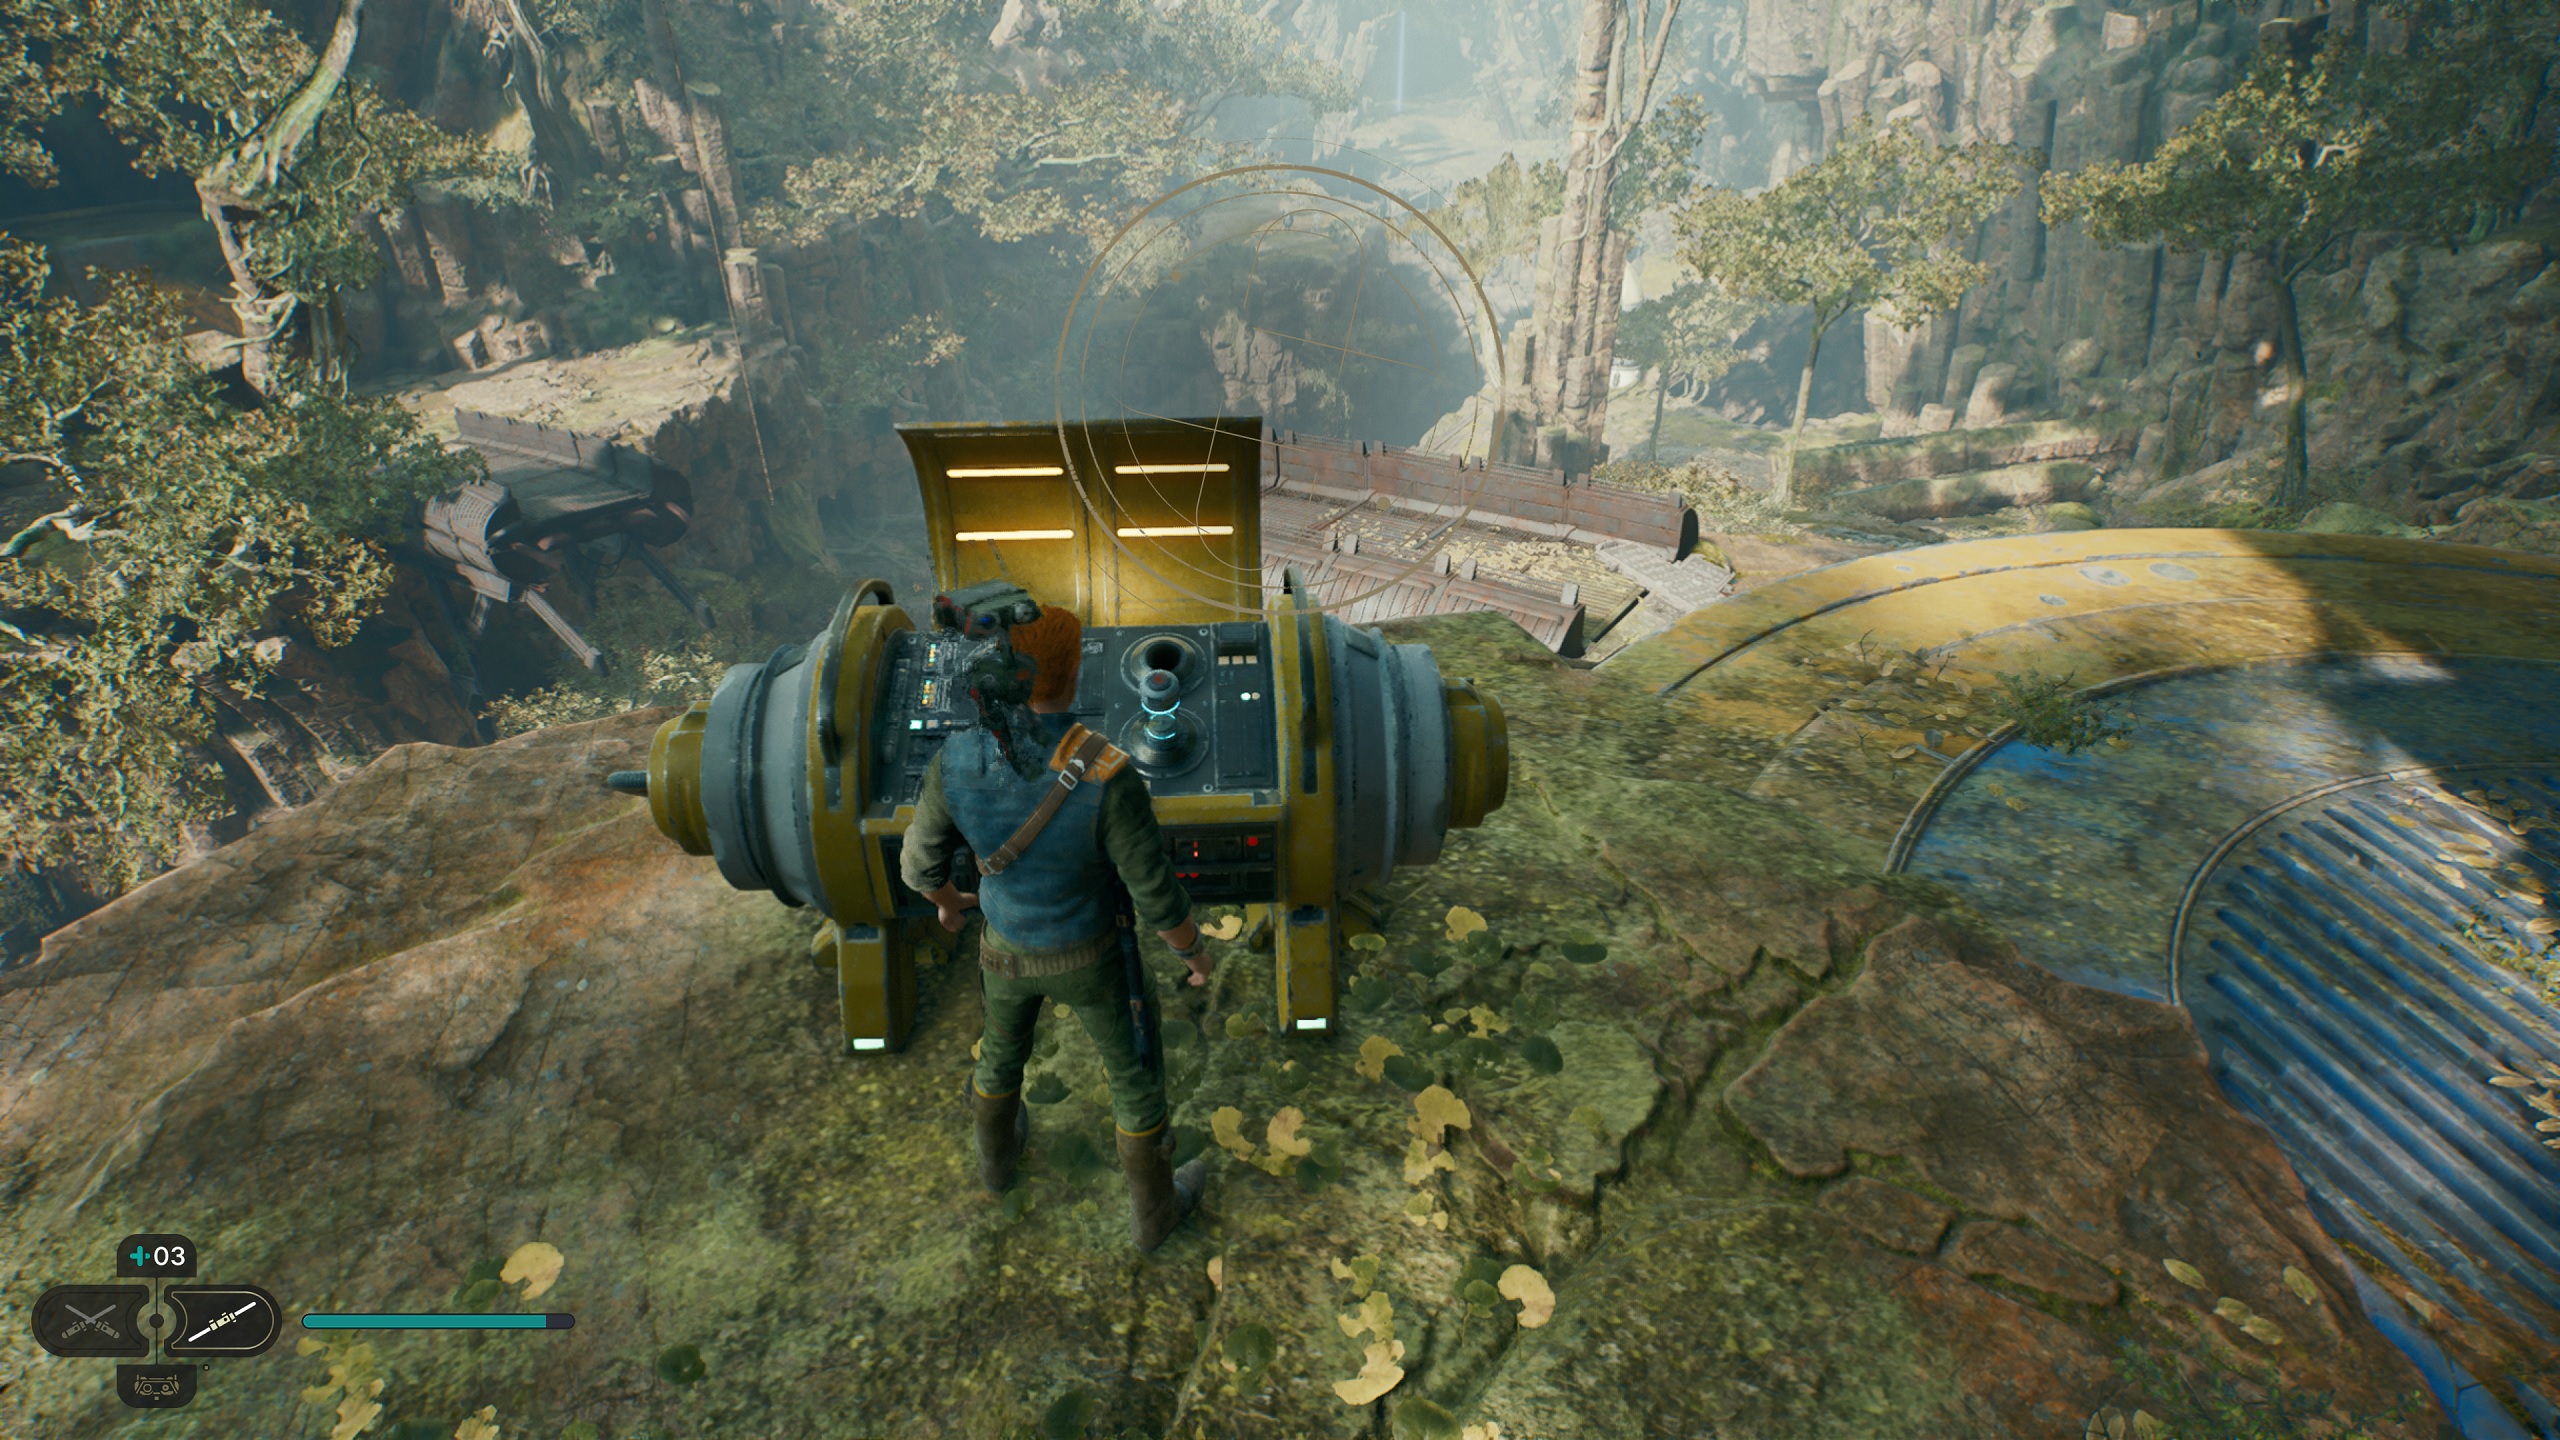
This Stim is another that you'll find early in the game. You'll get it not too far into exploring the planet Koboh, and you can find it in the Basalt Forest on a ridge overlooking a ruined bridge.
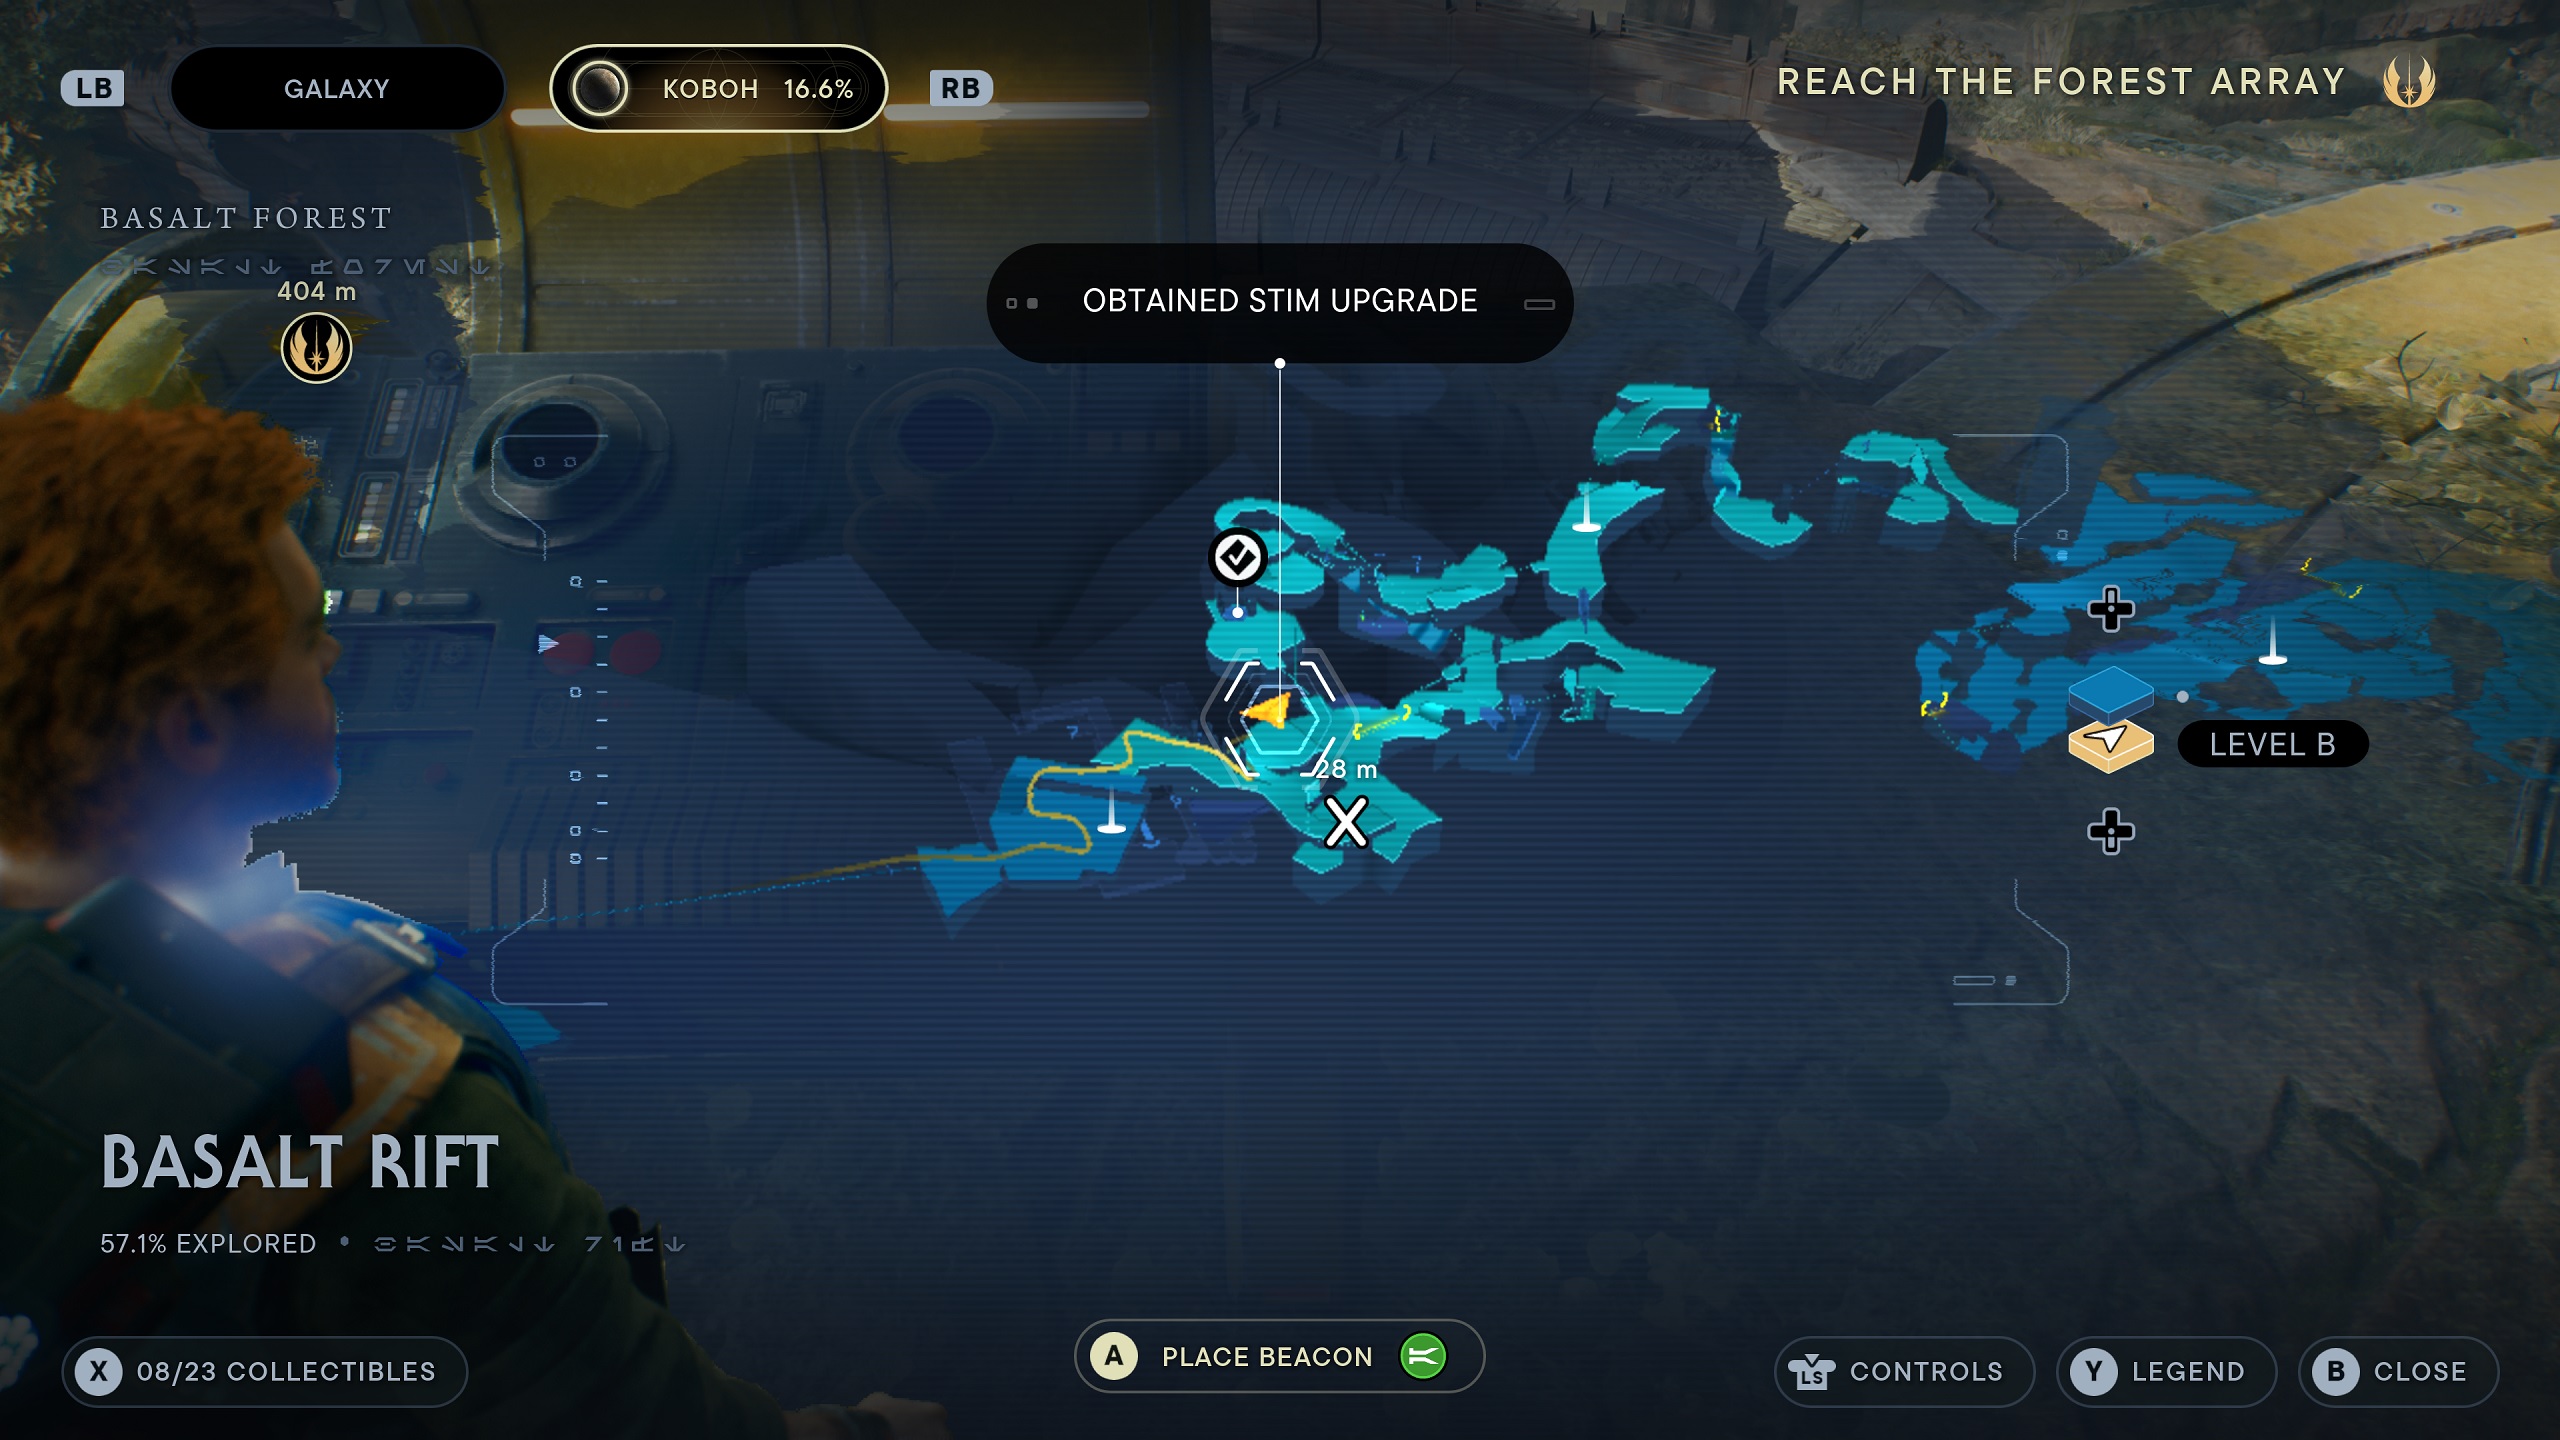
Stim #3 - Jedha: Sheltered Hollow
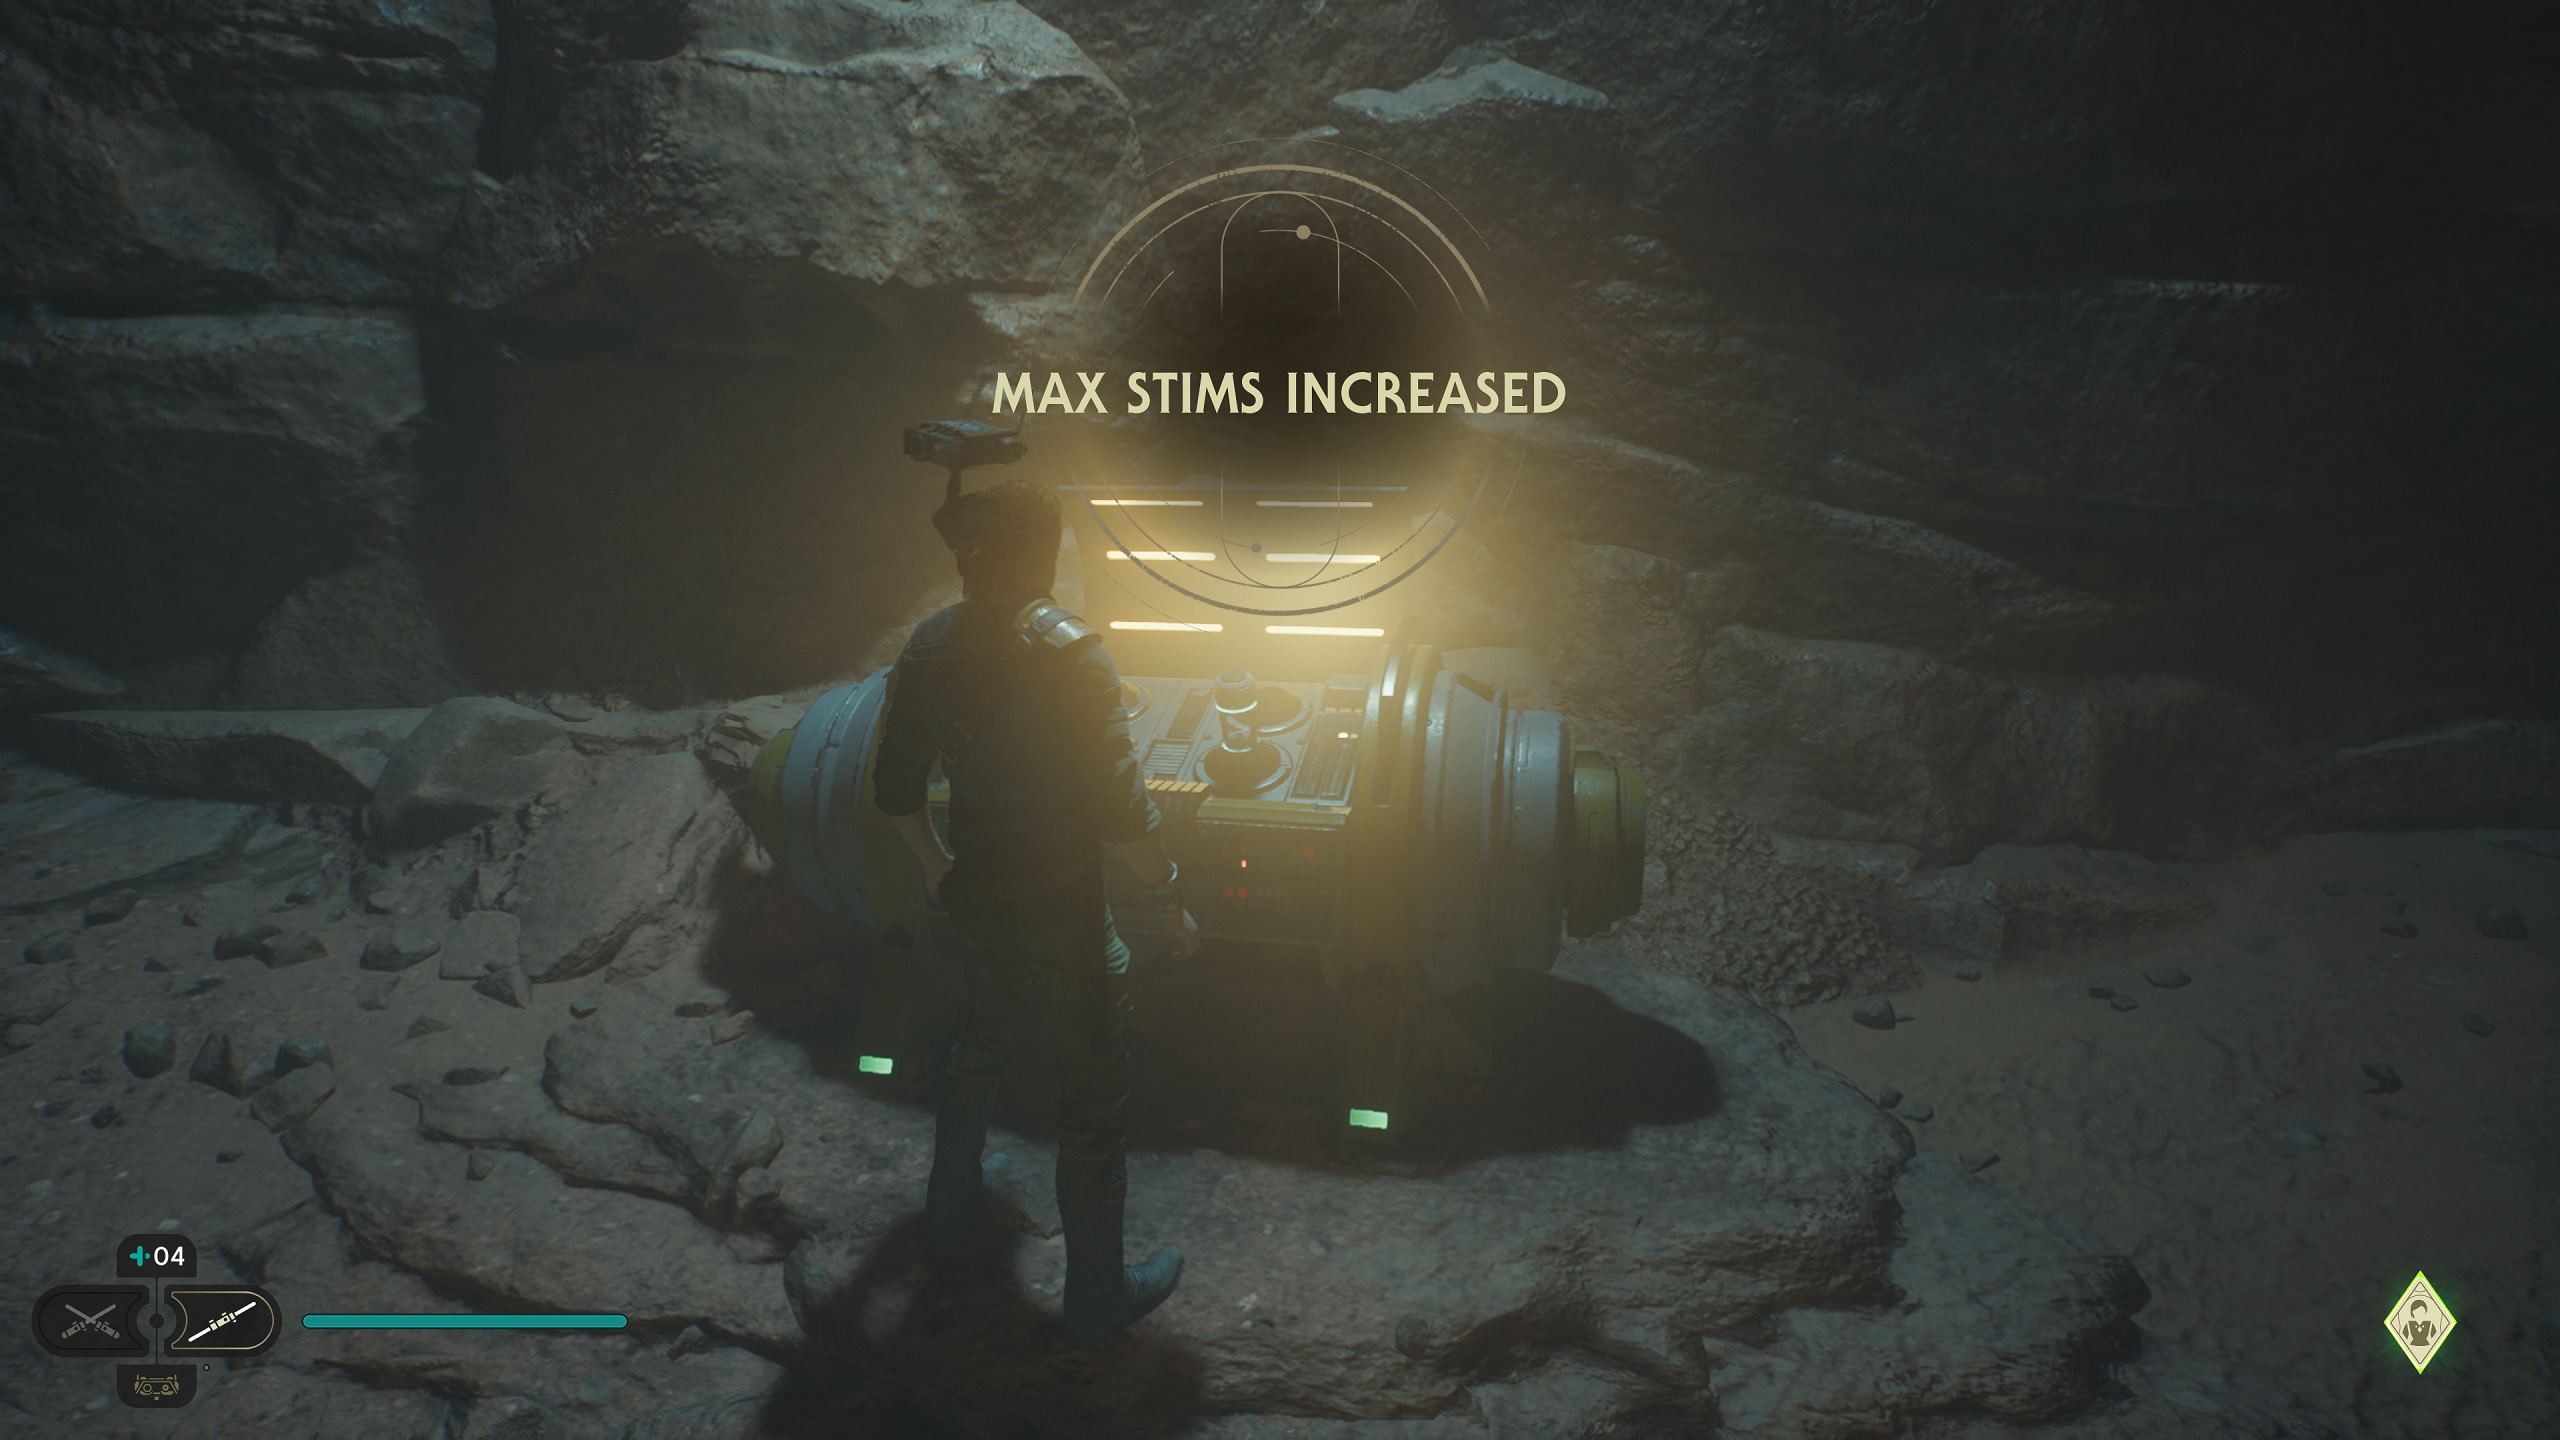
Another Stim that can be found in the earlier hours of the game, you'll be able to acquire this shortly after arriving on Jedha and getting to the Sheltered Hollow.
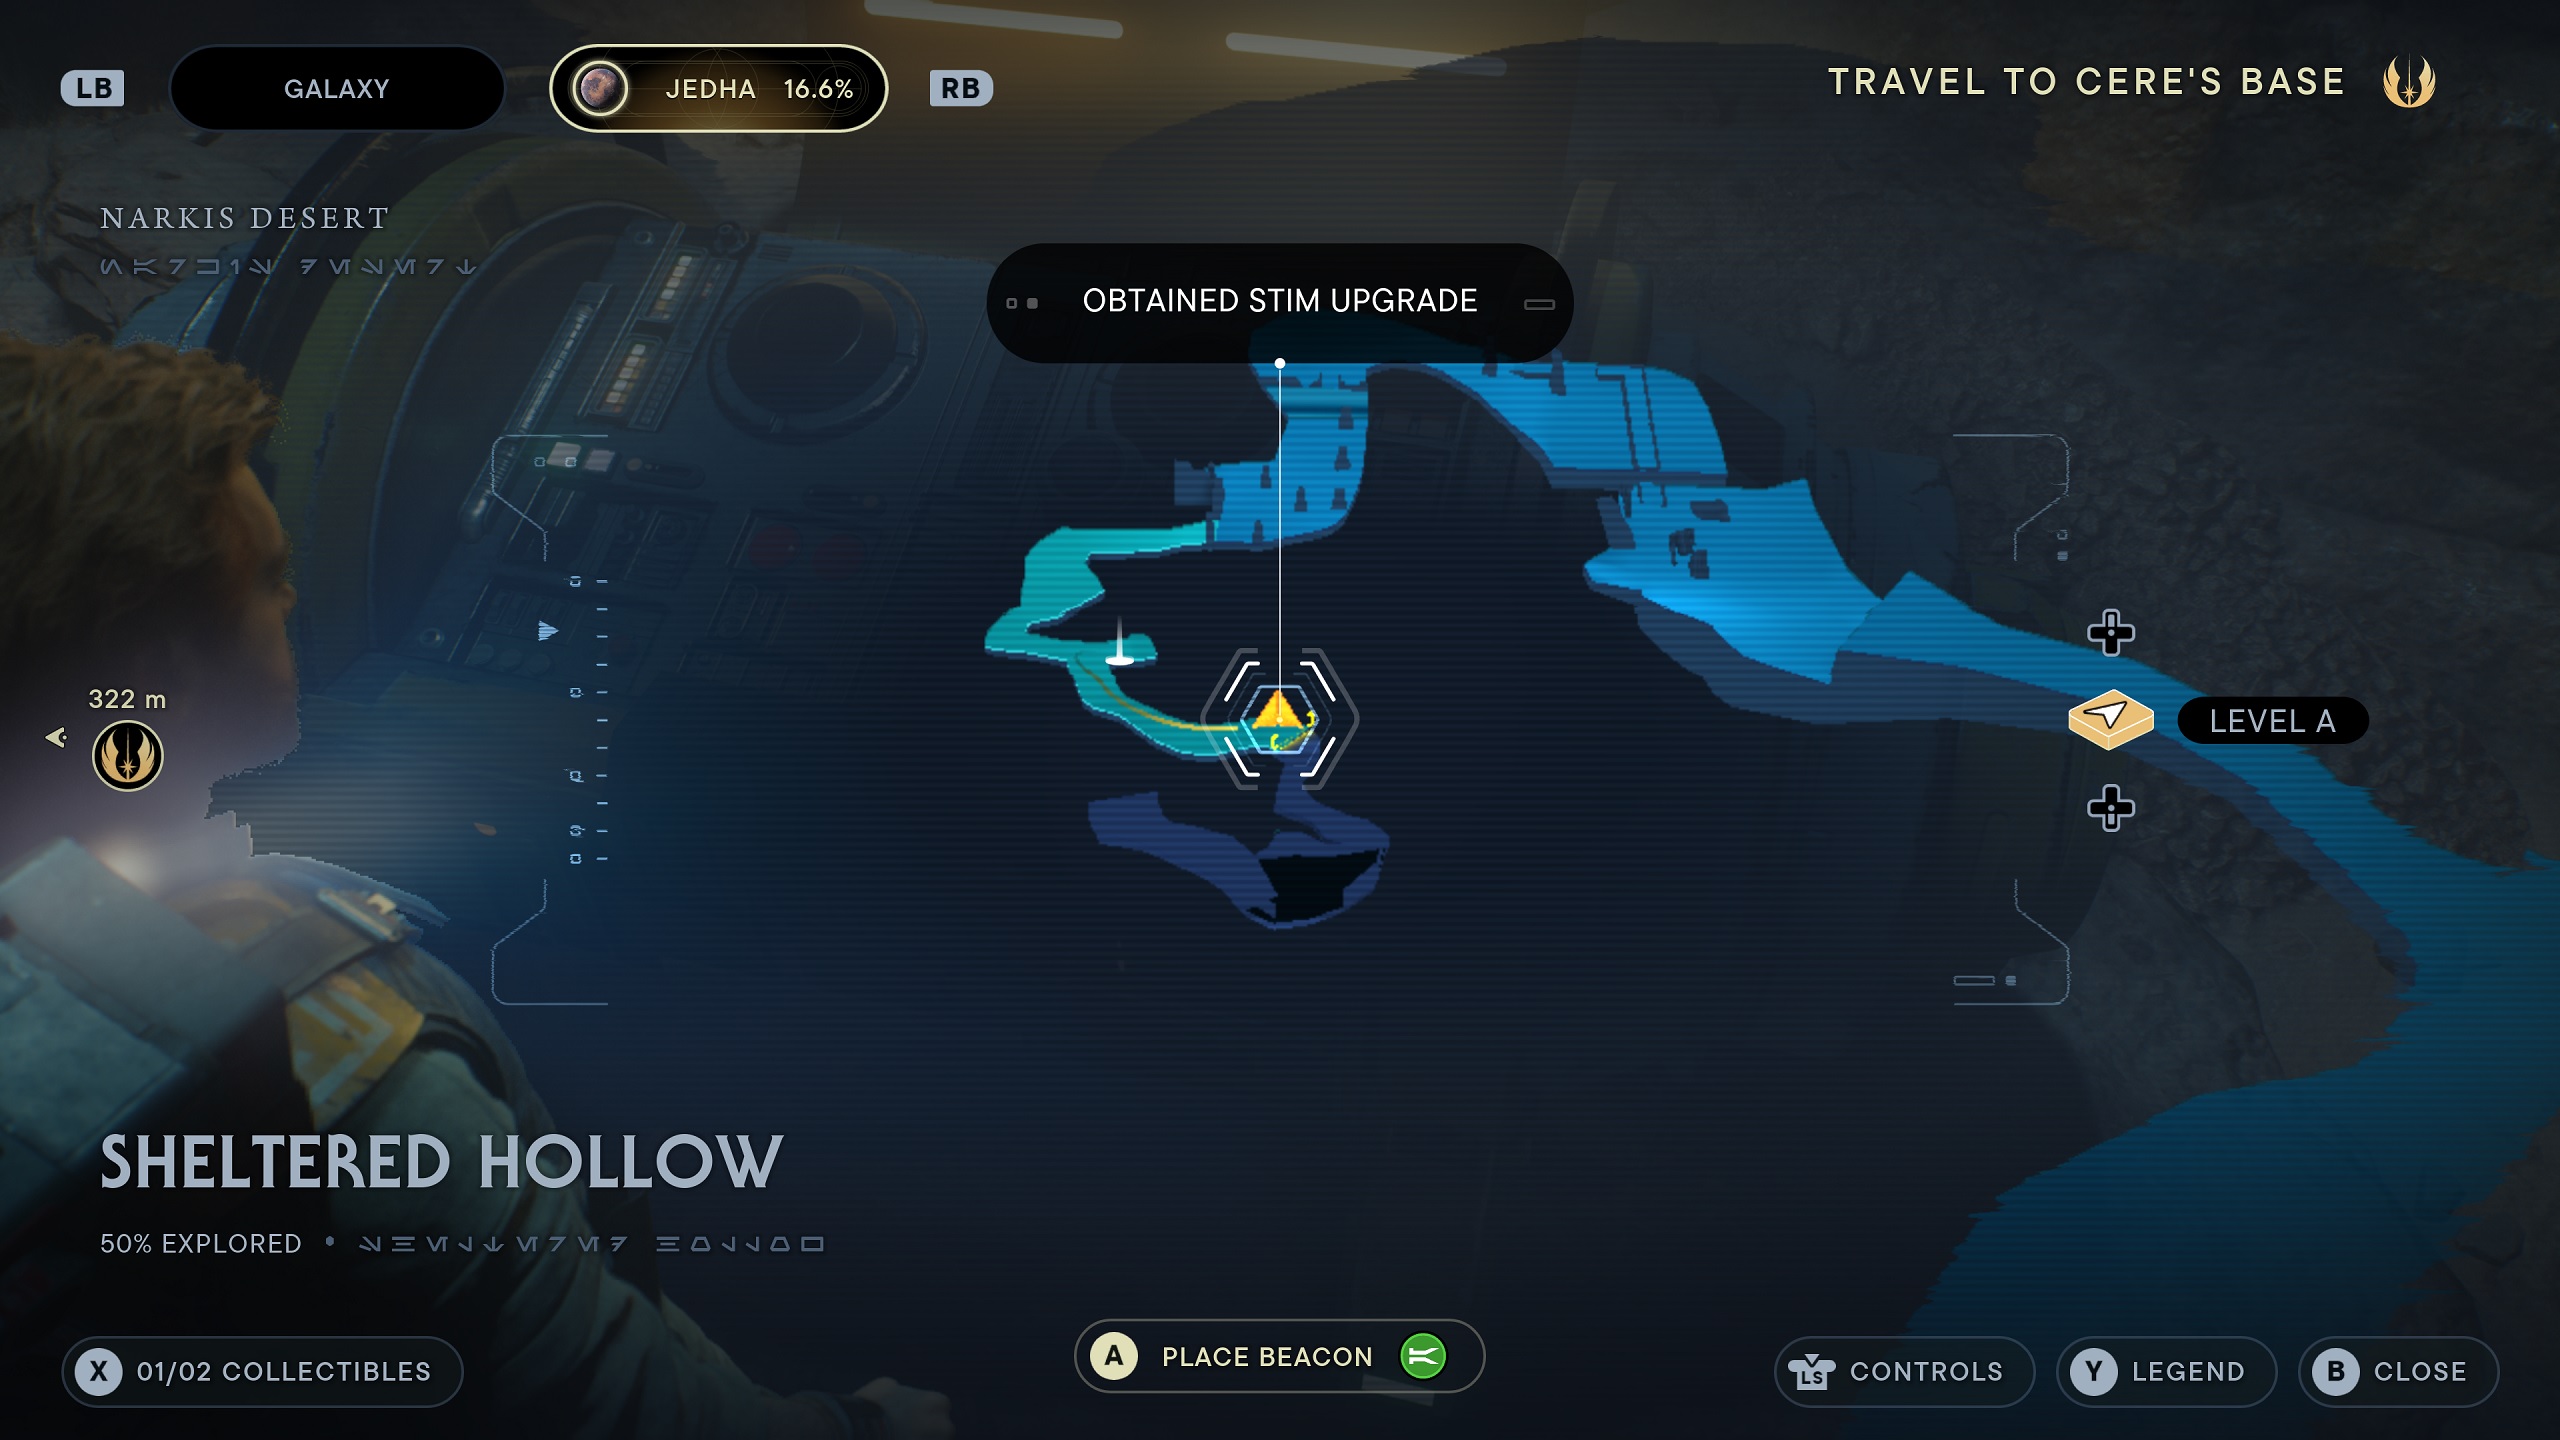
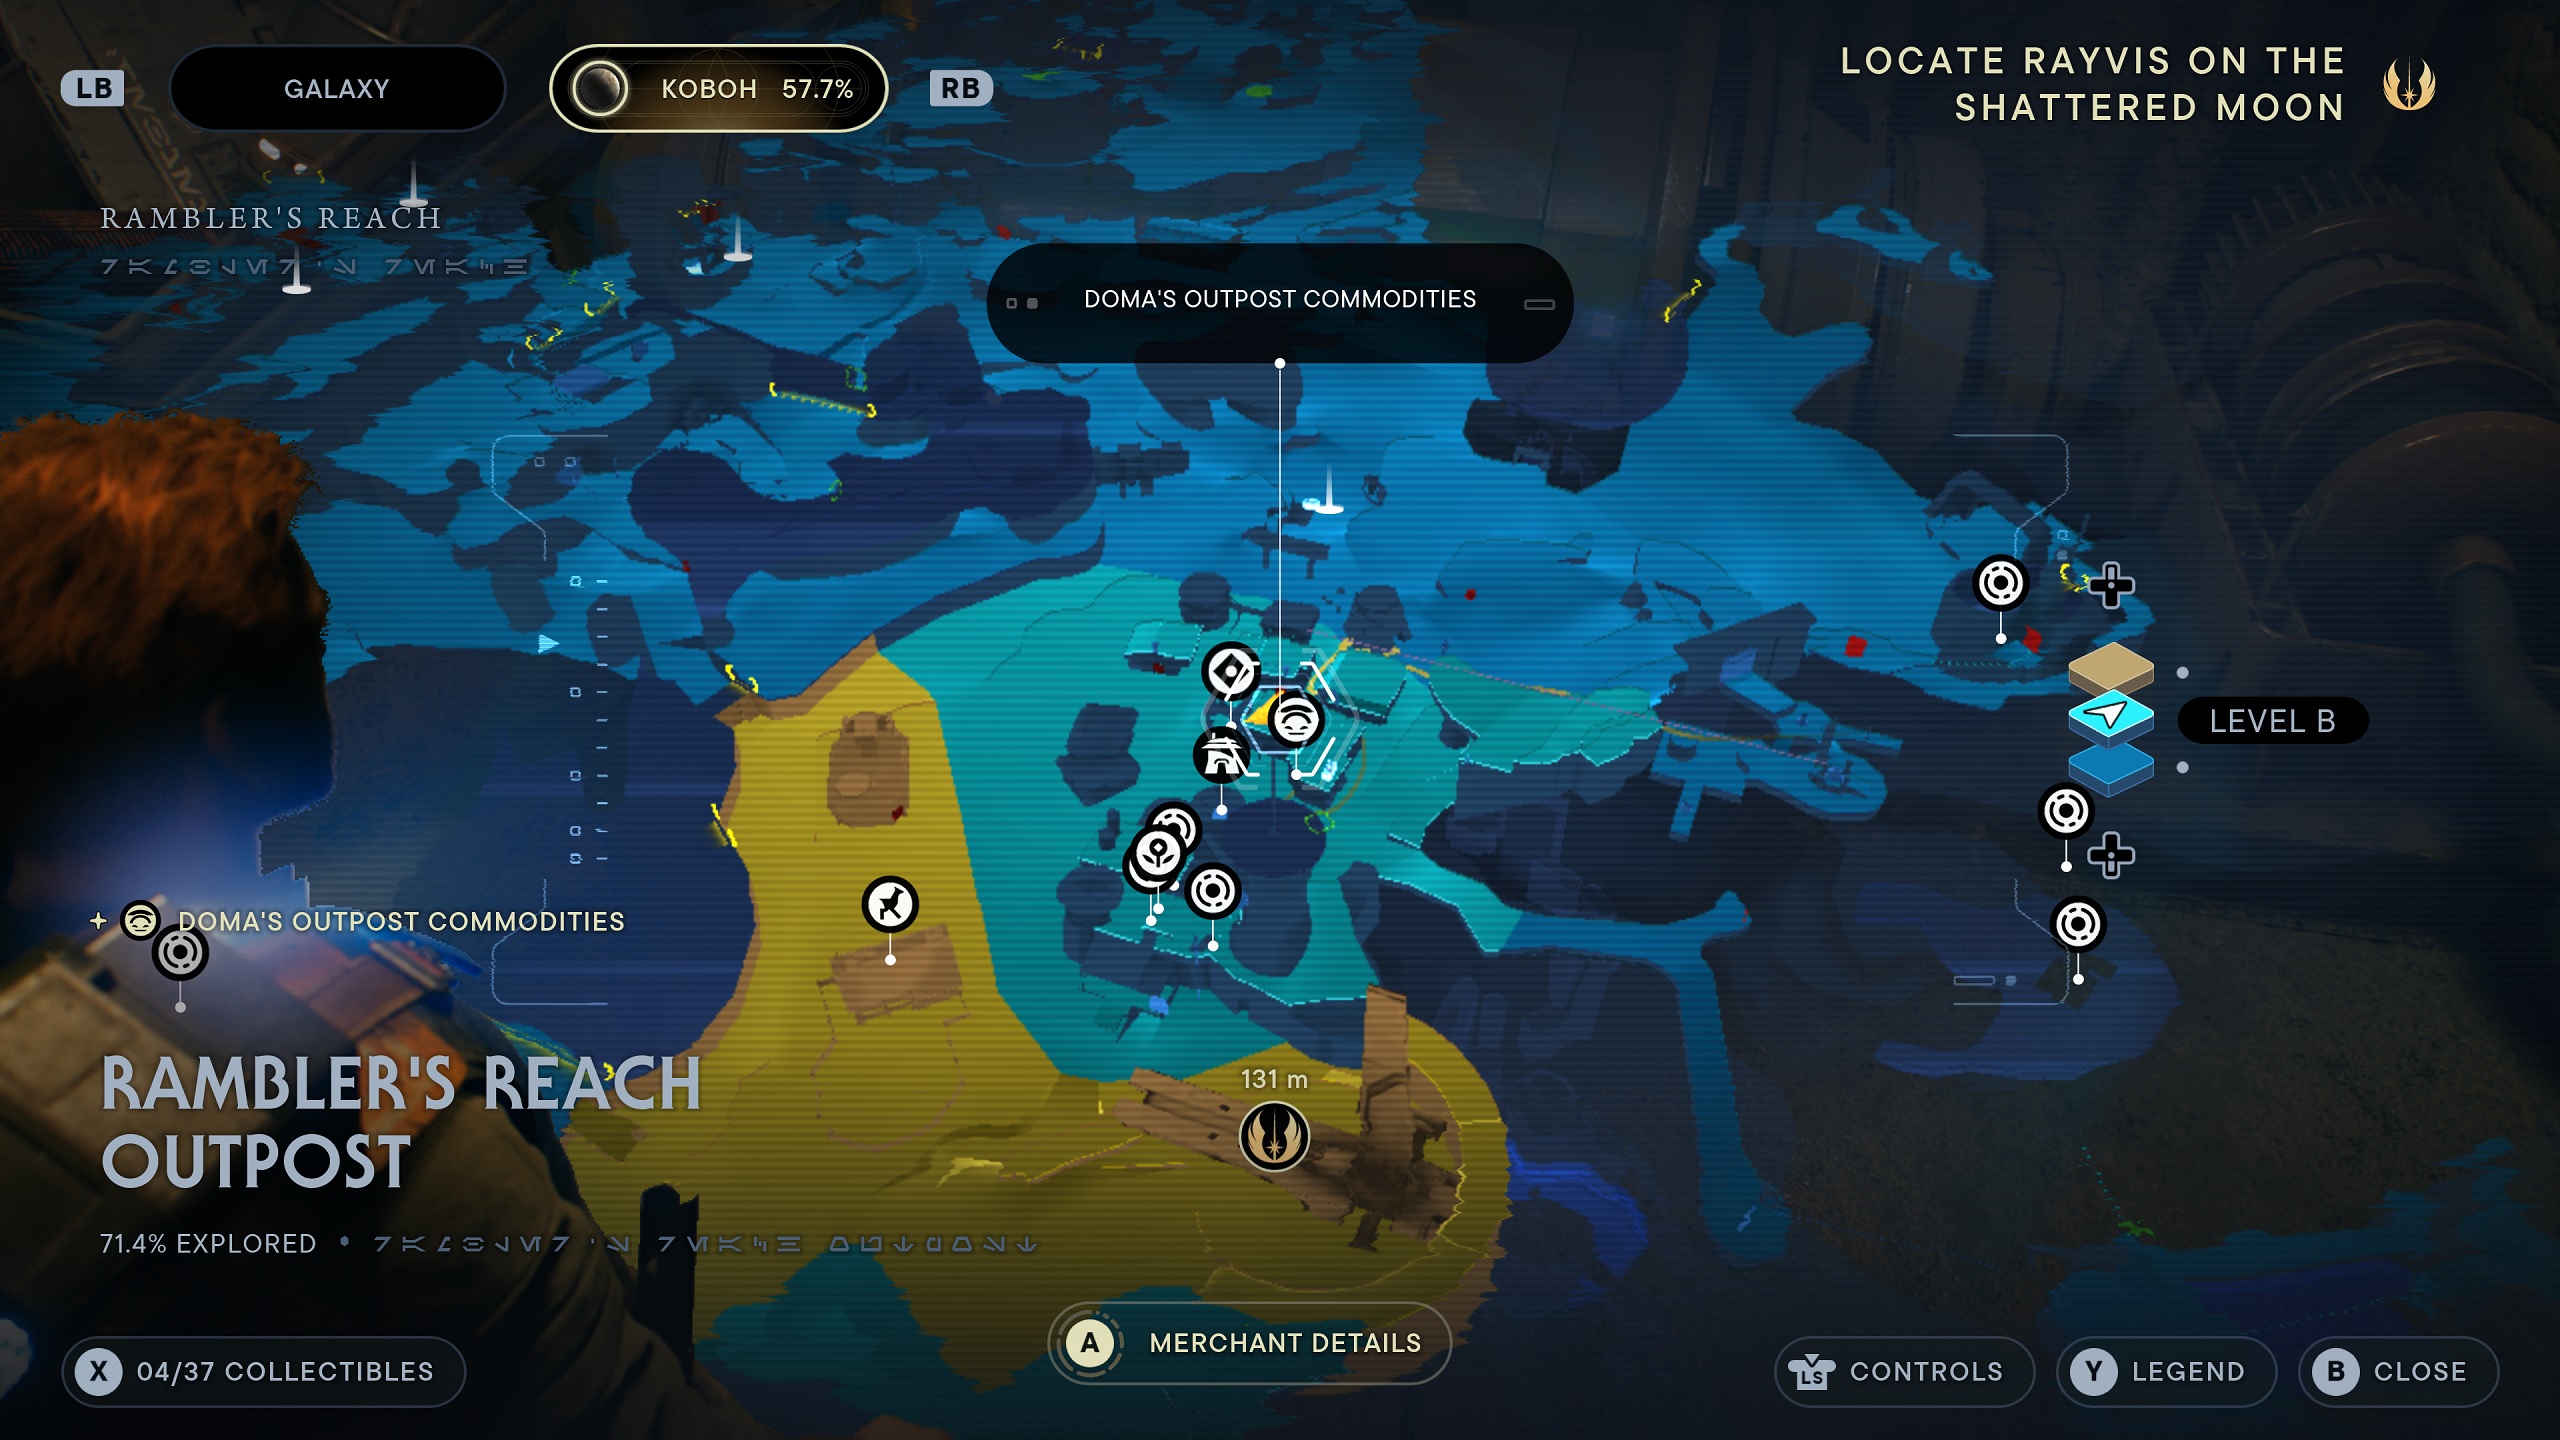
Stim #4 - Koboh: Doma's Shop

After you've found 10 Priorite Shards, head to the hub on Koboh. Here, you can pay the 10 Priorite Shards to Doma in order to open the locked door in her shop. Behind that door is another Stim canister waiting for you to take it.
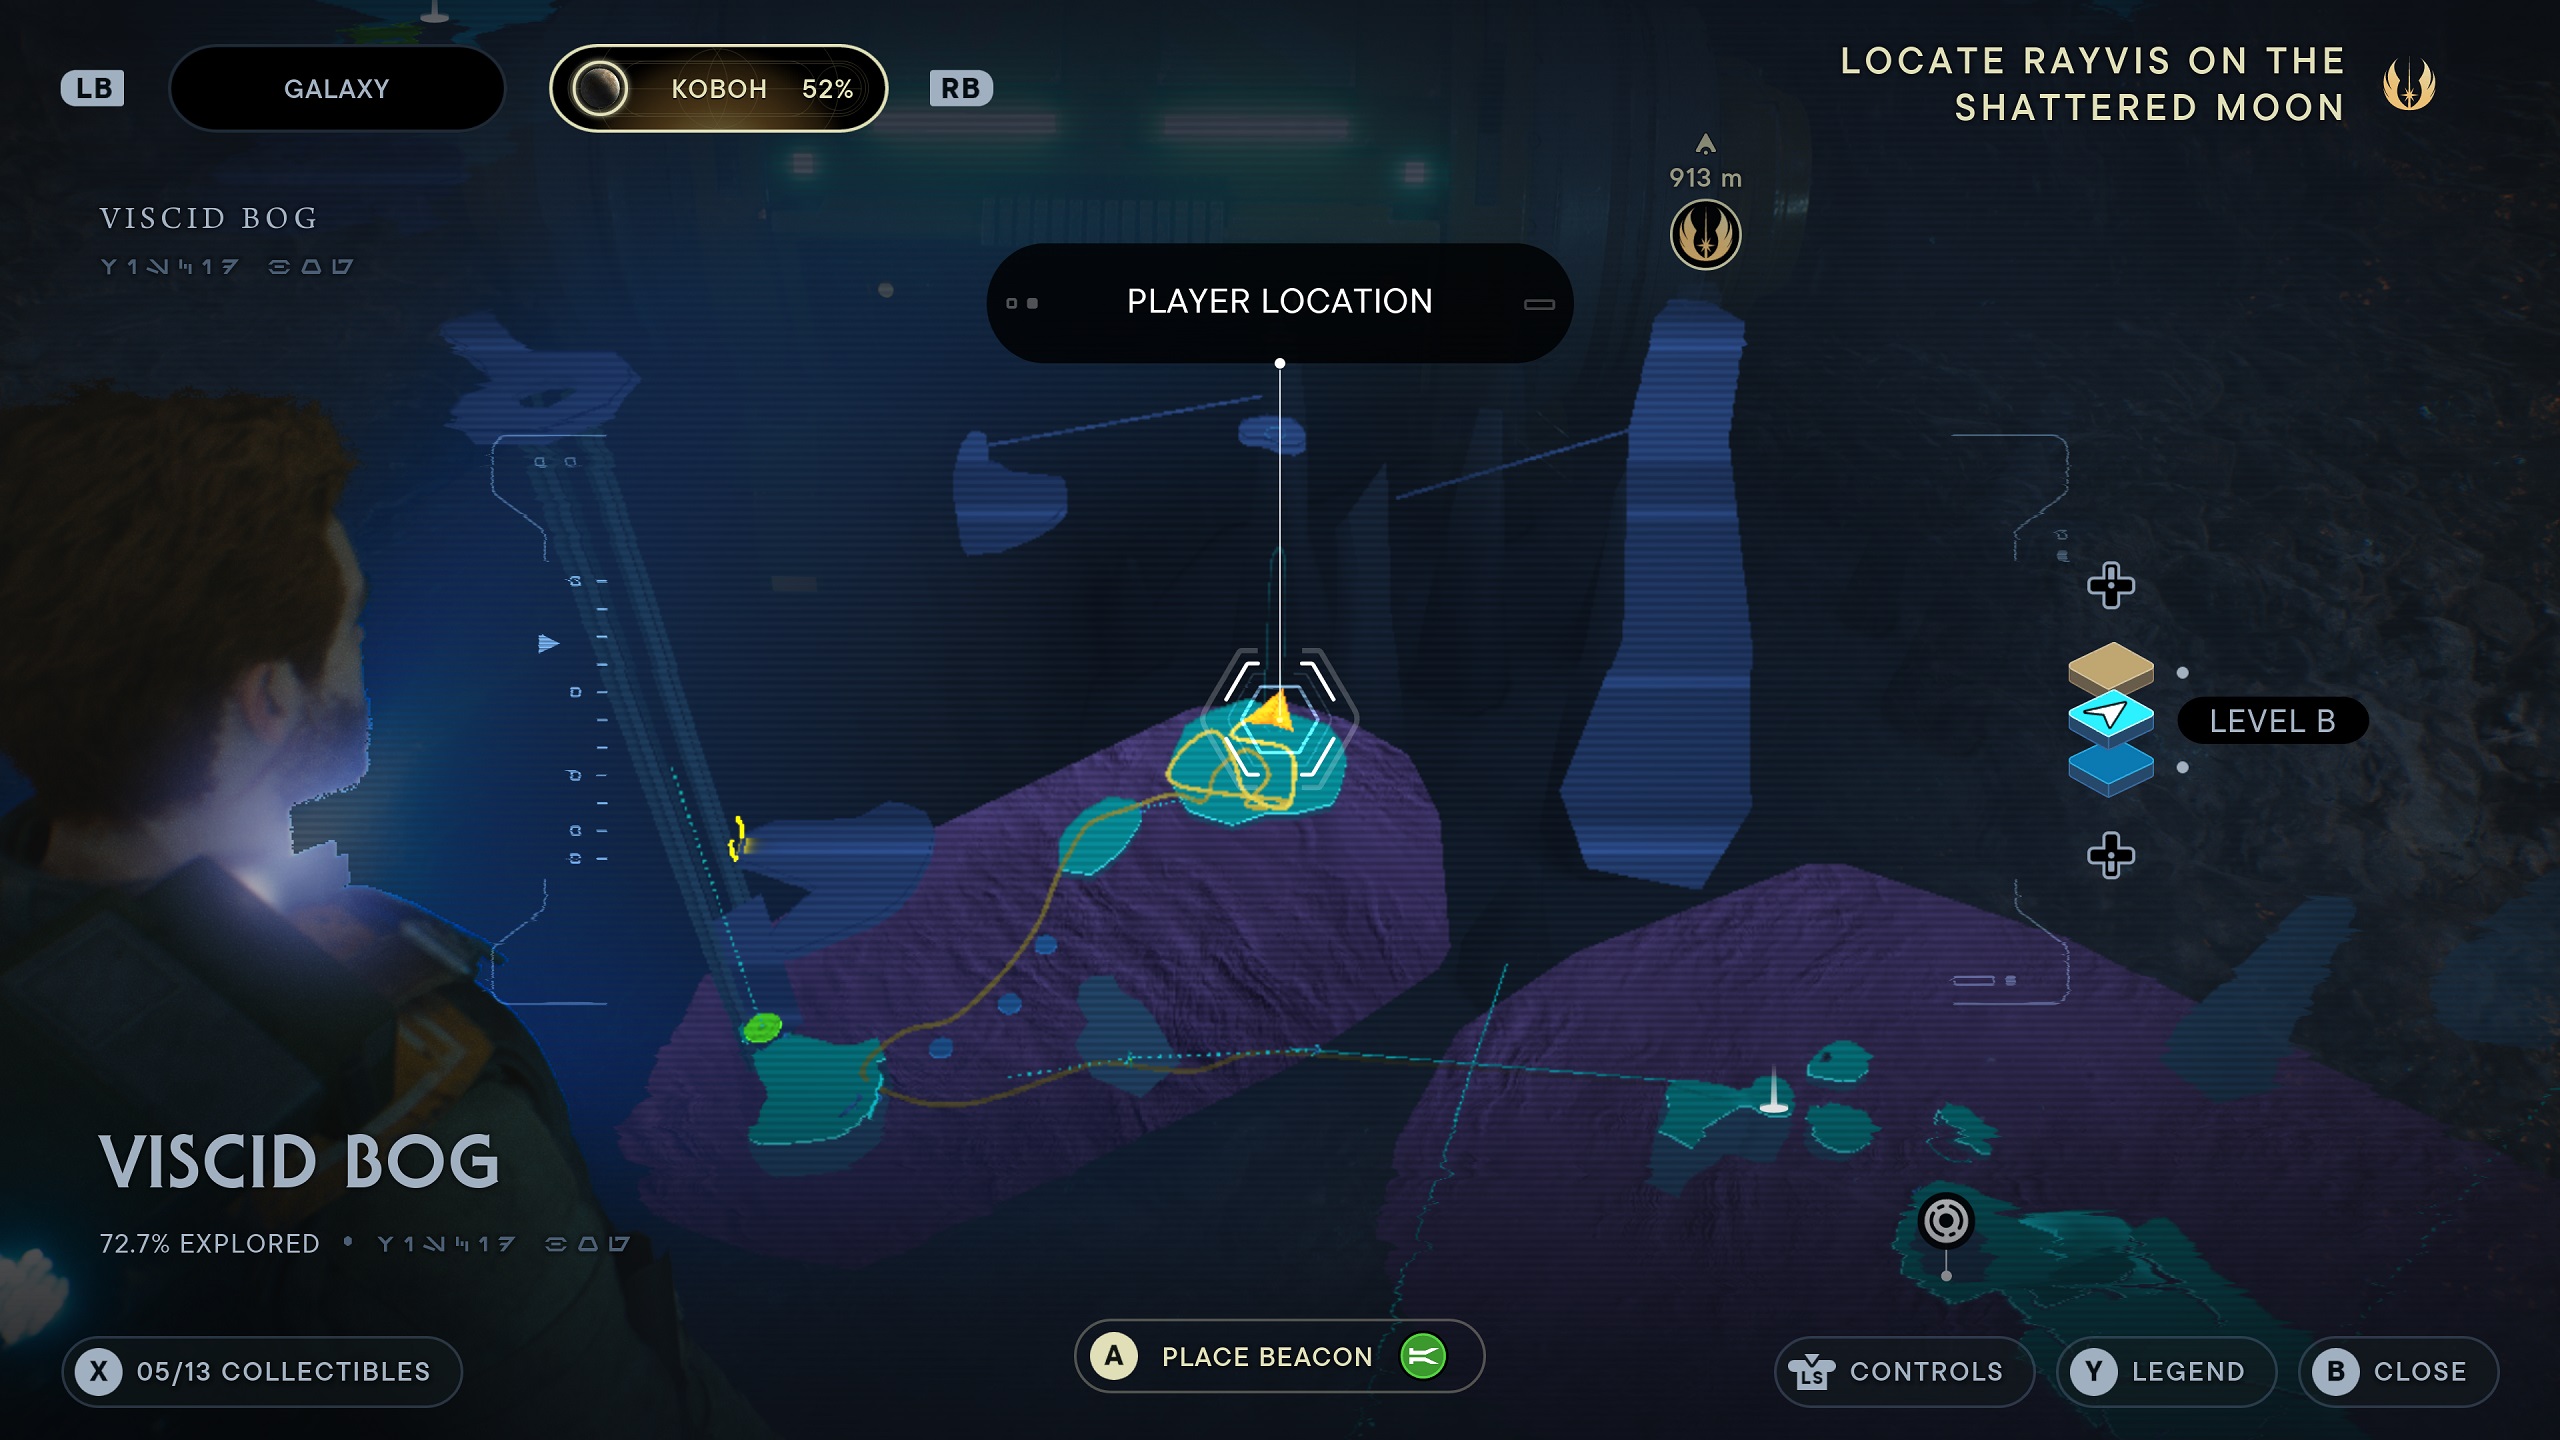
Stim #5 - Koboh: Viscid Bog
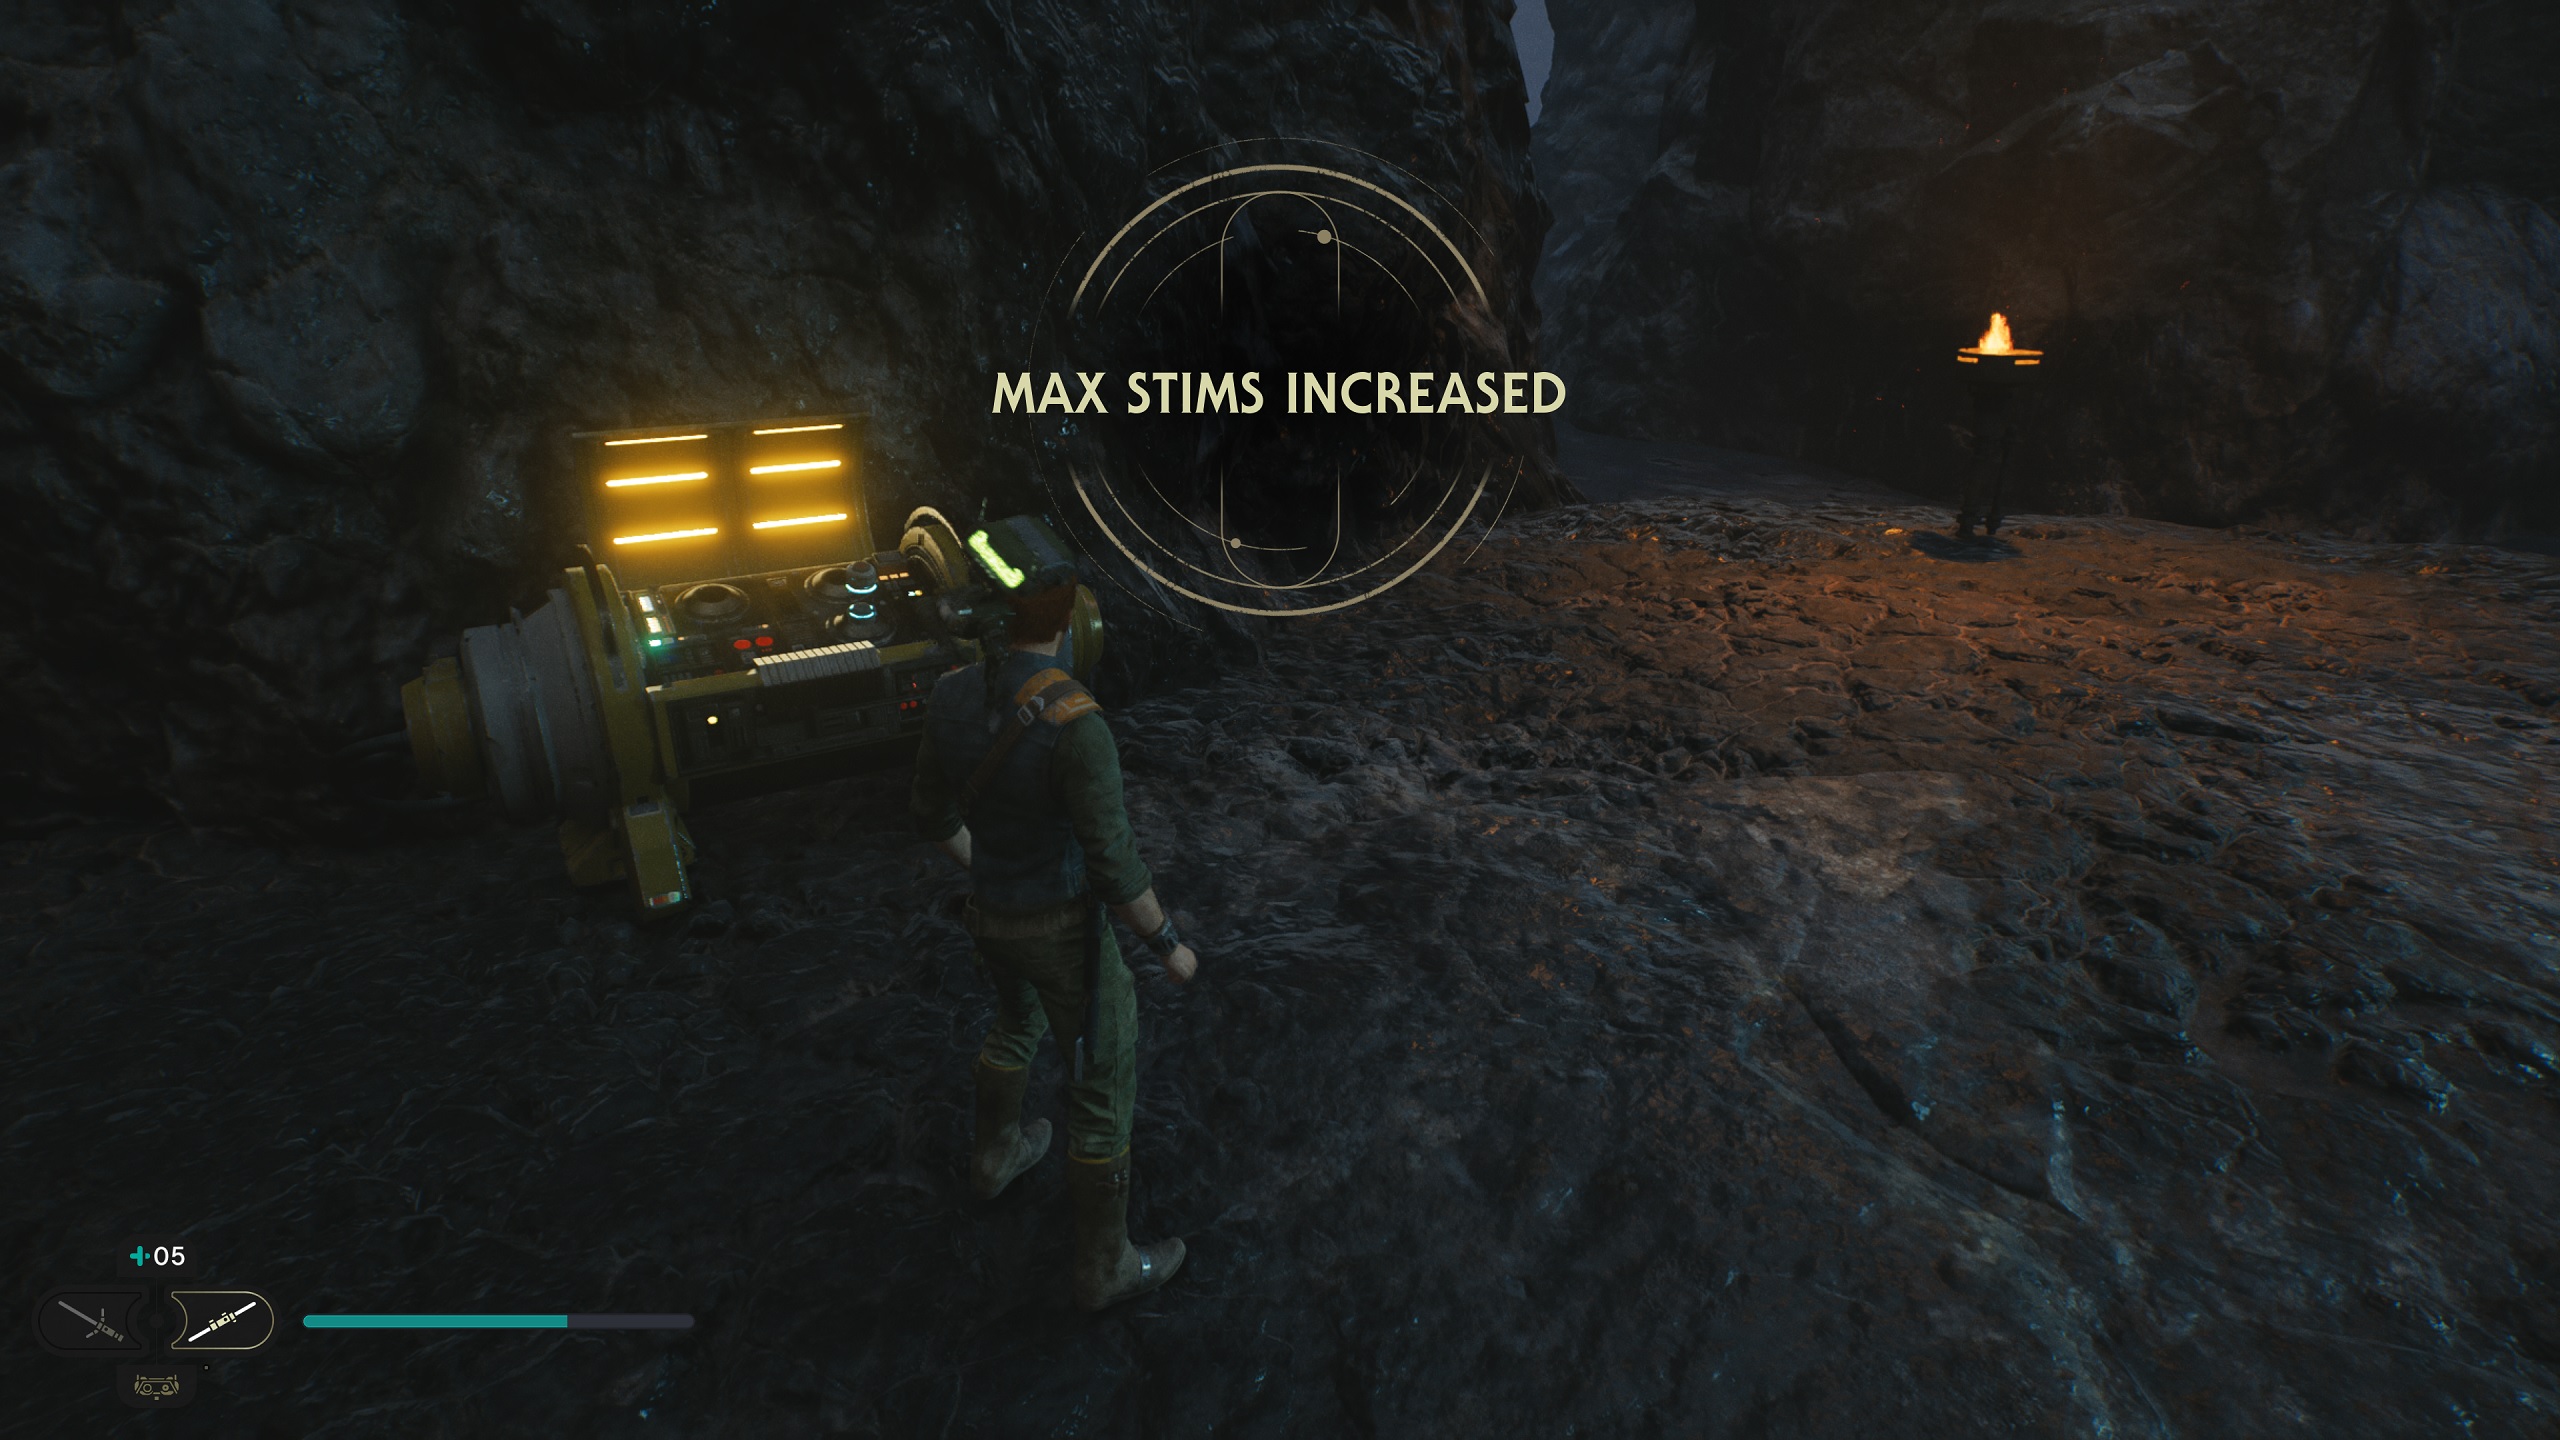
Another Stim can be found a decent ways into the game, when you head into the swamp on Koboh. Following a trail of stones that can be lifted using the Force near the entrance to the swamp will lead you to this Stim, but be careful. A deadly Mogu called "The Mire Terror" is a boss fight here, and it's bigger and stronger than the others you'll have fought. You can get the Stim after finishing the fight.
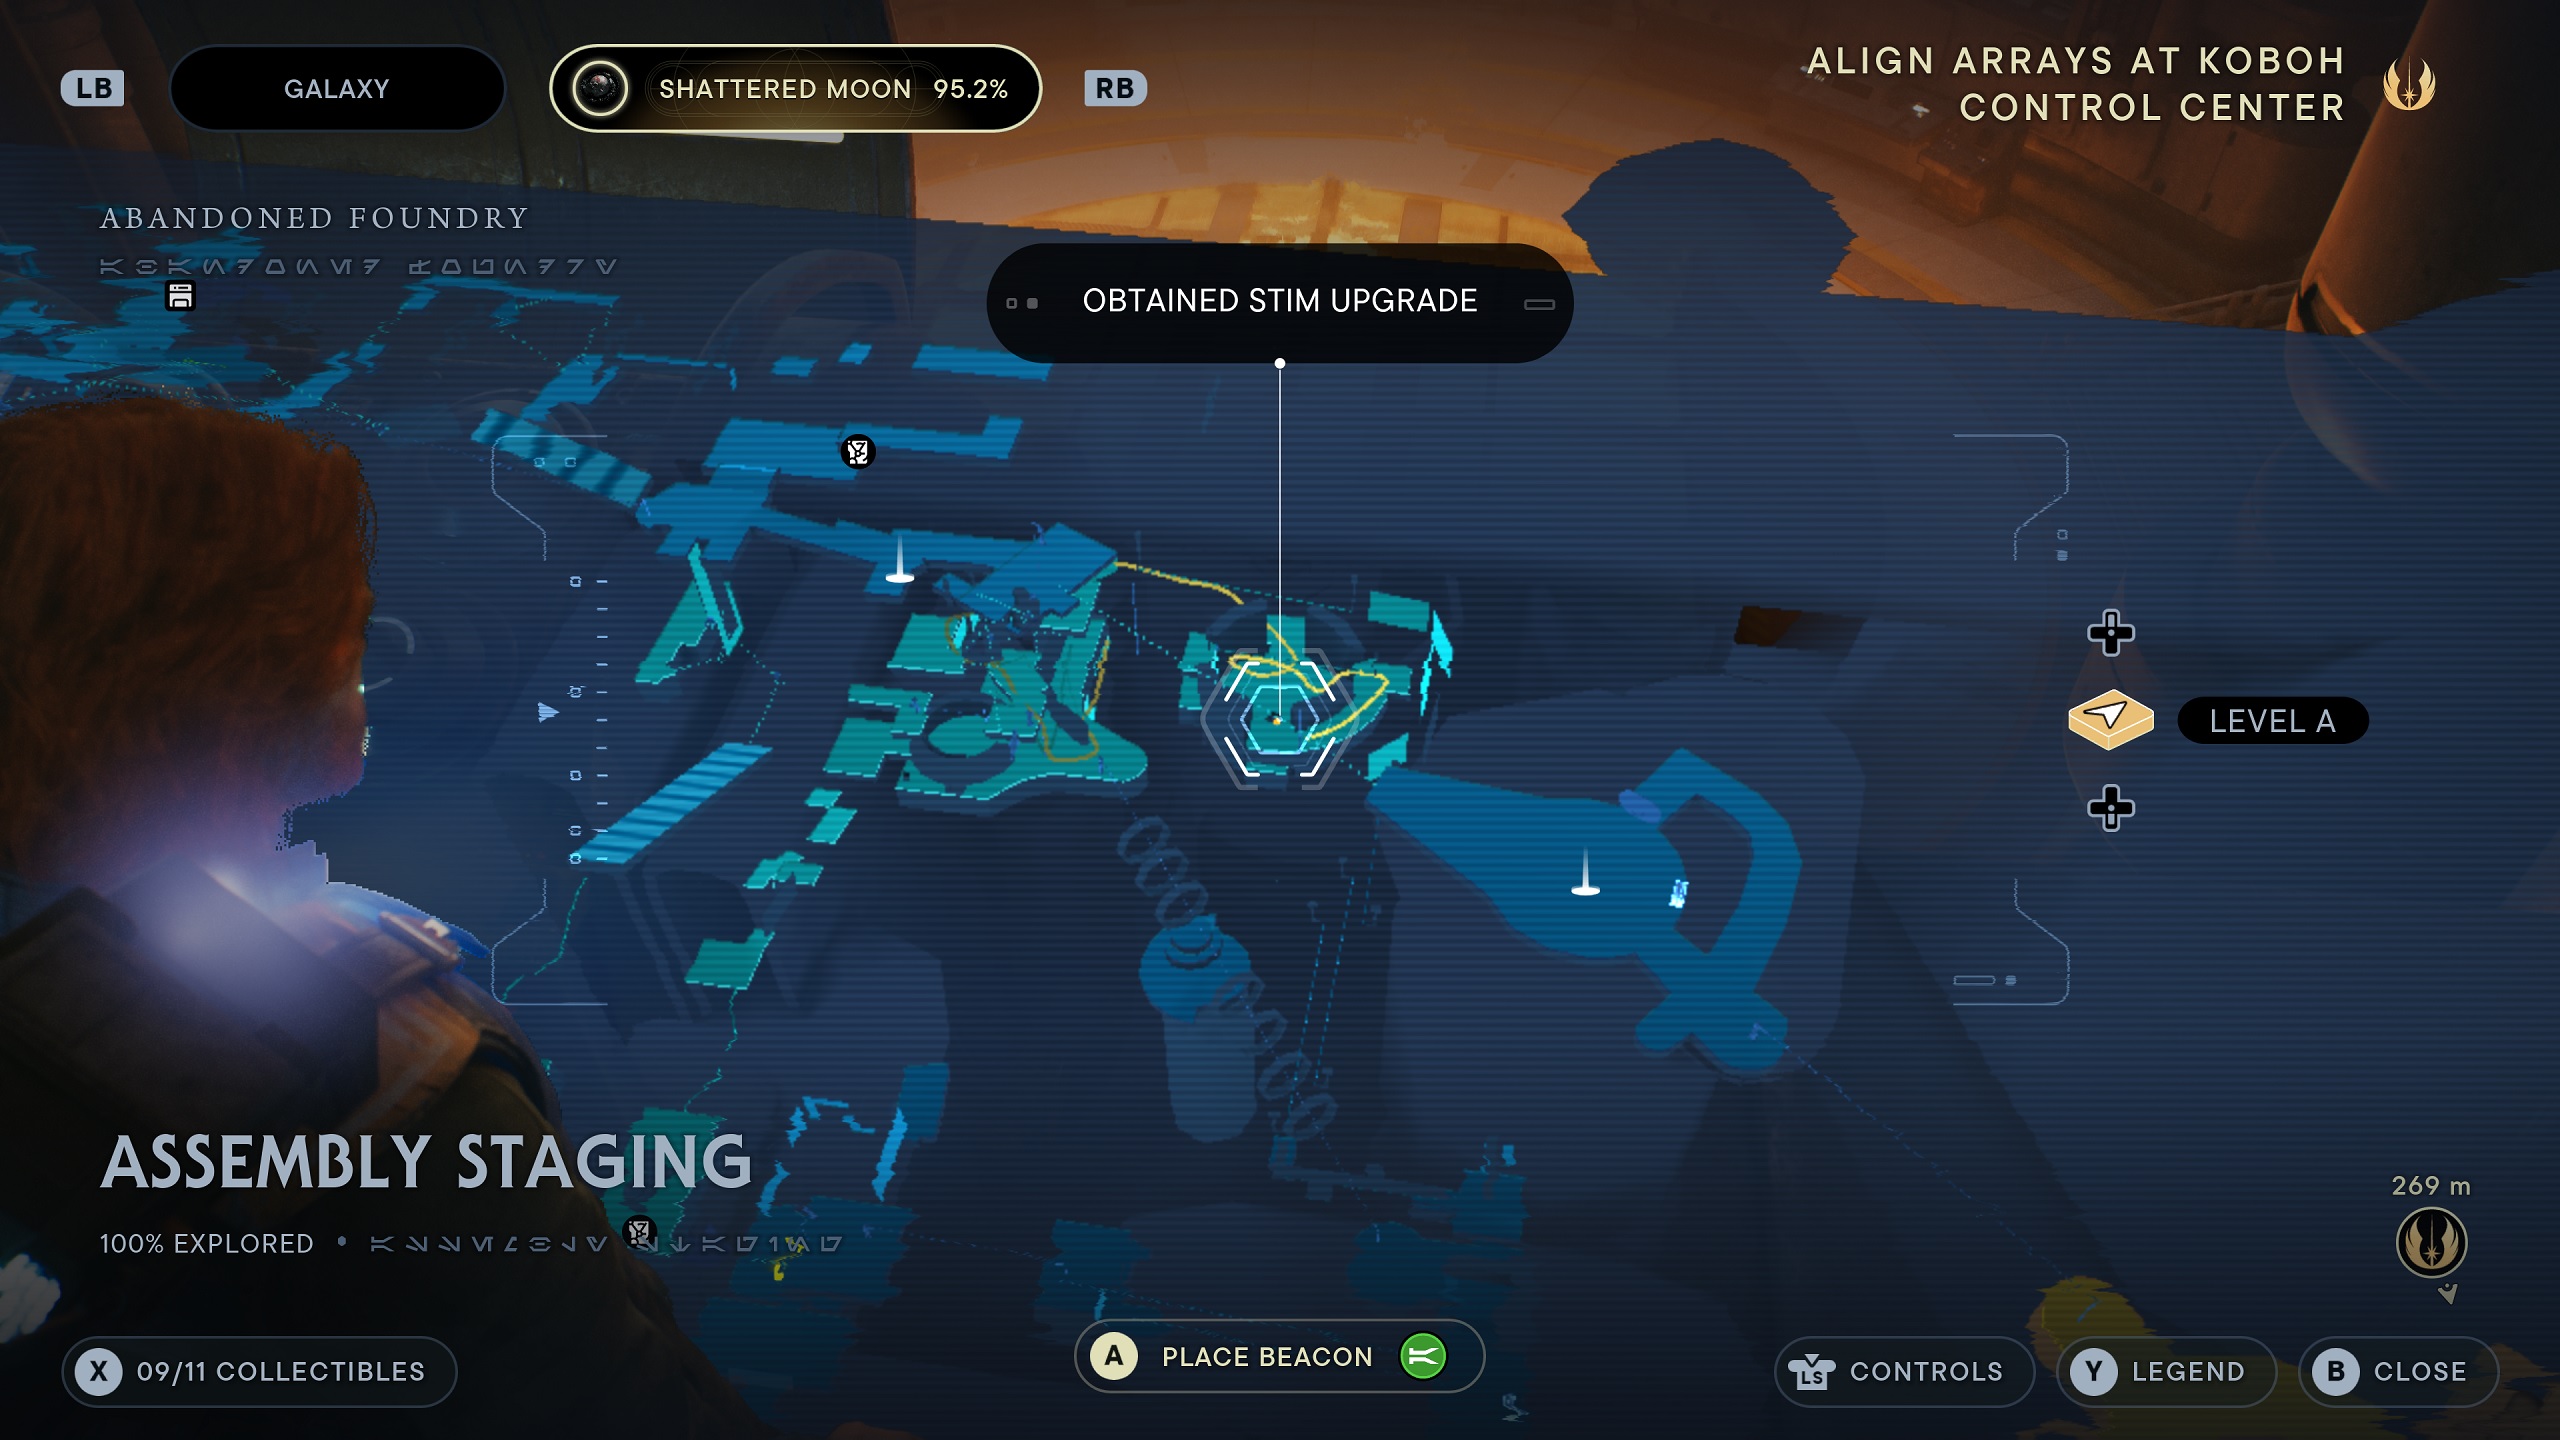
Stim #6 - Shattered Moon: Assembly Staging
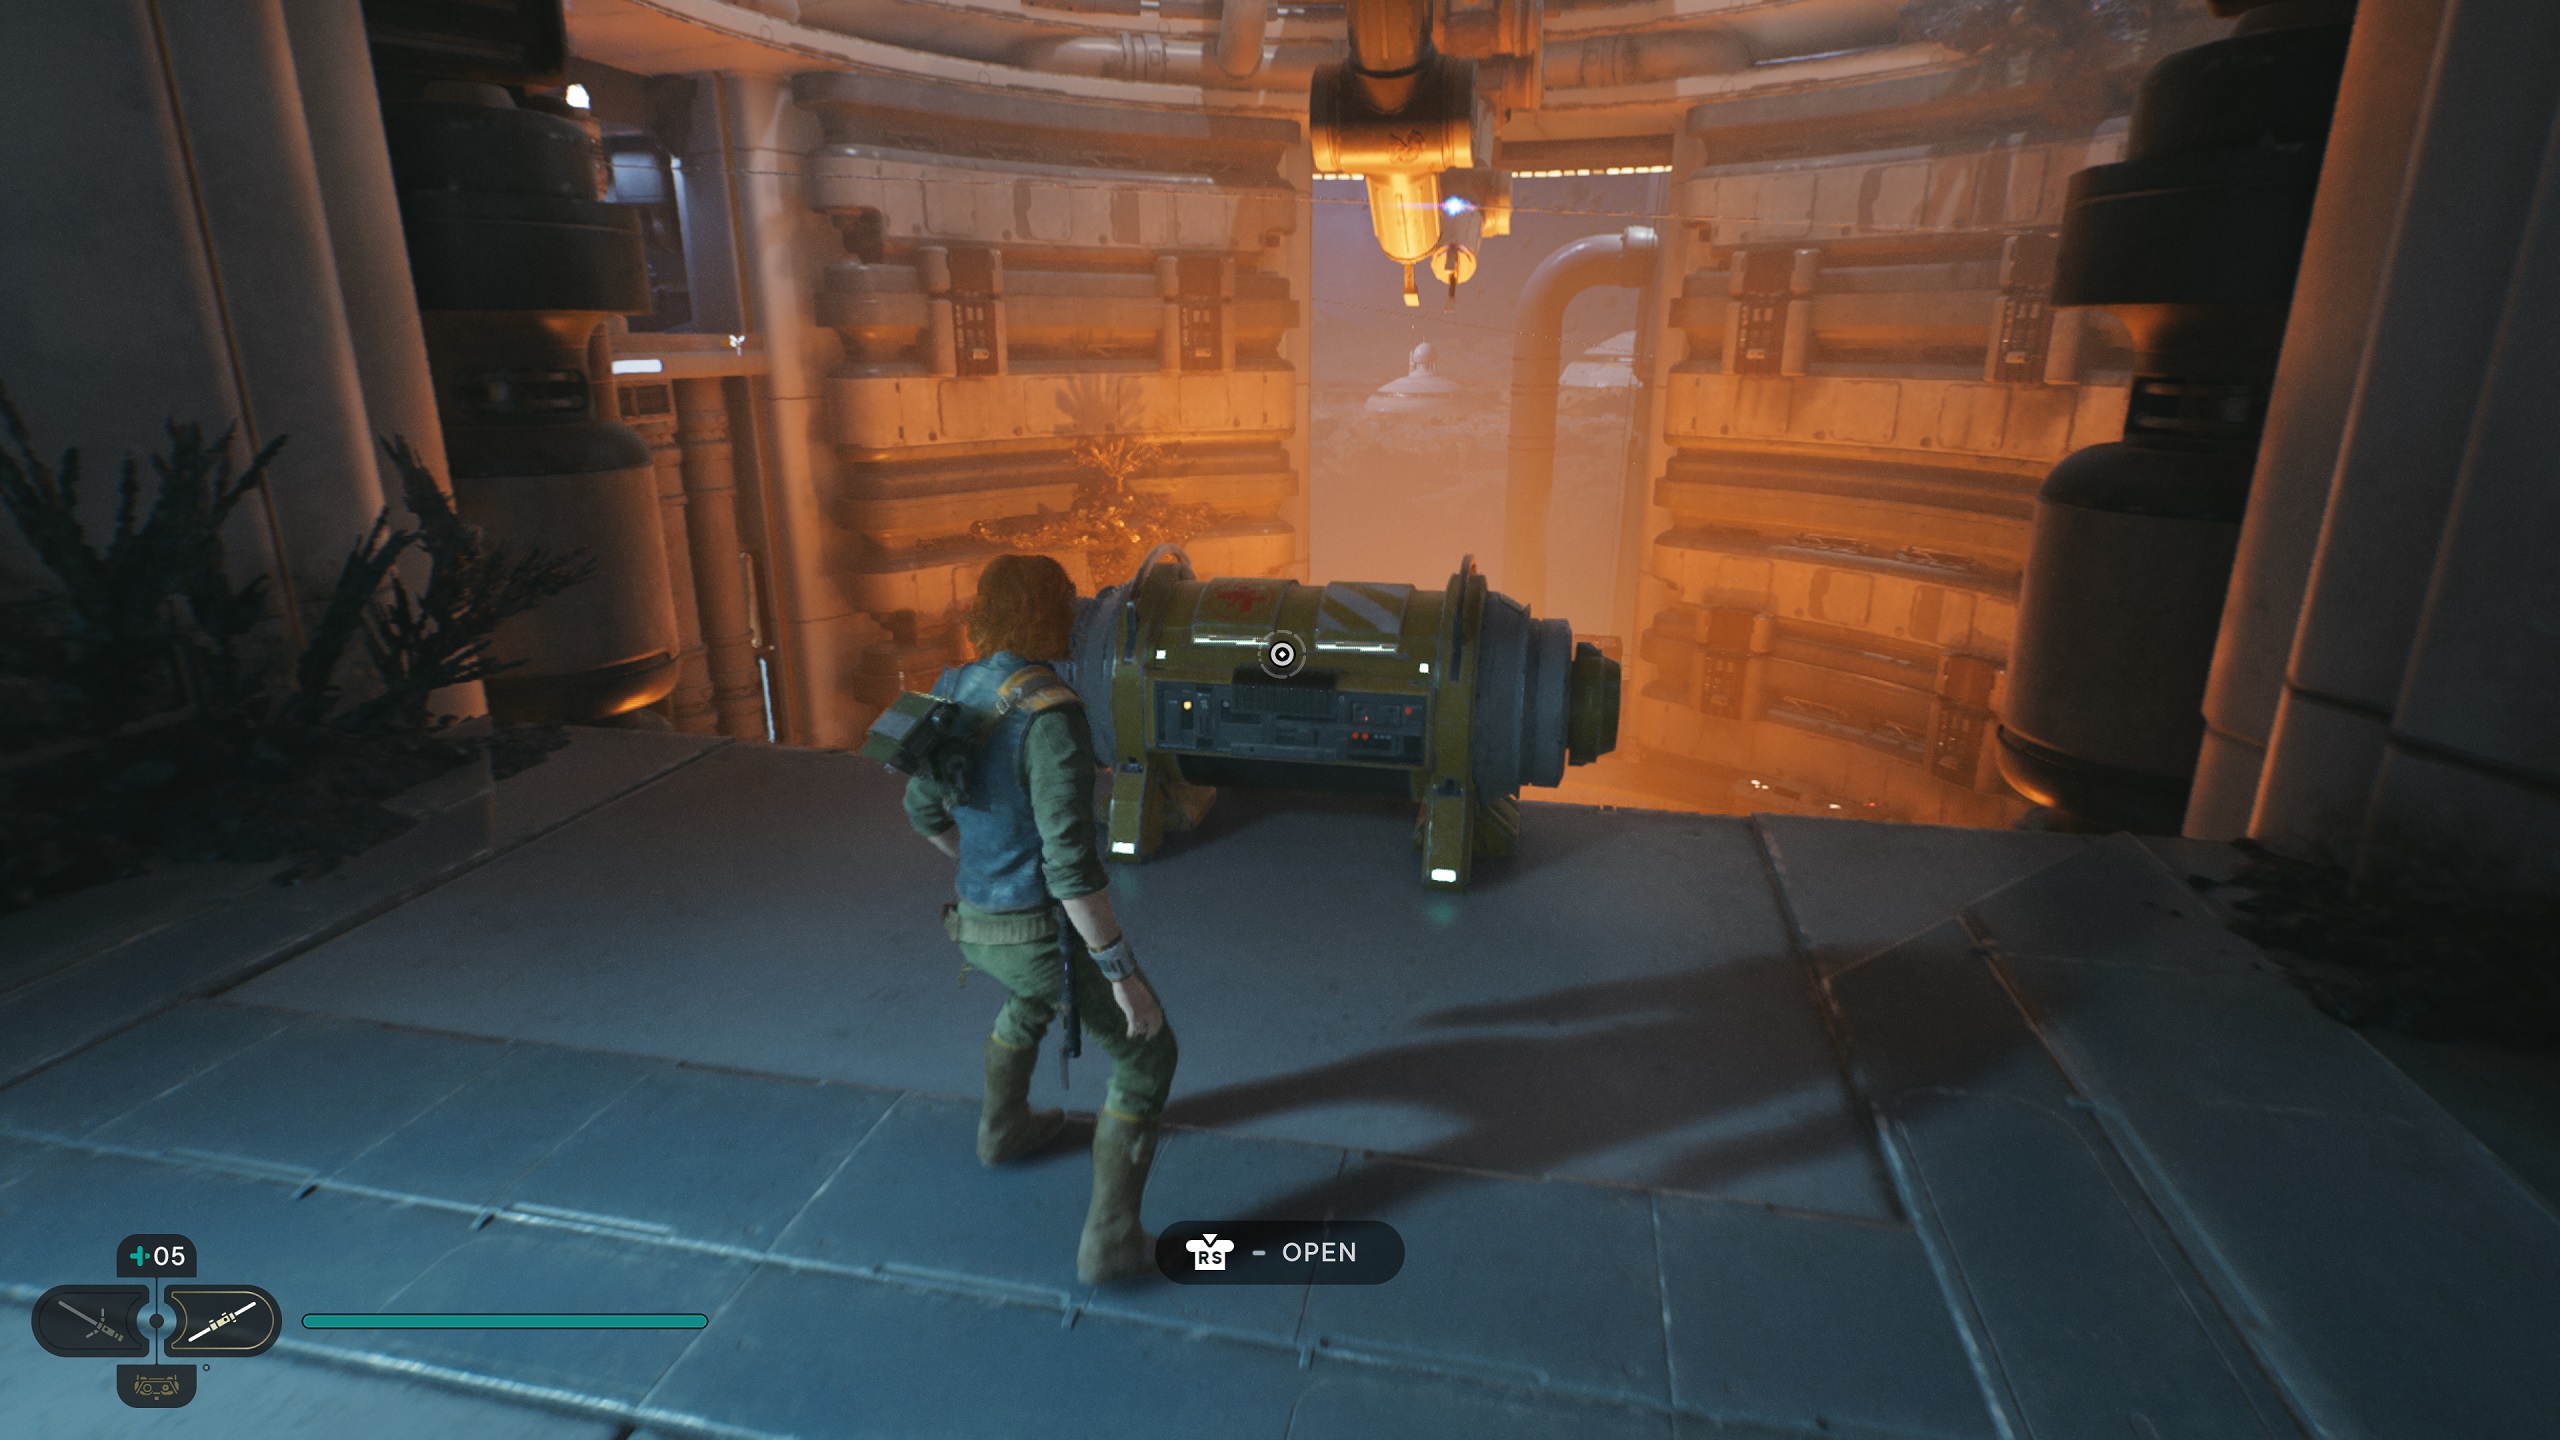
As you explore the Shattered Moon, you'll eventually come upon a large circular structure where you have to do a near-excessive amount of parkour, traveling across multiple cables and wall-running for an extended period of time. When you get to this structure, stop, then find the cable going from one side to the other. It's electrified, so you'll have to jump to avoid being thrown off. When you've made it to the other side, follow a short path to grab this Stim.
Stim #7 - Koboh: Rambler's Reach

From Rambler's Reach Outpost in Koboh, find the path that starts right at the center of town and follow it. You'll come across a shack guarded by a handful of Bedlam Raiders. Kill them, then use a nearby Nekko to jump up on the ledge near the shack. Have BD-1 slice a terminal, and a roller droid will pop out. Carefully use the Force on this roller droid to destroy the debris inside the shack, clearing the way for you to grab this Stim.
A galaxy to explore

Star Wars Jedi: Survivor is here, and it offers a huge leap up from the previous game in level design and storytelling, while building on the combat that made the experience so enjoyable. Regardless of whether or not you're a big Star Wars fan, it's one of the best Xbox games available to grab this year.
In my review of Star Wars Jedi: Survivor, I wrote that "With better exploration, fantastic combat, and emotionally-resonant story, Star Wars Jedi: Survivor is a must-play adventure marred only by some performance issues."
![Nevada Math Prof Alleges Discipline for "Voic[ing] Concerns About … the Math Department … Lower[ing] Its Curriculum Standards"](https://images.inkl.com/s3/publisher/cover/212/reason-cover.png?w=600)
