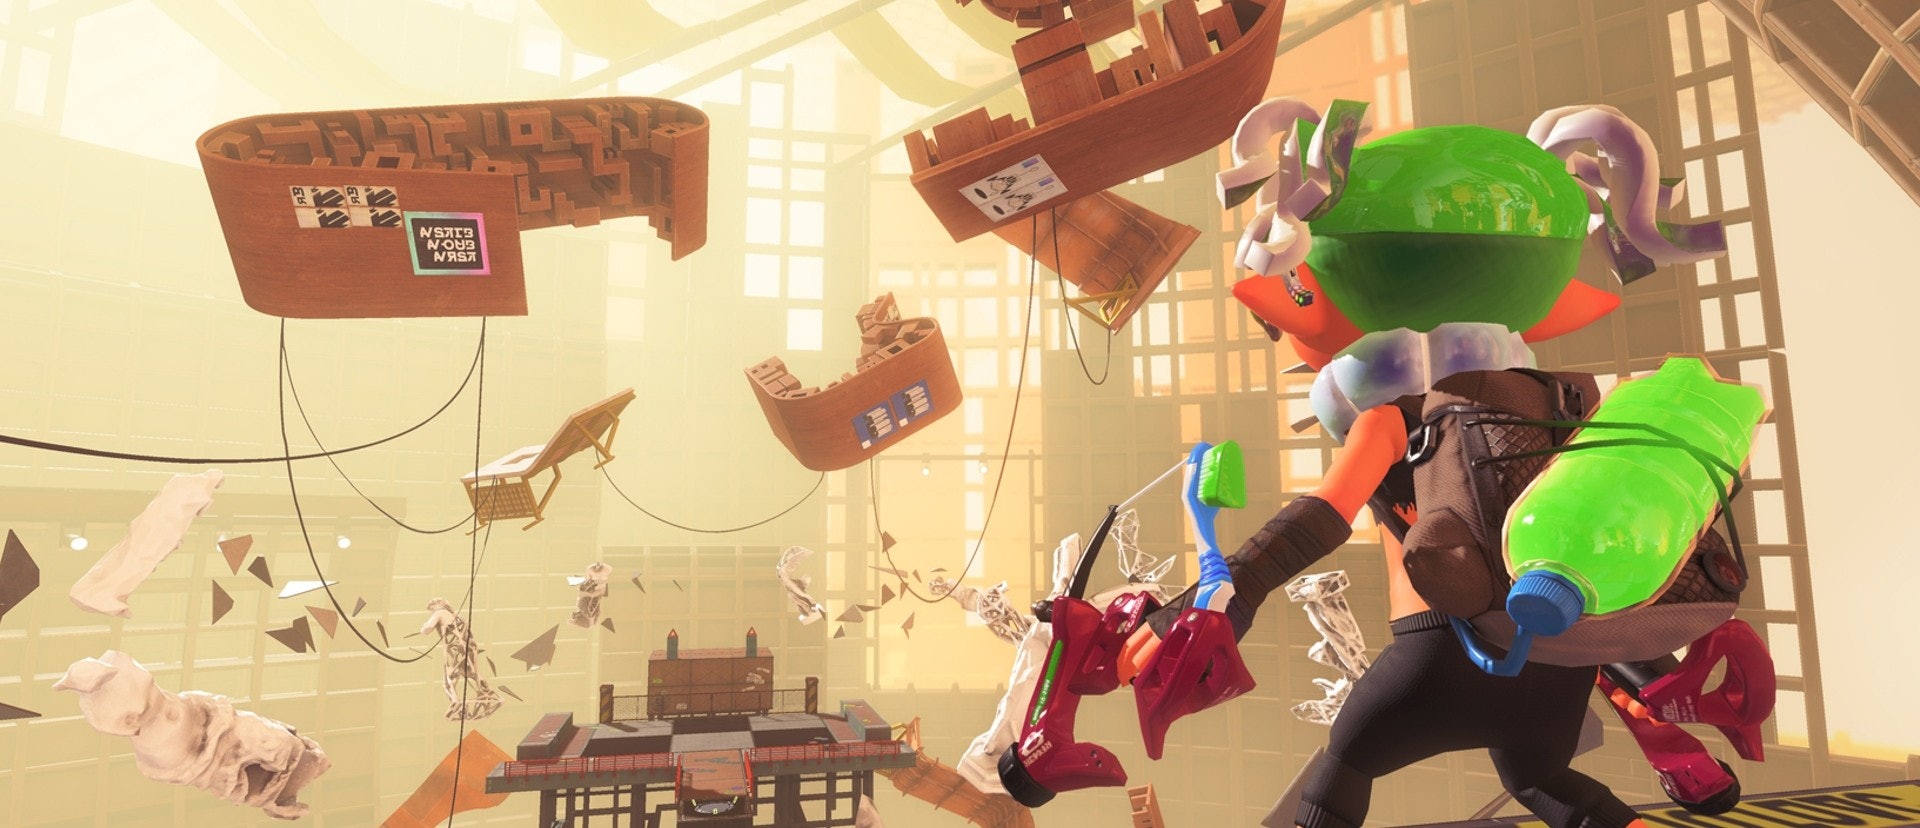
Apart from all the multiplayer mayhem, Splatoon 3 also has a lengthy single-player campaign filled with unique challenges. There’s plenty more to do after you beat the story, as you have one more secret kettle that presents the biggest challenge in all of Splatoon 3. While it’s only one level, the secret kettle is likely going to take you hours to complete, so here’s everything you might need to know about the absurd post-game content of Splatoon 3.
Where to find the secret kettle in Splatoon 3
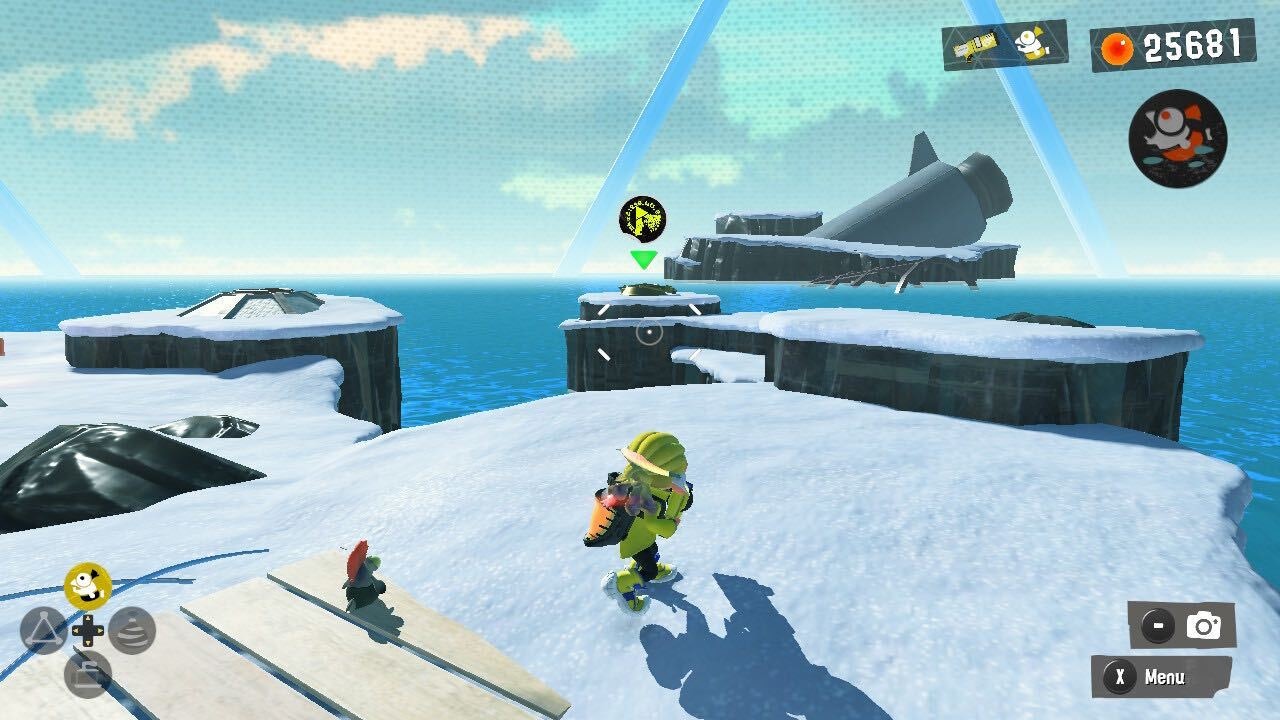
Once you beat Splatoon 3’s story mode, you’ll get a pop-up message saying a new kettle has been added somewhere in Alterna. Thankfully, it’s actually incredibly easy to find. Simply travel to Alterna, and as soon as you load into the area turn 180 degrees around and look for a yellow kettle sitting out on a little island. You can use the path to the right to head to the kettle and start “After Alterna.”
How to beat the Splatoon 3 secret kettle
Alterna is split up into four different stages, and there are no checkpoints in each stage. If you get eliminated during a stage, you’ll have to completely restart it, but once you complete a stage, you’ll checkpoint at the start of the next one.
First Stage
The first stage is one giant obstacle course that requires you to dodge and defeat enemies as you progress. The first little section is easy enough until you get to rotating platforms. Here you should ink the platform ahead while moving in the opposite direction of where the platform you’re on is going. After you get past the platforms you’ll be heading up, needing to time your jumps against obstacles. At some point you’ll run into a sniper, so make sure to stay in ink and use the wall to block the shots as you keep heading up.
The next part of this stage requires you to jump into ink on platforms, then stay in the ink as they move. Just remember you can hold ZL to charge up a surge and stay in the ink, meaning you don’t have to constantly keep moving. After these platforms, you’ll get to ink lines. Move full speed ahead on these to avoid attacks from enemies. Once you’re through that you’re finally at the last part of this stage, a series of moving platforms, with a goal at the end.
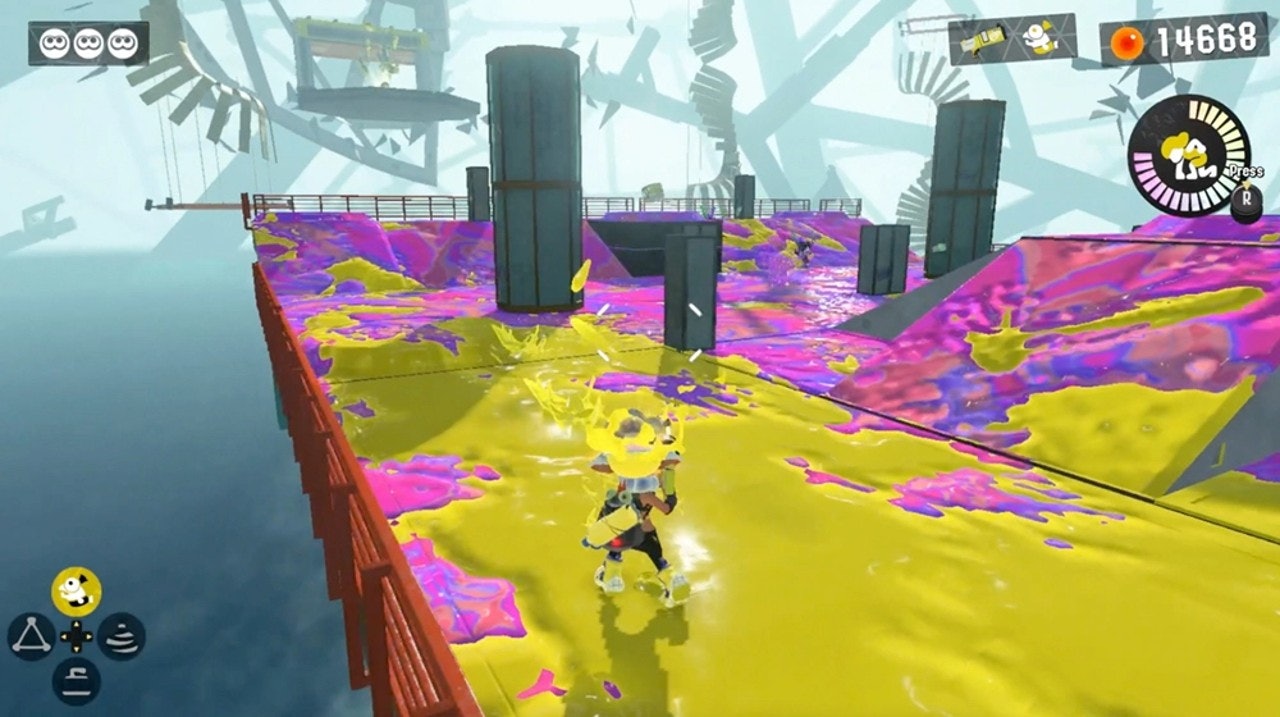
If you want to make this section easier, you can stand above the platforms and ink all of them before you jump down. The platforms rotate around and will retain all the ink, so if you ink everything ahead of time you can jump down and then just focus on jumping to the end.
Second Stage
The second stage is an entirely on-rails section, meaning you’ll need to do some quick shooting.
If you don’t have motion controls on this section is generally a bit easier to tackle with gyro controls, so consider turning it on. As you grind on the rails balloons will pop up, and you need to pop every single one in order to make the next section of the rail appear. Unfortunately, there aren’t a lot of tips to give for this section as it’s entirely straightforward, just a matter of hitting everything. However, when you reach the final rail and are about to jump down to the platform, be warned that one more group of balloons will appear while you’re falling. As soon as you fall off the rail it’s a good idea to start firing ahead, so you can pop as many as quickly as possible.
Third Stage
The third stage is a challenging platforming section that has you navigating over a series of soaker blocks while avoiding enemy fire. Take heart, because this is typically the easiest of the four stages. The most important thing to keep in mind here is that you can throw Little Buddy onto a soaker block to extend it and keep it extended for a good 15-20 seconds.
Using Little Buddy should be your primary focus in this stage, but you can combine your own shots with them to move forward. About halfway through you’ll come to a long line of blowfish that you can explode to make a bridge. A ton of enemies will appear to stop you, but don’t worry about taking care of them, just run straight through and blast the rocket enemy at the end.
Keep moving forward and you’ll get to the final segment, where you need to ride rocket platforms. Purple soaker blocks will block your progress, and you need to fire at them to remove them. Just be careful not to hit the soaker block too much as you’ll make yellow blocks appear that can knock you off.
Fourth Stage
The final area is essentially a giant combat arena that pits you against three waves of Octoling enemies, with each wave getting harder. The important thing to know ahead of time is that the third wave of enemies can use special weapons, so you’ll need to be extra careful. This is the most straightforward section, but also the hardest.
During this section remember that you can use Little Buddy to distract enemies, which can give you a split second to get an advantage. As you progress through the battle specials will start appearing in the area, and the trick to winning is to keep using the specials. Each time you use a special another stronger one will appear, so don’t just let them sit there. You’ll likely need to replay the stage multiple times, but just remember to use the specials and stay on the move, making sure you don’t get pinned down by multiple enemies.
Once you beat the fourth and final stage you’re done, and you’ll get a new Alterna Log and the bear ears gear as a reward.
