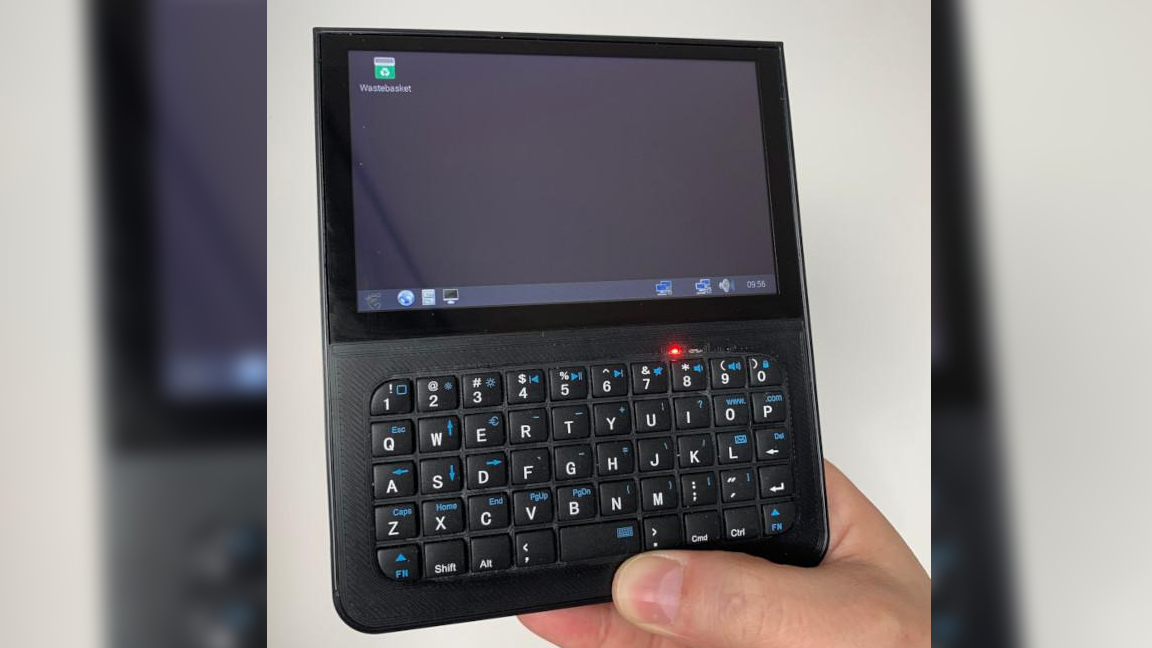
The Raspberry Pi is known for its compact size but the Compute Module 4 (CM4) distils the power of the Raspberry Pi 4 into a smaller form factor. This makes the compact boards a great go to option for makers looking to create powerful projects without the bulk. Such is the case here with Ken Van Hoeylandt’s latest pocket-size Pi project, the Decktility. This small handheld was made entirely from scratch and is powered by a Raspberry Pi CM4.
Hoeylandt explains that he wanted a project with plenty of challenge and to create something from scratch. He knew he wanted to create a handheld similar to the Yarh.io Mini 2 but it needed to suit his needs as well as exhibit a bit of his own creative flair. The end result is this super compact pocket-sized computer.
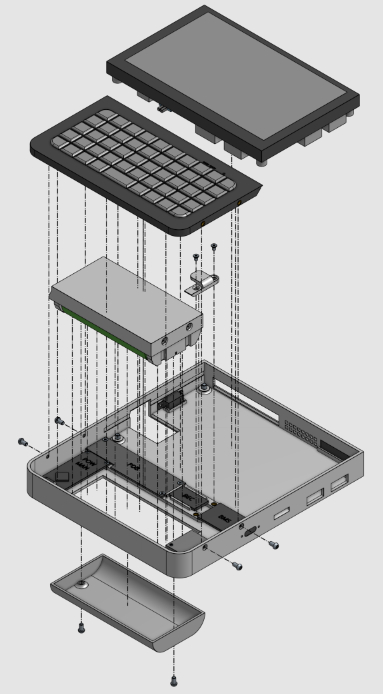
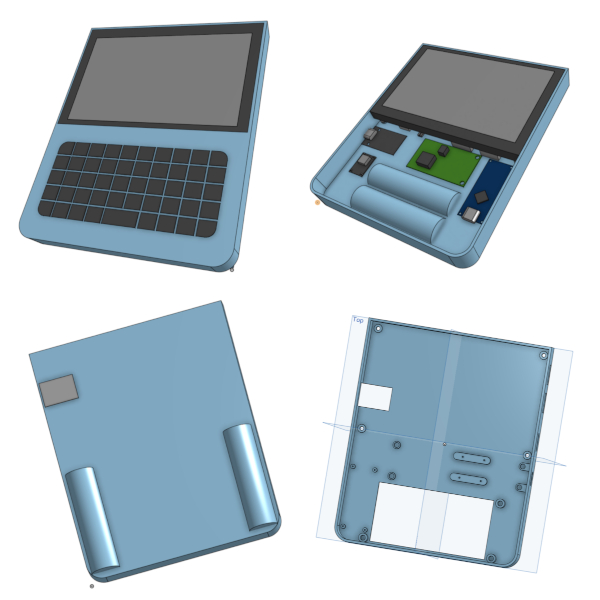
The unit is housed inside of a 3D-printed shell that Hoeylandt designed himself. You could print this shell using any of the best 3D printers. The CAD files were created using OnShape and required quite a few revisions before landing on his final design. It has a keyboard integrated into the bottom and an IPS touchscreen for video output with a resolution of 800 x 480px. There are batteries built into the Decktility as well to make it portable—two 18650’s that can power the device for up to 6 hours.
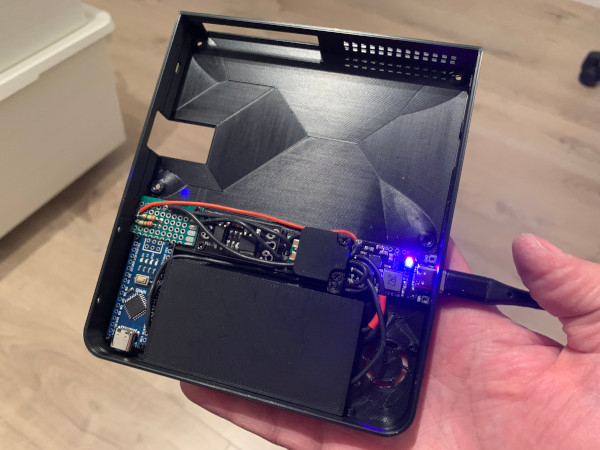
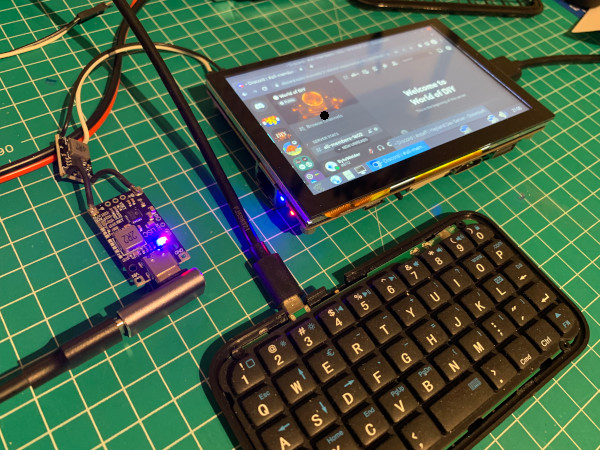
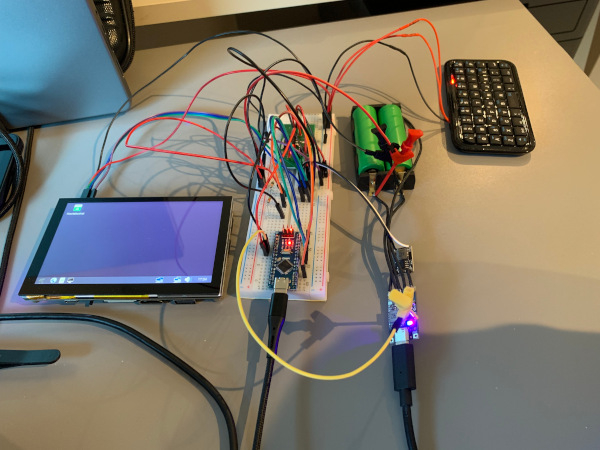
There are a few boards used in this project other than the CM4. Certain challenges led to the introduction of an Arduino Nano. To avoid draining power from the battery, Hoeylandt opted to use a Nano to work as a voltage reader for the battery pack. A USB BMS is also used to help manage the batteries and allow for features like USB recharging.
Software-wise, you can theoretically run your favorite OS with this configuration. It works great with Raspberry Pi OS which has plenty of tools from browser support to media players and then some. Any similar OS would be just as suitable in its stead. You can find more about the software-side of the project over at GitHub.
If you want to recreate this Raspberry Pi project or just learn more about how it goes together, check out the tutorial put together by Ken Van Hoeylandt on his website. There you can also find tons of behind the scene pictures and details of the creation process.


