Admit it: we say ‘dead hedge’, you think ‘gardening mishap’ – but nothing could be further from the truth.
In fact, if you’re trying to find a beautifully rustic garden fence idea for your garden, the humble dead hedge could be the perfect fit.
Perfect for those smaller spaces where even the very best hedging plants and garden screening ideas might prove overwhelming, a dead hedge makes great use of pruned branches and plant cuttings to create a barrier with some serious oomph.
Better still? This wildlife garden must-have also provides shelter for birds and insects, helps manage garden waste, and is a fantastic option if you're keen on low-maintenance gardening. Win-win!
What is a dead hedge?
Dead hedges are steadily garnering popularity on social media, but what are they?
‘In effect, a dead hedge is a neatly arranged stick pile, and so is a great way to use up any prunings and sticks lying around the garden,’ explains the RSPB's Wildlife Gardening Expert, Adrian Thomas.
‘They make excellent alternatives to fences, and in smaller gardens and outdoor spaces, they can also be used for screening or as part of a rustic sitting area. And with a bit of creativity, they can become a thing of beauty.’
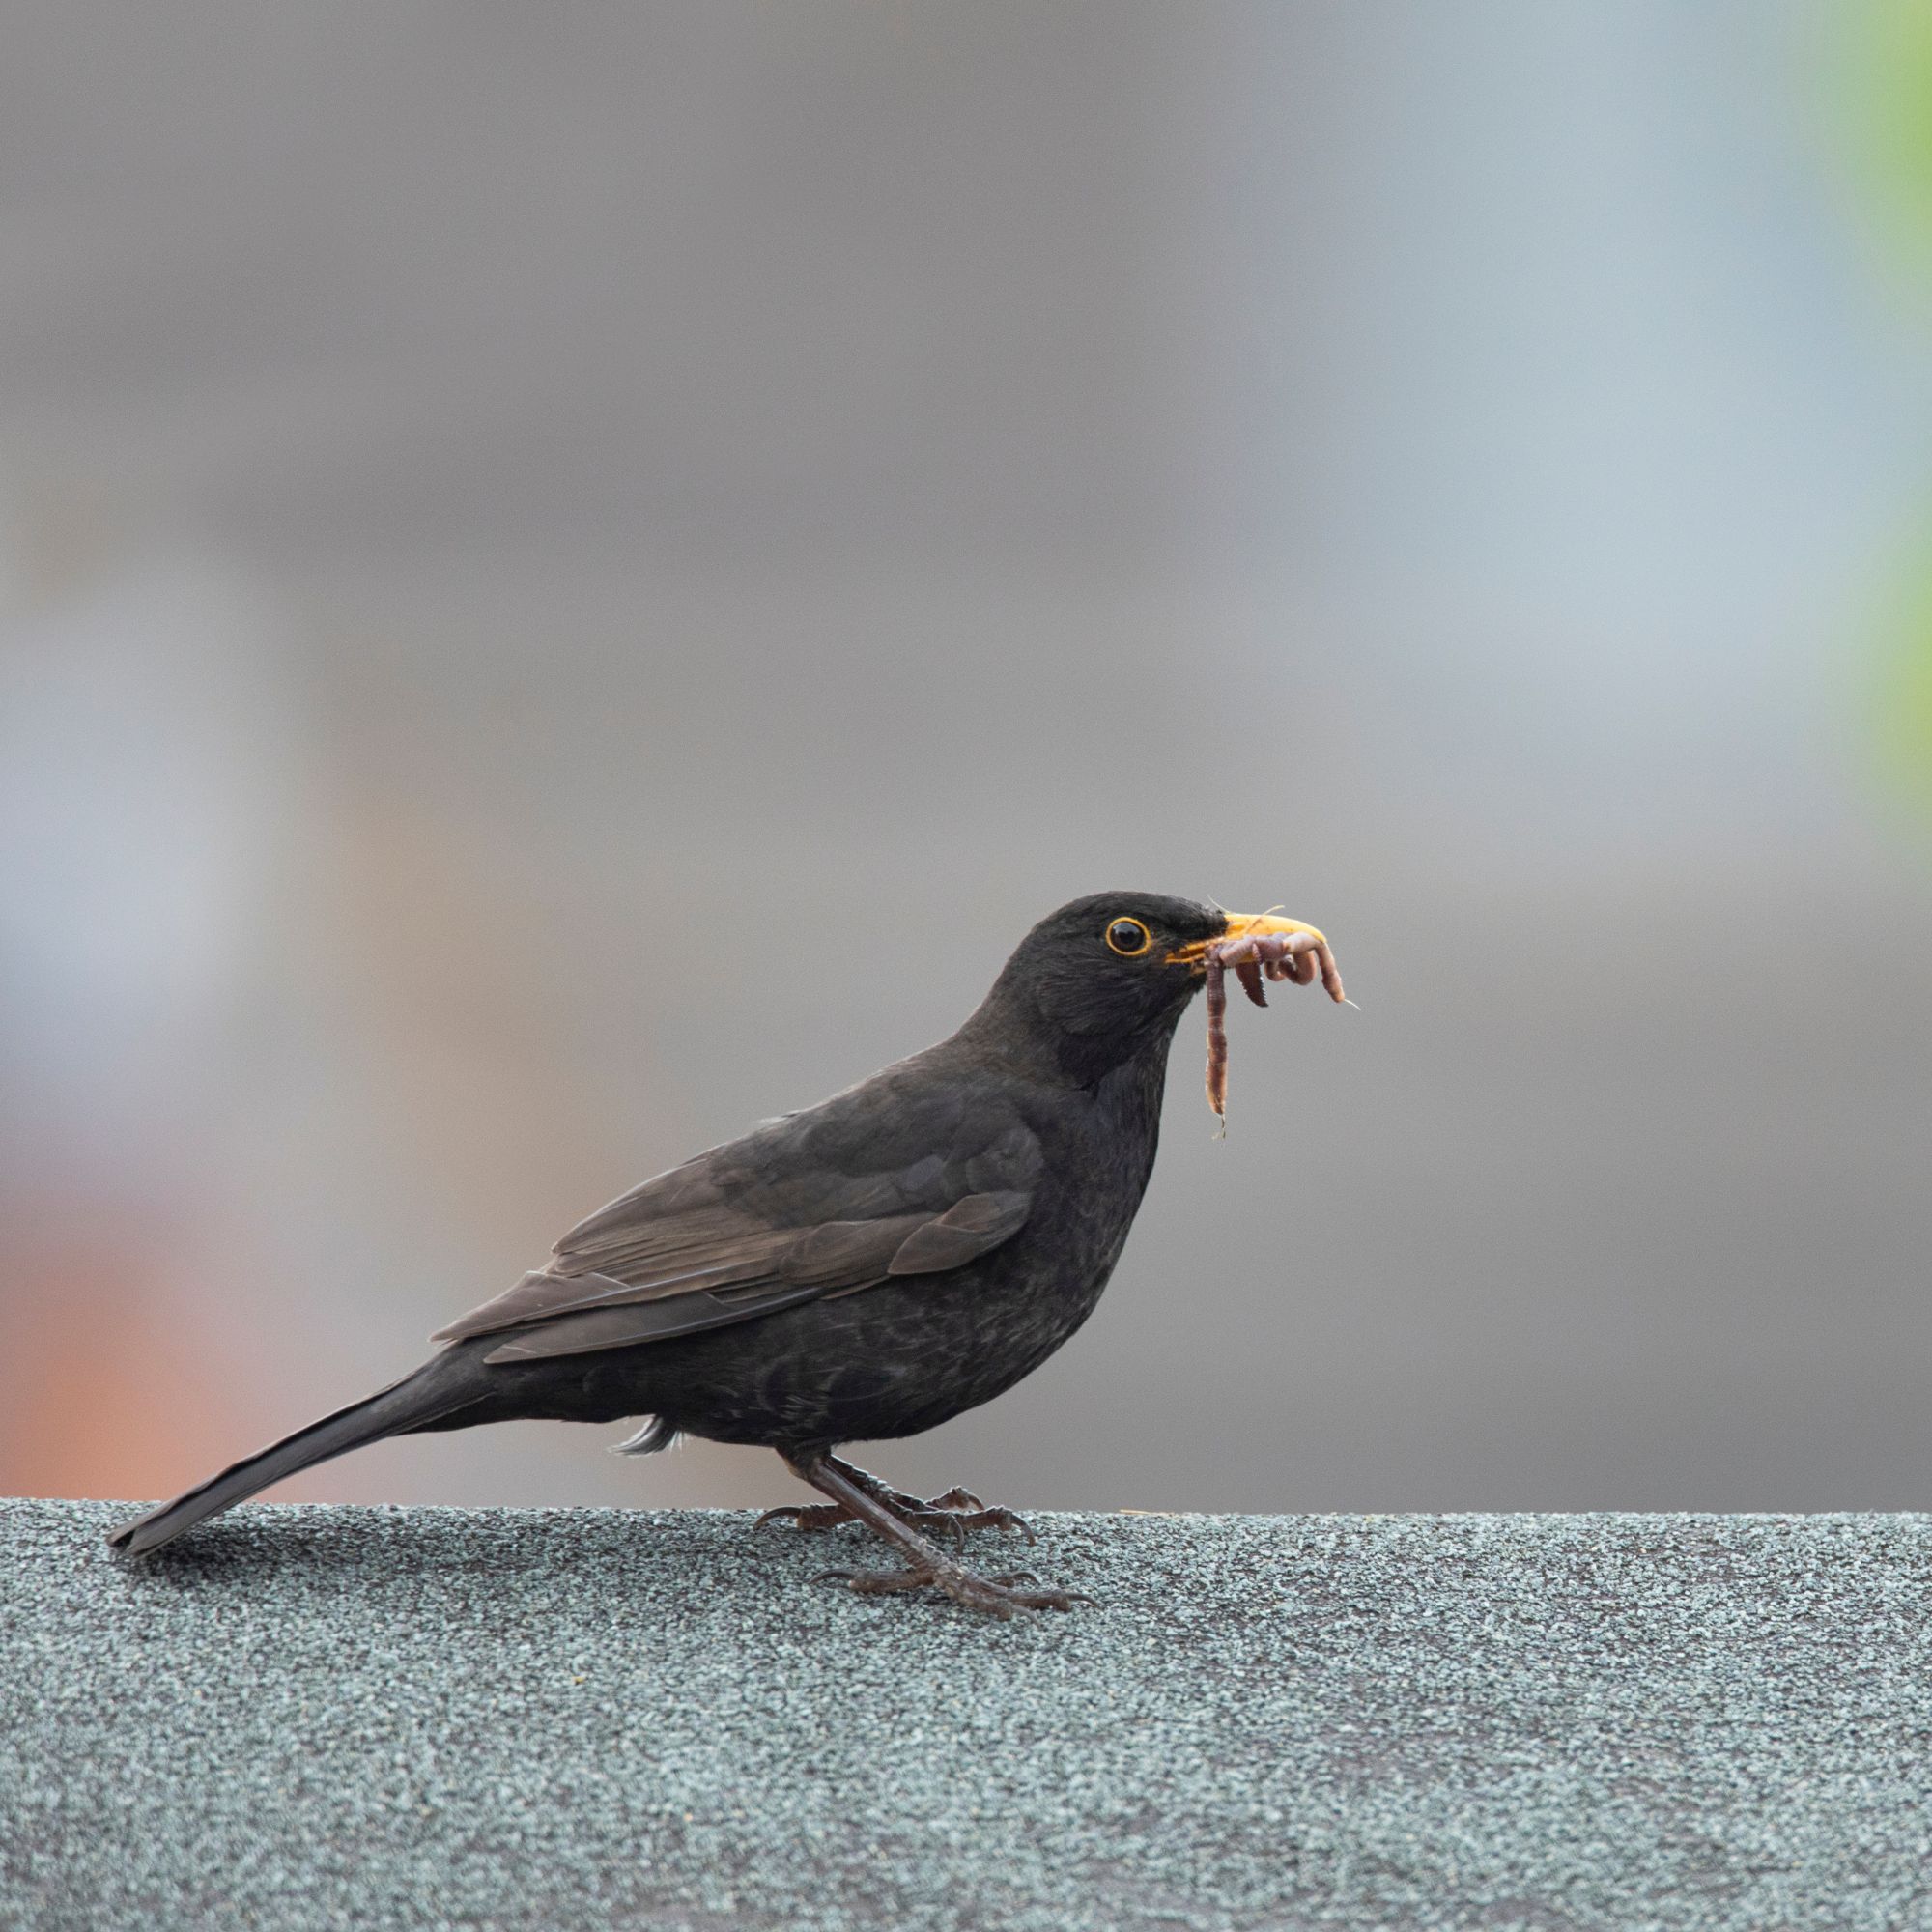
‘Despite their name, dead hedges can encourage and sustain an incredibly wide range of wildlife in your garden,’ continues Adrian, noting that they can prove a wonderful habitat for garden birds such as Wrens, Dunnocks and Blackbirds.
‘They are also a hideaway for various invertebrates, Frogs, newts, Toads and small mammals,’ he adds, finishing with a promise that ‘making your own is a fantastic – and affordable – wildlife-friendly project to tackle that you can either do in one go, or, even better, just keep adding to it bit by bit over time…’
Intrigued? Well, Adrian is right; creating your own dead hedge doesn’t have to be complex or costly; whether you’re working with garden trimmings or fallen branches, it’s a garden upcycling project that’s both practical and visually appealing.
So, how to build your own with minimal fuss? Look this way...
What you'll need
If you'd like to build your own dead hedge, you're in luck; you won't need all that much in terms of tools and equipment.
'All that’s needed to build a dead hedge is the materials being used, such as fallen branches, twigs, woody material mainly and perhaps some hedge trimmings, as well as upright stakes or bamboo canes (these from Amazon are sturdy) to hold it all in place,' says Morris Hankinson, director of Hopes Grove Nurseries.
'You may also need some wire to hold it in place,' he adds.
Step-by-step guide
Now that you have everything you need to get your dead hedge together, it's time to start building in earnest...
1. Get your supports in place
The first thing you'll need to do when building your dead hedge is set up a good support system.
'You’ll need to secure some vertical stakes to support your dead hedge – if you’d like to reuse existing matter from your own garden, identify straight lengths of branch, with a diameter of 3-5cm,' advises the RSPB's Adrian.
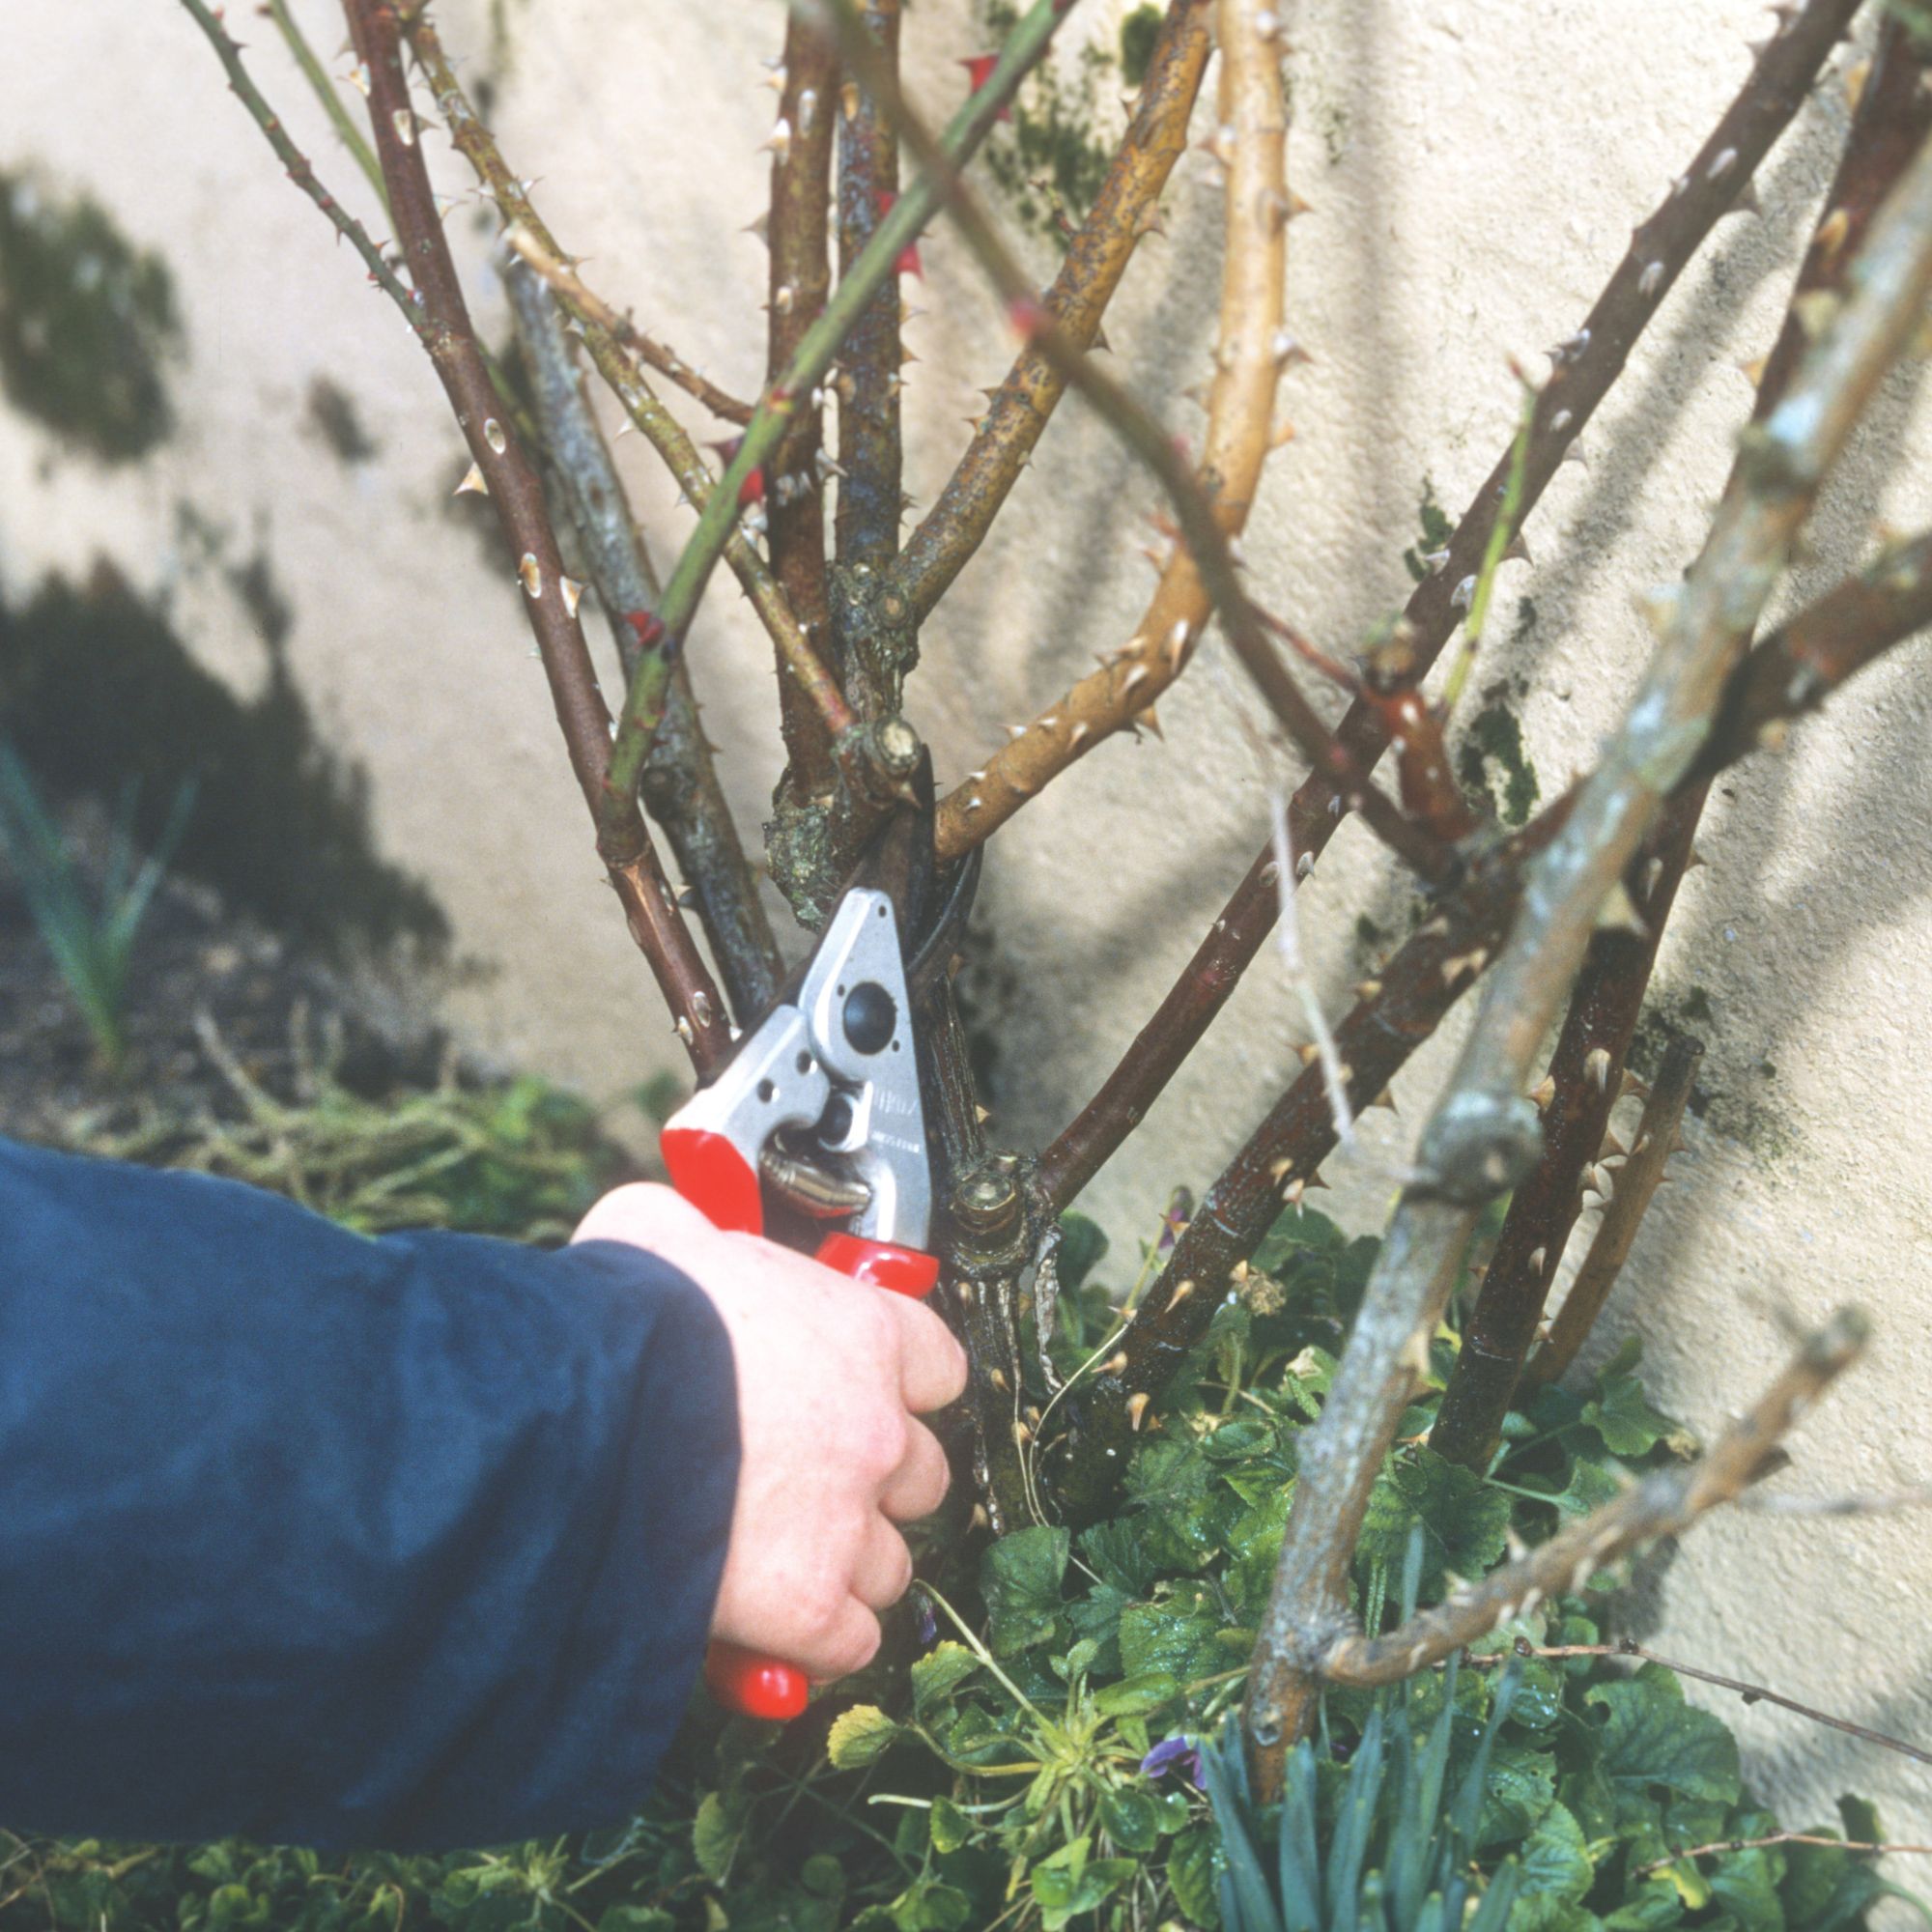
'If you’re able to, sharpen them to a point and hammer them into the ground in two opposite rows about 45 to 60cm apart, and with 1-1.5m spacings between stakes in each row,' he continues, pointing out that 'your dead hedge can be straight, or flow in a gentle curve.'
Adrian adds that, if you don’t have existing branches you’re able to use, you could instead buy simple garden stakes or bamboo canes (we rate this bamboo canes bundle from Crocus).
2. Fill in the gaps
Next on your dead hedge checklist? Start filling the gaps!
'With the uprights in place, then start to add tidy piles of pruned tree and bush stems in between the stakes, weaving longer branches between the stakes and amongst the cuttings,' explains Adrian.
'Keep adding to this every time you prune or tidy up around the garden to maintain the height of the hedge, as over time the cuttings will gradually rot down.'
3. Don't be a perfectionist
If you end up with branches sticking out sideways from your dead hedge, Adrian says you shouldn't worry about trimming those back.
'They make excellent natural perches for both birds and insects to make use of,' he says.
4. Add some colour
Finally, Adrian says that, once your dead hedge is established, you should start thinking about how to add a little colour to it and draw pollinators in.
'This could be by sowing some wildflower seeds nearby to grow a mini wildflower meadow, or trailing a climbing plant like clematis or honeysuckle through,' he explains.
We recommend something like the RHS award-winning Lonicera × tellmanniana from Crocus, if you really want to step up your honeysuckle game.
FAQs
Will a dead hedge work in a small garden?
A dead hedge will absolutely work in a small garden, as it's completely customisable!
'In the past, dead hedges would only be seen in larger rural landscapes, but they are so easy to make and beneficial for all environments that even small gardens can have a dead hedge,' says Morris Hankinson of Hopes Grove Nurseries.
'It really doesn’t matter if a dead hedge is a metre long or ten metres long, so this concept can be used anywhere.'
What is the purpose of a dead hedge?
The purpose of a dead hedge is to create a useful barrier, true, but it's also to boost the biodiversity of your garden.
'Dead hedges provide shelter for many insects and garden wildlife. The piles of branches can provide a safe space for birds, hedgehogs, insects and over winter, ladybirds, solitary bees, and beetles can hide throughout the colder months,' says Morris Hankinson of Hopes Grove Nurseries.
'If the dead hedge is also full of twigs, it’s possible birds may even nest in the hedge.'
Now that you know how to create a dead hedge, all that's left to do is set to work. Have fun creating your own rustic barrier – and don't blame us if your garden is alive with the sound of birdsong before too long...