I’ve been a pro image-maker in the NYC advertising market since 1990, the same year Photoshop was released. And I had been on Photoshop’s beta development team since the year before. So what I look for in a photo-editing application may be a bit more demanding than most (find whatever you need in this list of best photo editing software).
If you read my recent GIMP 3.0 review here, then you will know two things. The first is that I had every reason to want to love it. And the second is that sadly, I did not love it. My many biases in its favor, notwithstanding.
It’s many defenders say it’s toolset is fine. To which I’ve replied, “You clearly have never had the Mercedes-Benz account team breathing down your neck waiting for an image to be finished”. Professional work and deadlines are simply more demanding than hobbies.
But as I have decided it was time for me to move from Windows and Adobe, to Linux and open-source, making GIMP work for my professional needs is one of my challenges.
So the question I will ask here is this: Using GIMP, can I get my work done by 6pm? Or at all? Let’s look at a few basic editing tasks and see how we can accomplish them in GIMP. For new kit see this list of the best laptops for photo editing.
IMPORTANT NOTE: For this round I’m using GIMP 3.0 “Release Candidate 1”. Essentially a late stage beta. And I’m using the Windows version. I expect that the Linux version may be a bit more polished, and we will look at that in following articles.
Object Selection & Masking
Whether I shot the photos or someone else did, there’s hardly an image that I work on that doesn’t start with isolating and masking various items in the scene. So having good masking tools is imperative.
The standard-bearer, Photoshop has many ways to do this, including the more recent “Select Subject” button that automates the entire process. I believe it uses AI and offloads some of the work to the cloud. While GIMP has neither any native AI, nor cloud supported functions, it can still get the job done quite well. Let’s look at a few ways to do this.
SELECT BY COLOR
We have had the “Magic Wand” in many programs for decades. Here it is called the “Fuzzy Select” tool. It sits just to the left of the “Select by Color” tool that while largely similar offers one extra function. Fuzzy only selects colors or tones that are within the “Threshold” level set, and that are also CONTIGUOUS. Meaning next to one another. So in our example, the space within the model’s arm-on-hip would not be selected. With Select by Color, that area would also be included. So clearly By Color will do a better job with the delicate hair.
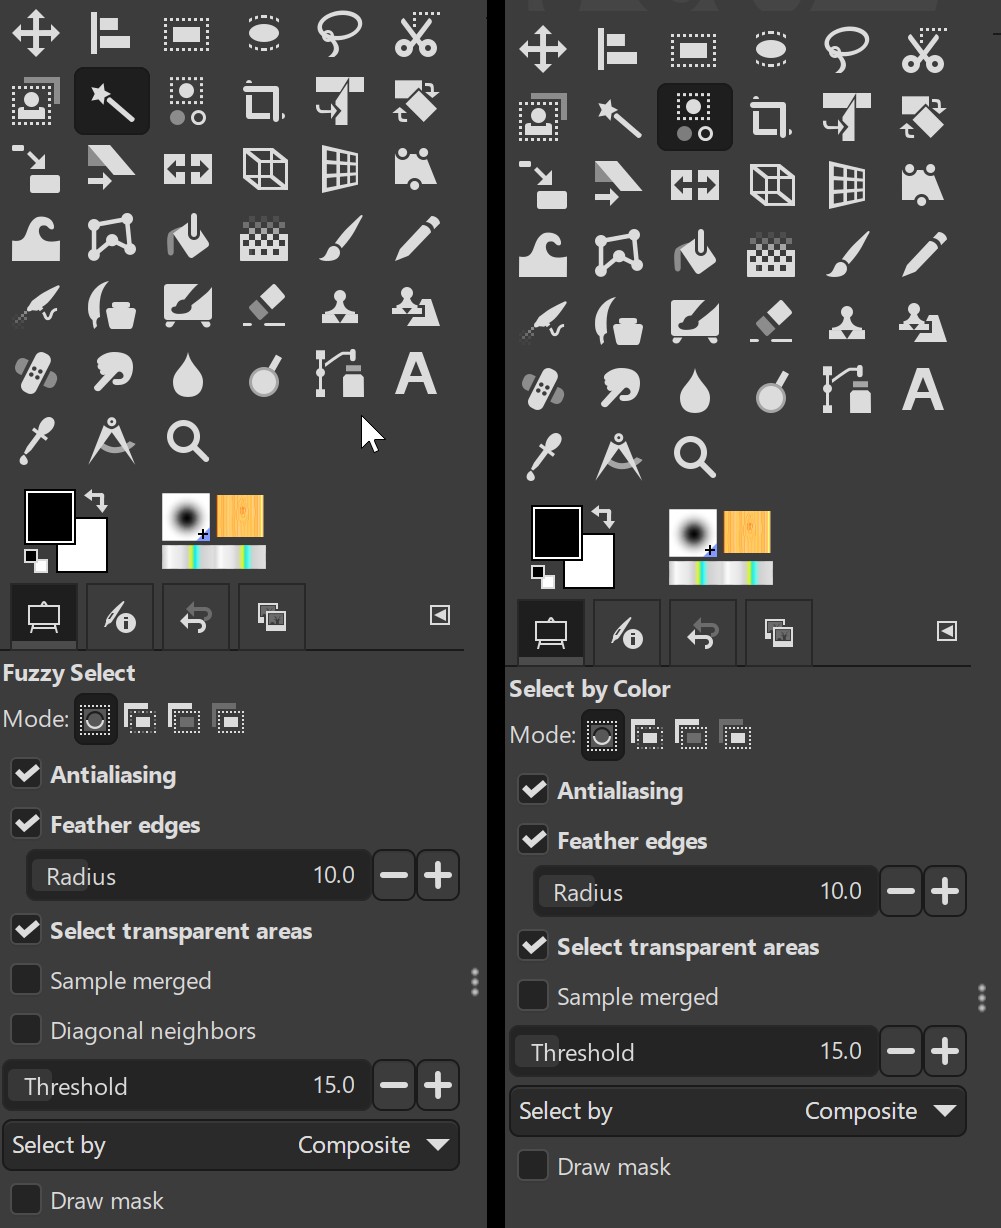
What doesn’t seem to work, at least on the Windows version, is the ability with either tool to drag-select a range of colors. This is usually done while holding the Shift key. Instead, while holding the Shift key I had to just keep clicking various colors one by one. Less elegant, but only added a few seconds of additional work.
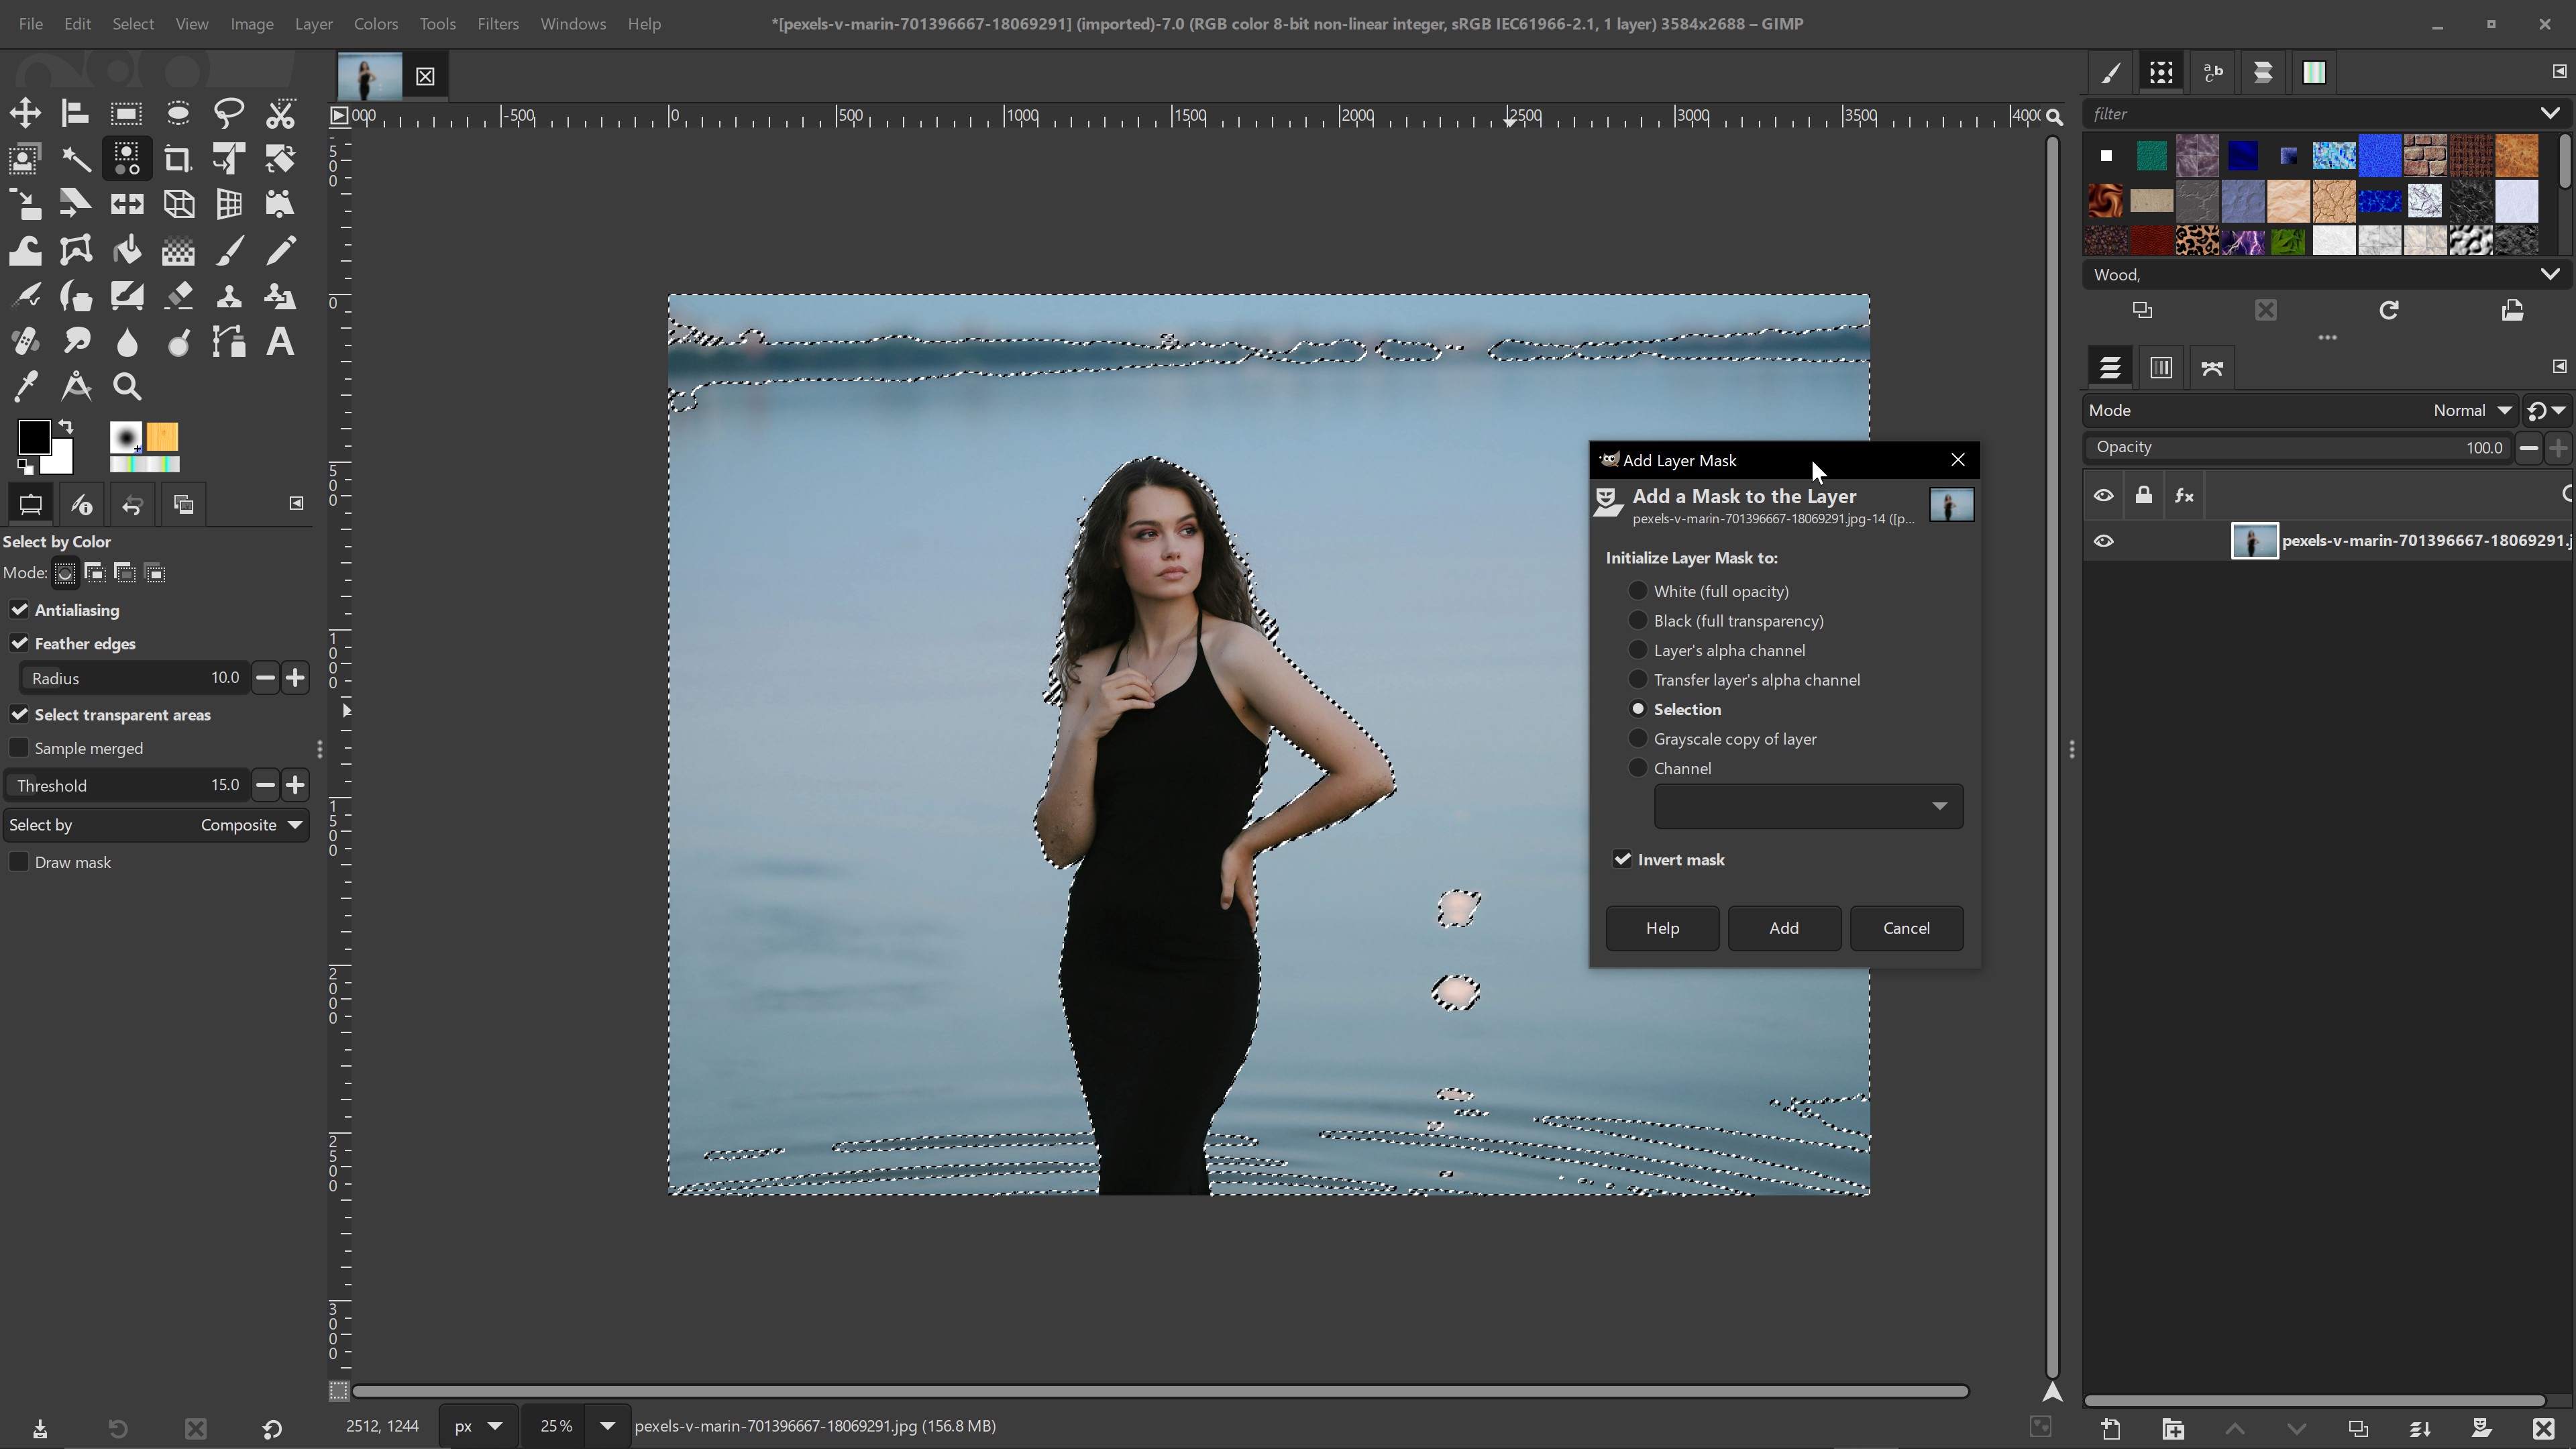
Select by Color is quite similar to the one in PS, with similar controls. But with one huge bonus: Rather than being pulled into a tiny pop-up window, GIMP keeps us in the main work space, which is much nicer and easier.
FOREGROUND SELECT TOOL
While the previous two tools are fully capable of giving us what we need, this Foreground Select tool begins to add some magic sauce. The process is simple, but it has a few gotchas.
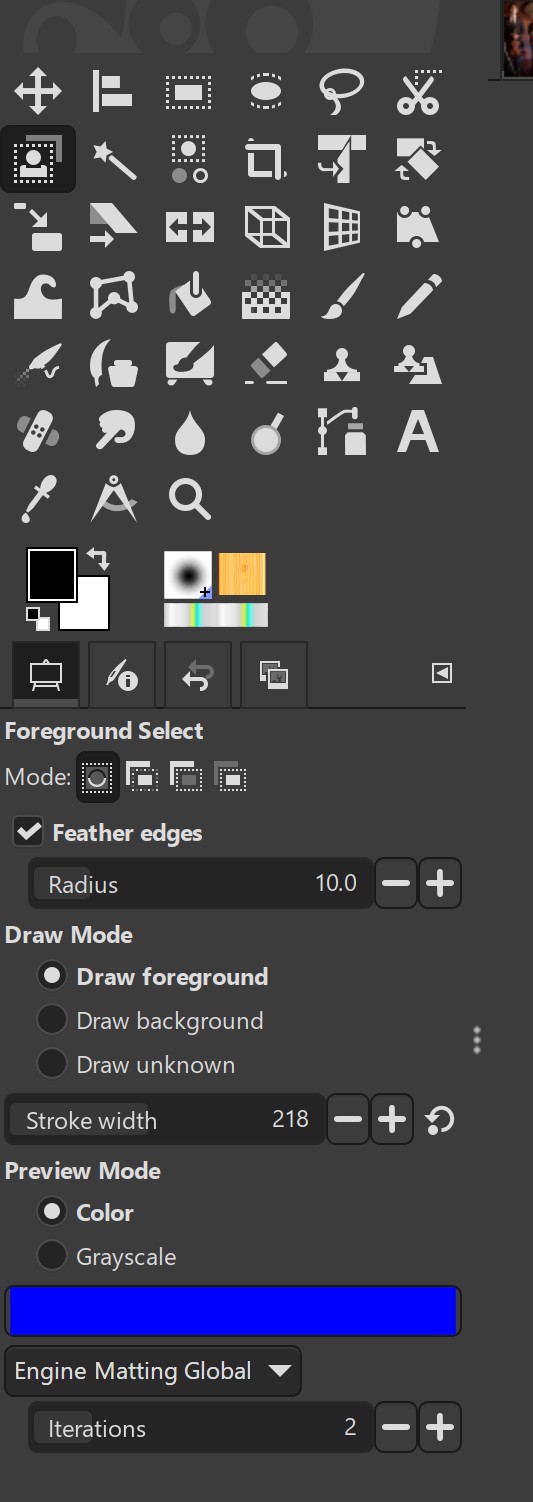
Using the tool is a two-step process that starts by using a lasso-like tool, and then a brush-like tool. Following the instruction prompts at the bottom of the canvas, it says to “Roughly outline the object to extract”. Once accomplished, we hit ENTER/RETURN to accept, then a brush-like tool appears and we very roughly “paint” over the actual item we want selected. A final ENTER tells GIMP to calculate the results.
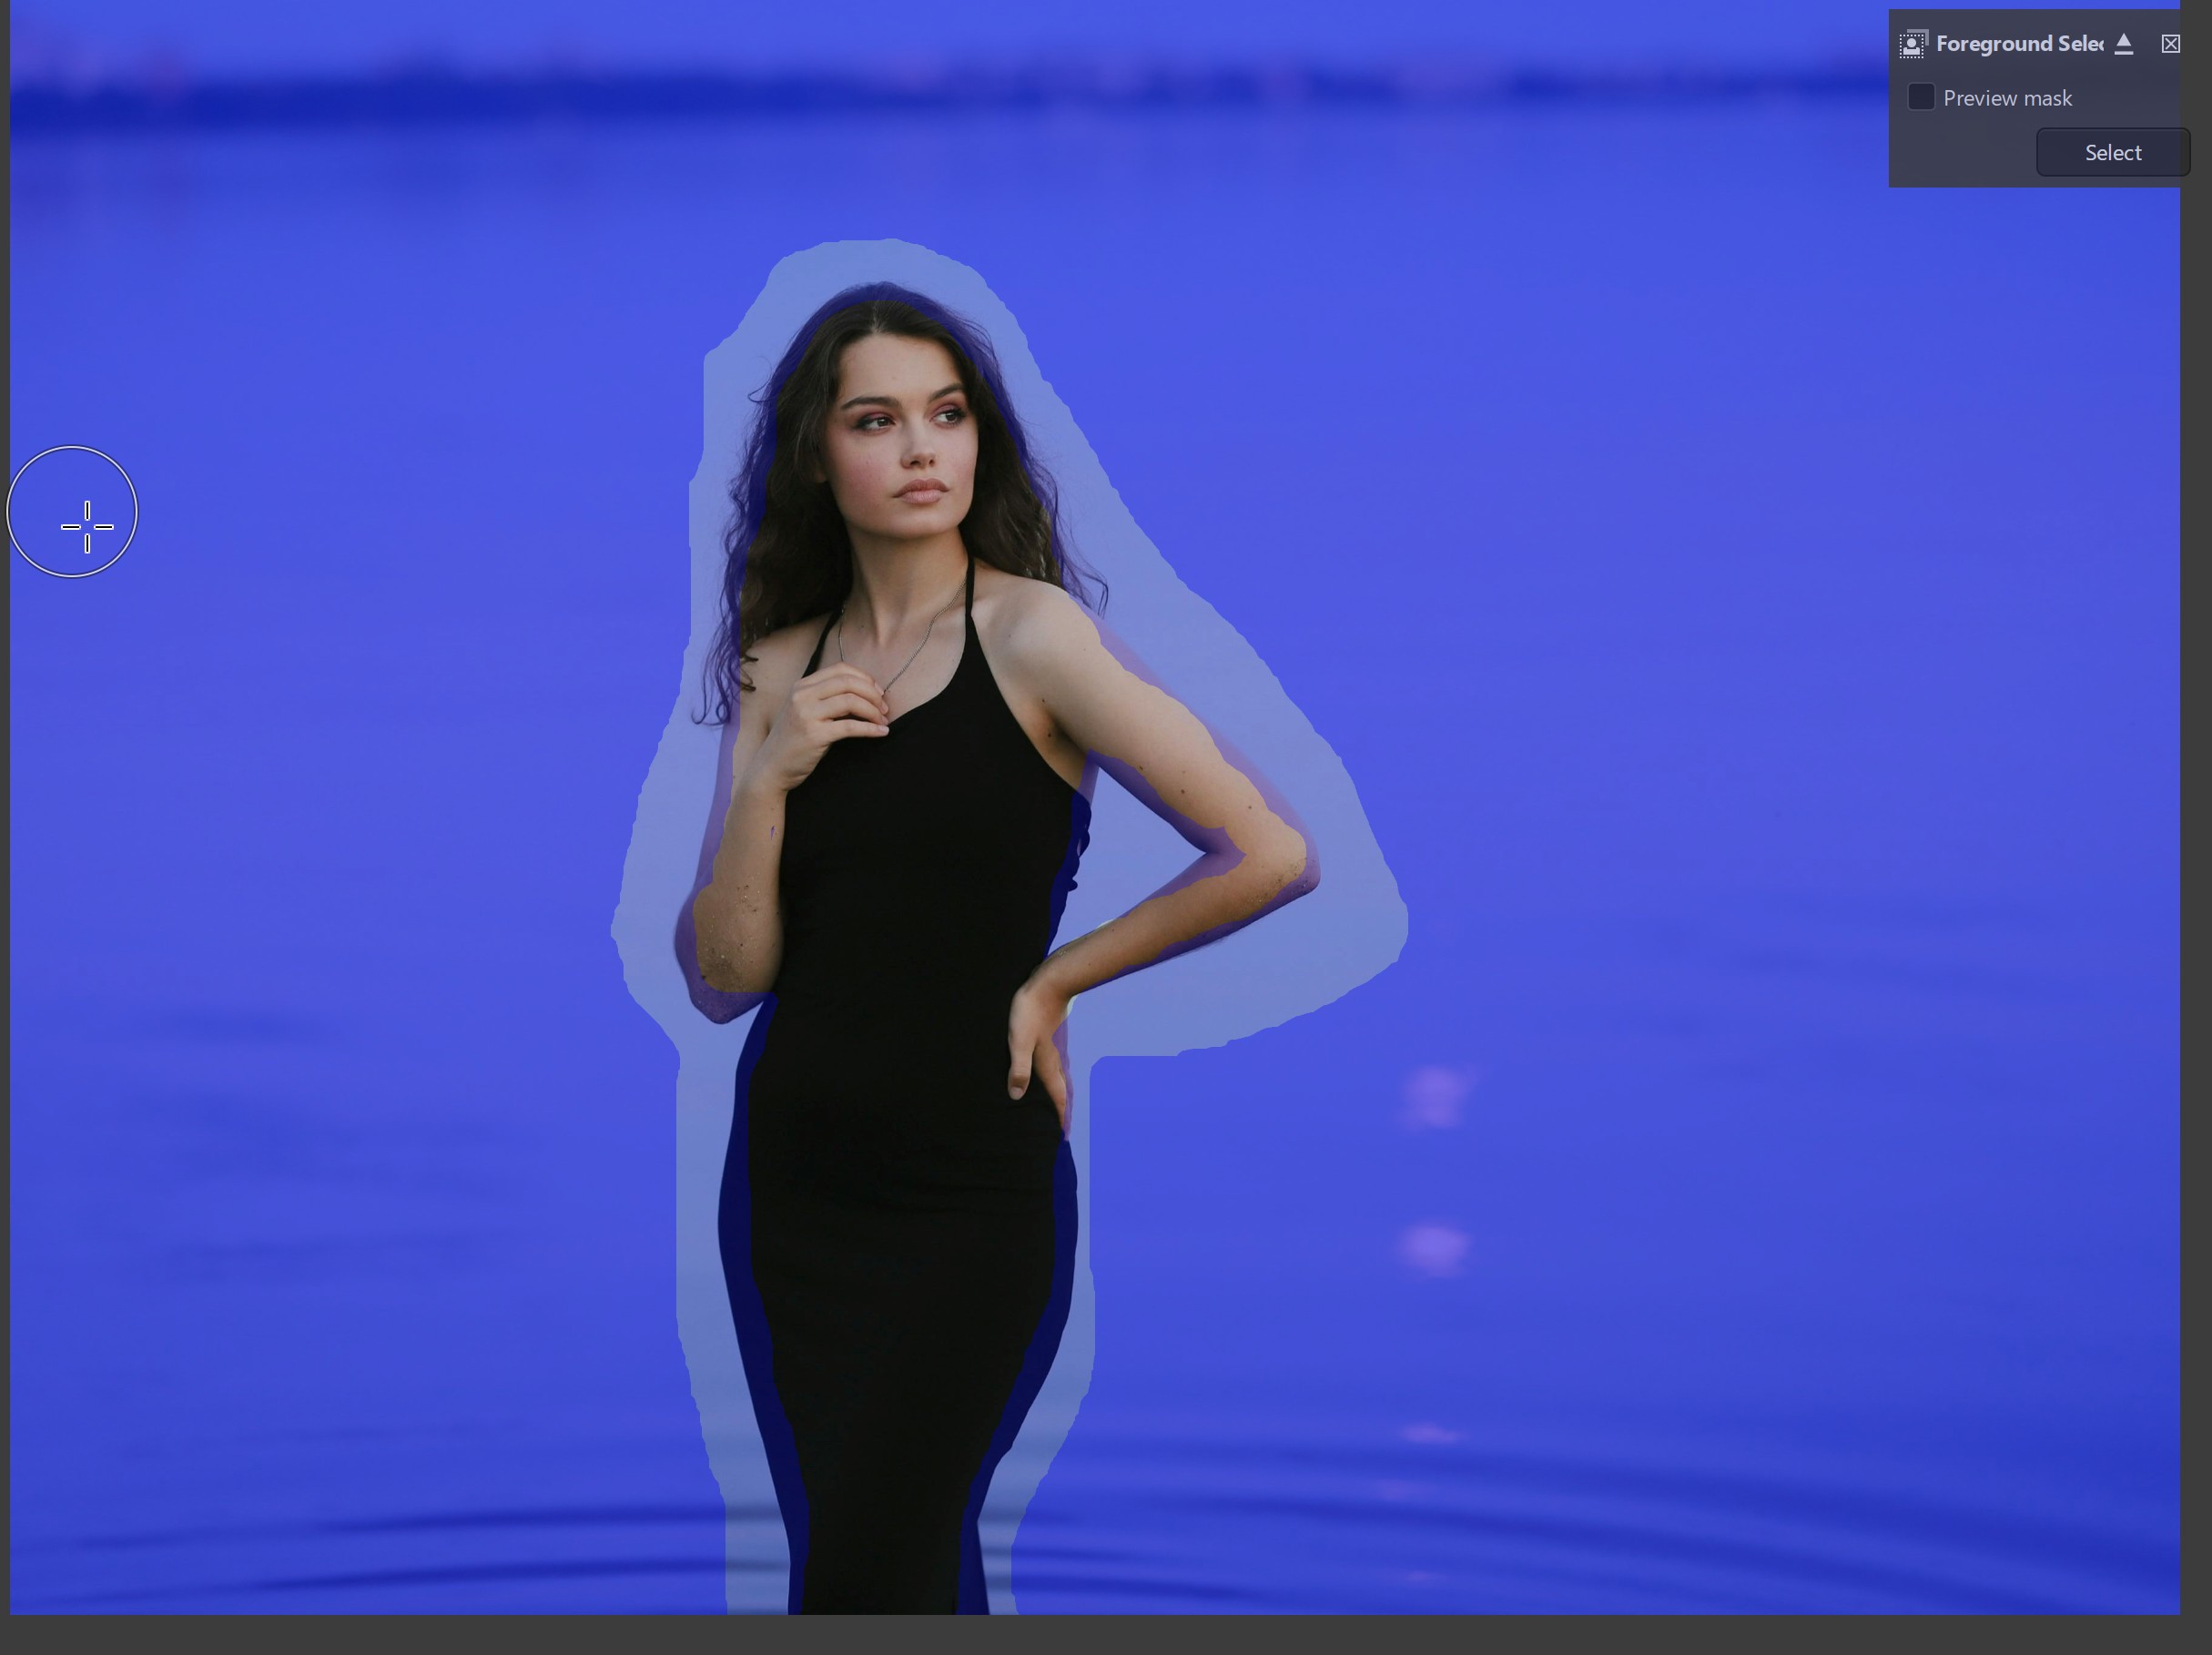
Not only is this relatively simple and fast, it actually gives us a great deal more control than PS’s automated Select Subject tool. The major advantage that Foreground Select has over the previous tools is that it is not just color or tone based. So it can be used across busy backgrounds.
The Gotchas: If you miss-draw, you can refine your selections. But this added process tends to confuse GIMP a bit and you may be better off just starting anew. Remember, both steps only require very rough selections. So yes, you can do this after returning from the pub!
Mainly, just make sure that neither selection crosses over the intended mask line. Keep the lasso line fully outside the subject, and the painting selection fully inside it.
The other gotcha is that when using the default Engine selection called “Matting Levin”, the final selection calculations can get weird if any of your outlining went off of the canvas. This can be easily resolved by either extending the canvas, or switching engines to the “Matting Global” option.
The last note is that each time we hit the ENTER key, GIMP needs to start calculating. There is no display letting us know it is doing this, though I could hear my CPU fans engage. So don’t muck things up by trying to do anything while it is processing. A progress bar would be a logical addition.
BONUS: Selection Refinement
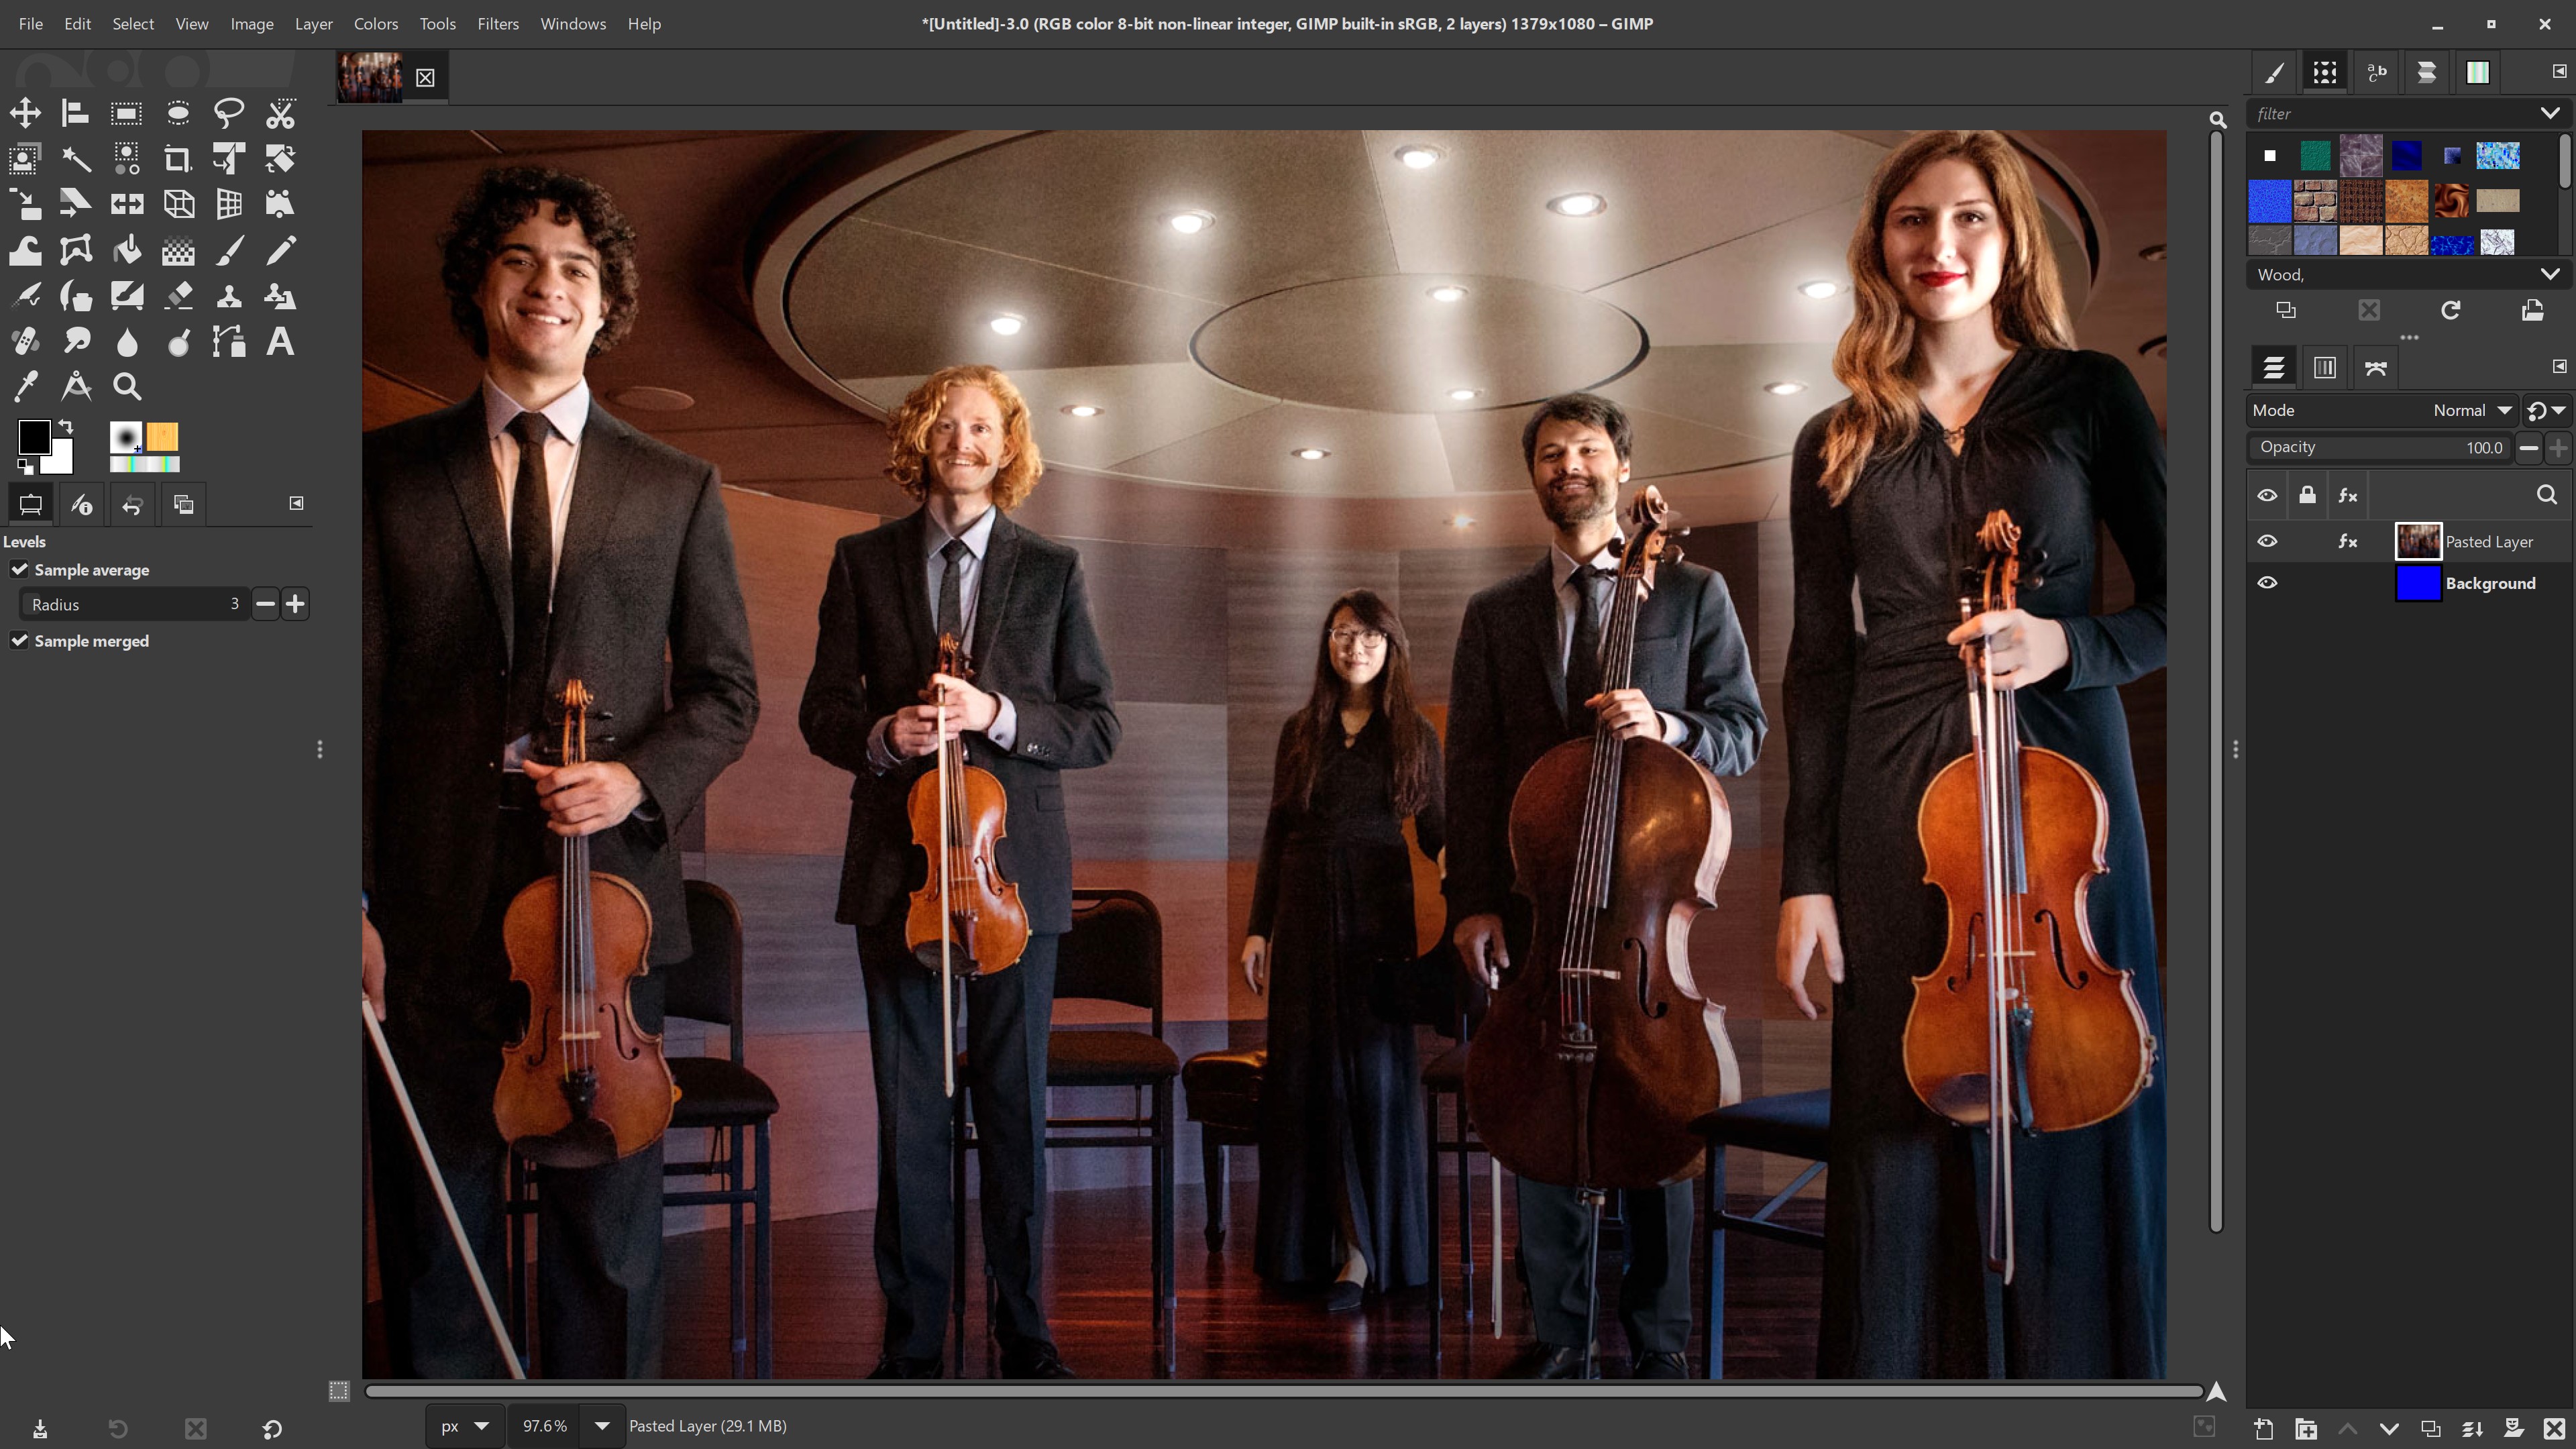
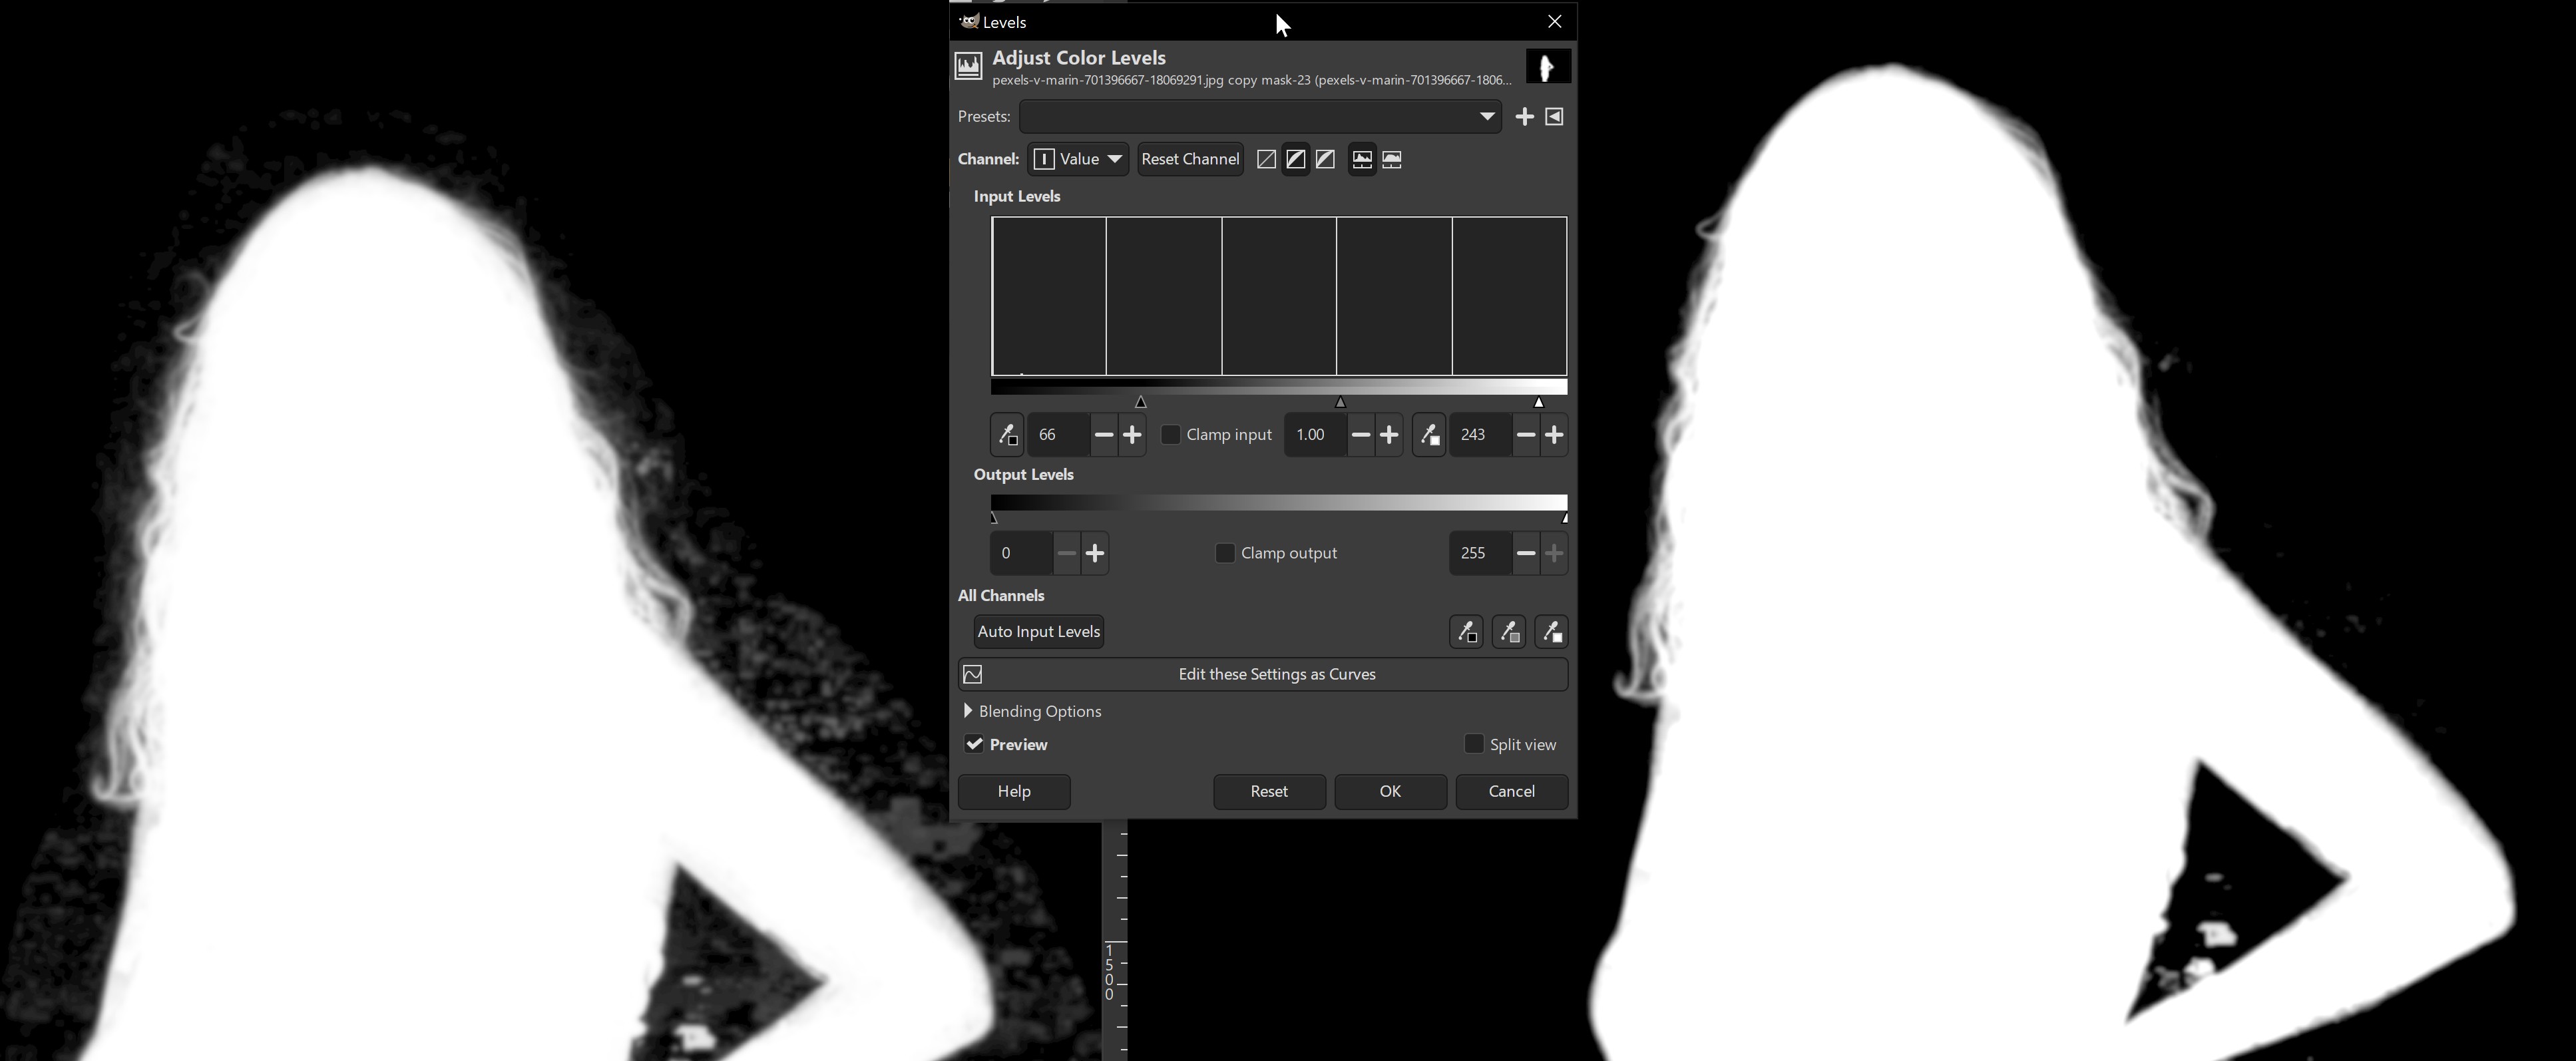
Some have complained that masking tools, even in PS, are never good enough, and that they need PS’s REFINE MASK tools. I say poppycock! After your selection is generated with any of these tools, you will naturally create a Layer Mask: Right-click on that layer and choose ADD LAYER MASKS...
Click on the new mask icon to activate it. Then bring up the Levels dialog and drag the INPUT BLACK control (top left triangle) to the right until the image mask has “tightened up” to your liking.

Generating new content
Long before AI, Photoshop’s Content Aware Fill had a major impact on how retouching and image creation got done. Simply select an area of your image, for example a car that unfortunately crossed the camera’s view just as the shutter snapped. Select Content Aware and poof, the car is removed from the scene.
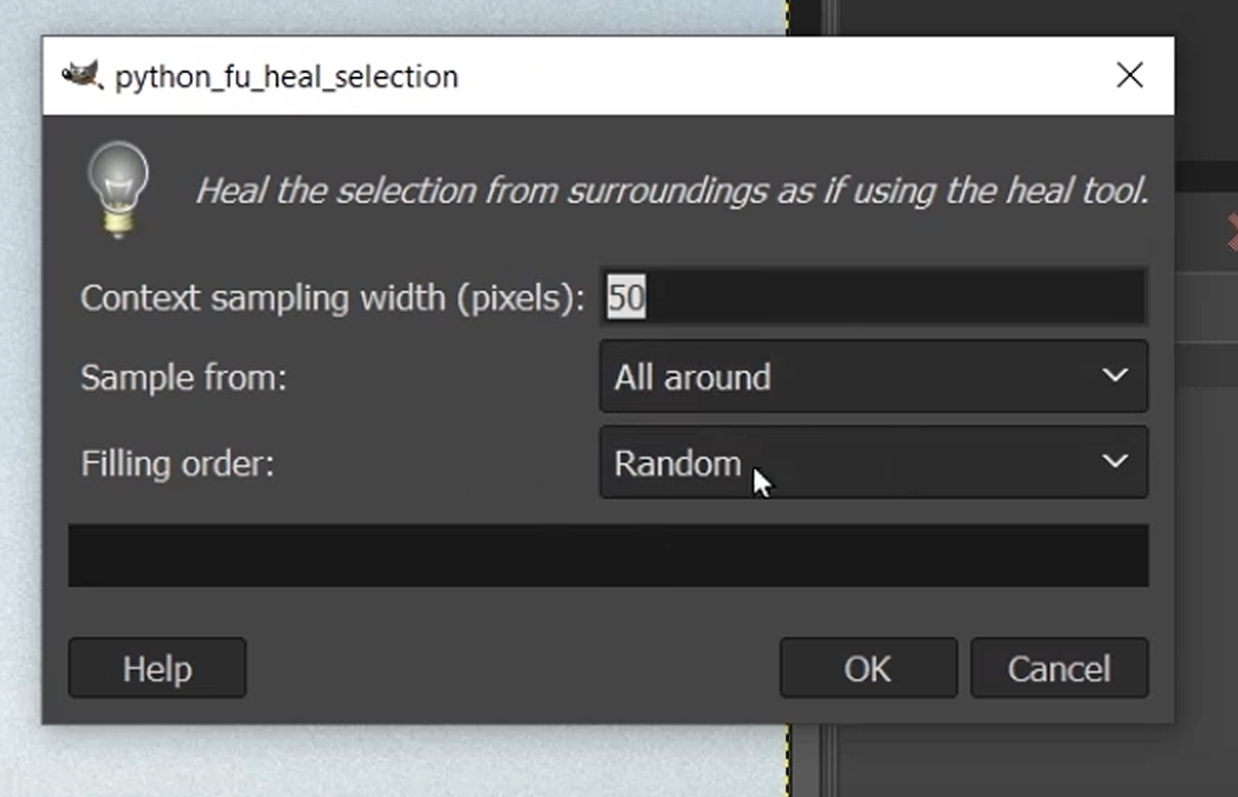
What few PS users know was that GIMP, through third-party open source developers, already had a plugin called Resynthesizer that offered that ability a number of years earlier. So GIMP 3.0 has that ability, right?
Yes and no. That plugin has not been fully updated for the new version of GIMP. At least not yet, but I can tell you they are working on it. So in a pinch you can install one of the 2.0 versions of GIMP and install that plugin. So yes, this too is a fully pro-level production tool that gets the job done!
Also note that if an area isn’t too large, other tools like the HEALING brush can be used. Which leads us right into...
Retouching
Today almost anything someone does in an image editor is called “retouching”. But traditionally, retouching was the term used for the more delicate work, like facial corrections, and making products look absolutely perfect. The large changes to an image are often called photo-comping or special effect retouching.
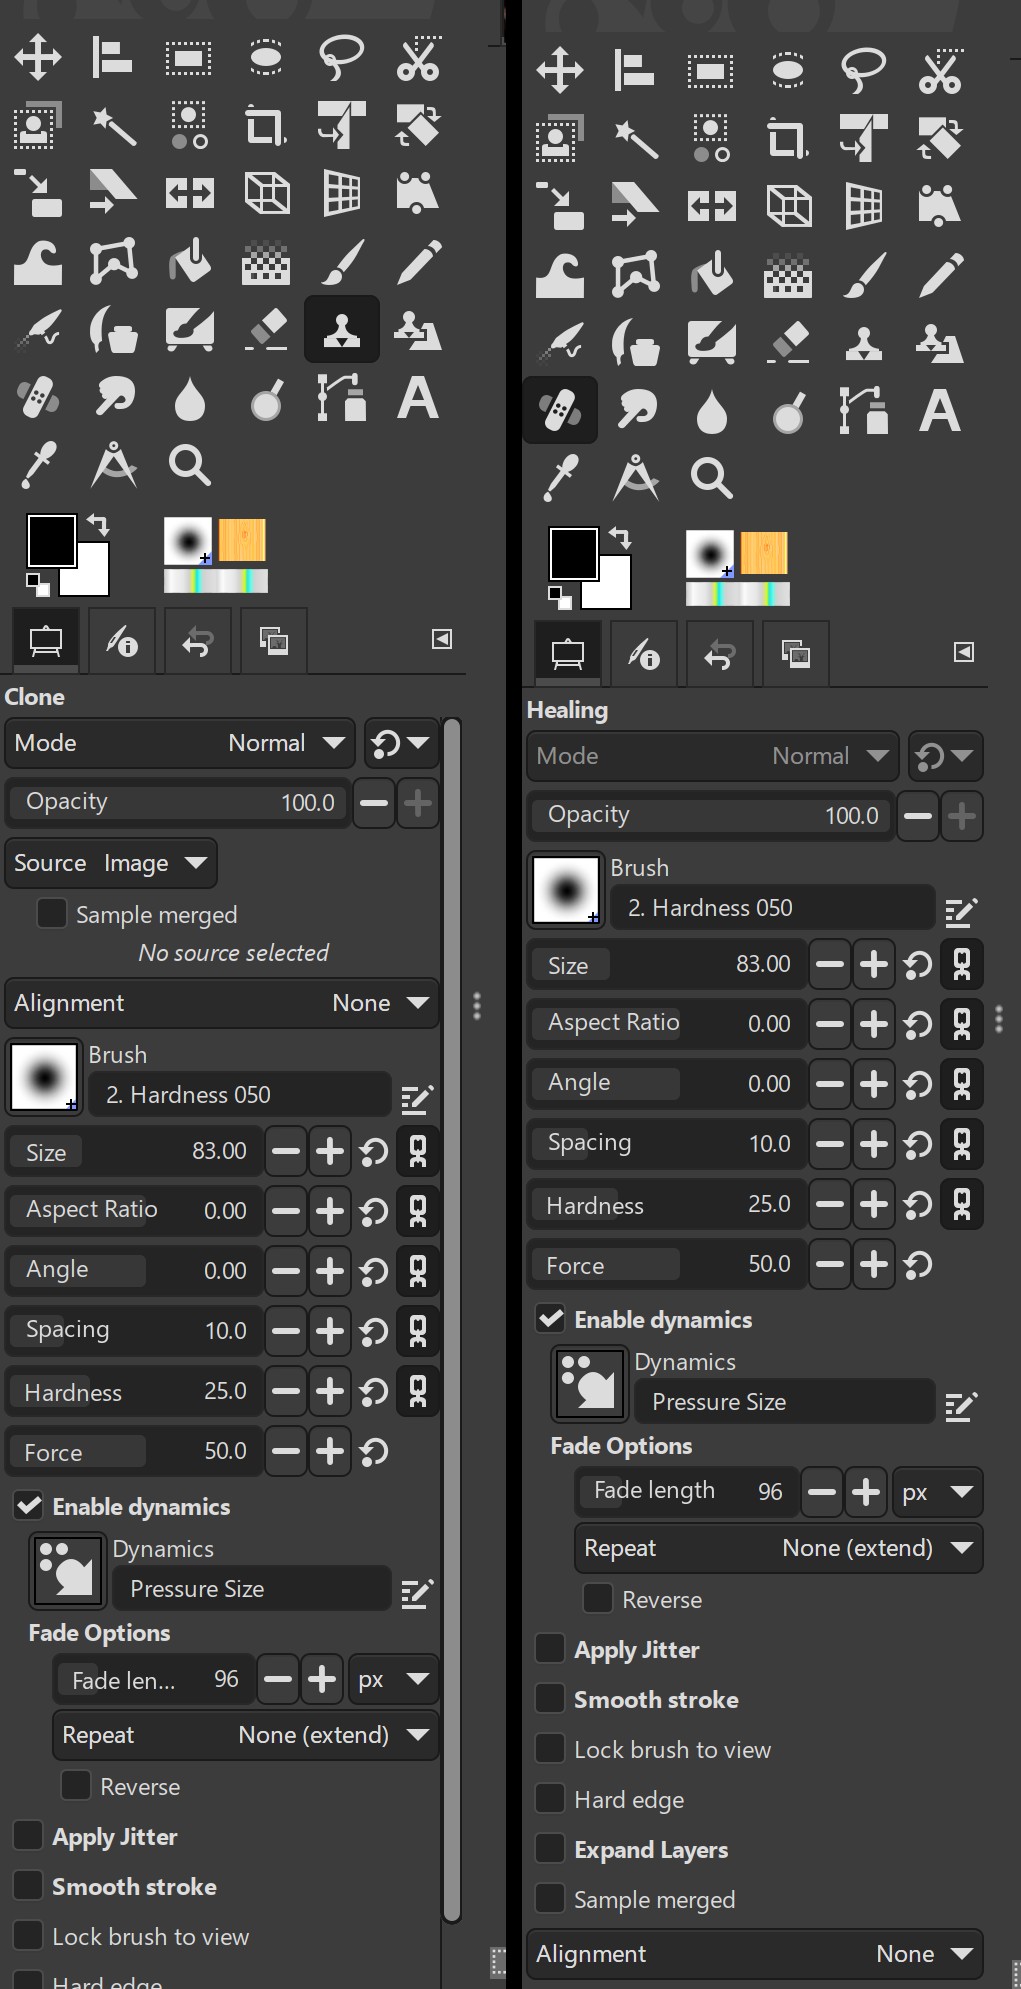
Needing to clean up and perfect an image has been around since photography began. And GIMP has a number of great options that include the Paint brush, the Air brush, and the Clone and Healing tools. I expect most readers know these tools well, so I will only discuss a few details and refinements.
Just like the Fuzzy and Color select tools above, the Clone and Healing tools are also kissing cousins. The difference simply being that while the Clone tool does a direct copy, the Healing tool has smart algorithms to better merge the new material with the content it will overlay. Making it the better option for most retouching work.
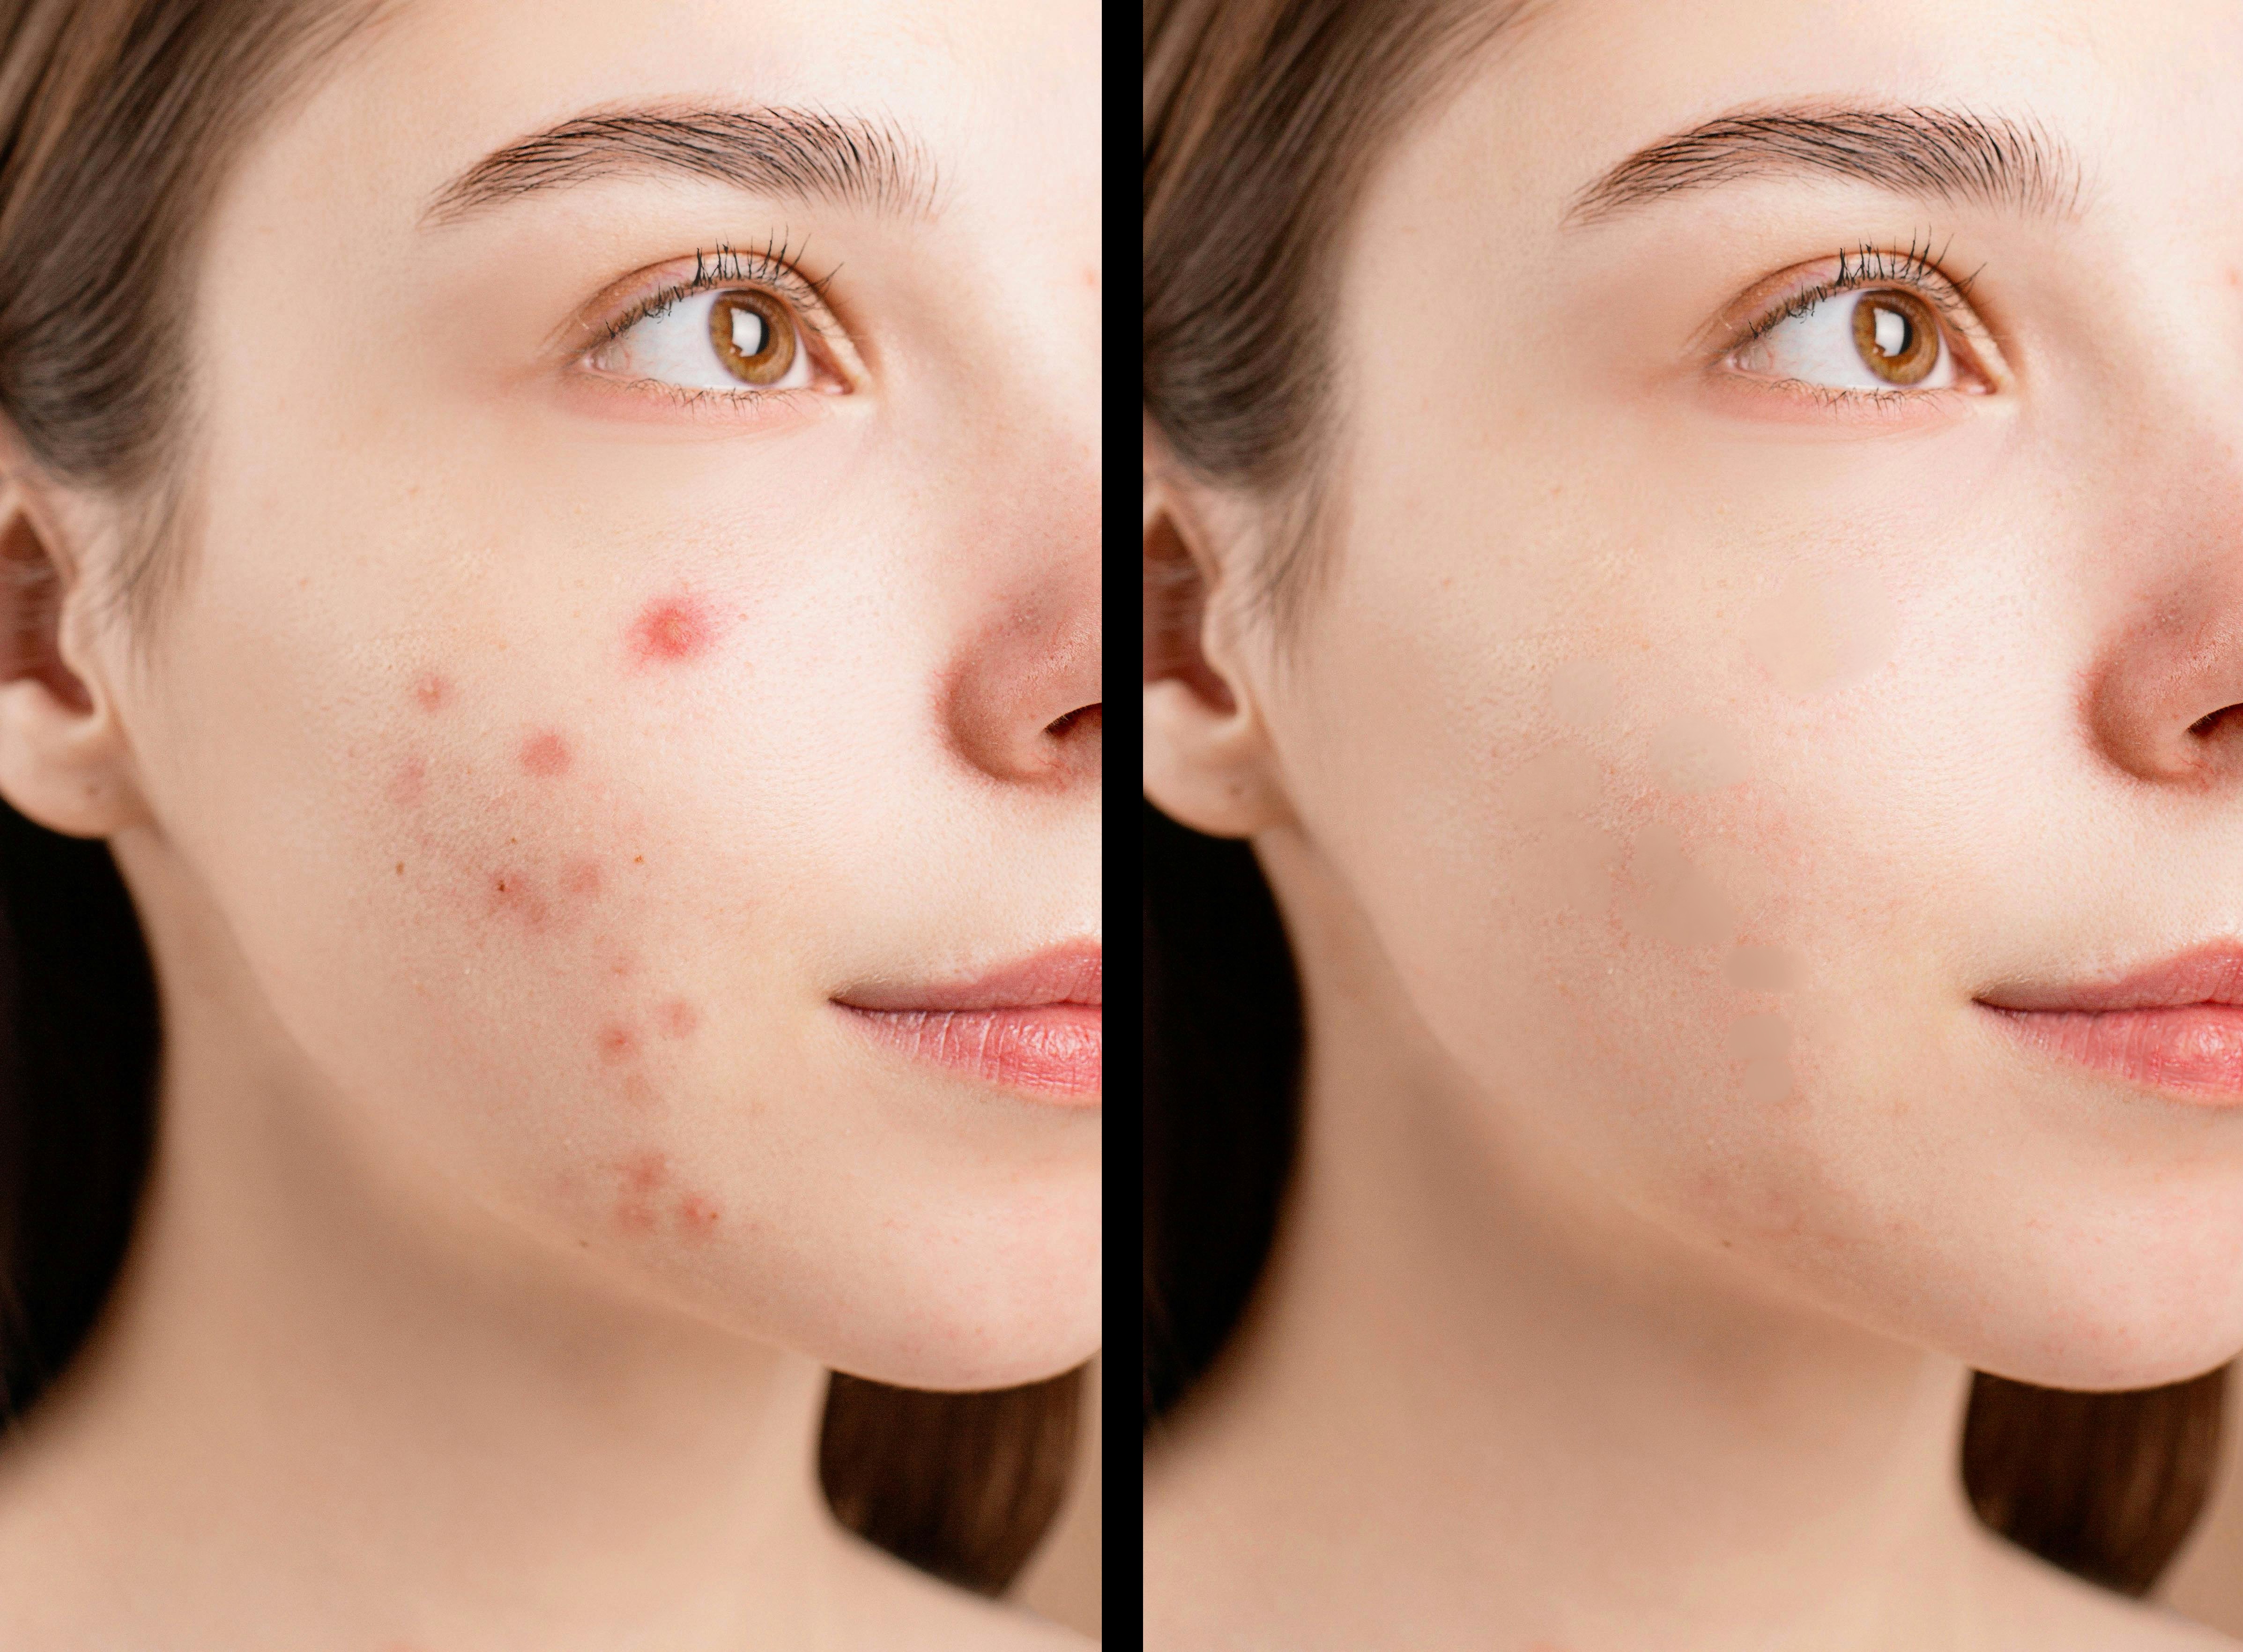
But there are two things to be aware of. One is that it is not quite as smart as the Healing tools in PS or in Krita, and that this incarnation requires one more step than they do. It operates much like the Clone in that you first have to click-sample a nearby area to tell GIMP what you wish to use for the source of the new content.
So while slightly more rudimentary, it will get the job done without much issue. And again, this actually gives us more control than something that is totally automated.
Where GIMP fails
Thus far GIMP has failed really well, don’t you think? All kinds of selections, auto fill-in (coming soon to v3), and pro-level retouching. But there are some real danger zones to be aware of.
Distortions
One of the things that has long been impressive with GIMP has been the wide range of distortion tools it has: Perspective, 3D Transform, Handle Transform, Warp and Cage Transform tools. The problem is how long most of them can take to create the effect. Sometimes it goes into the minutes. This is because GIMP does not implement GPU acceleration.
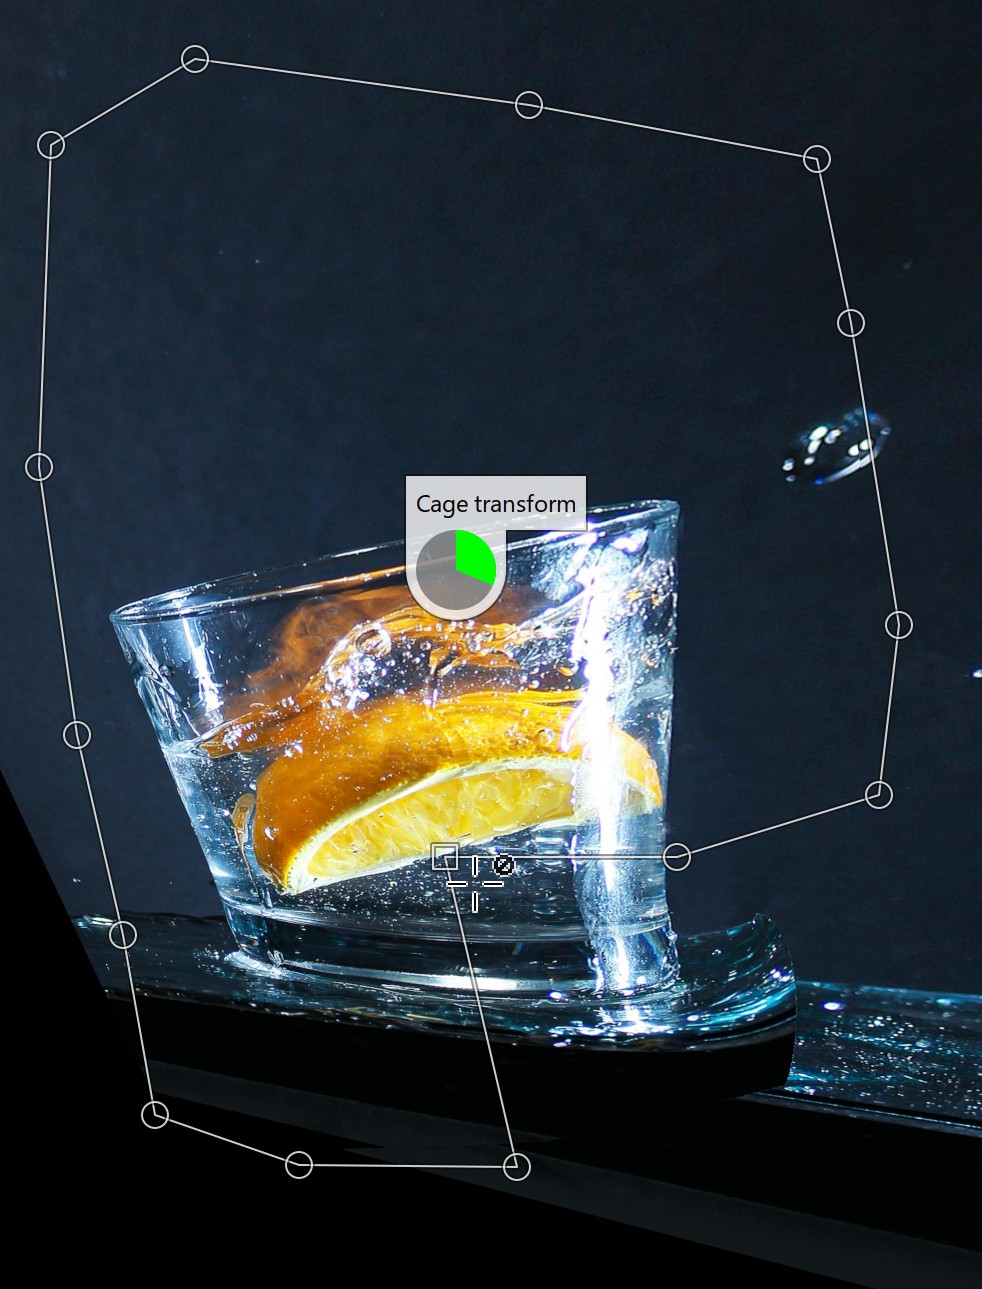
PRODUCTION TIP: With today’s high megapixel cameras, we often have images that are far larger than we need. Rasterizing your image down as far as you can before starting any distortions will speed the process.
Channels
Most of us are familiar with the CHANNELS Panel in other applications like PS. These are usually displayed as gray-scale images. This is because they are most helpful that way as we only use them for their tonal values.
But for some reason GIMP only supports displaying these channels in their respective colors. The red channel displays with a heavy red overlay, etc. This makes proper evaluation impossible, and the channels pointless and a major fail. There are a number of convoluted work-arounds. But the most direct option is to make duplicates of the R,G and B channels by dragging each to create either a new layer, or a new alpha channel, either of which can be viewed in grayscale. After modification, copy and past them back in place.
In truth, this work-around stinks, as we often need to be viewing the impact of our alterations in real-time. How the developers of GIMP do not understand this is beyond me.
Such channel operations, which used to be commonly referred to a CHOPS, can be super-important in image manipulations. So when needing such control we might be better off going round-trip to Krita or PS. They both have functional channel display.
Floating Layers
While GIMP has a duplicate layer command (Control-Shift-D), it doesn’t quite have a Duplicate SELECTION command like the Control-Shift-J found in PS.
GIMP’s “Cut and Float” option is almost the same thing, with the keyboard Control-Shift-L. This command results with the selection duplicated onto a “floating”, i.e. temporary, layer.
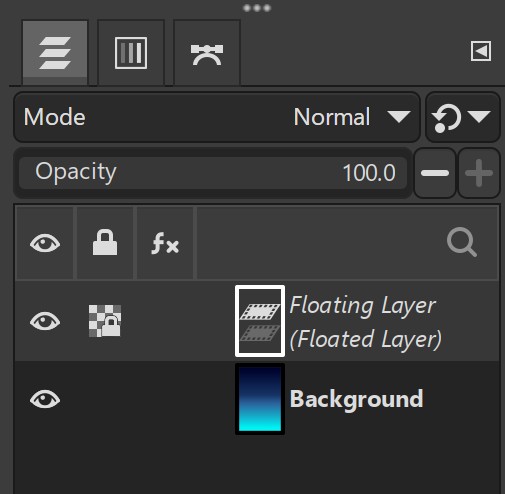
This could be fine, but here are some of the oddities with the way GIMP does it:
- It is invisible. Right, the selected pixels we just copied and lifted into a temp layer are not displayed. And I could not find a way to have it displayed.
- In order to actually do anything with the copied content you then have to press the “Create new layer” button at the bottom of the Layers panel. At that point the selection becomes visible and on its own new layer.
I am at a total loss to understand why they break this into two steps. How would temporary, invisible, floating content be of any use to us? I do not know.
Alternatively we can simply use the standard two-step of COPY (Control-C) or CUT (Control-X), and then PASTE (Control-V) and bypass all of that invisible layer silliness.
Still evolving non-destructive editing (NDE)
This is the hottest point of contention for the developers and users of GIMP. More NDE controls are included in v3, and still more are planned for v3.2 (which has no deadline, and we would never believe them if they gave us a date).
PRODUCTION TIP: This omission means we have to work in ways I used to work in PS many years ago. Mostly it means saving more back-up layers, in case you need to go back to a previous incarnation of content. I simply used to put back-up layers in a folder at the bottom of the Layers panel and leave them invisible. Thankfully we all have plenty of computer memory today.
Windows Open/Save Issues
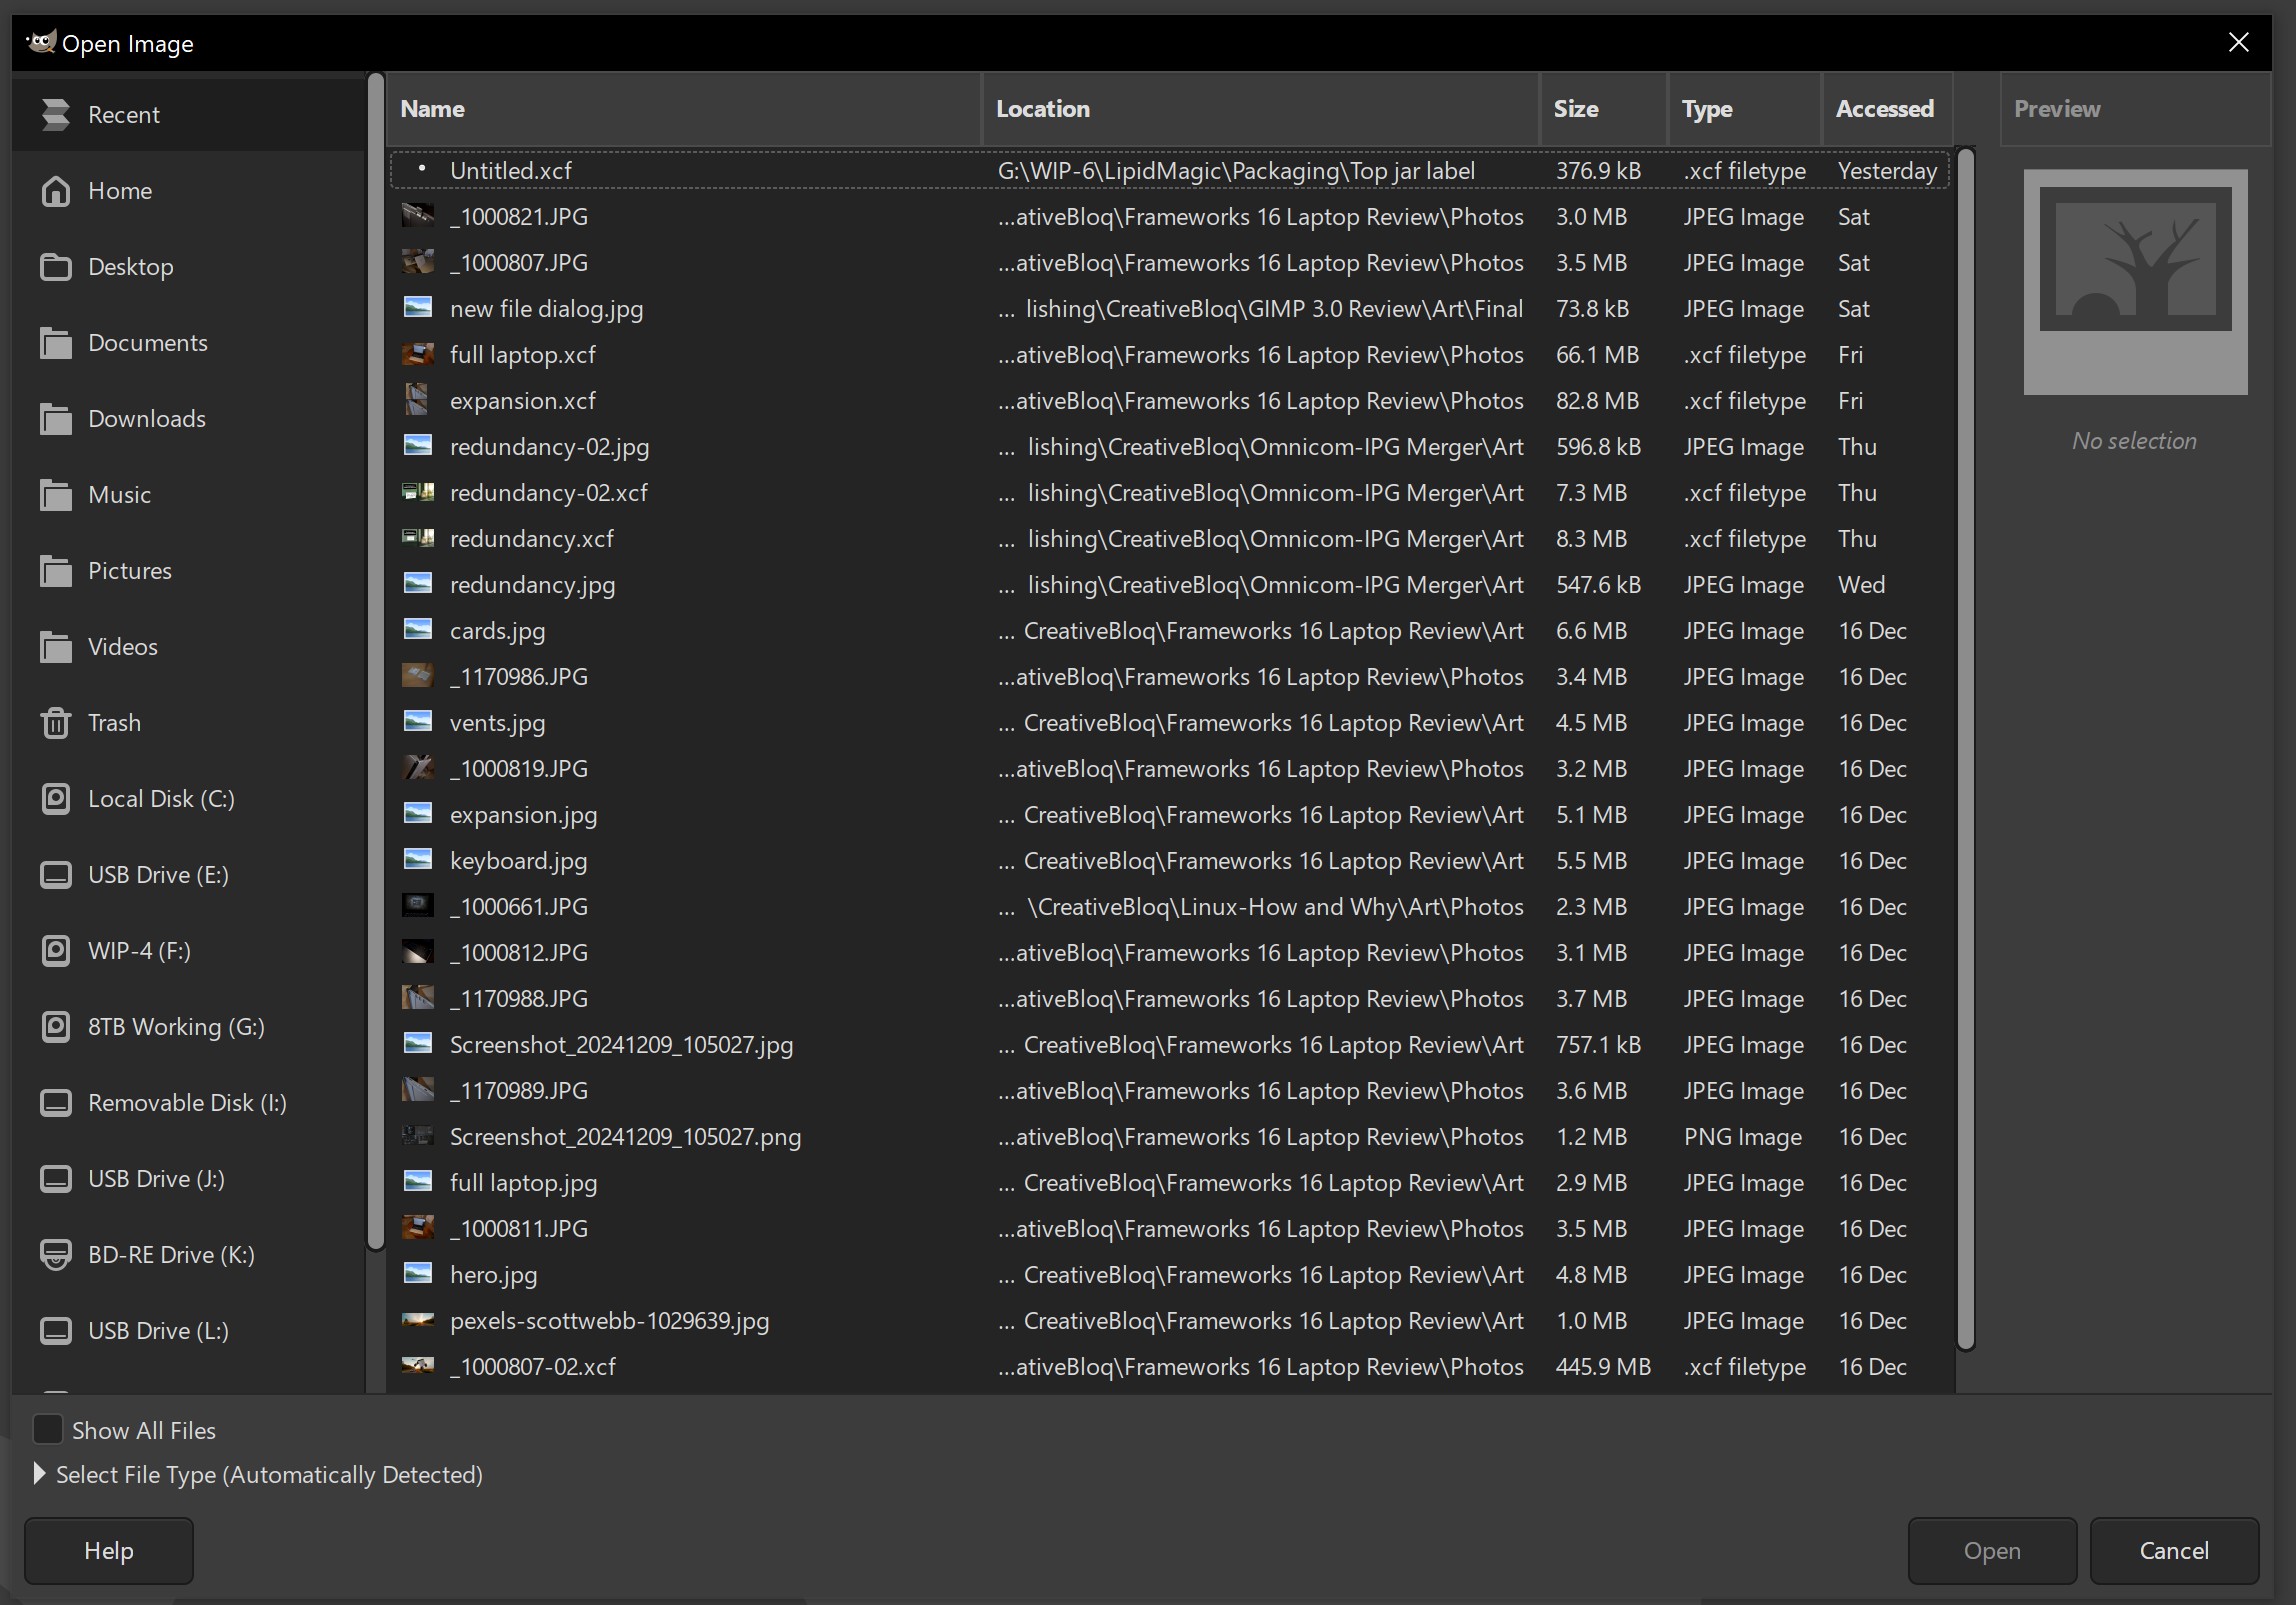
I haven’t tested this on other platforms, and keep in mind we are working with a late beta. But on Windows the open and save dialogs have glaring omissions. When opening there is no way to control how the contents of a directory are displayed. It defaults to the “Details” view, with no way to display thumbnails and see the images at the same time (Preview allows one at a time). There is also no directory path option or associated controls. I need to click on the drives displayed on the left side and navigate from there.
THE BOTTOM LINE
So, can you get done by 6pm if using GIMP as your image editor of choice? "Sometimes”. Different projects have varying needs. If you know going in that you will be needing distortion tools, I’d look at Krita or PS.
As for the missing NDE tools, PS only got those in 2005. I got my work done before that, so this too can work. GIMP’s biggest drawbacks are its multitude of interface kludges, not its toolset.
Summary: You can definitely expect to catch up with your mates by 7 or 8pm, if not by 6!
To compare other image editing software, see my Krita vs Photoshop comparison piece. And if you're set on Adobe, see the best laptops for Photoshop.


