Sometimes, it's the simpler ideas that require quite a bit of work to make them run flawlessly. Today we've got an example of just that in the form of a Raspberry Pi project put together by maker and developer NeverCode. Using our favorite microcontroller, the Raspberry Pi Pico, NeverCode has created a DIY smart clock that has tons of cool features you can replicate at home.
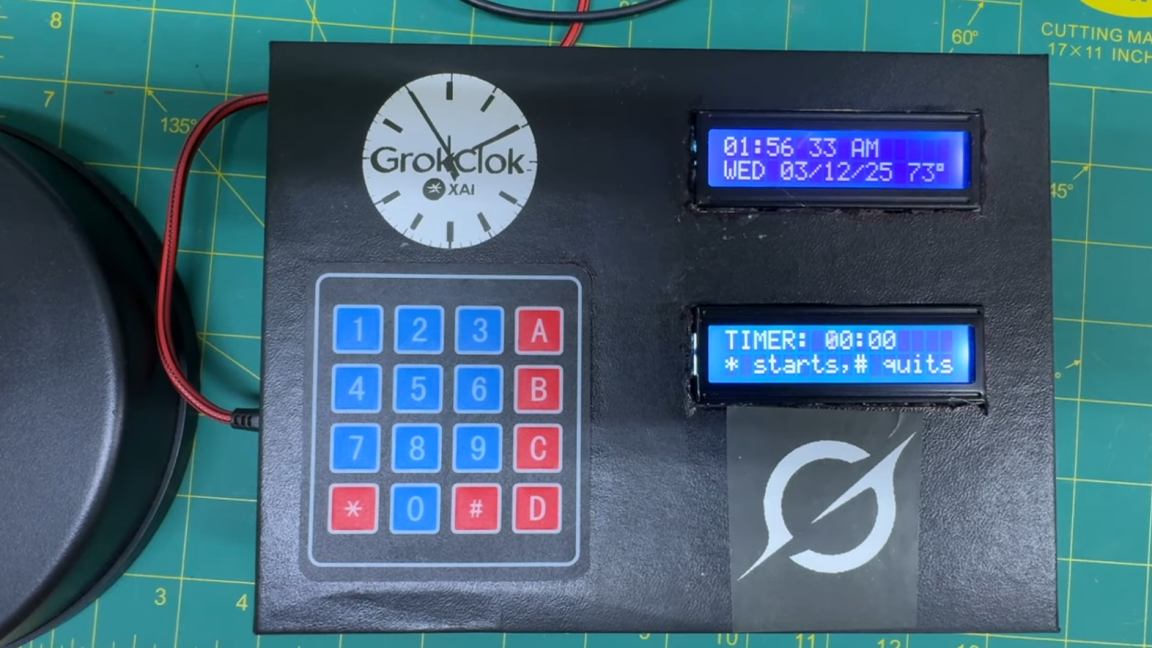
This smart clock has a handful of add-ons, including two LCD displays and a keypad you can use for user input. Some of the features you can take advantage of include a timer, a stopwatch, the option to adjust your timezone and, of course, an alarm. Because it uses a Pico W, you get the added benefit of integrating network connectivity.
To adjust settings on the clock, NeverCode developed a menu for navigation. You can work through the various options by pressing the "#" key on the keypad. This allows you to adjust the alarm, set a timer, operate the stopwatch, and other things like checking system stats. The stats screen will display important network information, as well, like the current IP address.
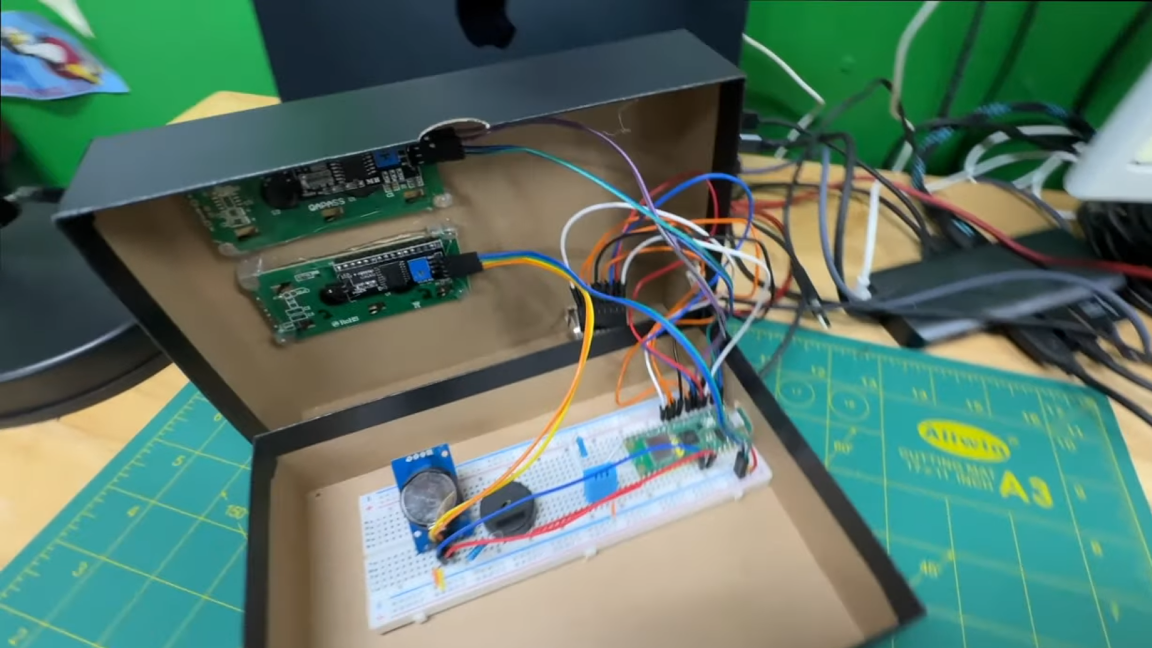
NeverCode was kind enough to make the project open source, which means you can easily follow along with the instructions and recreate it for yourself at home. The Pico W is connected to two LCD displays, an RTC module, a temperature sensor, a buzzer for the alarm feature, as well as a 4x4 keypad. All of this hardware is housed inside of a cardboard box and connected using a breadboard.
The open-source code was written using MicroPython and programmed onto the Pico using Thonny. It relies on a couple of libraries to use all of the hardware including, one for the LCD screens, one for the I2C LCD Driver as well as one for the DS3231 RTC module. Links to all of them are provided in the project details over at Blogspot.
If you want to get a closer look at this Raspberry Pi project, check it out over at Blogspot and see it in action for yourself in the demo video shared on YouTube by NeverCode.