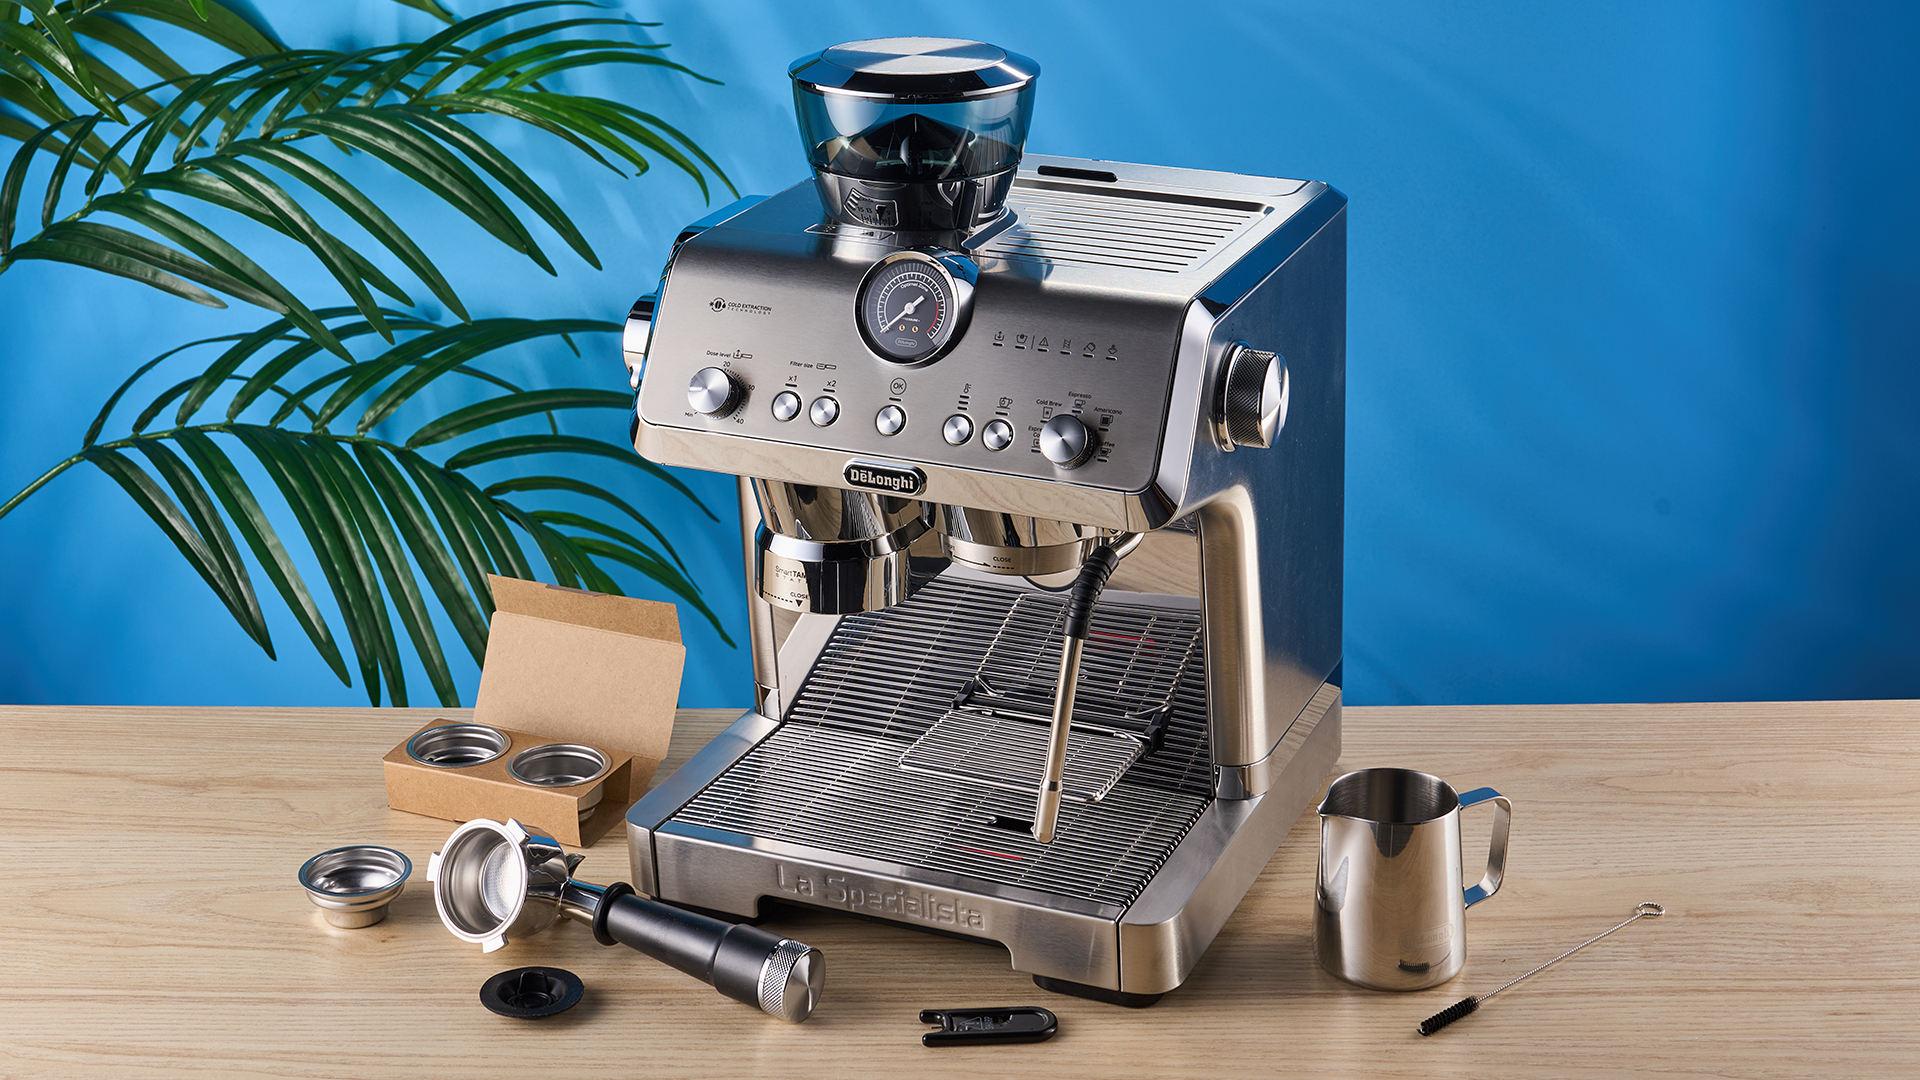
Espresso machines are daunting. There's a whole world of coffee mistakes and coffee jargon that can scare off even the biggest coffee lovers.
Getting your first at-home espresso machine is a gateway drug into the magical world of hot brown bean juice. As someone who spent 4 years working at various coffee houses, I didn’t really stumble down the exponential slippery slope of a coffee habit, I was pushed off the proverbial cliff and landed headfirst in a lake of coffee. Since leaving the barista profession, I’ve spent hours testing home espresso machines like the De’Longhi La Specialista Opera, the KitchenAid Semi-Automatic Espresso Machine, and the Smeg EGF03 Espresso Machine. Some of these are the best espresso machines available today.
I have a range of barista experience — from Starbucks, Costa (a U.K. coffee chain), and perhaps the most integral to my coffee journey, an independent artisan coffee shop. At Starbucks, I trained newcomers too, so I’ve done my fair share of coffee troubleshooting.
I’ve narrowed down the three most common mistakes some newbie baristas make. While there’s much more that coffee aficionados will warn you against, these are the first mistakes you shouldn’t make. Once you’ve mastered this, the rest will come in time — trust me.
1. Don’t buy coarse grind size beans

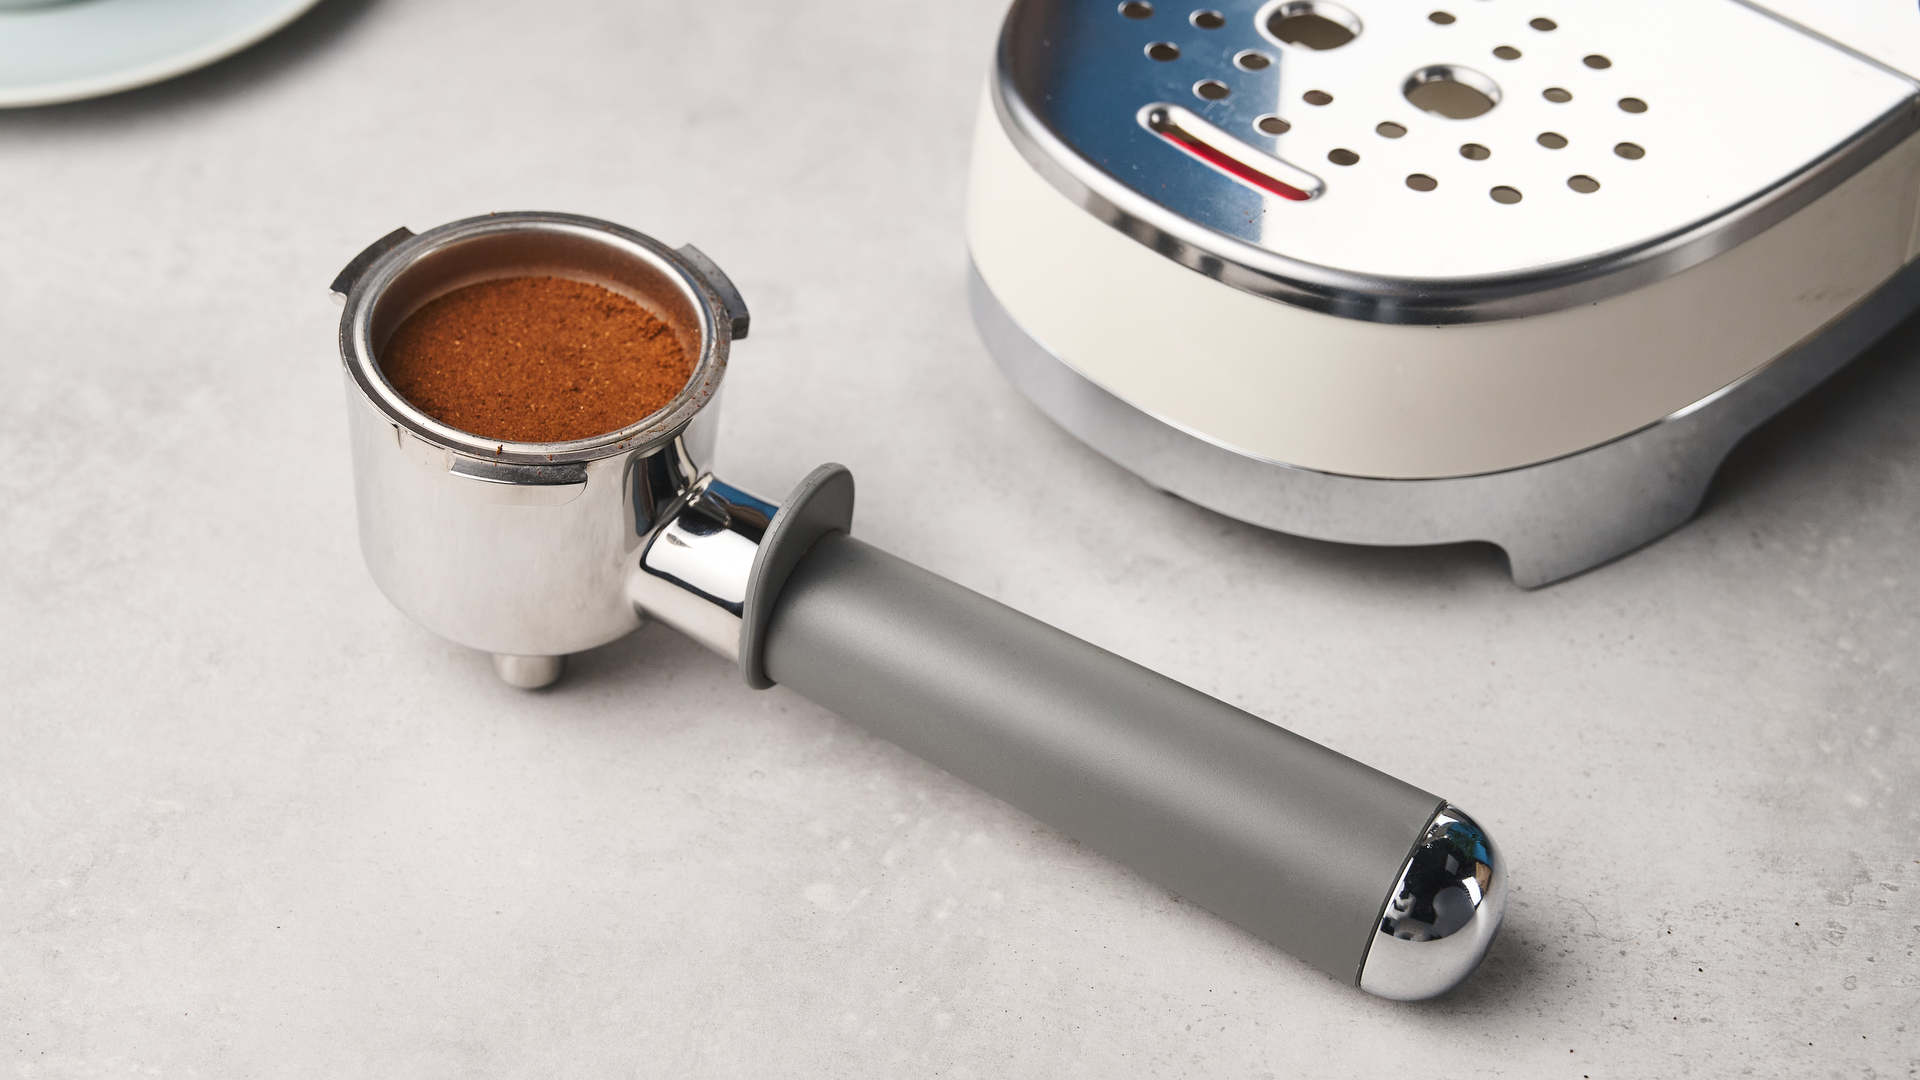
For espresso machines, you need a fine grind that you might not be able to find in most grocery stores. Coffee enthusiasts will say you have to grind your own beans at home, but if you've just unwrapped your very first espresso machine, don't worry yourself with this just yet.
Ideally, you want a grind texture somewhere between baker's sugar and powdered sugar. You want the coffee grounds to stick to your fingers and be almost a powder. If you've got a light roast, you'll need the beans to be ground finer, and a dark roast, coarser. You can get pre-ground coffee at many online outlets, or if you live in a city with an artisan coffee shop, ask if they sell ground beans. The one I used to work at did!
2. Take it easy with steaming milk

Steaming milk is probably the hardest skill to master. If your milk makes a horrendous screeching noise, or you end up with big bubbles that dissipate into nothing after a minute or so, you've steamed your milk wrong. I'll run you through the ideal steaming routine:
- Purge the steam wand. You do this by turning the steam wand onto full blast for a second or two to remove any leftover milk.
- Fill the milk jug about halfway, just over the start of the spout.
- Place the steam wand in the middle of the milk jug and turn on the steam.
- Pull the jug down gently until you hear a 'tss tss' sound and milk stops whining. You should not be creating big bubbles.
- Tilt the jug so that the steam wand hovers just under the surface of the milk. Angle your jug to create a 'vortex' in the milk.
- If you like your milk a little frothier, pull the jug down to get that 'tss' sound again.
- Once the jug is too hot to touch, turn off the steam and remove the jug. Purge the steam wand again to prevent milk getting inside and going bad.
- Bang and swirl the milk to mix the texture in. It should be like melted ice cream.
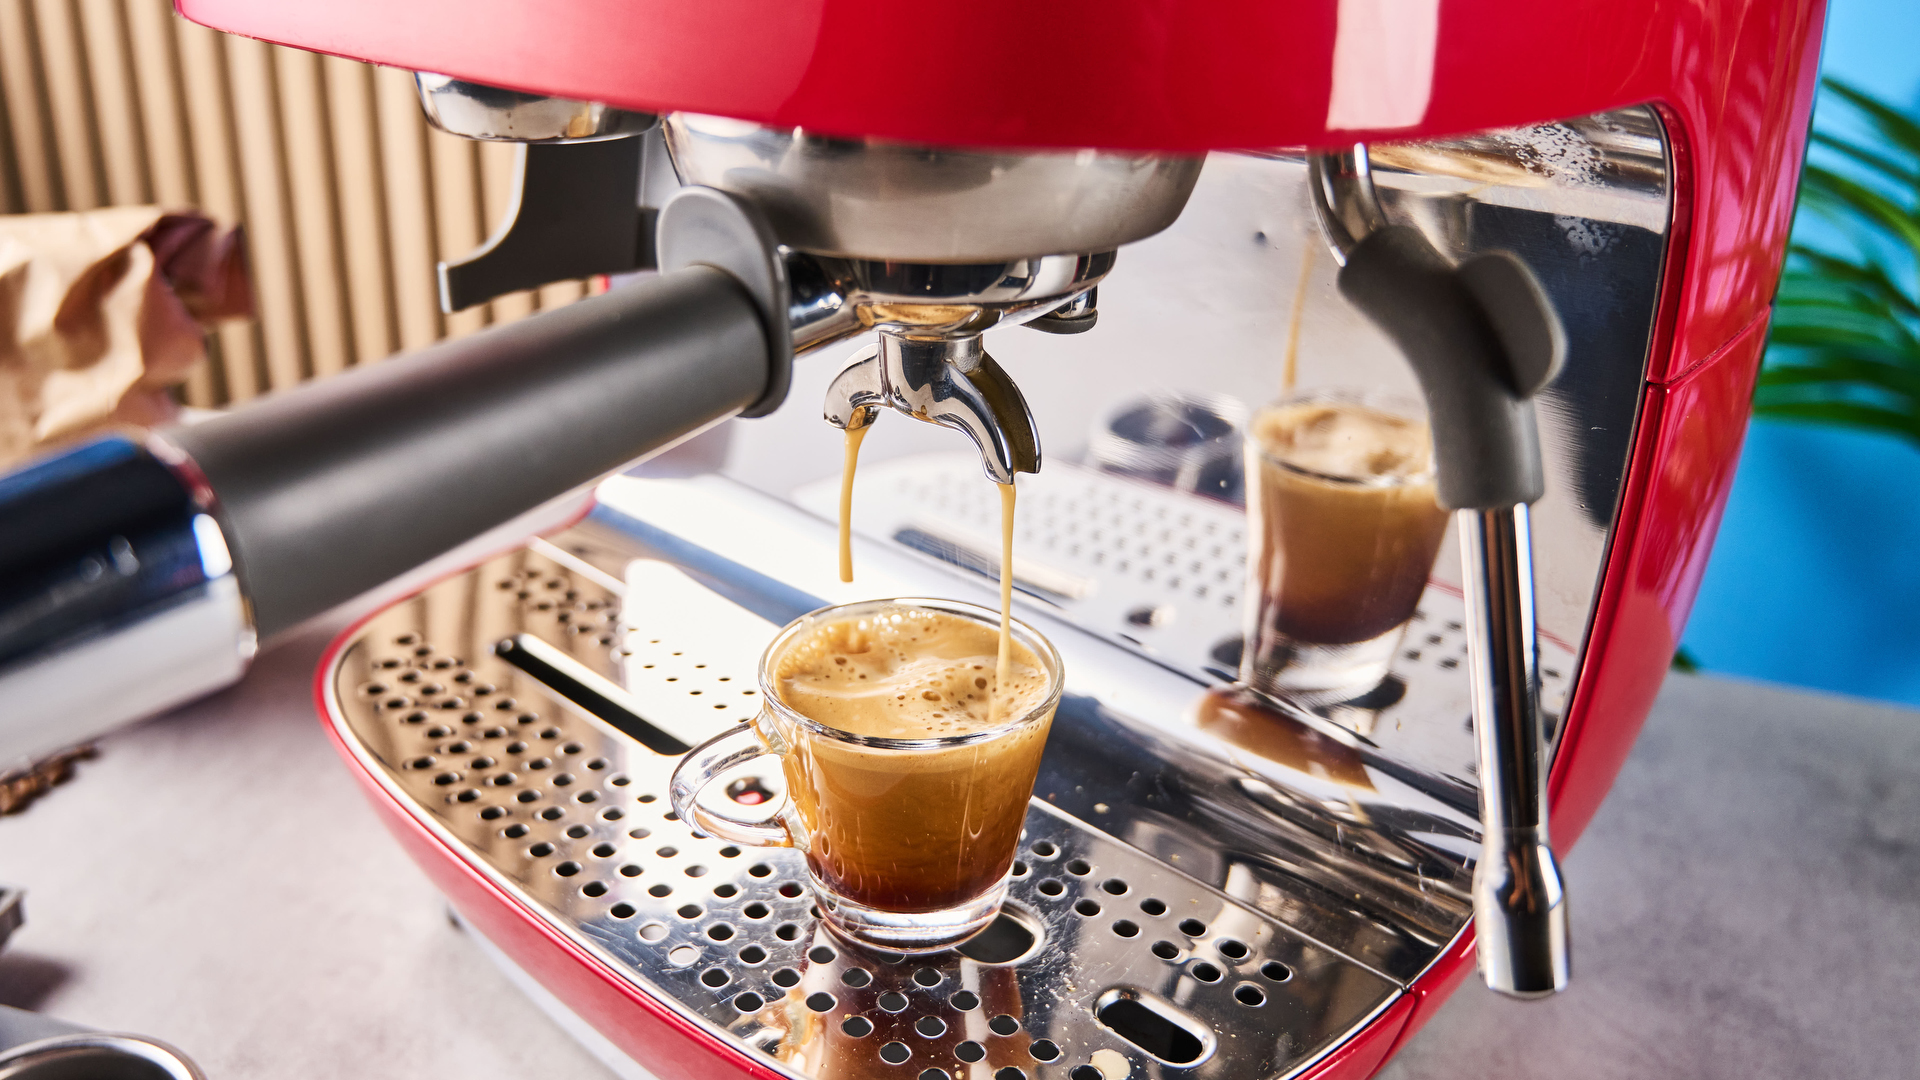
3. Don’t leave espresso shots

This is a little tip left over from my time at Starbucks. You're trained to use espresso shots within 10 seconds, otherwise you risk serving burnt, dull coffee. Now, most high-quality espresso doesn't taste bad after leaving it for a few seconds, so if you're buying good coffee, this won't be a major issue. However, you shouldn't pull a shot and leave it for minutes, because the flavors will collapse in on themselves. You'll be left with a bitter, lukewarm, boring coffee flavor that won't make good latte art. I would aim to use espresso shots within 20 seconds after extraction.
If you keep these tips in mind while making your first few drinks on your brand new espresso machine, you’re well on your way to whipping up cafe-quality drinks in no time.


