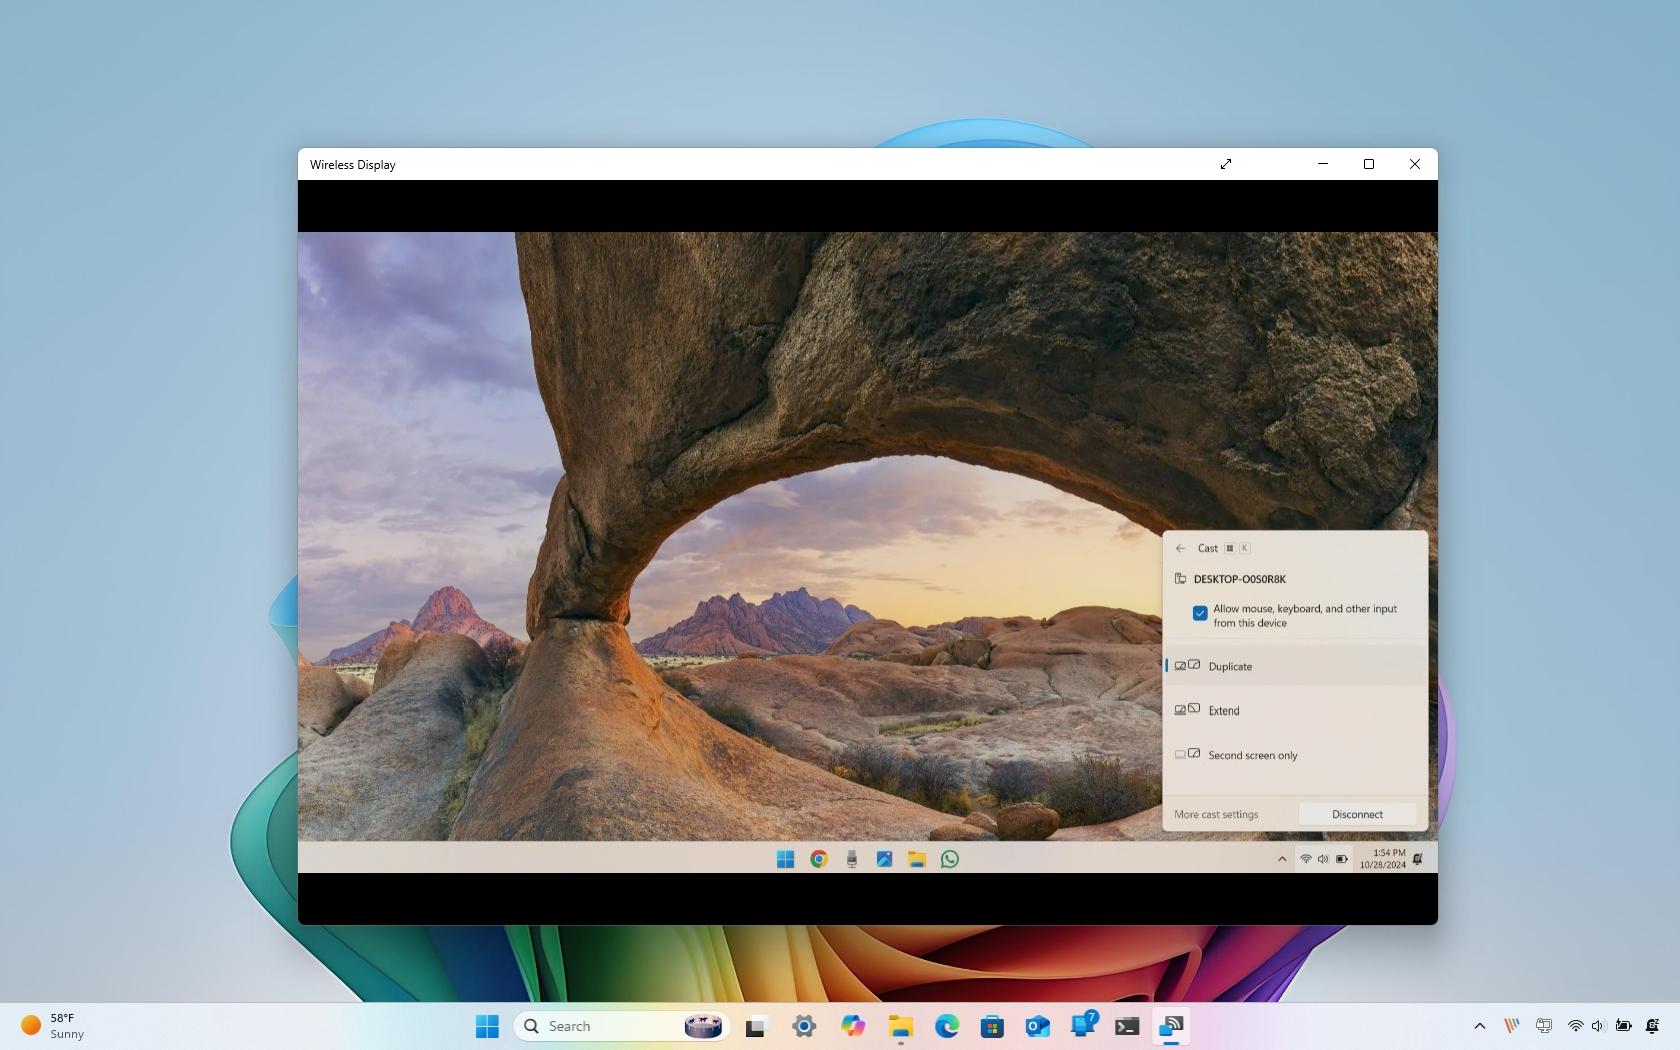
On Windows 11, it's possible to use the laptop's display (or another Miracast-supported screen) as an external monitor for another computer, and in this guide, I will outline the steps I use for this configuration.
Sometimes, you just need to extract space on the desktop to work with multiple apps, but you cannot expand the canvas unless you have a second monitor. However, if you don't have that extra monitor, you can use your laptop.
This is possible because of the "Project to this PC" feature available on Windows for devices equipped with Miracast technology. Miracast is a wireless display standard that allows you to project your device's screen (like a Windows 11 or 10 laptop, tablet, or smartphone) to a larger display, such as a TV or monitor.
In this how-to guide, I will outline the steps to use the laptop's display as a second monitor on Windows 11.
How to use a laptop as a wireless display on Windows 11
On Windows 11, you must install the Wireless Display app on both devices participating in the connection. Once that is done, you have to launch the "Wireless Display" app on the laptop, and on the other computer that will be using the laptop as an external display, you have to complete the connection through the "Cast" feature.
Install Wireless Display app
On both devices, to install the Wireless Display app, use these steps:
- Open Settings.
- Click on System.
- Click the Optional features page on the right side.
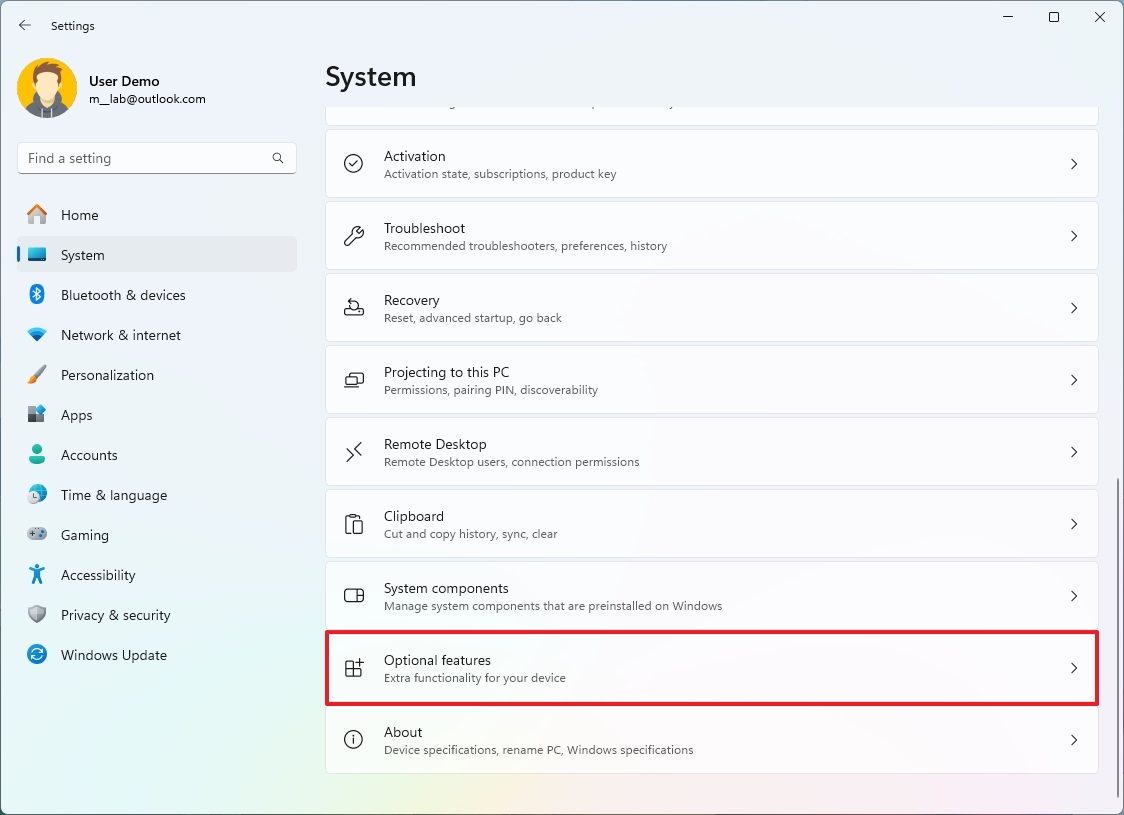
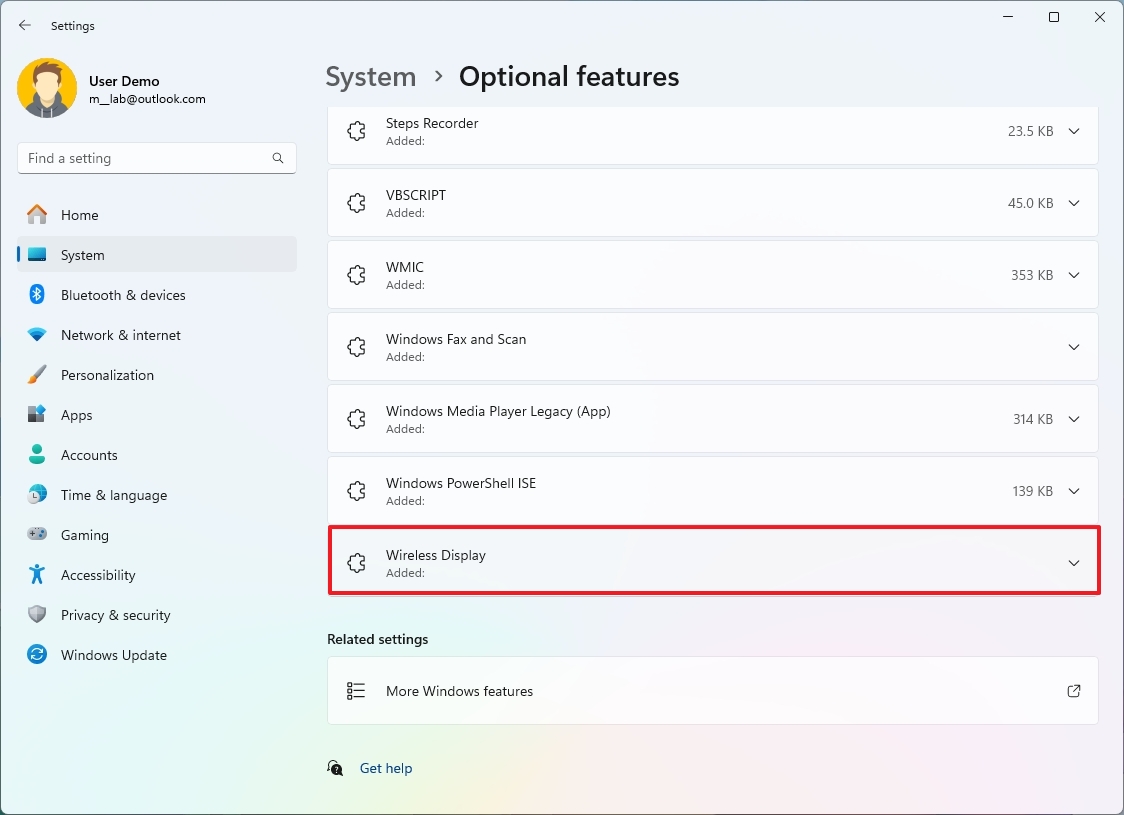
- Confirm the Wireless Display feature doesn't appear in the "Added features" list. If it's not, continue with the steps below. Otherwise, you can skip this part.
- Click the "View features" button in the "Add an optional feature" setting.
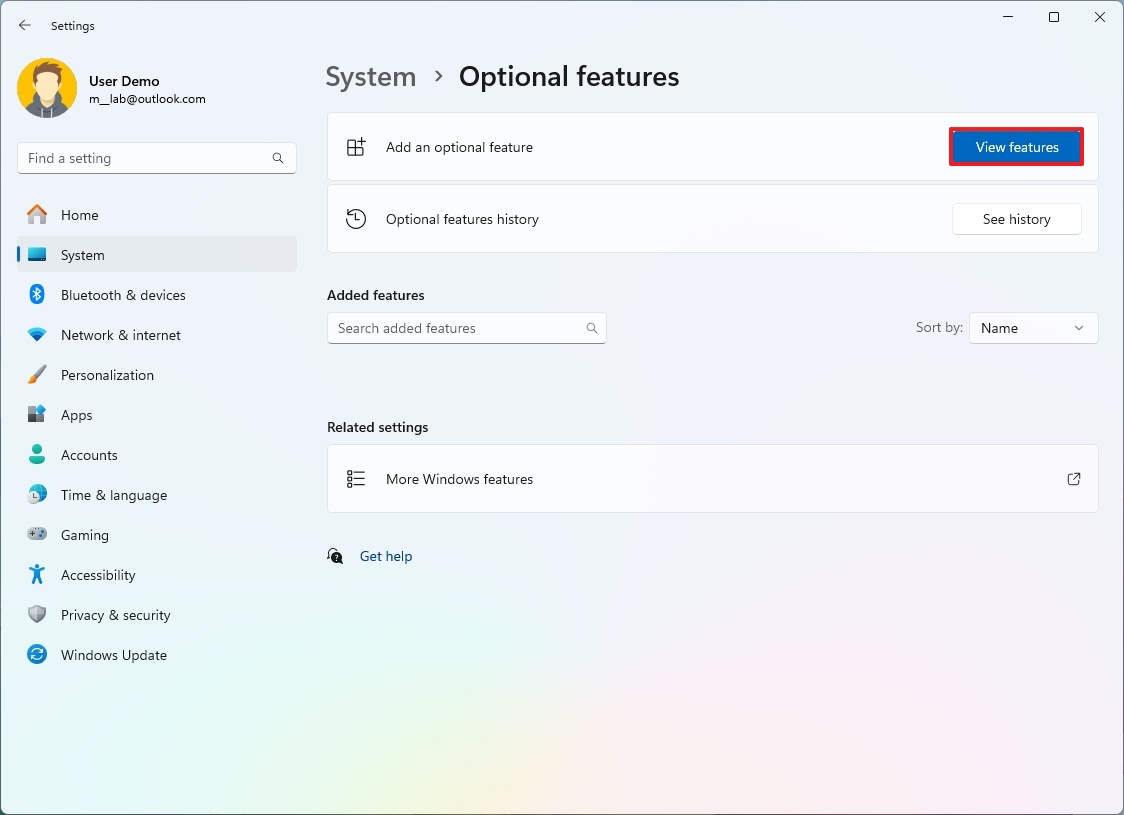
- Click the "View features" button in the "Add an optional feature" setting.
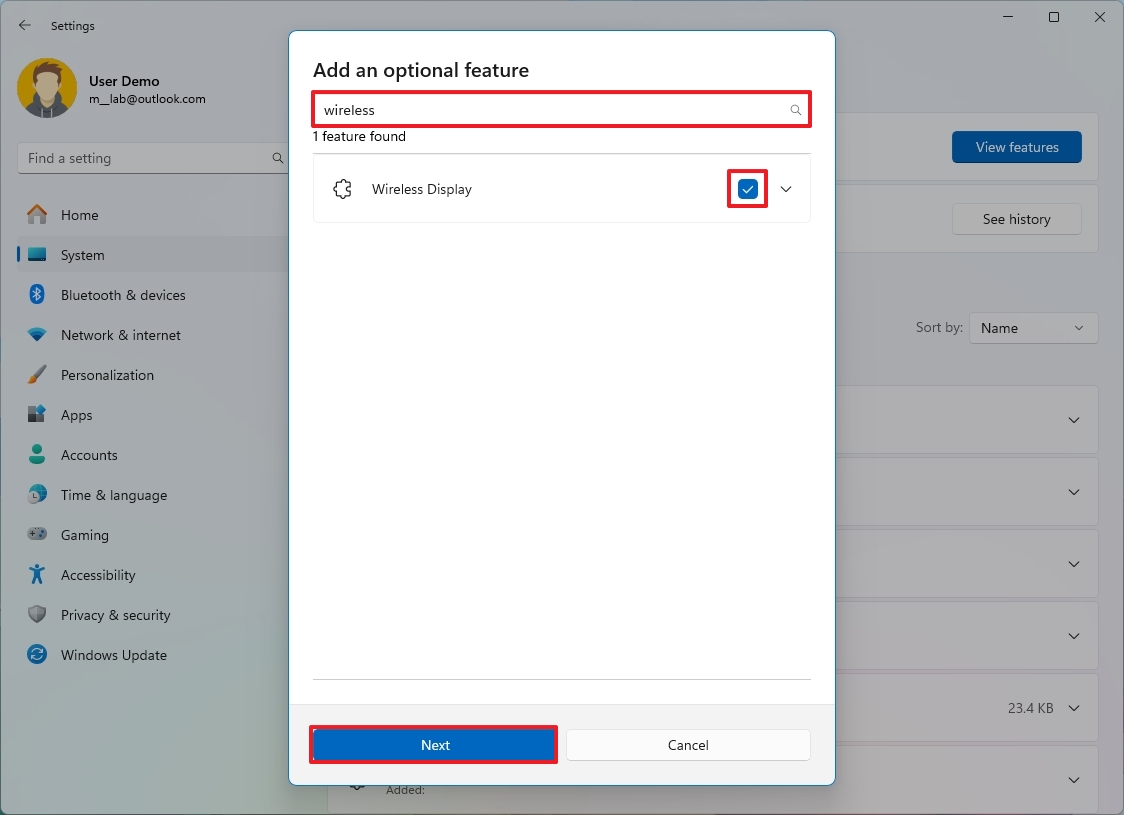
- Search for Wireless Display and select the item from the list.
- Click the Next button.
- Click the Add button.
Once you complete the steps, you can proceed with the steps to extend your computer's desktop to your laptop's screen.
Connect to laptop display wirelessly
On the laptop, use these steps:
- Open Start.
- Search for Windows Display and click the top result to open the app.
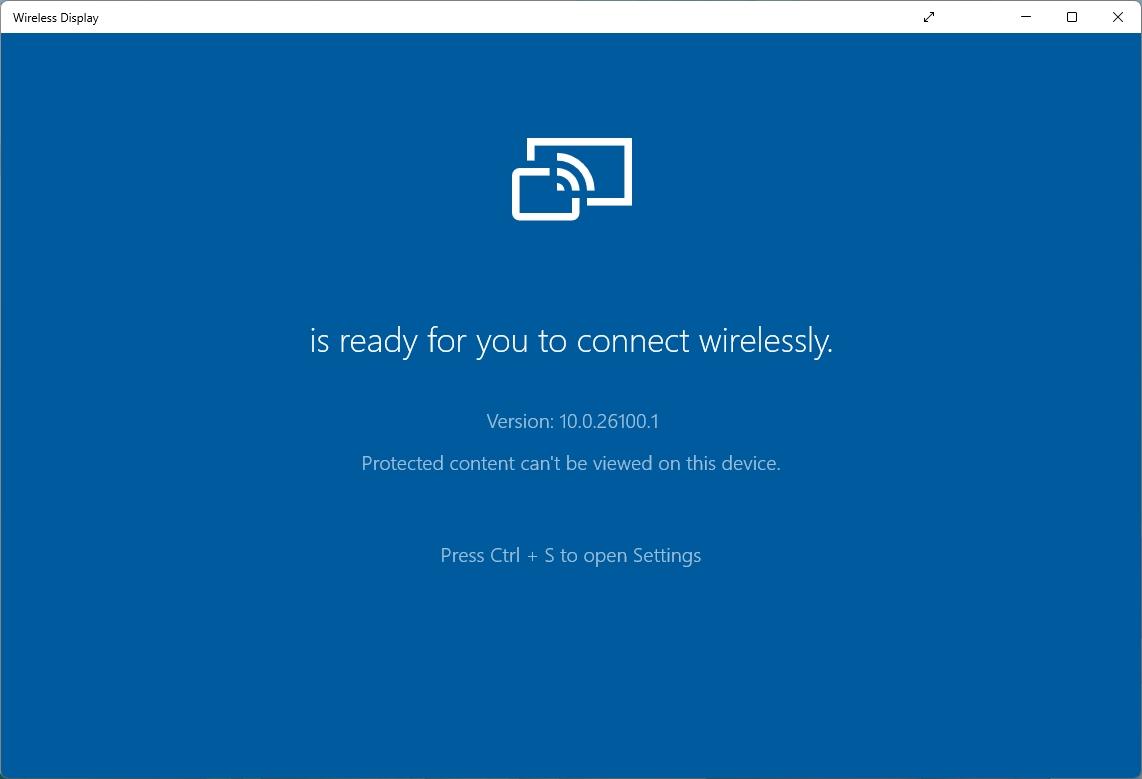
Once you complete the steps, leave the app open and continue from the other computer.
On the other computer, use these steps:
- Click the network and volume button.
- Quick tip: You can also open the "Cast" page using the "Windows key + K" keyboard shortcut.
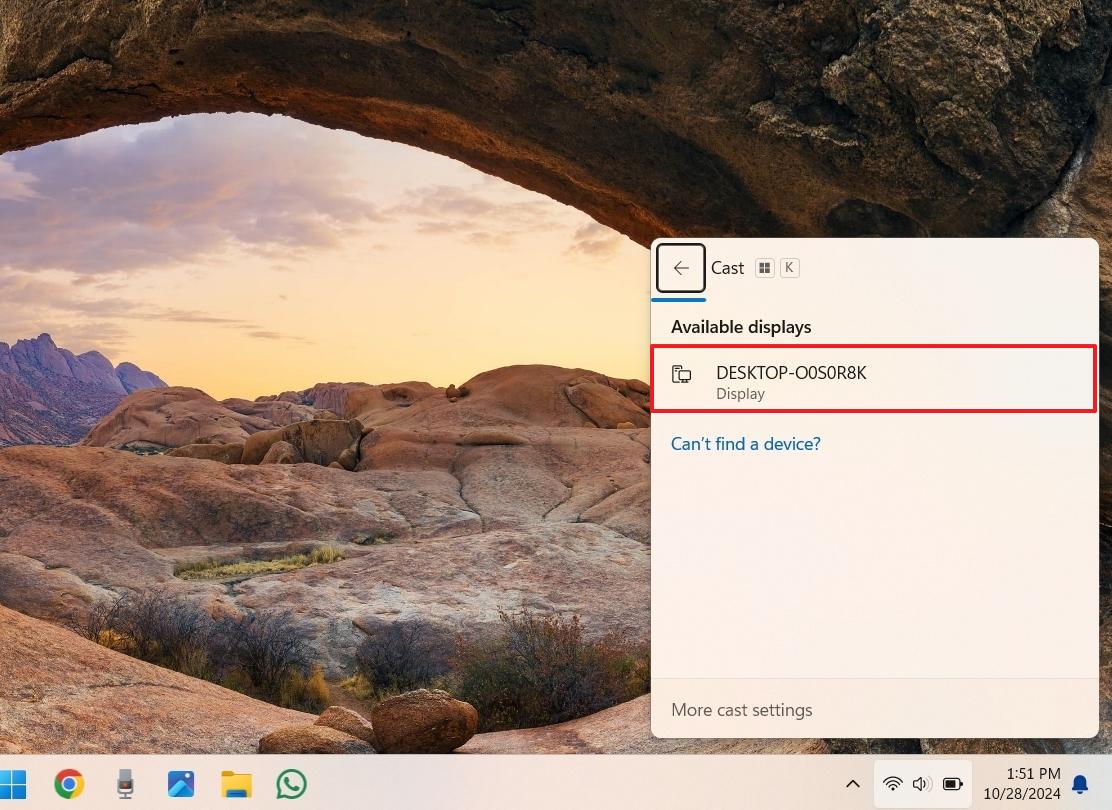
- Click the Cast button.
- Select the computer to complete the connection.
- Choose how to connect with the external display, including "Duplicate," "Extend," or "Screen screen only."
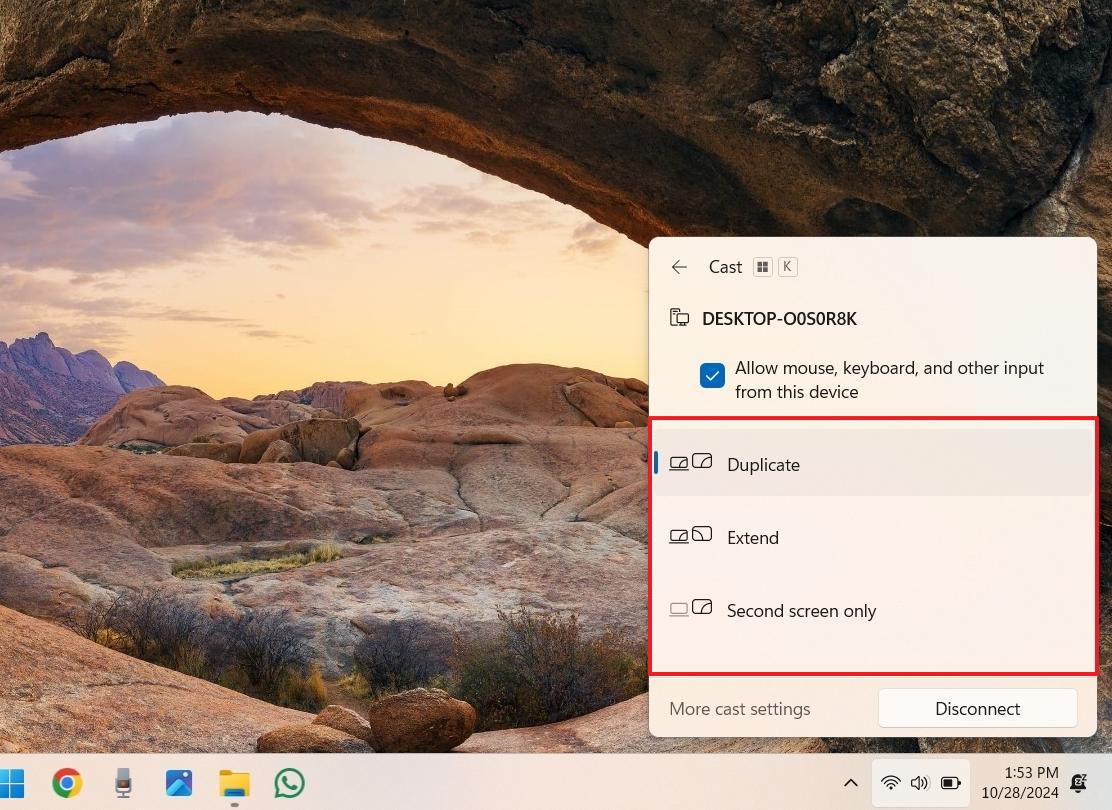
After you complete the steps, you can start using the laptop as a secondary screen.
Troubleshoot problems
If you cannot get this feature to work, you can follow some troubleshooting steps to resolve most issues, and here's how:
- Open Settings.
- Click on System.
- Click the Project to this PC page on the right side.
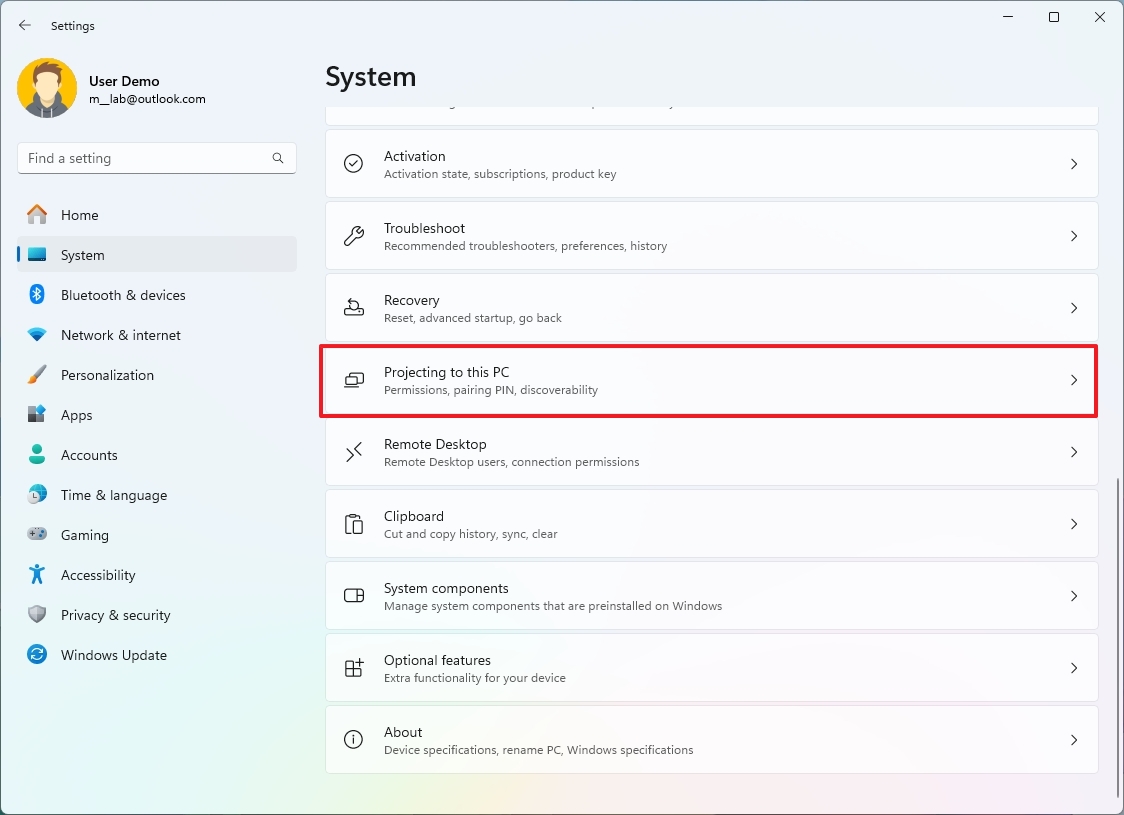
- If the page reads, "This device doesn't support receiving Miracast," you won't be able to use this feature.
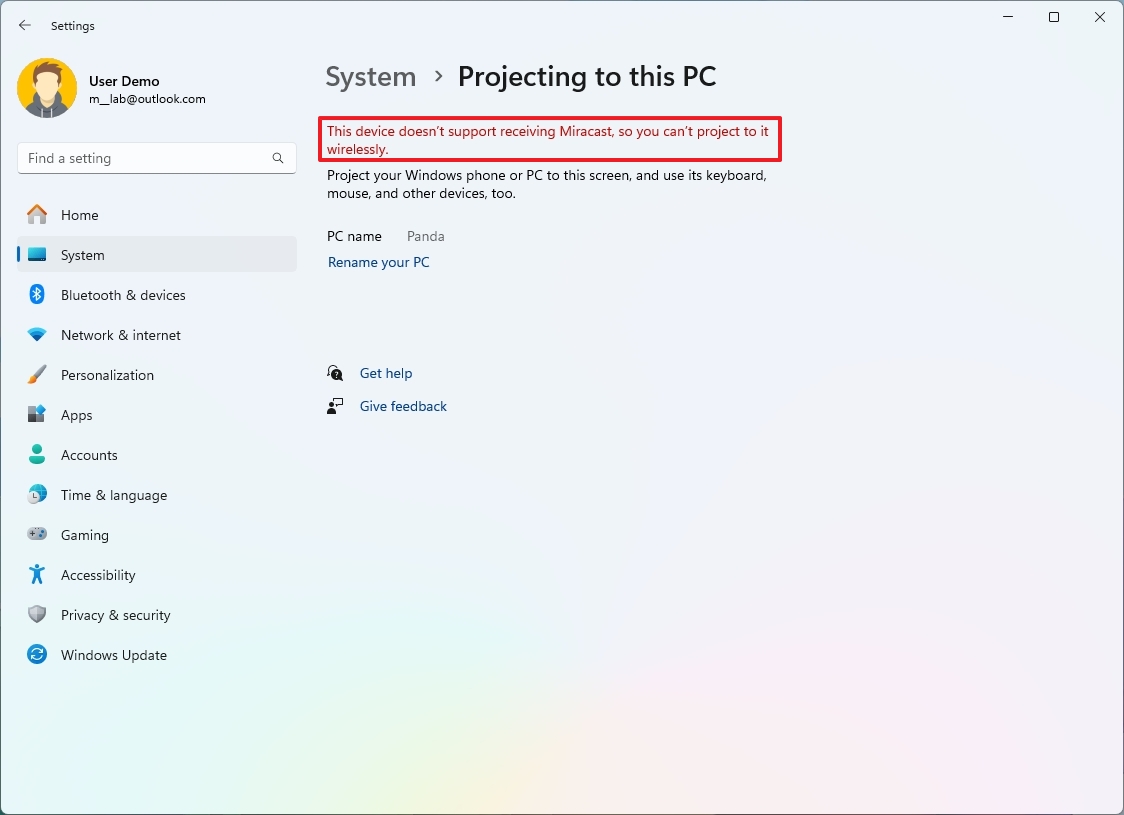
- Quick note: When I was testing this feature, it only worked on devices with "Miracast" available.
- Turn off the "This PC can be discovered for projection only when it's plugged into a power source" toggle switch if the laptop isn't connected to an electrical outlet.
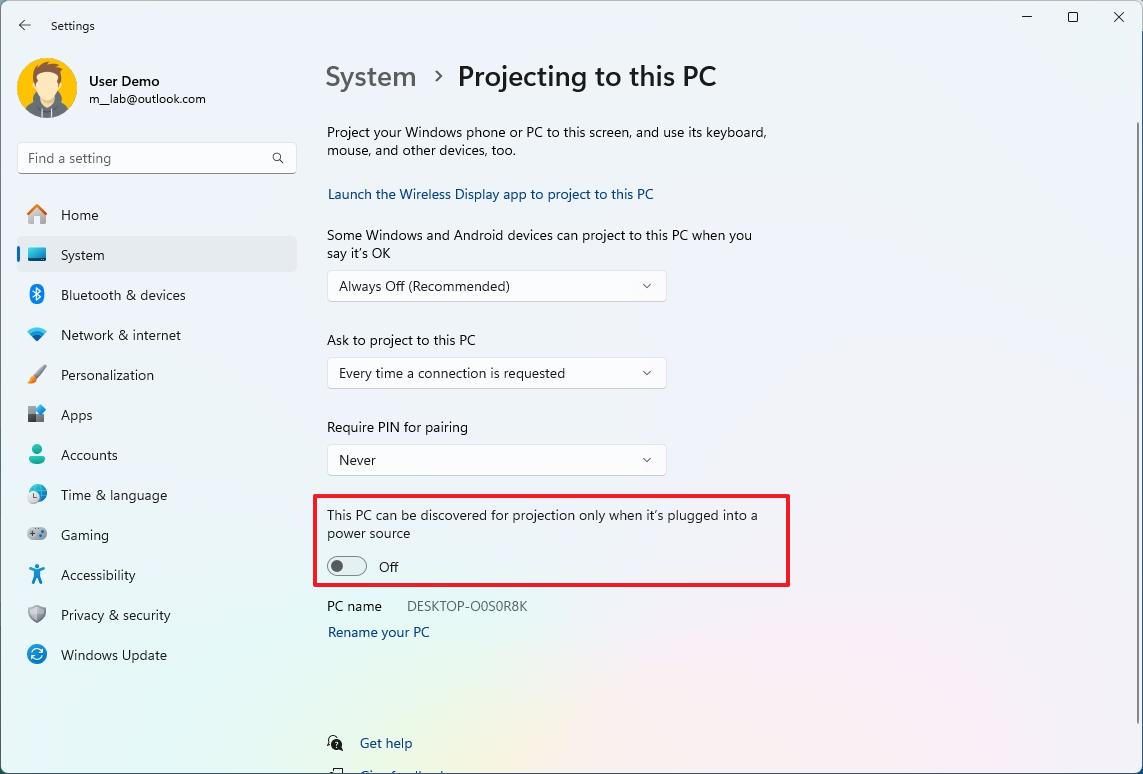
- Quick tip: Since this feature will consume more power, it's recommended to use it only when it's connected to an outlet.
- Choose the Never option in the "Require PIN for pairing" setting.
- Select the "Every time a connection is requested" option in the "Ask to project to this PC" setting.
- Choose the Always Off option in the "Some Windows and Android devices can project to this PC when you say it's OK" setting.
It's also important that both devices are connected to the same network. In addition, the devices must have a strong network connection.
Once you complete the steps, you can start using your laptop as a secondary display.
More resources
For more helpful articles, coverage, and answers to common questions about Windows 10 and Windows 11, visit the following resources:


