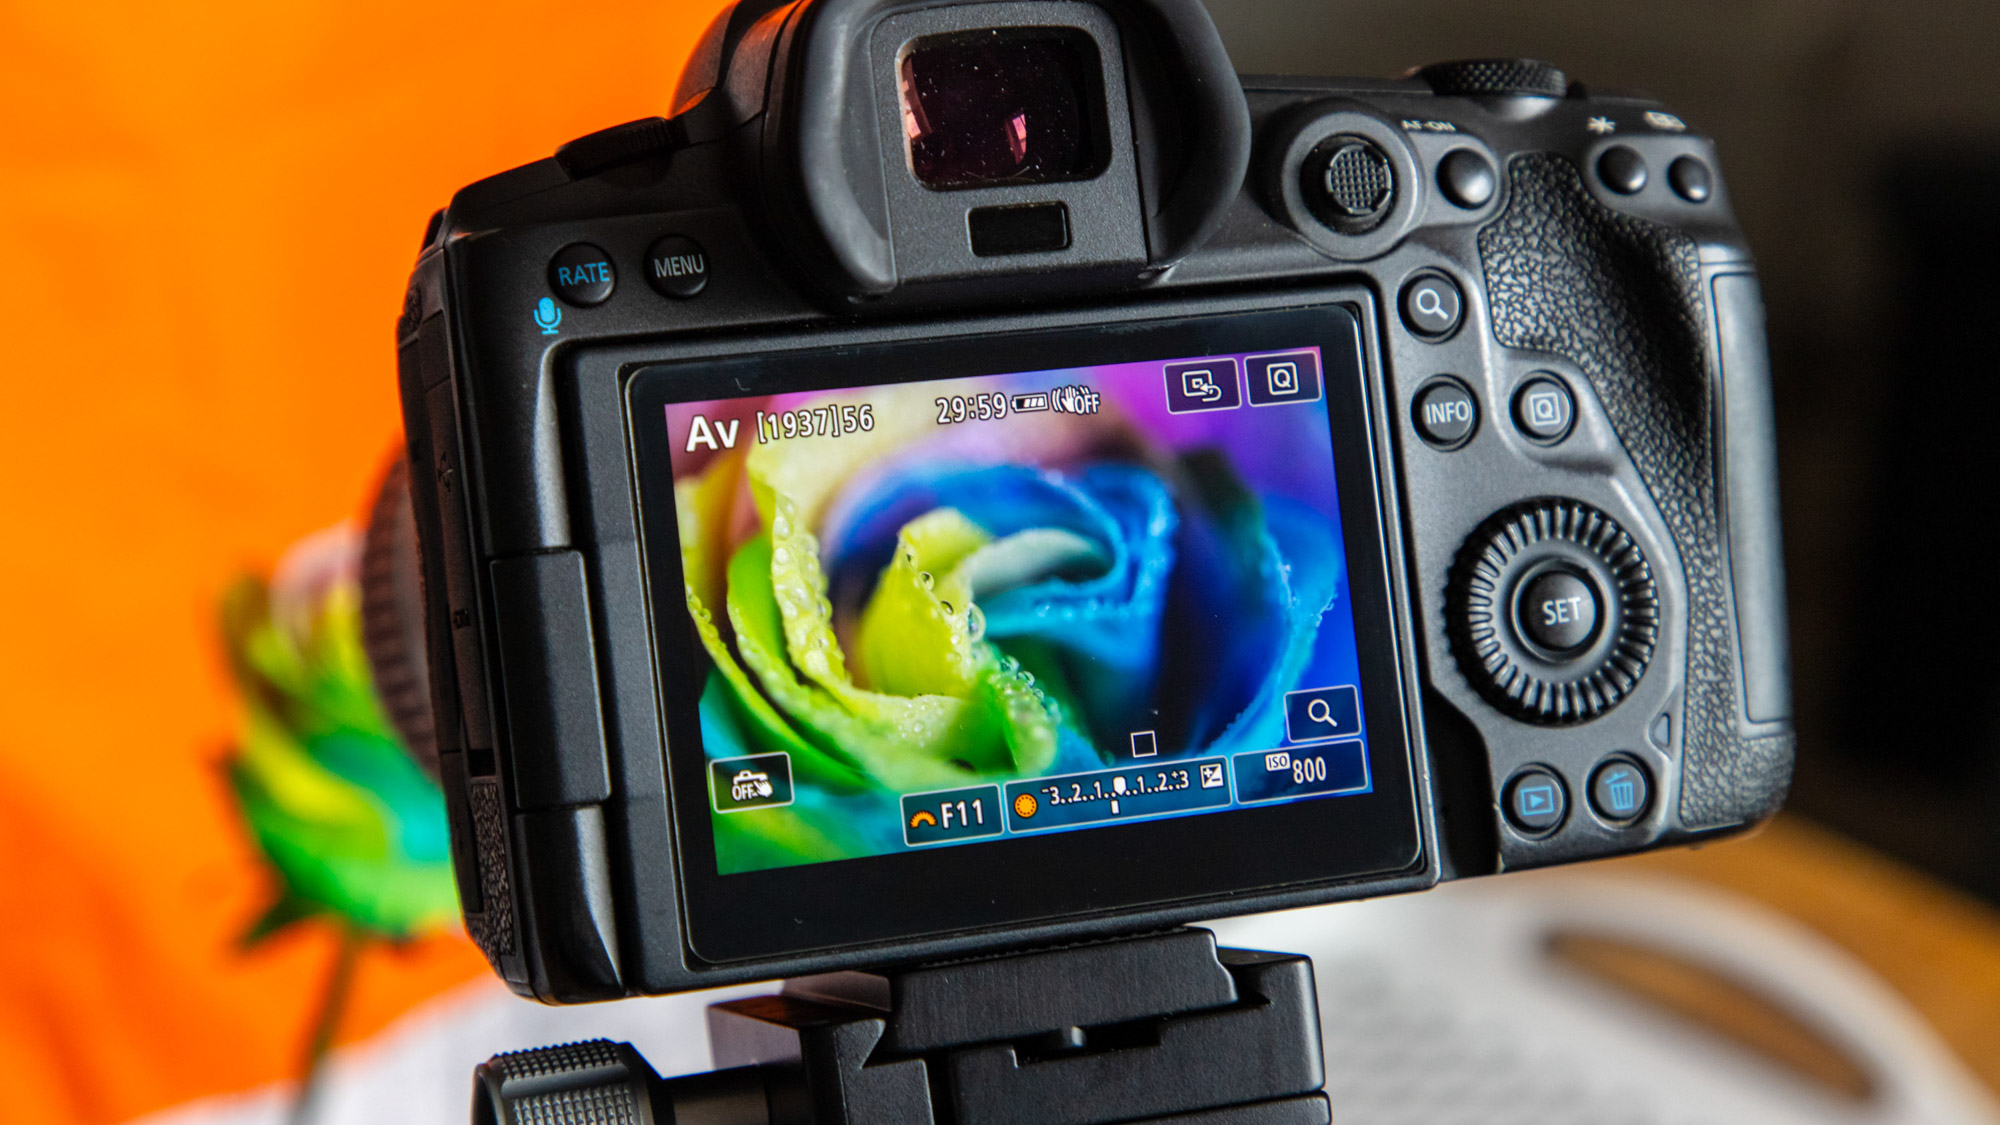
Watch video: Flower power!
Macro photography is one of my favorite subjects as it has the power to reveal extraordinary compositions from the natural world.
I’d wanted to shoot these super-colorful ‘rainbow’ roses for a while, and this project was the perfect excuse to whip out a macro lens and get up close to reveal their striking colors and details. Believe it or not, these special flowers aren’t something you’ll find walking around your garden center; they’re injected with dye to give the petals their vibrant petals. This does make them a tad pricey at about $6 a pop, and they wilt a little sooner than normal flowers, but for the photographic opportunities they create, we think it’s well worth it.
Depth of field is limited when shooting so close to your subject, so in this project, we’ll show you how to focus stack your pictures, light your flowers at home, and use a specialist macro rail to achieve fine focusing precision.
1. Get set up
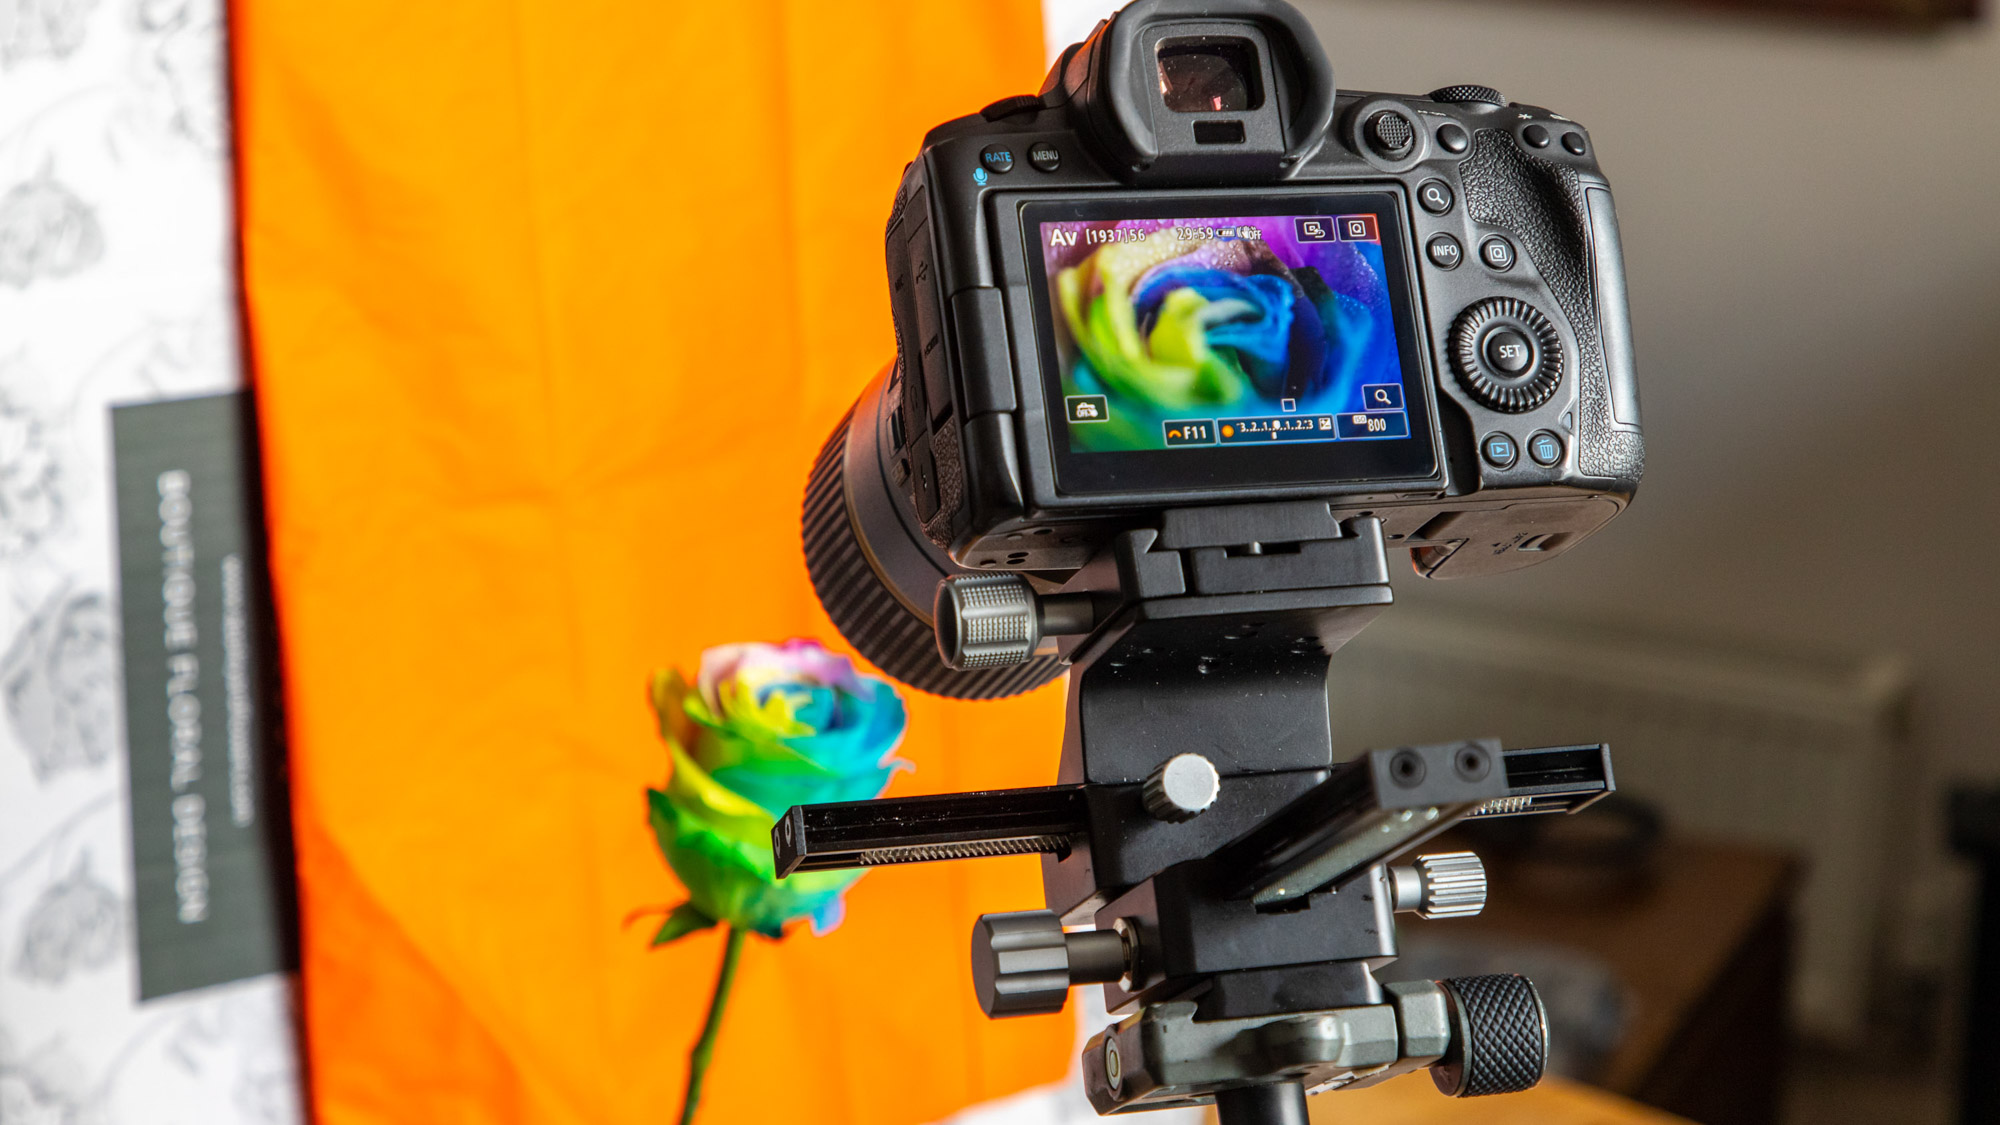
The first step is to set up your camera on a sturdy tripod. A three-way or geared head makes it even easier to compose, and we’re using a Neewer four-way focus rail, which costs about $80/£70 from Amazon. It’s not essential, but it is really handy for dialling in tiny focus adjustments without touching your lens’s focus ring. You can also shift the camera left or right easily, too.
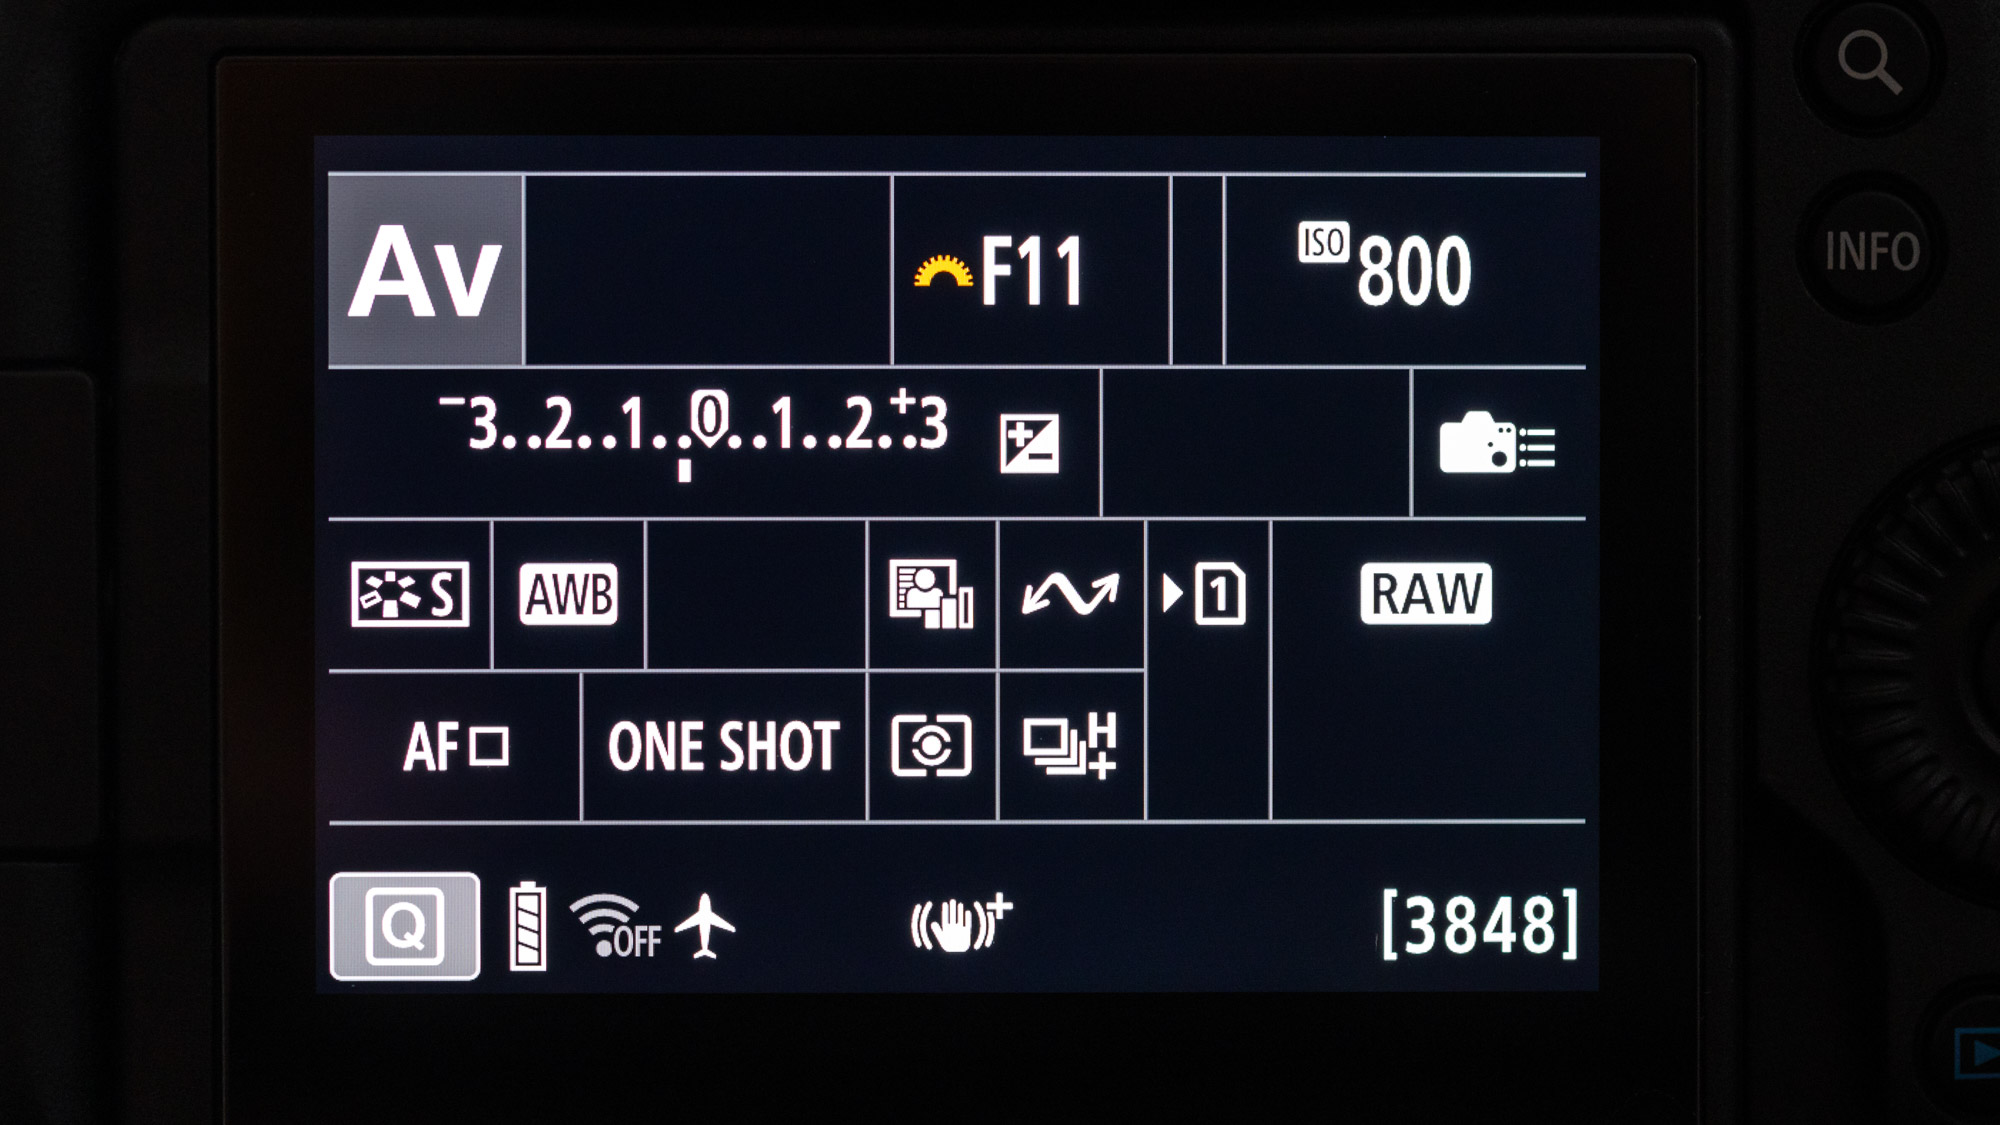
With our 90mm f/2.8 macro lens attached, we headed into Aperture priority (Av) mode and dialled in a middle aperture of f/22, so that there would be a focus buffer between each frame and also make it easier for software to align and stack the sharpest parts together. You should enable the two-second self-timer to reduce camera shake.
2. Focus bracketing
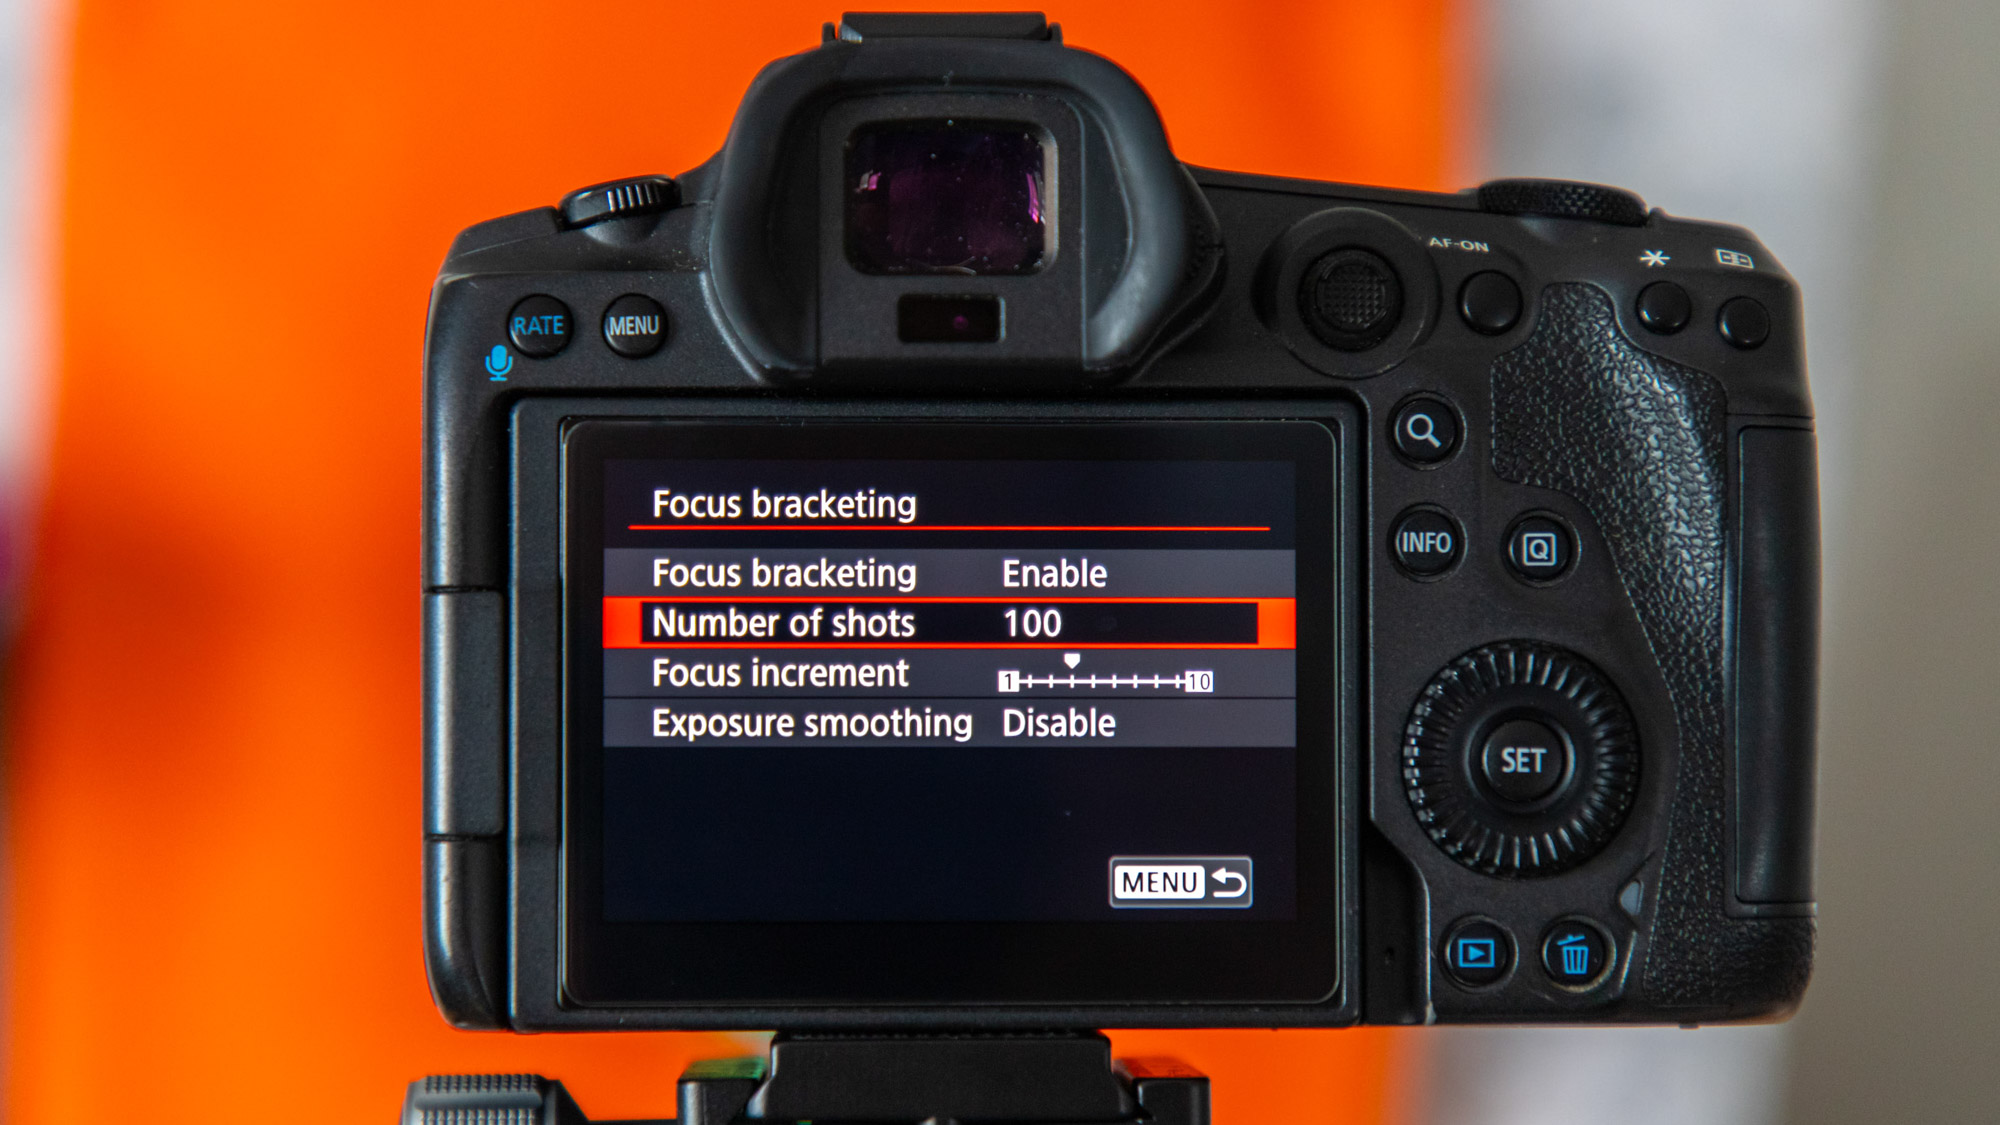
Focus bracketing is a fairly common feature on Canon’s latest mirrorless EOS R cameras, such as the EOS R6 and R5, as well as their newer Mark II models, and many others. This mode makes full use of the high-speed burst rates available and can sweep the focus point through your composition while rattling off a series of photos to give you a batch of images with every focus distance covered.

On our Canon EOS R5, we have options to set the number of shots and the focus increment, which are both essential for dialling in the results. There’s also Exposure Smoothing, though newer cameras such as the EOS R6 Mark II also have options for Depth Composite and Crop Depth Composite, which merge the focus stack in-camera.
3. Take the shot
To get our rose looking perfect, we propped it up in a vase and used a Wimberley Plamp with its soft jaws to hold the delicate plant stem to keep the rose steady in position. We also added some colourful tissue paper behind for a splash of colour.
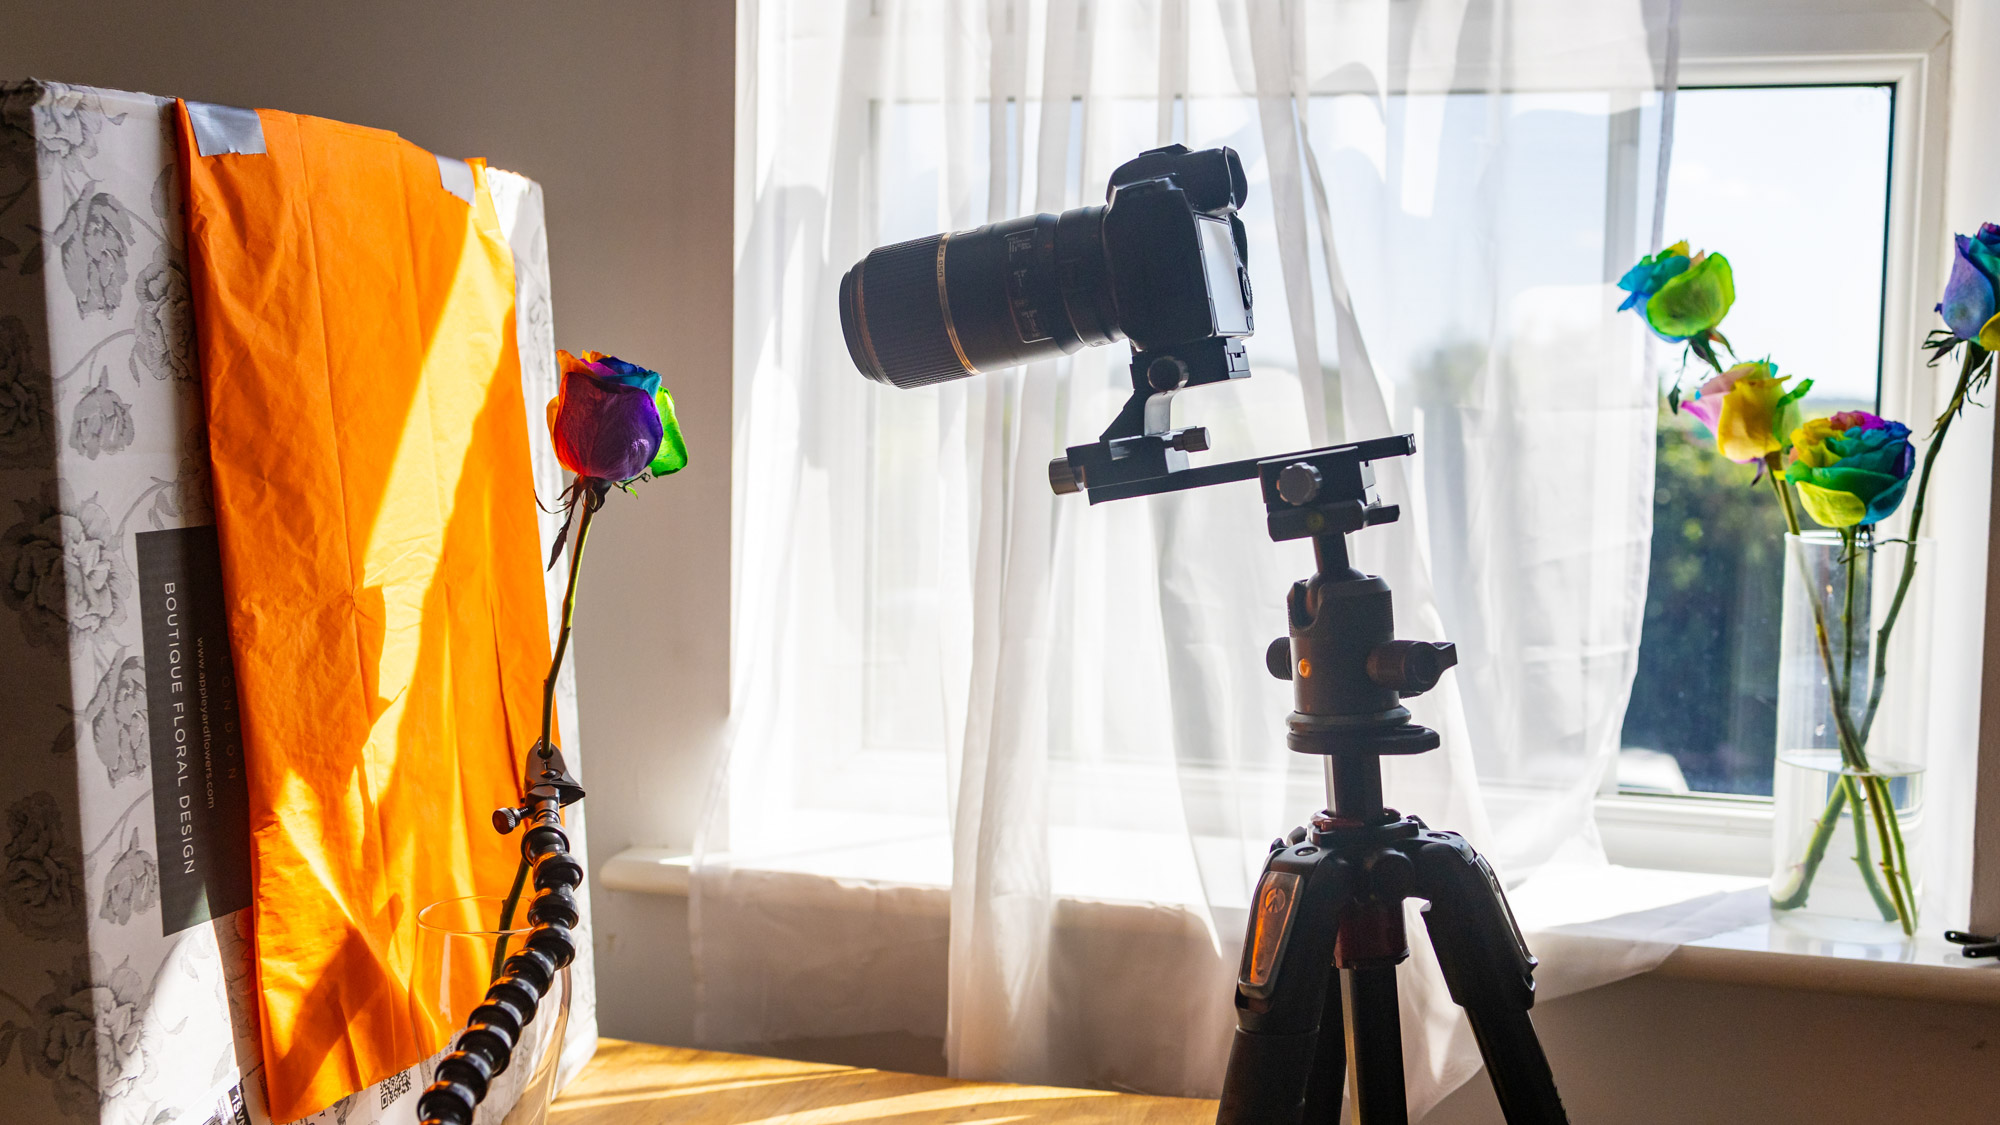
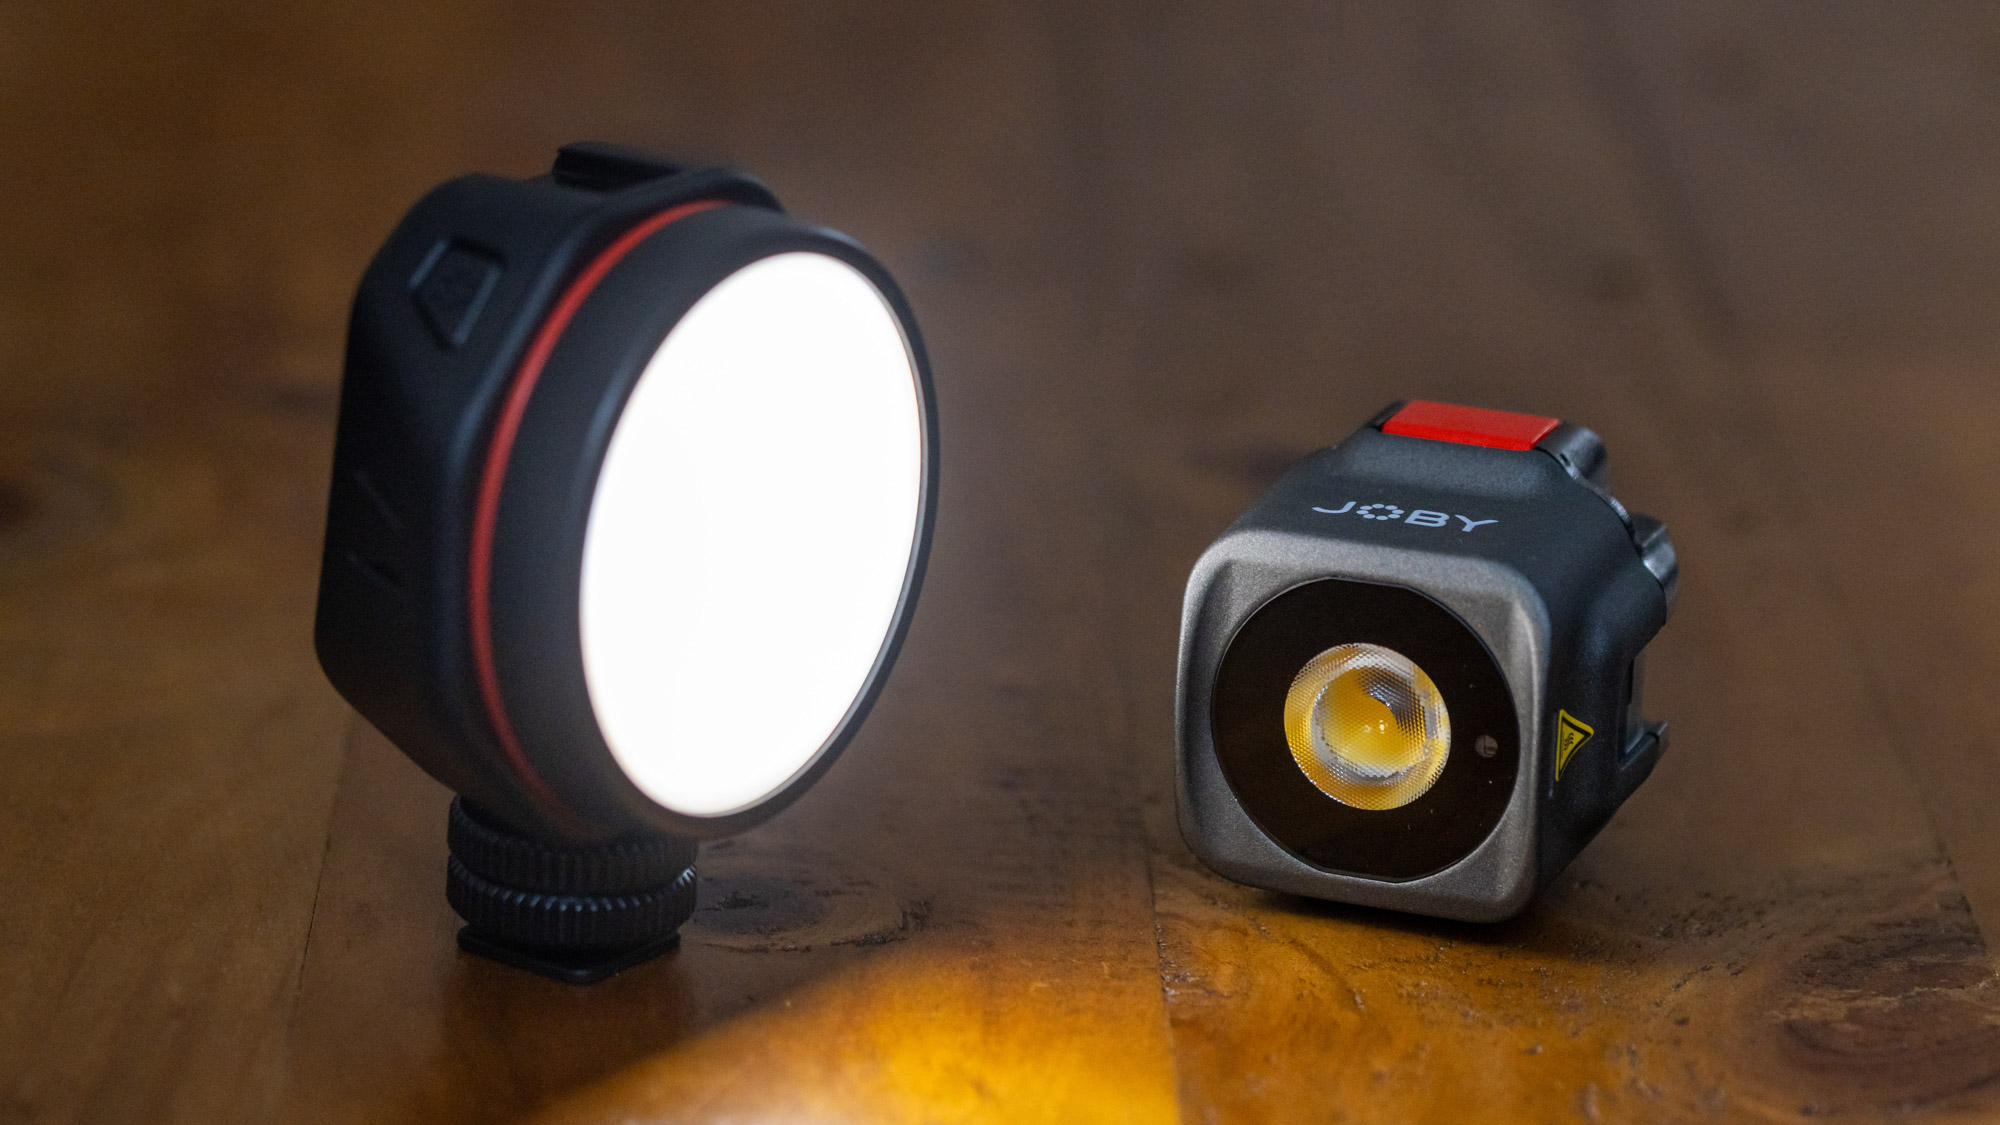
When it comes to lighting, you can use window light. We also like these Joby Beamo and Beamo Reel lights, which are handy for moving the light around your subject and getting it looking perfect. You can also use small reflectors to bounce light back on to your subject. Finally, we added some water drops with a spray bottle to make our subject glisten. You’re then set to fire the shutter and start shooting your bracketed sequence of images.
4. Stack the focus
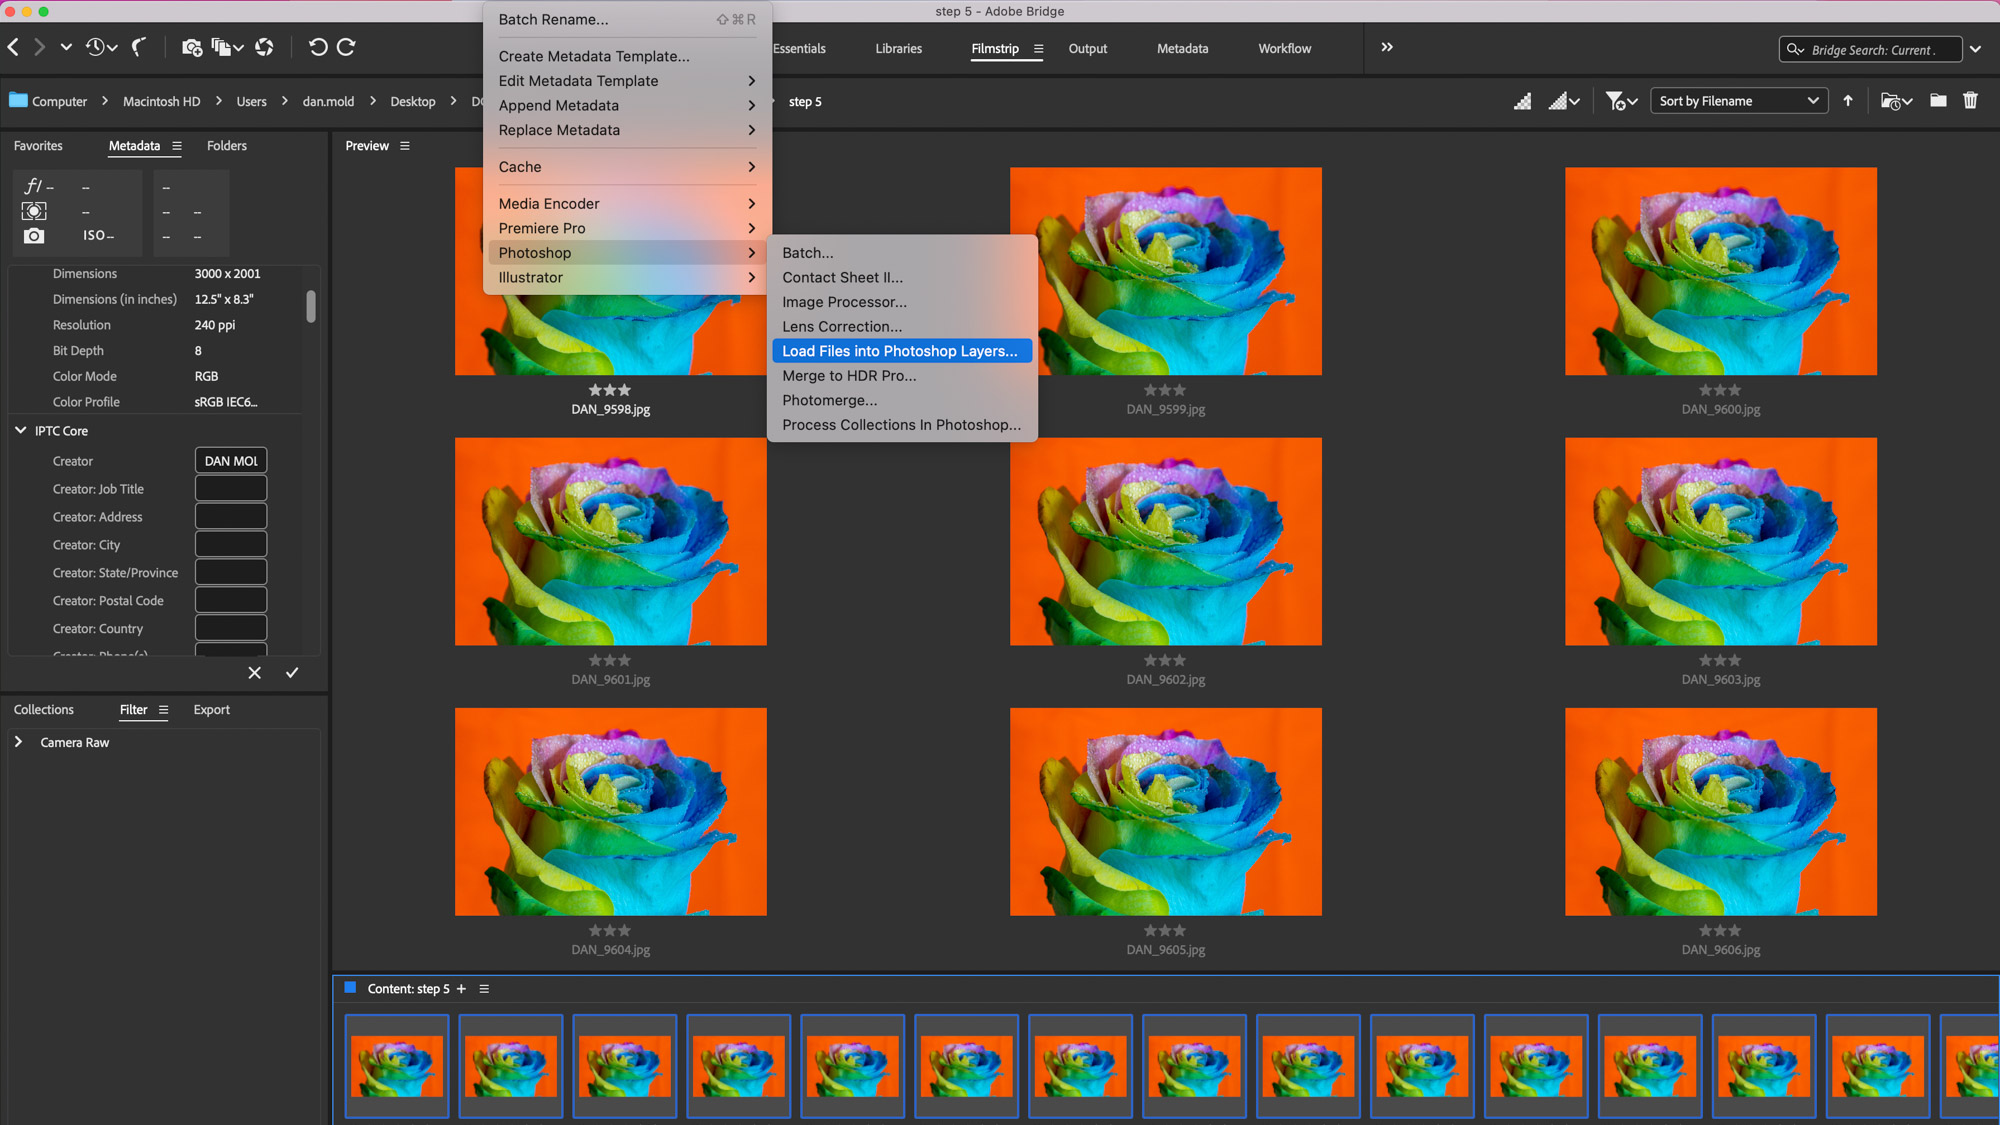
Downsize your images before stacking, or your computer might struggle to merge the files, especially if they’re large 45MP images from a camera such as the Canon EOS R5. In Adobe Bridge, click the first image in your focus stack, then hold the Shift key and click on the last. Now go up to Tools>Photoshop>Load Files Into Photoshop Layers.
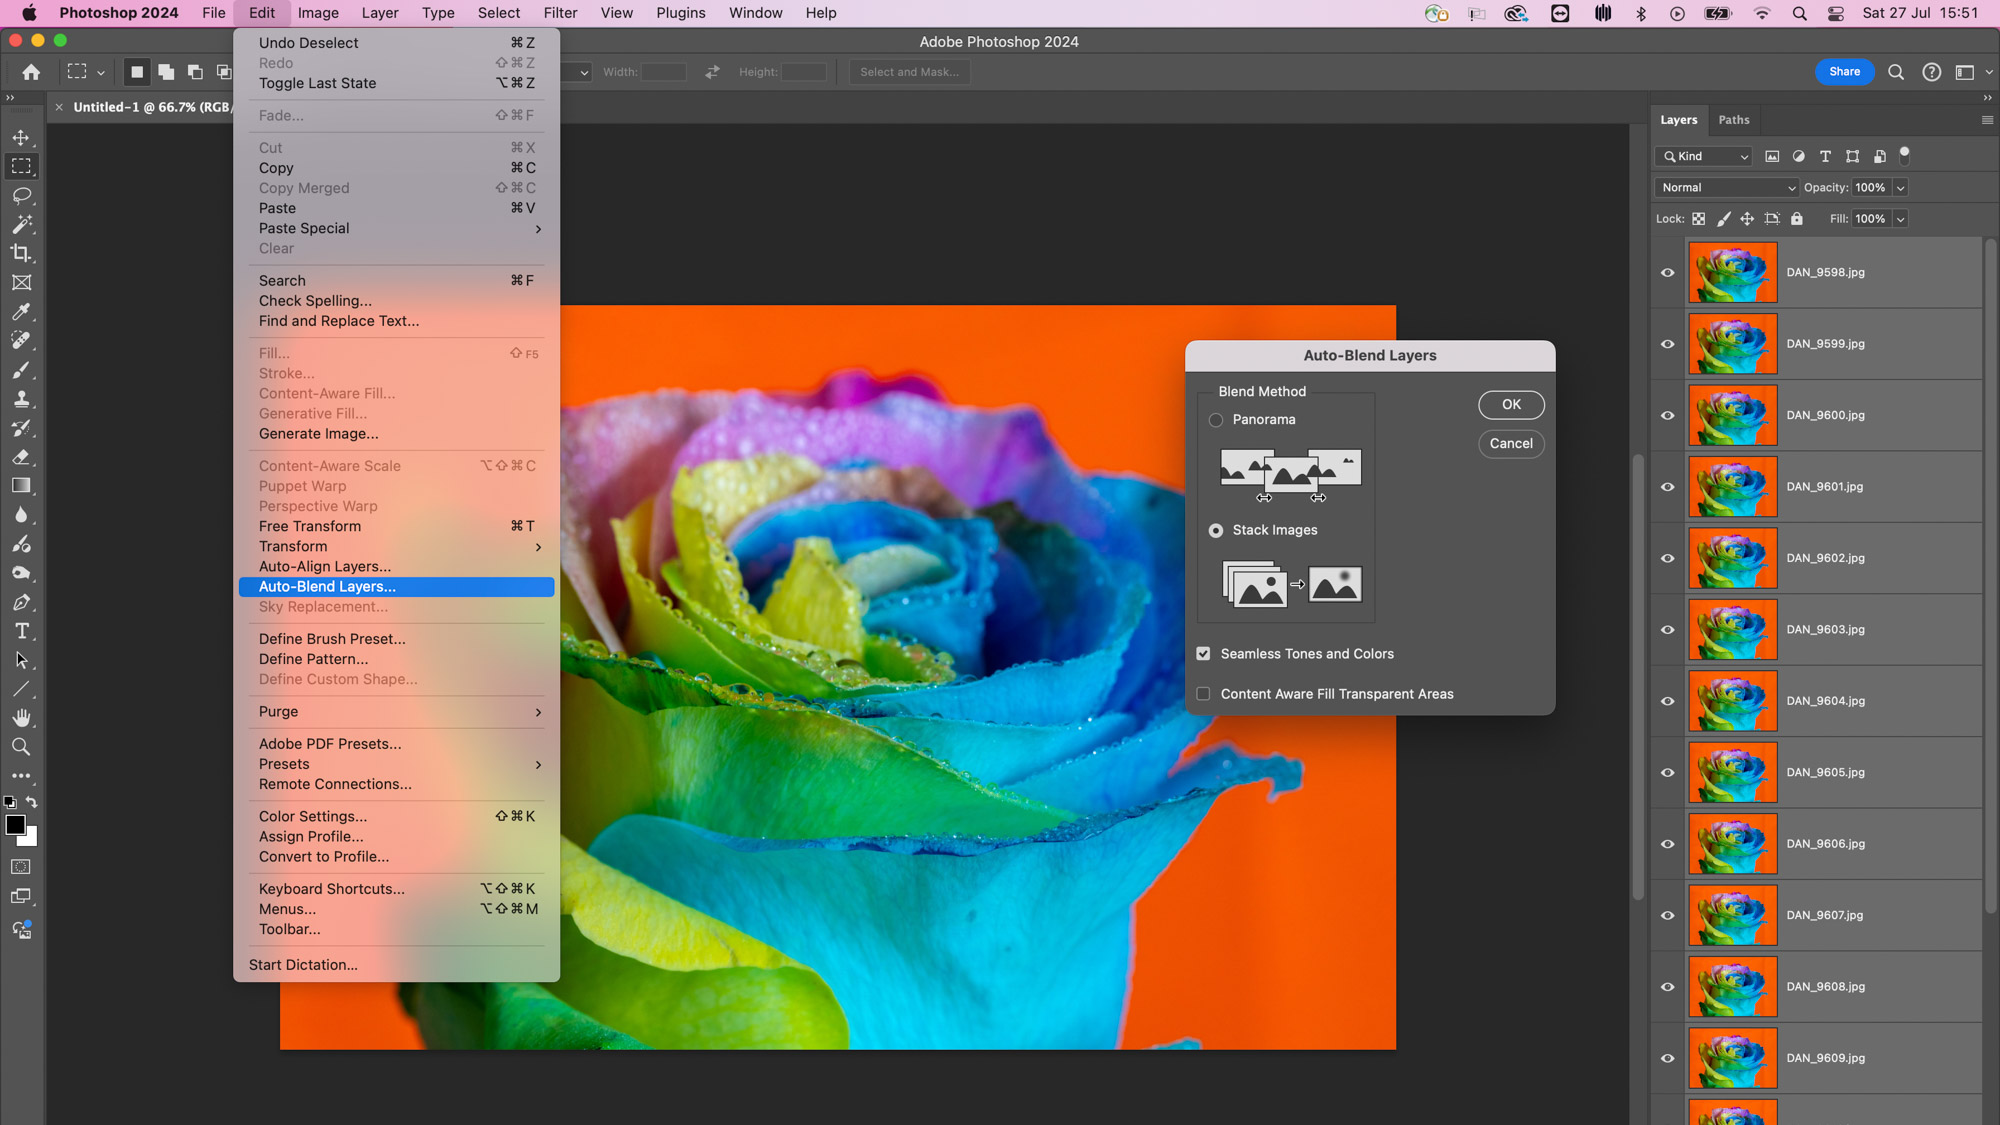
In Photoshop CC, go to the Layers panel (Window>Layers) and click on the top layer, then hold Shift and click on the bottom layer to select them. Go to Edit>Auto Align Layers and hit OK to align all of the layers. Then go to Edit>Auto-Blend Layers and click Stack Image. Make sure Seamless Tones And Colors is ticked and hit OK.
If you're serious about scenery, take a look at the best cameras for landscape photography along with the best lenses for landscapes.


