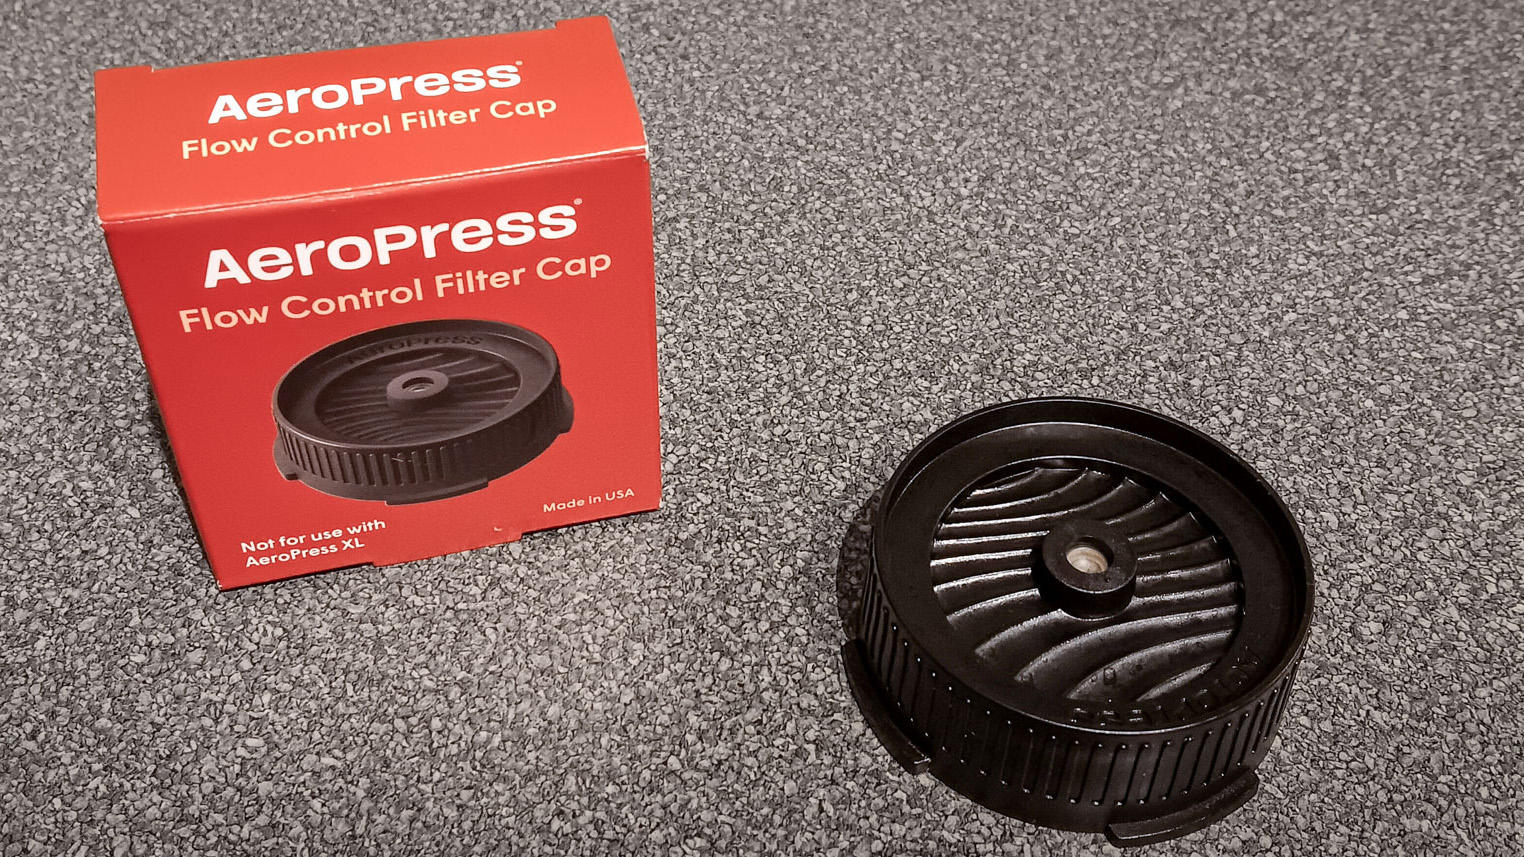
We are nuts about coffee at Tom’s Guide — we even have a qualified barista on our team. So, whenever we get the chance to try out one of the best coffee makers or best espresso machines, we are on the case.
But it’s not just coffee machines that we like to test; any coffee gadget that can improve the taste of a delicious cup of Joe will be swiped up by our coffee-loving team for testing. This custom AeroPress filter is no exception, as it elevates the coffee-making experience and results in a professional finish with an impressive espresso-like crema and a more intense flavor, depending on how long you leave the coffee to brew.
I’m a big fan of the no-nonsense method of using the AeroPress manual coffee maker, which uses a plunger. Although it might look tricky, using an AeroPress is not as daunting as you think. Apart from being careful not to push the plunger too quickly, you end up with a quality brew, without the need to splash out on an expensive coffee machine.
What does the AeroPress Flow Control Filter Cap offer?
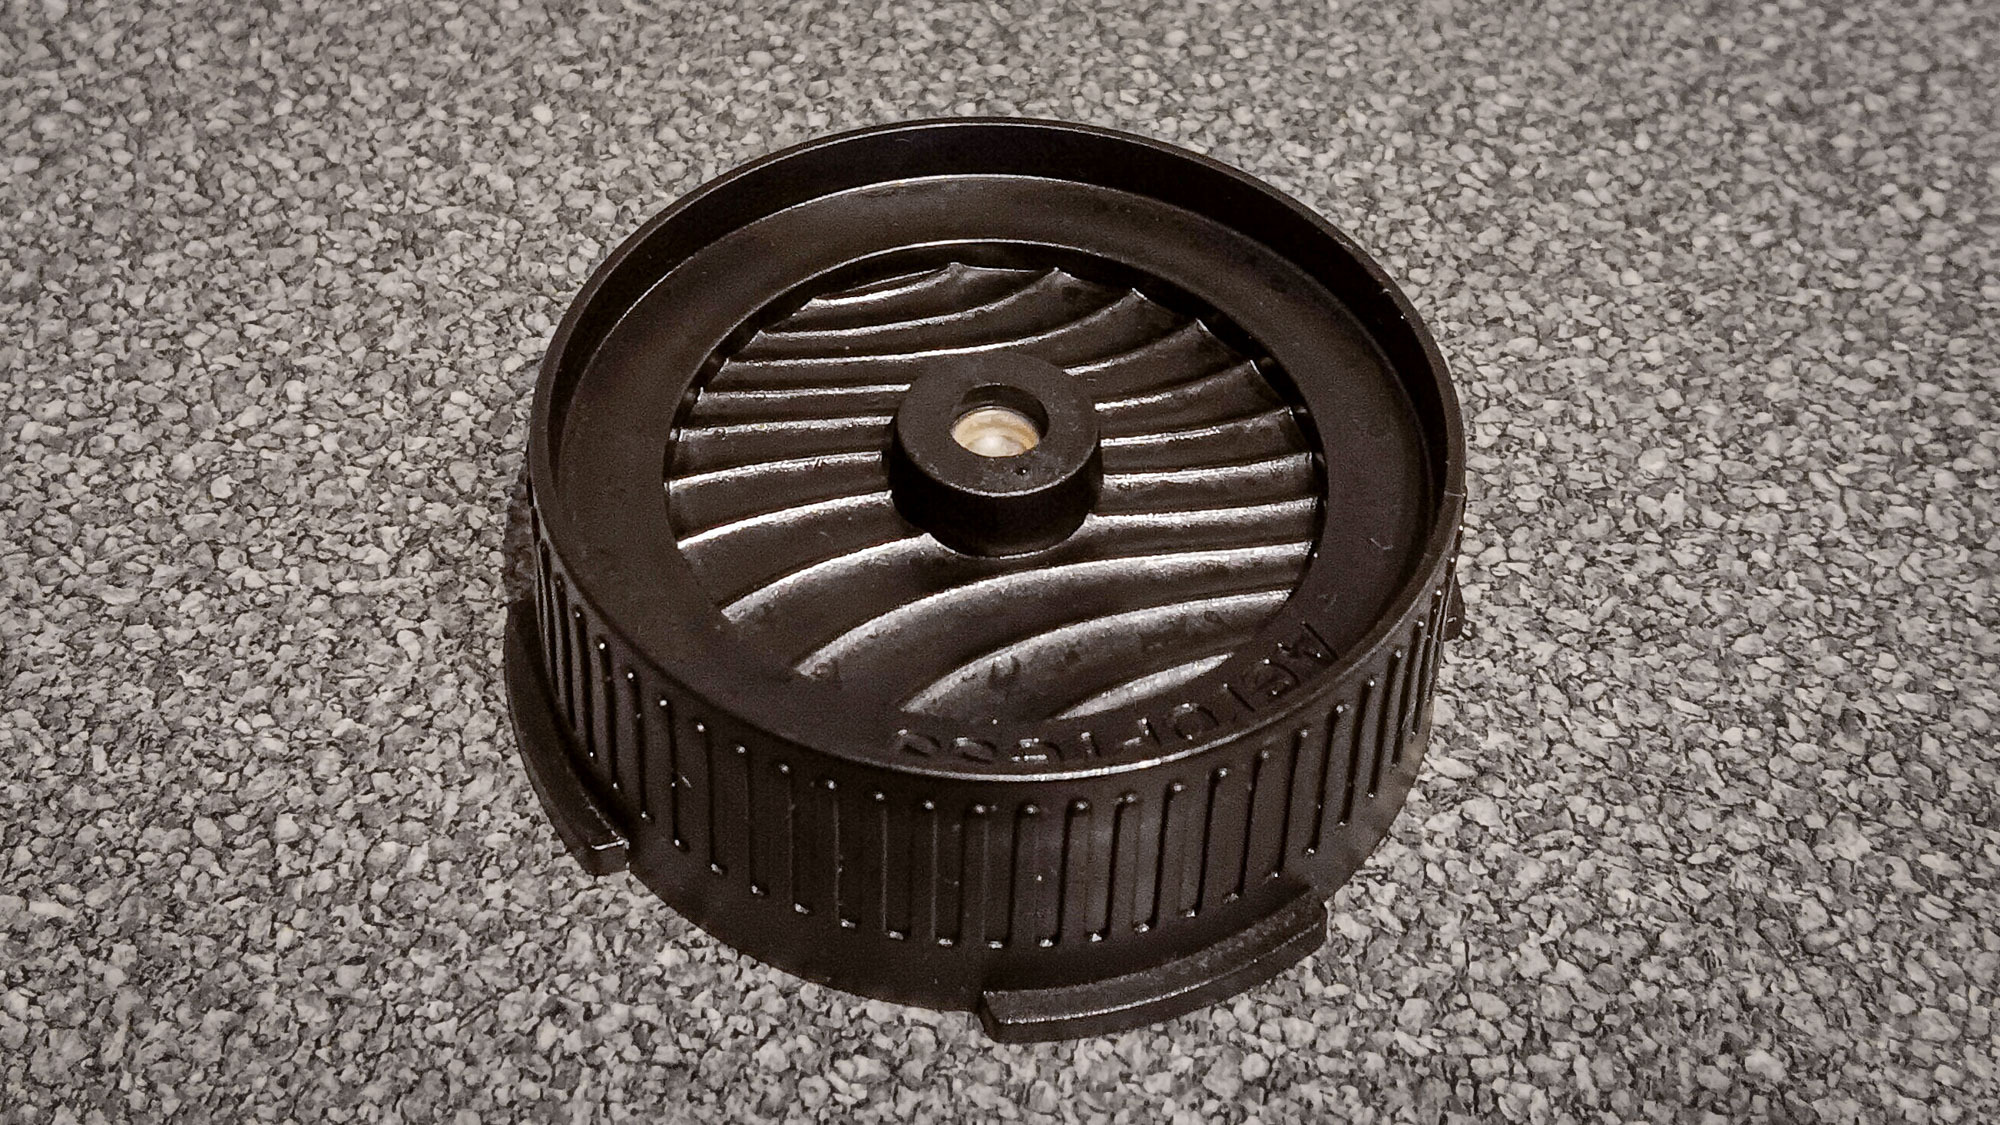
You may be thinking why do you need an additional AeroPress filter than what’s already supplied as standard with your AeroPress? The Flow Control Filter Cap offers greater flexibility —not only will it allow you to use any grind size for complete brew control, you can extend your brew time, and it also prevents that annoying drip through. How come? The pressure-sensitive value does all the hard work and doesn’t open until you begin pressing the plunger.
All that might seem impressive, but it’s particularly known for how it produces an espresso-like crema when used with a paper filter and dark roast coffee, although AeroPress points out that it is not real espresso.
However, if the espresso style is too concentrated for your taste, it can be used in lattes, cappuccinos, and other espresso-based drinks.
For any coffee nerd, this AeroPress filter is worth a try for its added creativity when making a brew. But it's worth noting that although it's compatible with the AeroPress Original, AeroPress Go, AeroPress Clear, AeroPress Premium and AeroPressGo Plus, the filter cap won’t work with the AeroPress XL, so check which model you own before buying the filter.
What's inside the box?
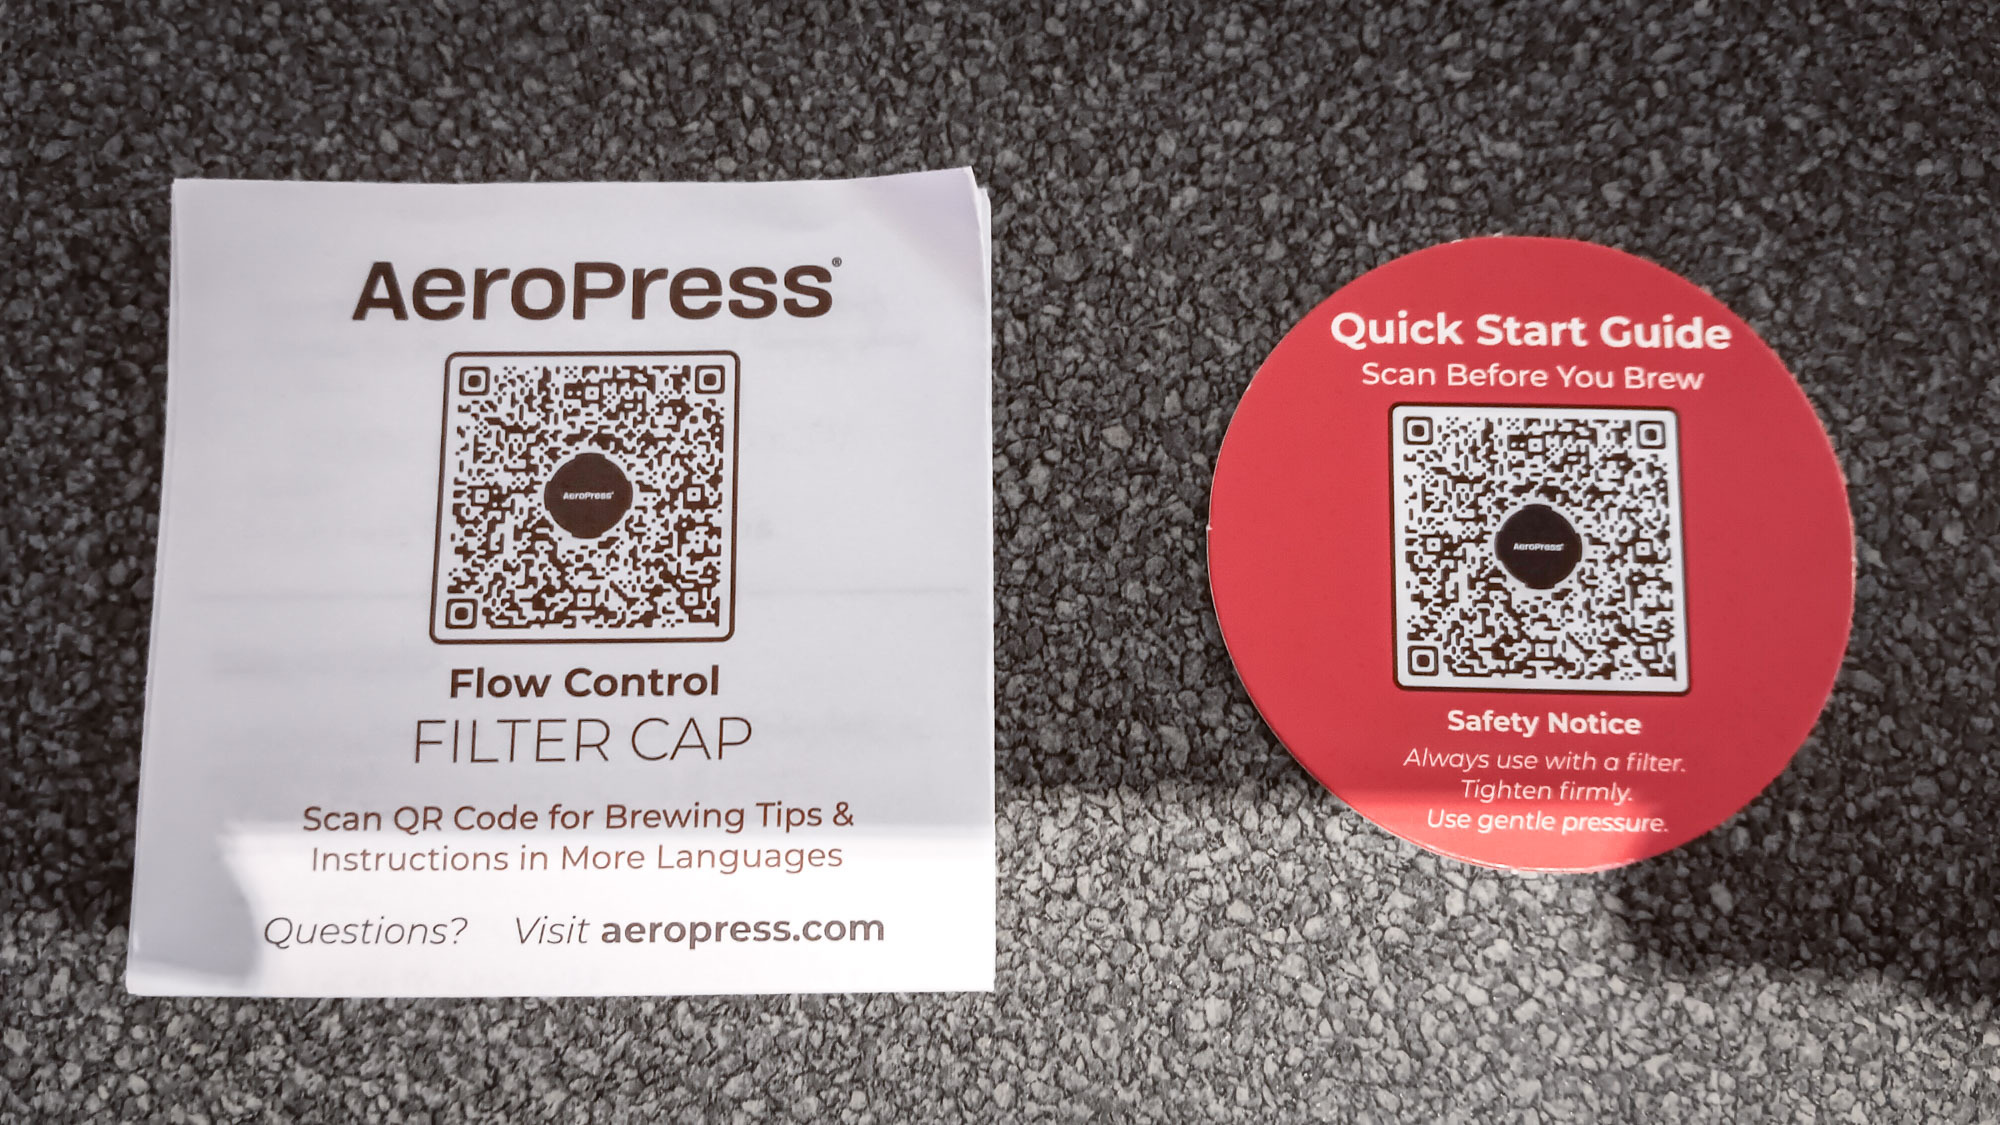
The filter comes packaged in a small box — it’s good to see there isn't an excessive use of packaging. Inside you’ll find the filter, a circle cardboard disc containing a QR code for a Quick Start Guide that contains brewing instructions, and a printed leaflet with cleaning, filter type and safety guidelines.
I'd strongly advise scanning the QR code to ensure you follow the correct advice on how to make a brew using the filter.
Ease of use
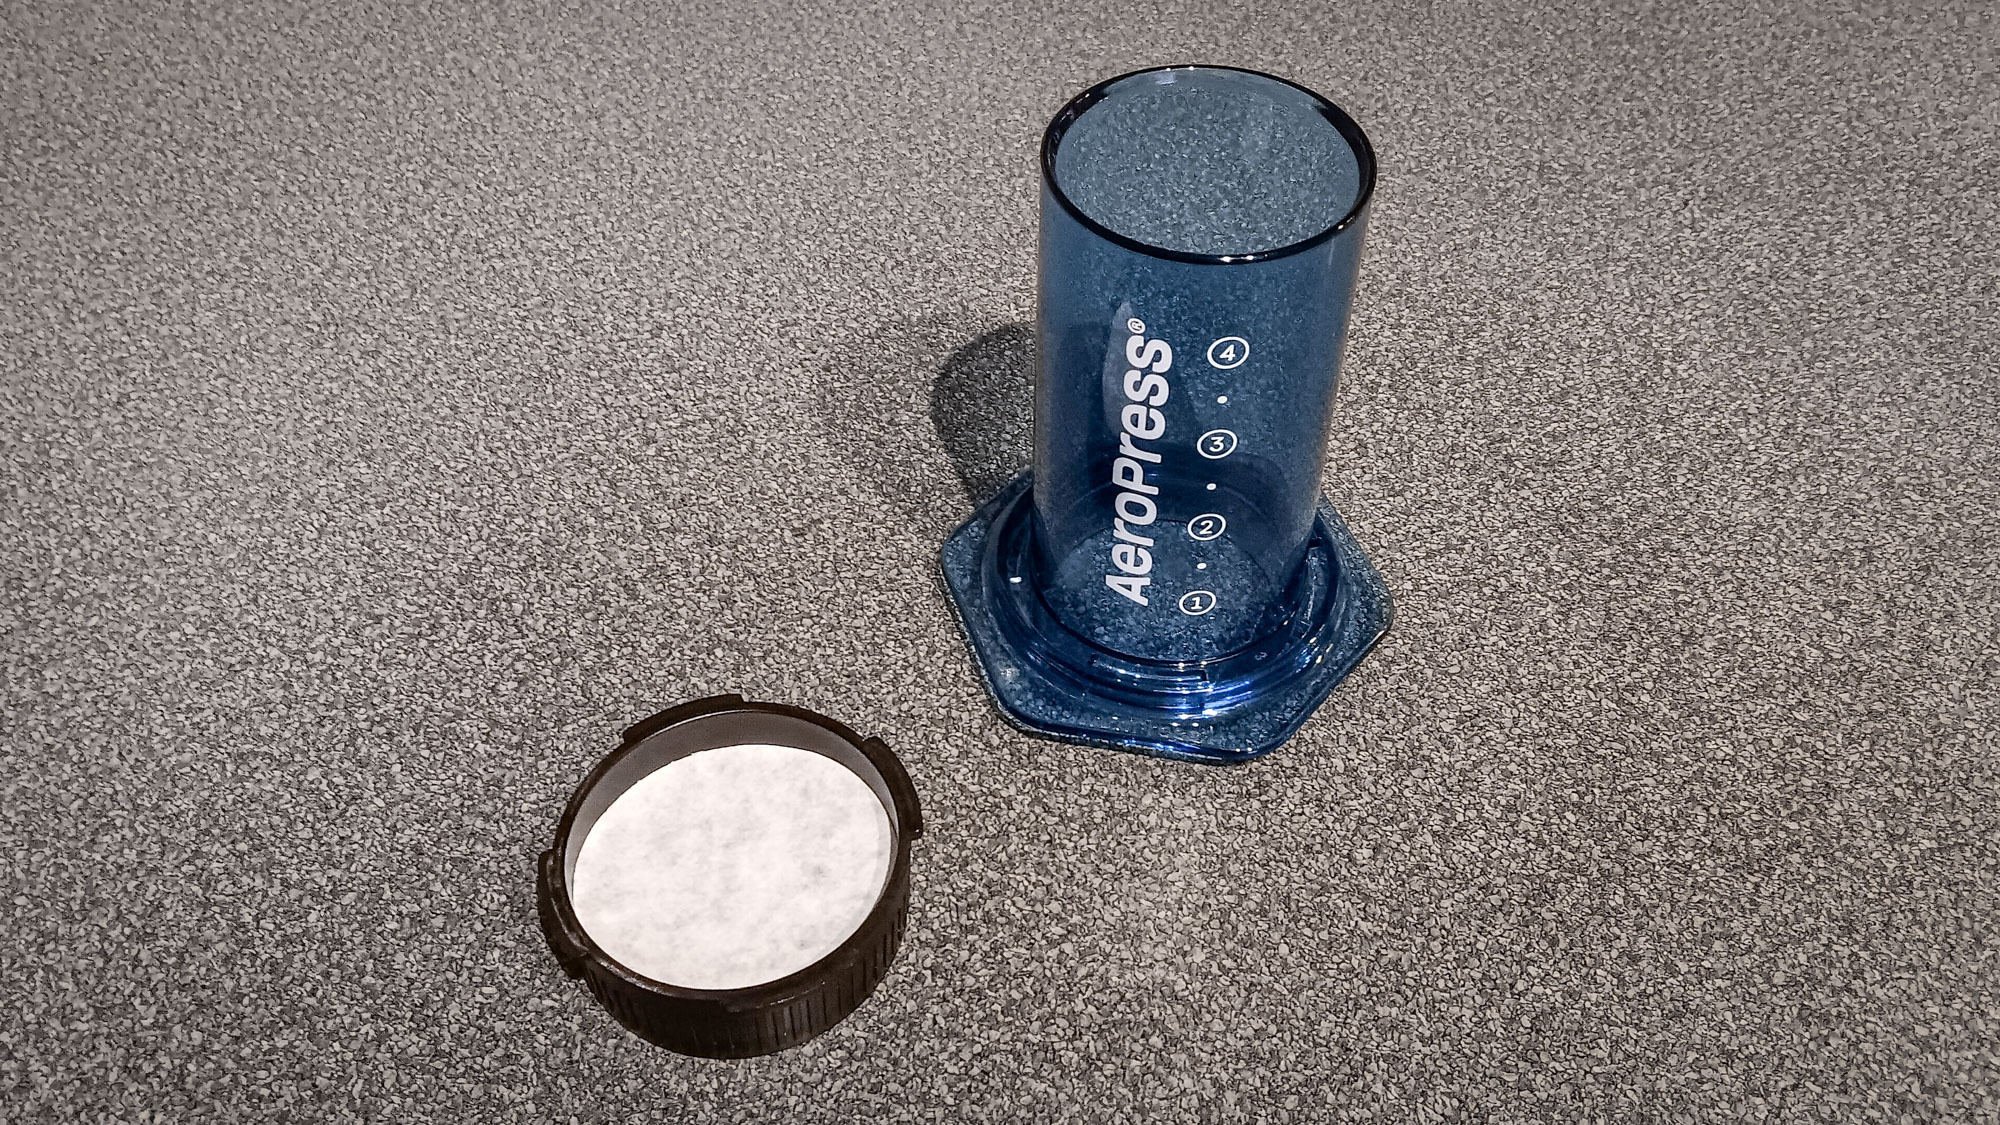
The filter is very similar to the one that comes with a standard AeroPress, and it fits in the same way on the base of the unit, twisting into position. It also holds standard-size AeroPress paper filters or the AeroPress metal filter, so there’s no need to make an additional purchase.
Here's how to make a brew:
1. Simply, place a paper or stainless steel filter into the base of the Flow Control Filter Cap and attach to the unit.
2. Place 15g of finely ground dark roast coffee into the chamber and shake to level.
3. Pour in water at around 210°F into the chamber, up to the middle of level 1.
4. Stir the hot liquid 20 times.
5. Leave to brew for 1 minute.
6. Insert the plunger into the chamber, and press firmly but steadily, until it reaches the bed of the coffee. You should hear a final roaring sound.
Top tip
Be careful not to push the plunger into the hot liquid too quickly. It’s also important to use a sturdy cup or mug that will withstand the pressure.
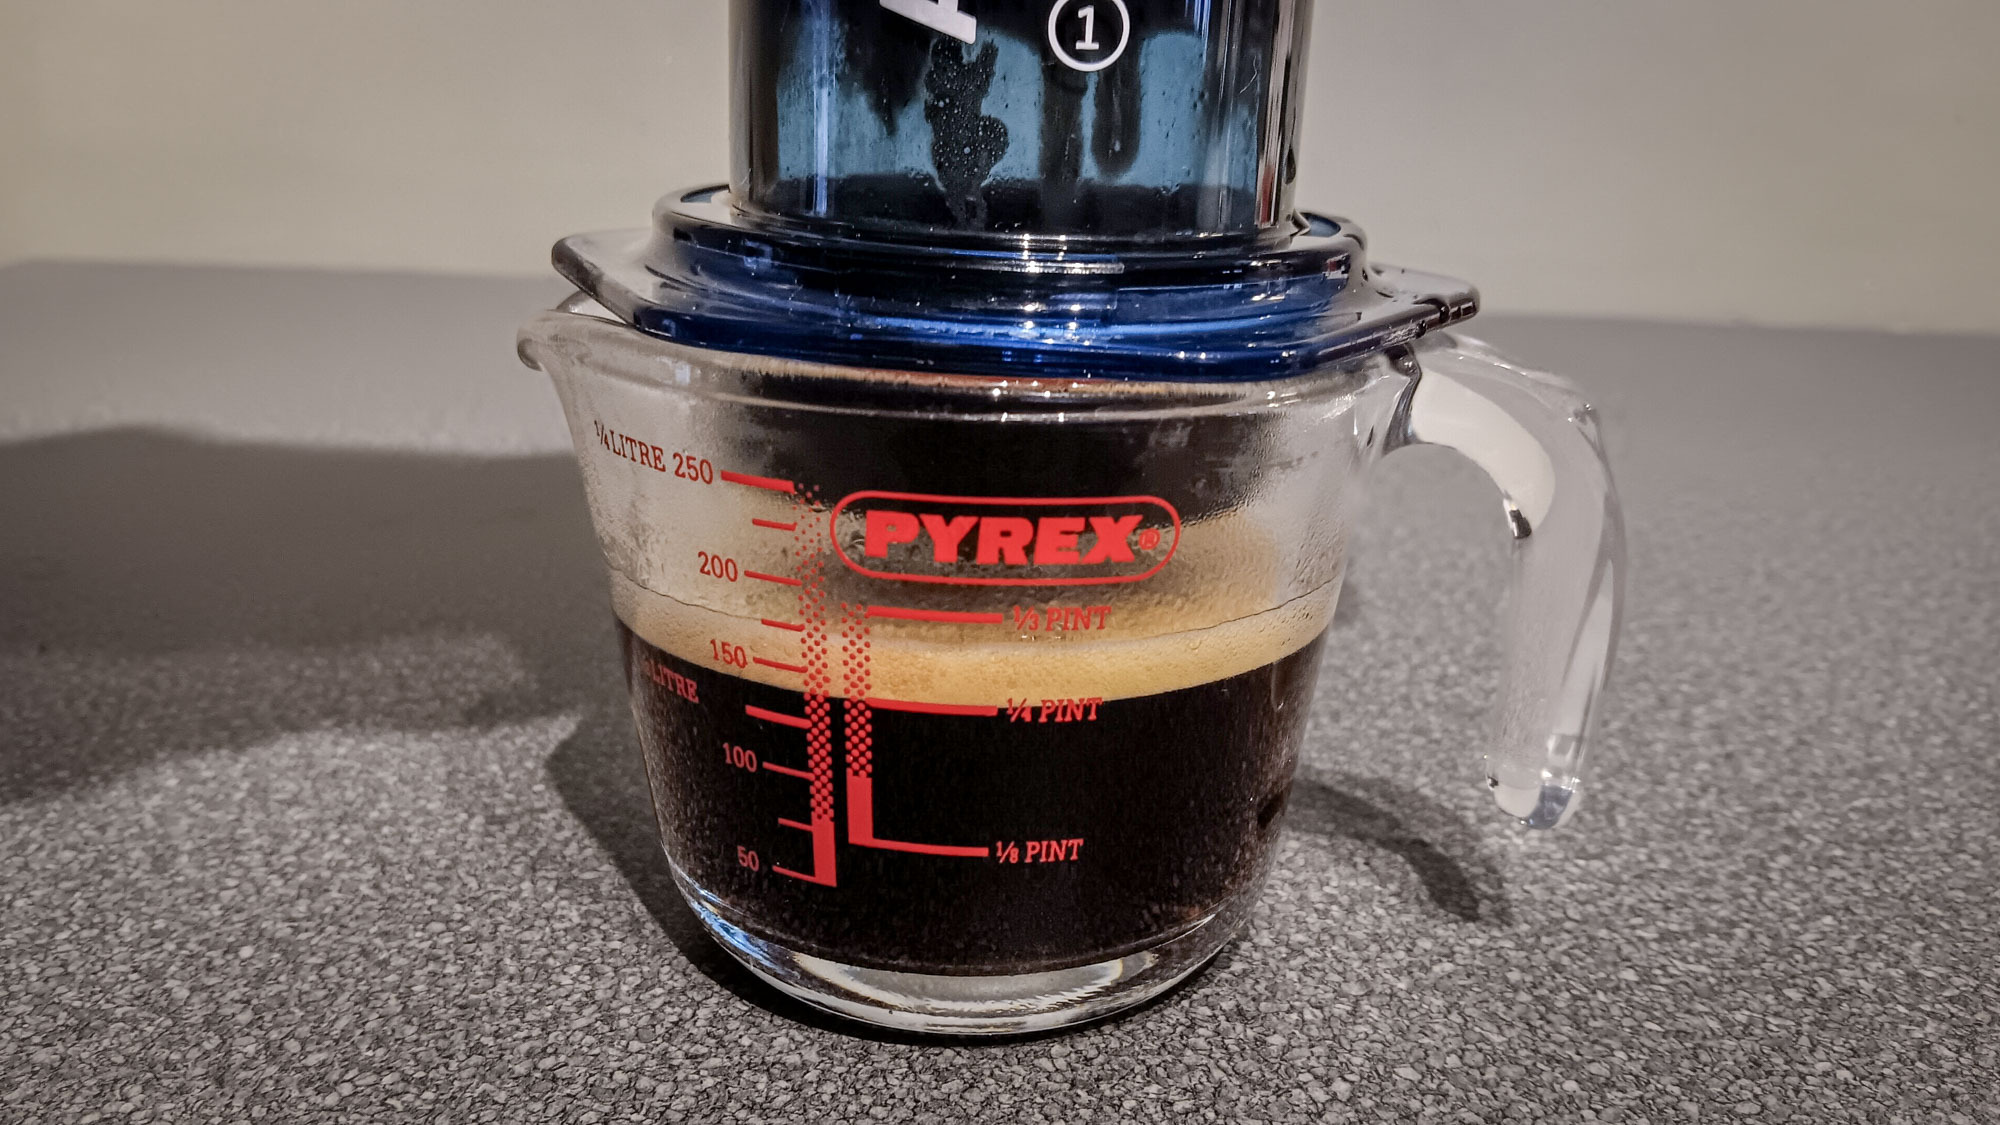
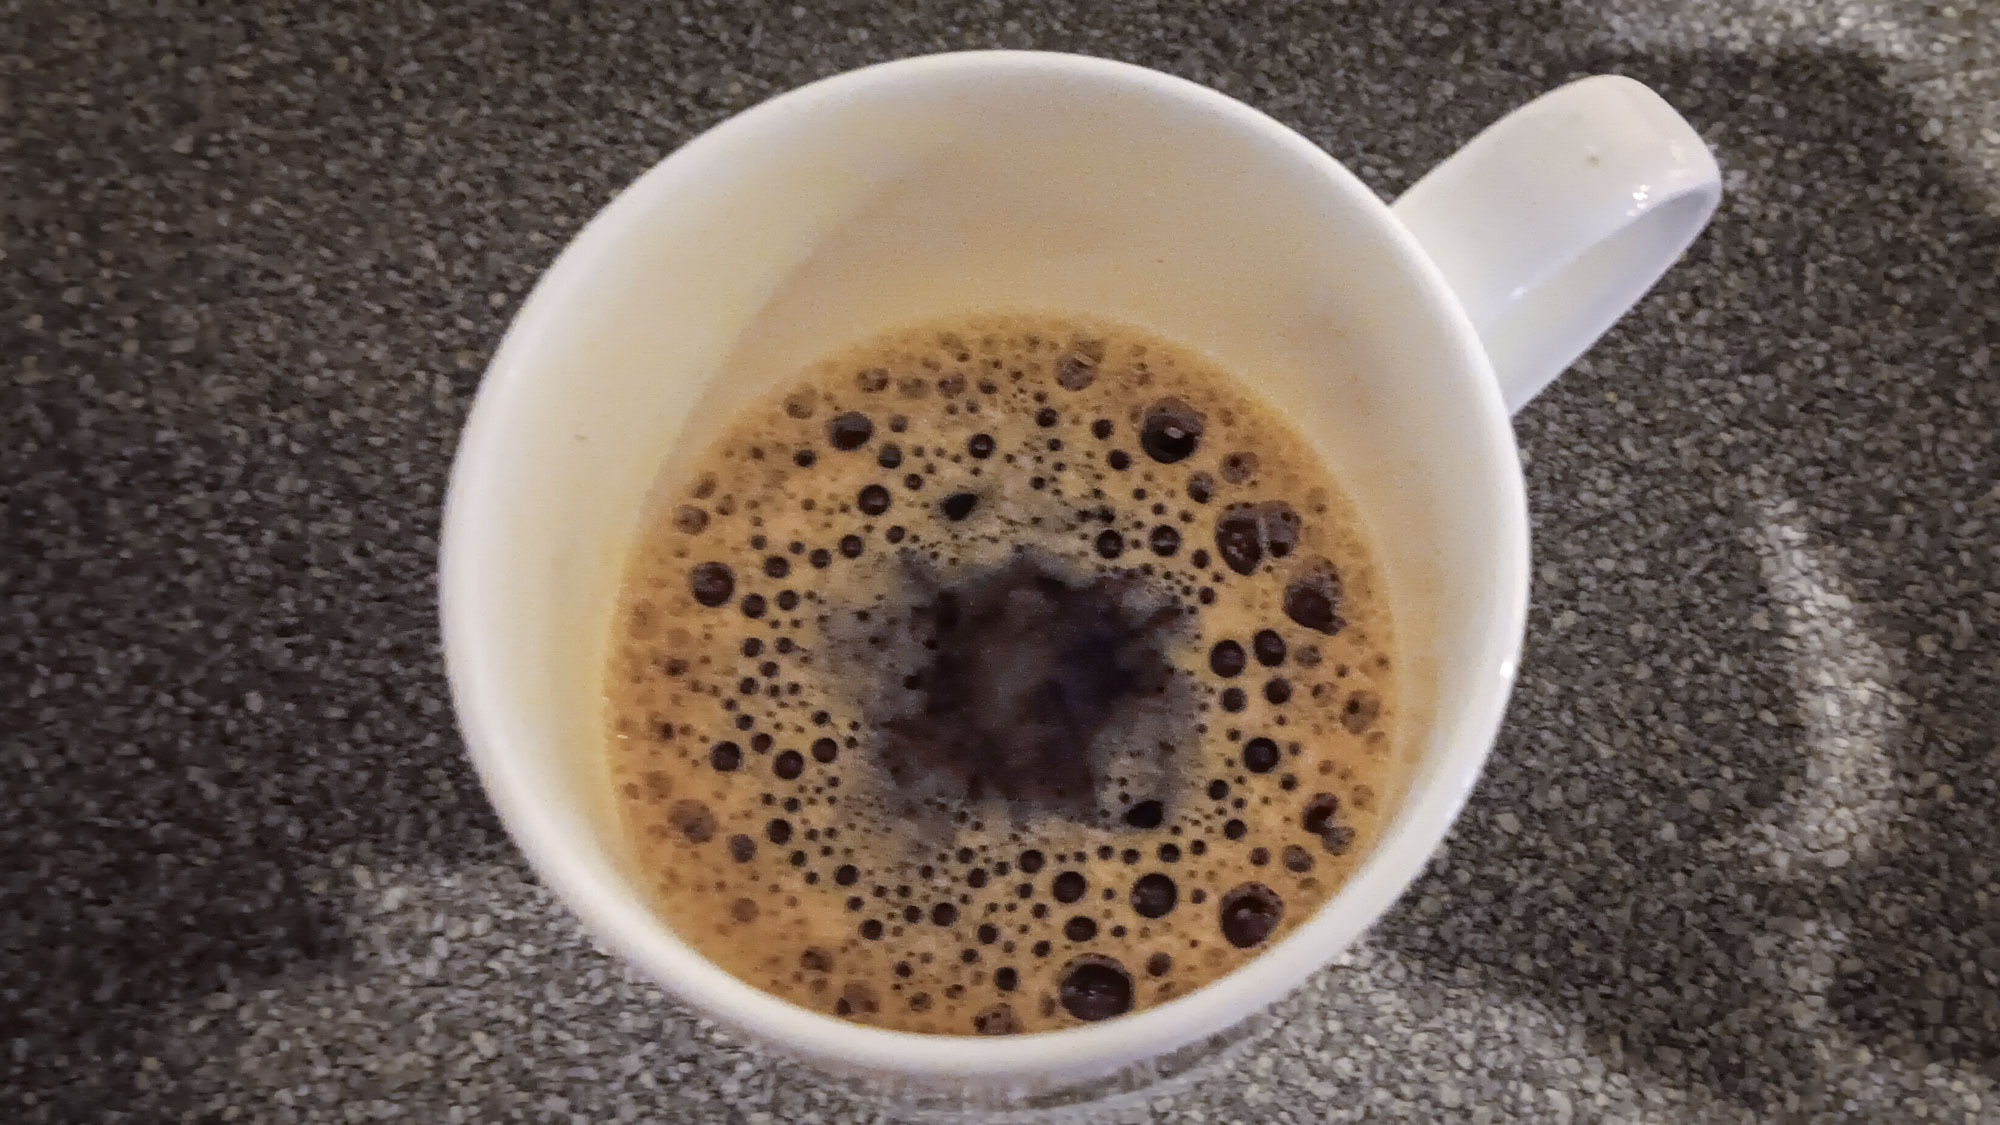
For demonstration purposes, I used a clear measuring jug to display the crema that forms on top of the coffee when using the flow control filter. The image shows an impressive result, although the fine bubbles do tend to disperse fairly swiftly.
Clean up
This filter can be cleaned in the same way as the standard AeroPress filter. Simply use warm water and dish soap, avoiding any harsh chemicals. I then tend to leave it to air dry. However, if you prefer, it can be cleaned in the top rack of a dishwasher.
Is the AeroPress Flow Control Filter Cap worth it?
If you love your coffee gadgets, I'd definitely recommend paying out $25 for this AeroPress filter. Apart from being fun to use, as you feel you're taking part in making a brew, rather than leaving it up to a machine, this filter upgrades your coffee experience.
However, if you prefer a latte or cappuccino to an espresso-style coffee, I'd say this option not worth the money, as you won't benefit from the crema topping that the filter produces before any additional water or milk is added.
The secret behind AeroPress coffee
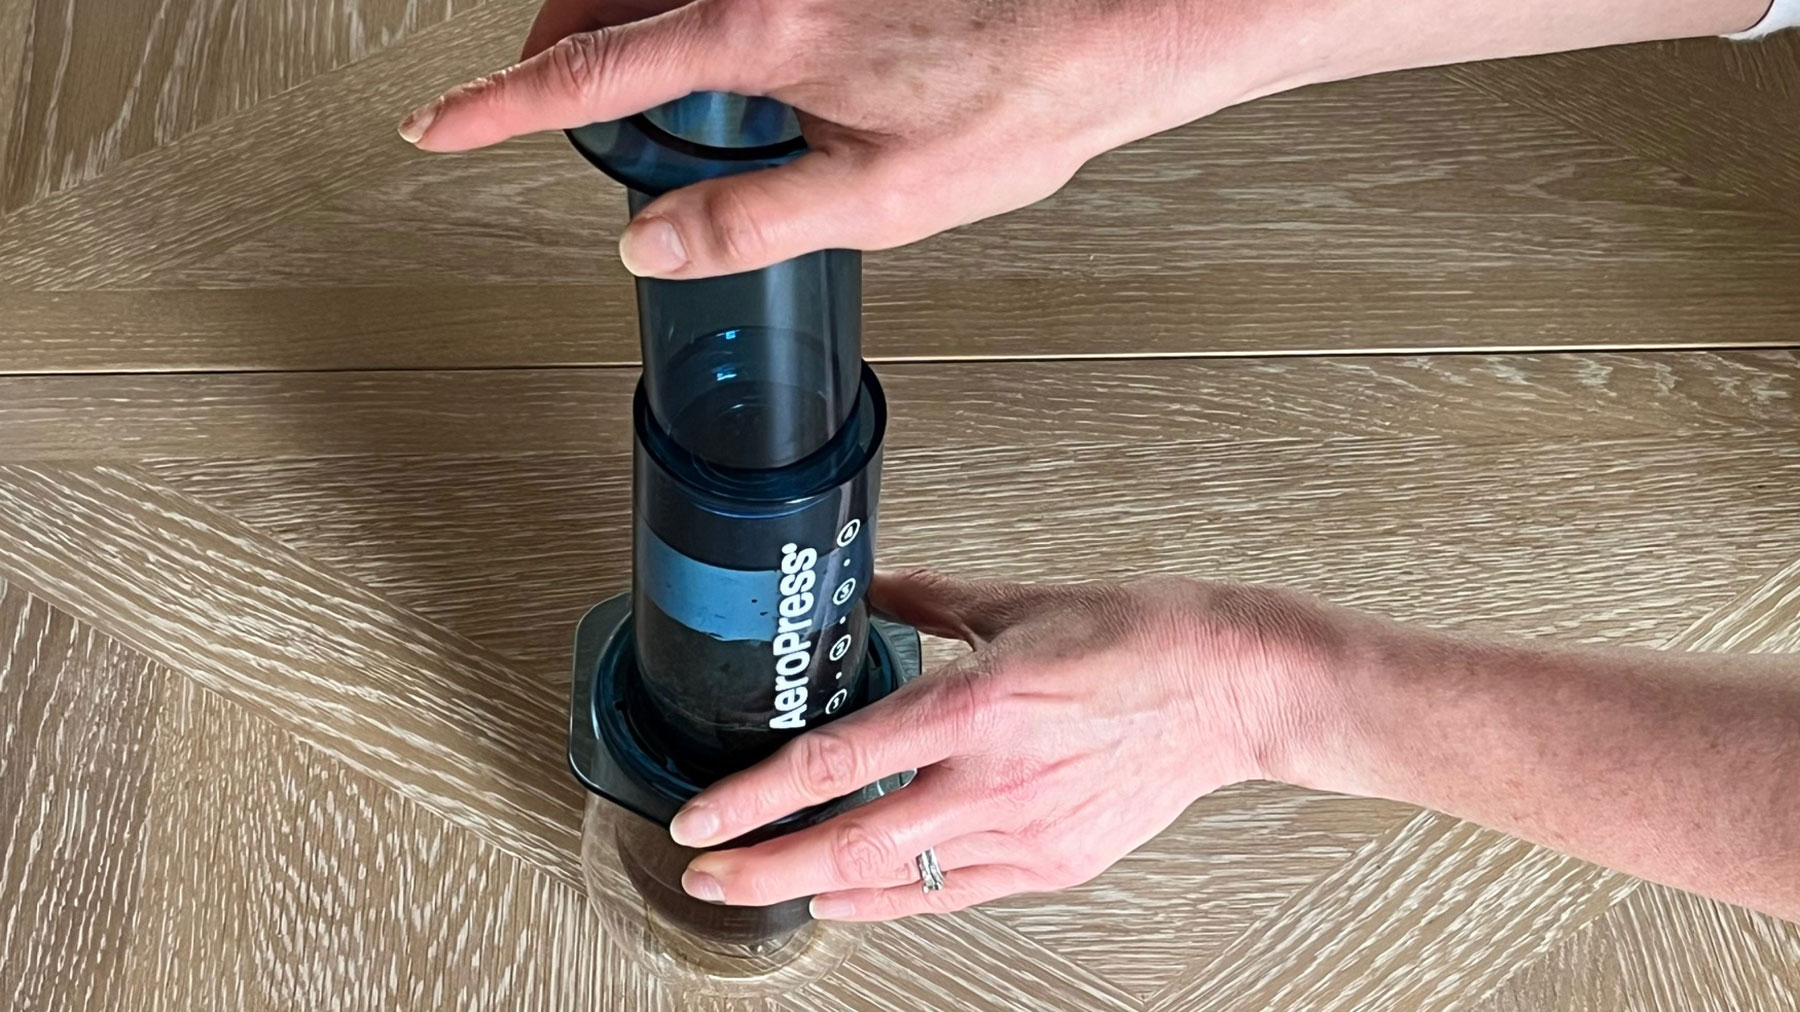
How does an AeroPress coffee maker work? Ground coffee is placed into the chamber along with hot water. The liquid is then stirred and left briefly before creating a vacuum seal with the plunger. After about 30 seconds, the plunger is pushed further using a constant pressure to release the liquid into a cup.
Unlike other coffee makers, AeroPress uses pressure to enhance the extraction, allowing for a finer grade of coffee and a quick brew time.


