I live in a newly built home and the construction quality has been really good, overall. But one snag has been the front door, because in the winter, the arctic chill that slides in around the gaps really impacts our heating and comfort.
After shoving a furry throw under the door for a week and noticing our living room and entryway were finally warm, I realized I needed a more permanent solution to our drafty front door. Enter this $9 weatherstripping tape from Amazon.
This draft proofing tip proved to be the perfect quick fix and was easy to apply.
Weatherstripping tape fixed our drafty front door

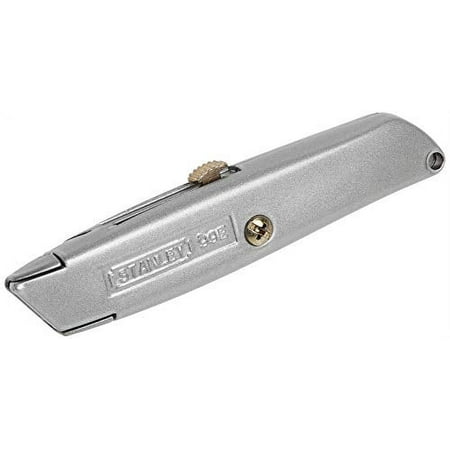
This self-adhesive tape was the perfect quick fix. I used a Stanley knife to cut through the thicker base and stuck it under the bottom edge of my front door. It took less than minutes to install.
The draft problem began over Christmas when the temperature took a deep nose dive. I had avoided winter home maintenance mistakes and sealed gaps around my windows as I live in the UK and when it’s cold here, it’s hard to tolerate lower temperatures due to the humidity. Our rural home is also surrounded by large open fields, making any wind breezing through go straight to your bones.
Though our house is newly built, well maintained and has great insulation in the attic and walls, our front door has been a pesky nuisance from the start. For starters, there’s a small gap at the bottom, which in the summer, let a colony of ants straight into our tiny entryway.
Now in winter, despite our heating running 24/7, an arctic chill under the front door was dropping the temperature in our tiny entryway, our downstairs bathroom, and the living room, which the entryway opens into. It also meant the thermostat, which is placed on an internal wall nearby to optimize our energy usage, kept turning on when it didn’t really need to as the temperature in that space was much cooler than anywhere else in the home due to the draft.
Installing the weatherstripping tape on doors was easy and quick

It was a simple process and took less than five minutes.
- I cleaned the doors surface with a dry microfiber cloth, available at Walmart, to remove any dust or debris.
- I eyeballed the length required by unfurling the coil of weatherstripping next to the front door and then cut it to length with a utility knife, available from Amazon. You can also measure it properly and make an accurate cut.
- I removed a few inches of the backing to reveal the sticky adhesive. I stuck on the first bit and then remove the backing a few inches at a time, then pushed it firmly into place.
- I closed and opened the front door a few times to make sure it was stuck on well and that was it.

This classic DIY essential comes with replacement heavy-duty blades, and when not in use, the blade can be retracted for safety.
My verdict
The fix to draft-proof my entryway was instant, with the small radiator in the entryway finally able to keep the space warm as intended. There was no more cold in that space, and the living room warmed up and maintained its heat like the rest of the house.
I highly recommend using weatherstripping for quick and easy draft-stopping.
Next, learn how to draft proof a bedroom, and draft proof a living room for a more comfortable and energy-efficient winter.


