In a world of cleaning tips and tricks, there's one I certainly hadn't heard of – microwaving a makeup sponge to clean it.
So, what's the theory? Supposedly the hot water banishes that bothersome bacteria, while being a super quick and convenient way to remove built-up makeup residue.
With nothing to lose, and two makeup sponges that desperately need cleaning, I ignored everything I know about how to clean makeup brushes and sponges, and decided to give it a go.
I tried cleaning my makeup sponge in the microwave
If you would like to give this bizarre viral cleaning hack a go, too, you will need:
- A microwave
- A mug or bowl
- Water
- Dish soap, such as the Dawn Ultra Liquid Dish Soap available at Walmart
1. Rinse your sponge
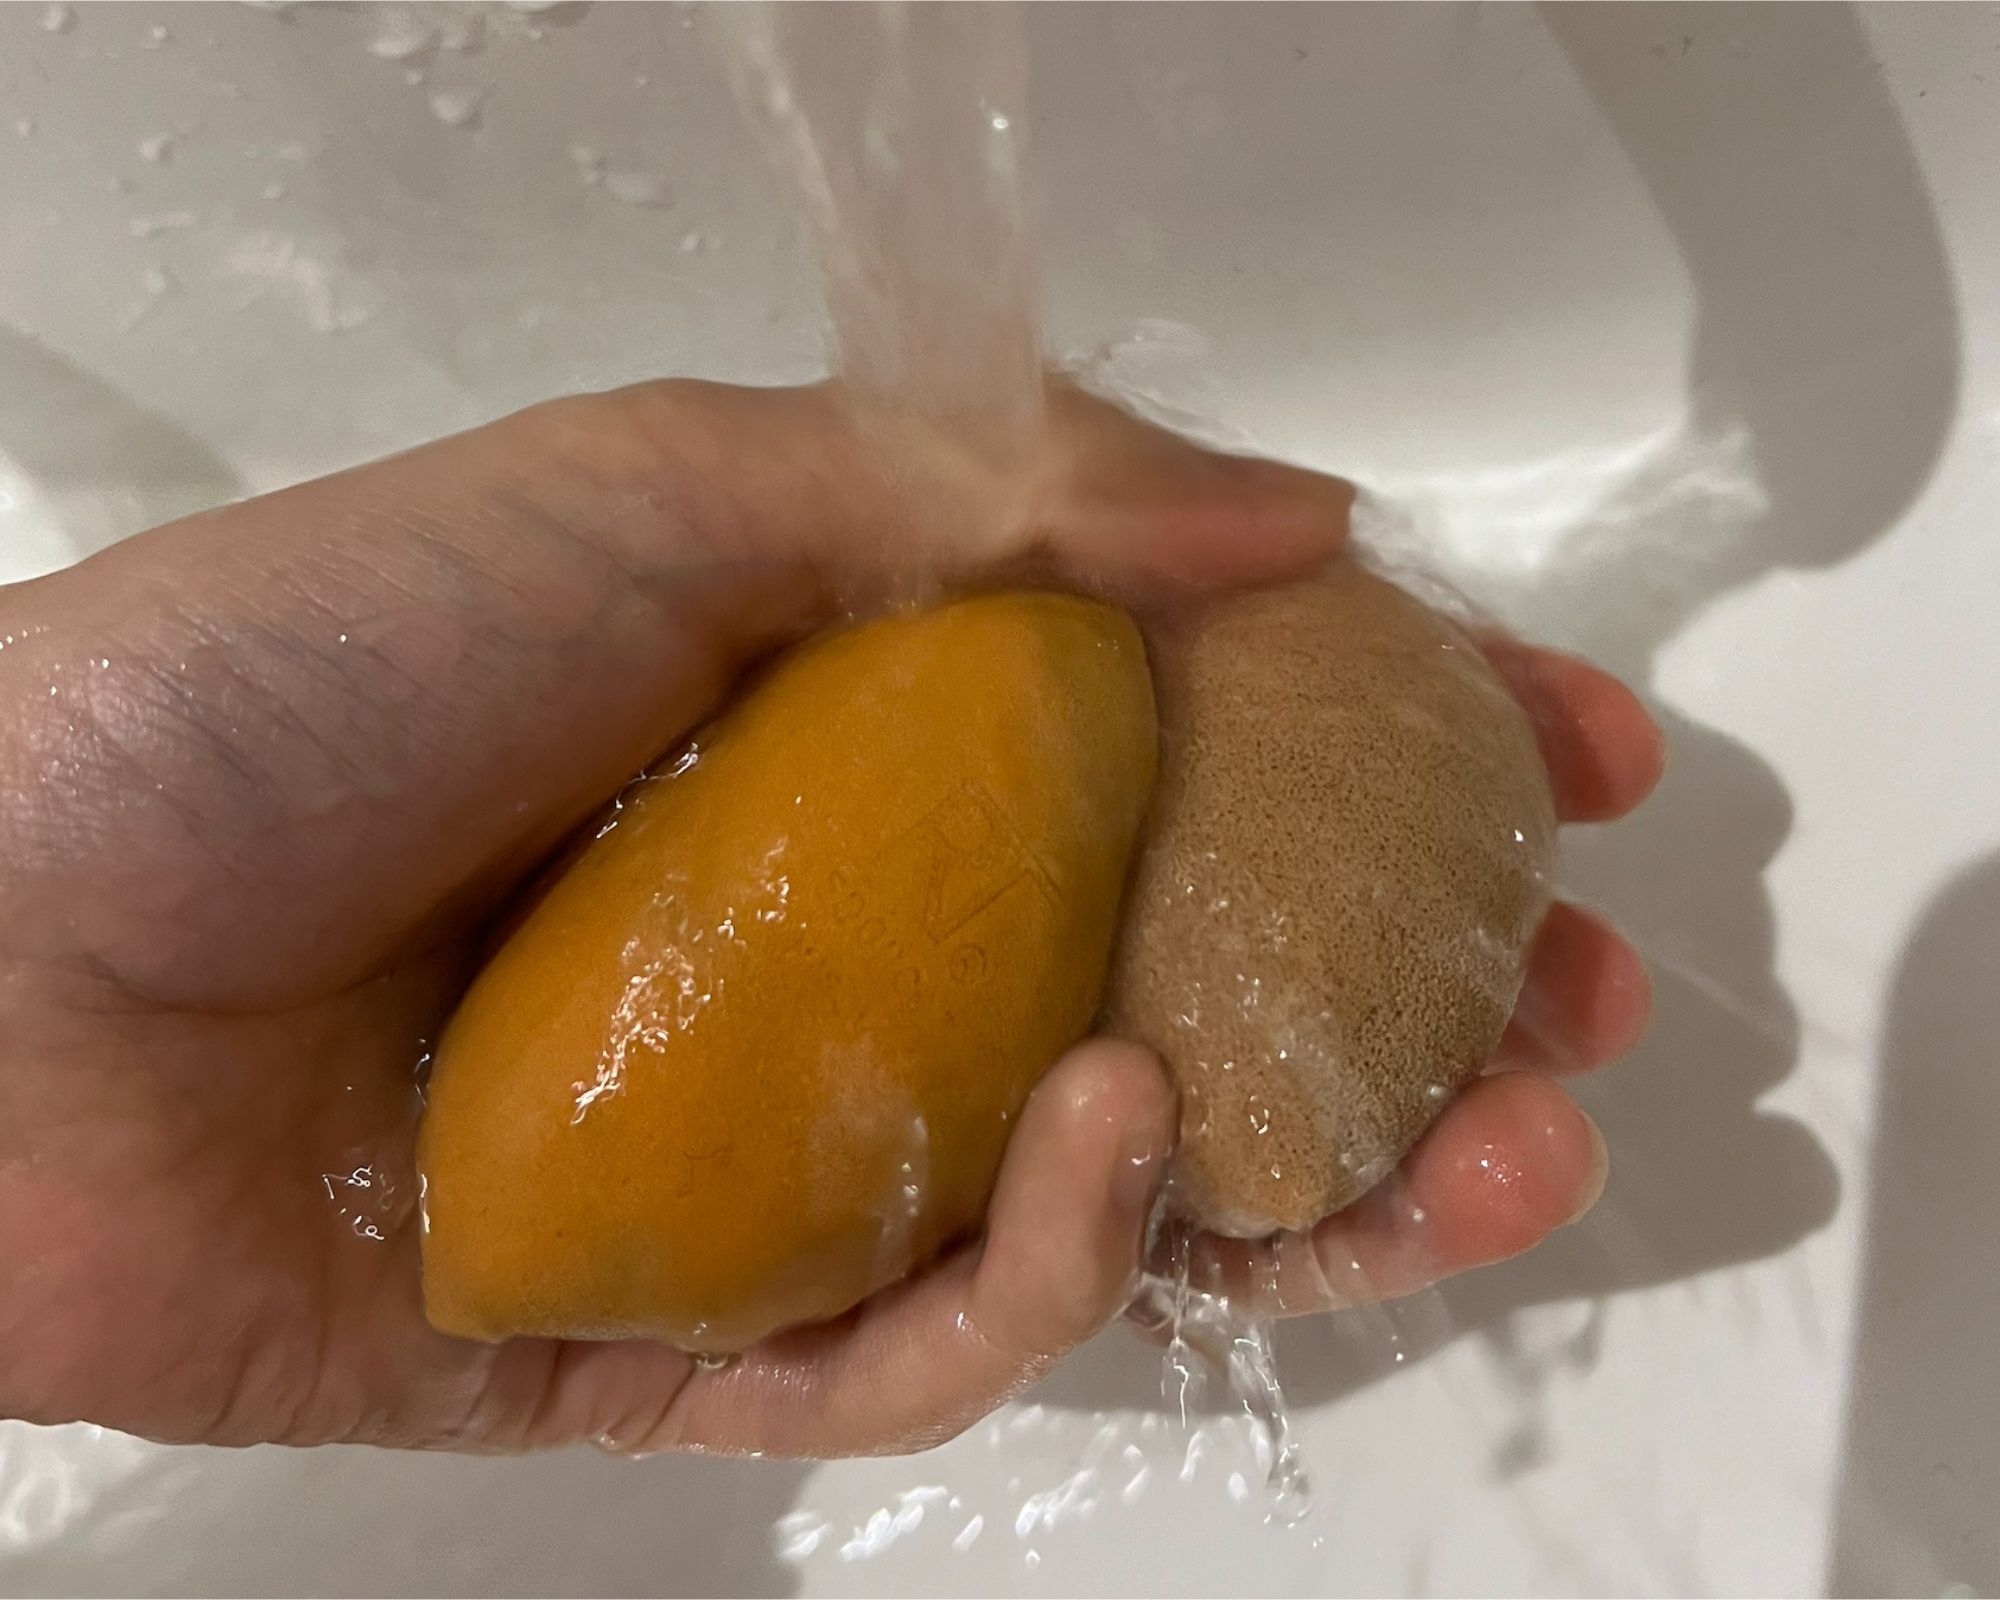
First things first, I rinsed my sponges under cool running water, squeezing them gently to remove any excess makeup stuck in the sponges. I use my Real Techniques Miracle Complexion Sponge available at Amazon and Beauty Blender Makeup Sponge, also available at Amazon, everyday – so they were definitely in need of a good clean.
2. Fill a mug or bowl with soapy water
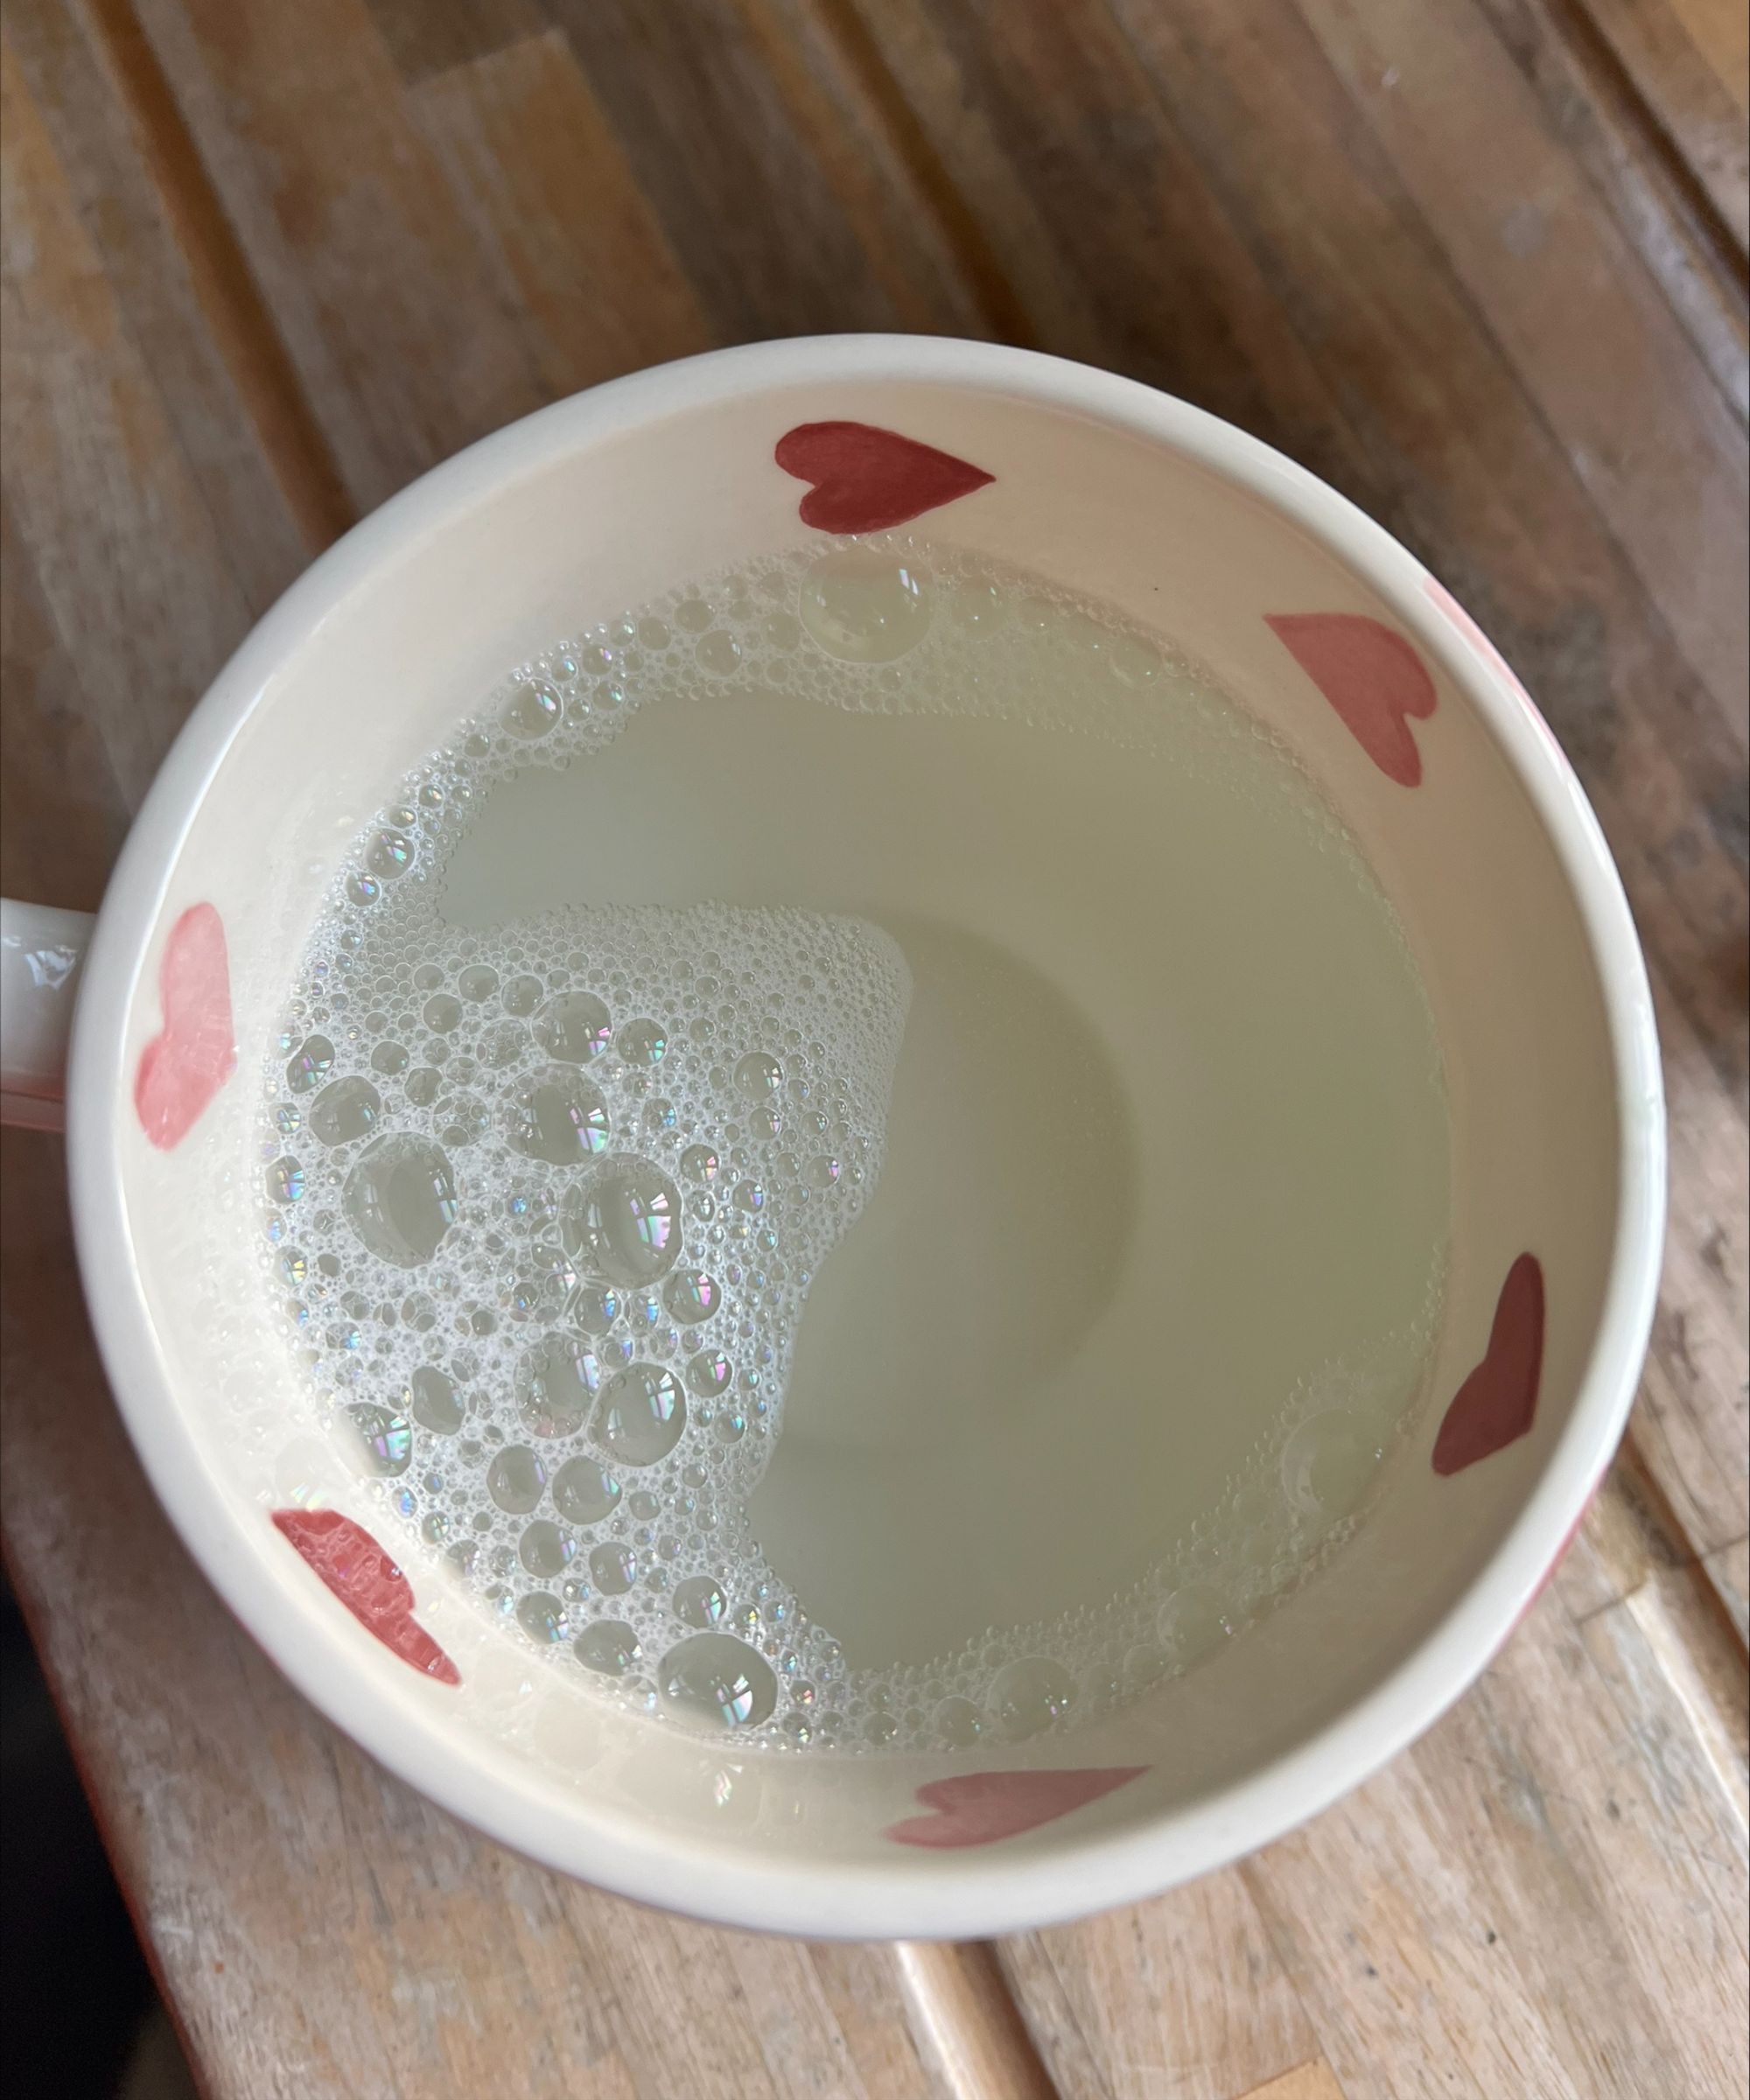
Then, I prepared my cleaning solution, by mixing a generous squirt of washing up liquid with a mug of water. I used Fairy Original Liquid available at Amazon, but any that you have at home will do.
All prices correct at time of publication.
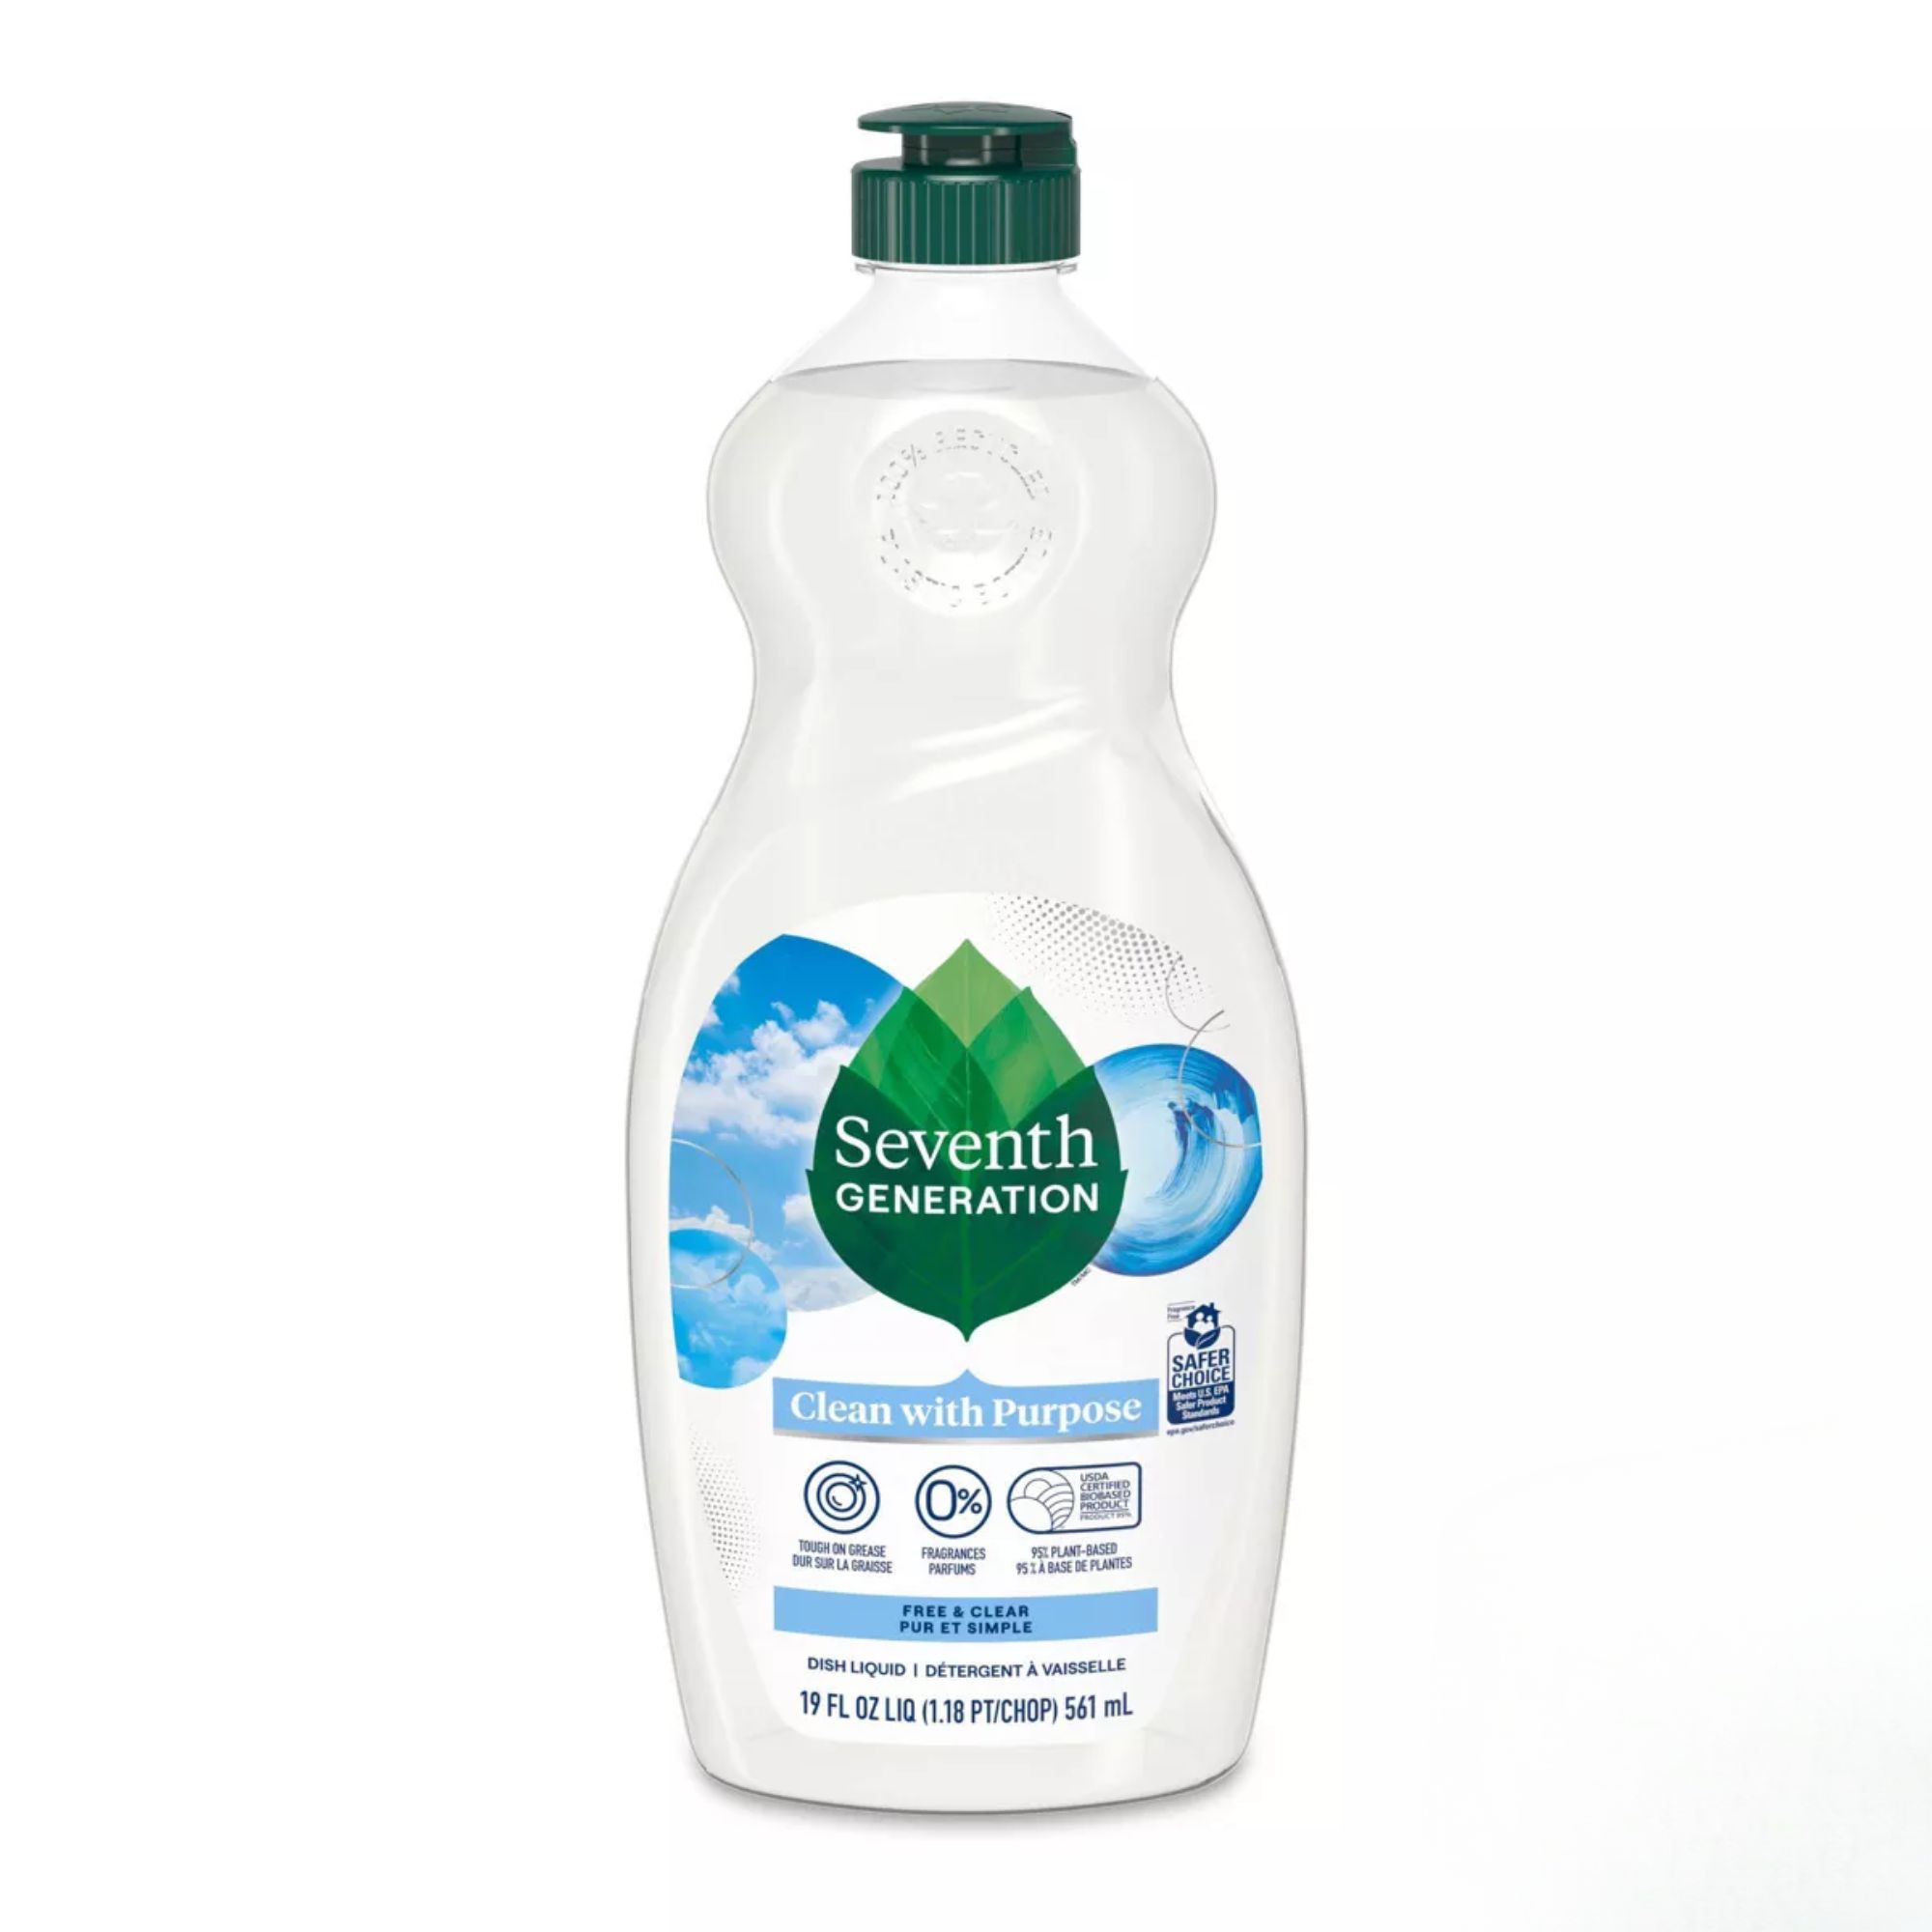
This fragrance free dish soap uses a plat-based formula to power through grease and grime without harsh chemicals. It's also dermatologist tested, and formulated for sensitive skin.
3. Microwave for one minute

I then popped my makeup sponges one at a time into my mug, and made sure they was fully submerged before microwaving each of them for one minute. I'm sure makeup sponges are one of the things you shouldn't put in a microwave, but I was willing to give it a go!
4. Let cool
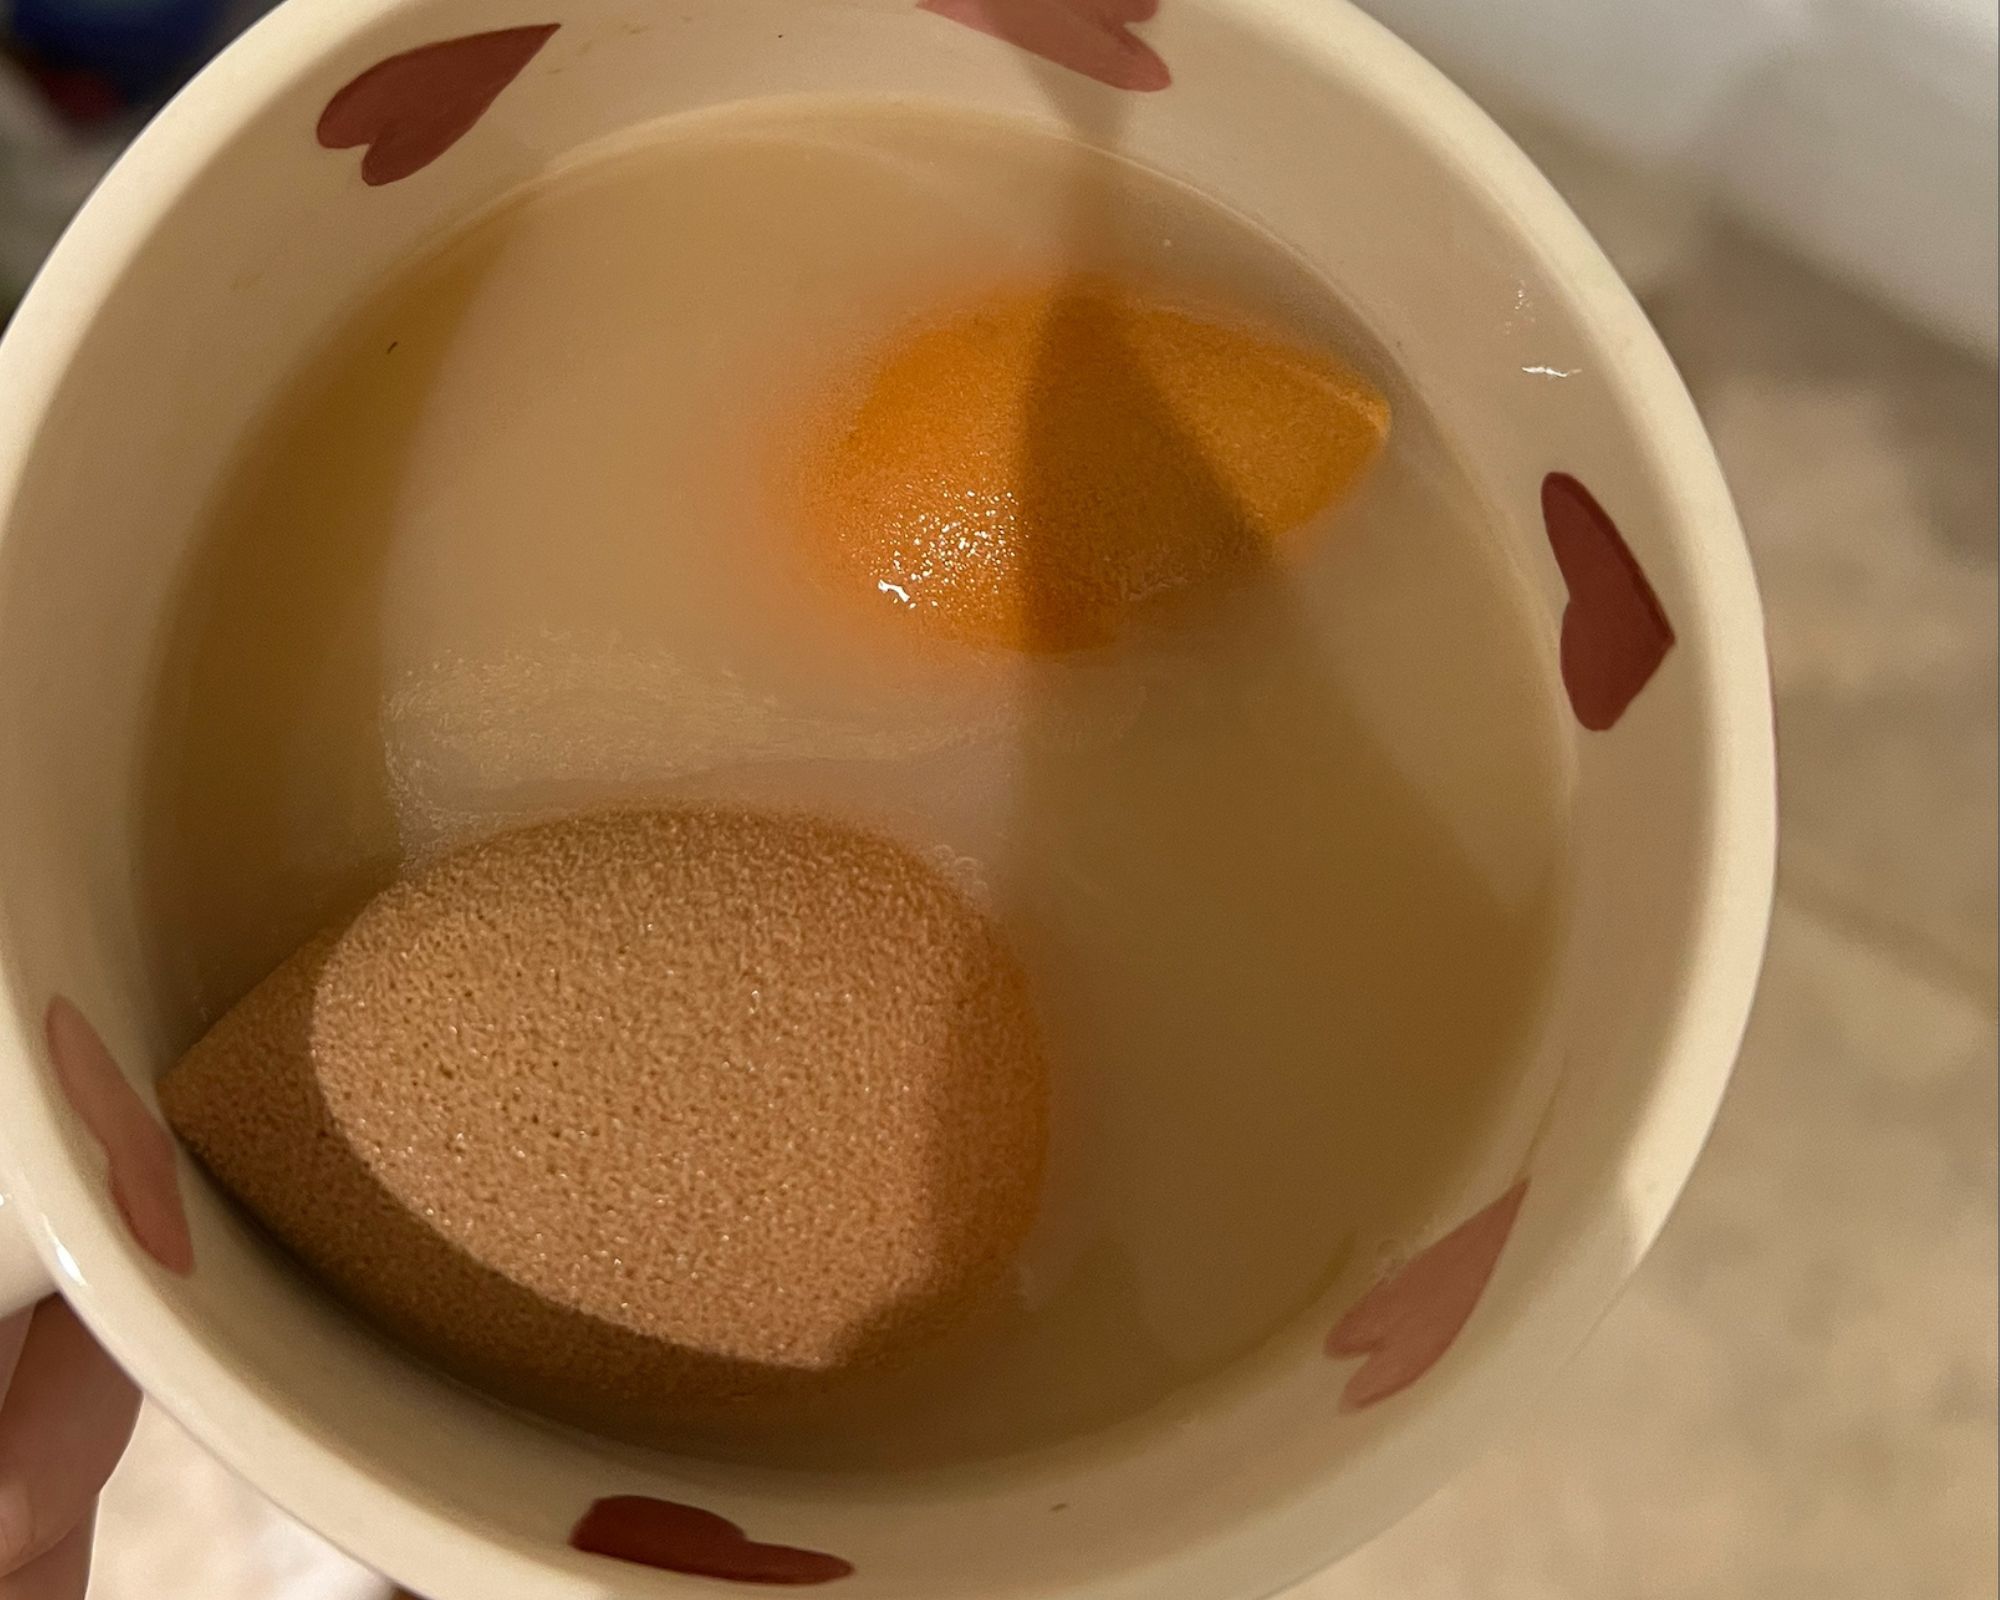
After microwaving each sponge respectively, I popped them both back in the mug and let them cool a little, squeezing them out against the side. The water was looking dirty, but, disappointingly and perhaps not surprisingly, my makeup sponges didn't look very different, or crucially, much cleaner.
5. Wring out under cold water
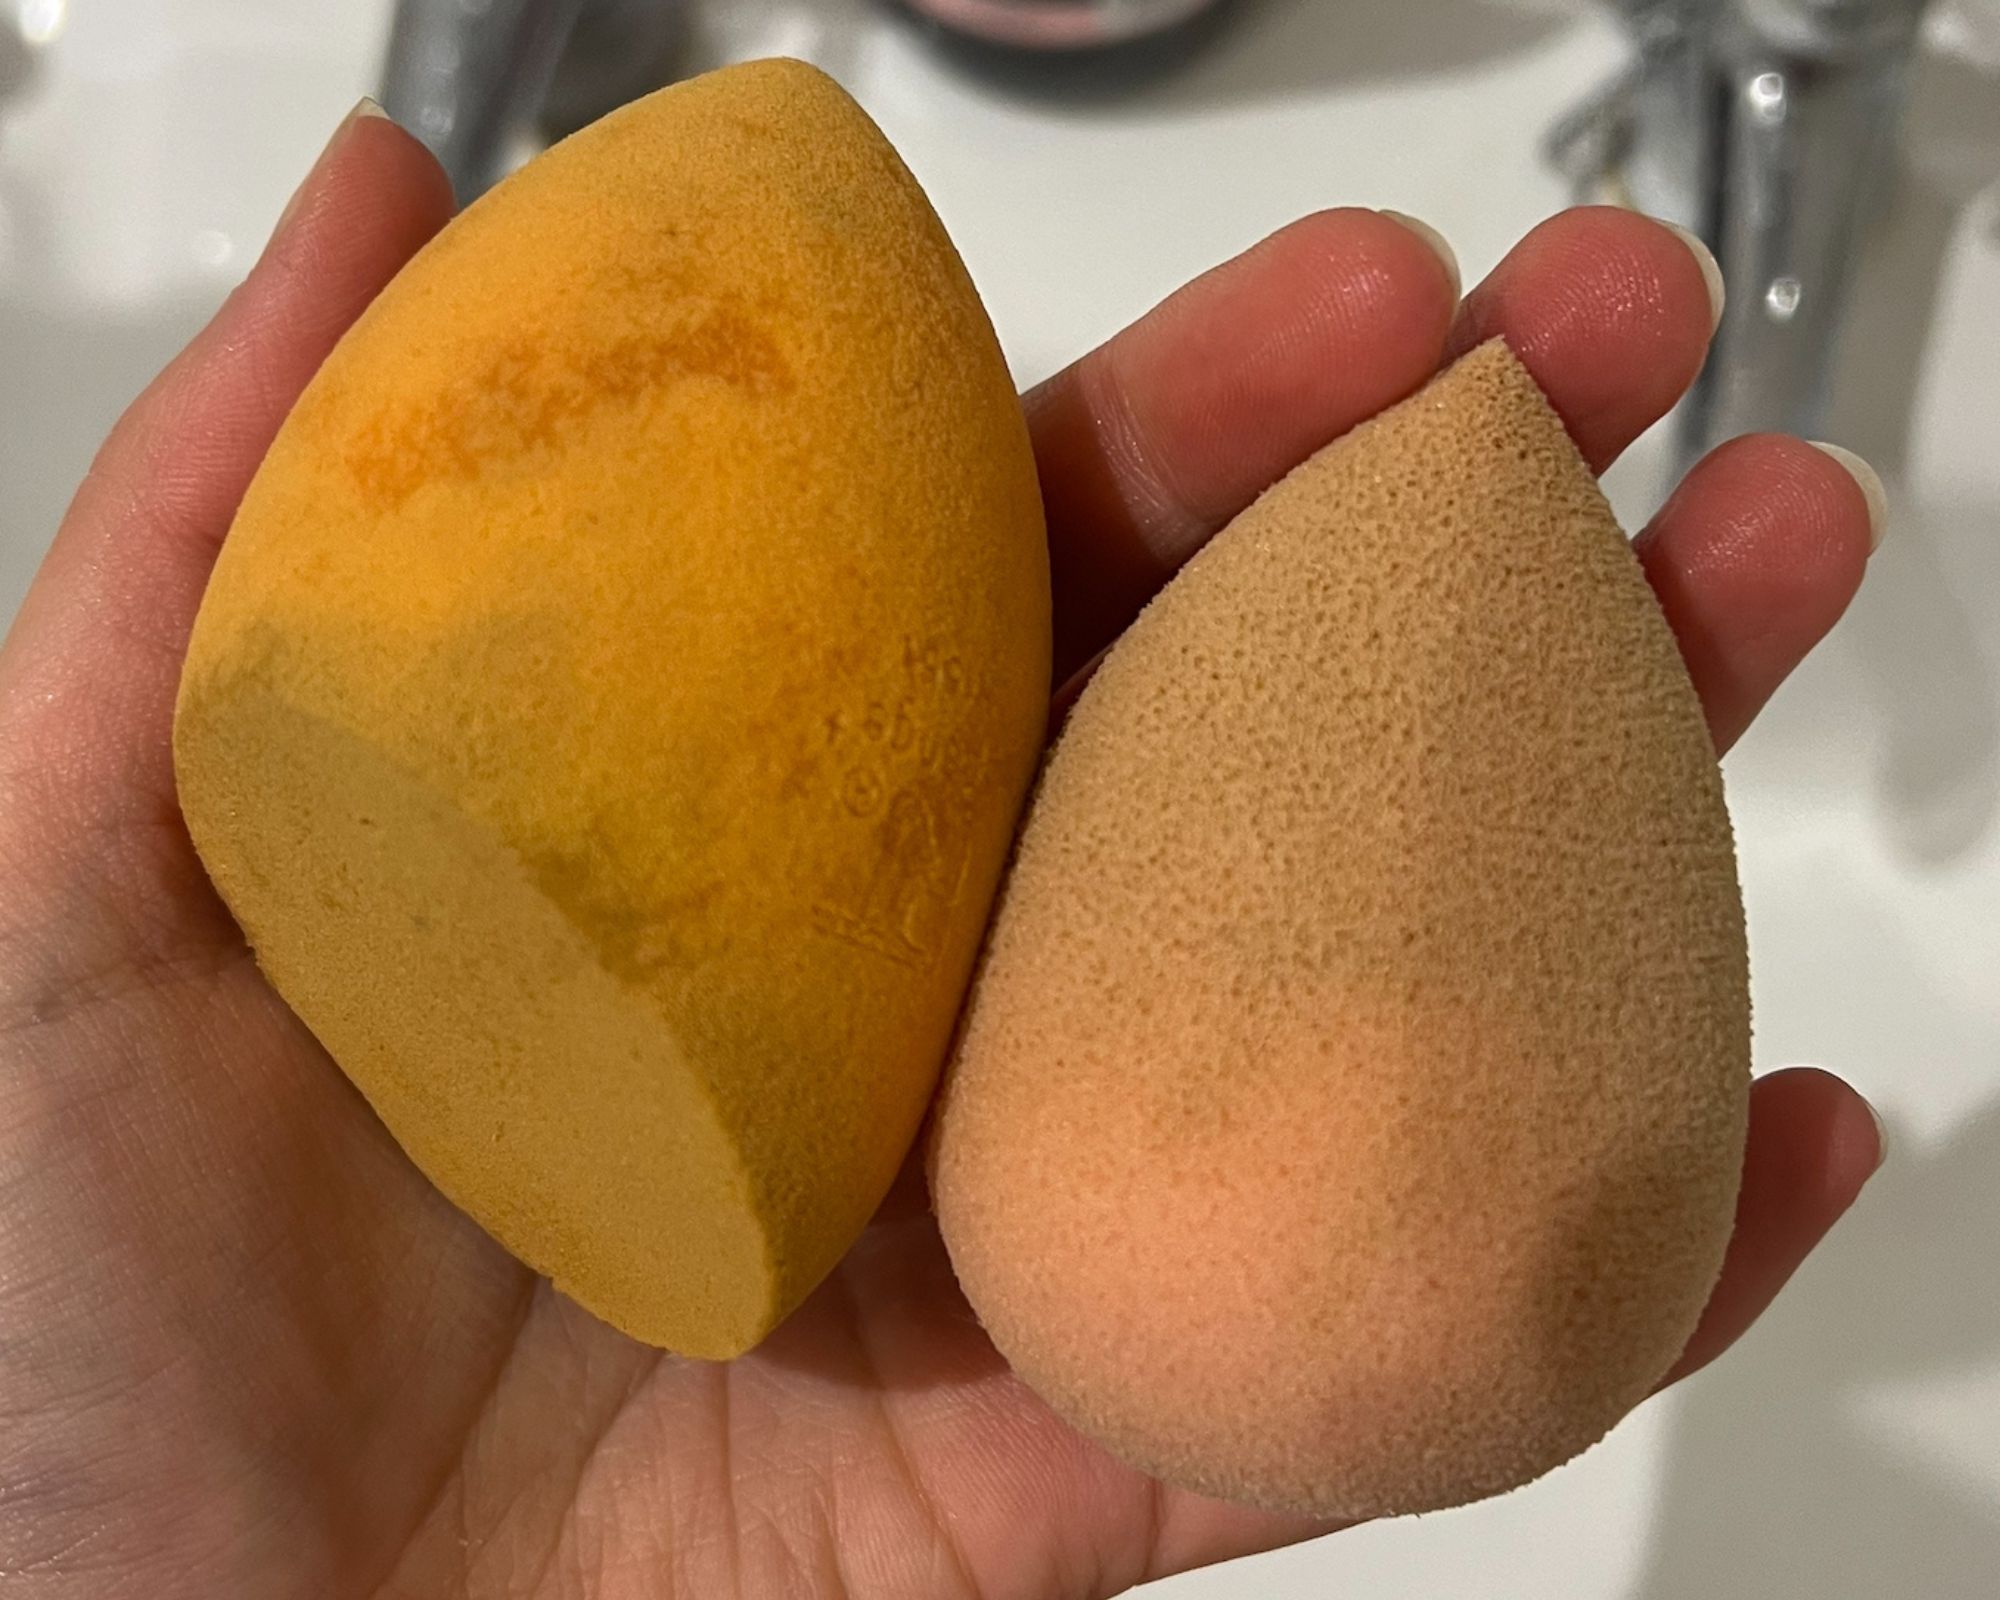
After letting them cool, I then rinsed them out under a cold tap. I would say, as makeup sponges are absorbent by nature, be careful when doing this step. There was still hot water inside the sponges which I couldn't really feel until I squeezed it out in my hands, so ensure you have fully wet them with cold water before squeezing, or leave them a couple of hours to cool properly.
My verdict?
I'm all for trying new things, but this is one hack I certainly won't be using again. Not only it didn't work, it's actually (and perhaps obviously) pretty difficult dealing with boiling water without burning yourself, and I'm not sure that putting makeup sponges in boiling water does them any good.
I'll stick to using cold water and rubbing them with baby shampoo before rinsing. It's far more effective, and far less risky! You can also buy a special makeup sponge cleaner and a made-for-purpose silicone cleaning pad.
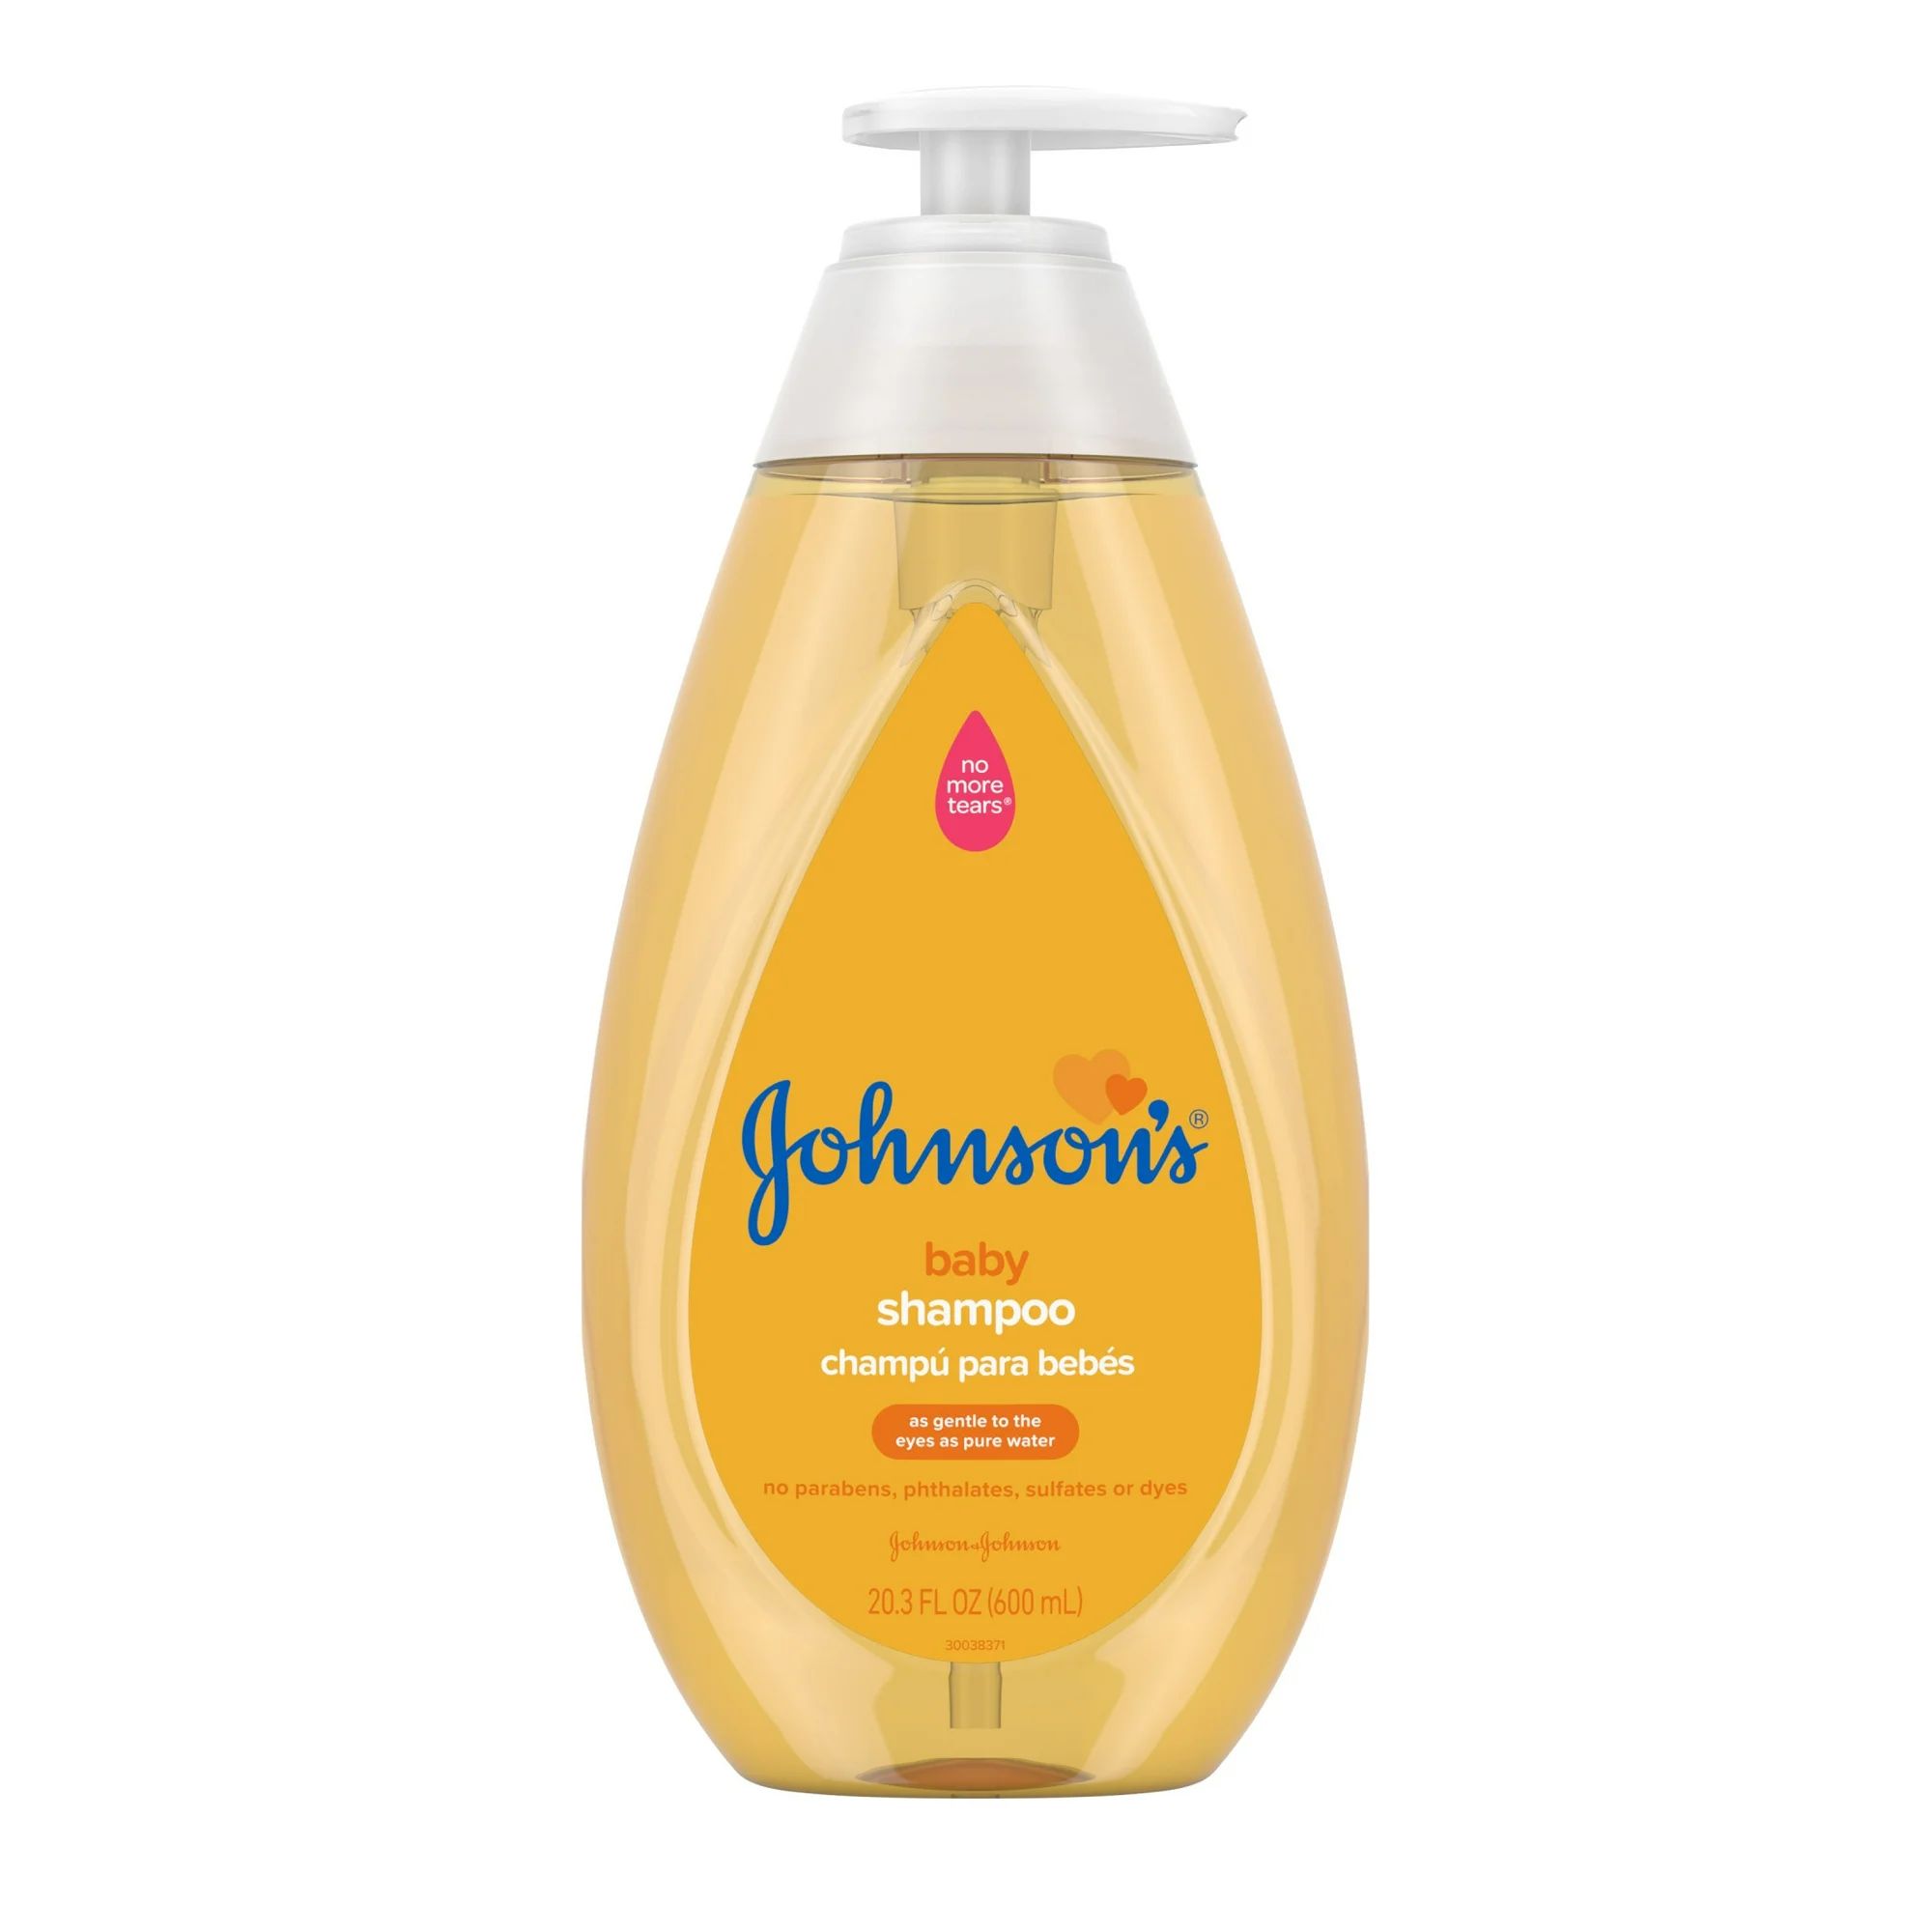
I always clean my makeup brushes and sponges with baby shampoo, and this is my favorite one to use. It's gentle and mild, so won't damage brush hairs, and leaves mine perfectly clean and smelling great, ready for use.
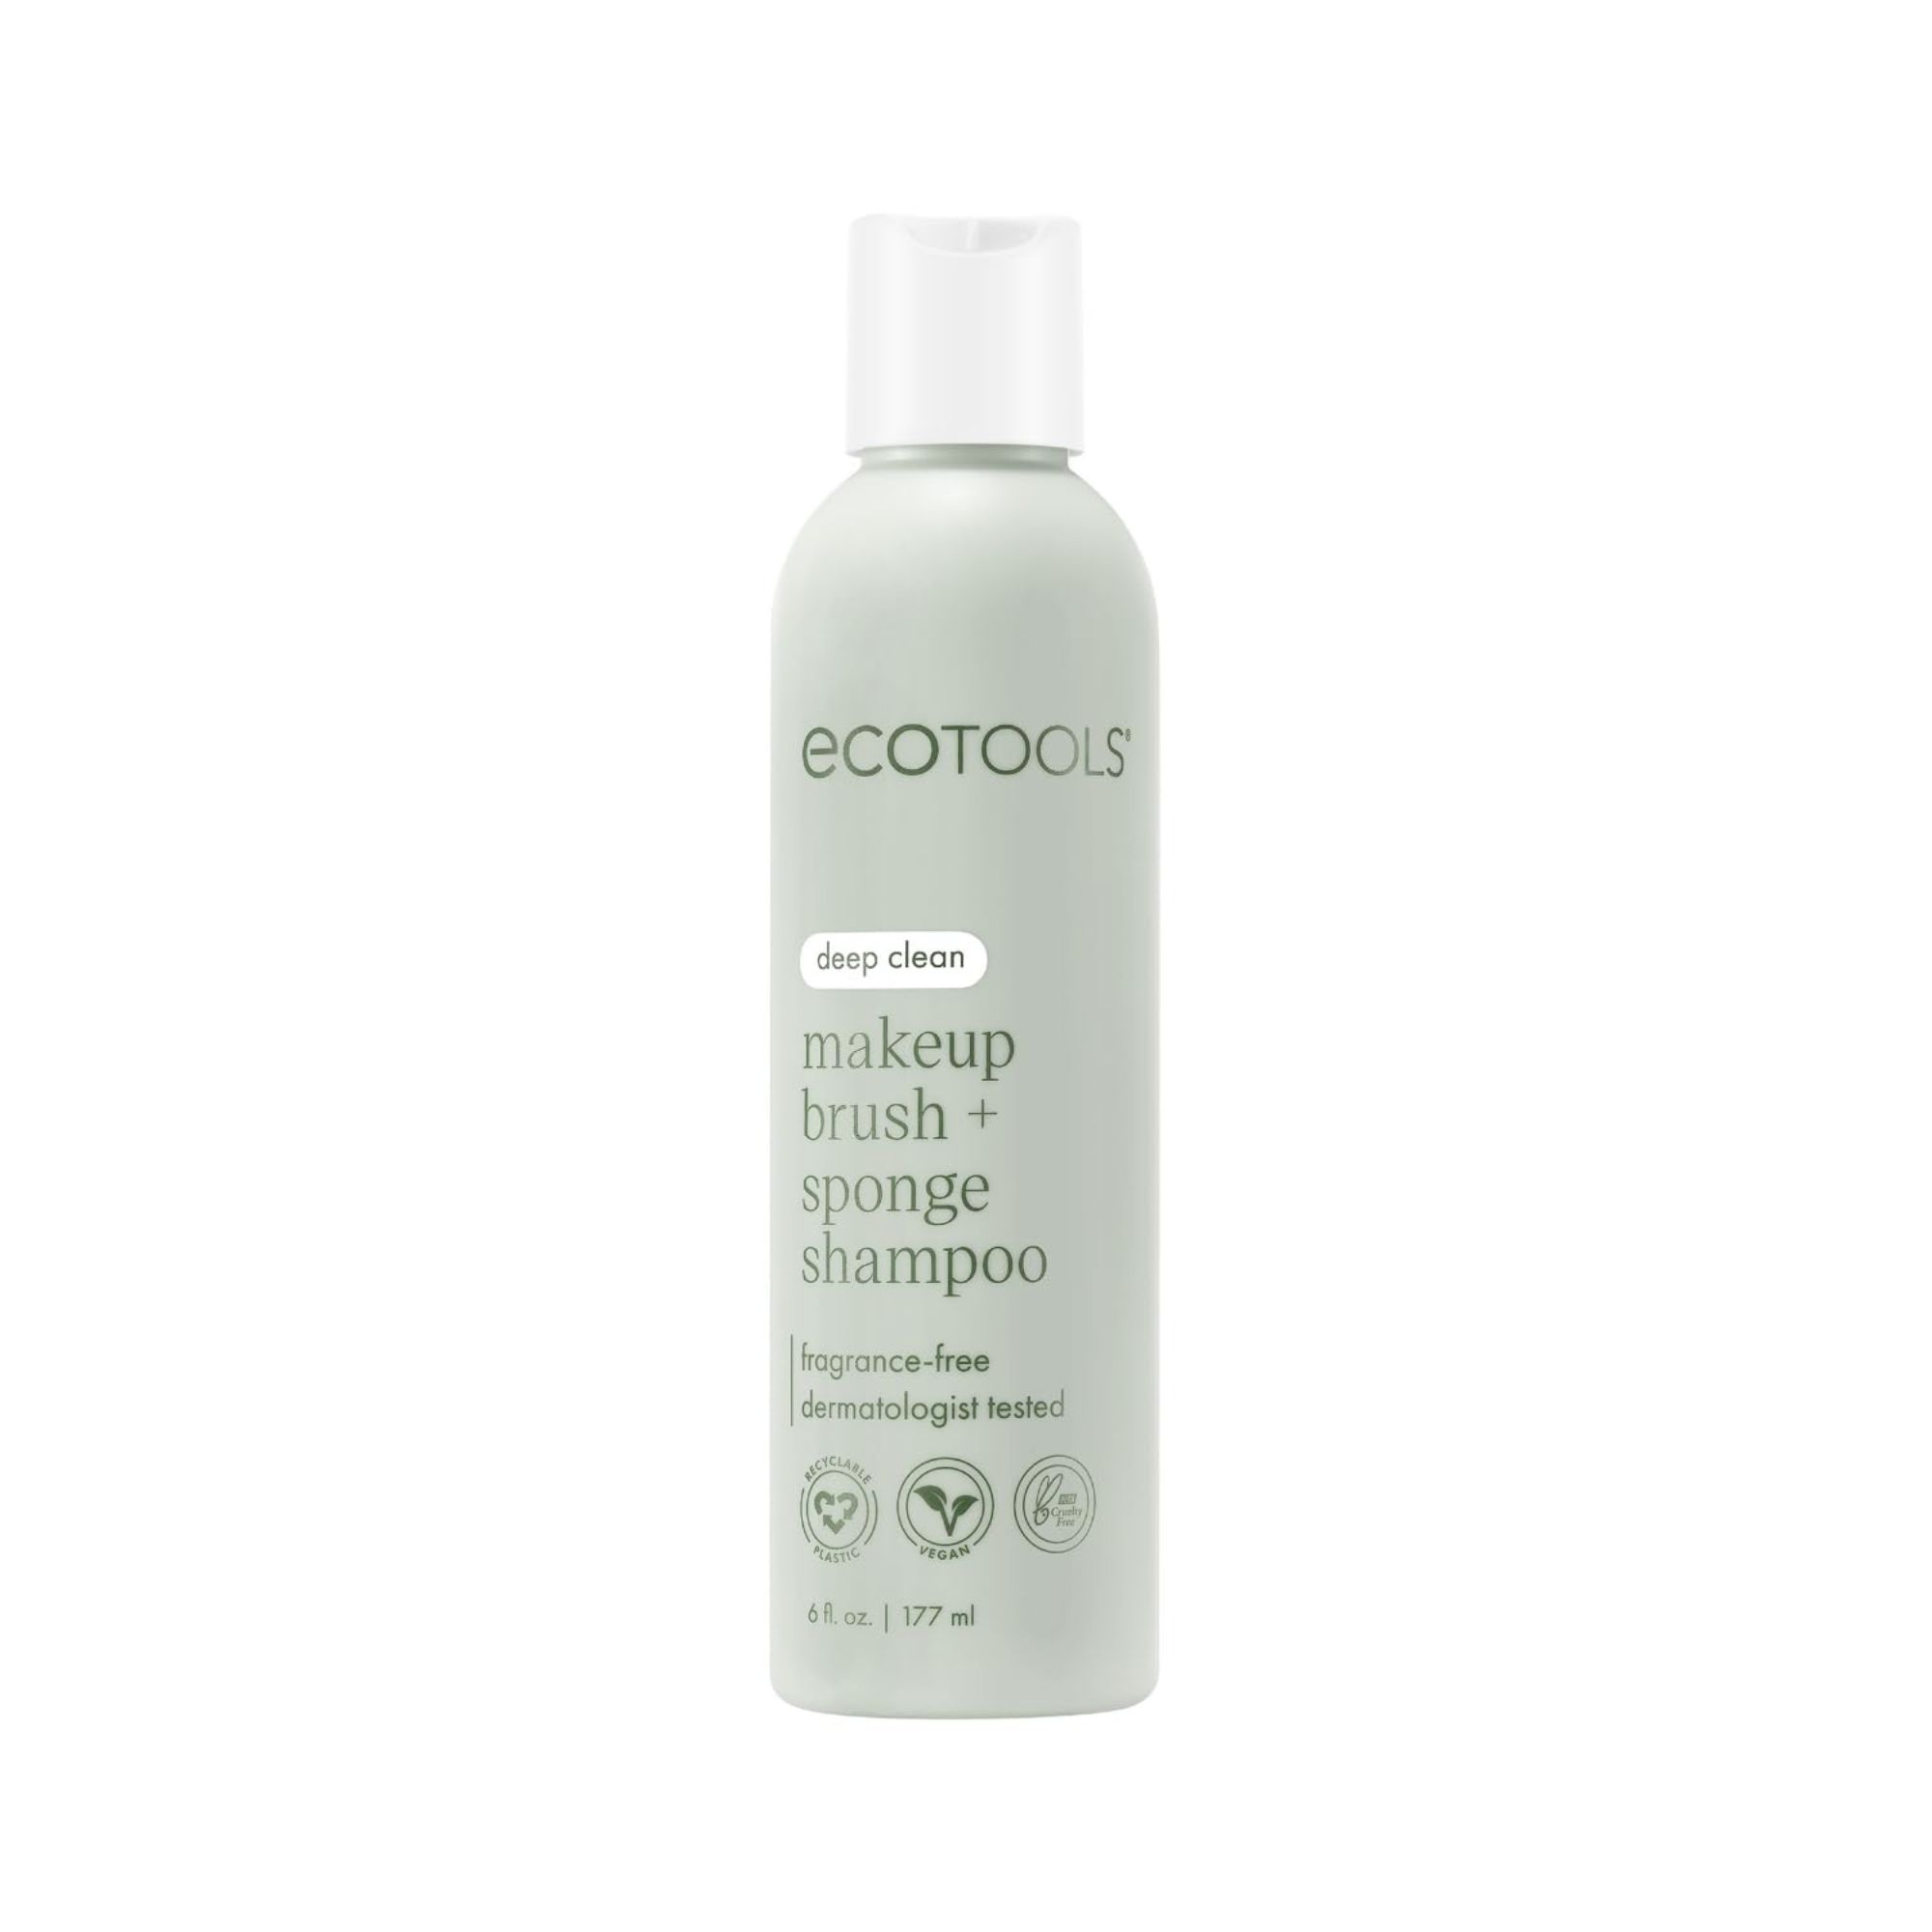
This fragrance-free cleanser removes dirt, grease, and other impurities from your makeup tools, and is dermatologist tested and hypoallergenic.
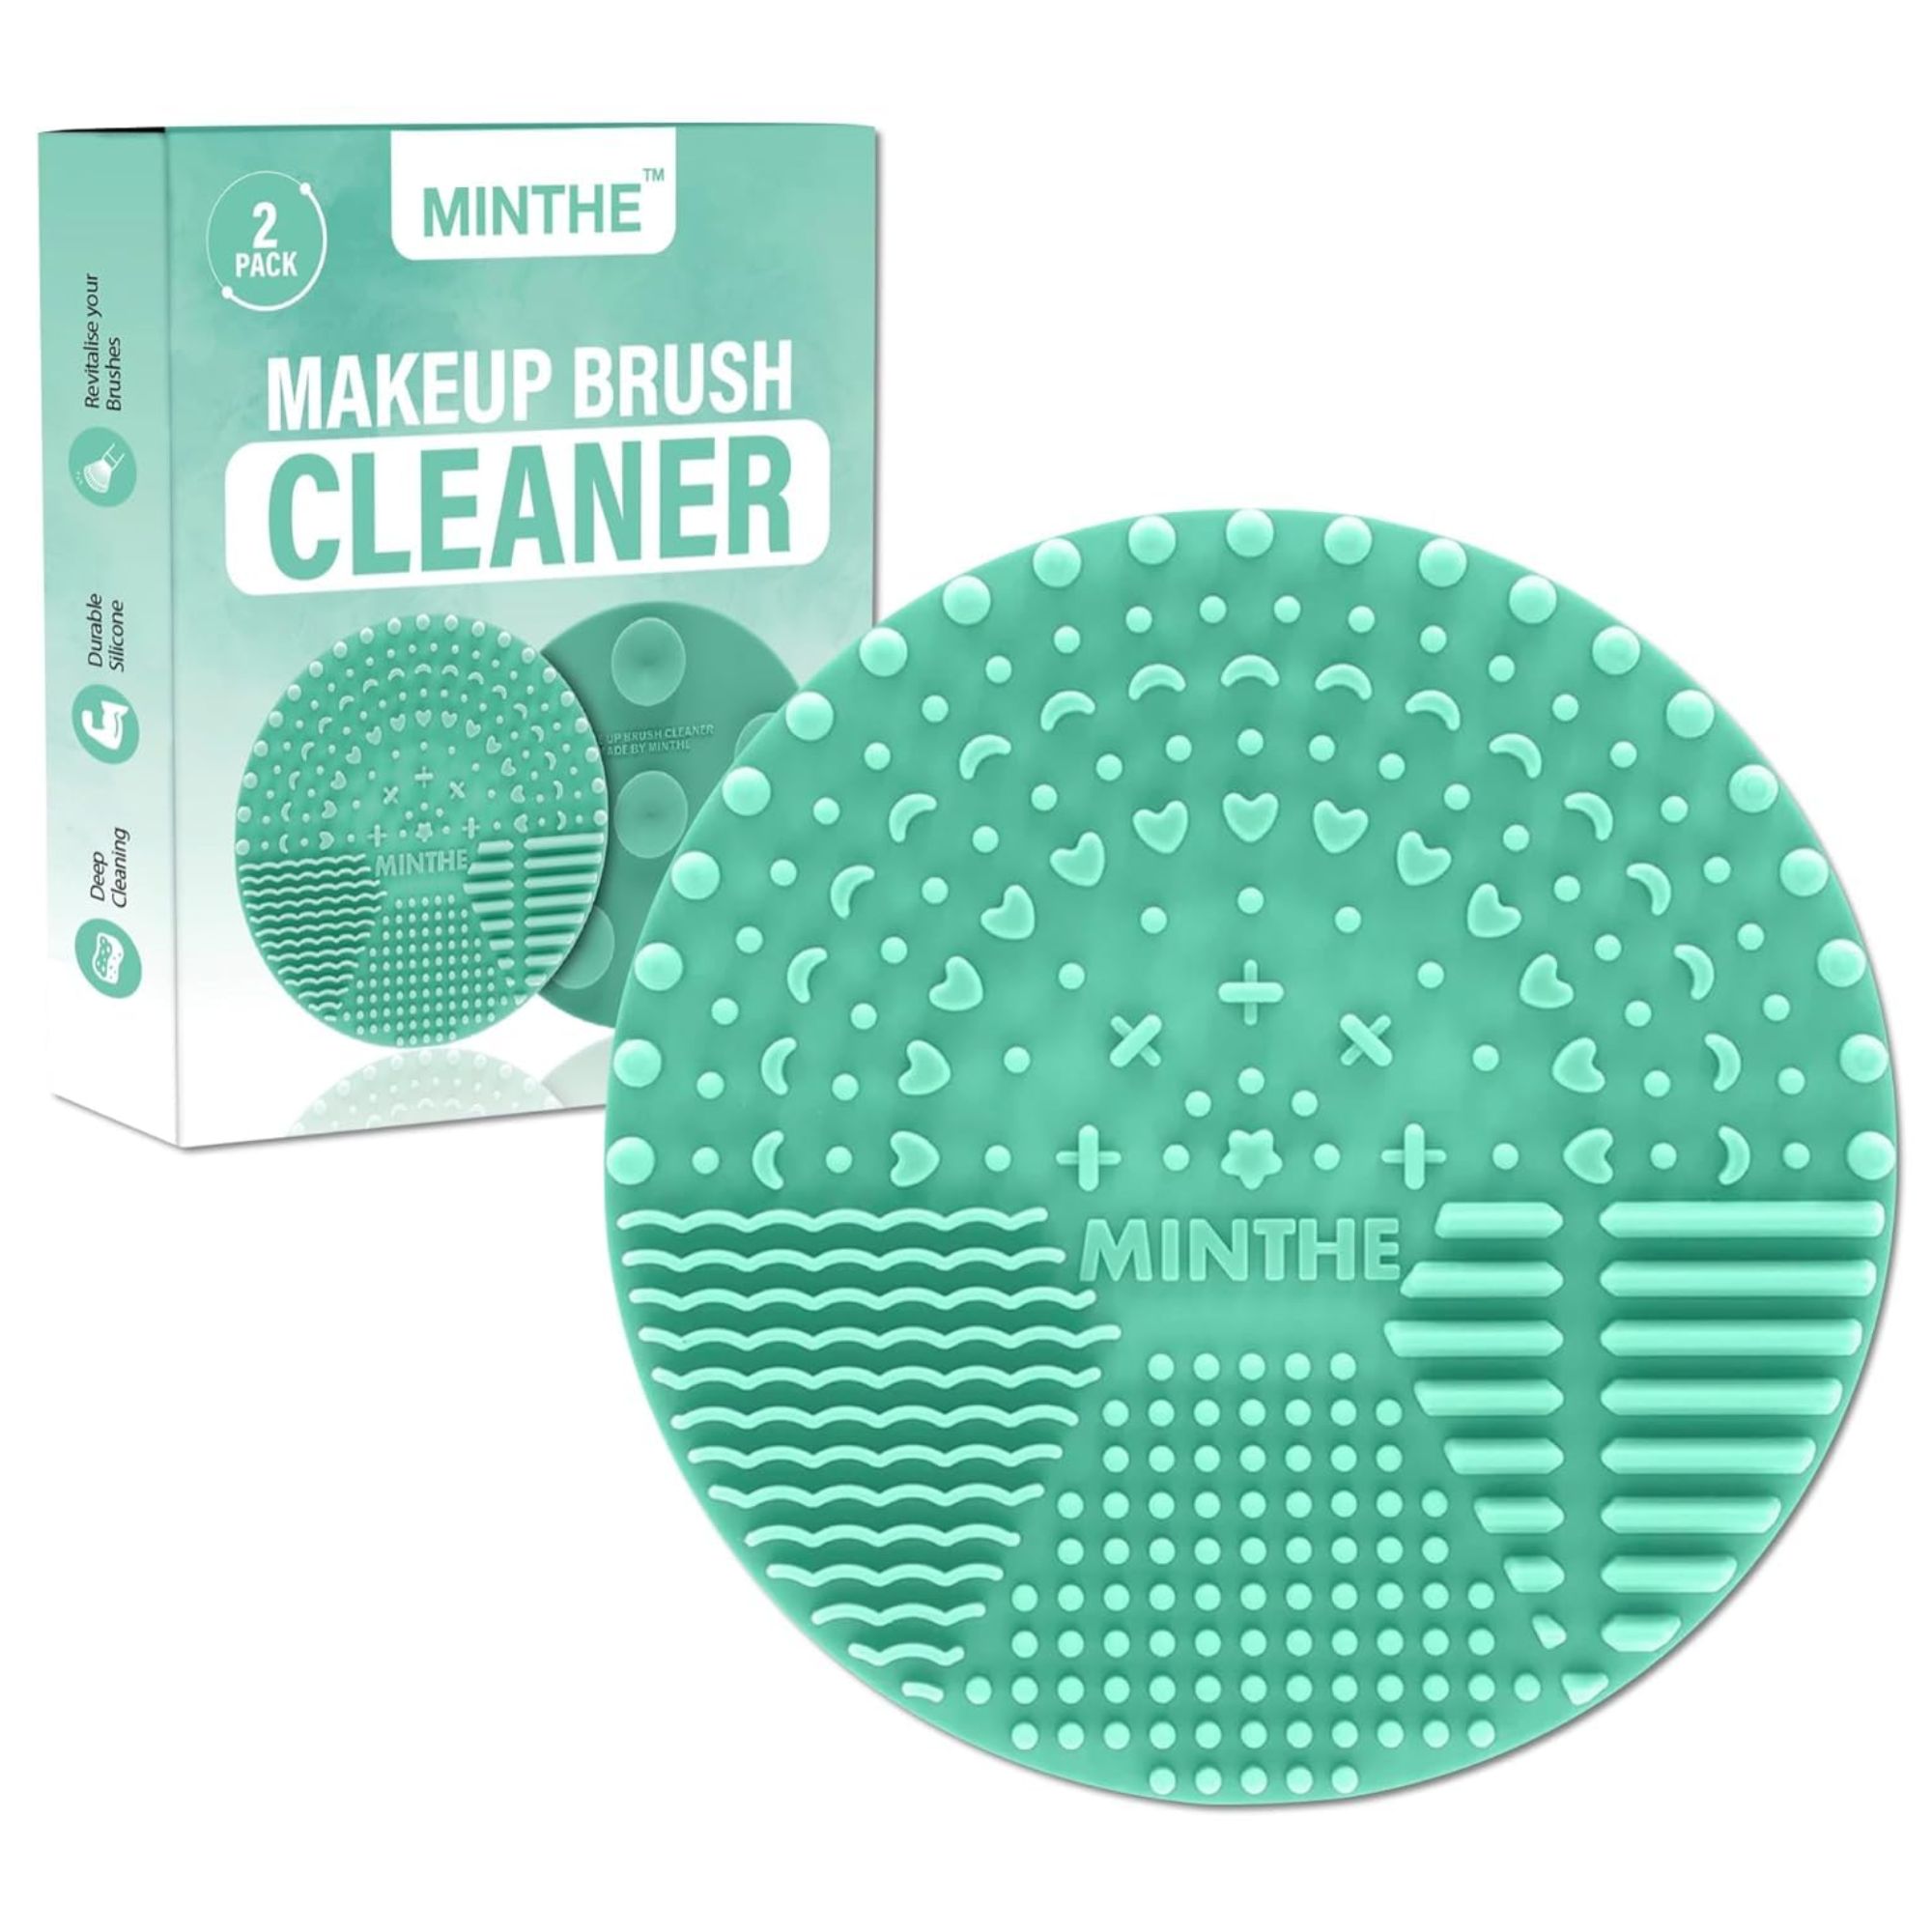
This duo-pack of makeup brush cleaning pads feature strong suction pads, to secure them to your sink for mess-free, deep cleaning.
FAQs
How often should makeup sponges be cleaned?
We're all guilty of not doing so, but makeup sponges (and brushes) should be cleaned once a week, particularly with daily use.
When it comes to how often to replace these household items, sponges should be replaced every 1-6 months, depending on how often you use, clean and care for them, whereas brushes can last two to five years depending on the quality.
Next learn all about organizing makeup, to get the most out of your best makeup organizers.


