Watch video: turning a broken camera into a work of art
Old film SLR cameras have a beautiful vintage charm, though few people shoot on the medium nowadays, and even fewer have the knowledge to repair their intricate mechanisms. I was pondering what to do with my old Canon AE-1 SLR which is broken way beyond the state of repair. Holes in its body mean it’s not light tight anymore, and much of it has completely seized up – it's so stiff that I’ve never actually been able to open the back of it! While it makes a nice ornament I thought I could do something special with it.
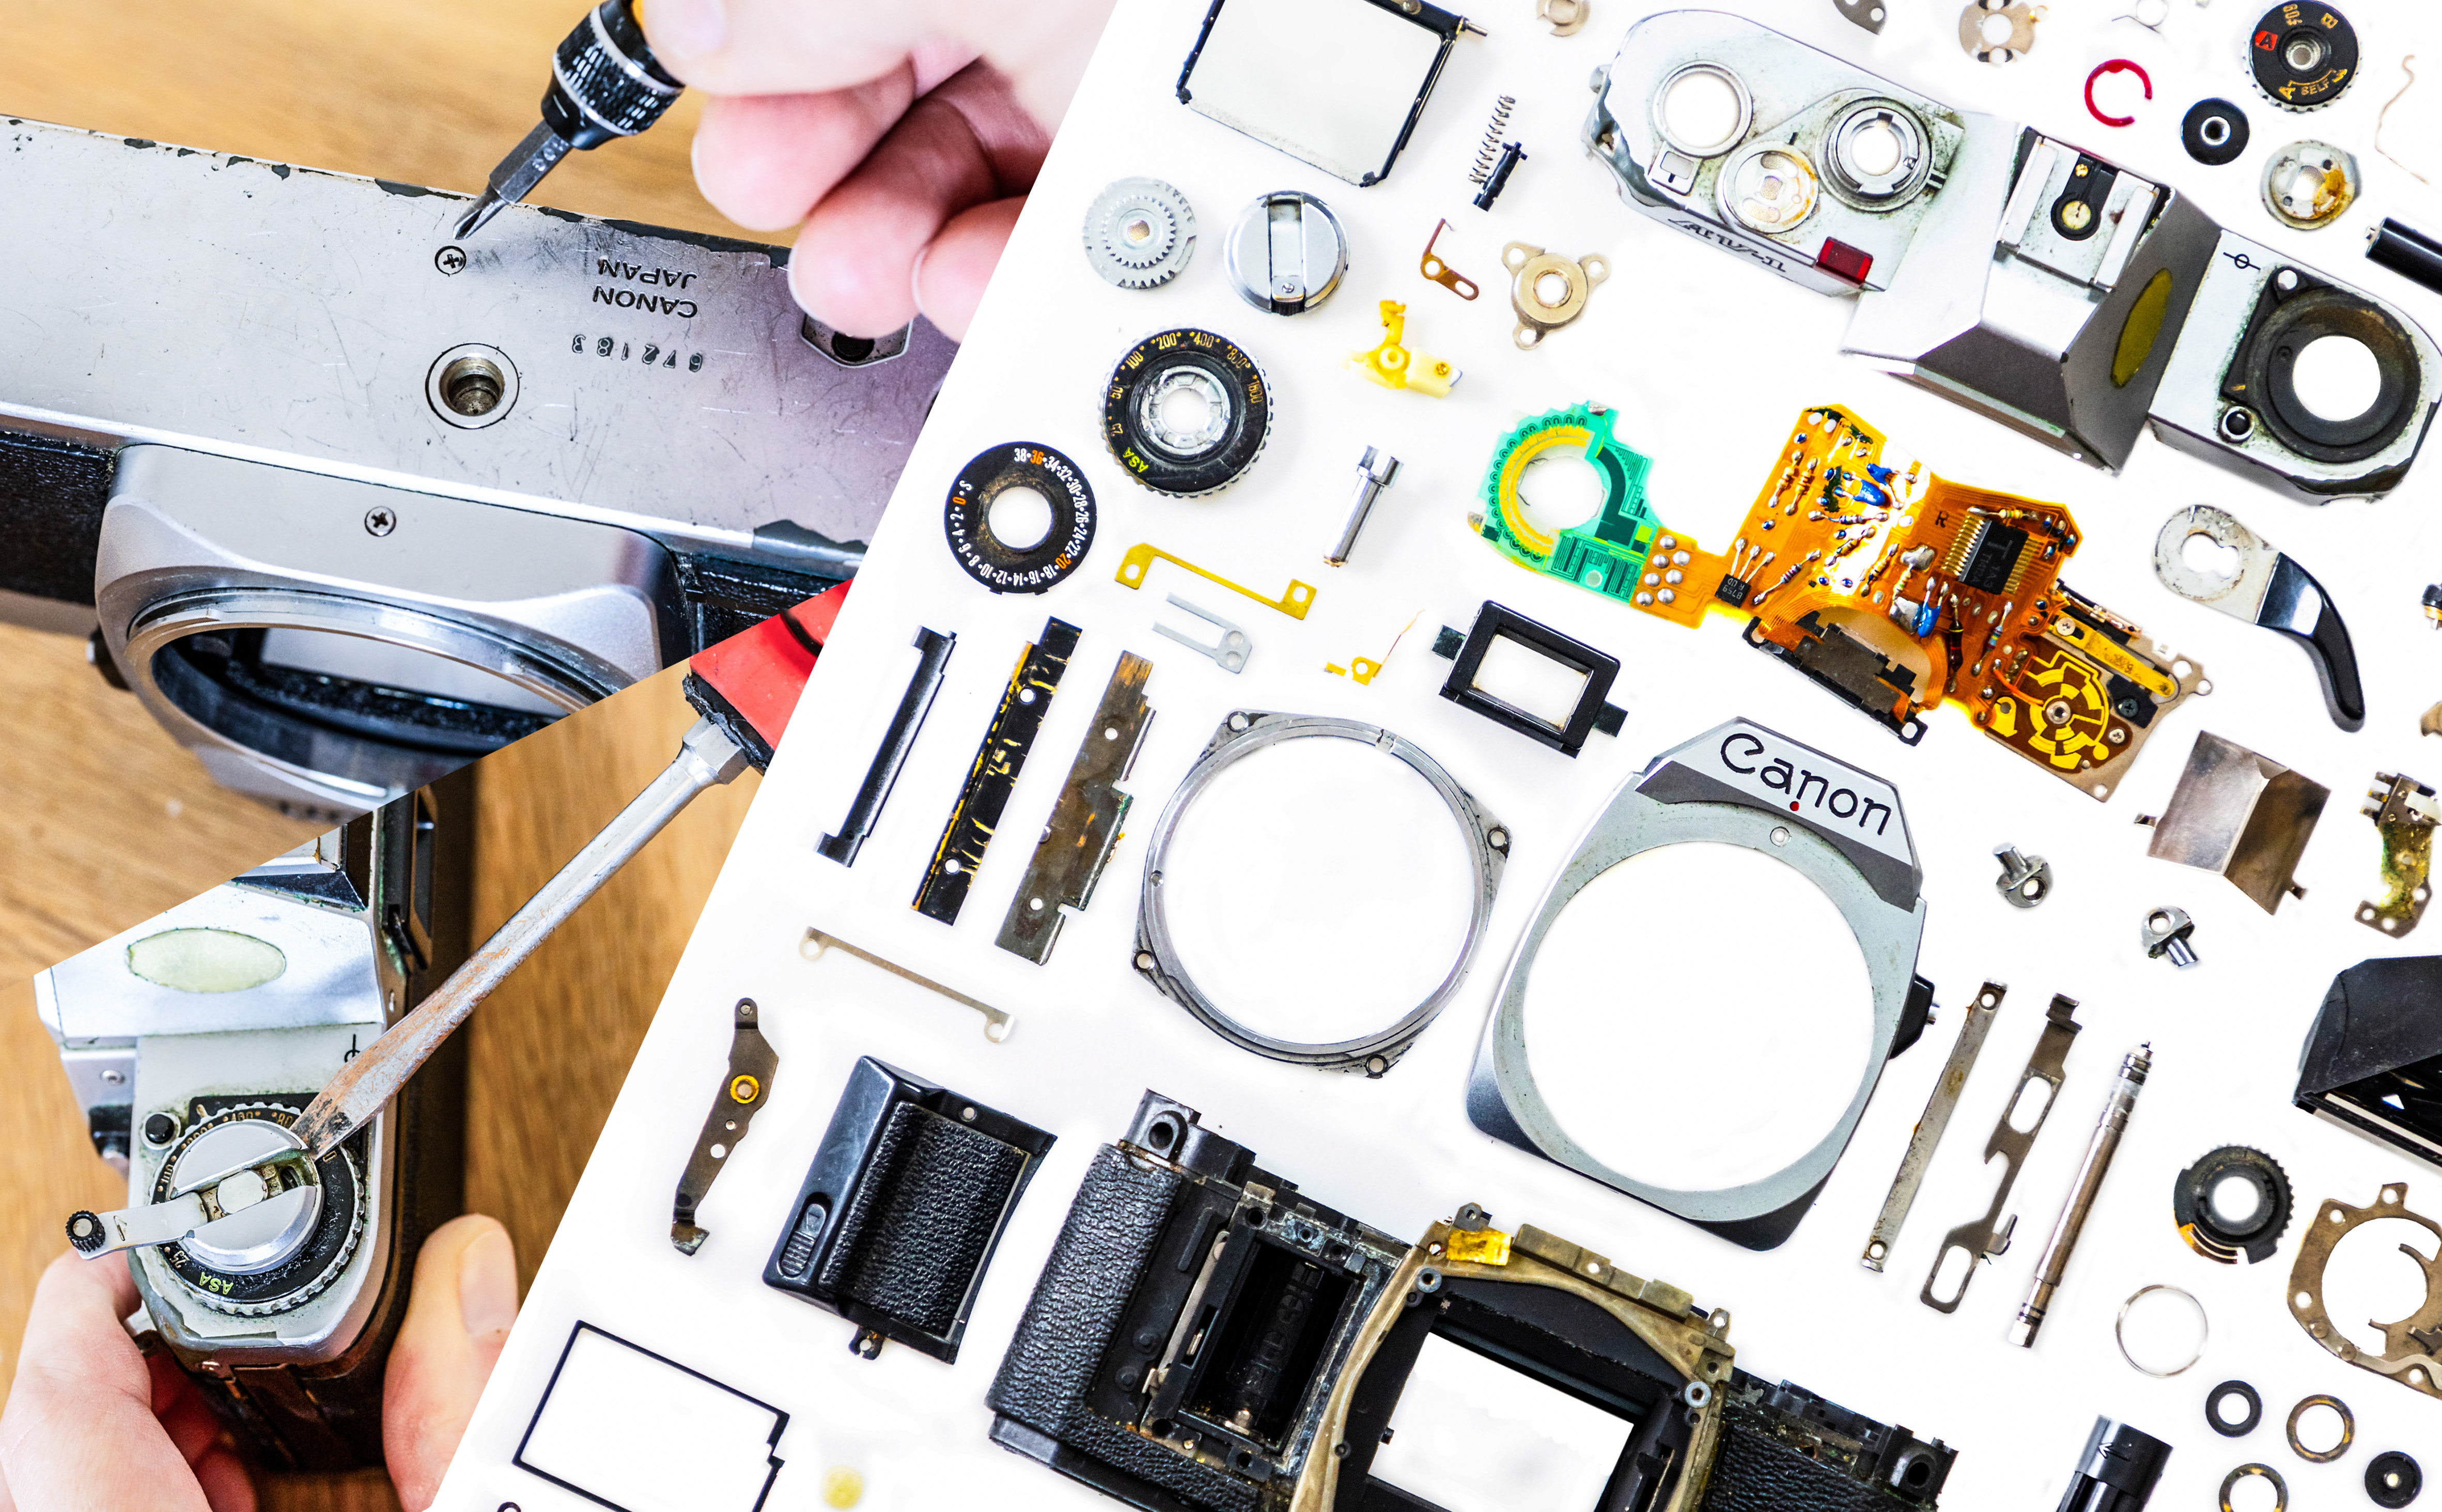
Inspired by the likes of Todd McLellan and his Things Come Apart series I wanted to take my busted AV-1 apart to recreate a deconstructed photo of my own, plus mount and frame my final piece to proudly hang on the wall. Obviously, please don’t reach for that expensive Leica SLR or Canon F1, this project is only for cheap SLRs that are beyond repair and would otherwise be scrapped!
1. Remove all of the screws
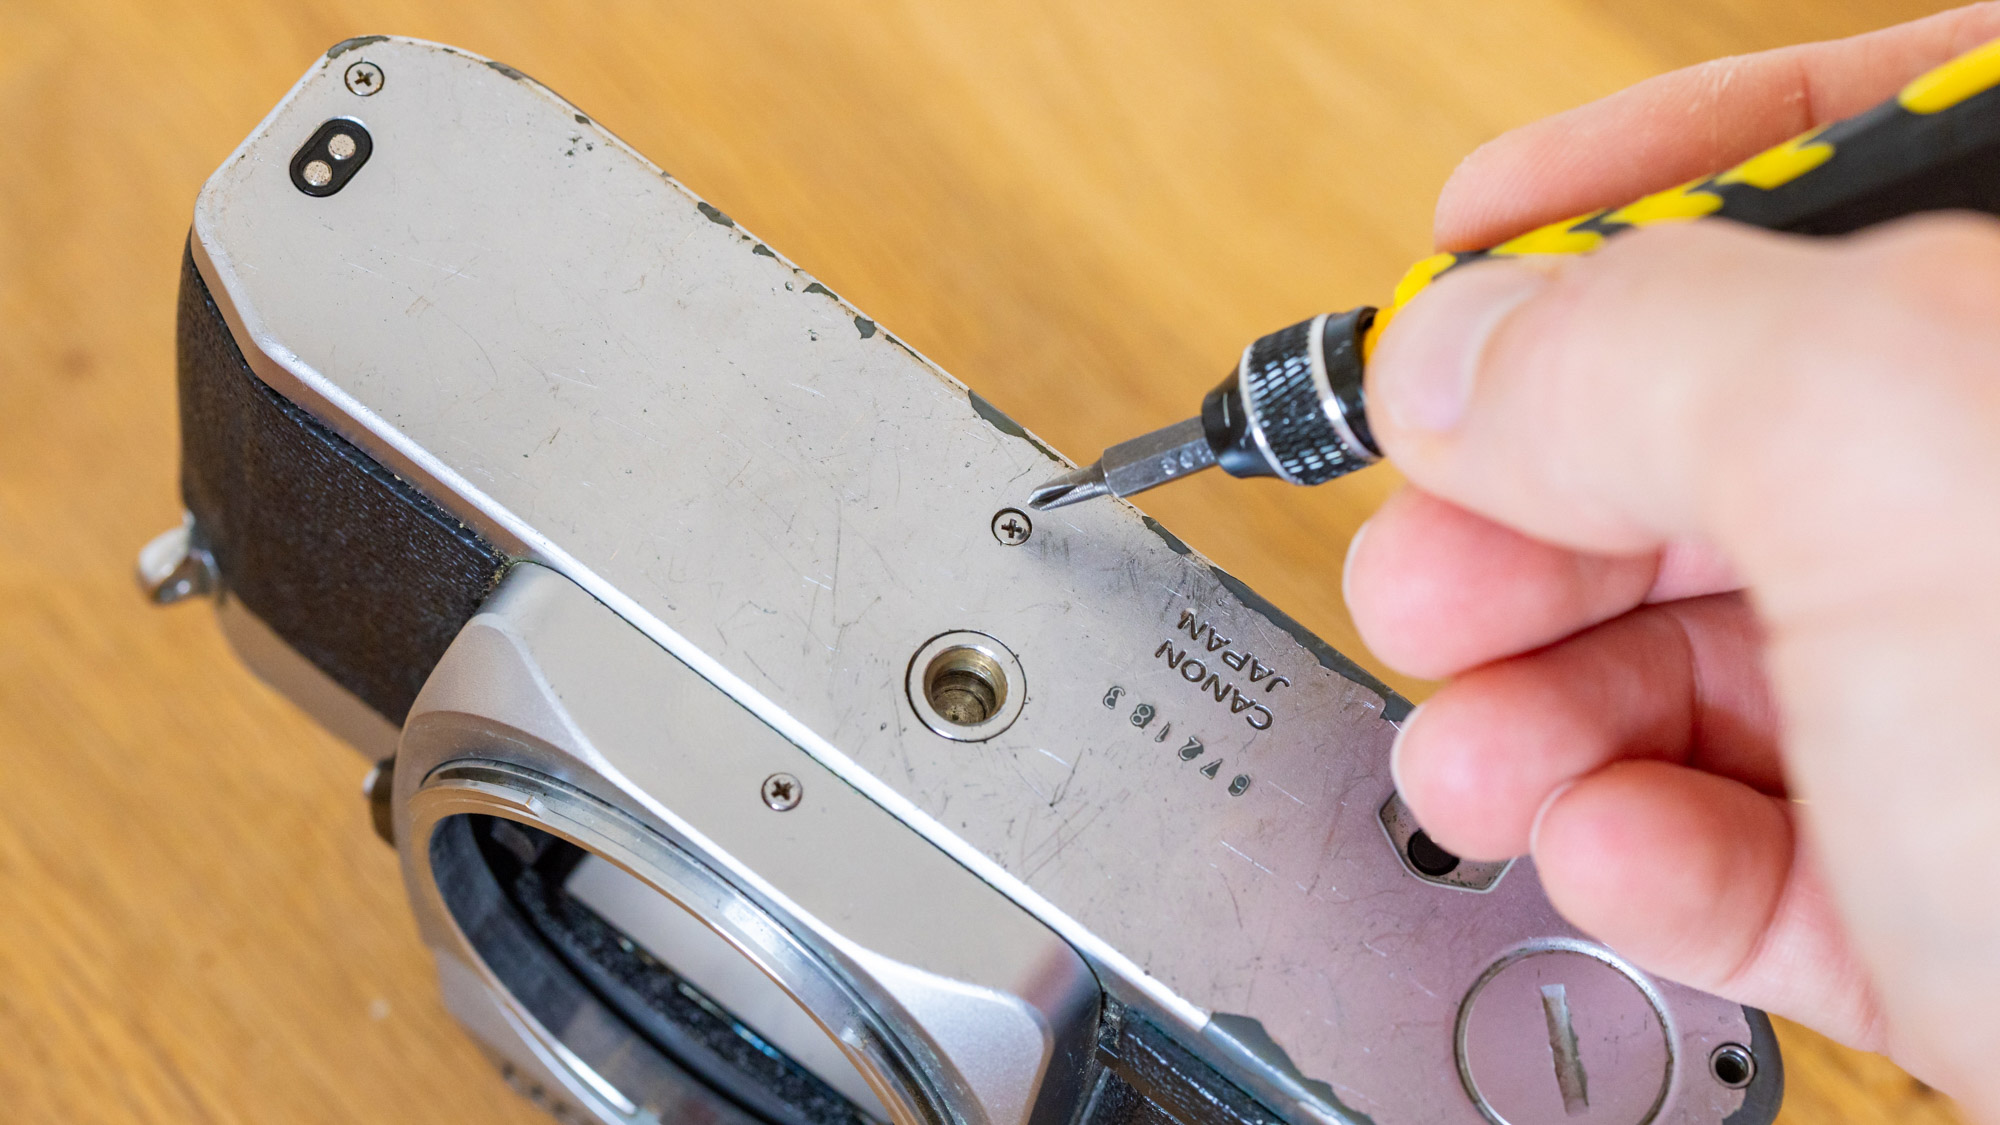
The fun of this project is it’s a bit of a puzzle to take the old SLR apart. Start by removing any obvious screws with a small screwdriver. Give things a wiggle as you go to see what’s coming loose. As one part comes off it usually reveals more screws!
2. Prise apart stubborn areas
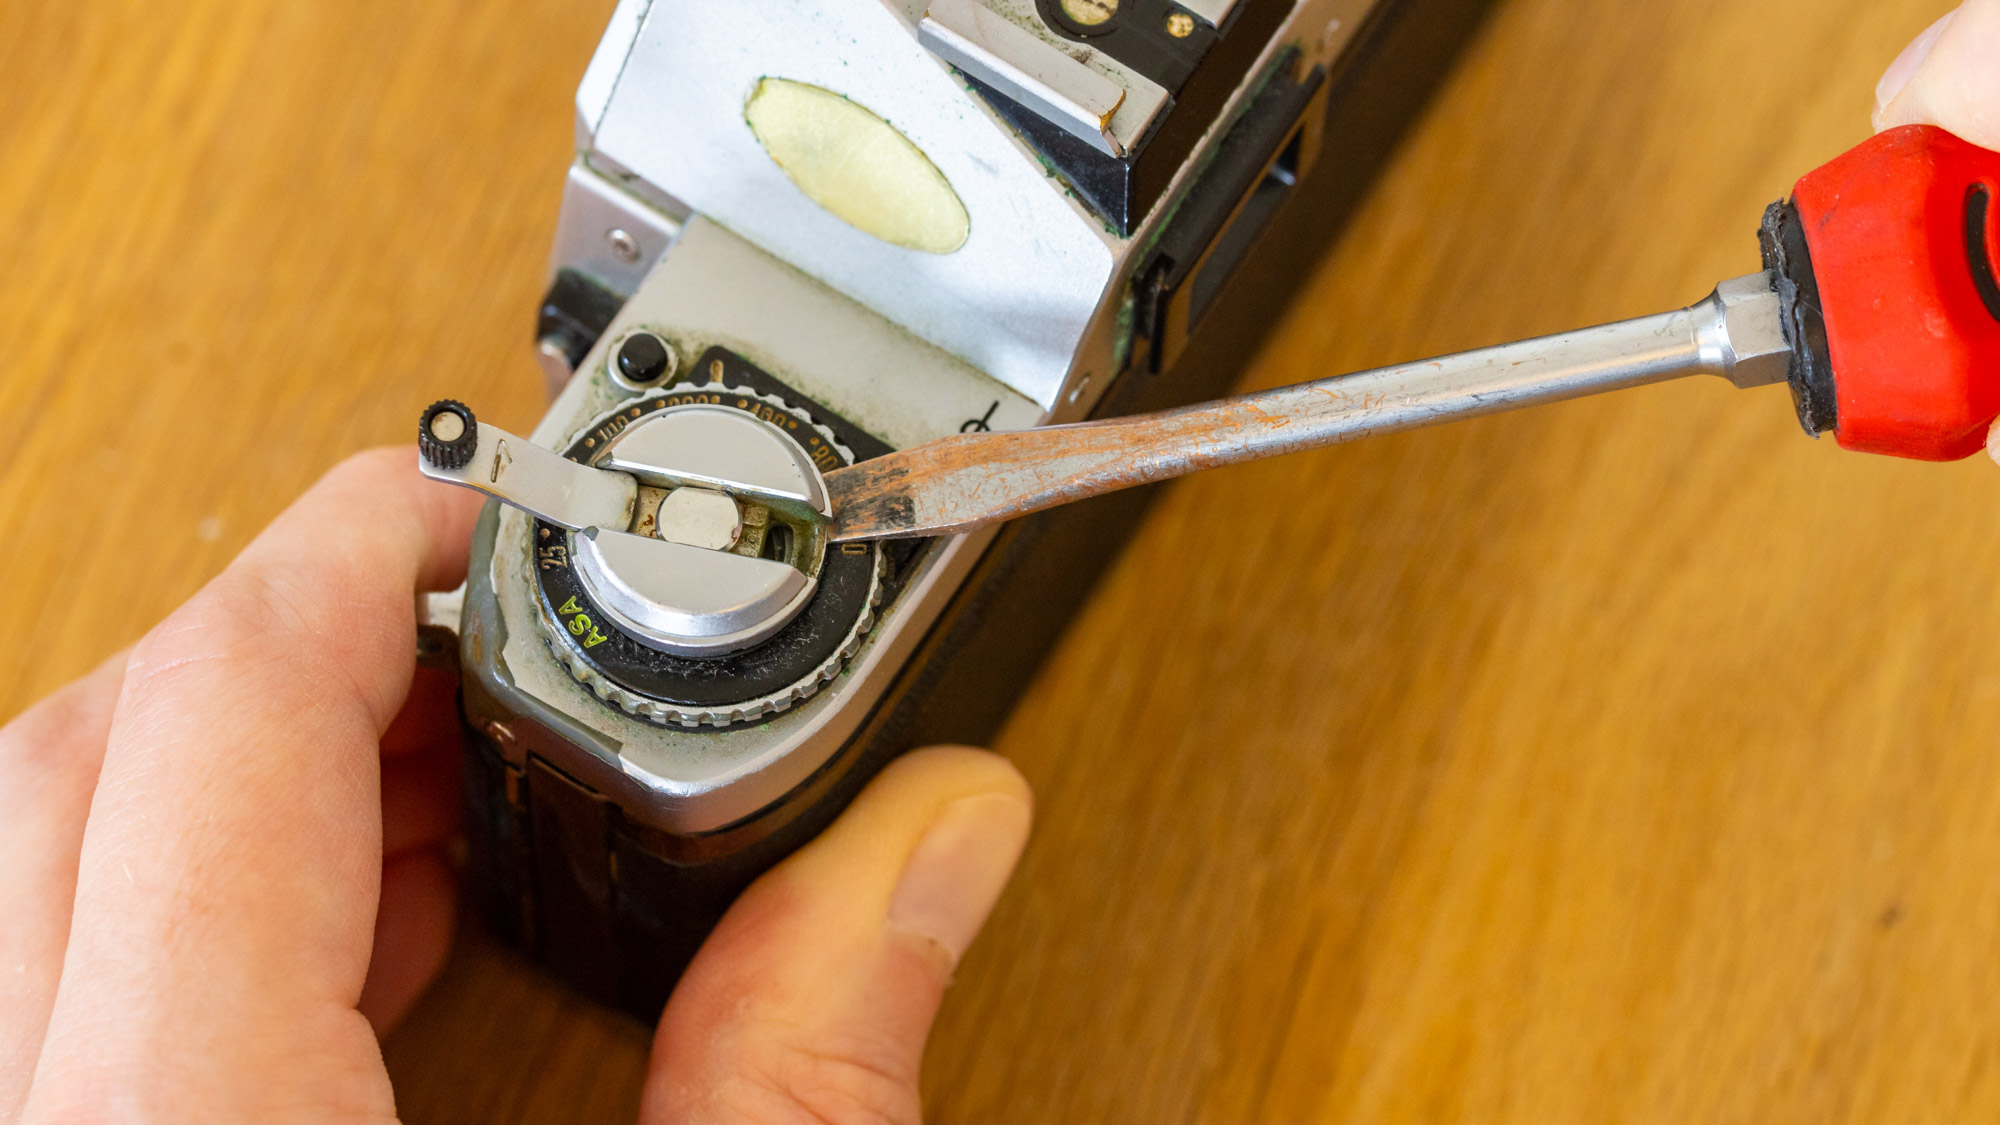
Some parts just won’t play ball, especially if they’ve corroded over time. You may need to force these components with a flat-headed screwdriver or pliers, but try to be careful not to break anything, and bend anything back into shape after removing it.
3. Organize your pieces
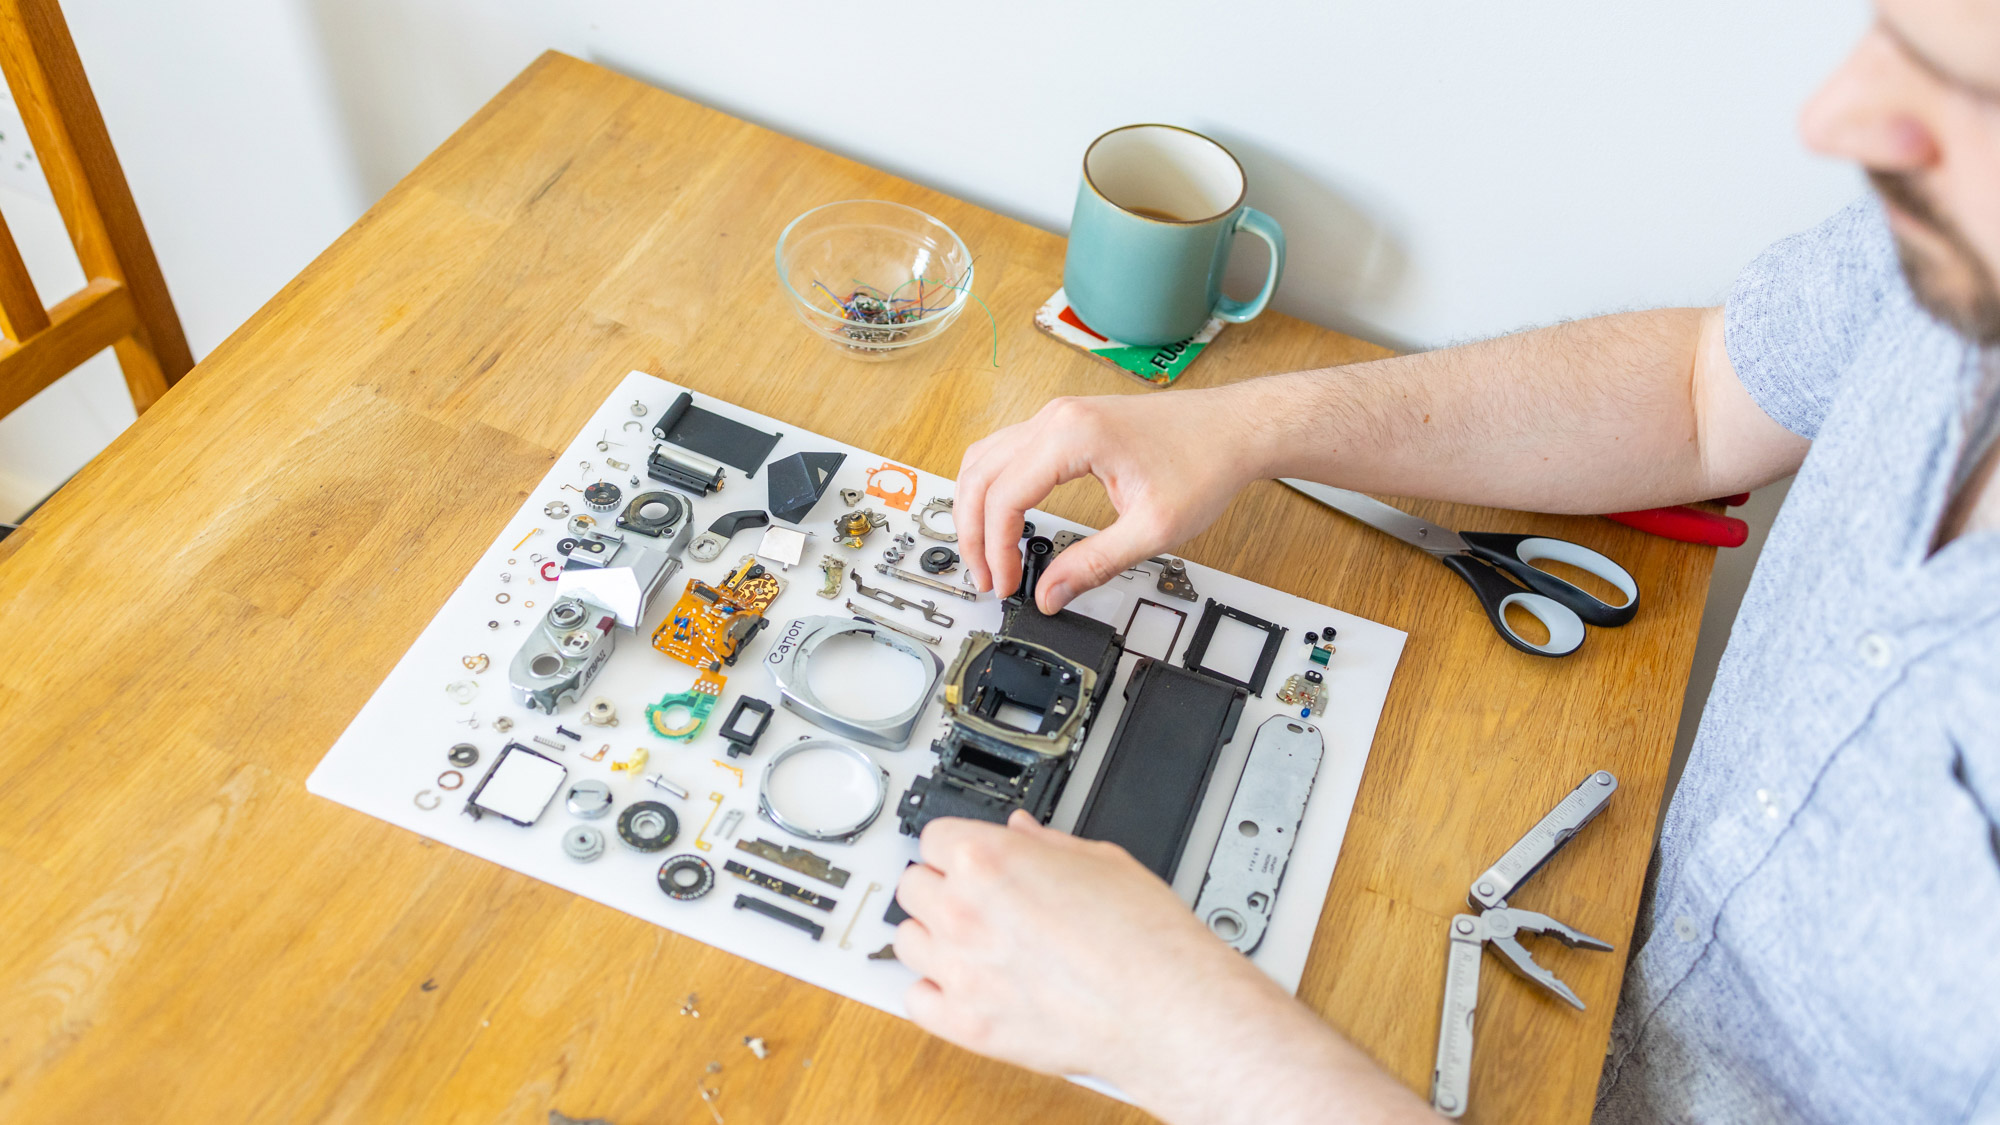
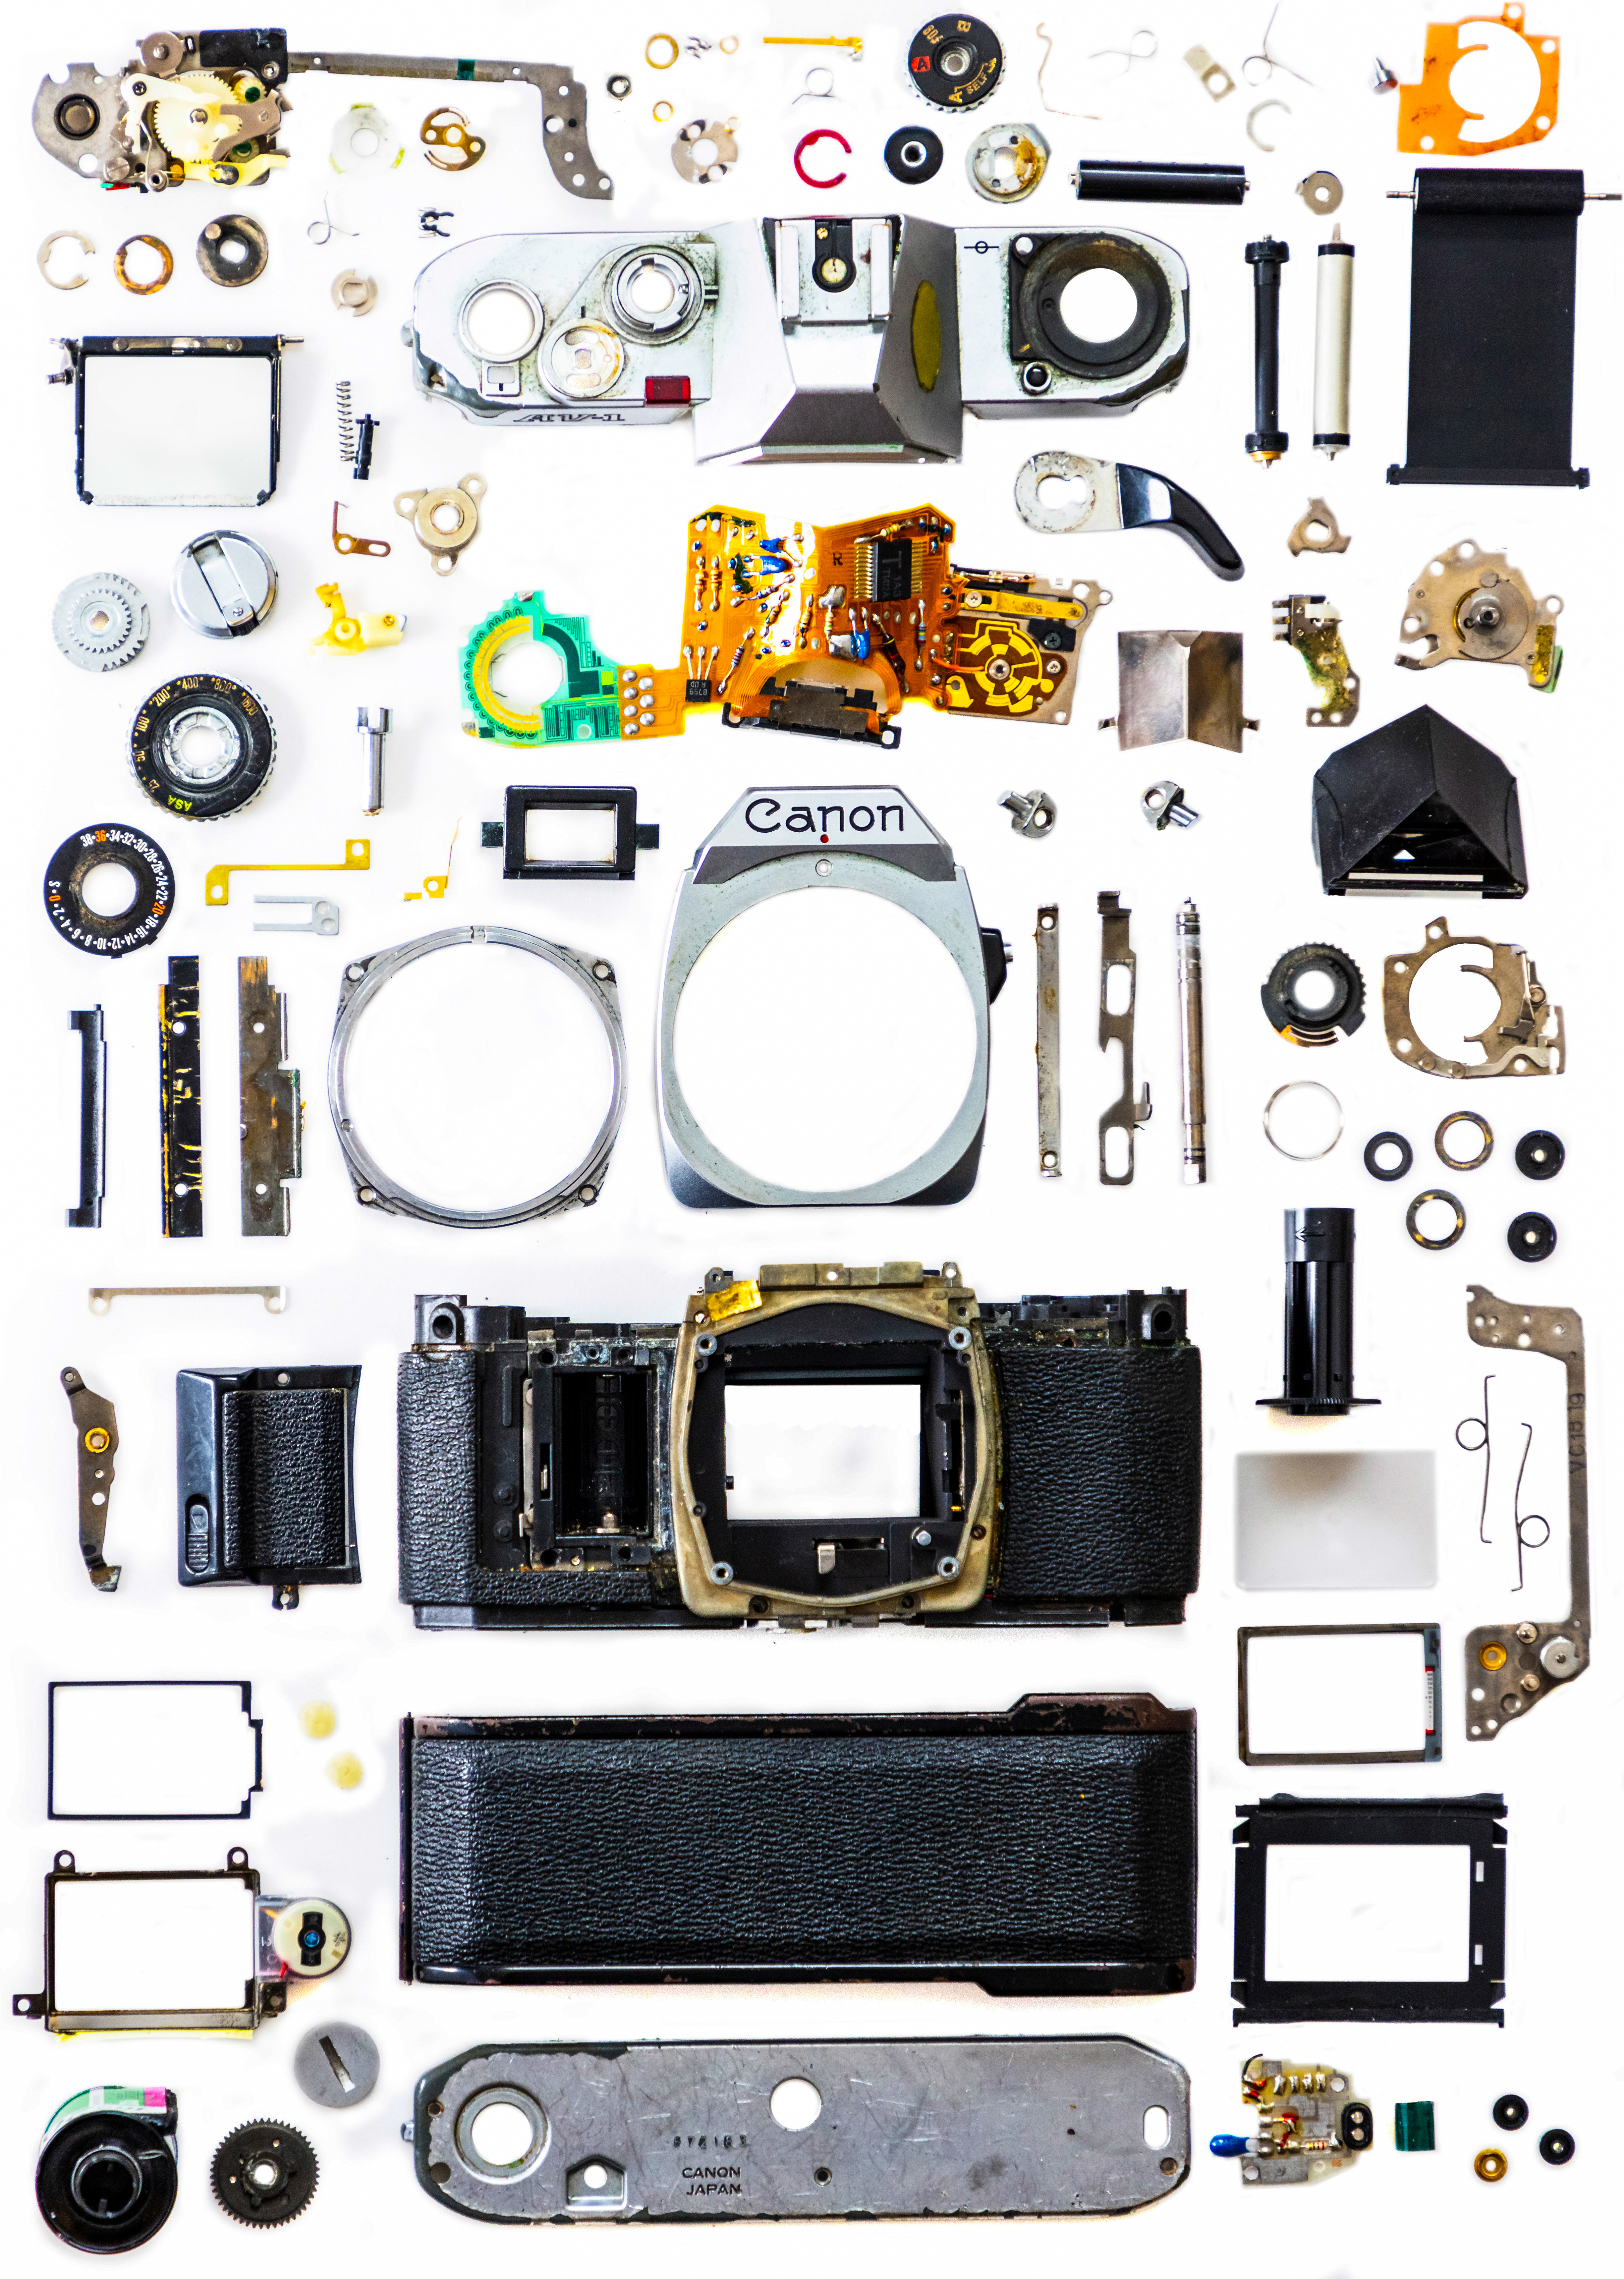
After a few hours we finally had all of our pieces taken apart. We started laying them out on a piece of A3 foamboard. Try to arrange them in the correct order, with pieces from the top appearing at the top of the board so it makes logical sense.
4. Take the top-down shot

Once happy with the composition, take a shot from straight above. I used a Canon EOS R5 with the screen flipped out to make it easier to compose on the setup on a table. We used window light and shot in Aperture priority mode: 1/320 sec, f/5, ISO1600.
5. Clean up in Photoshop CC
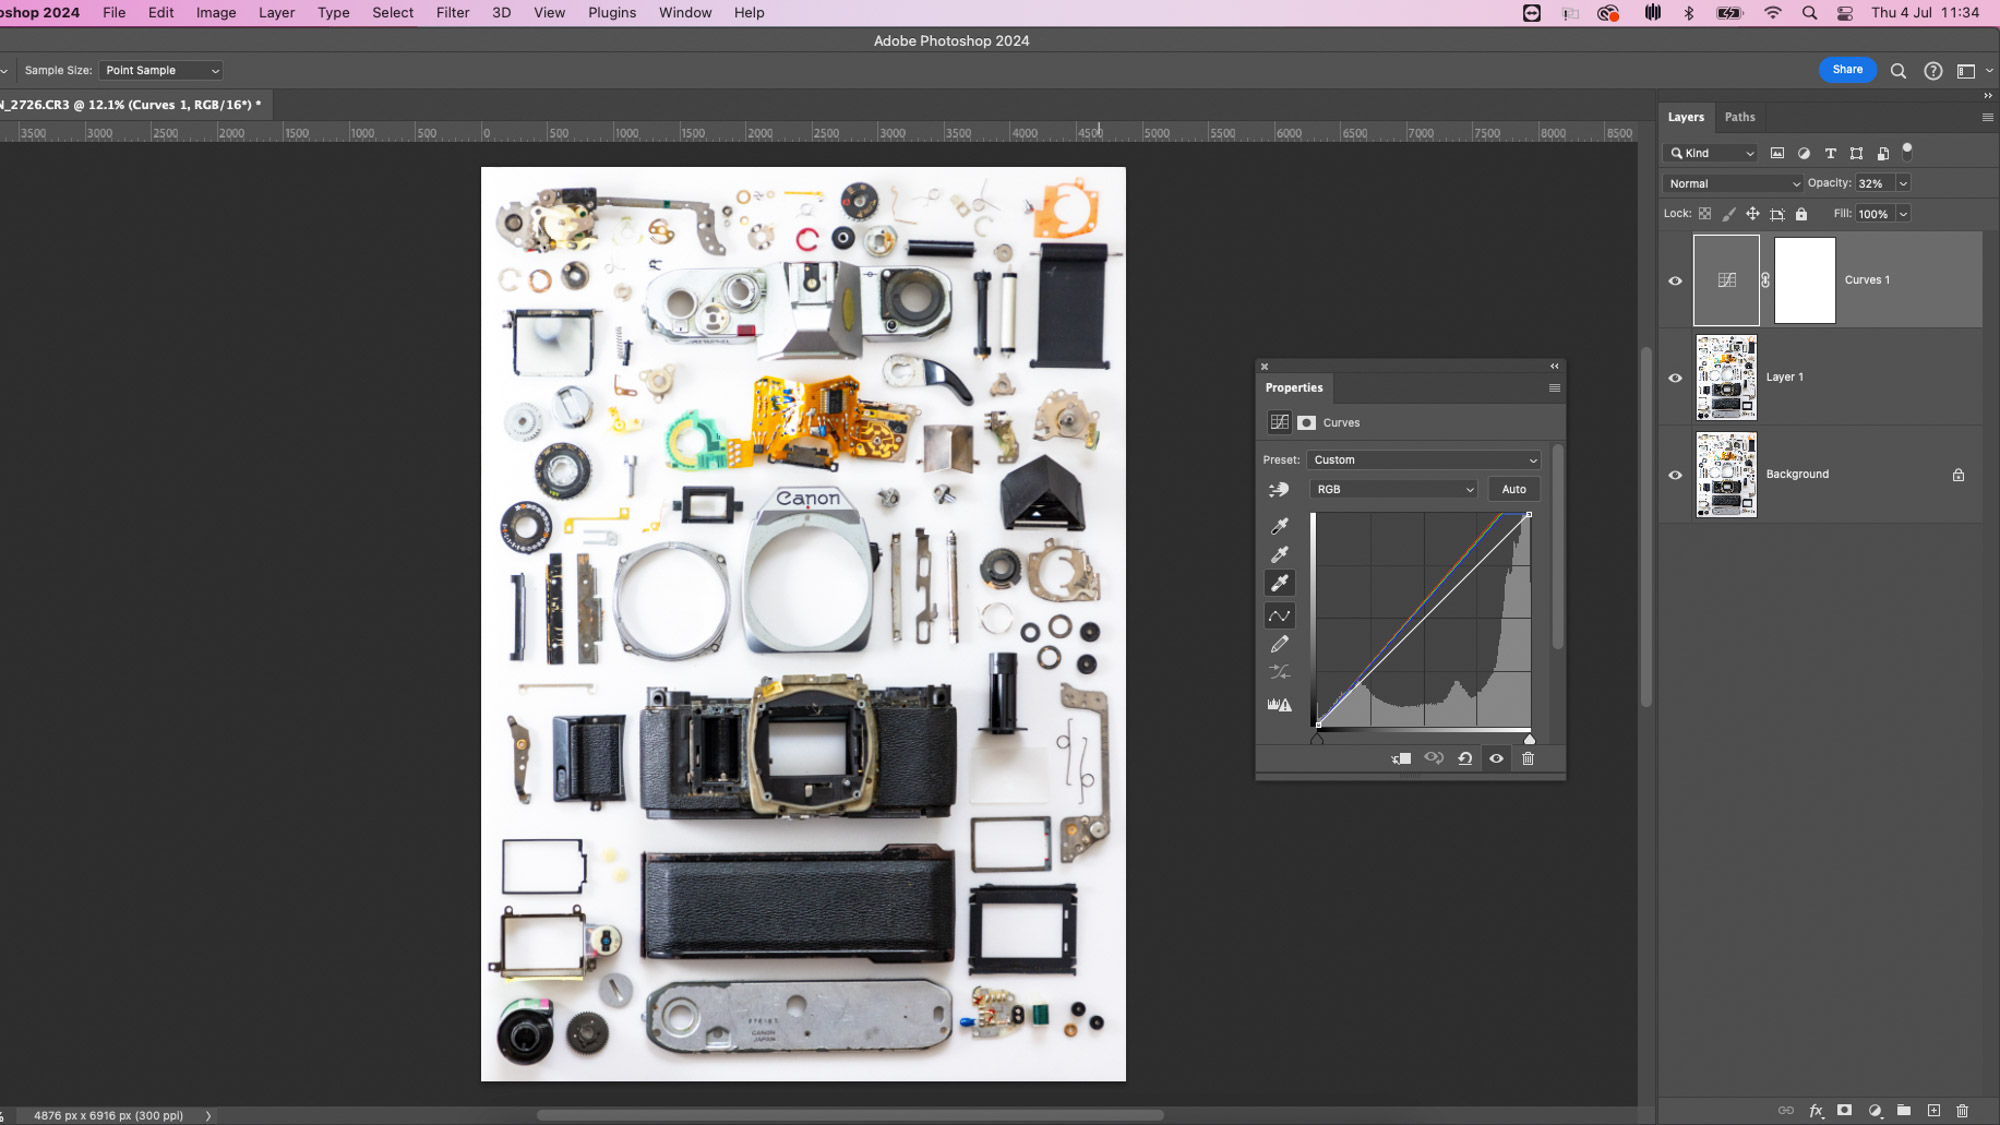
Photoshop is a great place to straighten up your edges, crop and adjust the brightness to achieve a bright white background. You can also clone out or spot heal any small blemishes, move objects or copy and paste bits to fill in gaps around the frame.
6. Frame your work
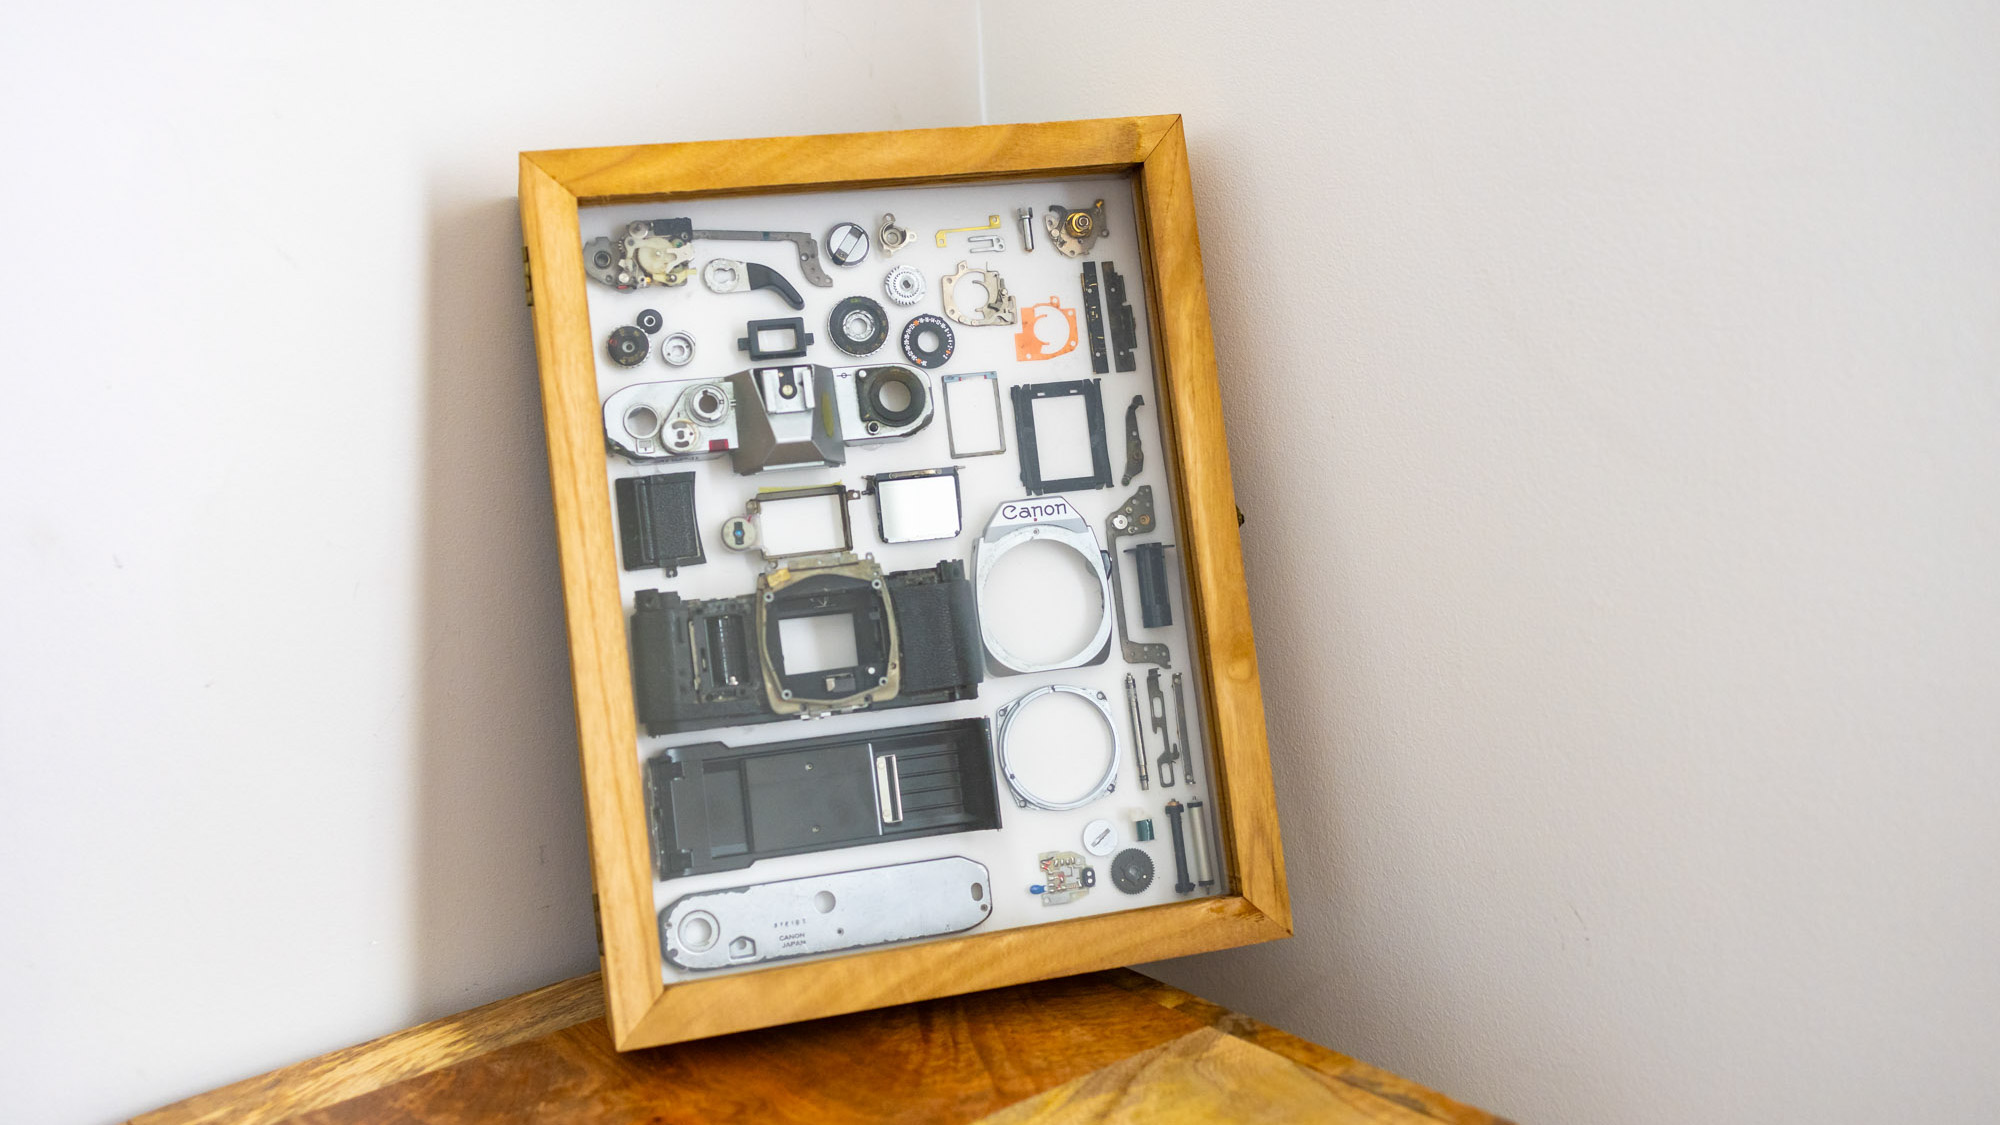
Don’t chuck all of the pieces out when you are done! Box frames can be picked up on Amazon for about $20 and are a brilliant way to display your exploded SLR. Cut your foamboard to size and use superglue or a gluegun to secure each piece in place.
If you're serious about scenery, take a look at the best cameras for landscape photography along with the best lenses for landscapes.