I’ve become somewhat disillusioned with gel manicures lately. Sure, they last forever, look great and take the effort out of doing your own nails, but let’s be honest, they can be a bit of a faff to maintain. Getting regular manicures can become pretty costly and (with the exception of BIAB manicures) can be damaging to your natural nails over time.
Sure, you can always stick to a traditional DIY polish manicure to get your autumn nail trend fix, but personally? I always end up taking ages to painstakingly paint and dry them only to be left with smudges and chipped nail polish after a few days. So understandably, when I discovered Glaize stick-on gels I was immediately intrigued.
This small business creates bespoke stick-on gel manicure sets which are toxin-free, cruelty-free and require no UV lamp to cure. Their main USP though, is that they’re made to measure from a digital picture of your nails to ensure they fit your exact dimensions. They are a far cry from the traditional stick-on plastic sets that would never really fit and leave you with about 20 excess nails that would inevitably end up in the bin.
They’re super convenient and easy to apply, supposedly last up to 14 days without chipping or peeling and have some truly stunning colours to choose from—including nail art options. You can also have your nails printed in a short, medium or long length, so you’re not limited to the length of your nails in the picture you submit.
Having visited the Glaize lab myself, I can personally attest to the effort that goes into making each and every set. The small, hardworking team is constantly innovating and improving the product to minimise bubbles, increase shine, provide new colourways, improve adhesion and so much more.
So how did I get on using the stick-on gels for myself? Read on for my honest review.
My Glaize stick-on gels review
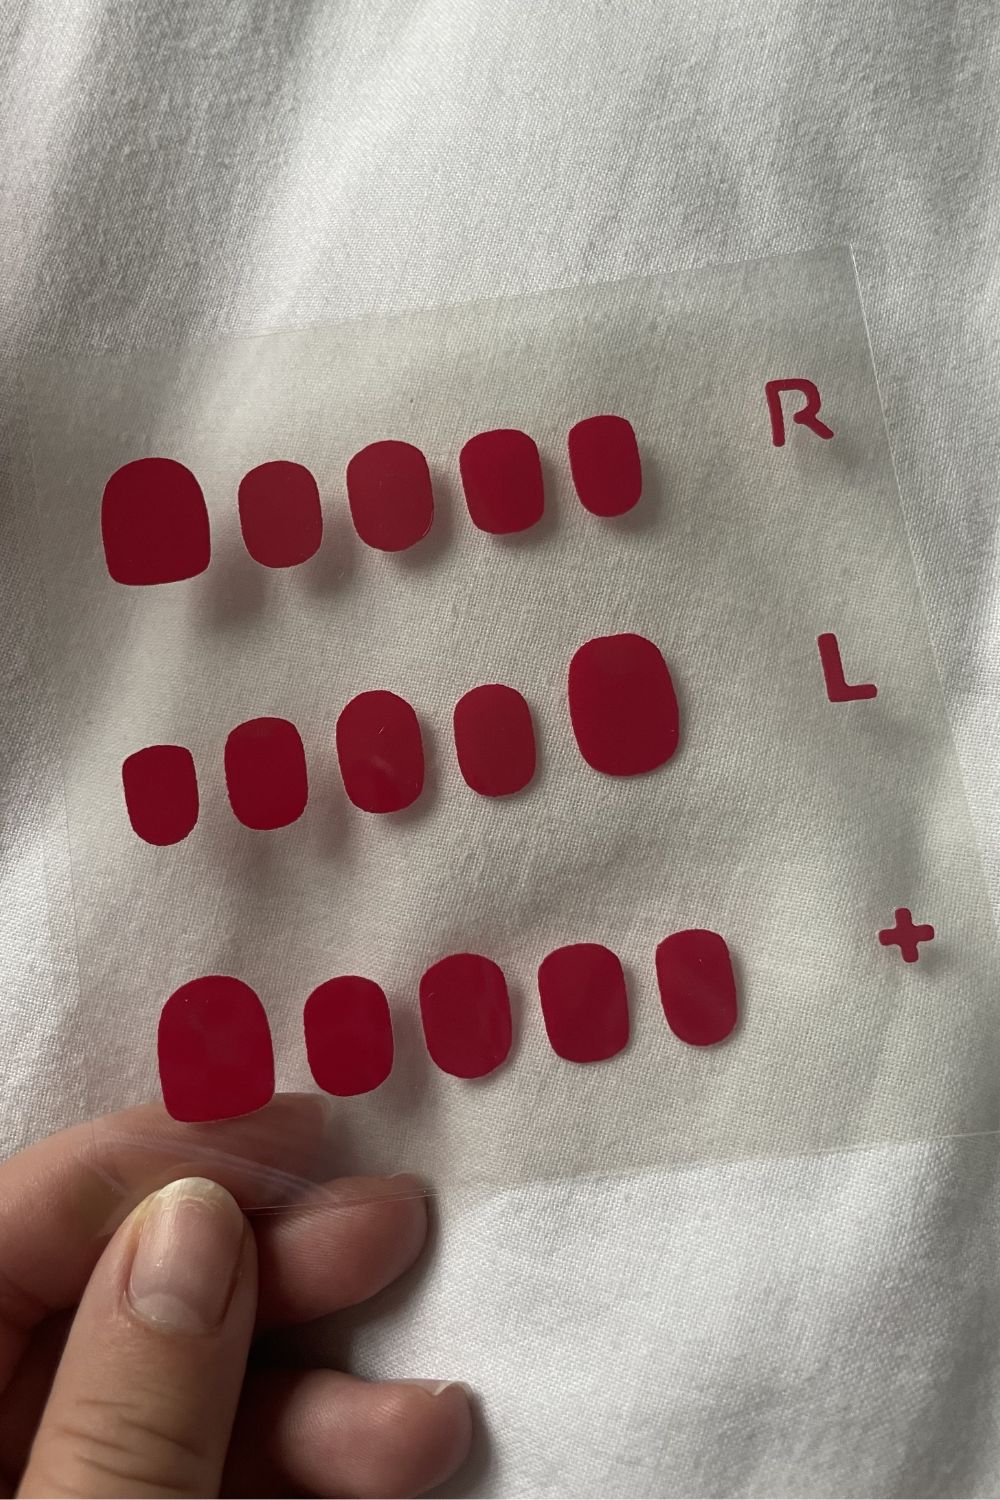
In a pack, you get one set of nails perfectly tailored to fit your left hand, one for your right and one line of extras in case of mishaps (which is a bit of a mixture of the two sides—again, minimising waste where possible).
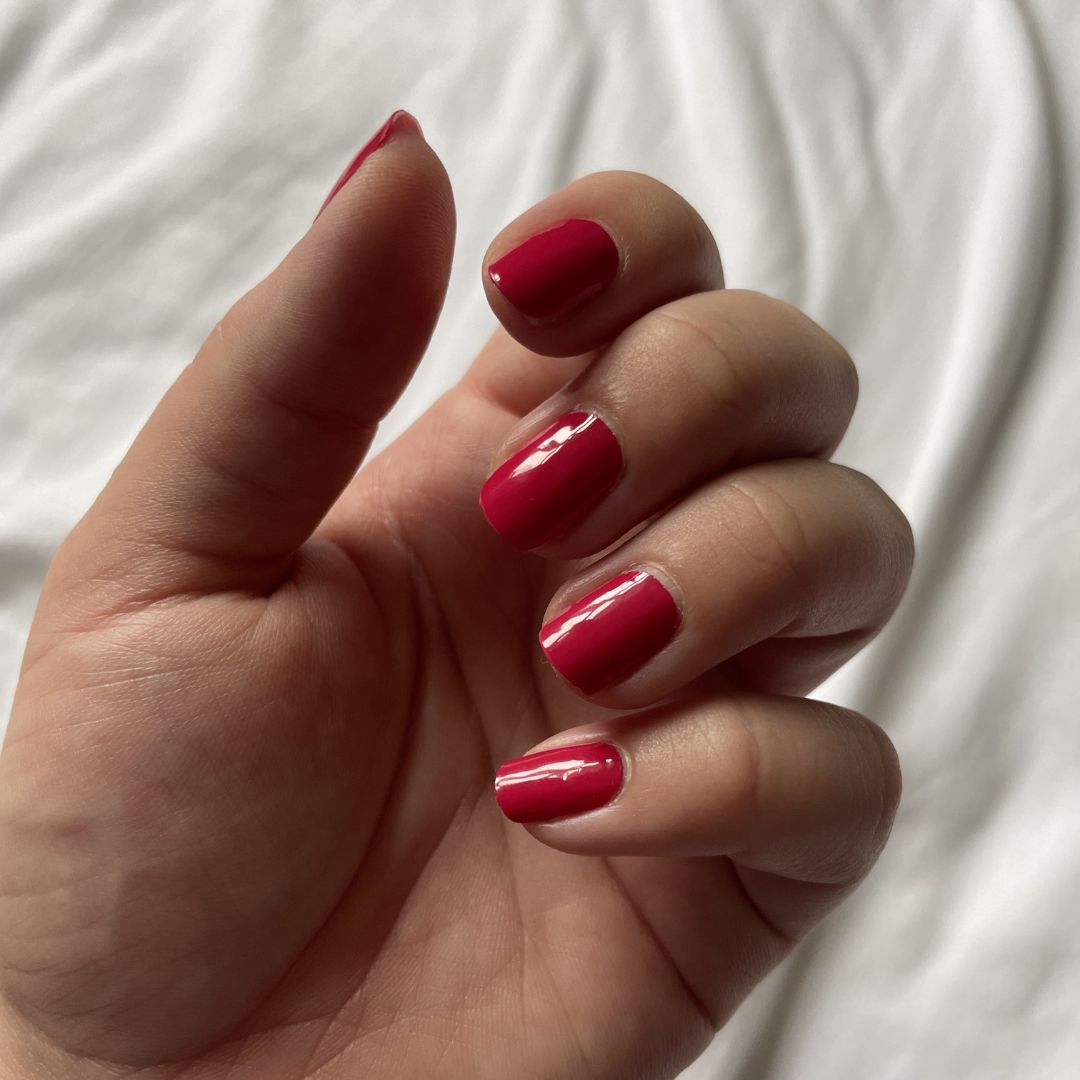
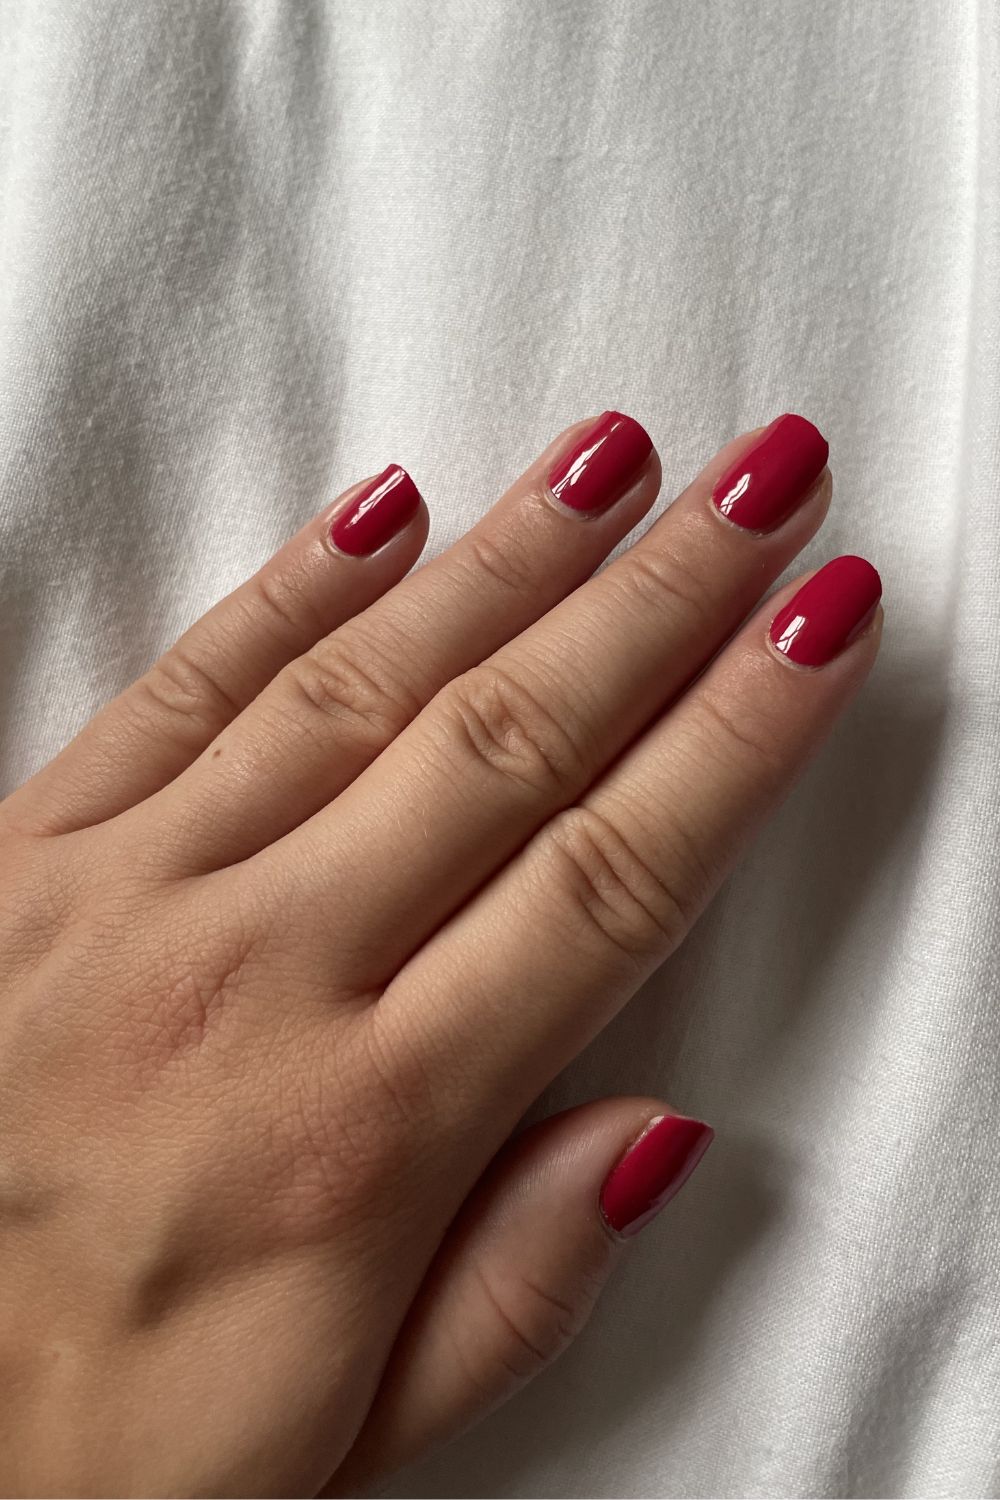
I went for a deep fuschia pink shade, but there are a huge range of colours to choose from on the website, including 26 solid colours, six glitters and 18 nail art options.

The prep kit was super simple to use and ensured I had a smooth base to work with. To apply the gels, I simply had to line each sticker up to the correlating nail (they’re pretty easy to identify), making sure to not stick it too close to my cuticle, and smooth it upwards so it was firmly fixed to my entire nail. I would then fold over any excess and file it off with the nail file in the kit—it’s really that simple.
I found that filing the excess off made sure the sticker really adhered to the tip of my nails, but you can also trim the excess off if you’re in a rush. I tried trimming some to size with a nail clipper, and though this gave me a smoother result, I found the edges peeled off a little quicker, so it really depends on what your priorities are: longevity or a quick, clean finish. In all, it took me about 10 minutes from start to finish, no trip to the nail salon required and no strong fumes in sight.

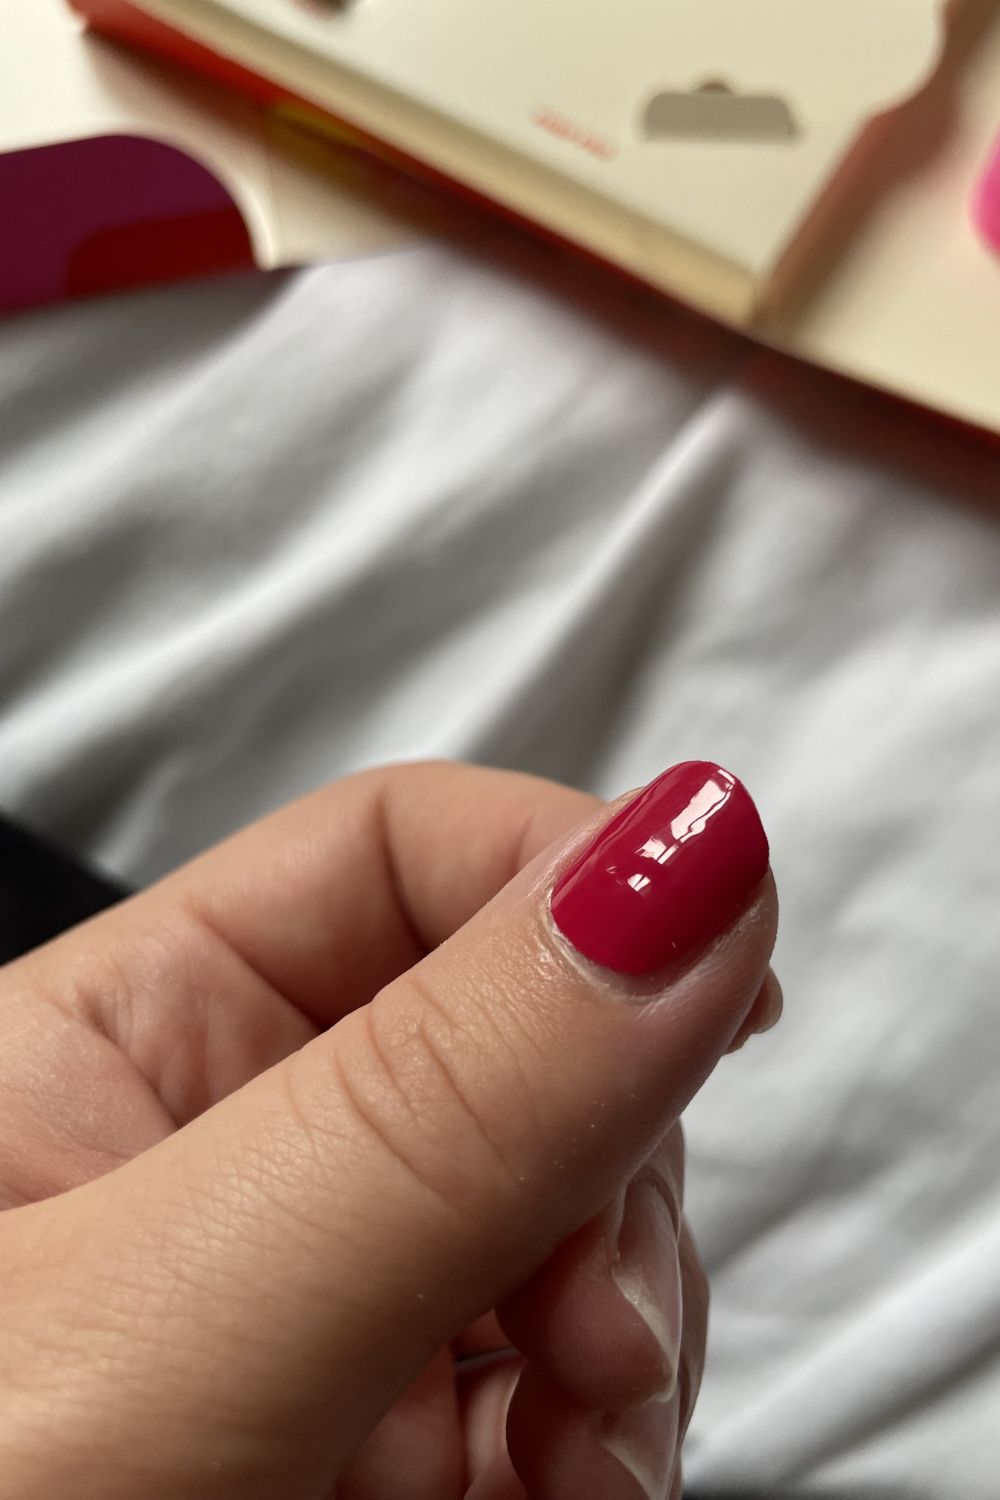
Obviously, I experienced zero smudges or patches when applying. With one neat opaque sticker to work with for each nail, it was a pretty foolproof application process. Each sticker has a thin yet opaque finish. They feel really comfortable, like I’m wearing nothing at all on my nails. I was so impressed with how well they lined up with the edges of my natural nails considering the image I submitted wasn’t 3D, it was a pretty perfect fit.
In terms of longevity, they lasted over a week on my nails, with no chips or scratches (like I would get with traditional nail polish manicured nails). In fact, they looked as good on the day I took them off as the day I applied them.

When it came to taking them off, I used the cuticle stick in the prep kit to lift and peel off each sticker. They were surprisingly easy to remove considering how well they’d stayed on (through multiple showers and hand washes, I might add).
I was left with a tiny bit of residue from the adhesive, but this was easy to remove with the prep juice. Unlike after the removal of traditional gel nails, my nails didn’t feel weak or flaky, and I didn’t get that uncomfortable ‘tight’ feeling when my nails were left bare.
In case you can’t already tell, I’m utterly obsessed and will absolutely be repurchasing these genius stick-on gels. Oh, and they also have a pedicure option (which you can shop below, alongside the brand's nail art stickers), so consider all my salon appointments cancelled for the immediate future.


